
The final battle of Chapter 3 in Black Myth: Wukong is arguably your most difficult challenge yet. With three separate boss fights in one, each one will give you a different obstacle to overcome. Read on to find out how you can defeat ![]() Yellowbrow and what your reward is for doing so.
Yellowbrow and what your reward is for doing so.
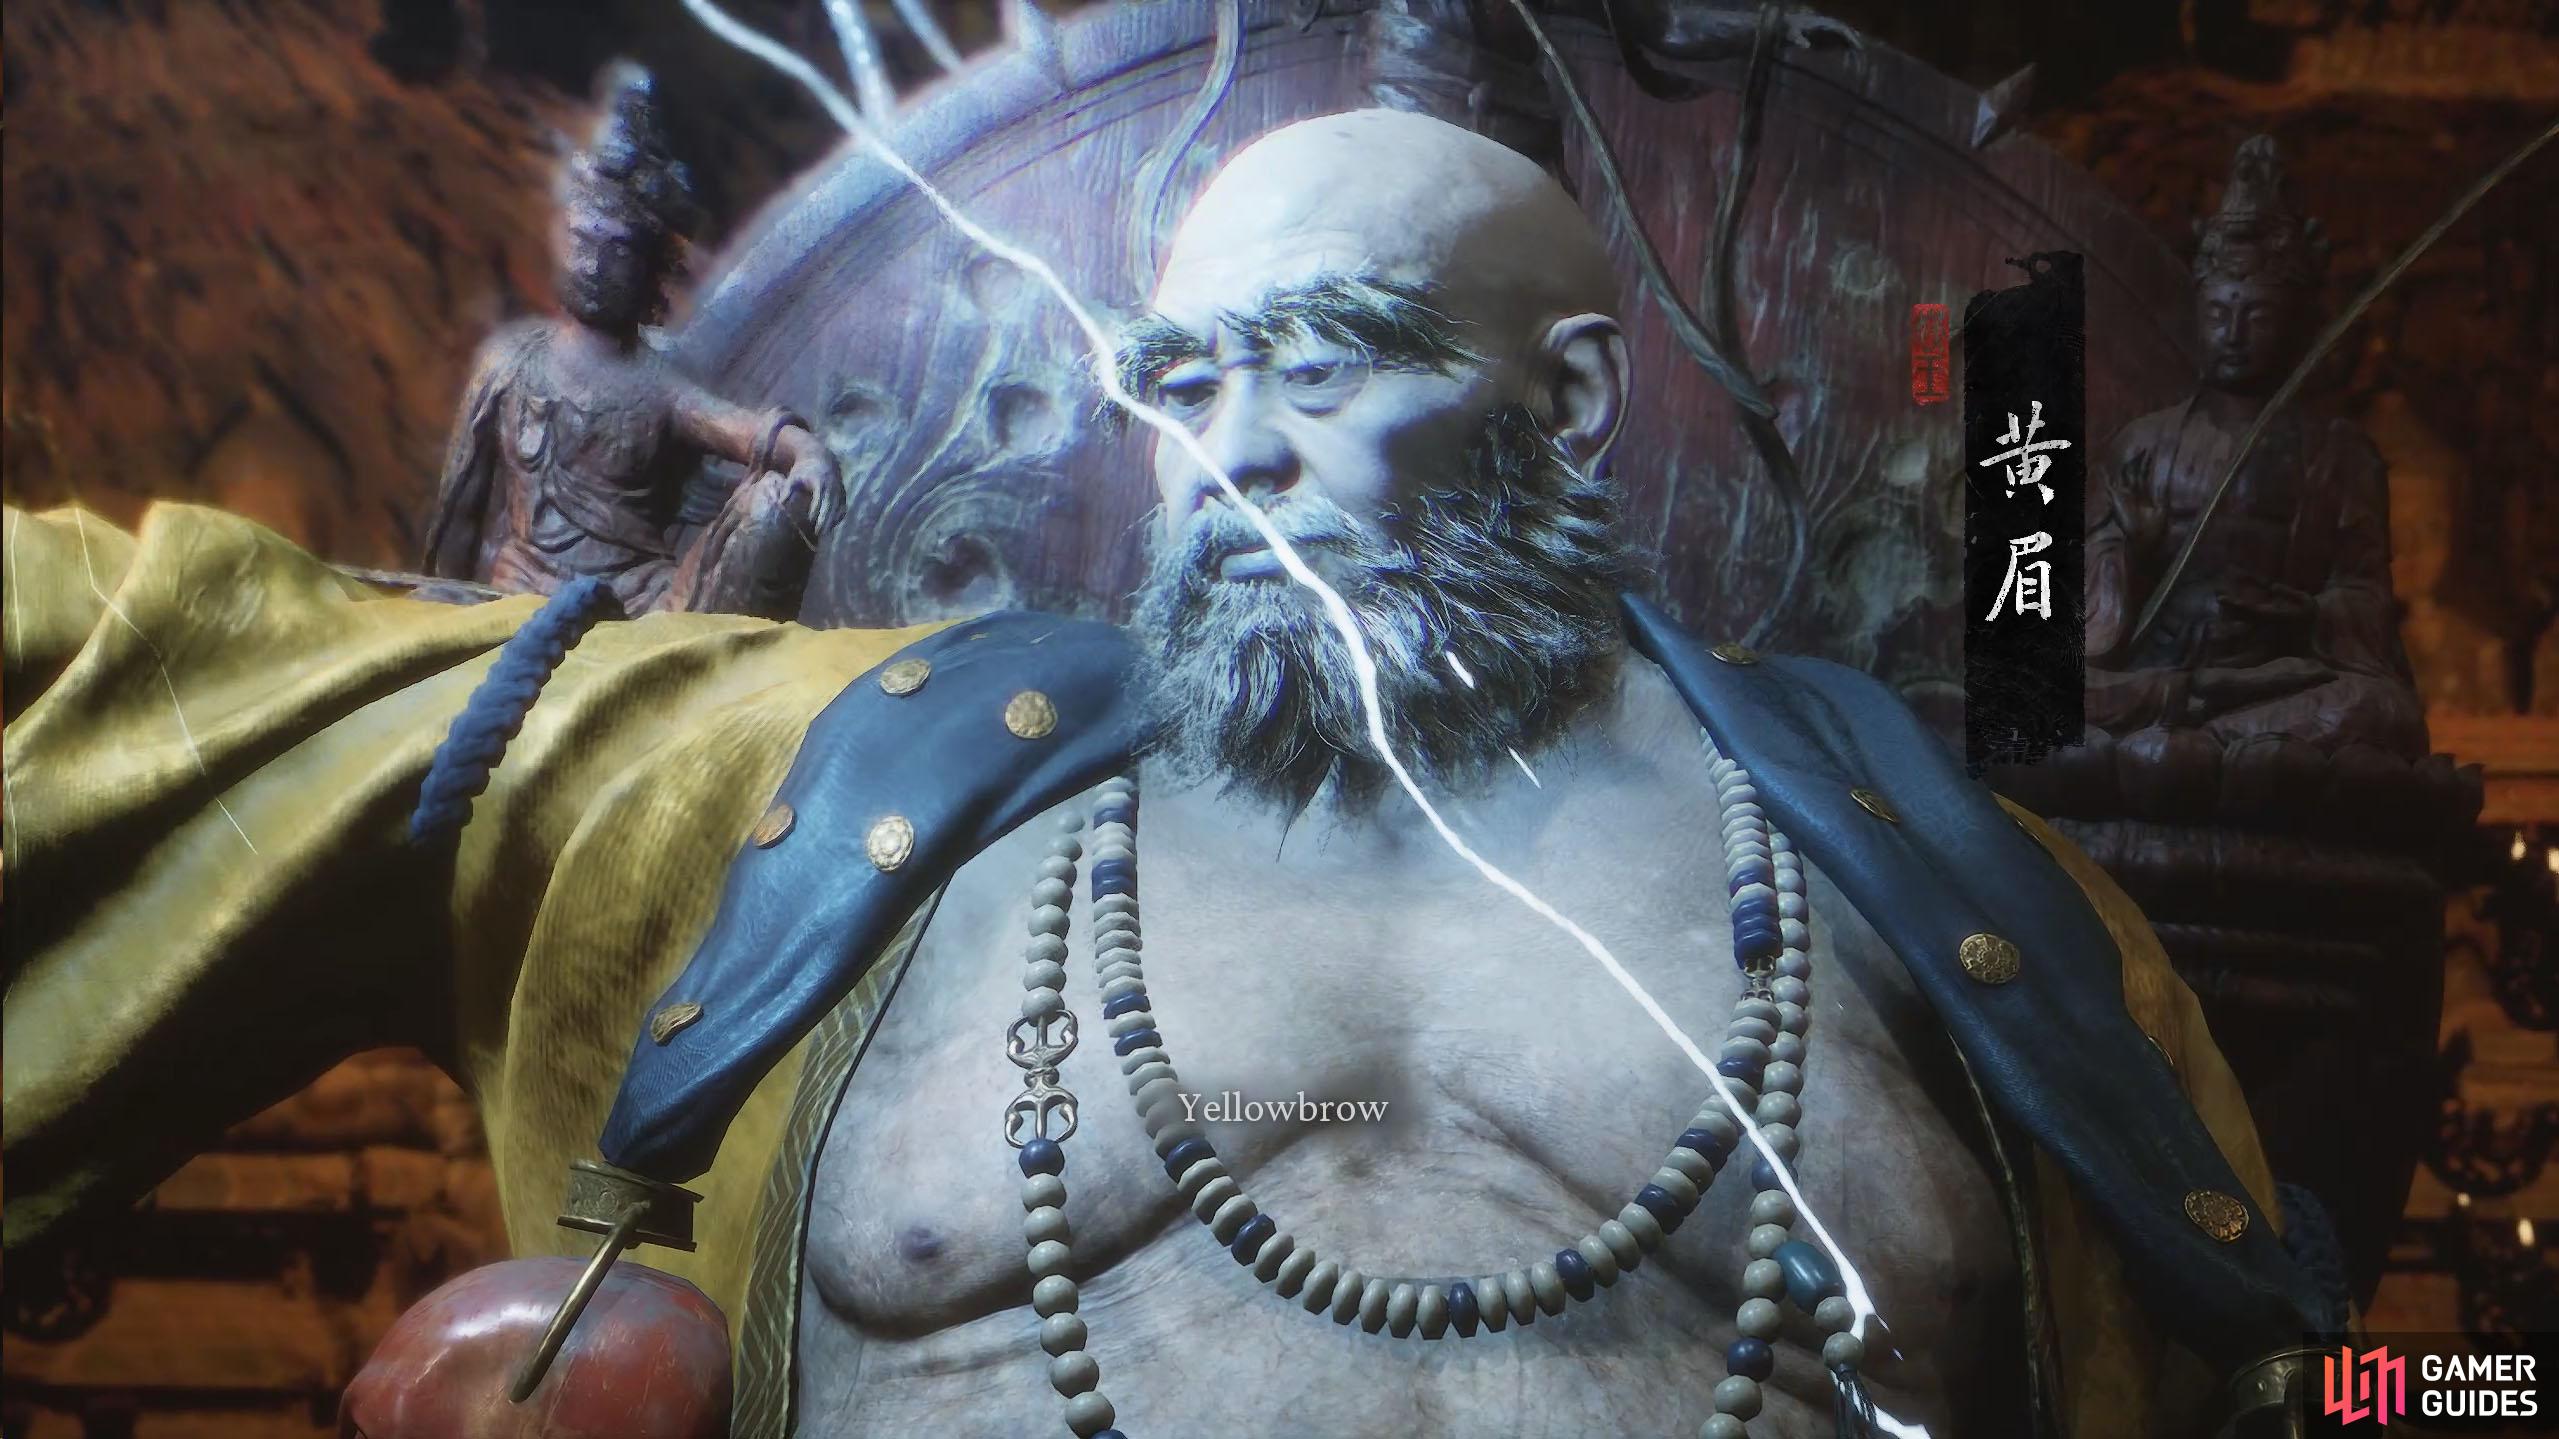
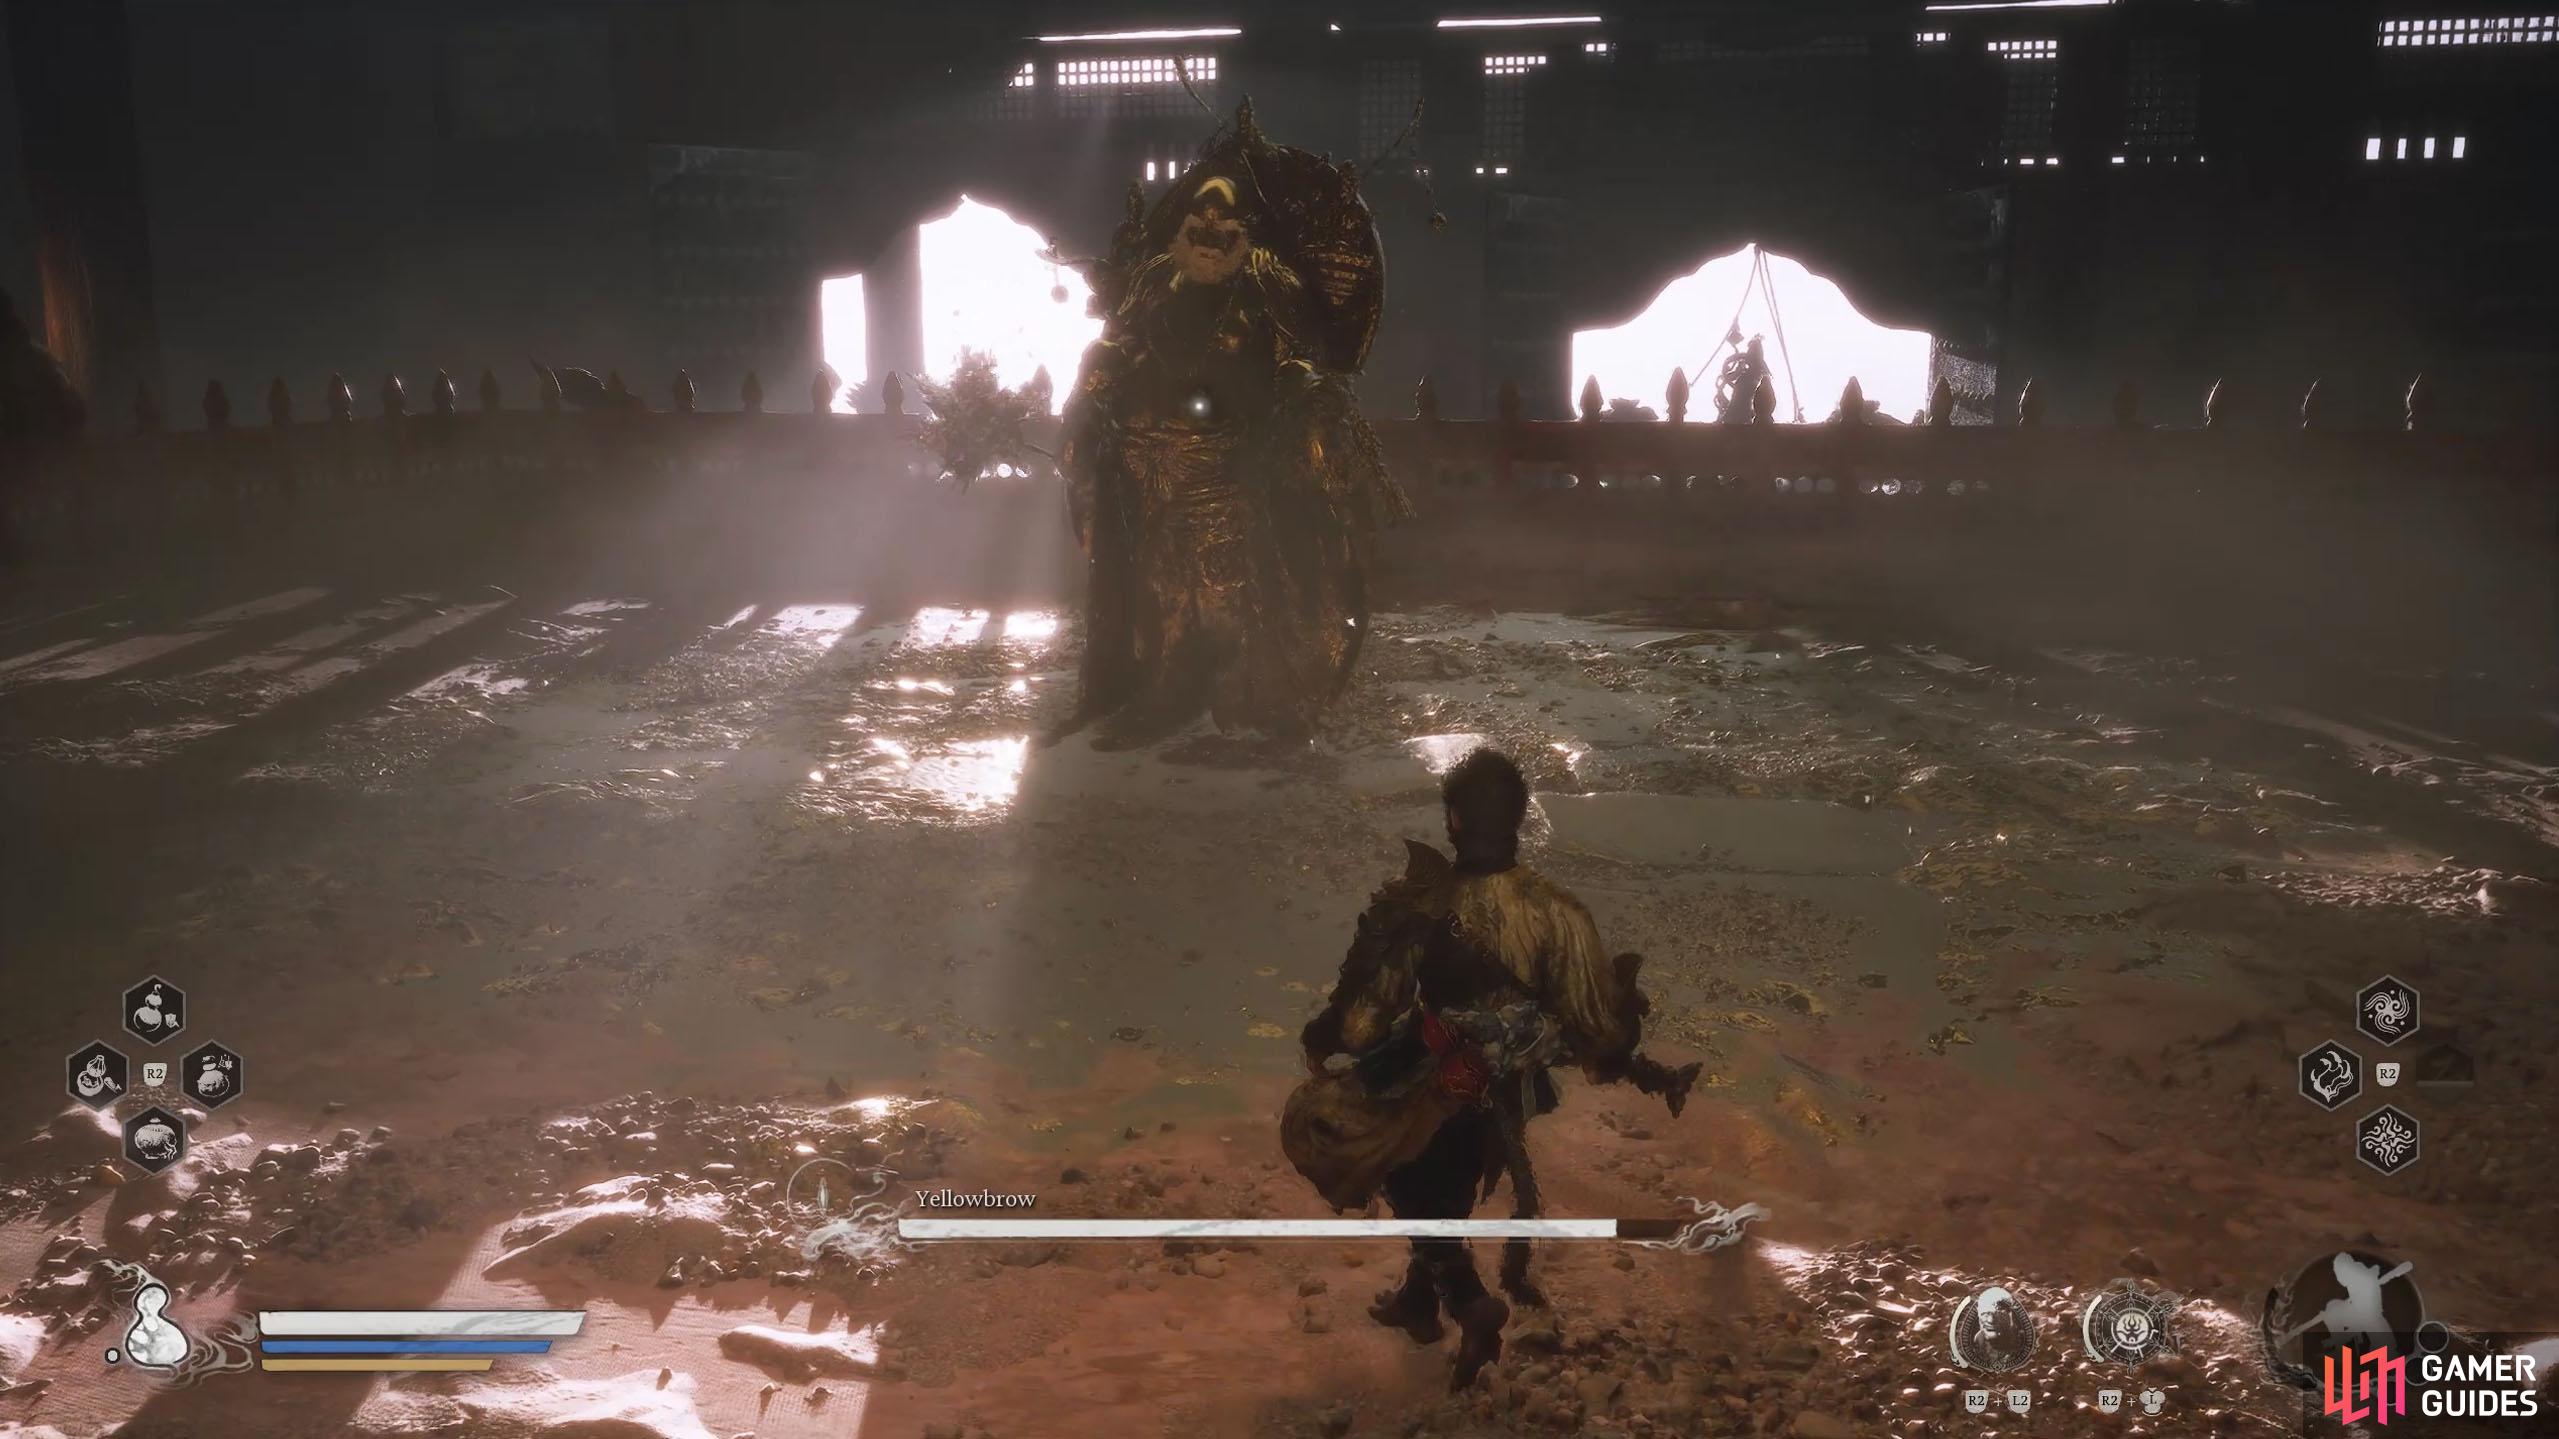
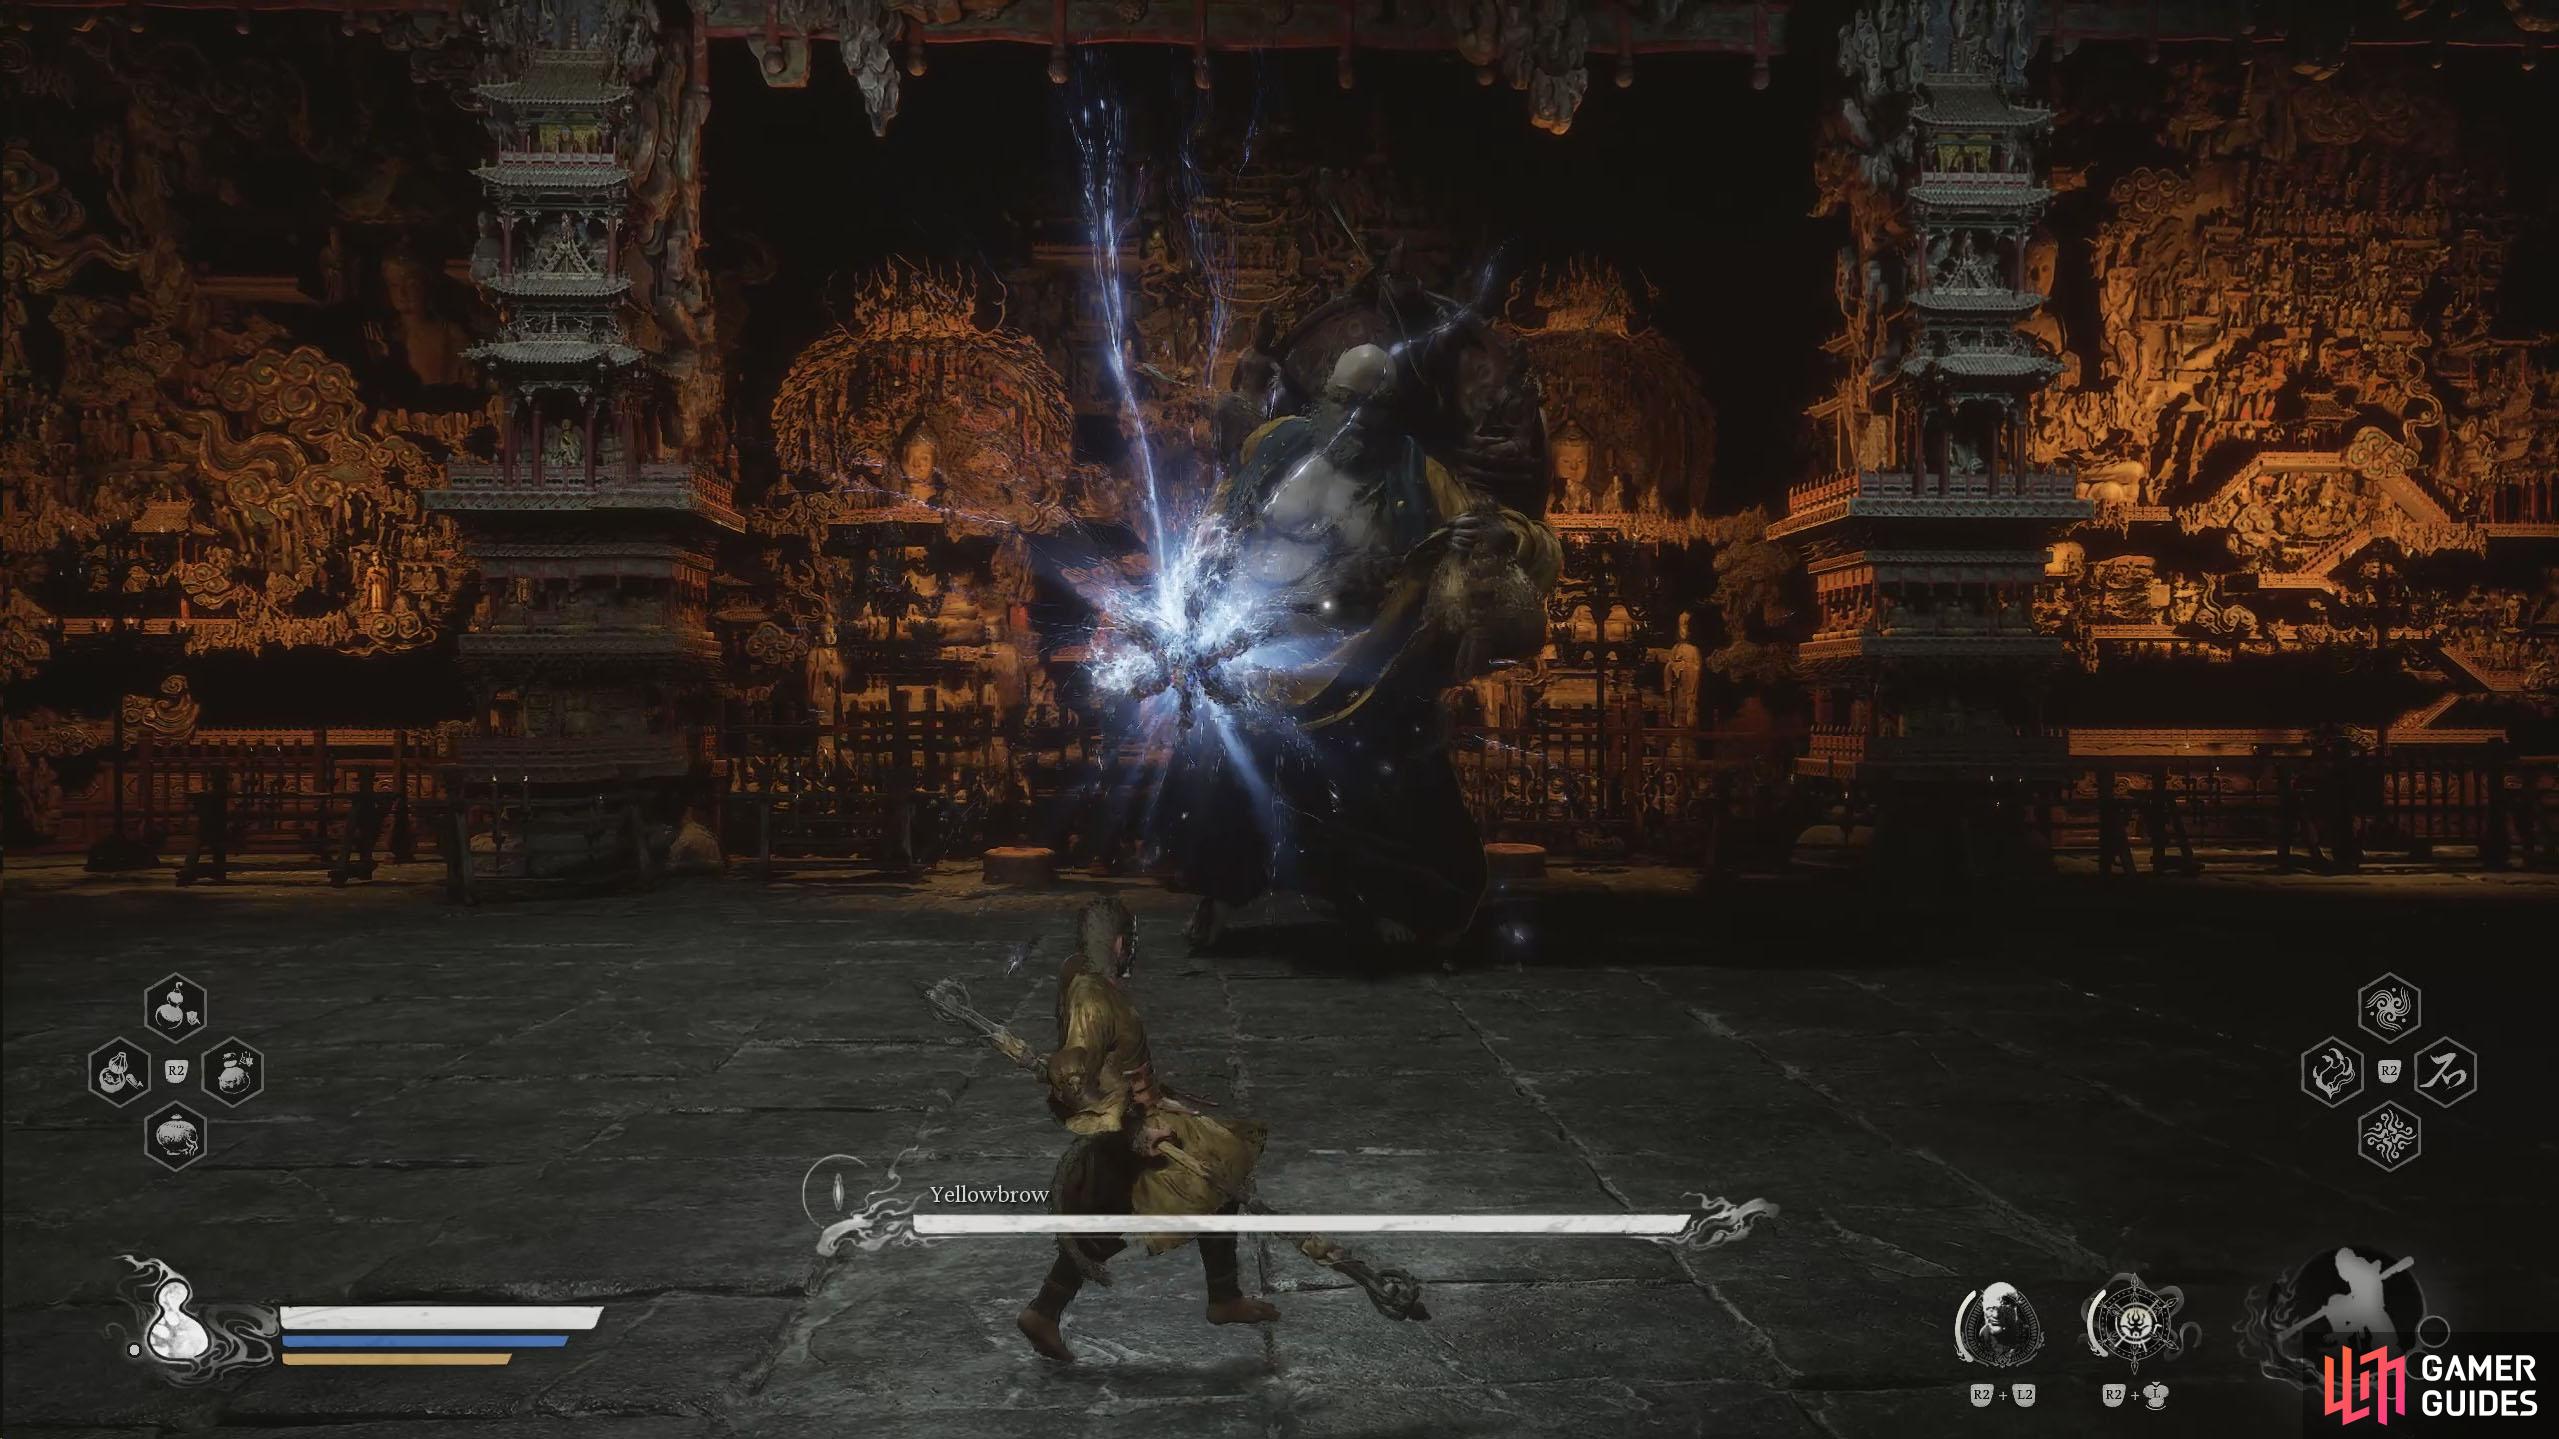
Yellowbrow is the final boss of Chapter 3.
Table of Contents
If you want to jump to a specific section, click on the links below.
Yellowbrow Location
As stated before, Yellowbrow will be the final boss of the Chapter. This means traveling through the Snowhill Path, the Pagoda Realm, the Bitter Lake, the Valley of Ecstasy, and finally the New Thunderclap Temple, which is where you’ll find Yellowbrow.
Recommended Equipment
The majority of Yellowbrow’s attacks will have a Thunder element to them, so we recommend the following equipment.
| Weapon | Headgear | Armor | Curio 1 | Curio 2 |
|---|---|---|---|---|
| Loongscale Set |
![]() See No Evil will help you trigger Perfect Dodge more easily, which you’ll need for the upcoming battle. The Longscale Set (3 pieces) will moderately increase your shock resistance, as will the
See No Evil will help you trigger Perfect Dodge more easily, which you’ll need for the upcoming battle. The Longscale Set (3 pieces) will moderately increase your shock resistance, as will the ![]() Thunderstone Curio. The final Curio is up to you, but
Thunderstone Curio. The final Curio is up to you, but ![]() Maitreya’s Orb can help you avoid a fatal blow if you meet its requirements, and that is always handy to have. For your weapon, equip the strongest one you have, but if you don’t mind using the
Maitreya’s Orb can help you avoid a fatal blow if you meet its requirements, and that is always handy to have. For your weapon, equip the strongest one you have, but if you don’t mind using the ![]() Thrust Stance, the
Thrust Stance, the ![]() Chu-Bai Spear is the best one at this moment in time, however, you’ll need to do the Prisoner Quest for it.
Chu-Bai Spear is the best one at this moment in time, however, you’ll need to do the Prisoner Quest for it.
Yellowbrow Boss Attacks
As this boss battle is three fights in one, we’ll separate the attacks for each boss.
Yellowbrow First Form Attacks
You’ll fight Yellowbrow in a regular boss battle to begin with. Most of his attacks are some form of Thunder attacks.
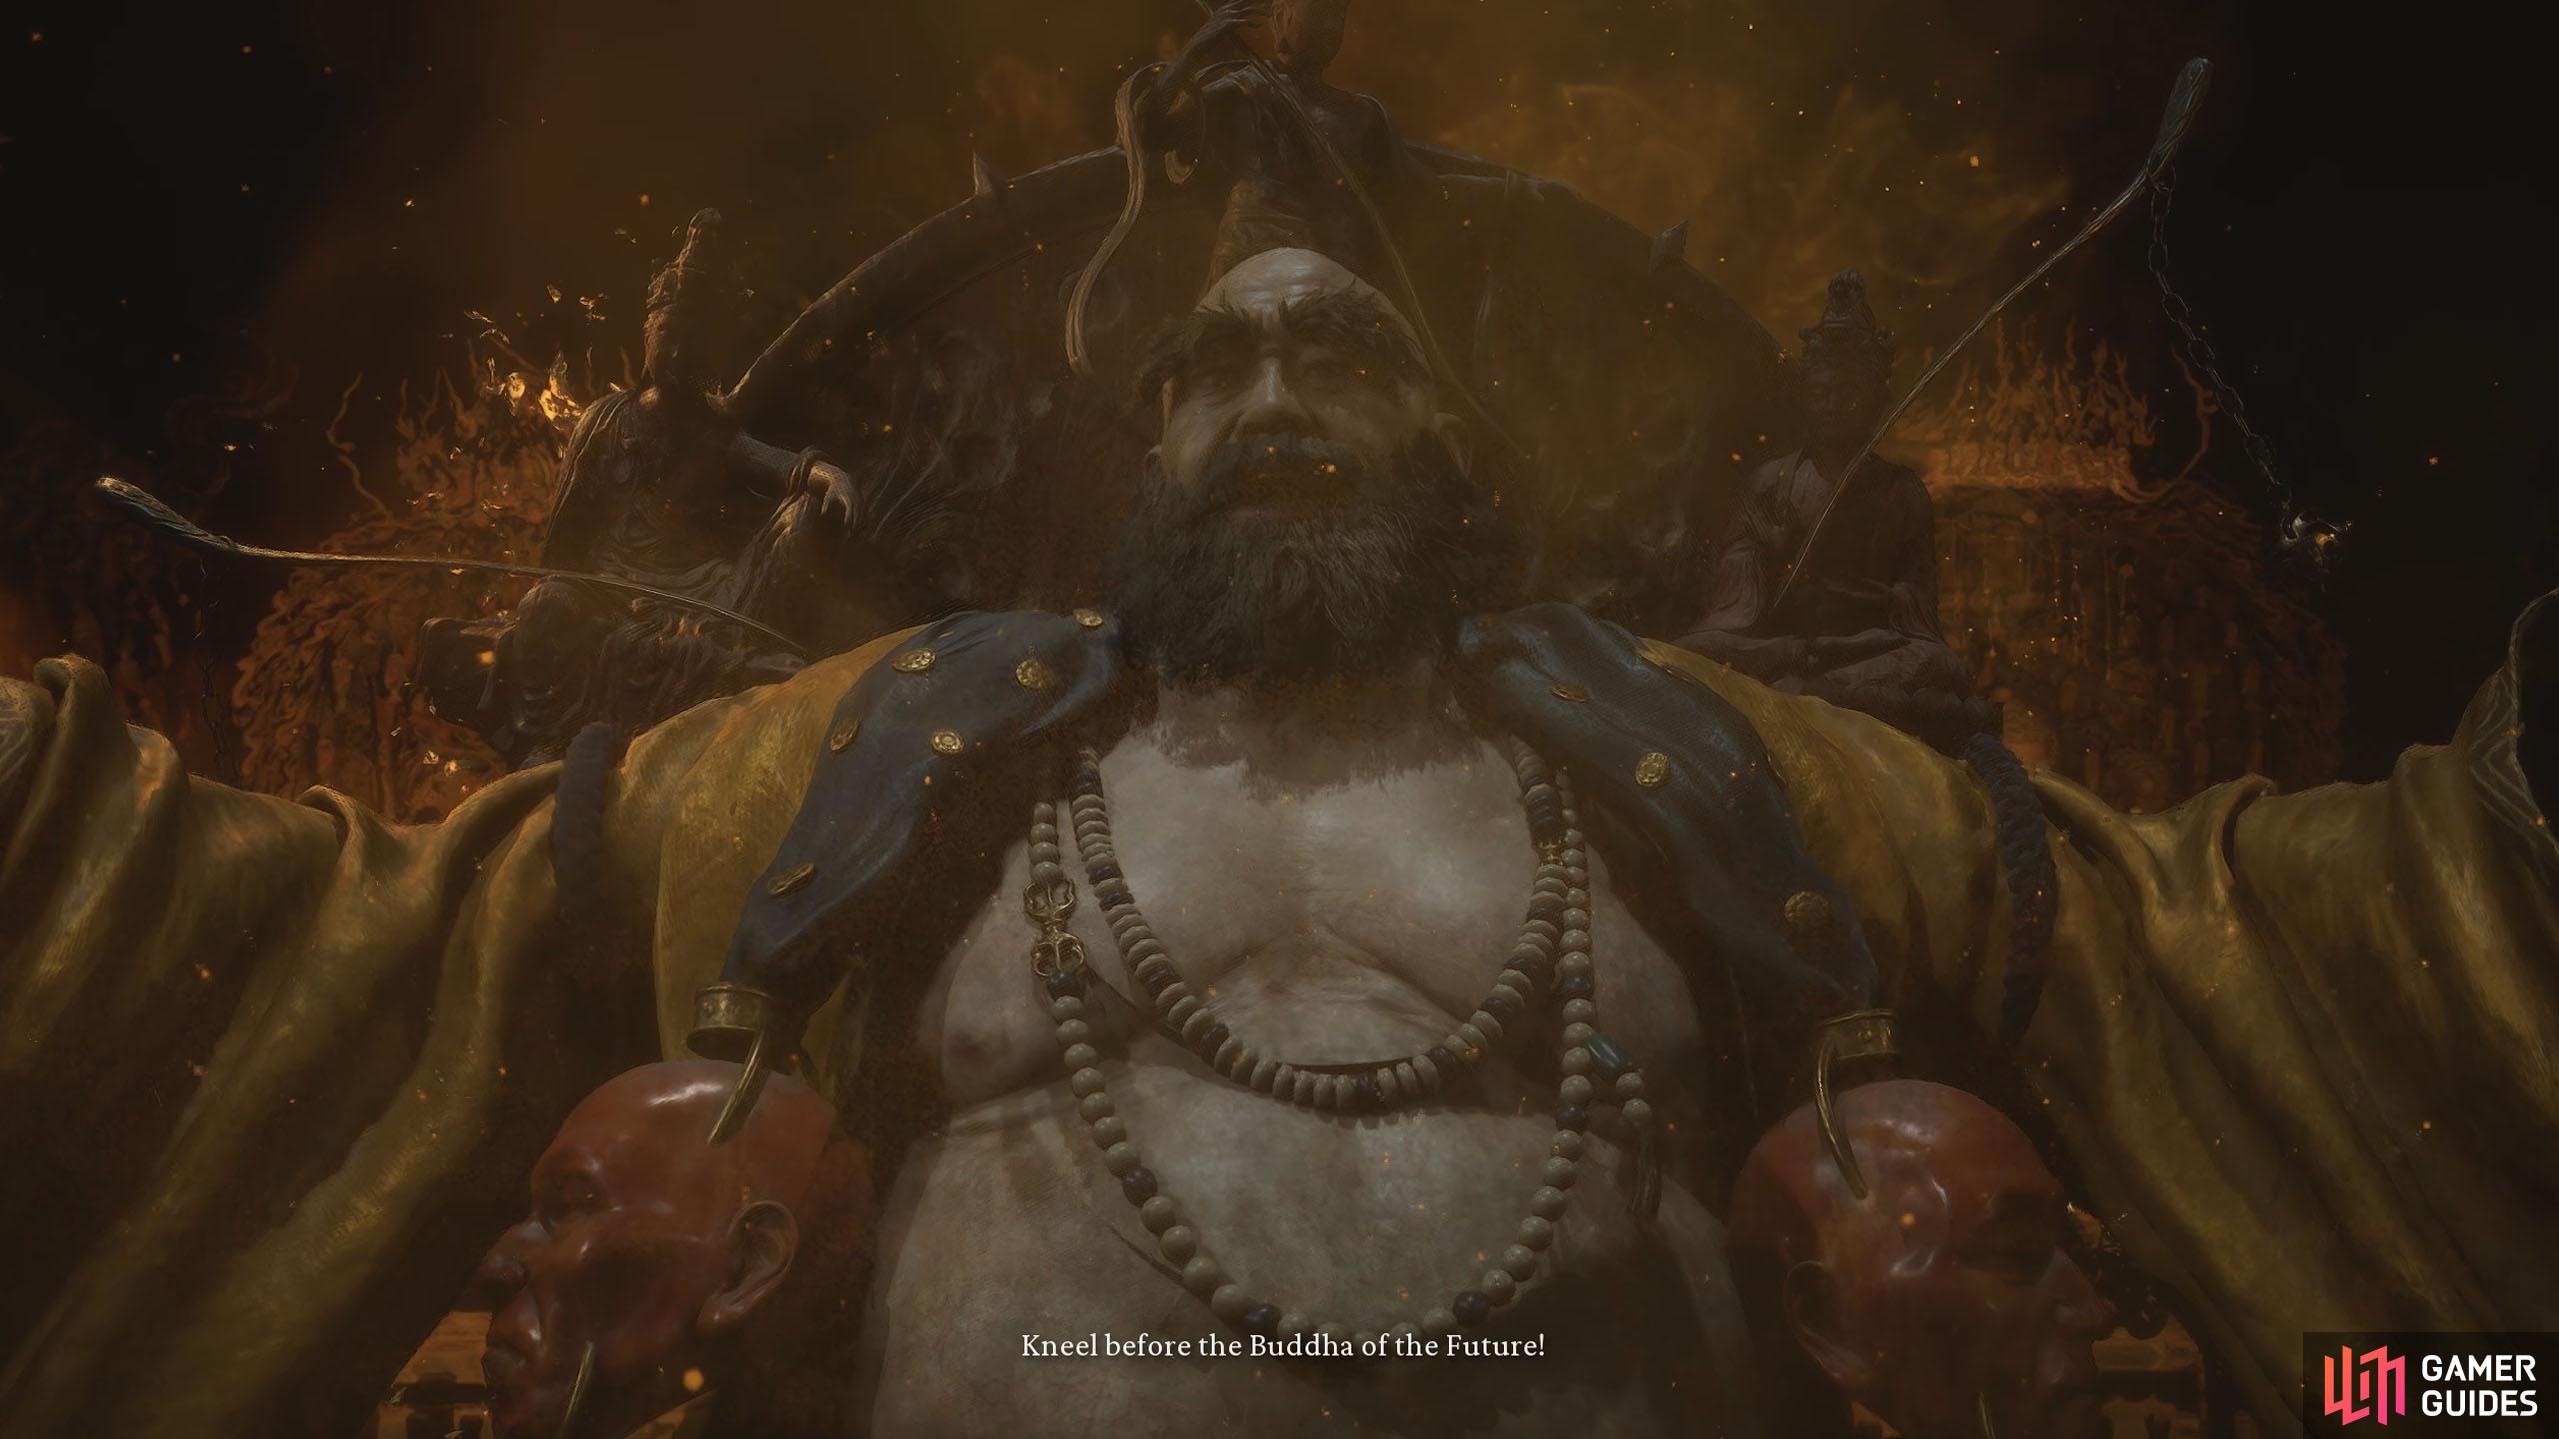
Yellowbrow is a three-part boss fight with checkpoints in between.
| Attack | Description | Counter |
|---|---|---|
| Thunder Mace Thrust | Dodge either toward or to the sides of the thrust to avoid the attack and stay behind him until it explodes. Great time to attack |
|
| Thunder Mace Slam | Dodge either toward or to the sides of the slam to avoid the attack and stay behind him until it explodes. Another good opportunity to attack |
|
| Thunder Waves | Simply get some distance and move/dodge side to side to avoid the attack. | |
| Swirling Thunder Wisps | Wait until the wisps/projectiles get close enough to you, and then dodge the direction they come at you from. It can be easier if you walk in one direction until they reach you and then dodge the opposite way. | |
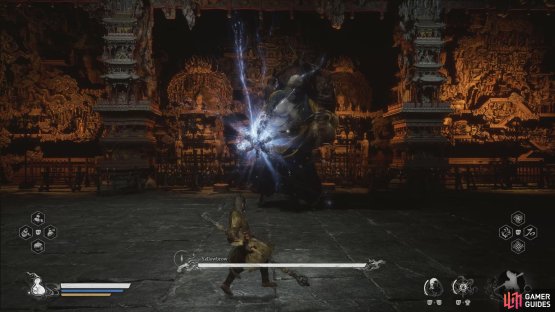
| Shockwave | The initial attack is easy enough to avoid with a simple dodge or by moving away from it. When he pulls the mace out of the ground, a shockwave will come out from the impact site. Wait for the shockwave to reach you and jump over it to avoid the attack. This can be Perfect Dodged too. | |
| Sweeping Thunder Attack | Either keep rolling away from |
|
| Thunder Bolts | Either run to the side or dodge each bolt when it’s about to strike. | |
| Electric Explosion | This attack is preceded by |
When you see him teleport to the center, run as far back to the edge of the arena as you can go, and preferably wait in the corner until the explosion is over. |
| Sweeping Thunder Combo | Unlike the two-hit attack earlier, this is quicker, and he’ll swing the mace (which extends) around him. This combo is approximately 5–8 attacks. | Arguably the hardest attack to avoid against |

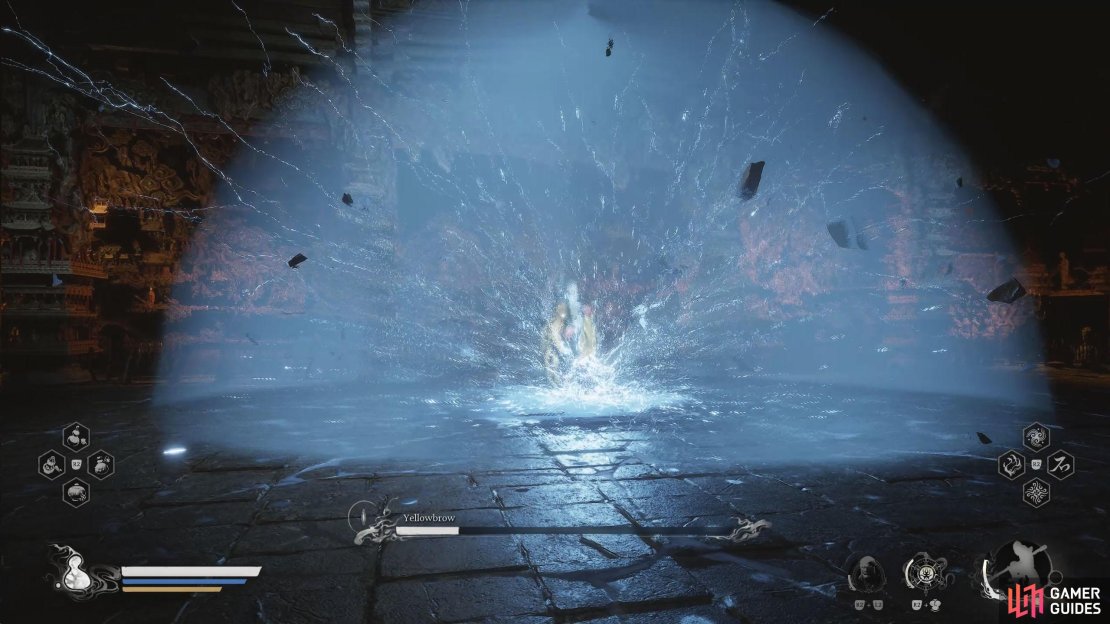
(1 of 3) Shockwave: Jump over the incoming shockwave to avoid the attack.
Enhanced Macaque Chief Attacks
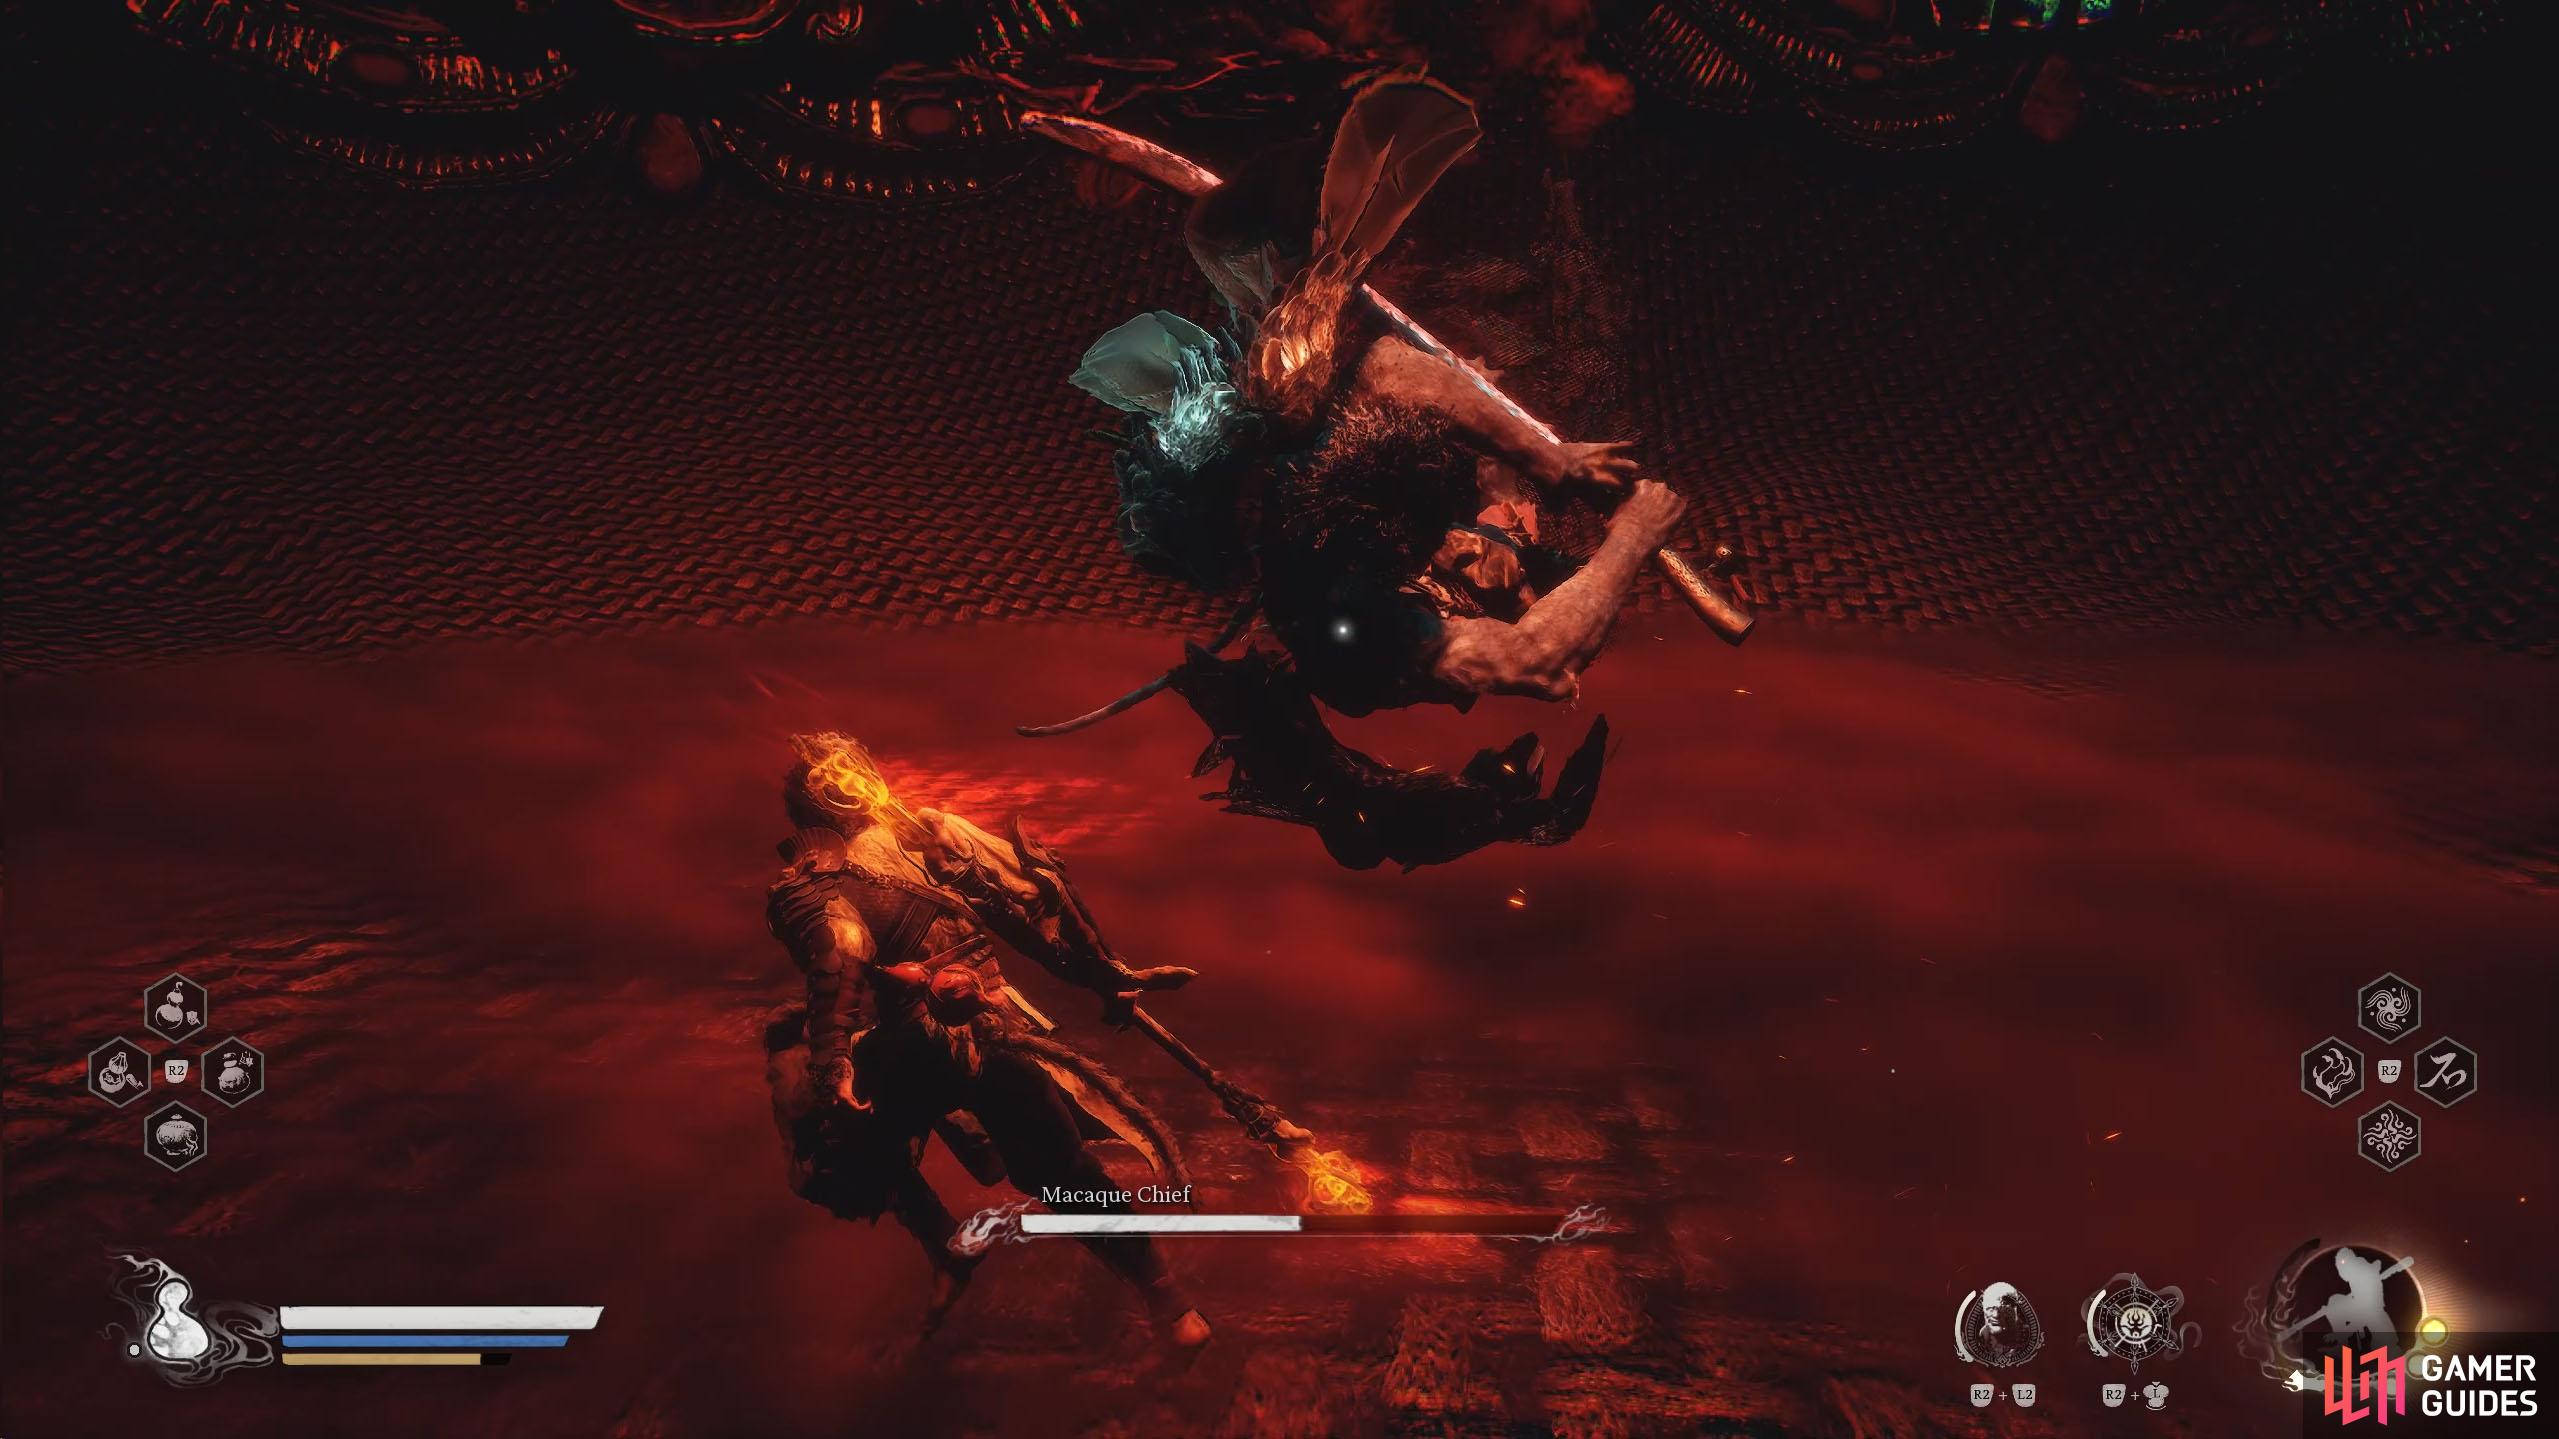
You’ll recognize this boss as the one you fought at the beginning of the Chapter, and the one you’ve been chasing throughout it. However, this version has been enhanced by Yellowbrow’s Seed Sack, which is where you’ll fight him. Fortunately, you’ll be assisted by ![]() Zhu Bajie in this battle.
Zhu Bajie in this battle.
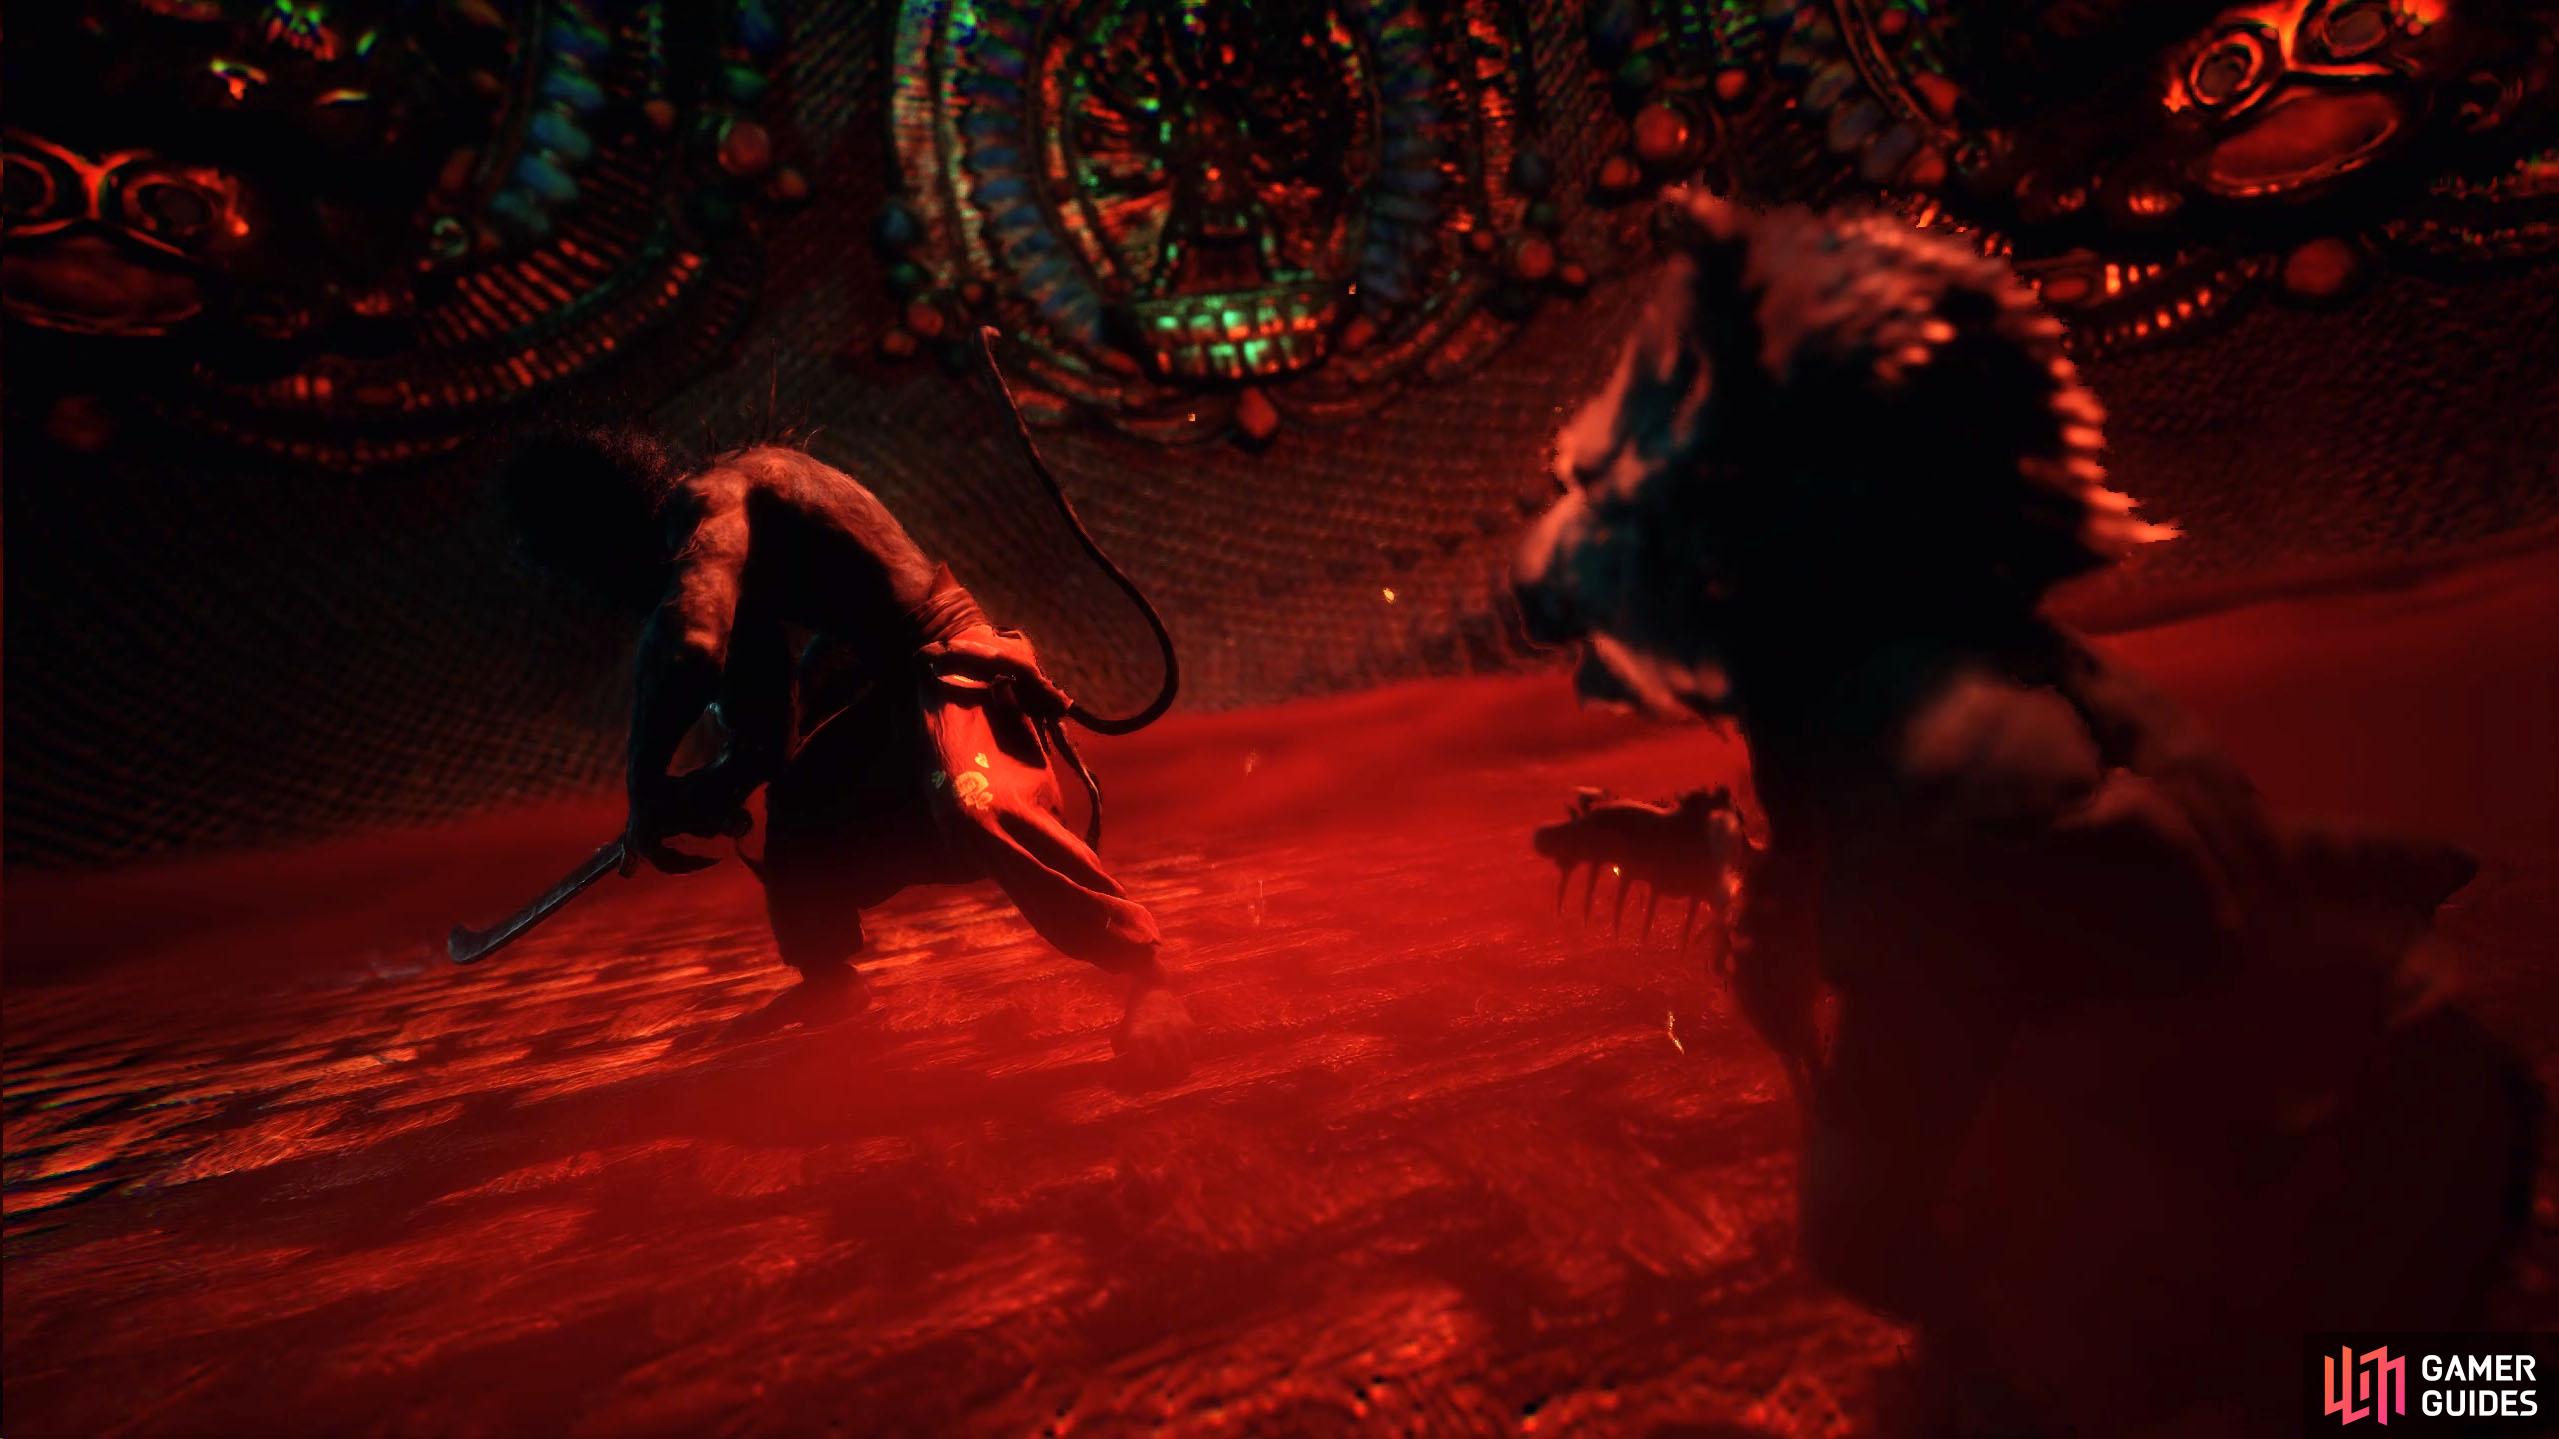
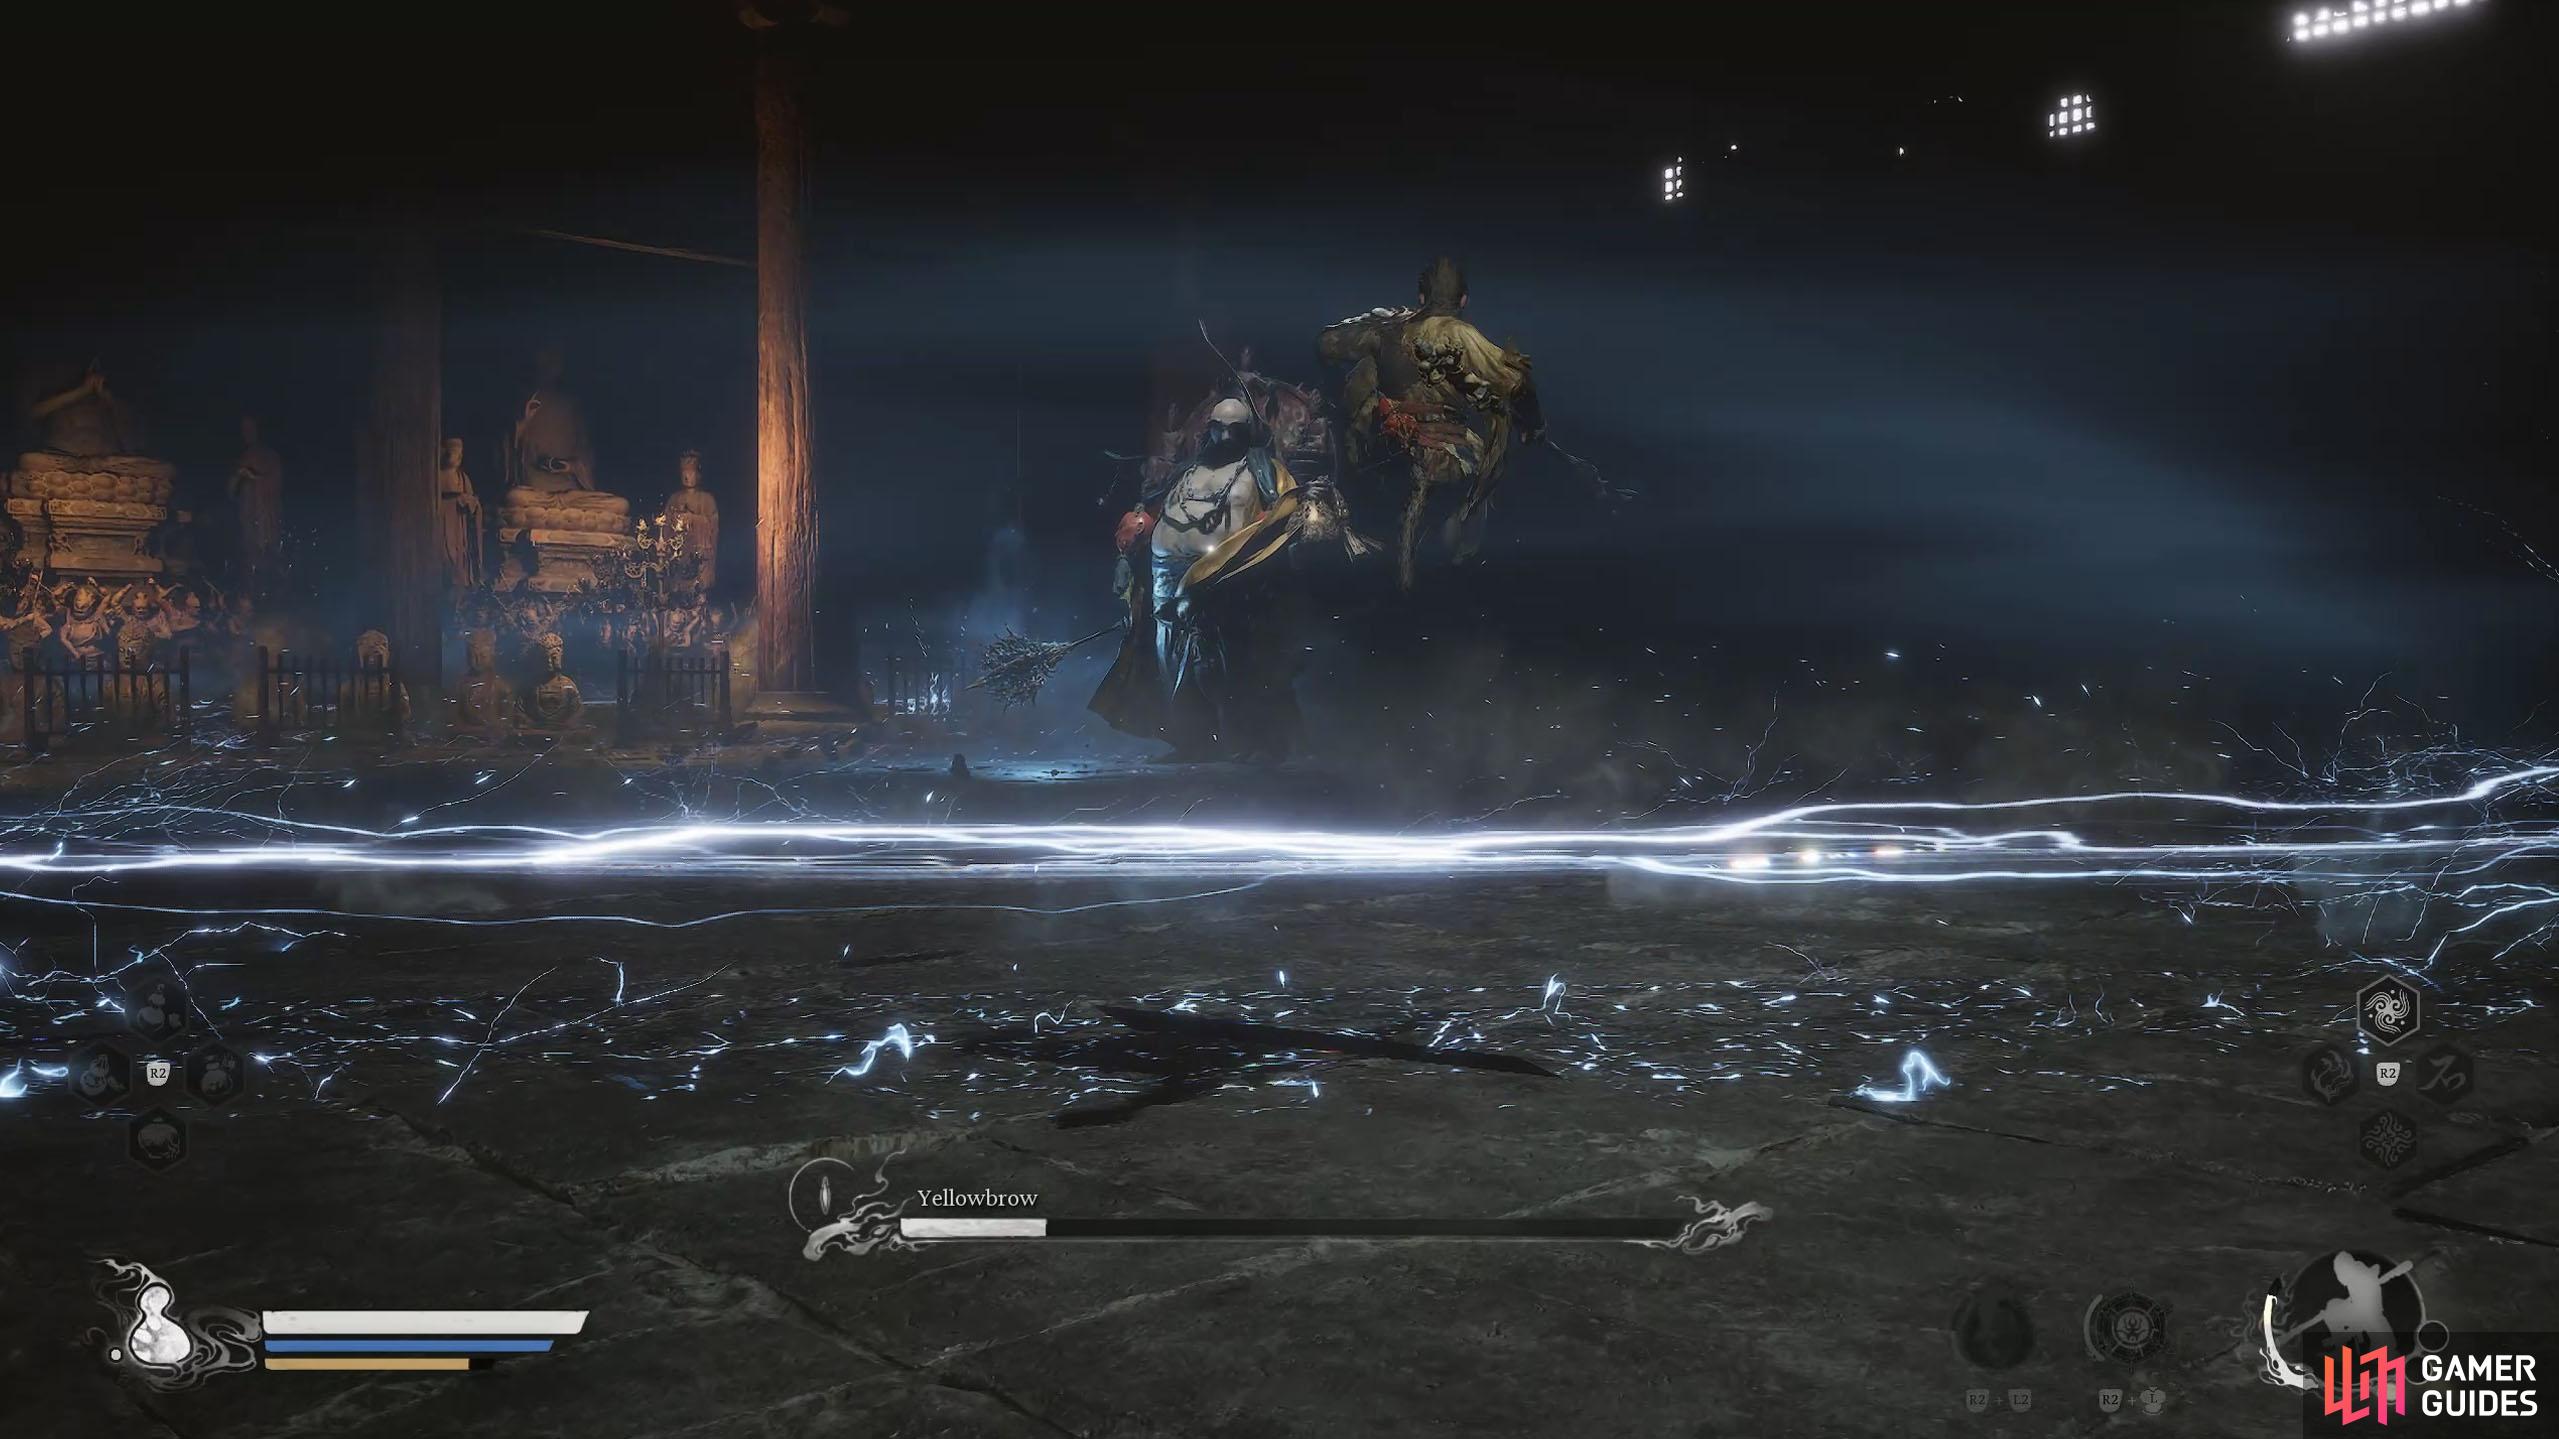
As you enter the Seed Sack, you’ll find Zhu Bajie battling the Macaque Chief.
| Attack | Description | Counter |
|---|---|---|
| Wave Combo | The Chief will perform a series of slashes and slams which leave behind red waves before a final attack unleashes all of them at your location. | Get away from The Chief while he does this and dodge through the waves when they come at you. |
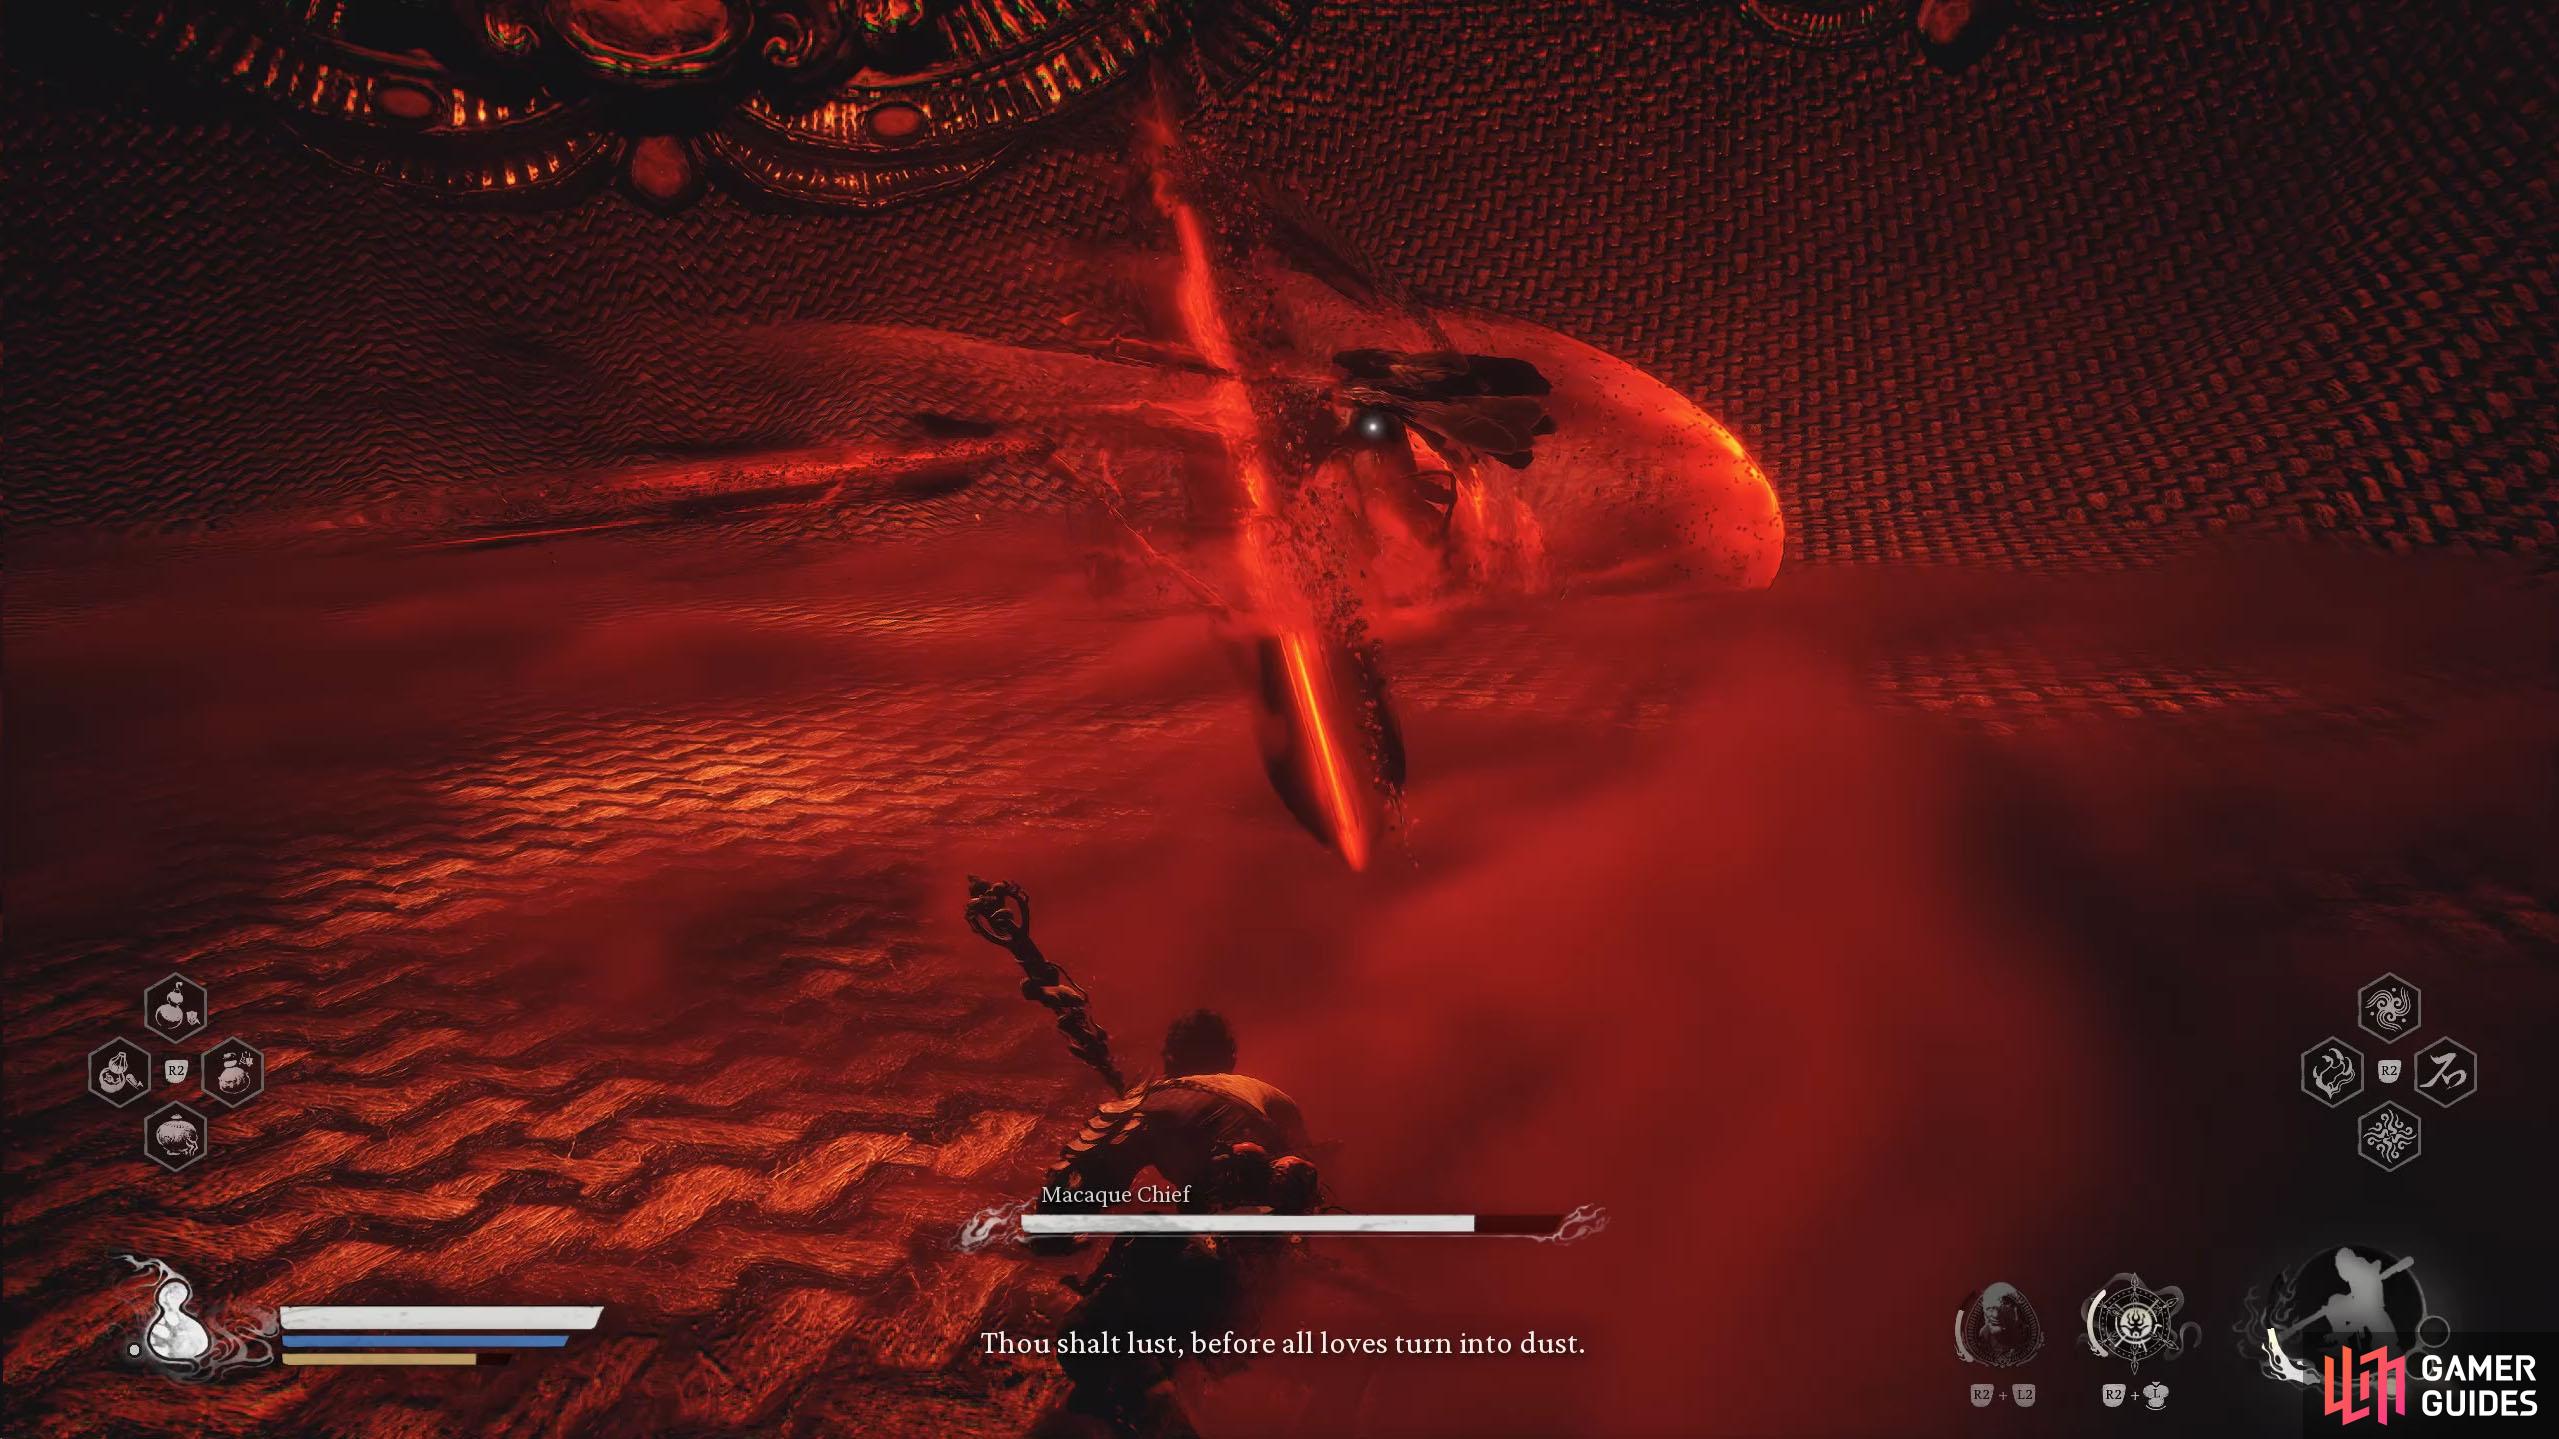
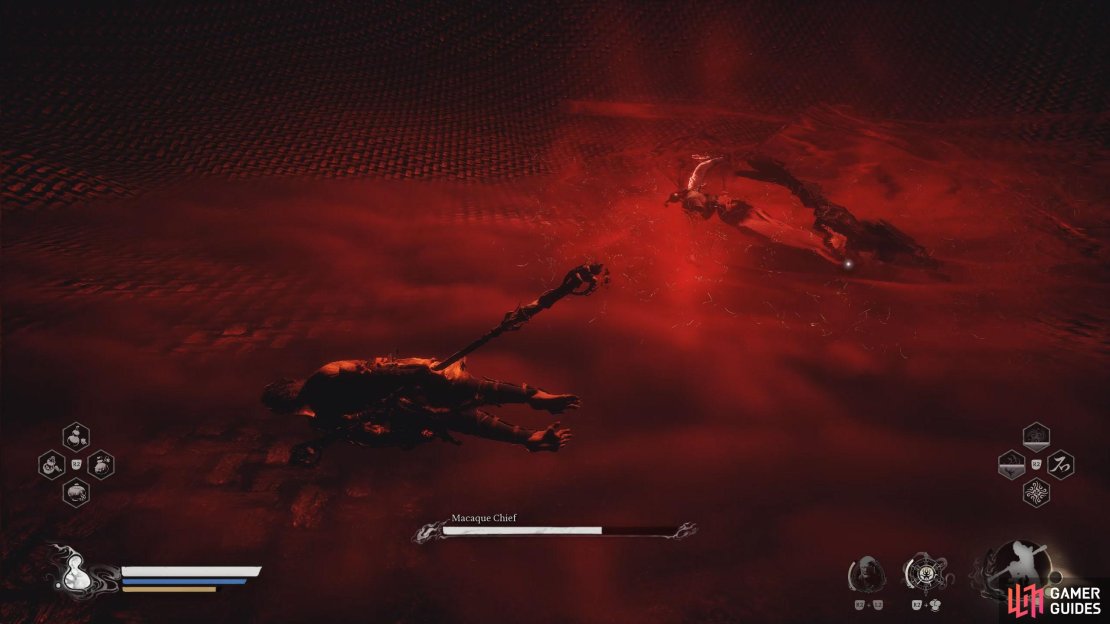
| Spinning Slam Combo | The Chief will perform a swipe attack and follow it up with a stab into the ground. He’ll then jump onto the sword and perform a spinning attack before ending it in a forward slash. | Roll away from the first two attacks, run away from the spinning attack, and then roll toward the forward slash. This will give you ample time to get a combo or two of your own. |
| Leaping Slash | The Chief will stab the ground, jump onto the sword, and leap towards you while performing a spinning midair slash. | Roll away from the stab and then roll toward the leaping slash. |
| Bladestorm | Similar to the Leaping Slash, but this time The Chief will unleash numerous projectiles at the same time as the leap. | Use the same method for the above attack, but perform an additional roll when the projectiles close in on you. |
| Clones | The Chief will leap into the air and unleash two clones who will join him in the battle. | These clones stay up until they’re defeated. Fortunately, they don’t have much health. |
| Slashing Wave Combo | The Chief will perform three slashes side to side and then follow it up with a forward slam before unleashing one final slash, unleashing a red wave at your location. | Run back to avoid the main combo, and then roll at the last second to dodge through the wave. |

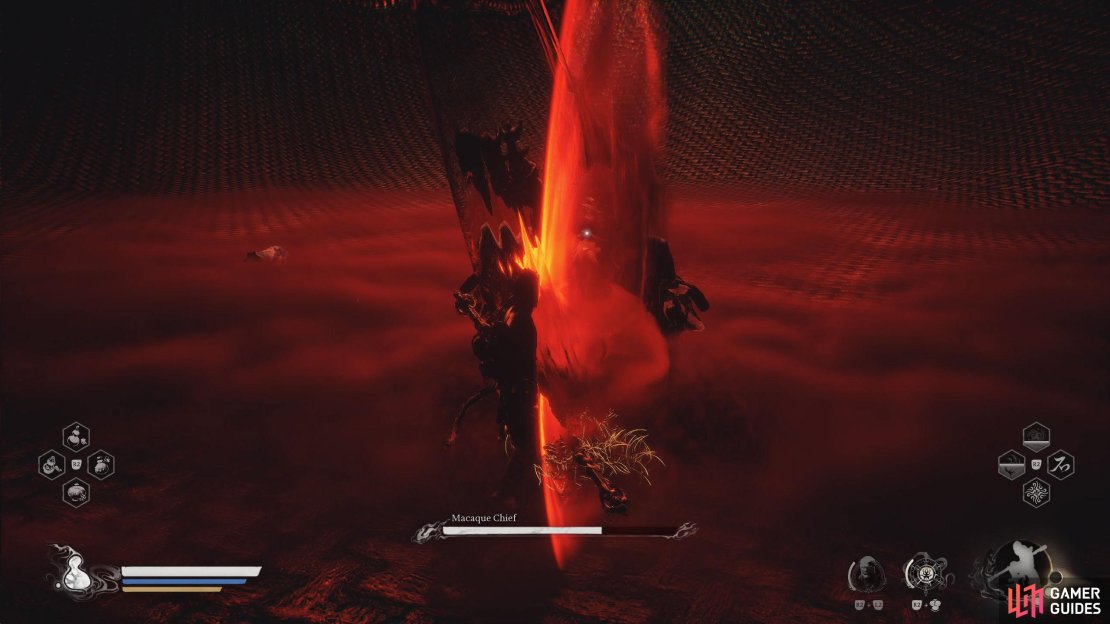
(1 of 5) Macaque Chief-Wave Combo: The Chief will perform a series of slashed before one final slash unleashes numerous waves at you.
Reach Yellowbrow
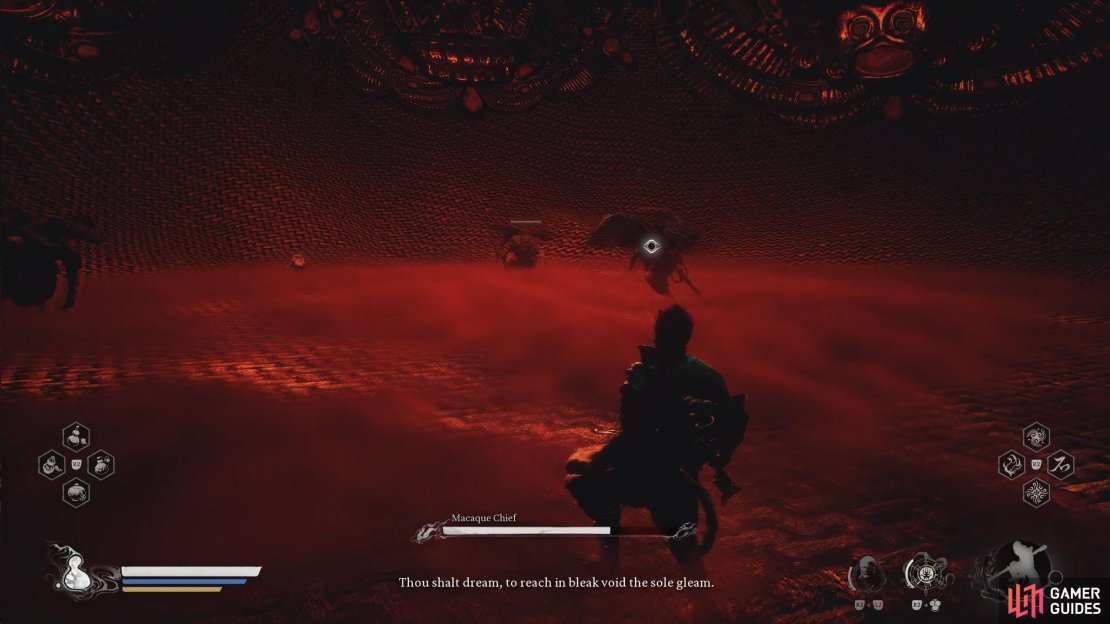
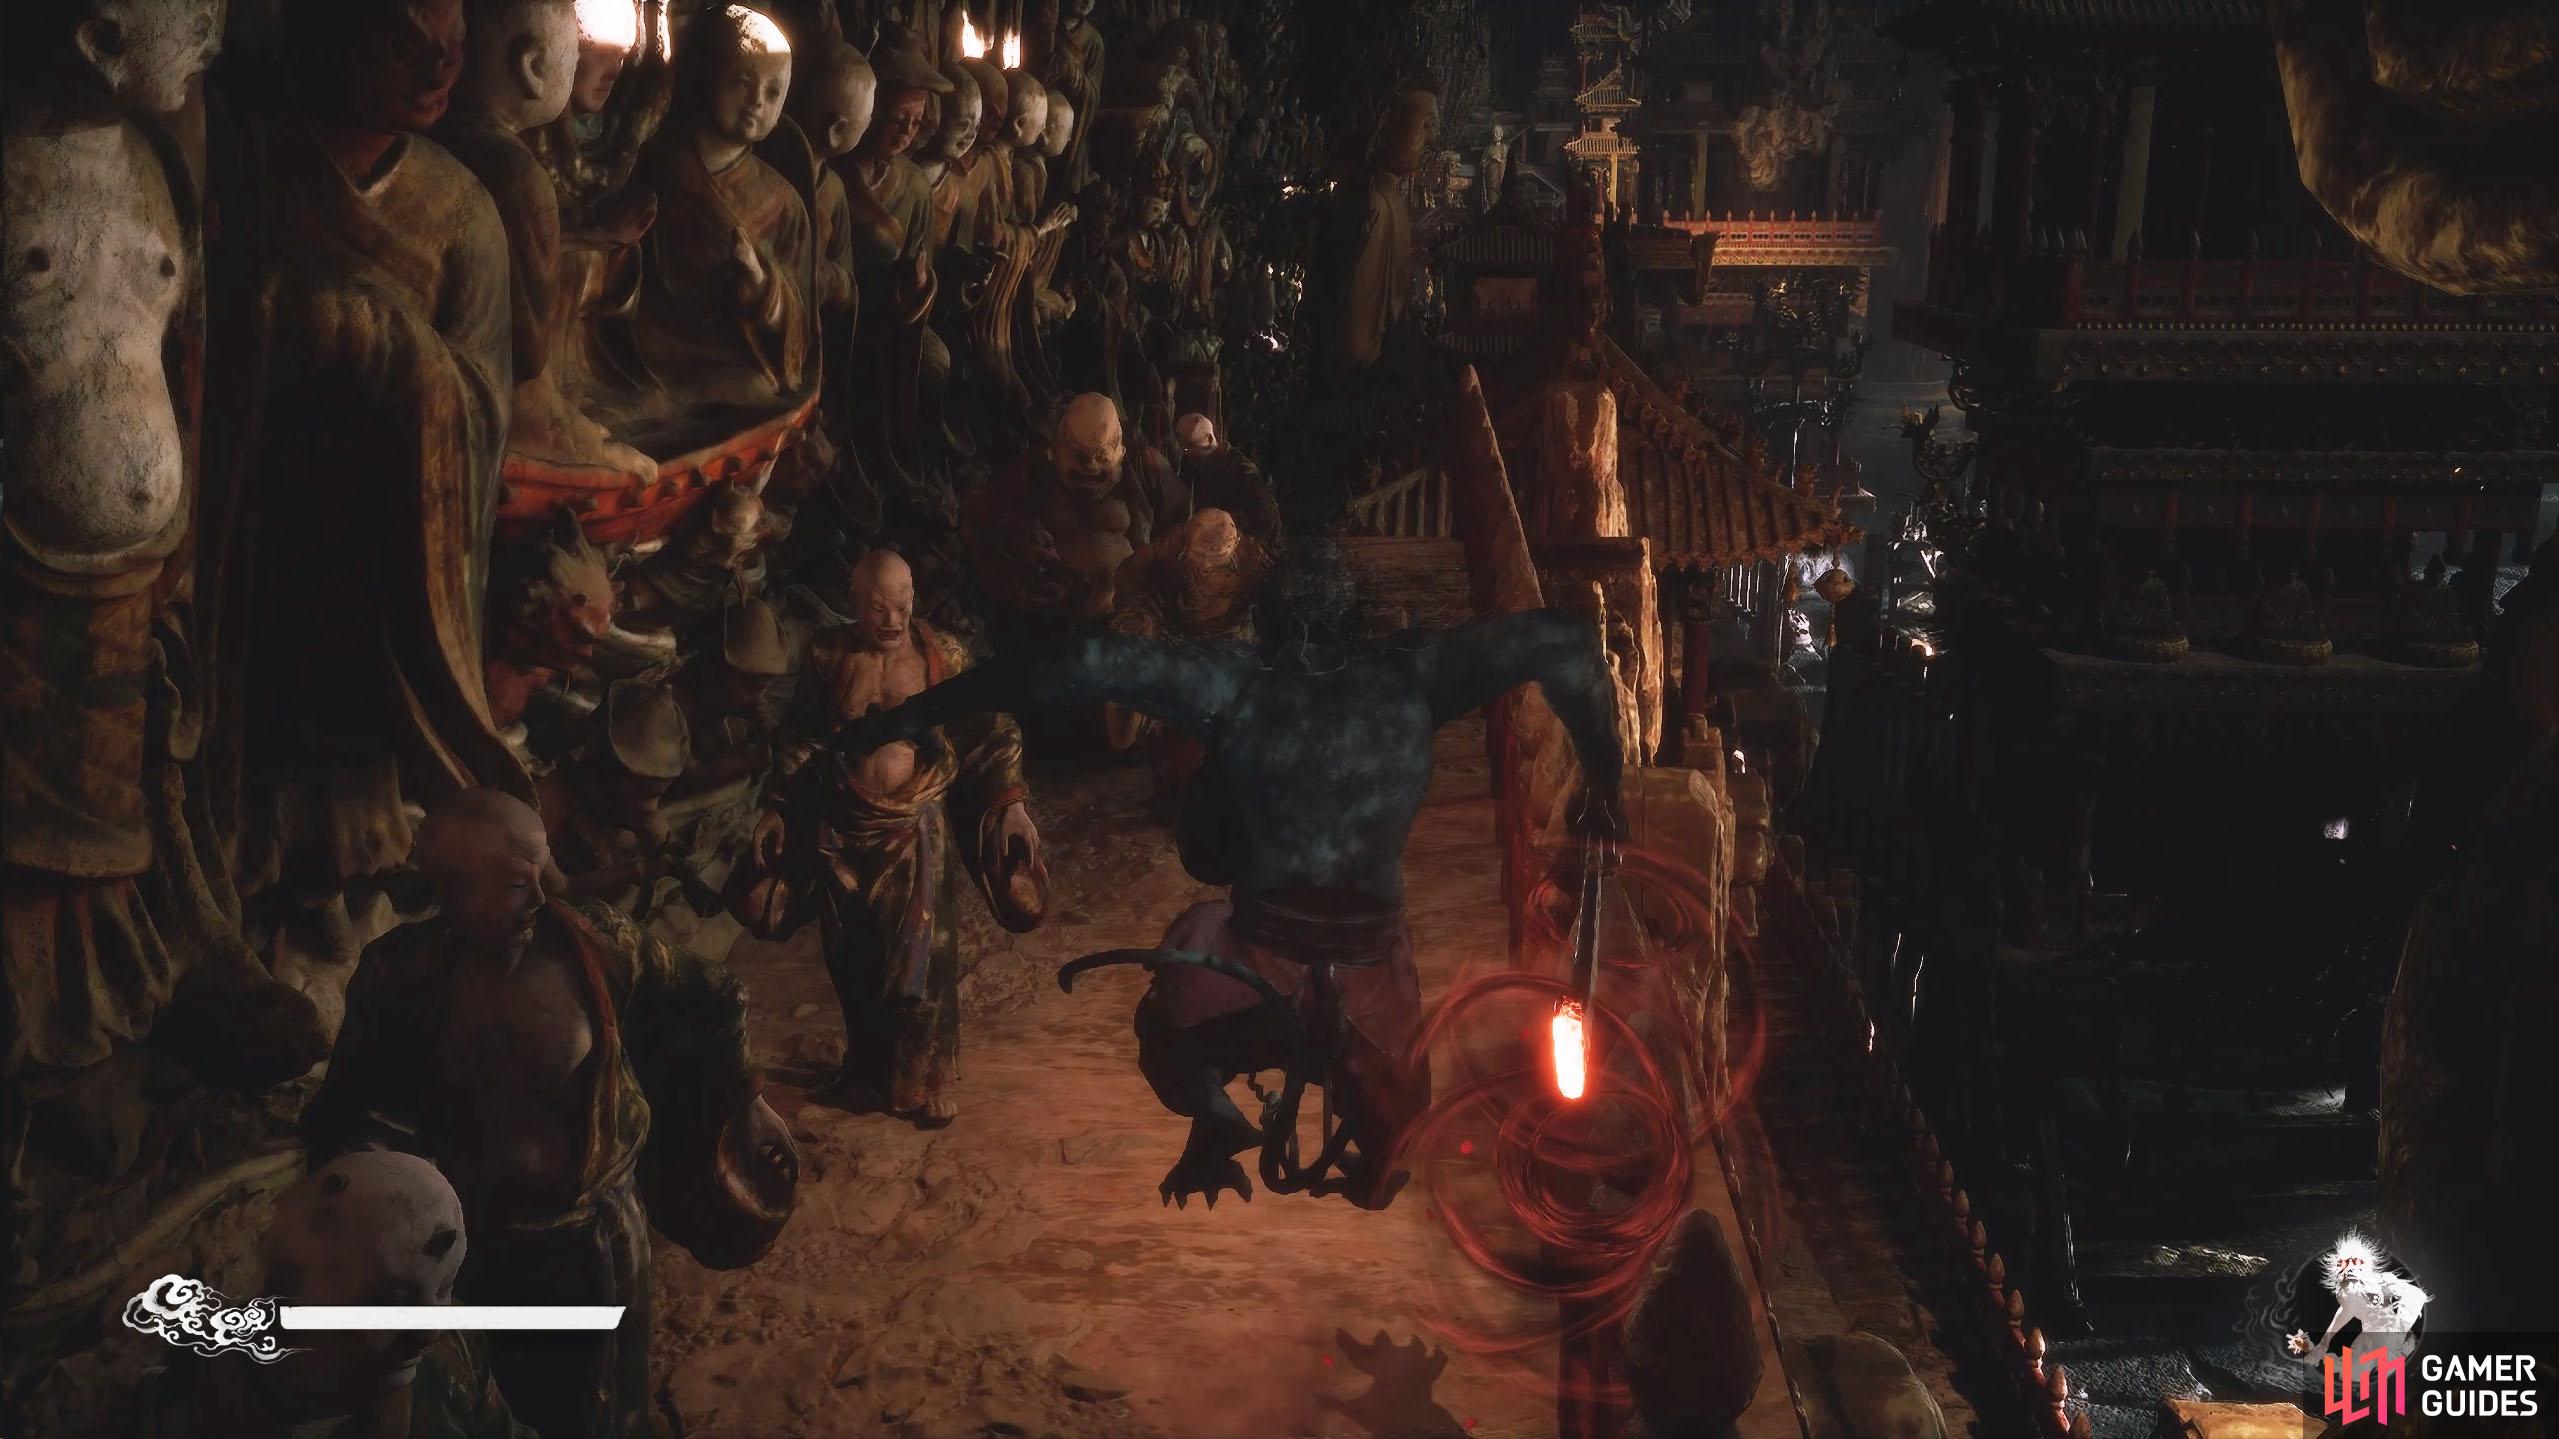
After defeating the ![]() Macaque Chief, you’ll transform into him due to the Seed Sacks’ power. This is relatively straightforward, where you’ll need to fight your way through hordes of enemies while following the linear path. Upon getting back to the arena, one final boss battle will ensue.
Macaque Chief, you’ll transform into him due to the Seed Sacks’ power. This is relatively straightforward, where you’ll need to fight your way through hordes of enemies while following the linear path. Upon getting back to the arena, one final boss battle will ensue.
After the second battle, you’ll need to reach Yellowbrow while transformed.
Yellowbrow Final Form
This battle is a lot like the first battle with Yellowbrow, but some of his attacks will change, or they’ll get an added mechanic.
The final fight will begin straight away as soon as you enter the arena.
| Attack | Description | Counter |
|---|---|---|
| Golden Body | Throughout the battle, |
Enough light combo attacks will break the shield, but it’s better if you use a fully charged up heavy attack, or a hard-hitting spirit such as the |
| Thunder Sword | The easiest way to avoid this is to wait until the sword comes crashing down and use |
|
| Mace Thrust | Similar to the first battle, |
Roll toward the attack and attack |
| Mace Slam Combo | These attacks come at you slowly, so you should have enough time to get away from each attack. These can be dodged with the correct timing. | |
| Thunder Stomp | When you’re attacking in melee range, |
Don’t get too greedy while attacking him, as the stomp can come at any time, and it happens quickly. A simple roll will avoid the attack, provided you’re quick enough to react. |
| Thunder Waves | Same as the first battle. |
Simply get some distance and move/dodge side to side to avoid the attack. |
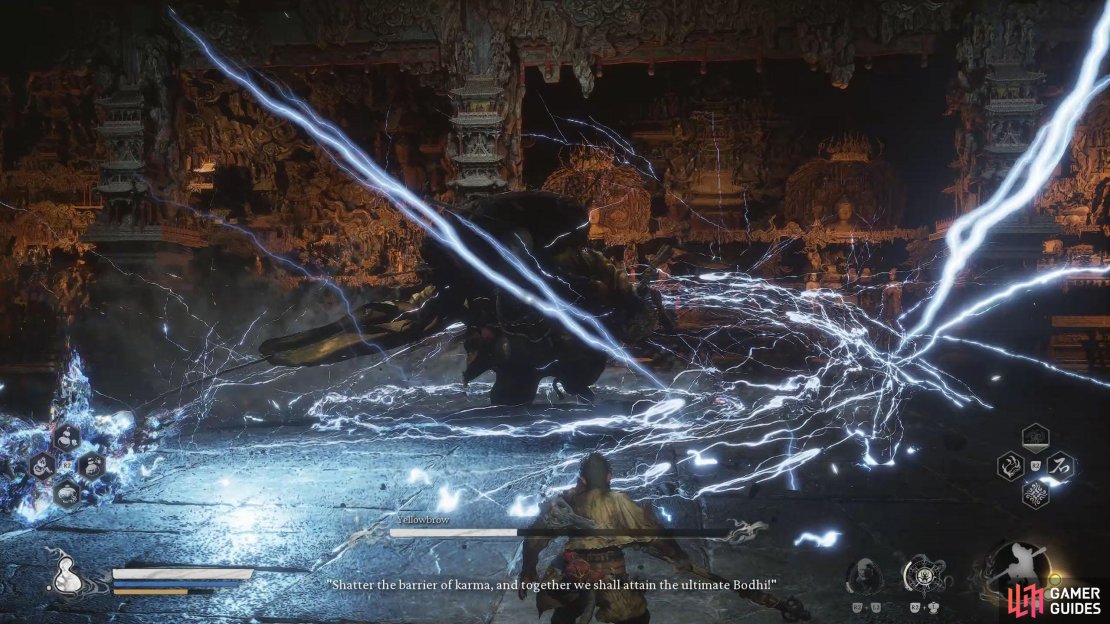
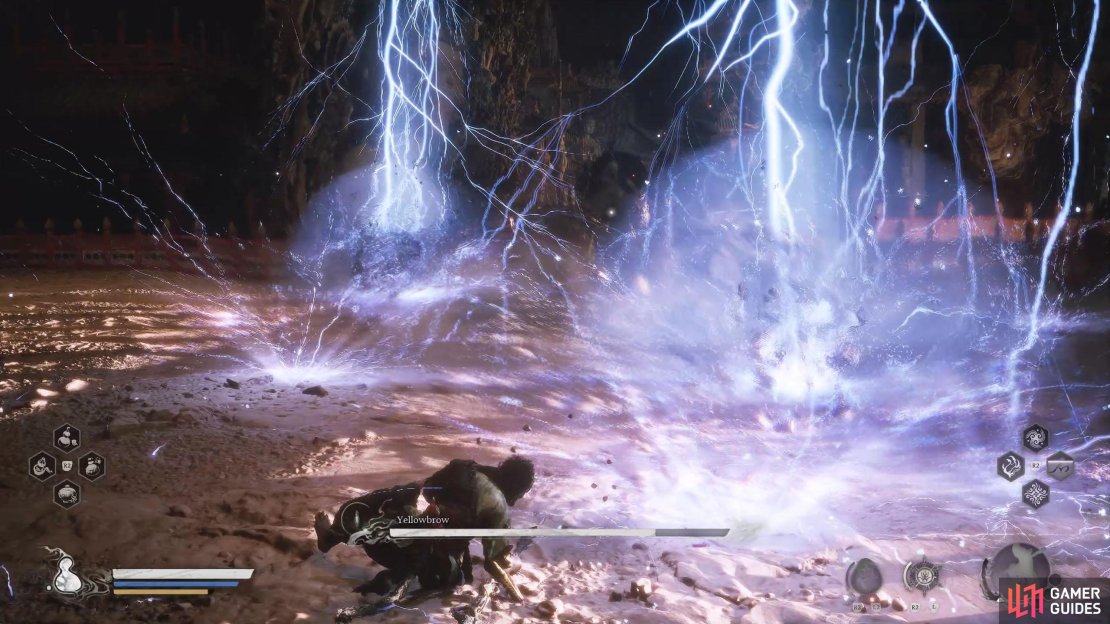
| Thunderstorm | Similar to Thunder Bolts in the first battle, but this will have numerous bolts across the arena. | Keep moving around the arena while avoiding the bolts underneath you. Roll if you have to. |
| Line Wave | Similar to Thunder Waves, but instead it’ll only be a singular wave that goes in a straight line toward you while persisting a bit afterward. The tell for this attack is he’ll plunge the mace into the ground before flicking it up. This attack happens more often when |
Roll either side to avoid the attack. |
| Sweeping Thunder Combo | Similar to the attack of the same name in the first battle. This combo is approximately 5–8 attacks. | Arguably the hardest attack to avoid against |
| Swirling Thunder Wisp Trap | Similar Swirling Thunder Wisps, but this time you’ll get trapped in an electric circle. |
Wait until the wisps/projectiles get close enough to you, and then dodge the direction they come at you from. If you have |
| Explosive Shockwave | Simply run to the back of the arena until the explosion has come and gone. | |
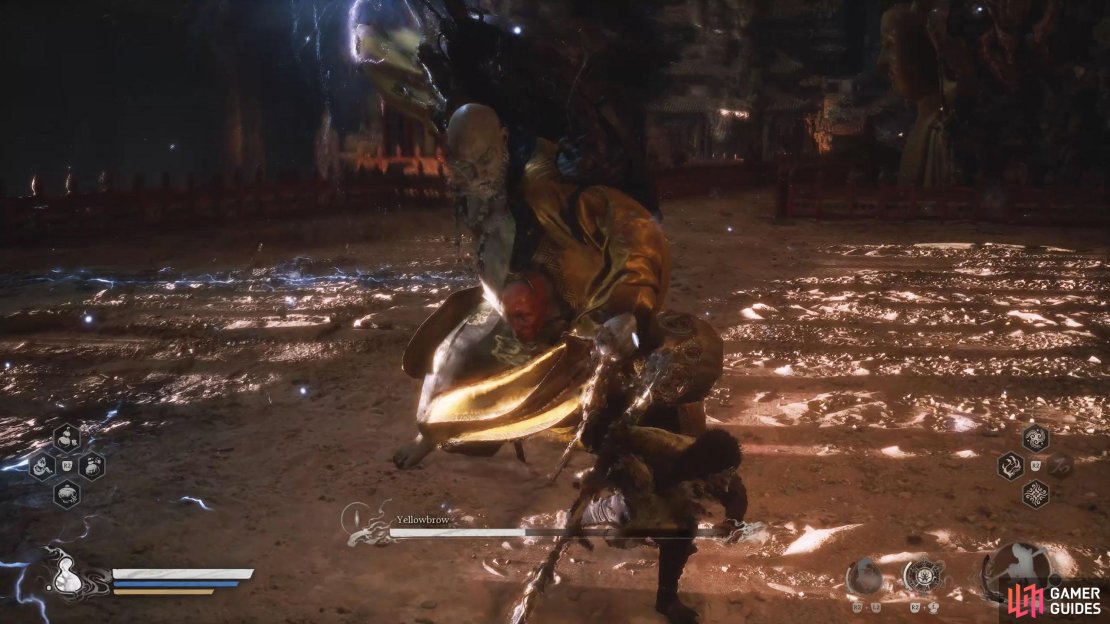
| Teleport Grapple | When |
You do not want this to hit you, especially if you’re running low on supplies. When you see him disappear, keep backing up while rolling to avoid the grapple. |
| Electric Explosion | Exactly the same as the first battle. This attack is preceded by |
When you see him teleport to the center, run as far back to the edge of the arena as you can go, and preferably wait in the corner until the explosion is over. |
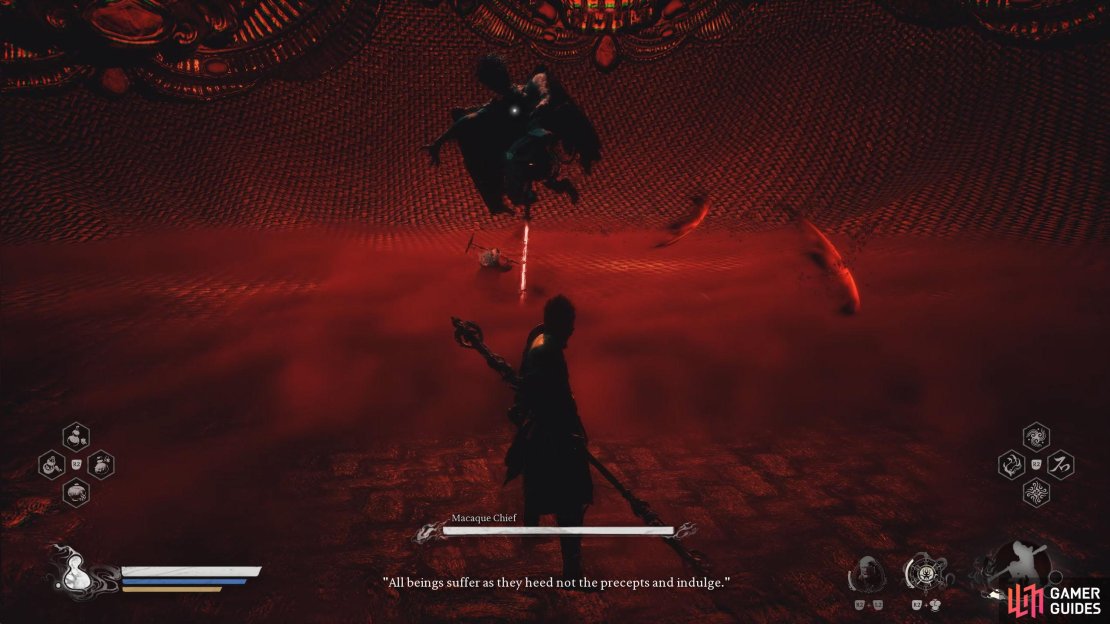
| Electric Circle of Protection | Similar to the trap circle from the Thunder Wisp attack, |
Unfortunately, you’ll need to wait this out until it dissipates. |

(1 of 3) Gold Body: When Yellowbrow turns gold, he’ll be impervious to your attacks.
Yellowbrow and Macaque Chief Strategy
Although this is three boss battles in one, unlike other games (looking at you From Software), your Gourd and mana replenish at the start of each battle allowing you to treat each battle individually. Furthermore, you’ll get a checkpoint after the second battle (you may get one after the first battle, but we can’t confirm this as we didn’t die then).
First Battle
The first battle is relatively easy outside a few attacks due to the slow windup of them. However, the sweeping combo is the hardest to avoid as it covers a lot of ground, and he’ll swing the mace around eight or so times. Your best bet is to keep running/rolling as far away from Yellowbrow while he does this, and if you have ![]() Cloud Step, use it so he focuses on the decoy instead.
Cloud Step, use it so he focuses on the decoy instead.
As almost all of his attacks are thunder-based, make sure you have plenty of ![]() Shock-Quelling Powder on hand, as you don’t want to go into the Shocked State and take more damage. Your best chance to attack Yellowbrow in this battle is when he’s goading you, you stun him via a heavy attack, or when he uses the thrust attack. Once you’ve depleted all his health, a short scene will occur before the next battle begins against the Enhanced Macaque Chief.
Shock-Quelling Powder on hand, as you don’t want to go into the Shocked State and take more damage. Your best chance to attack Yellowbrow in this battle is when he’s goading you, you stun him via a heavy attack, or when he uses the thrust attack. Once you’ve depleted all his health, a short scene will occur before the next battle begins against the Enhanced Macaque Chief.

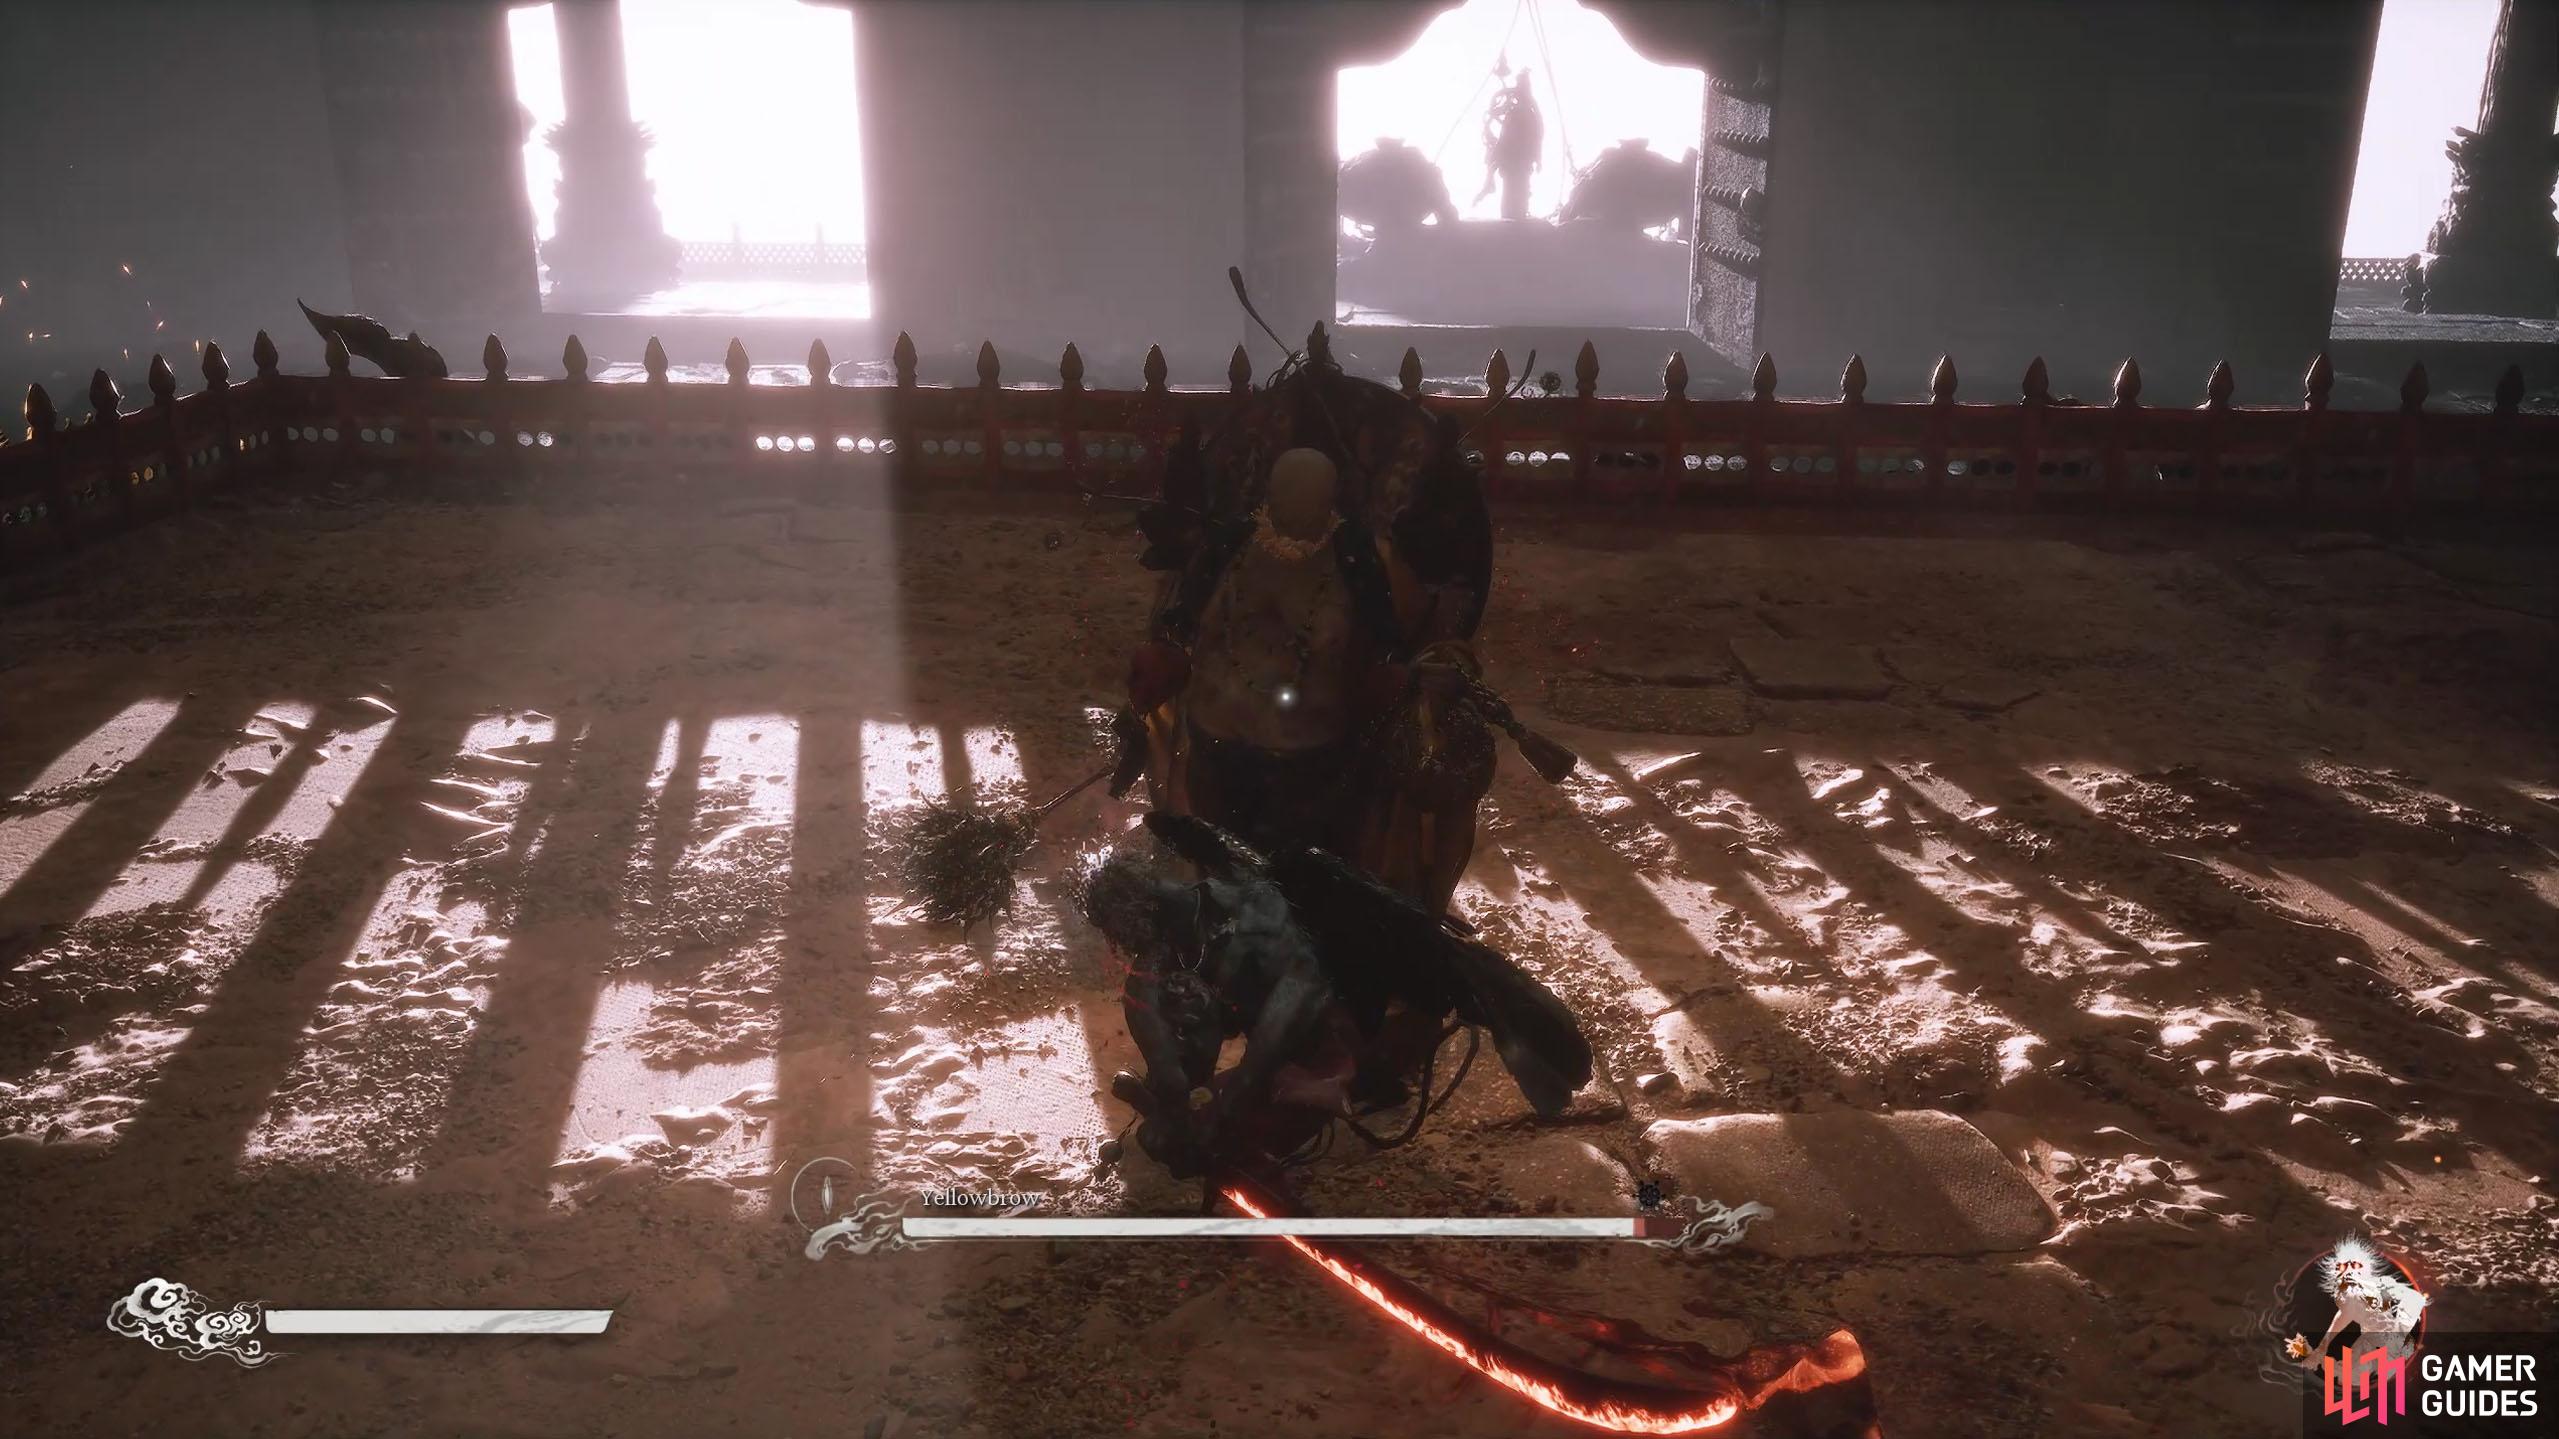
(1 of 2) Mace Thrust: When Yellowbrow uses his thrust attack, dodge through it and attack him.

Mace Thrust: When Yellowbrow uses his thrust attack, dodge through it and attack him. (left), Thunder Waves: Yellowbrow will unleash two small waves of thunder at you. (right)
Second Battle
In the Enhanced Macaque Chief battle, you’ll be assisted by the mouthy fox, Zhu Bajie. Although he doesn’t do much if any damage, he will occasionally disrupt The Chief’s attack and stun him, as well as be a target for the clones. The battle isn’t too different from your first battle with him, so expect to see numerous multi-hit combos. Your best chance to attack The Chief is when he performs his Spinning Stab Combo, as the attack is telegraphed and easy to avoid.
Simply roll away from the stab into the ground (and follow-up punch), and get some distance while he’s performing the spinning attack. The final part of this combo is a forward slam, which is used after a short delay. During this attack, roll toward The Chief, who will leave himself open for a couple of seconds.
Leaping Slash: At times, The Chief will leap and perform a spinning slash.
Other good times to attack him are when either you or Zhu Bajie knock him to the ground. Finally, when The Chief summons his two clones, make sure you focus on taking out the clone that isn’t fighting Zhu Bajie, and once that’s defeated, help out the fox. This fight isn’t too difficult as long as you expect each attack to have follow-up attacks, as they will.
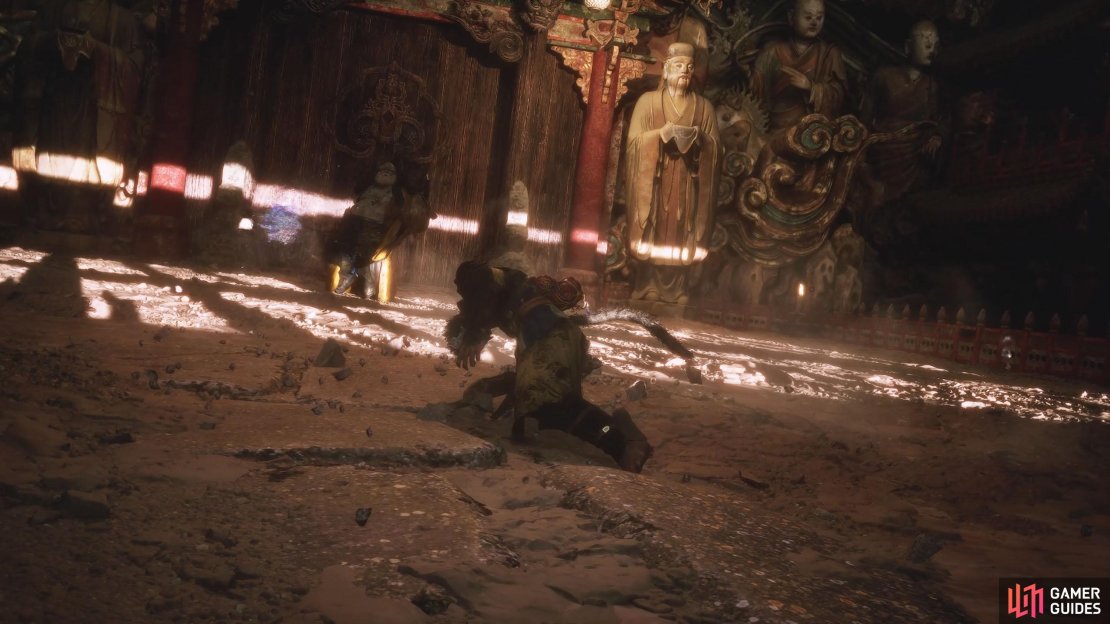
Once you’ve defeated the Macaque Chief, you’ll get another scene where you’ll be transported out of the arena while being transformed into the Macaque Chief. Follow the linear path while defeating the hordes of enemies along the way in your new form, and you’ll soon catch up with Yellowbrow.
Final Battle
When you meet him, there will be no scene, and you’ll still be in the transformation for the start of the battle until he takes it from you. The final battle is similar to the first battle, but he’ll gain a few new attacks, some attacks will slightly change, and he’ll attack more often. The first thing you’ll notice is that at times, Yellowbrow will be impervious to your attacks. That is until you break him out of his Gold Body. To do this, either use the ![]() Wandering Wight Spirit or a fully charged-up heavy attack. This will leave him open for a few seconds where you’ll be able to deal significant damage to him.
Wandering Wight Spirit or a fully charged-up heavy attack. This will leave him open for a few seconds where you’ll be able to deal significant damage to him.
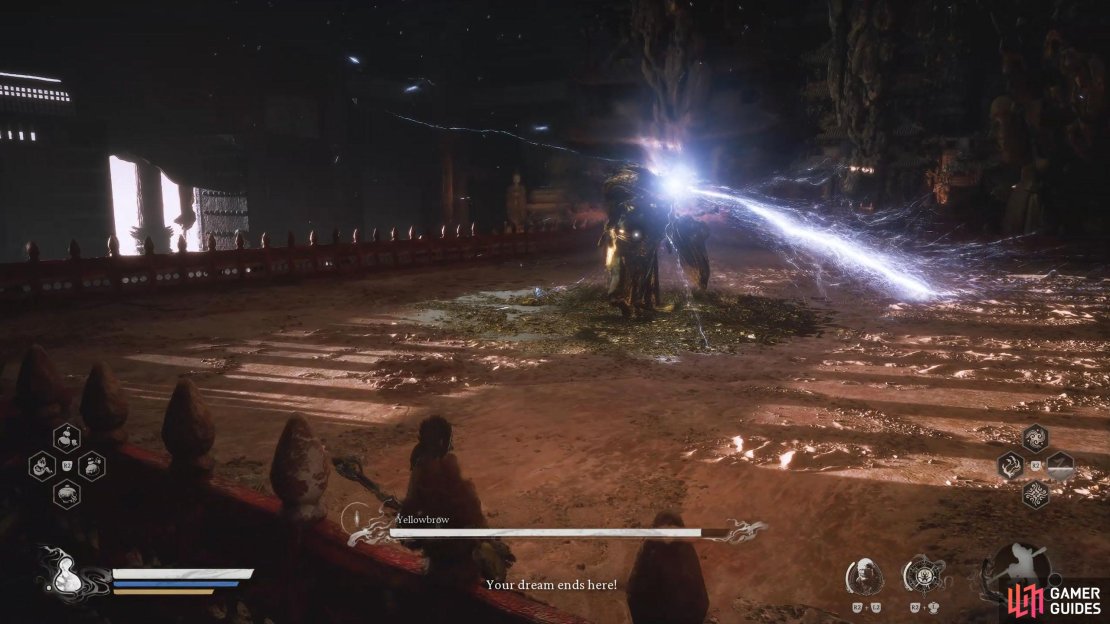
Another new attack is the Thunder Sword, he’ll raise the mace to the sky, and absorb some power, before slamming it down at your location. You’ll want to roll to either side to avoid the attack, but be aware that although it takes a while to charge, it comes down at you pretty quickly. When his health gets below half, you’ll begin to see his Teleport Grapple attack where he’ll disappear and reappear right next to you, which ends up in a devastating grapple attack. Make sure you run/roll away when you see him disappear to avoid this.

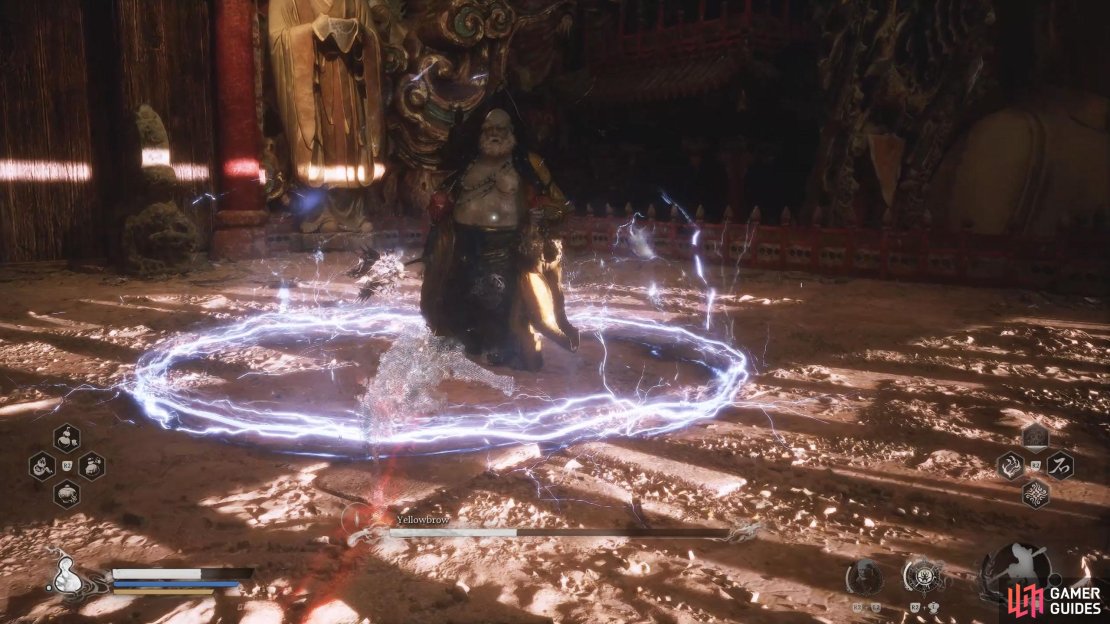
(1 of 3) Electric Circle: When Yellowbrow has the surrounding circle, you won’t be able to get near him.
If that wasn’t enough, he’ll begin to start plunging his mace into the ground before unleashing an earthquake of sorts. This attack covers a large area, so make sure you get as far away as possible to avoid taking damage from it.
When his health reaches the last third, he’ll introduce the Line Wave attack, which unleashes a mini thunderstorm in a line toward you. Fortunately, you can dodge to the side to avoid it. Outside the trap added to the Swirling Thunder Wisp attack and the Electric Circle of Protection skill, that covers it. One thing to note, during the last portion of the battle, his attacks will become a lot quicker, and he’ll begin chaining some together, so make sure you finish him off as quickly as possible.
Yellowbrow Rewards
As this is the end of Chapter Boss, you’ll unlock a new relic, ![]() Hubris Nose as well as gain access to craft the Legendary
Hubris Nose as well as gain access to craft the Legendary ![]() Spikeshaft Staff, although you most likely won’t be able to craft it just yet. Finally, you’ll get a bunch of useful materials.
Spikeshaft Staff, although you most likely won’t be able to craft it just yet. Finally, you’ll get a bunch of useful materials.
No Comments