
If you’ve been exploring every inch of the Yellow Wind Ridge (Chapter 2) in Black Myth: Wukong, you may have come across a Key Item called “![]() Old Rattle-Drum”. At first, you may have no idea what to do with this, but this item is part of a quest that involves a little girl, a Mad Tiger, and a well. Read on to find out what this quest entails, where you can obtain the Old Rattle- Drum, and what your reward is for completing it.
Old Rattle-Drum”. At first, you may have no idea what to do with this, but this item is part of a quest that involves a little girl, a Mad Tiger, and a well. Read on to find out what this quest entails, where you can obtain the Old Rattle- Drum, and what your reward is for completing it.
Table of Contents
If you want to jump to a specific section, click on the links below.
| Quickjump |
|---|
| Old Rattle-Drum Location |
| Where to use the Rattle-Drum |
| Mad Tiger Boss Location and Strategy |
| Old Rattle-Drum Rewards |
Old Rattle-Drum Location
The Old Rattle-Drum can be obtained by defeating the Tiger Acolyte boss. You will find him on the second bridge not too far from the Windrest Hamlet Shrine in the Yellow Wind Formation. This area is located behind the Crouching Tiger Temple, which means defeating the ![]() Tiger Vanguard boss first. The Tiger Acolyte shouldn’t give you too many problems, as it feels like a more difficult or “elite” enemy than an actual boss. With proper application of
Tiger Vanguard boss first. The Tiger Acolyte shouldn’t give you too many problems, as it feels like a more difficult or “elite” enemy than an actual boss. With proper application of ![]() Immobilize,
Immobilize, ![]() Rock Solid/
Rock Solid/![]() Cloud Step, and
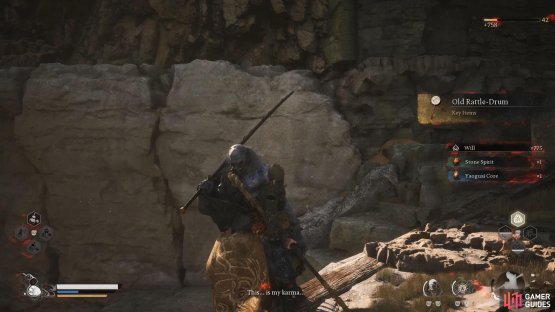
Cloud Step, and ![]() Red Tides, you’ll defeat him in no time. Upon defeat, you will obtain the Old-Rattle Drum Key Item. After acquiring the Key Item, you’ll need to use it in three specific locations.
Red Tides, you’ll defeat him in no time. Upon defeat, you will obtain the Old-Rattle Drum Key Item. After acquiring the Key Item, you’ll need to use it in three specific locations.
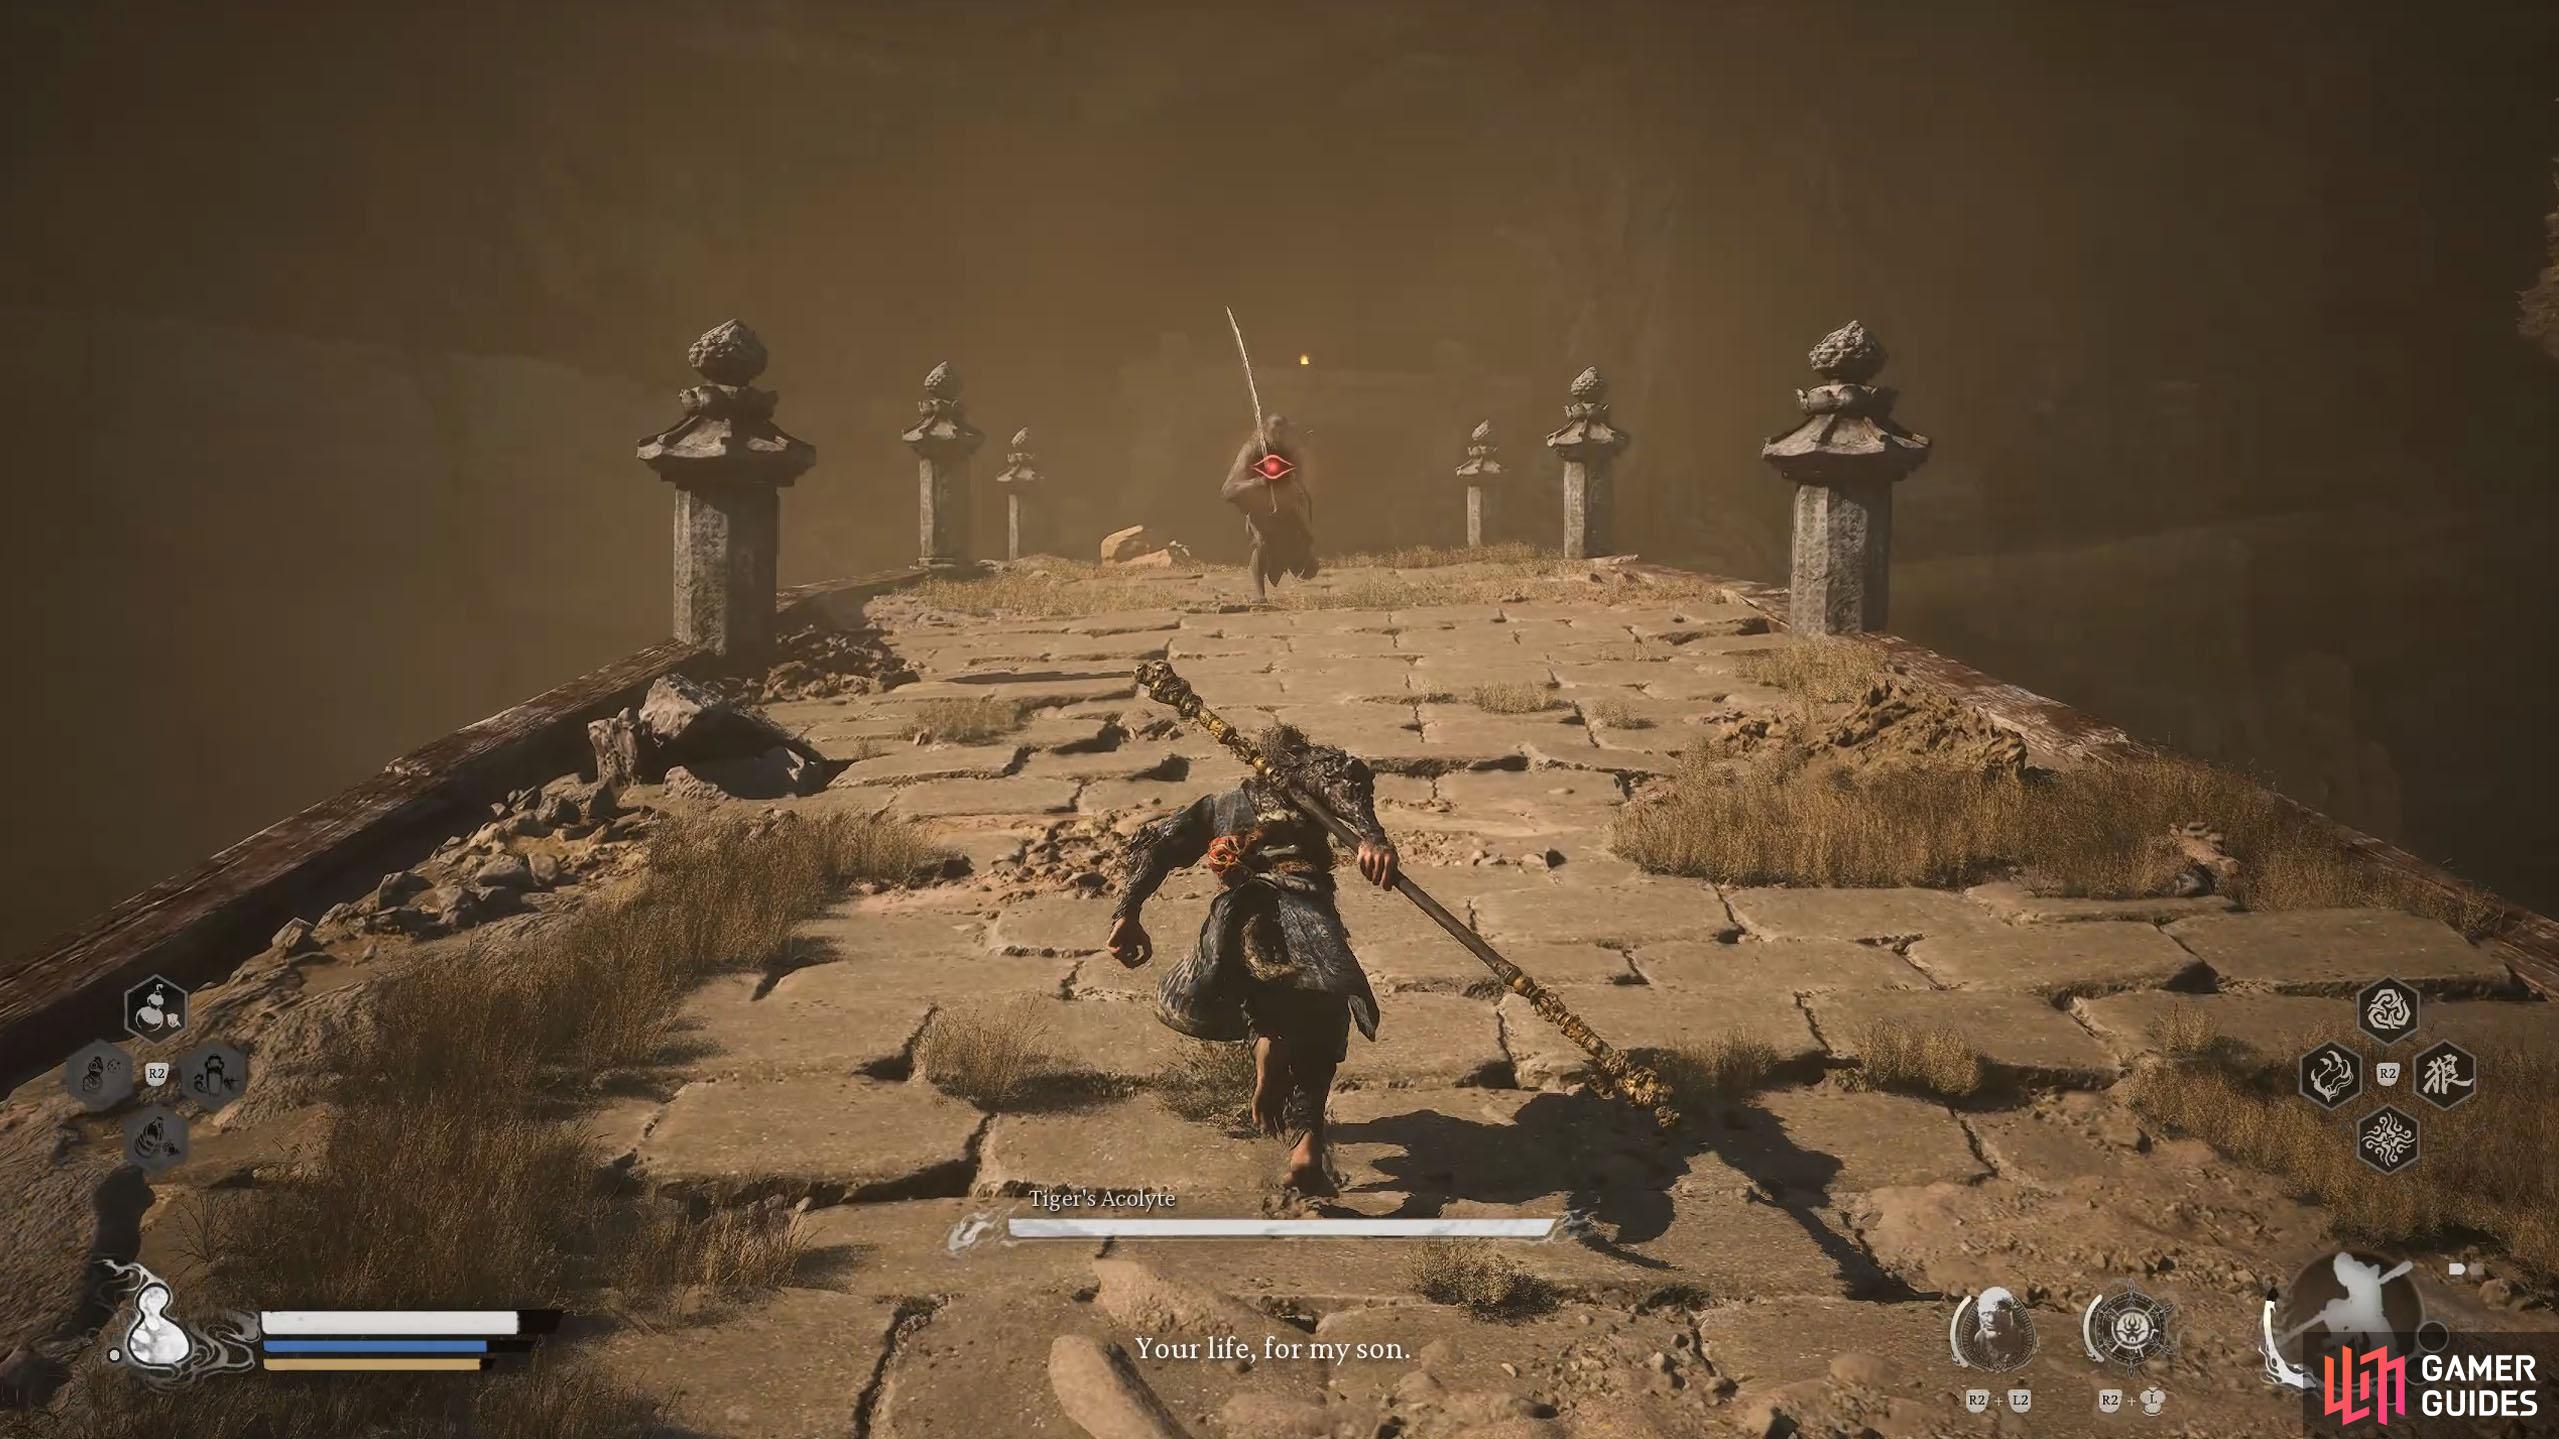

(1 of 2) You’ll find the Tiger’s Acolyte on the second bridge after the Windrest Hamlet Shrine.
You’ll find the Tiger’s Acolyte on the second bridge after the Windrest Hamlet Shrine. (left), Upon defeat, he’ll drop the “Old Rattle-Drum” Key Item. (right)
Where to use the Rattle-Drum
Progressing the quest involves you using the Rattle-Drum to dispel some gray mist in three locations. You’ll know you’re in the right place because your screen will turn gray, you’ll hear some coughing, and you’ll hear the voice of a young girl. Once you’re in the right place, you’ll get a prompt to use the item.
Location 1: Windseal Gate Shrine
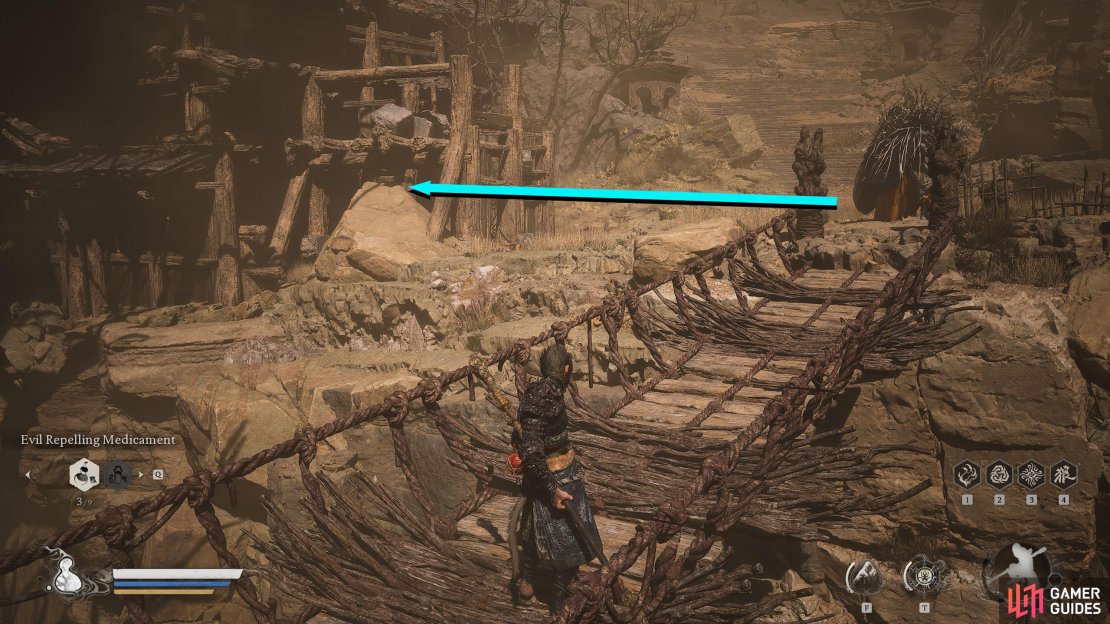
From the Windseal Gate Shrine in Yellow Wind Formation, take the path to the left of the Shrine (if you’re looking at it) and follow it up until you go over a rope bridge. Across the bridge, head left through the dilapidated building. Through the other side, you’ll hear coughing, the screen will go gray, and you’ll hear a girl tell you to use the Rattle Drum. Use the Rattle Drum when you get the prompt and head to the second location below.


Location 2: Windrest Hamlet Shrine
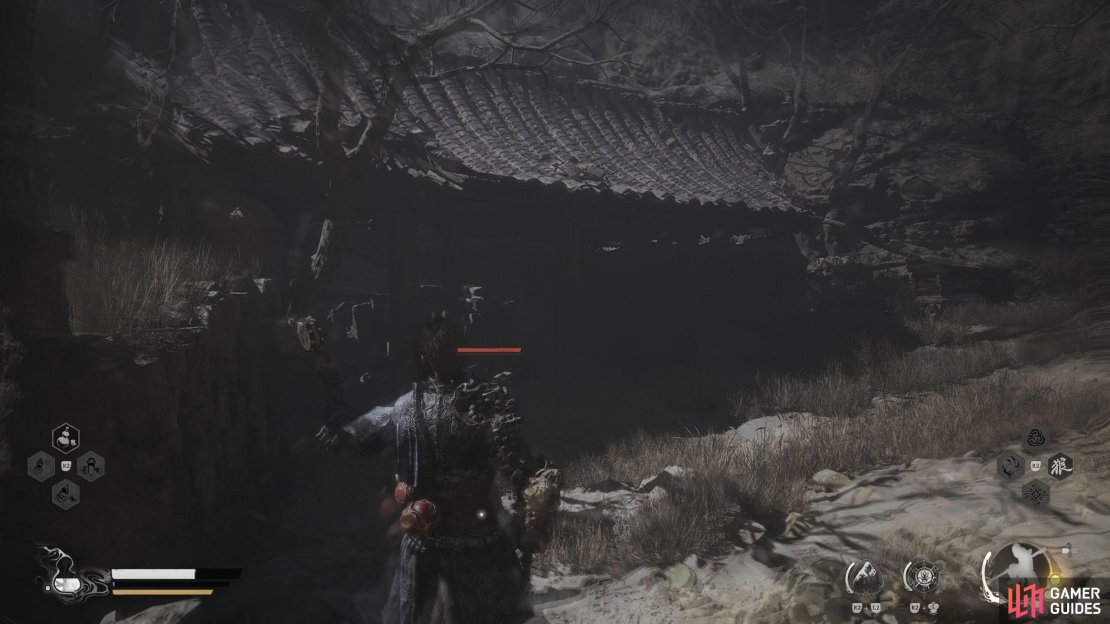
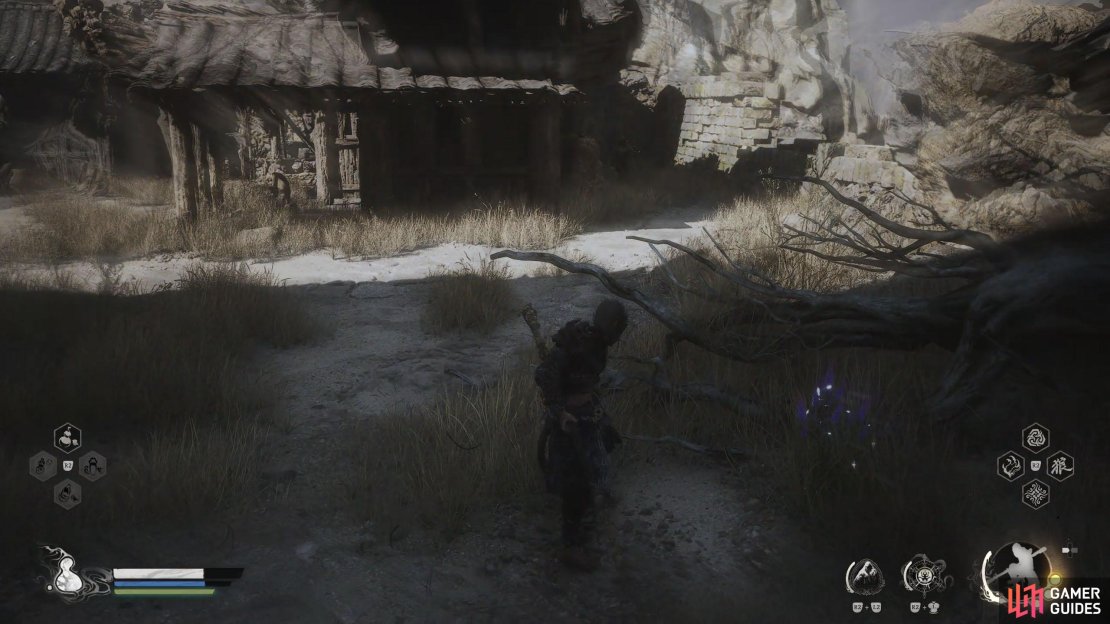
From the Windrest Hamlet Shrine in Yellow Wind Formation, turn around and go down the slope back into the village. Head left as soon as you head past the gate into the village to find another gray area, and the girl will tell you to use the Rattle Drum again. Do so, and head to the last location.

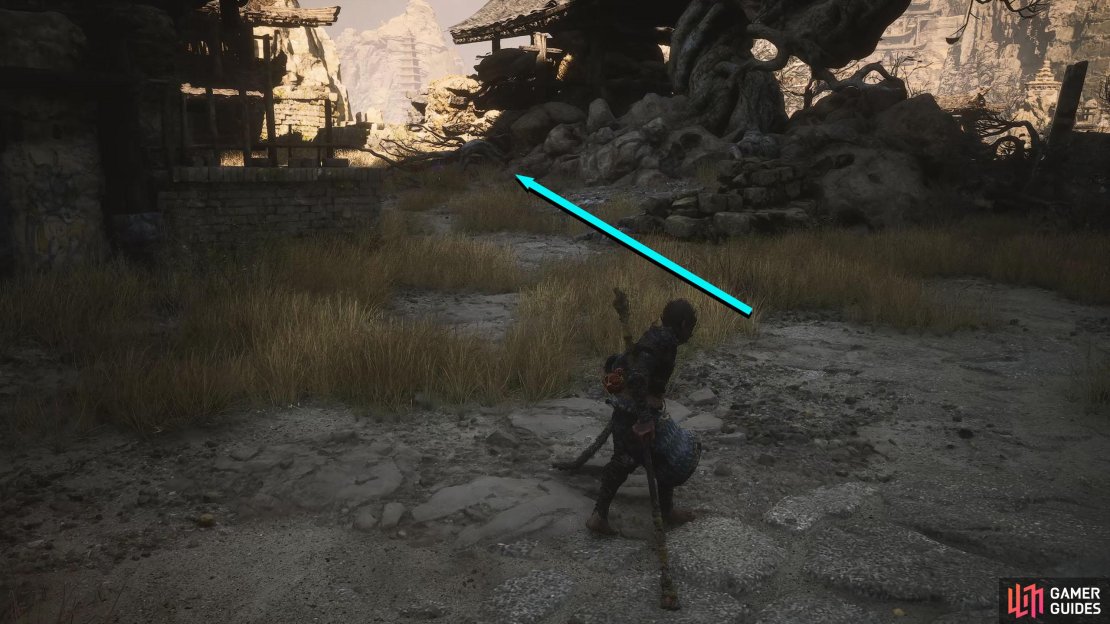
(1 of 3) From the Shrine, head back down the slope and go through the gate.
Location 3: Village Entrance Shrine
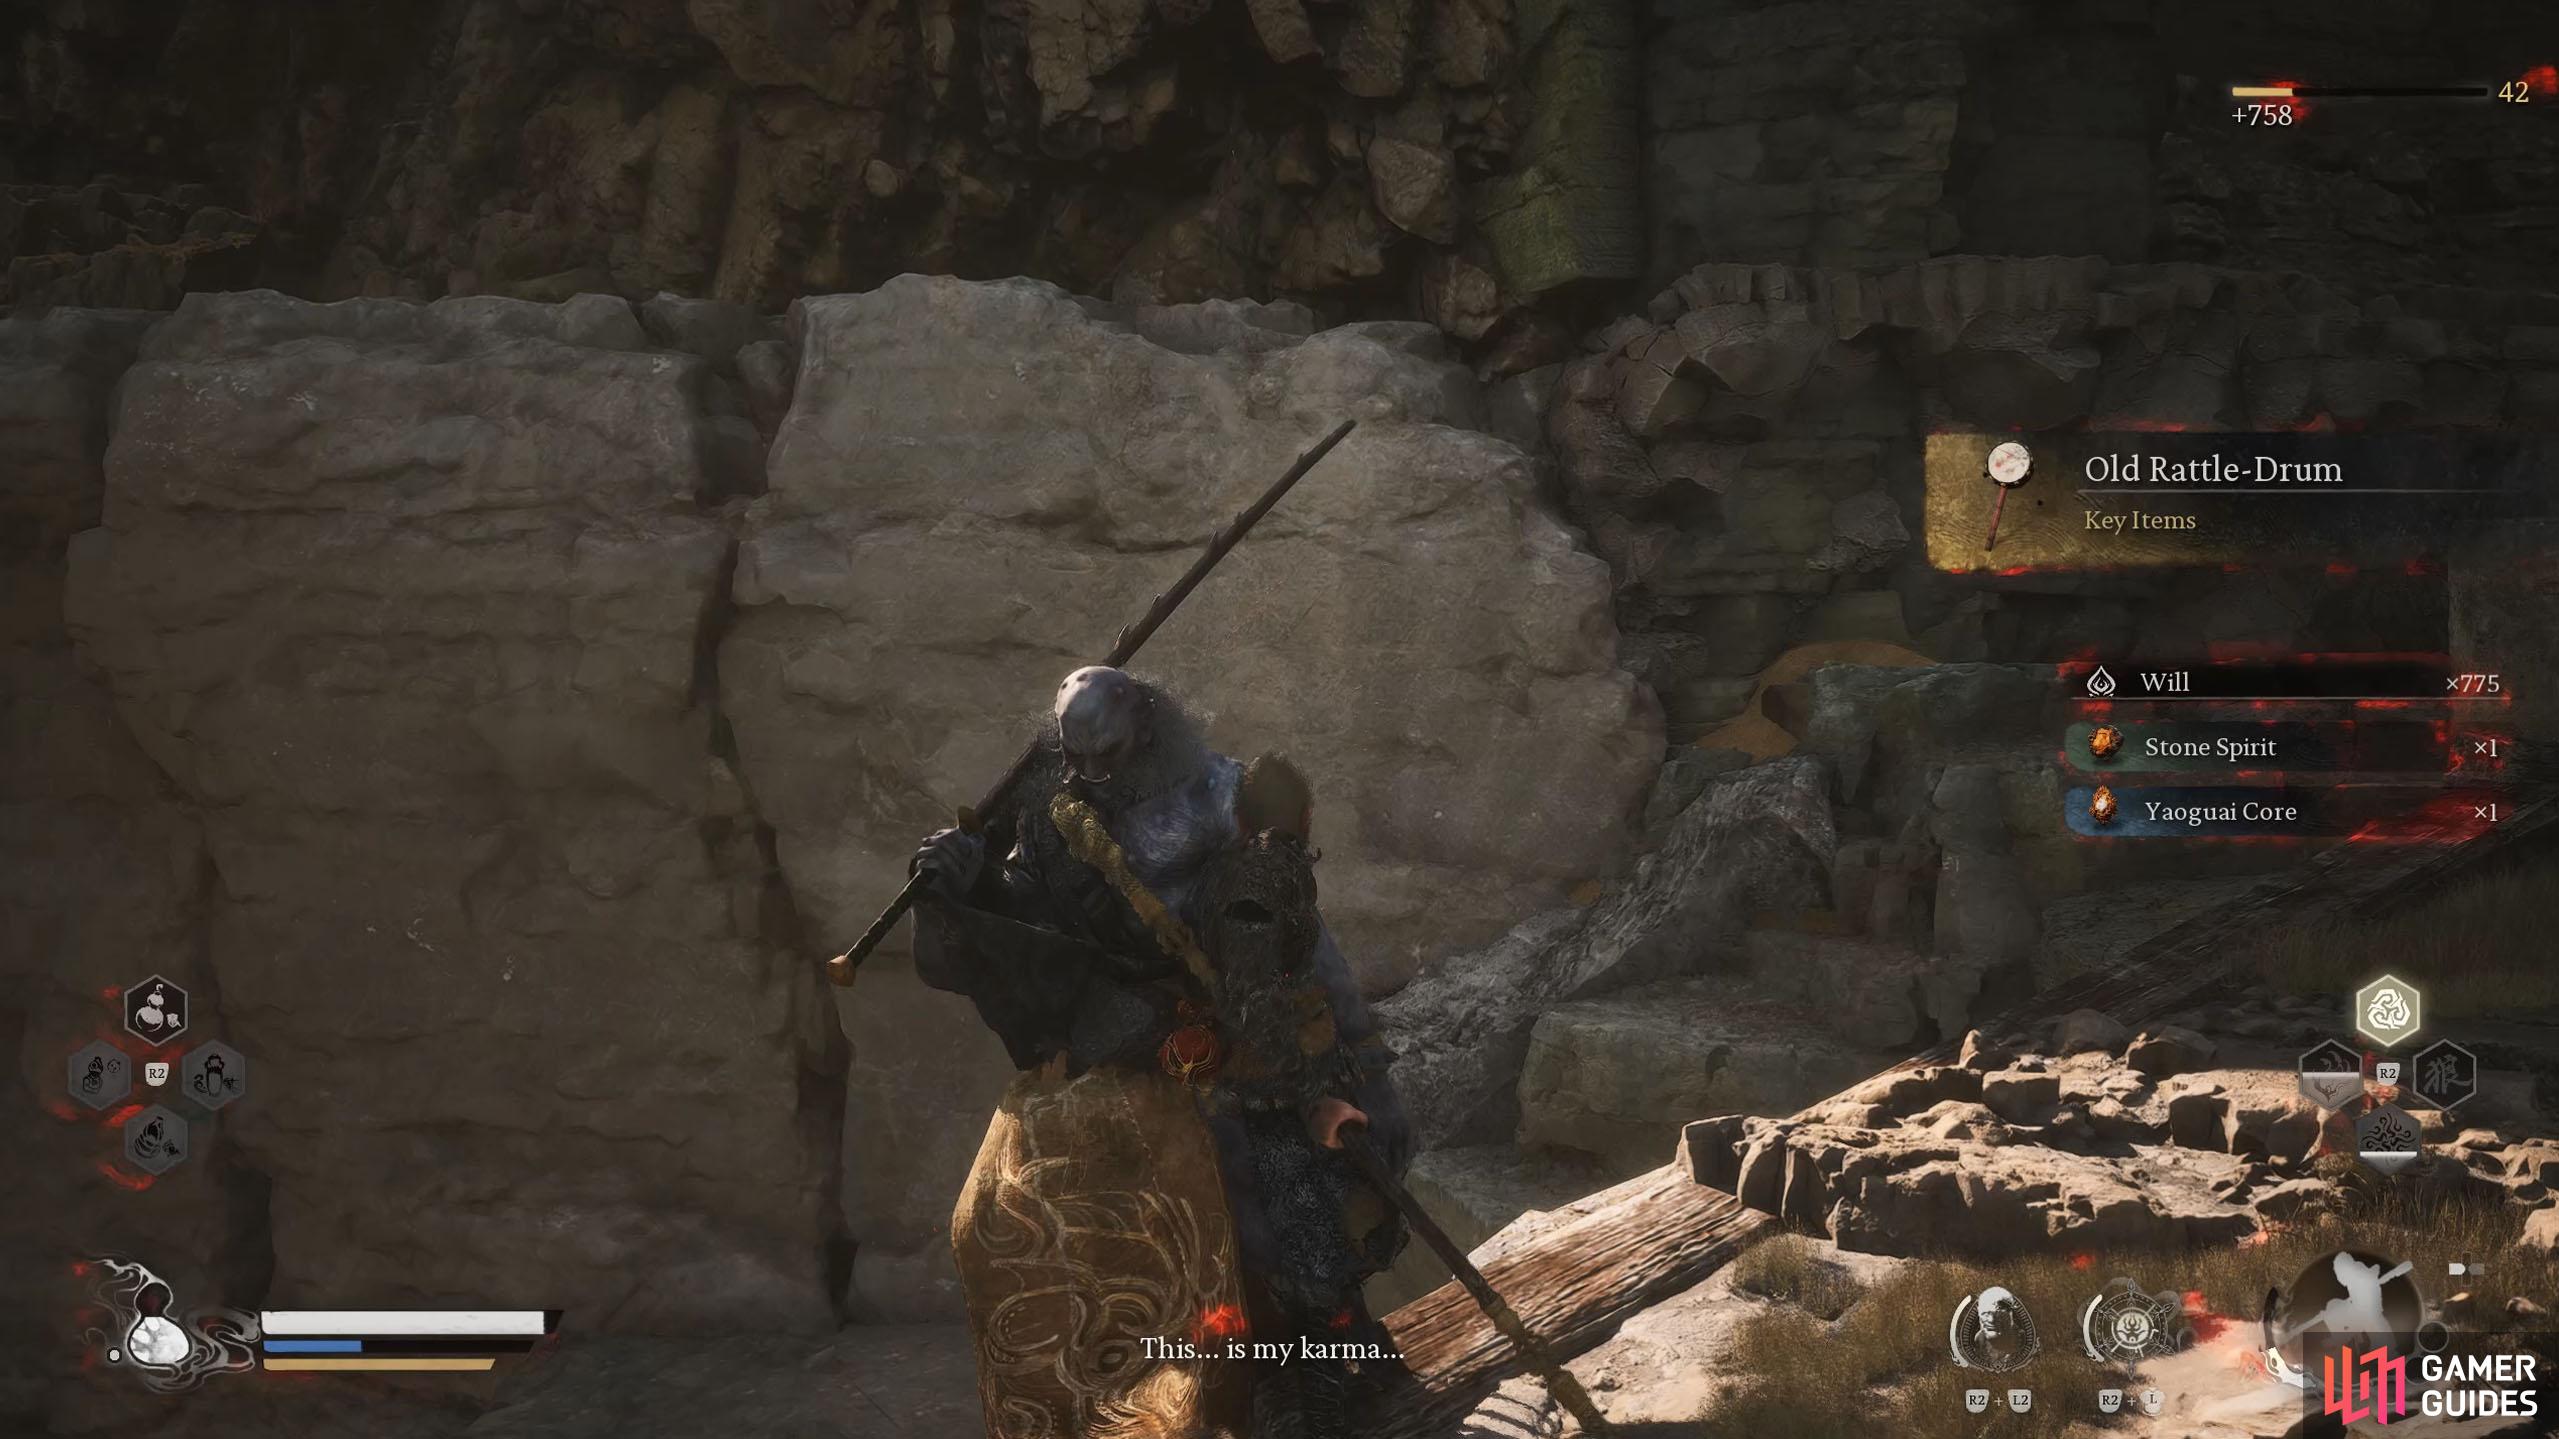
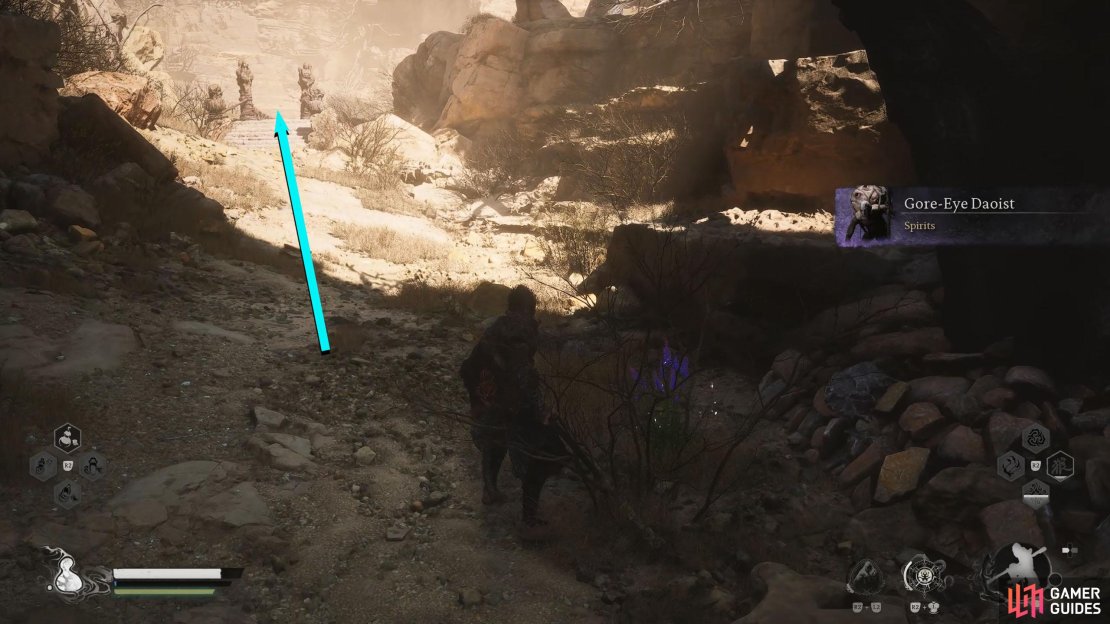
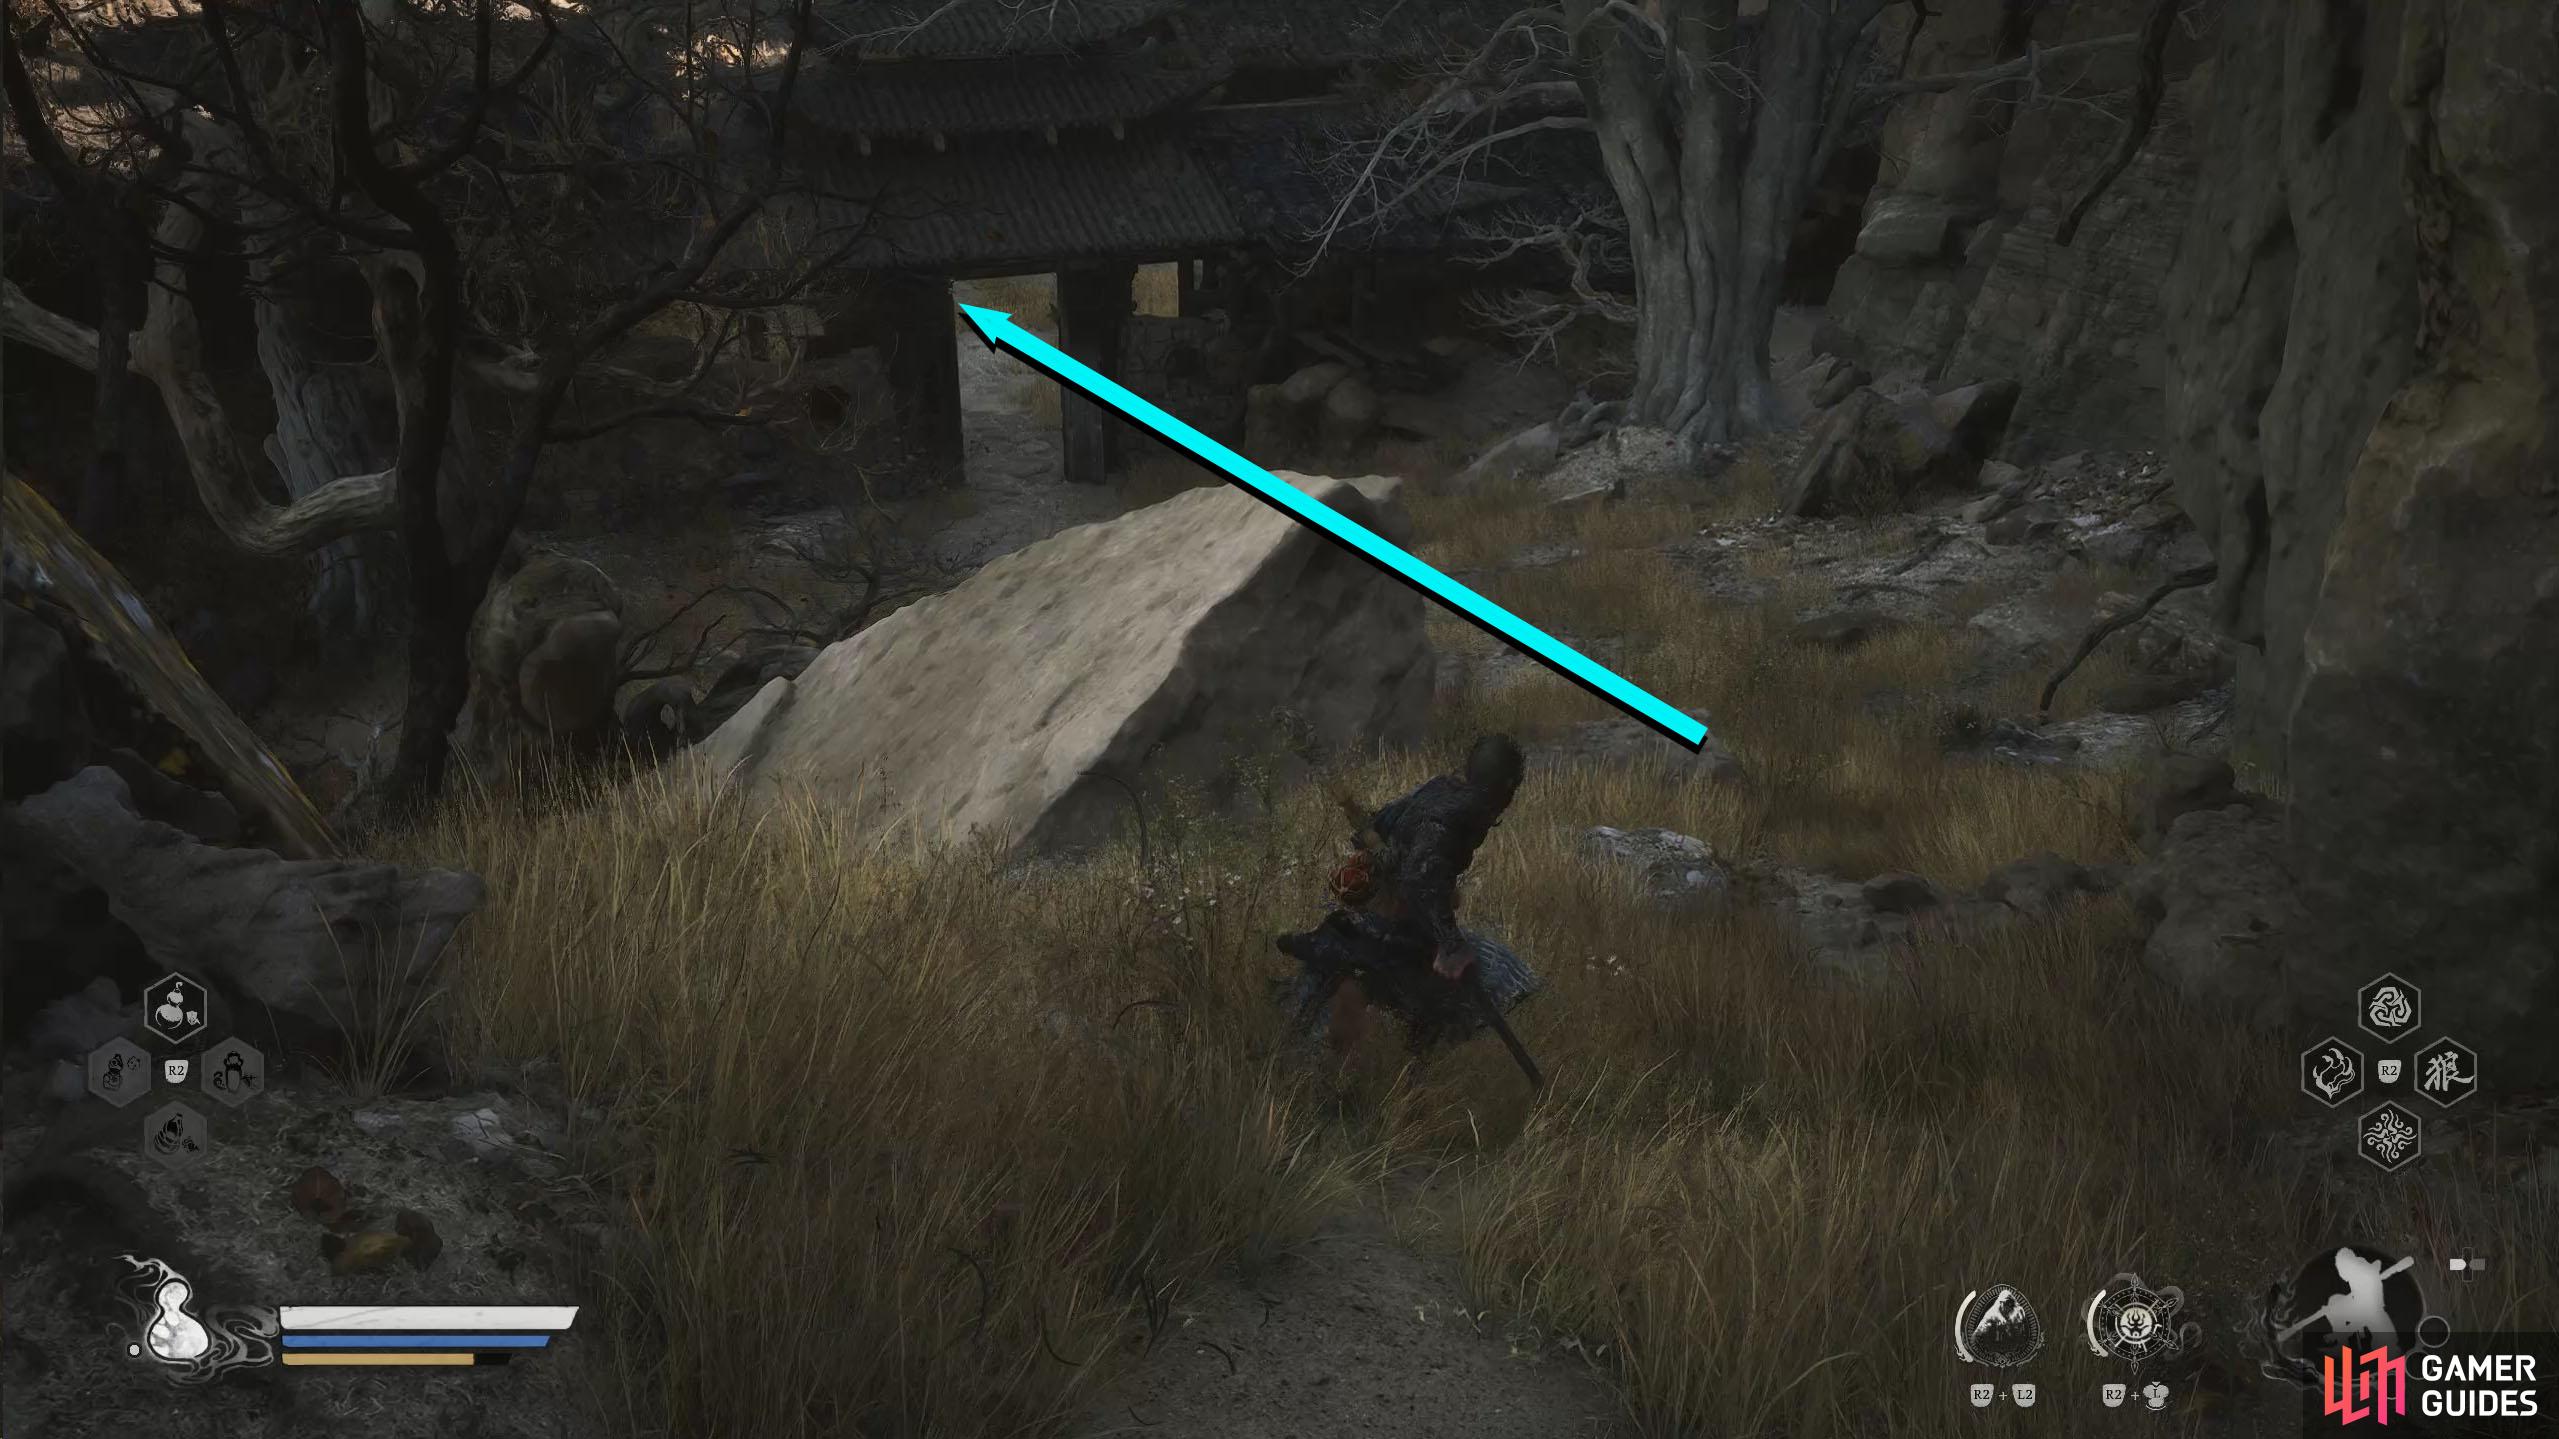
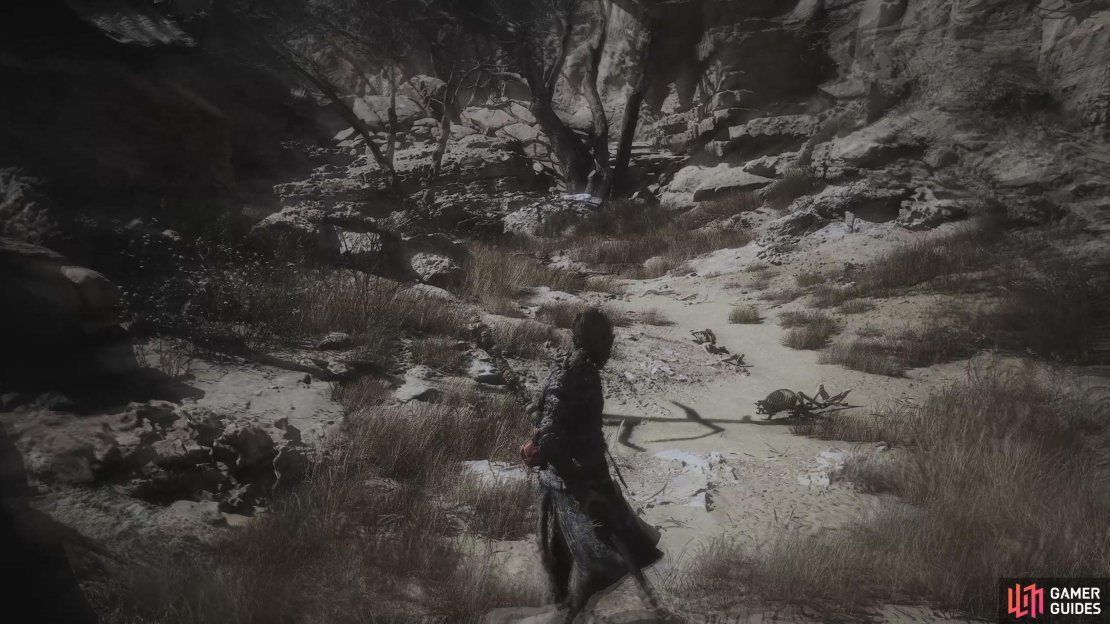
From the Village Entrance Shrine in Sandgate Village, head across the small bridge and go into the meadow to your right until you step on the broken wooden bridge. Head left toward the building and follow the wall around to the left. This will take you to an area with the ![]() Earth Wolf boss (which drops a Spirit). Where you fought the Earth Wolf, there’ll be a square pool of water and a nearby locked door. Facing the Shortcut door, turn right and head into the area there. Use the Rattle Drum one more time, and you’ll get a short scene with the girl telling you to jump down the well.
Earth Wolf boss (which drops a Spirit). Where you fought the Earth Wolf, there’ll be a square pool of water and a nearby locked door. Facing the Shortcut door, turn right and head into the area there. Use the Rattle Drum one more time, and you’ll get a short scene with the girl telling you to jump down the well.

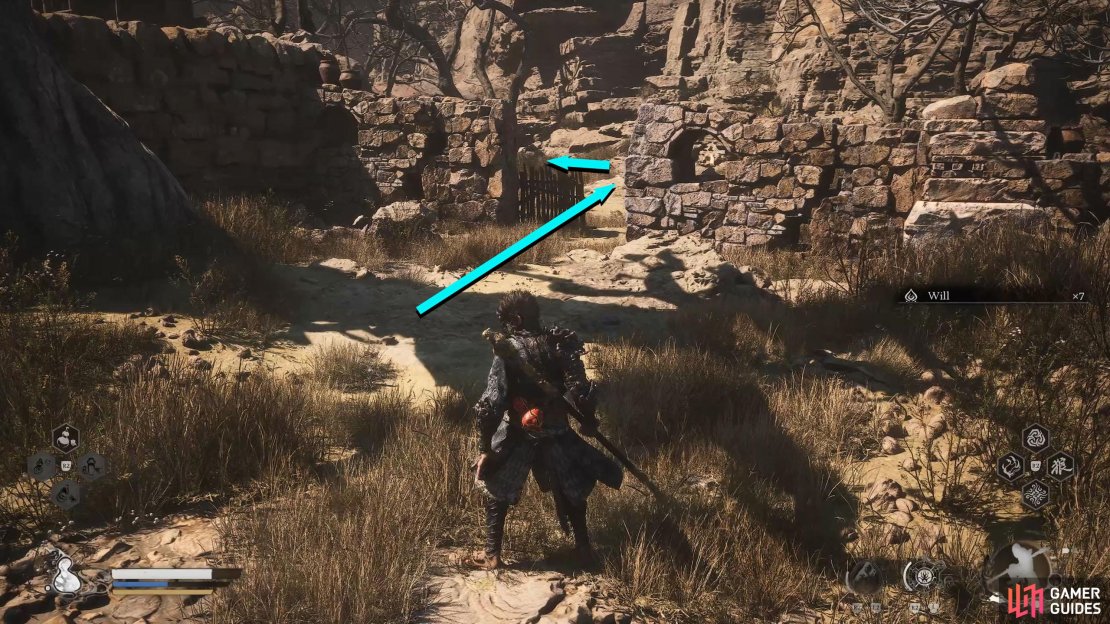
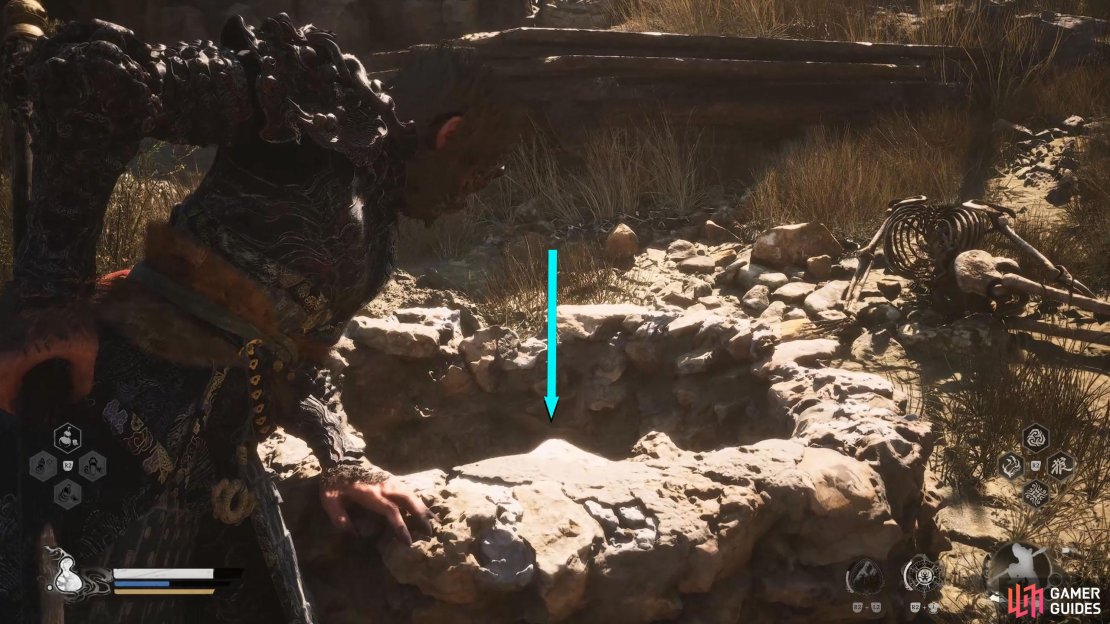
(1 of 3) Near the Earth Wolf boss, head toward the locked shortcut door and head right.
Mad Tiger Boss Location and Strategy
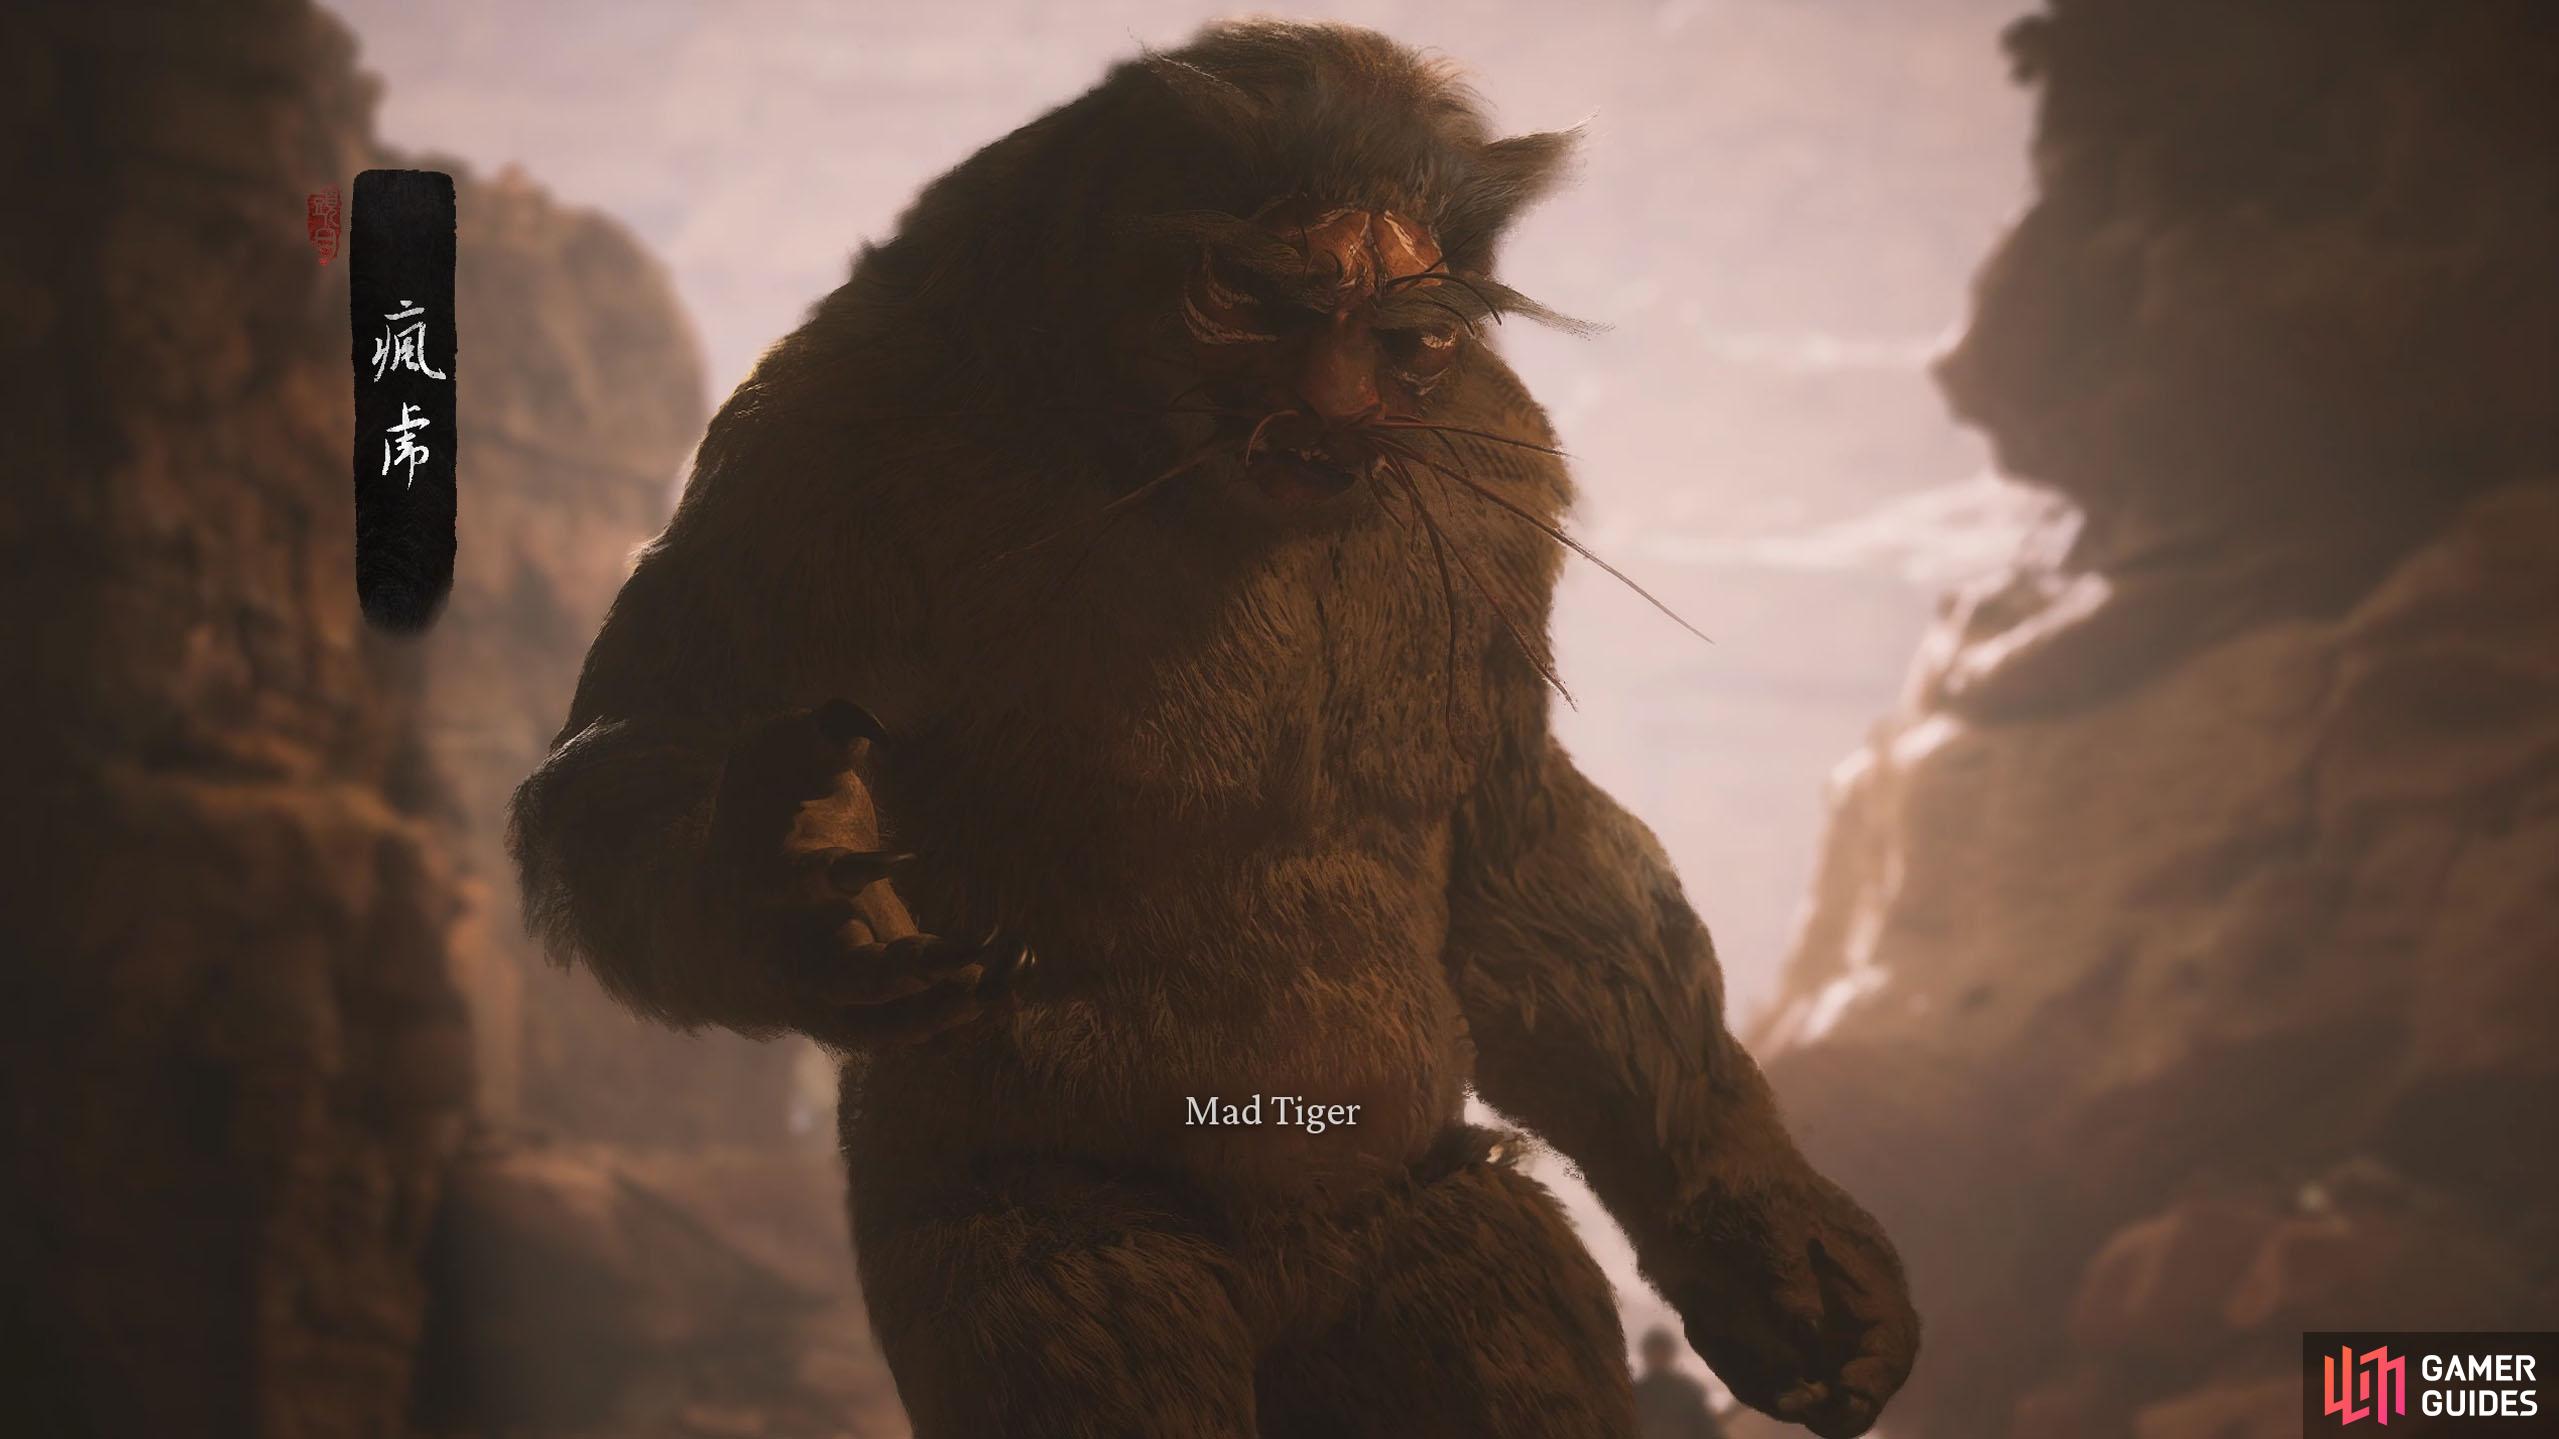
The Mad Tiger is an aggressive fighter who has a tendency to slam boulders down on you.
This will naturally lead to a boss fight, so prepare beforehand. This battle is somewhat similar to the Tiger Vanguard battle at the Crouching Tiger Temple, but he’s more aggressive and doesn’t use a sword or blood attacks. Ideally, you’ll have the ![]() Composure skill as this allows you to dodge without disrupting your combos, and you’ll be dodging frequently due to the relentless attacks that the
Composure skill as this allows you to dodge without disrupting your combos, and you’ll be dodging frequently due to the relentless attacks that the ![]() Mad Tiger throws at you.
Mad Tiger throws at you.
Most of his attacks are swipes and slashes, predominantly in a multi-hit combo, although he will leap in the air and slam down on you with a large boulder from time to time. For the most part of the battle, you’ll want to stay close, attacking with one or two hits, and then dodge before repeating it again. So, two attacks, dodge, two attacks, dodge, etc. When he leaps into the air with the boulder, wait for him to get close to hitting you, and then roll toward him to avoid this attack. This will leave him open briefly, allowing you to get a few extra attacks on him.

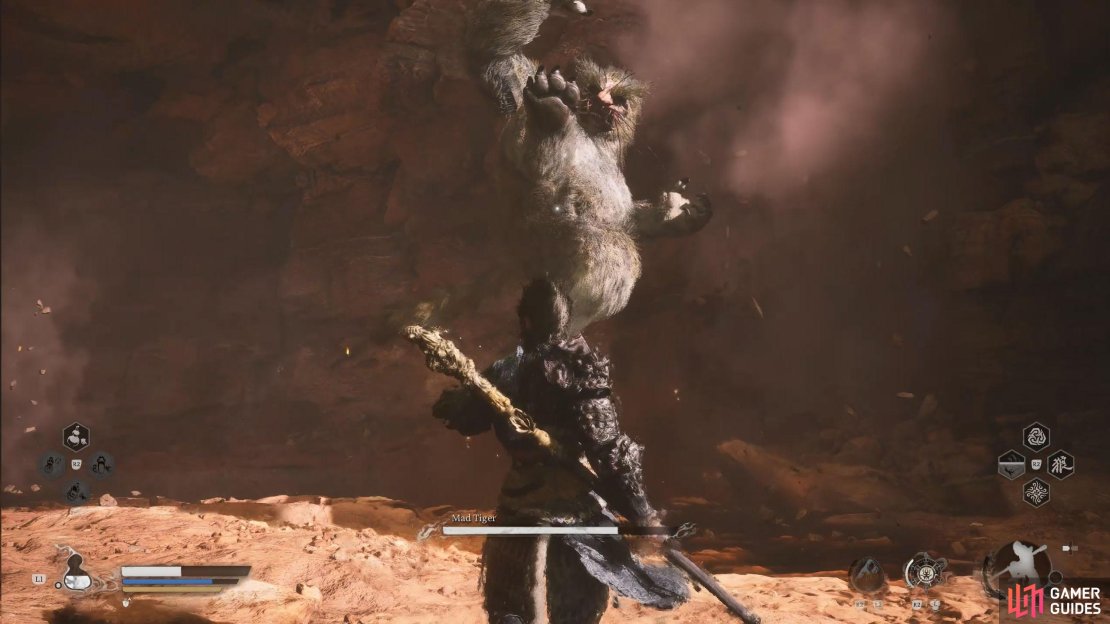


(1 of 4) The Mad Tiger will slash, swipe, and leap at you almost all the time.
That’s pretty much it regarding this battle. We recommend using an ![]() Evil Repelling Medicament for the defense boost, and if you have the Rock Solid form, make use of it whenever it’s available. Try saving your Transformation for the second half of the battle (under 50%) as the bosses appear to be more relentless in this phase. Finally, if you have trouble getting a heal off due to his relentless attacks, Immobilize him first as this will give you ample time to heal up and reapply your Medicines.
Evil Repelling Medicament for the defense boost, and if you have the Rock Solid form, make use of it whenever it’s available. Try saving your Transformation for the second half of the battle (under 50%) as the bosses appear to be more relentless in this phase. Finally, if you have trouble getting a heal off due to his relentless attacks, Immobilize him first as this will give you ample time to heal up and reapply your Medicines.
Old Rattle-Drum Rewards
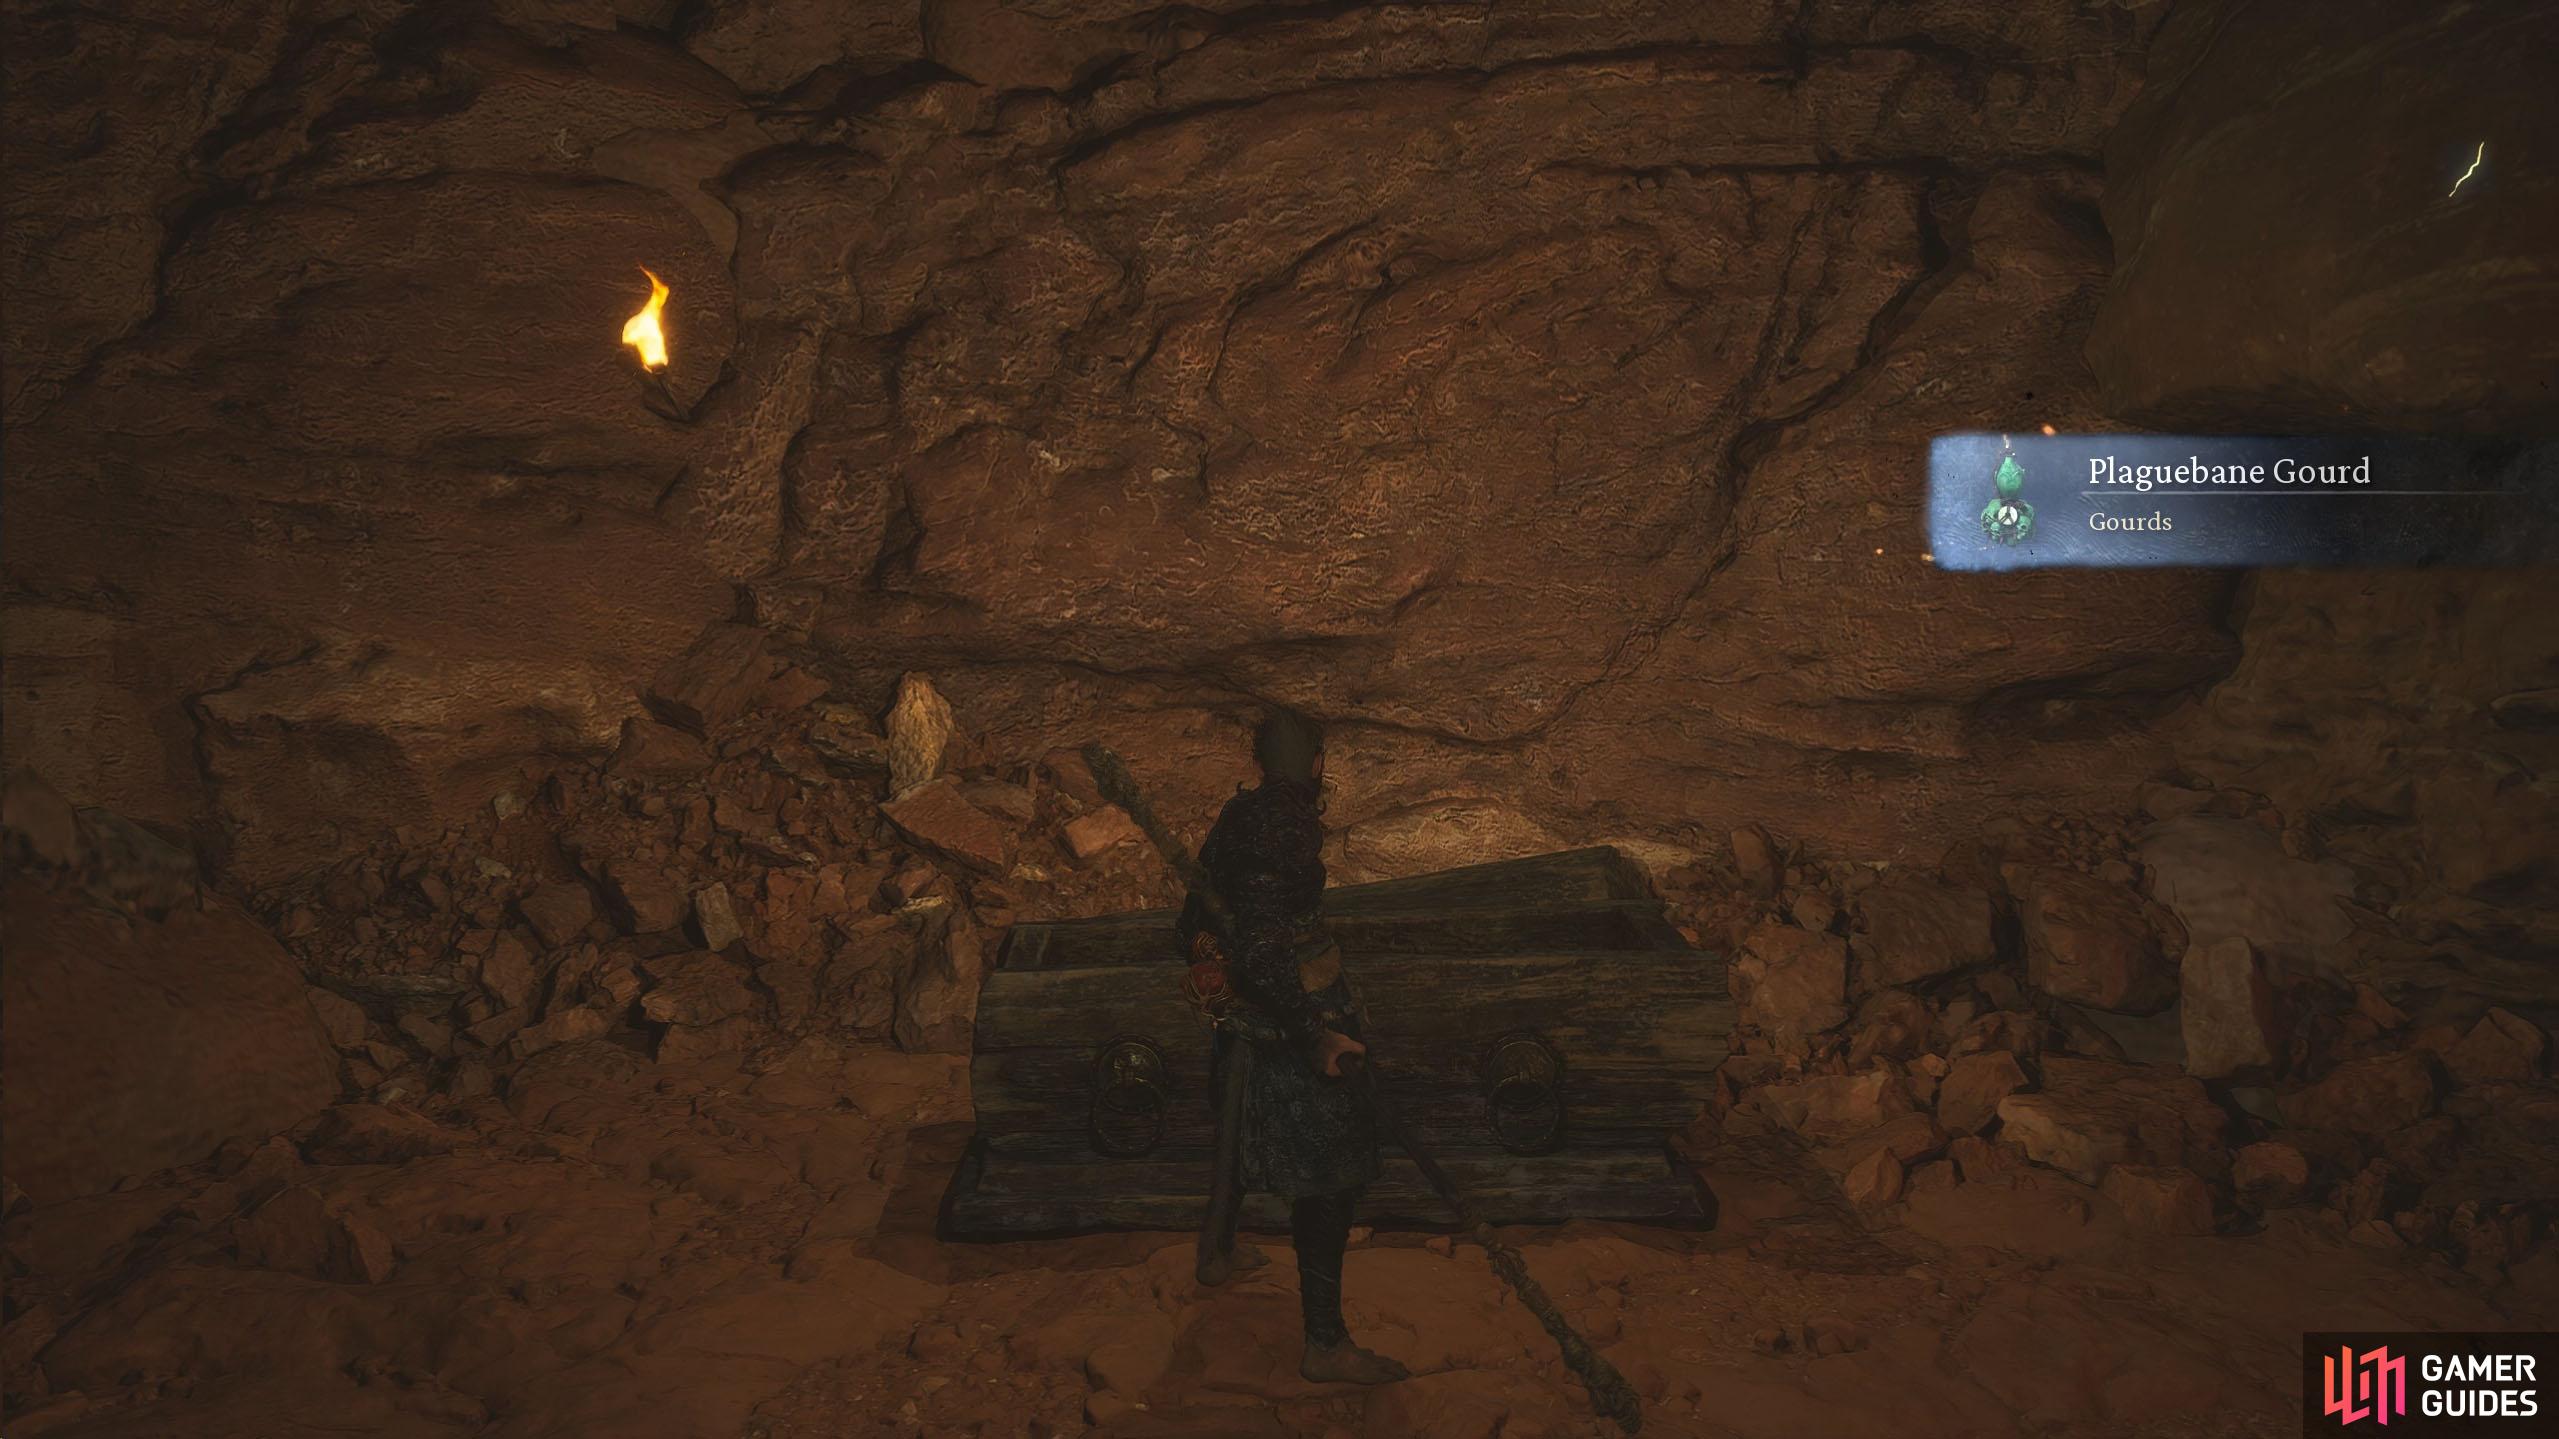

(1 of 2) The Plaguebane Gourd can be found in the wooden chest after completing The Rattle Drum Quest.

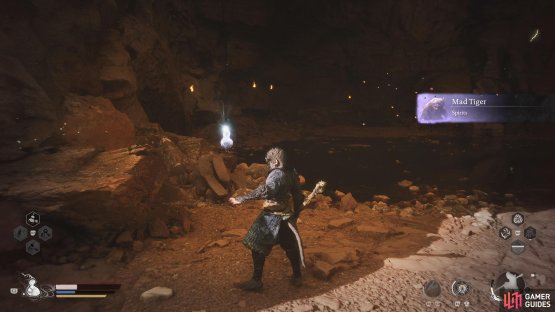
The Plaguebane Gourd can be found in the wooden chest after completing The Rattle Drum Quest. (left), You can absorb the Mad Tiger Spirit after you defeat him. (right)
The main rewards for completing this quest is the ![]() Plaguebane Gourd, which is found in the wooden chest at the back of the Mad Tiger boss arena at the bottom of the well, and the Mad Tiger Spirit, which can be absorbed after defeating him. However, you’ll also obtain two achievements/trophies. The first one is called “The Tiger Family”, but you’ll only get this if you’ve defeated both brothers and the father. However, the second achievement/trophy you’ll get straight away for completing the quest, which is called “Buried in the Sand”. Finally, you’ll get a lot of
Plaguebane Gourd, which is found in the wooden chest at the back of the Mad Tiger boss arena at the bottom of the well, and the Mad Tiger Spirit, which can be absorbed after defeating him. However, you’ll also obtain two achievements/trophies. The first one is called “The Tiger Family”, but you’ll only get this if you’ve defeated both brothers and the father. However, the second achievement/trophy you’ll get straight away for completing the quest, which is called “Buried in the Sand”. Finally, you’ll get a lot of ![]() Will and materials as well as unlock a few portraits for the journal.
Will and materials as well as unlock a few portraits for the journal.
No Comments