
One of the more time-consuming achievements/trophies to unlock in Black Myth: Wukong is Portraits Perfected. This achievement requires you to unlock every portrait shown in the Journal, some of which are missable. To unlock a portrait, not only must you meet them, but with the Yaoguai, you’ll need to defeat them. If you see ?????? under an entry, you’ve either not encountered them yet, or you didn’t defeat them. Although some are missable, you can get them in New Game Plus, so it can still be finished, but it’ll take you a lot more time to do so. Read on to find out how to unlock every portrait in Wukong.
You can find what Portraits you’ve unlocked by going to the Portraits section in the Journal.
Table of Contents
If you want to jump to a specific Portrait section, click on the links below.
| Quickjump |
|---|
| Missable Portraits |
| Lesser Yaoguais Portraits |
| Yaoguai Chiefs Portraits |
| Yaoguai Kings Portraits |
| Character Portraits |
Missable Portraits
Before we get to the list of portraits, let’s point out which portraits are missable until New Game Plus.
- Chapter 3:
 Apramāṇa Bat – You must defeat it before you defeat the “
 Yellowbrow” boss at the end of Chapter 3.
 - (Chapter 3):
 Lantern Warden - These enemies only appear in the Pagoda Realm when you get cursed from the chanting in there. Once you defeat
  Captain Wise-Voice at the top, these will disappear for good.
 - Chapter 4:
 Crane Immortal - You must complete the (Purple Talismans Quest) before you defeat the “
 Hundred-Eyed Daoist Master” boss at the end of Chapter 4.
 - Chapter 4:
 Daoist Mi - You need to defeat it before you defeat the “
 The Duskveil” boss at the end of the Secret Area: Purple Cloud Mountain in Chapter 4.
All Lesser Yaoguais Portraits
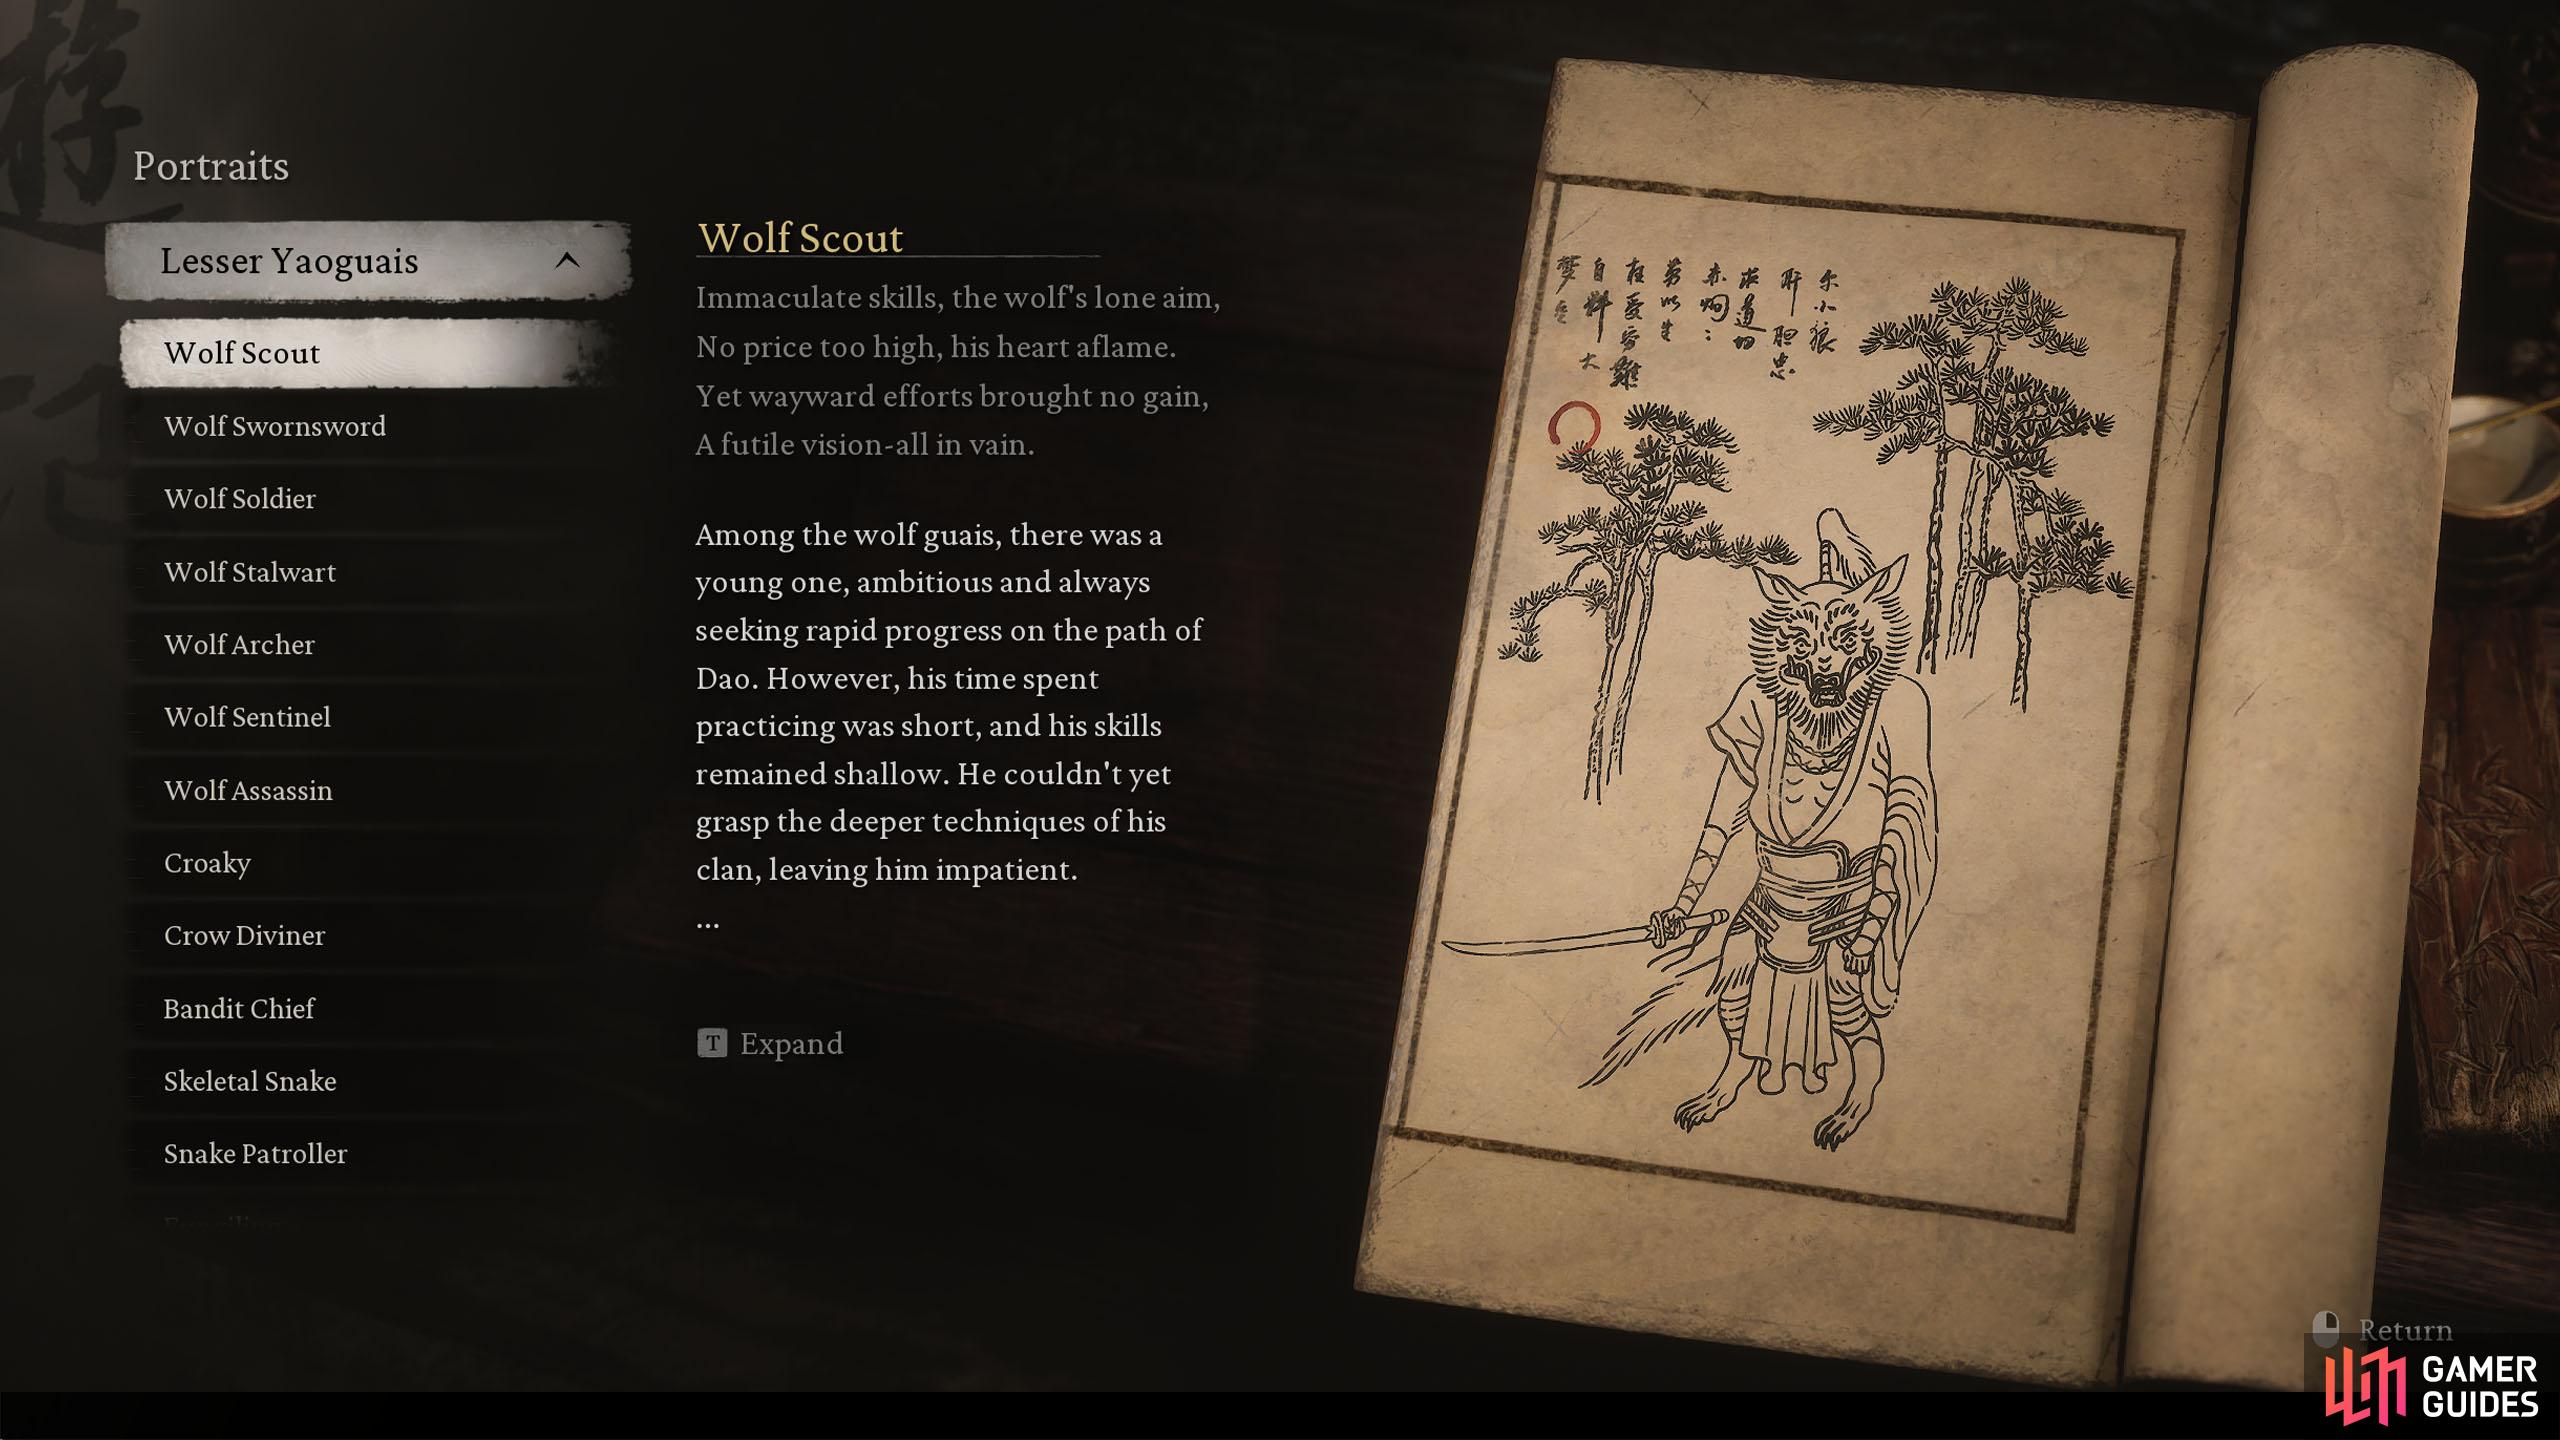
There are 90 Lesser Yaoguais Portraits to unlock in the Journal.
There are 90 Yaoguais Portraits to collect. These must be defeated to be unlocked in the journal. Yaoguais are regular enemies that you’ll encounter throughout each Chapter. Some of them can be found in multiple Chapters, but we will list the easiest location you can find them.
| No. | Name | Chapter | Nearest Shrine | Location |
|---|---|---|---|---|
| 1 | Wolf Scout | 1 | Front Hills (Forest of Wolves) | These are common enemies that you’ll encounter throughout the Front Hills. |
| 2 | 1 | Front Hills (Forest of Wolves) | These are common enemies that you’ll encounter throughout the Front Hills. | |
| 3 | 1 | Front Hills (Forest of Wolves) | These are common enemies that you’ll encounter throughout the Front Hills. | |
| 4 | Wolf Stalwart | 1 | Front Hills (Forest of Wolves) | These are common enemies that you’ll encounter throughout the Front Hills. |
| 5 | 1 | Guanyin Temple (Forest of Wolves) | From the Shrine, turn 180° and go down the stairs leading to the temple. The archer will be at the bottom of the stairs. | |
| 6 | Wolf Sentinel | 1 | Outside the Forest (Forest of Wolves) | From the Shrine, follow the path until you reach the first bridge. The Sentinel will be guarding said bridge. |
| 7 | 1 | Outside the Cave (Black Wind Cave) | Follow the mountain trail until you reach the wooden bridge. Walk to the end of the bridge and jump off to the left, where you’ll be attacked by the Assassin. | |
| 8 | 1 | Front Hills (Forest of Wolves) | Follow the path forward until you reach the bridge. Go over the bridge and jump over the rocks to the left. The |
|
| 9 | 1 | Front Hills (Forest of Wolves) | Follow the path forward until you reach the bridge. Jump off the bridge to your right, where you’ll find the |
|
| 10 | Bandit Chief | 1 | Outside the Forest (Forest of Wolves) | From the Shrine, head forward and take the first path on your left. Follow the path up to find the Bandit Chief guarding a Chest. This is just before a bridge with the Archer on it. |
| 11 | Skeletal Snake | 1 | Snake Trail (Bamboo Grove) | These are common enemies that you’ll encounter throughout the Snake Trail. |
| 12 | 1 | Snake Trail (Bamboo Grove) | These are common enemies that you’ll encounter throughout the Snake Trail. | |
| 13 | 1 | Snake Trail (Bamboo Grove) | Unveiled upon picking a |
|
| 14 | Ginsengling | 1 | Outside the Forest (Forest of Wolves) | From the Shrine, head forward and take the first path on your left. Follow the path up to find a couple of Chests. Take the path down to the left of the chest and follow it down until you reach an |
| 15 | 2 | Village Entrance (Sandgate Village) | Common enemies around Sandgate Village. The easiest place to find them is by heading over the bridge in front of the Shrine, going right, and then left. The Archers will be on the rooftops. You can unlock the door (shortcut) near the |
|
| 16 | 2 | Village Entrance (Sandgate Village) | The most common enemy found all around Sandgate Village. | |
| 17 | 2 | Fright Cliff (Rock Clash Platform Shrine) | This is the Spirit version of the enemy. Follow the path forward from the Shrine and head right, where you’ll find the |
|
| 18 | 2 | Village Entrance (Sandgate Village) | Found by heading over the bridge in front of the Shrine, going right, and then left. Two |
|
| 19 | 2 | Windrest Bridge (Yellow Wind Formation) | Found in the village following the bridge near the Shrine. They are dressed in a red shirt. | |
| 20 | 2 | Valley of Despair (Sandgate Village) | From the Shrine, cross the rope bridge behind and follow the path down. These are also commonly found near the Fright Cliff Shrine in Yellow Wind Formation. | |
| 21 | 2 | Squall Hideout (Fright Cliff) | From the Shrine, follow the left path toward the doorway and wait for a second. The |
|
| 22 | 2 | Squall Hideout (Fright Cliff) | From the Shrine, follow the left path past the doorway and toward the statue. From the statue, go left to find one of the Buddha’s Eyes. As you approach it, a |
|
| 23 | 2 | Valley of Despair (Sandgate Village) | From the Shrine, head into the cave to the right of it. Continue forward until your drop and then turn left followed by right. The |
|
| 24 | 2 | Valley of Despair (Sandgate Village) | From the Shrine, go across the rope bridge opposite it, and follow the path forward. The enemy will be by the large stone gate. | |
| 25 | 2 | Valley of Despair (Sandgate Village) | There are three of these (one a spirit version) near each other. From the Shrine, head into the cave to the right. Go forward until you drop and head left before going right to where the |
|
| 26 | 2 | Windrest Bridge (Yellow Wind Formation) | Found all around the village that follows the bridge near the Shrine. | |
| 27 | 2 | Windseal Gate (Yellow Wind Formation) | From the Shrine, follow the left path up to find a |
|
| 28 | 2 | Temple Entrance (Crouching Tiger Temple) | Found in the Cellar accessed by using the pedestal above the |
|
| 29 | 2 | Village Entrance (Sandgate Village) | From the Shrine, go up the hill behind it and follow the path around the corner, where you’ll find a dead tree. At the base of the tree, to the right, you’ll find a |
|
| 30 | 3 | Chapter 3 Start / Frostclad Path (Snowhill Path) | At the start of the Chapter, follow the linear path forward and go up the stairs. Go down the next set of stairs (or jump) and follow the path to the left to find the Monk. You can go back here from the Frostclad Path (Snowhill Path) Shrine by turning around and running back the other way. | |
| 31 | 3 | Lower Pagoda Shrine (Pagoda Realm) | Enter the area opposite the Shrine (with the bars), turn right, and follow the path until you can exit to the right (barred door). Exit the area, turn right, and follow that path to the end to find the |
|
| 32 | 3 | Precept Corridor (Bitter Lake) | From the Shrine, follow the path across the rope bridge into the cave. Take the first right into a small area and look right to find a wooden chest. The |
|
| 33 | Circus Monkey | 3 | Towers of Karma (Valley of Ecstasy) | Found guarding the Towers of Karma Shrine. |
| 34 | 3 | Temple Entrance (New Thunderclap Temple) | From the Shrine, head into the wooden temple in front. As you enter the building, you’ll find one by the altar. These are commonly found throughout the New Thunderclap Temple. | |
| 35 | 3 | Temple Entrance (New Thunderclap Temple) | From the Shrine, head forward to find a lone enemy in the courtyard. This is a |
|
| 36 | 3 | Chapter 3 Start / Frostclad Path (Snowhill Path) | At the start of the Chapter, follow the linear path forward to the Frostclad Path (Snowhill Path) Shrine. You will fight one along the way. If you somehow missed it, work your way backward from the Shrine toward the starting area of Chapter 3. Alternatively, you can find one on the stairs past the |
|
| 37 | Frozen Corpse | 3 | Frostclad Path (Snowhill Path) | Follow the path up from the Shrine, where you’ll find a lot of undead about (not enemies). Walk a bit further up to get attacked by one, this is the “Frozen Corpse” enemy. |
| 38 | 3 | Frostclad Path (Snowhill Path) | Make your way to the top, where you’ll fight the |
|
| 39 | 3 | Lower Pagoda (Pagoda Realm) | One can be found on the ledge above the Lower Pagoda Shrine. Alternatively, you can find another one just before you ascend to the second floor. The Pagoda Realm in general has a fair amount of these. | |
| 40 | 3 | Lower Pagoda (Pagoda Realm) | Head into the cell area left of the Shrine and follow the passage to the end. Exit the passage to the right, follow the ledge to your left, and enter the next cell on your left. The enemy will be at the end to your left. | |
| 41 | 3 | Precept Corridor (Bitter Lake) | From the Shrine, head forward to encounter the Spirit version of this enemy. Otherwise, they can be found in the Pagoda Realm after the Lower Pagoda Shrine. | |
| 42 | 3 | (Pagoda Realm) | These enemies only appear in the Pagoda Realm when you get cursed from the chanting in there. Once you defeat |
|
| 43 | 3 | Lower Pagoda (Pagoda Realm) | Make your way to the second floor and follow the main path to find it. The Spirit version can be found behind one of the purple ward doors on the same floor, which requires you to complete the Prisoner side quest. | |
| 44 | 3 | Mani Wheel (Pagoda Realm) | From the Shrine, turn around and head up the path to the end, where you’ll find a group of undead praying. Walk up to them and the enemy will materialize. Another one can be found near the Longevity Shrine (Valley of Ecstasy), simply follow the path forward and it will appear. | |
| 45 | Wolf Guardian | 3 | North Shore of the Bitter Lake (Bitter Lake) | From the Shrine, turn left and follow the coastline until you reach the area of bones. Continue forward, and you’ll find a path to your left leading up some stairs. You can find the path as there’ll be two braziers just before it. The Wolf Guardian will be on these stairs. |
| 46 | 3 | Longevity Road (Valley of Ecstasy) | From the Shrine, turn left, and head over the slope. Continue in a straight line until you can go up a small set of stairs. At the top of the stairs, follow the path left to find the enemy. | |
| 47 | 3 | Brook of Bliss (Valley of Ecstasy) | At the Shrine, rotate your camera behind yourself until you see a bridge. The enemy will be at the end of the bridge. If you don’t have this Shrine, you can get here by teleporting to the Forest of Felicity and heading down the slope to the right of the Shrine. | |
| 48 | 3 | Longevity Road (Valley of Ecstasy) | In the open snowfield to the right of the Shrine. These are the colossus-type enemies. They will disappear after you’ve defeated them. | |
| 49 | 3 | Temple Entrance (New Thunderclap Temple) | Go forward from the main Shrine, then up the stairs and forward again, where the |
|
| 50 | 3 | Warding Temple (Pagoda Realm) | From the Shrine, follow the main path down until you reach the bottom and take the path right. The worm will be to your right as you go up the slope. | |
| 51 | 4 | Chapter 4 Start (Automatic) | When you start Chapter 4, you’ll see a scene of these getting attacked and killed. They will get added to your journal automatically. | |
| 52 | 4 | Estate of the Zhu (Village of Lanxi) | You’ll first encounter this enemy at the start of Chapter 4 where you enter the Chapter. If you somehow missed this, go back from the Estate of Zhu Shrine to the first area of the Chapter. If you missed these and completed the Chapter, head to the Upper Hollow Shrine (Webbed Hollow) to find these, as completing the Chapter will remove them from the original area. | |
| 53 | 4 | Estate of the Zhu (Village of Lanxi) | You’ll first encounter this enemy at the start of Chapter 4 where you enter the Chapter. If you somehow missed this, go back from the Estate of Zhu Shrine to the first area of the Chapter. If you missed these and completed the Chapter, head to the Upper Hollow Shrine (Webbed Hollow) to find these, as completing the Chapter will remove them from the original area. | |
| 54 | 4 | Estate of the Zhu (Village of Lanxi) | The Spirit version of this enemy can be found by progressing into the next area (past the doors next to the Shrine) and heading through the web-covered building to your right. As you exit the building, turn right, and the |
|
| 55 | 4 | Estate of the Zhu (Village of Lanxi) | You’ll encounter these between the beginning area of Chapter 4 and the Estate of Zhu Shrine. If you missed these and completed the Chapter, head to the Upper Hollow Shrine (Webbed Hollow) to find these, as completing the Chapter will remove them from the original area. | |
| 56 | 4 | Estate of the Zhu (Village of Lanxi) | You’ll encounter these between the beginning area of Chapter 4 and the Estate of Zhu Shrine. If you missed these and completed the Chapter, head to the Upper Hollow Shrine (Webbed Hollow) to find these, as completing the Chapter will remove them from the original area. | |
| 57 | 4 | Estate of the Zhu (Village of Lanxi) | There are two of these in the same area you defeat the first boss of Chapter 4. In the arena, go through the webbed house to the right. Upon exiting it, go right again to find the |
|
| 58 | 4 | Upper Hollow Shrine (Webbed Hollow) | The Spirit version of this enemy can be found near the Upper Hollow Shrine. From the Shrine, head up the stairs to the right and follow the path left until you drop to the area with the braziers. Take the right path and hug the wall while heading straight on. Stay on this path for a while and eventually, you’ll reach an intersection where you’ll have a |
|
| 59 | 4 | Upper Hollow Shrine (Webbed Hollow) | You’ll find these anywhere in the Webbed Hollow, but you can find many around the Upper Hollow Shrine area, specifically from the cocoons. | |
| 60 | 4 | Cliff of Oblivion (Webbed Hollow) | These can be found all around the Webbed Hollow, mainly coming from the large cocoons. However, if you teleport to the Cliff of Oblivion Shrine, turn the camera to the right, and follow the path down to the right of the house area, you’ll find plenty down the path with the sacks. | |
| 61 | 4 | Upper Hollow Shrine (Webbed Hollow) | From the Shrine, head up the stairs to the right and follow the path left until you drop to the area with the brazier where the |
|
| 62 | 4 | The Verdure Bridge (Webbed Hollow) | From the Shrine, go over the small mossy green bridge to the right and follow the path down while veering to the right. Drop off the edge twice before you head up the left path to find the |
|
| 63 | 4 | Mountain Trail (Temple of Yellow Flowers) | Head up the stairs next to the Shrine. At the top, hug the boulder to your right to find the first |
|
| 64 | Fly-whisk Daoist | 4 | Mountain Trail (Temple of Yellow Flowers) | Head up the nearby stairs and follow the trail up, and you’ll meet one of them. They are dressed in yellow. |
| 65 | 4 | Mountain Trail (Temple of Yellow Flowers) | Head up the nearby stairs and follow the trail up past the Fly-whisk Daoist. As you reach the top, you’ll see a large temple building to your right, where two |
|
| 66 | 4 | Mountain Trail (Temple of Yellow Flowers) | Head up the nearby stairs and follow the trail up past the Fly-whisk Daoist. As you reach the top, head up the left path. The |
|
| 67 | 4 | Mountain Trail (Temple of Yellow Flowers) | Head up the nearby stairs and follow the trail up past the Fly-whisk Daoist. As you reach the top, follow the left path to the top, where you’ll see the tiger-looking snake enemy guarding a chest. | |
| 68 | 4 | Mountain Trail (Temple of Yellow Flowers) | Head up the nearby stairs and follow the trail up past the Fly-whisk Daoist. As you reach the top, follow the left path to the top, and then head right and follow this path until you reach the semi-open area with the unusual wall at the back. You’ll be attacked by a few enemies here, one of them being the |
|
| 69 | 4 | Valley of Blooms (Secret: Purple Cloud Mountain) | This enemy resides in the Secret Area: Purple Cloud Mountain. From the Shrine, drop in the water to the left of the Shrine. This is the Spirit version that appears as “ |
|
| 70 | 5 | Chapter 5 start | These will be part of the group of enemies you encounter at the start of the Chapter. | |
| 71 | 5 | Chapter 5 start | These will be part of the group of enemies you encounter at the start of the Chapter. | |
| 72 | 5 | Chapter 5 start | These will be part of the group of enemies you encounter at the start of the Chapter. | |
| 73 | 5 | Camp of Seasons (Woods of Ember) | Head over the rope bridge near the Shrine and go through the cave. The enemy is the smaller fire creatures. | |
| 74 | 5 | Camp of Seasons (Woods of Ember) | Same place as the Charbone, they’ll be in a group together. | |
| 75 | 5 | Camp of Seasons (Woods of Ember) | Just past the above enemies, head into the cave to the left of them where you’ll find a bat hanging off the ceiling. This will ambush you as you get close to it. | |
| 76 | 5 | Ashen Pass I (Woods of Ember) | In the same area, you fight the |
|
| 77 | 5 | Ashen Pass I (Woods of Ember) | In the same area, you fight the |
|
| 78 | 5 | Rakshasa Palace (Furnace Valley) | From the Shrine, walk over the lava on the left side and follow it to the back of the area (use Fire Vessel). At the back, you’ll find the dual-wielding mace enemy. | |
| 79 | 5 | Valley Entrance (Furnace Valley) | Follow the main path forward from the Shrine, and you’ll encounter these along the way. | |
| 80 | 5 | Valley Entrance (Furnace Valley) | Follow the main path forward from the Shrine, and you’ll encounter these along the way. These are the smaller versions of the above enemy. | |
| 81 | 5 | Valley Entrance (Furnace Valley) | Follow the main path forward from the Shrine until you can go down into the lava area to your right. When you step into the lava area, a worm will spit fire at you. This is a |
|
| 82 | 5 | Valley Entrance (Furnace Valley) | Follow the main path forward from the Shrine until you can go down into the lava area to your right. In the lava area, look slightly to the right to notice the lava dripping down. Head toward this area and you’ll eventually reach this enemy guarding a chest. This is the same area you can unlock the Dark Thunder Transformation (where you pull the Whip). | |
| 83 | 5 | Valley Entrance (Furnace Valley) | Follow the main path forward from the Shrine, and you’ll soon find this enemy. Carries a large shield. You’ll find it just before you get to the lava area mentioned above. | |
| 84 | 5 | Rakshasa Palace (Furnace Valley) | These are the giant enemies found by following the series of bridges from the Shrine. You’ll find two of them standing in the lava at the top of the area. | |
| 85 | 5 | Rakshasa Palace (Furnace Valley) | Follow the series of bridges from the Shrine and follow the path to the right to find this fire-wielding enemy. | |
| 86 | 5 | Rakshasa Palace (Furnace Valley) | Follow the series of bridges from the Shrine and follow the path to the right and keep heading this way while keeping an eye to your left. In the lava, a large red bull will be sitting here. That is the |
|
| 87 | 6 | Chapter 6 start | Story enemy found along the main path. | |
| 88 | 6 | Chapter 6 start | Story enemy found along the main path. | |
| 89 | 6 | Chapter 6 start | Story enemy found along the main path. | |
| 90 | 6 | Chapter 6 start | Story enemy found along the main path. | |
| Quickjump |
|---|
| Table of Contents |
All Yaoguai Chiefs Portraits
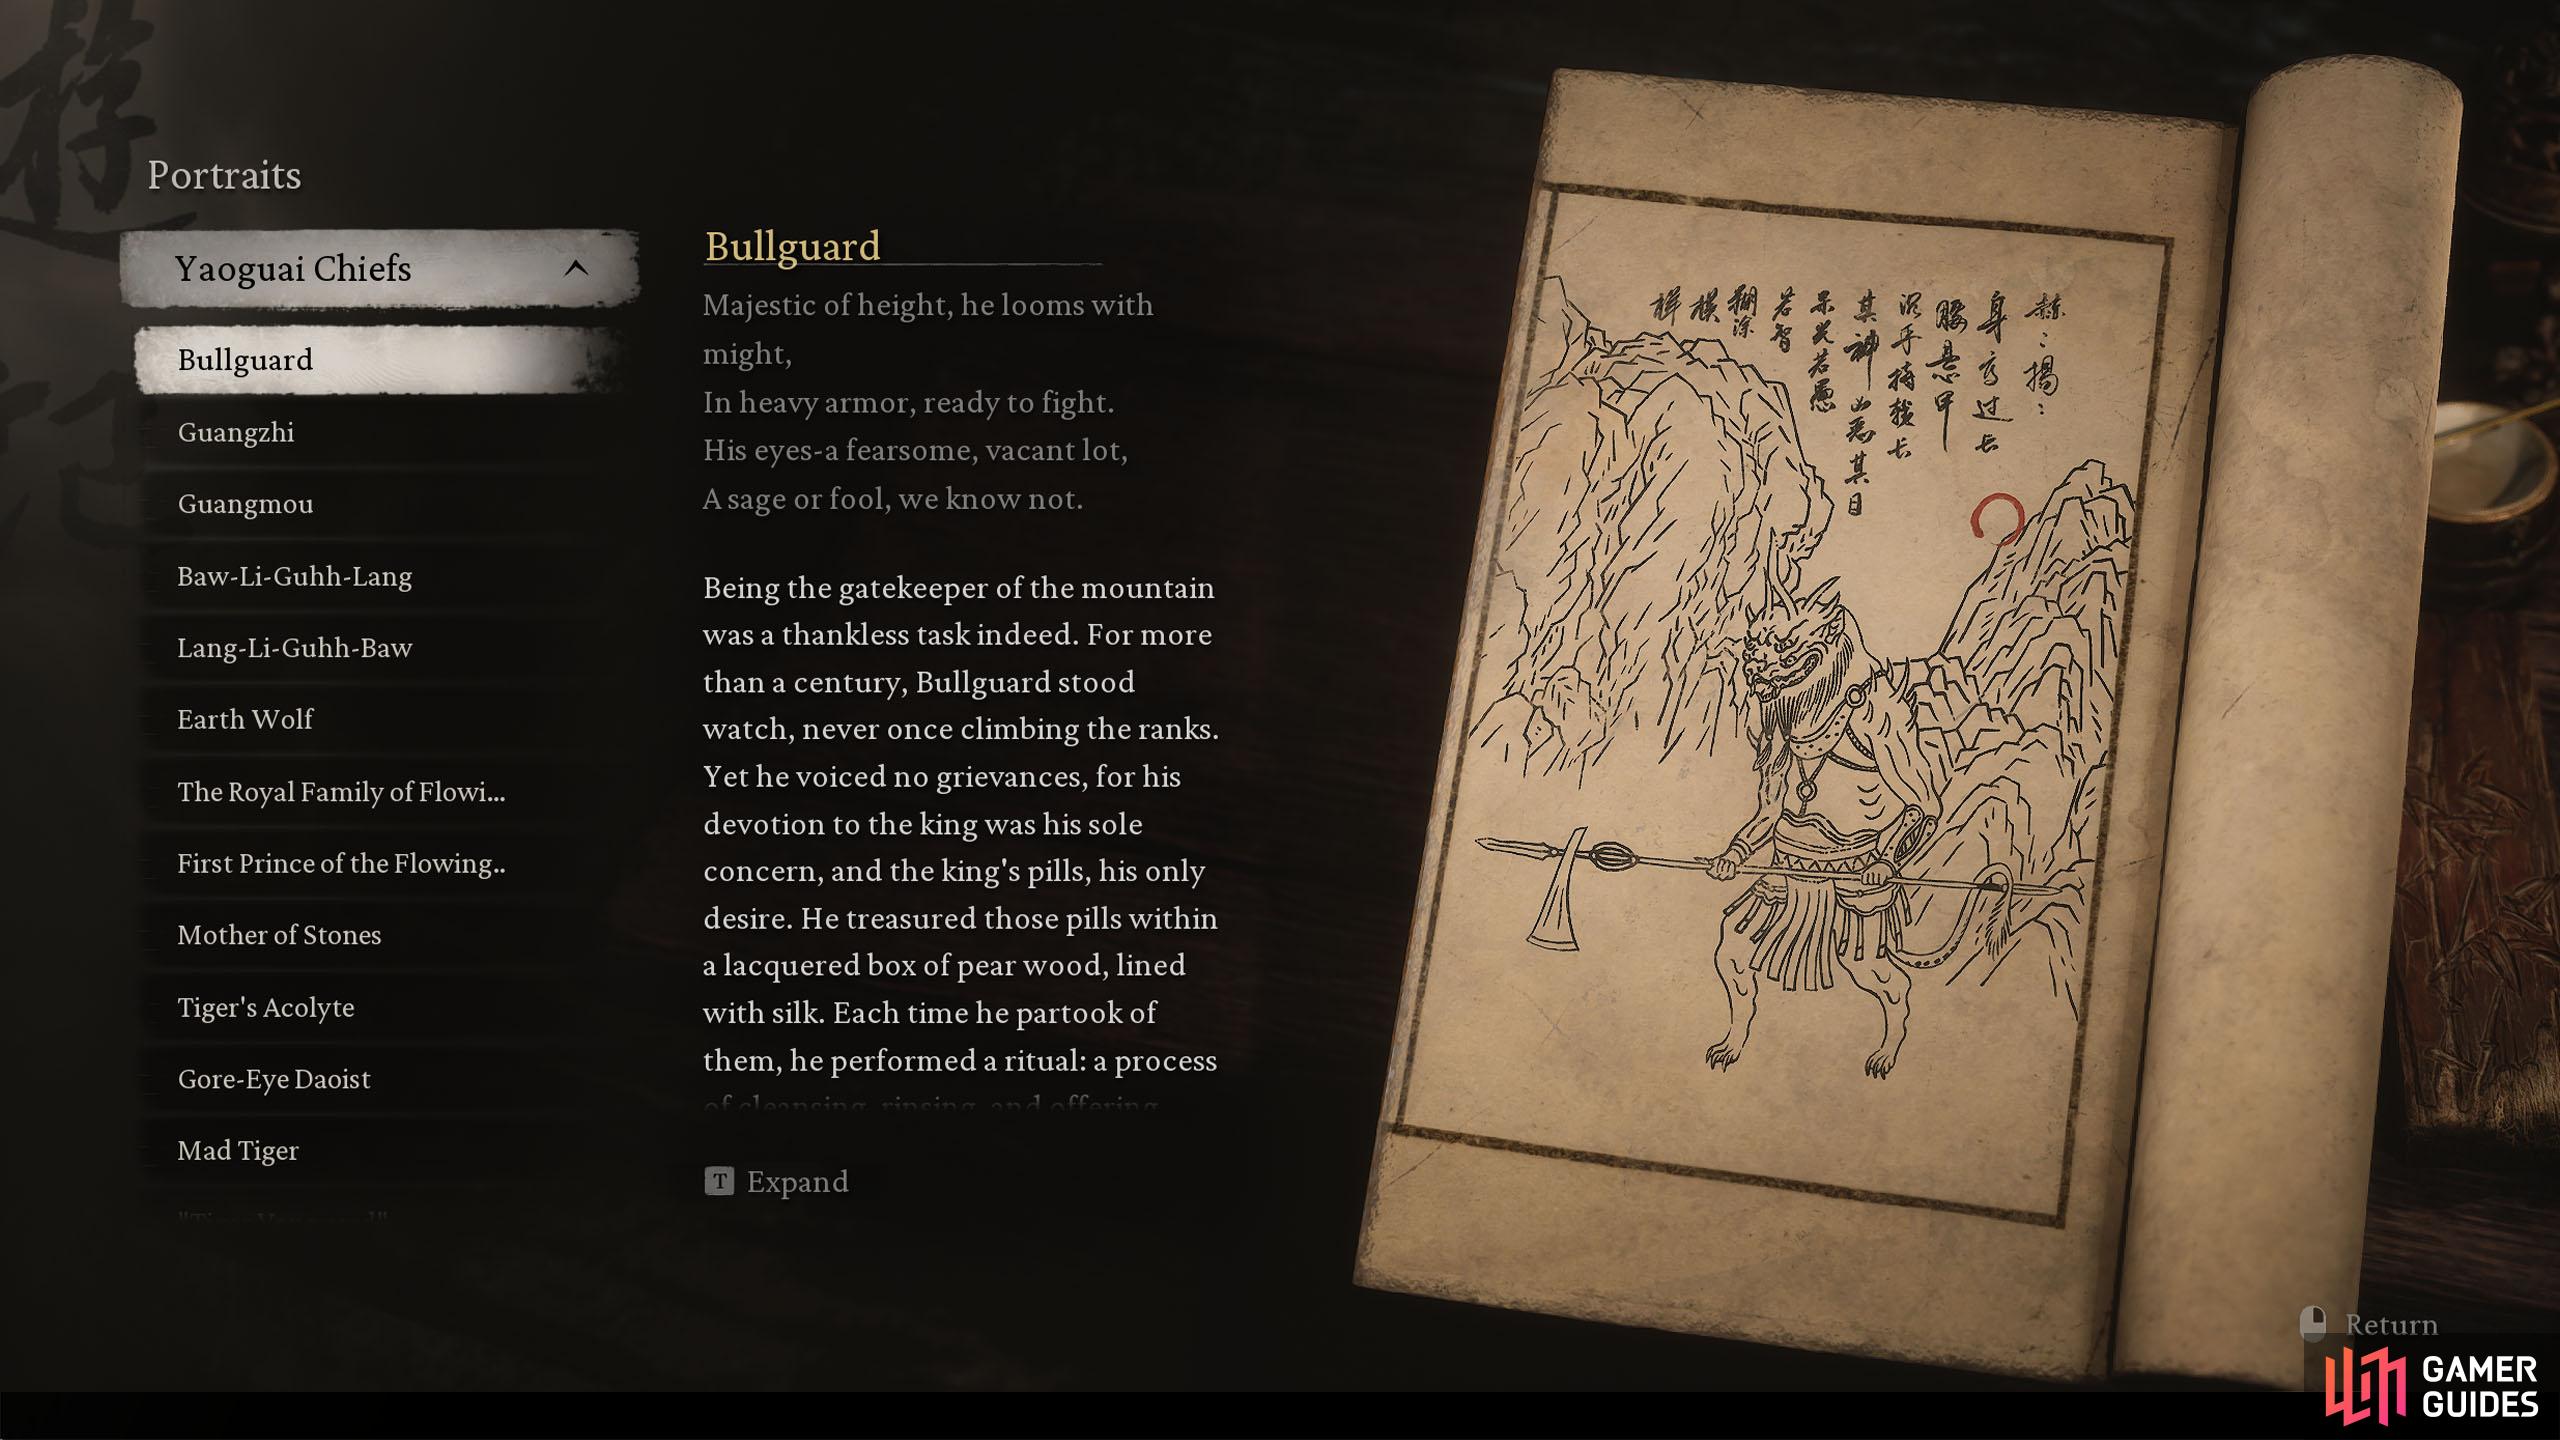
There are 55 Yaoguai Chiefs Portraits to unlock in the journal.
There are 55 Yaoguai Chiefs Portraits to collect. These must be defeated to unlock them in the journal. Yaoguai Chiefs are considered to be the mini-bosses of the game, where they will be a bit easier than the Yaoguai Kings.
| No. | Name | Chapter | Nearest Shrine | Location |
|---|---|---|---|---|
| 1 | 1 | Front Hills (Forest of Wolves) | From the Shrine, continue onward and take a right at the end where the |
|
| 2 | 1 | Outside the Forest (Forest of Wolves) | Go forward and take the first left path down. Follow the path forward and to the right to find a couple of chests near a bridge with an archer on it. Go across the bridge and follow the lit path to find Guanhzhi. | |
| 3 | 1 | Snake Trail (Bamboo Grove) | Follow the trail from the Shrine until you head down into an open forest area, filled with snake enemies. Head straight, through the forest and go in between the large two boulders to find the boss arena. | |
| 4 | 1 | Snake Trail (Bamboo Grove) | Follow the trail from the Shrine until you reach a bridge. Jump off the bridge to the left and follow the stream up until you finally reach |
|
| 5 | 2 | Village Entrance (Sandgate Village) | From the Shrine, go forward to find a small bridge going over a gap. Jump into the gap and head into the cave to your right. Speak to |
|
| 6 | 2 | Village Entrance (Sandgate Village) | Head over the small bridge in front of the Shrine and go right. Go left when you can and continue onward while hugging the wall to your left. Follow the path around to enter the village area and at the back, you’ll find the |
|
| 7 | 2 | Village Entrance (Sandgate Village) | Head over the small bridge in front of the Shrine and go right. Go left and then right to enter the village area. Continue onwards and go through the gate to the right, just past the mage enemy. | |
| 8 | 2 | Valley of Despair (Sandgate Village) | After defeating the King, head into the cave to the right of the Shrine. Go forward a bit to trigger a cutscene and then drop to the left to start the boss fight. | |
| 9 | 2 | Squall Hideout (Fright Cliff) | This boss is part of The Man in Stone Quest. From the Shrine, take the left path through the doorway and follow the slopes to the top. At the top, you’ll find the |
|
| 10 | 2 | Windrest Hamlet (Yellow Wind Formation) | Head over the nearby bridge ahead and follow the path until you reach another bridge. The |
|
| 11 | 2 | Windseal Gate (Yellow Wind Formation) | From the Shrine, take the left path (if looking at the Shrine) and follow the path up ahead. The |
|
| 12 | 2 | Village Entrance (Sandgate Village) | This boss can only be reached by completing the Rattle Drum Quest. Eventually, this quest will lead you to a well at the back of Sandgate Village, which transports you to the bottom of the well area, where you’ll fight the |
|
| 13 | “ |
2 | Sandgate Pass (Kingdom of Sahali) | Not to be confused with |
| 14 | 3 | Upper Pagoda (Pagoda Realm) | ||
| 15 | 3 | Longevity Road (Valley of Ecstasy) | ||
| 16 | 3 | Longevity Road (Valley of Ecstasy) | ||
| 17 | 3 | North Shore of the Bitter Lake (Bitter Lake) | To get this Portrait, you will need to defeat the boss version (the normal version won’t count). Facing the Shrine, head right along the coastline and follow the path under the bones. At the end, the |
|
| 18 | 3 | Forest of Felicity (Valley of Ecstasy) | From the Shrine, turn around, move forward toward the enemy, and head right into the trees. Here, you’ll find a hidden gap within the wall leading to |
|
| 19 | 3 | Towers of Karma (Valley of Ecstasy) | Facing the Shrine, turn left to find a Dual-Bladed Monk. Follow the path to the right of him to find a Shrine amidst numerous |
|
| 20 | 3 | Mindfulness Cliff (Valley of Ecstasy) | Follow the main path from the Shrine to encounter |
|
| 21 | 3 | Temple Entrance (New Thunderclap Temple) | Go through the wooden temple in front of you and exit the other side. Head up the stairs on your left and follow the path to the end before taking the right path, which leads to a large set of stairs. Walk up the wider staircase, and at the top, enter the building on the right to find |
|
| 22 | 3 | Brook of Bliss (Valley of Ecstasy) | Go up the small set of stairs to the right of the Shrine and head left. Follow the path until you reach a stone pillar, and head around the rocky wall in front of it. |
|
| 23 | 3 | Temple Entrance (New Thunderclap Temple) | Go through the wooden temple in front of you and exit the other side. Head up the stairs on your left and follow the path to the end before taking the stairs down to your left. Go into the nearby building, climb the stairs to the top, exit the building, and turn right. Go through the doorway and follow the stairs to the top. The |
|
| 24 | Monk from the Sea | 3 | Temple Entrance (New Thunderclap Temple) | From the Shrine, take the right path into the red wall area, and follow the left path up and around to the next area. Continue onward and go through the archway to your left and then turn right and approach the turtle statue. The Monk from the Sea will appear along the path. |
| 25 | 3 | Mahavira Hall (New Thunderclap Temple) | Although you’ll encounter the Chief two times before, you won’t get the journal until you defeat it at the end of the Chapter alongside |
|
| 26 | 4 | Windrest Bridge (Yellow Wind Formation) | Obtained at the end of Chapter 4 after defeating the |
|
| 27 | 4 | Windseal Gate (Yellow Wind Formation) | Obtained at the end of Chapter 4 after defeating the |
|
| 28 | 4 | Temple Entrance (Crouching Tiger Temple) | Obtained at the end of Chapter 4 after defeating the |
|
| 29 | 4 | Village Entrance (Sandgate Village) | Obtained at the end of Chapter 4 after defeating the |
|
| 30 | 4 | Chapter 3 Start / Frostclad Path (Snowhill Path) | First boss of Chapter 4. Go through the double doors next to the Shrine to fight her. | |
| 31 | 4 | Estate of the Zhu (Village of Lanxi) | Obtained at the end of Chapter 4 after defeating the |
|
| 32 | 4 | The Verdure Bridge (Webbed Hollow) | Go over the nearby green bridge and take a left immediately after. At the back, you’ll find a couple of braziers. As you approach them, you’ll get a short scene. Head inside the room with five chests, open them up and go through the webbed path to the right, where you’ll encounter the Elder Armourworm. | |
| 33 | 4 | Middle Hollow (Webbed Hollow) | From the Shrine, drop down to the sack-filled path and continue to the end of the path, where you can drop into a large arena. This will trigger the |
|
| 34 | 4 | Cliff of Oblivion (Webbed Hollow) | From the Shrine, follow the narrow path forward and interact with the glowing hand to trigger the battle. | |
| 35 | 4 | Lower Hollow (Webbed Hollow) | Go through the sack-filled room to the left of the Shrine while hugging the left wall to find a gap with light shining through it. Go through the gap, up the stairs, and through the left passage. Follow the path to the end and drop into the room full of water to find the boss. | |
| 36 | 4 | Forest of Ferocity (Temple of the Yellow Flower ) | Follow the path right of the Shrine past the two enemies wearing yellow. Continue onwards and follow the fenced path to your right past the |
|
| 37 | 4 | Petalfall Hamlet (Secret Area: Purple Cloud Mountain) | To access the secret area, read our Purple Cloud Mountain Unlock Guide. Make your way through until you reach the Petalfall Hamlet Shrine, and then go up the stairs. To your left is the |
|
| 38 | 5 | Height of Ember (Woods of Ember) | These are related to unlocking the Secret Area in Chapter 5. Follow our Five Element Cart Quest Guide to find them. | |
| 39 | 5 | Height of Ember (Woods of Ember) | Automatic story boss immediately after the Shrine. | |
| 40 | 5 | Height of Ember (Woods of Ember) | Automatic story boss a bit further on from the |
|
| 41 | 5 | Valley Entrance (Furnace Valley) | Automatic story boss not far from the Shrine. | |
| 42 | 5 | Purge Pit (Secret Area: Bishui Cave) | This is the first boss in the secret area. Follow our Five Element Cart Quest Guide to access the area. | |
| 43 | 5 | Valley Entrance (Furnace Valley) | Follow the main path from the Shrine until you reach the Bull enemy with the large Shield. Continue forward a little until you can head into the lava to your left. Follow this path to the end to find the |
|
| 44 | 5 | Fallen Furnace Crater (Field of Fire) | Backtrack from the Shrine where the large ball was rolling back and forth and then head left to find the |
|
| 45 | 5 | Fallen Furnace Crater (Field of Fire) | From the |
|
| 46 | 3 | Cooling Slope (Field of Fire) | This Shrine is located on the path leading to the secret area (not inside it). From the Shrine, go through the icy gate toward the large circular area before you enter the Bishui Cave, and you’ll find the boss on your left. Follow our Five Element Cart Quest Guide to access the secret area. | |
| 47 | 6 | Verdant Path (Foothills) | After you’ve obtained the |
|
| 48 | 6 | Verdant Path (Foothills) | After you’ve obtained the |
|
| 49 | 6 | Verdant Path (Foothills) | After you’ve obtained the |
|
| 50 | 6 | Verdant Path (Foothills) | After you’ve obtained the |
|
| 51 | 6 | Verdant Path (Foothills) | After you’ve obtained the |
|
| 52 | 6 | Verdant Path (Rhino Watch Slope) | After you’ve obtained the |
|
| 53 | 6 | Verdant Path (Deer Sight Forest) | After you’ve obtained the |
|
| 54 | 6 | Verdant Path (Mantis-Catching Swamp) | After you’ve obtained the |
|
| 55 | 6 | Verdant Path (Mantis-Catching Swamp) | After you’ve obtained the |
|
| Quickjump |
|---|
| Table of Contents |
All Yaoguai Kings Portraits
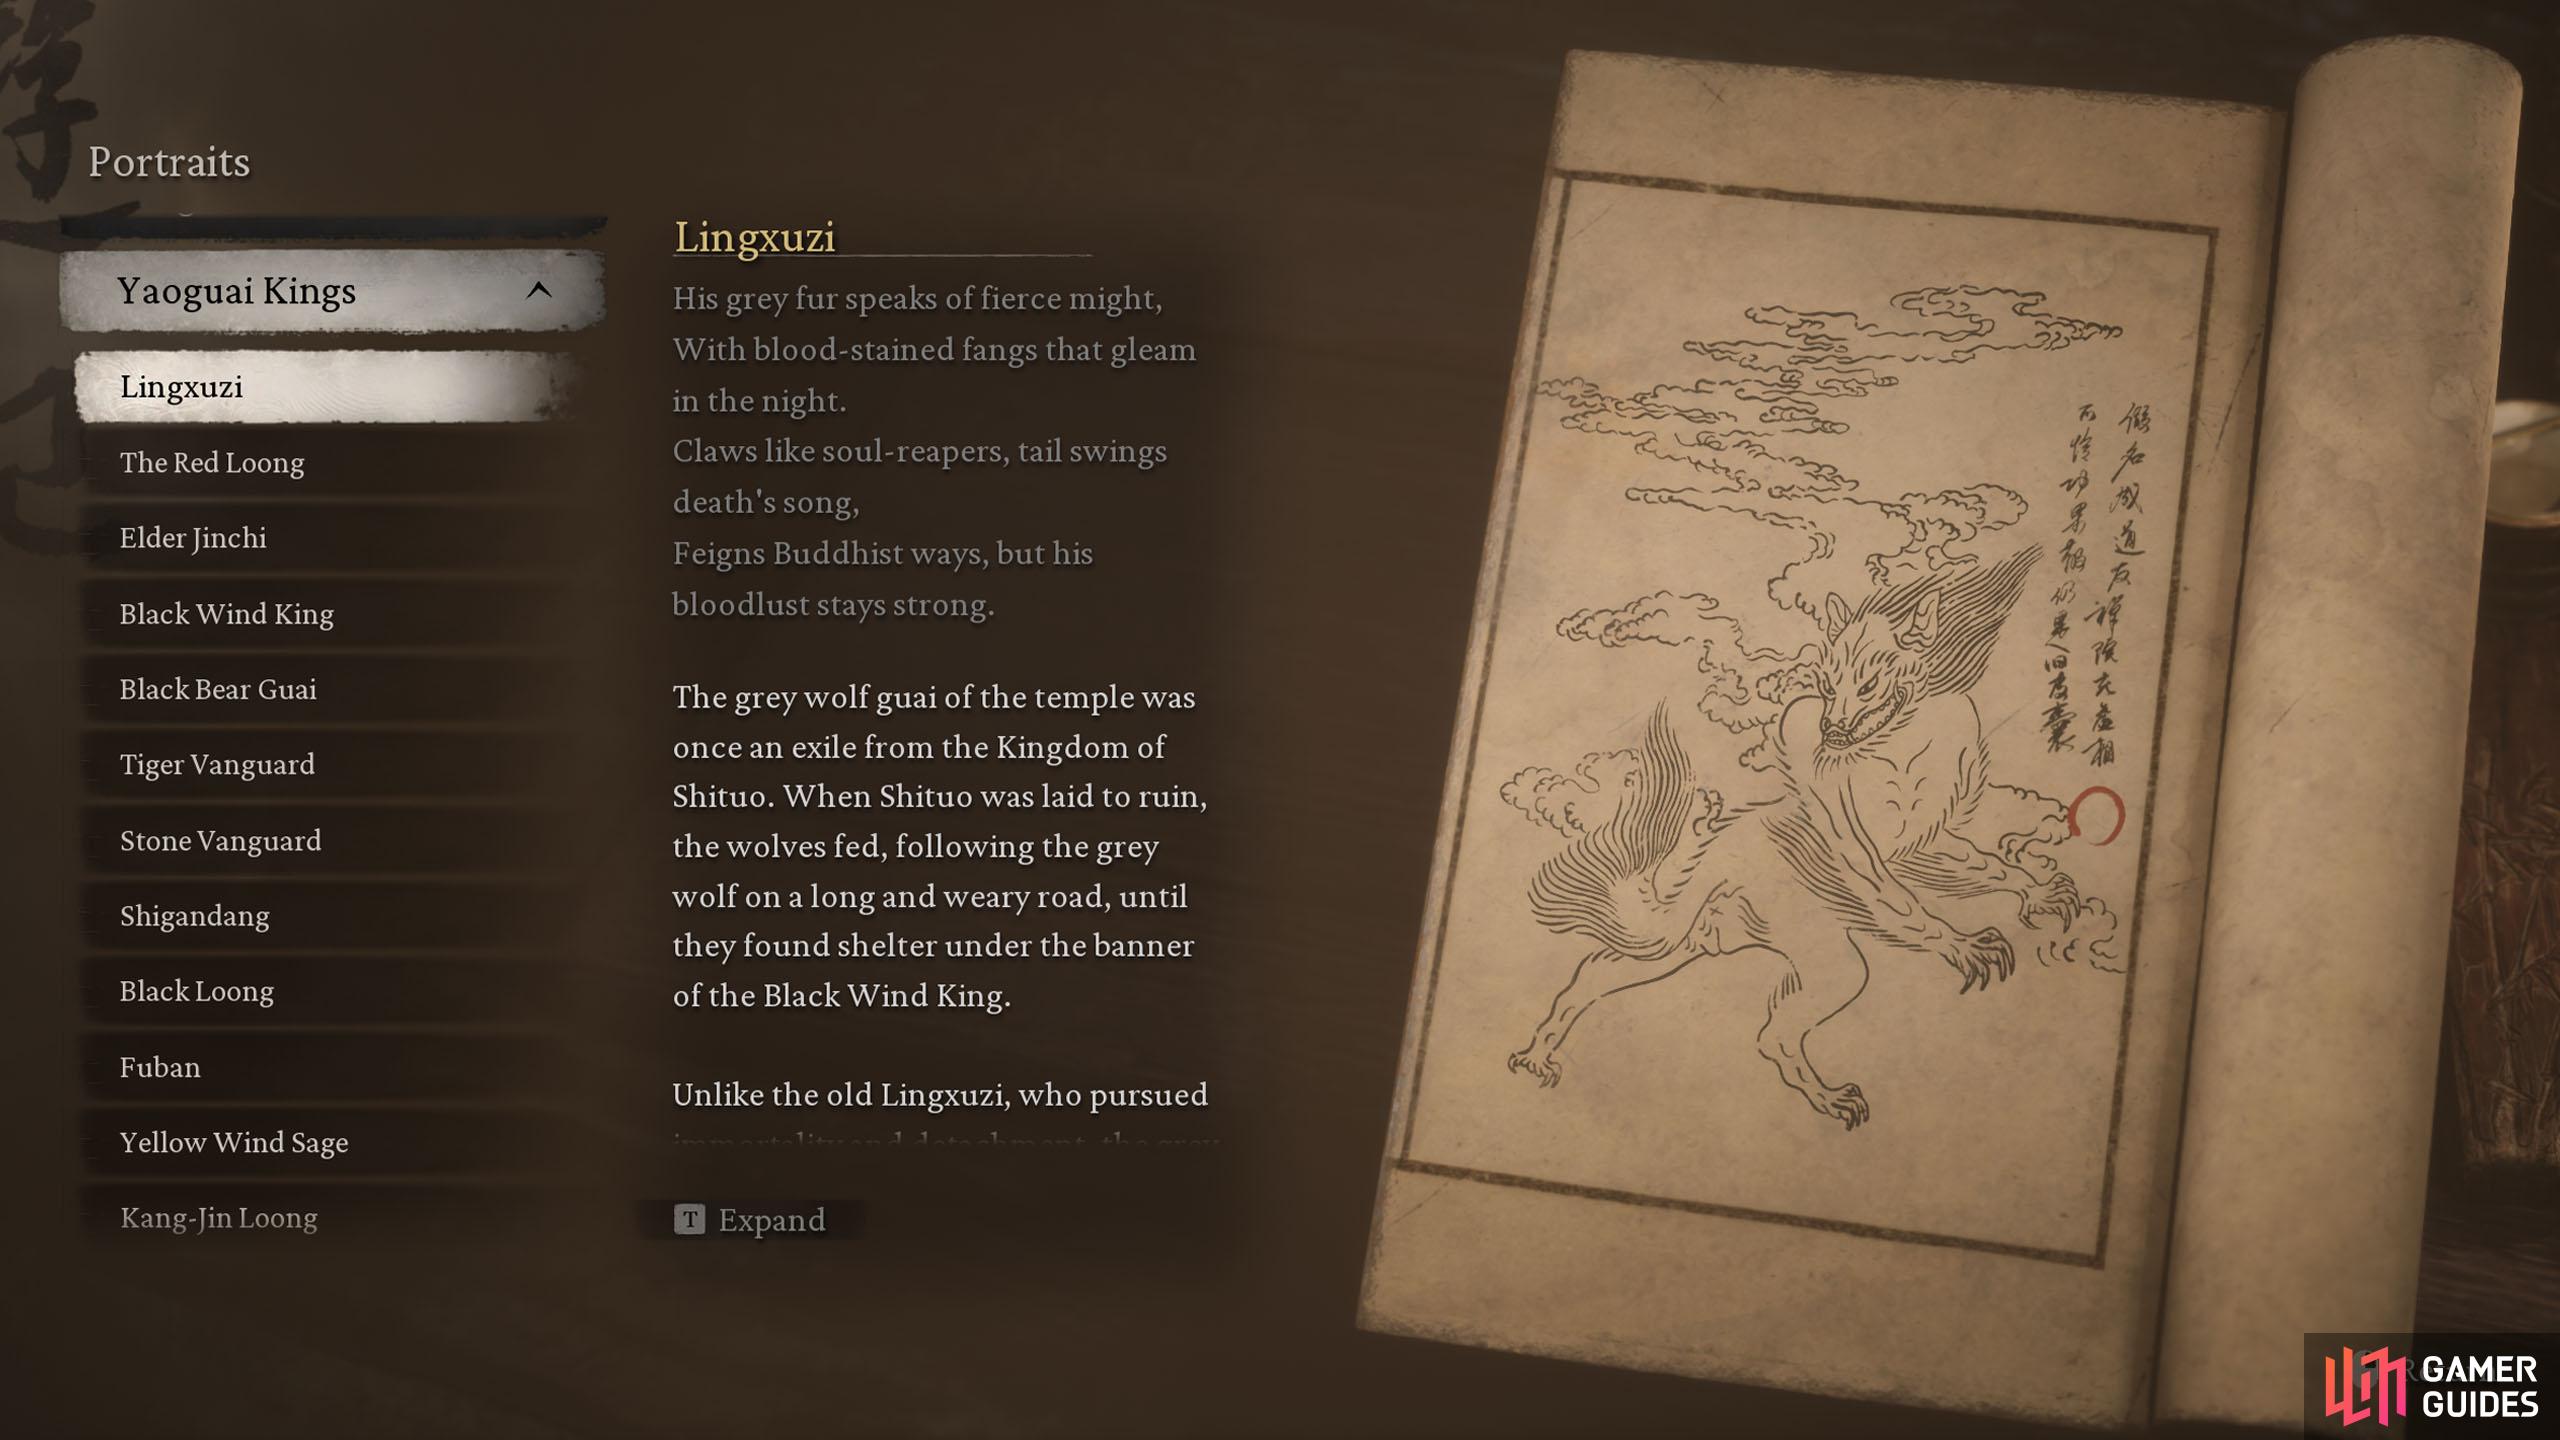
There are 26 Yaoguai Kings Portraits to unlock in the journal.
There are 26 Yaoguai Kings Portraits to collect. These must be defeated to unlock them in the journal. Yaoguai Kings are full-strength bosses with lots of attacks and are generally more difficult than the Yaoguai Chiefs.
| No. | Name | Chapter | Nearest Shrine | Location |
|---|---|---|---|---|
| 1 | 1 | Guanyin Temple (Forest of Wolves) | Story boss found in the following area from the Shrine. | |
| 2 | 1 | Outside the Forest (Forest of Wolves) | Must have the Loong Scales from Chapter 2 first to access the battle. Go to the Waterfall in Forest of Wolves - Outside the Forest. From the Shrine, go left at the first fork and continue onward to reach it | |
| 3 | 1 | Grand Chamber (Secret Area: Ancient Guanyin Temple) | Boss in the Secret Area: Ancient Guanyin Temple. Must Ring the Three Bells to get teleported to the area. | |
| 4 | 1 | Cave Interior (Black Wind Cave) | Story boss just past the doors near the Shrine. | |
| 5 | 1 | Bodhi Peak (Black Wind Cave) | Final story boss of Chapter 1 found at the top of Bohdi Peak. | |
| 6 | 2 | Temple Entrance (Crouching Tiger Temple) | Story boss found in the arena at the top of the stairs from the Shrine. | |
| 7 | 2 | Rockrest Flat (Fright Cliff) | From the shrine, keep heading left (past the statue head). If you summon the Shingandang boss without triggering the |
|
| 8 | 2 | Rockrest Flat (Fright Cliff) | Same place as the |
|
| 9 | 2 | Rockrest Flat (Fright Cliff) | Go to the Fright Cliff - Rockrest Flat Shrine and head up the stairs to the right to reach the sand waterfall. Requires Loong Scales from Chapter 2 first to access the battle. | |
| 10 | 2 | Sandgate Pass (Secret Area: Kingdom of Sahi) | Secret Area is accessed by completing The Drunken Pig (Yellow-Robed Squire) Quest. When you reach the secret area, defeat the “ |
|
| 11 | 2 | Cellar (Crouching Tiger Temple) | Final story boss of Chapter 2. From the Shrine, slide down the sand slope and go left. | |
| 12 | 3 | Snowhill Path (Mirrormere) | Story boss found by approaching the temple on the ice. | |
| 13 | 3 | Warding Temple (Pagoda Realm) | Make your way to the back of the Warding Temple until you reach a snowy slope. Slide down the slope to trigger the battle. | |
| 14 | 3 | Mani Wheel (Pagoda Realm) | Story boss found next to the Shrine. | |
| 15 | 3 | Turtle Island (Bitter Lake) | Requires Loong Scales from Chapter 2 first to access the battle. After beating the other two Loongs, head to the Turtle Island Shrine on Bitter Lake. From the Shrine, head to the coastline and follow it right until you find a dragon statue. As you approach it, the statue will come to life (provided you have the scales). | |
| 16 | 3 | Mahavira Hall (New Thunderclap Temple) | Final boss of Chapter 3. Found at the back of New Thunderclap Temple. | |
| 17 | 4 | The Gathering Cave (Webbed Hollow) | Story boss found right next to the Shrine. | |
| 18 | 4 | Relief of the Fallen Loong (Webbed Hollow) | Requires Loong Scales from Chapter 2 as well as defeating the other 3 Loongs. Found next to the Shrine. To get to the Shrine, teleport to the Cliff of Oblivion, defeat |
|
| 19 | 4 | Bounds of Deity’s Abode (Secret Area: Purple Cloud Mountain) | Secret Area: Purple Cloud Mountain boss. To access the area, you must defeat the |
|
| 20 | 4 | Cloudnest Peak (Secret Area: Purple Cloud Mountain) | Secret Area: Purple Cloud Mountain boss. To access the area, you must defeat the |
|
| 21 | 4 | Court of Illumination (Temple of the Yellow Flower) | Final boss of Chapter 4. | |
| 22 | 5 | The Emerald Hall (Furnace Valley) | This is the second phase of the Keeper of Flaming Mountains boss fight. This is a story boss and cannot be missed. | |
| 23 | 5 | Corridor of Fire and Ice (Secret Area: Bishui Cave) | Must complete the Five Element Cart Quest to gain access to the secret area. The |
|
| 24 | 5 | Fallen Furnace Crater (Field of Fire) | Final boss of Chapter 5. | |
| 25 | 5 | Fallen Furnace Crater (Field of Fire) | Second phase of the final boss in Chapter 5. | |
| 26 | 6 | Verdant Path (Foothills) | Part of the Skandha Quest where you need 4 Skandhas. After |
|
| Quickjump |
|---|
| Table of Contents |
All Character Portraits
There are 32 Character Portraits to unlock in the journal.
There are 32 Character Portraits to collect. The majority of these are either unlocked automatically, or you’ll need to complete their quest.
| No. | Name | Chapter | Nearest Shrine | Location |
|---|---|---|---|---|
| 1 | 1 | Marsh of White Mist (Bamboo Grove) | Main story boss. From the Shrine, follow the linear path down, go under the log at the bottom to reach an open water area for the boss fight. | |
| 2 | 1 | Bodhi Peak (Black Wind Cave) | Unlocked automatically after defeating Black Bear Guai at the end of Chapter 1. | |
| 3 | 2 | Squall Hideout (Fright Cliff) | Complete the Man in Stone Quest. | |
| 4 | 2 | Rockrest Flat (Fright Cliff) | Complete The Drunken Pig (Yellow-Robed Squire) Quest. | |
| 5 | 2 | Temple Entrance (Crouching Tiger Temple) | Follow the linear path in the Cellar until you get a cutscene. This will unlock the entry. | |
| 6 | 2 | Chapter 2 End | Unlocked automatically after the completion of Chapter 2 (Defeated |
|
| 7 | 3 | North Shore of the Bitter Lake (Bitter Lake) | From the Shrine, follow the coastline left, where you’ll encounter the |
|
| 8 | 3 | Forest of Felicity (Valley of Ecstasy) | Complete the Fox Guai Quest. | |
| 9 | 3 | North Shore of the Bitter Lake (Bitter Lake) | Complete The Treasure Hunter Quest. | |
| 10 | 3 | Lower Pagoda (Pagoda Realm) | Complete The Prisoner Quest. | |
| 11 | 3 | Chapter 3 End | Unlocked automatically after the completion of Chapter 3. | |
| 12 | 4 | Hut of Immortality (Webbed Hollow) | The boss fight is immediately after the Shrine and is a story boss. Upon defeating its two phases, the journal gets unlocked. | |
| 13 | 4 | Pool of Shattered Jade (Webbed Hollow) | Part of unlocking the secret area. Must defeat the |
|
| 14 | 4 | The Verdure Bridge (Webbed Hollow) | Must complete The Purple Talisman Quest before you defeat the final boss of the Chapter. | |
| 15 | 4 | Chapter 4 End | Unlocked automatically after the completion of Chapter 4. | |
| 16 | 5 | The Emerald Hall (Furnace Valley) | Defeat the story boss found immediately after The Emerald Hall Shrine. | |
| 17 | 5 | Back Hills (Bamboo Grove) | Complete the Horse Guai Quest. Starts in Chapter 1 and ends in Chapter 5. You must meet him in each Chapter. | |
| 18 | 5 | Ashen Pass I (Woods of Ember) | Must complete the Five Element Cart Quest. | |
| 19 | 5 | Chapter 5 End | Unlocked automatically after the completion of Chapter 5. | |
| 20 | 5 | Chapter 5 End | Unlocked automatically after the completion of Chapter 5. | |
| 21 | 5 | Chapter 5 End | Unlocked automatically after the completion of Chapter 5. | |
| 22 | 6 | Verdant Path (Foothills) | First story boss in Chapter 6. | |
| 23 | 6 | Verdant Path (Foothills) | Must complete the Skandha Quest and defeat the |
|
| 24 | 3 | North Shore of the Bitter Lake Shrine (Bitter Lake) | Must complete the Chen Loong and the Ruyi Scroll Quest. | |
| 25 | 3 | North Shore of the Bitter Lake Shrine (Bitter Lake) | Must complete the Chen Loong and the Ruyi Scroll Quest. | |
| 26 | 1 | Marsh of White Mist (Bamboo Grove) | Unlocked on your way down to the |
|
| 27 | 2 | Cellar (Crouching Tiger Temple) | Complete the Medicine Making Quest. | |
| 28 | 6 | Heart of Birthstone (Birthstone) | Unlocked automatically after the completion of Chapter 6. | |
| 29 | New Game Plus | – | Unlocked automatically after starting a New Game Plus. This will overwrite your save, so do this last. | |
| 30 | Secret Ending | – | Follow our How to Unlock all Endings Guide to find out how to unlock this entry. | |
| 31 | Secret Ending | – | Follow our How to Unlock all Endings Guide to find out how to unlock this entry. | |
| 32 | – | – | Unlocked after obtaining all Portrait entries. | |
| Quickjump |
|---|
| Table of Contents |
That’s it for all the Portrait entries. Once you’ve unlocked every entry, you’ll acquire the Portrait Perfected achievement. This is by far the most time-consuming achievement, and it’s recommended you do this once you’ve reached the end of the game (outside the missable entries). This is because the number of journal entries changes location by the end of the game as you unlock more of them. So, the entry at the start of the game may be number 7, but by the end of the game, it’s changed to 28 for example.
No Comments