
This is a guide for Chapter 8: The Maiden’s Peril in Fire Emblem Warriors: Three Hopes, this page focusing on the Main Quest, Midwestern Riegan Territory.
It’s time for the final battle of Chapter 8
A quick reminder that this is the main quest for Chapter 8 of Scarlet Blaze, so make sure you have done everything else you wanted to do before starting this battle. That includes the side battles, spending all of your Activity/Training Points in the camp, and checking out all of the Surveying Spots. You will be unable to do these and get the rewards for them later. Note that you will be able to replay battles for S Ranks, so don’t worry too much about that right now.
Which Strategies to Choose for Arianrhod, the Fortress City
If you captured all of the regions during this chapter, then you should have a total of 60 Strategy Resources to work with for this main quest. Naturally, if you want to have Mercedes to join your army, then you will want to take the Persuade Mercedes Strategy, leaving you with 40 more. Hidden Staircases will provide a shortcut to the main northern area, without needing to do a lot of traveling to get there, especially if you partake in one of the side missions. If you wish to have more time in trying to save Rowe, then use the Gaspard Reinforcements Strategy.
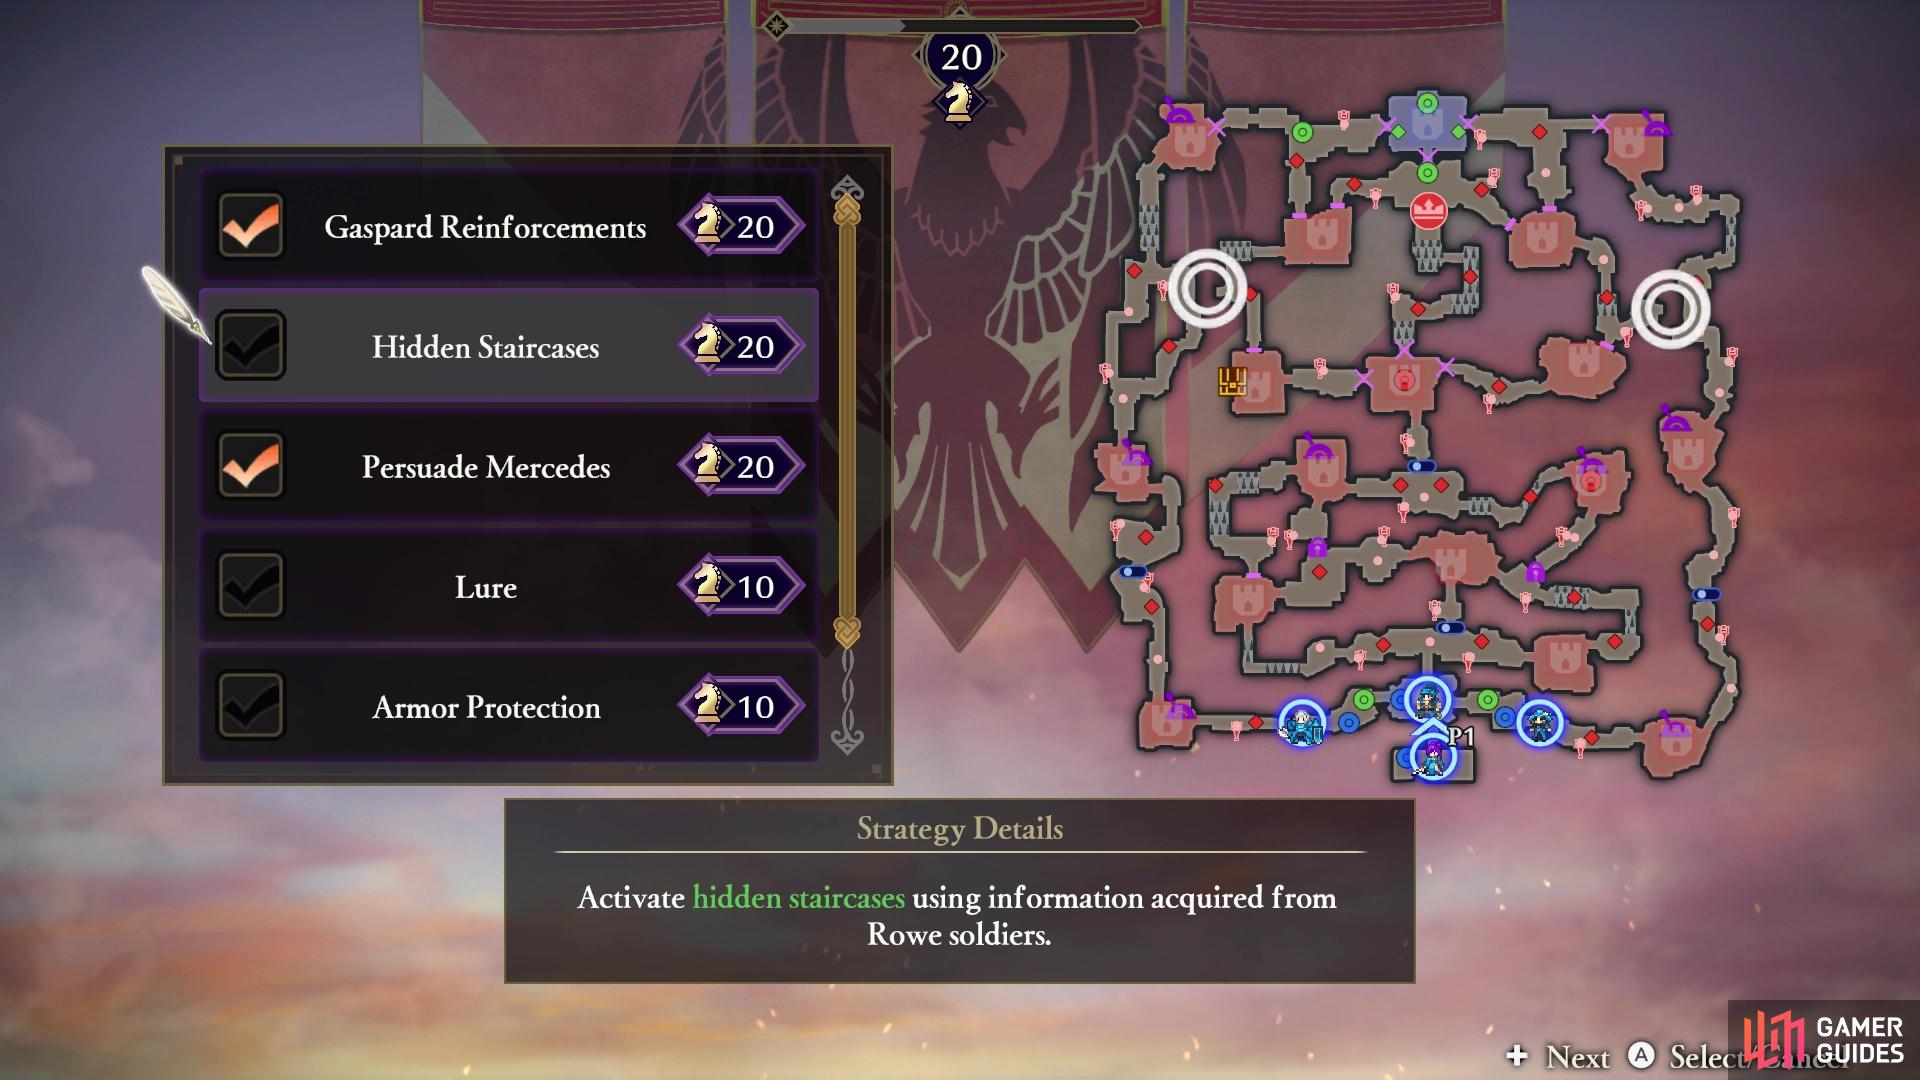
The top three Strategies are probably the best ones to choose
| Strategy | Cost | Strategy Details |
|---|---|---|
| Gaspard Reinforcements | 20 | Have the Gaspard Militia reinforce the Rowe army, halting the Kingdom army’s invasion. |
| Hidden Staircases | 20 | Activate hidden staircases using information acquired from Rowe soldiers. |
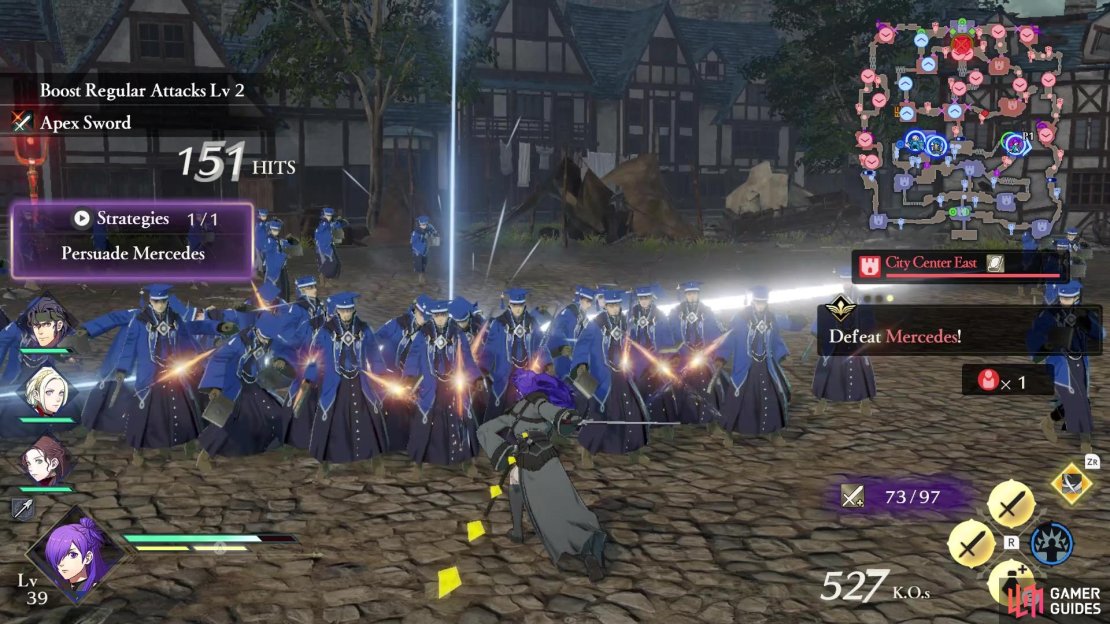
| Persuade Mercedes | 20 | Convince an enemy general to join your army. Requires Jeritza to be in the battle. |
| Lure | 10 | Begin the battle with the enemy formation in disarray. |
| Armor Protection | 10 | Assign an armored unit to protect allies as they advance. |
| Well-Stocked | 10 | Begin the battle with allied strongholds stocked with healing items. |
How to S Rank Arianrhod, the Fortress City
| Completion Time | Enemies Defeated | Damage Taken |
|---|---|---|
| 16:00 | 1800 | 50% |
Getting the S Rank in this battle can be quite challenging, especially since you will be doing a lot of running around to unlock the various gates. Shez’s Shadow Slide ability to teleport to allied strongholds is extremely useful here, plus you may want to bring along someone with the Locktouch skill, since there are some nice shortcuts to grab in the central part of the map. For the first part of the battle, you will want to send allies to the strongholds you need to capture, then as soon as they do that, order them to hit the levers. In the central section, order your ally with Locktouch to open those doors, which will help in getting around later.
After opening all of the gates, it’s best to just ignore any side missions that pop up and go straight after the main units to complete the map. If you fail to do the rescue in time, then you will have some more enemies to deal with, but nothing is too challenging there. When Claude has been defeated, you will have one more enemy to fight, Ingrid, who will be the final one.
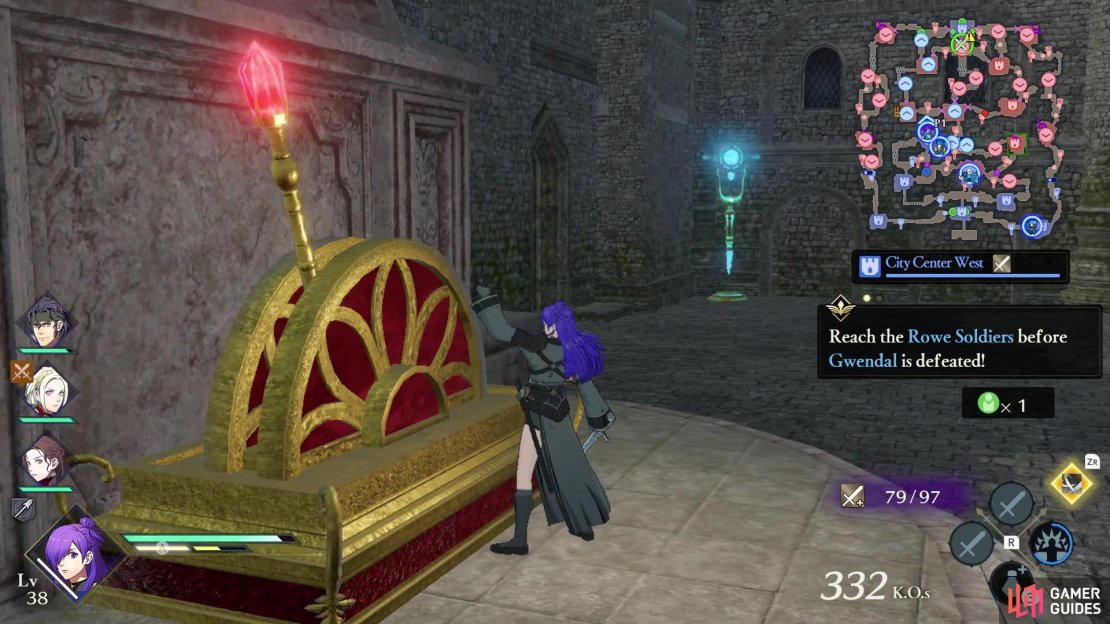
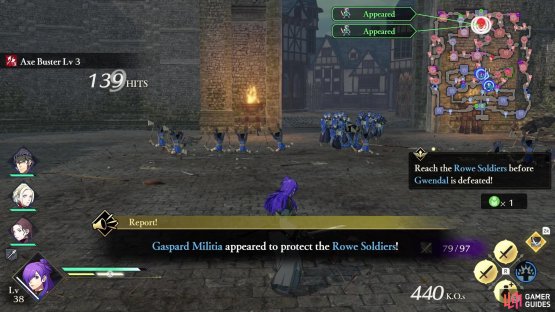
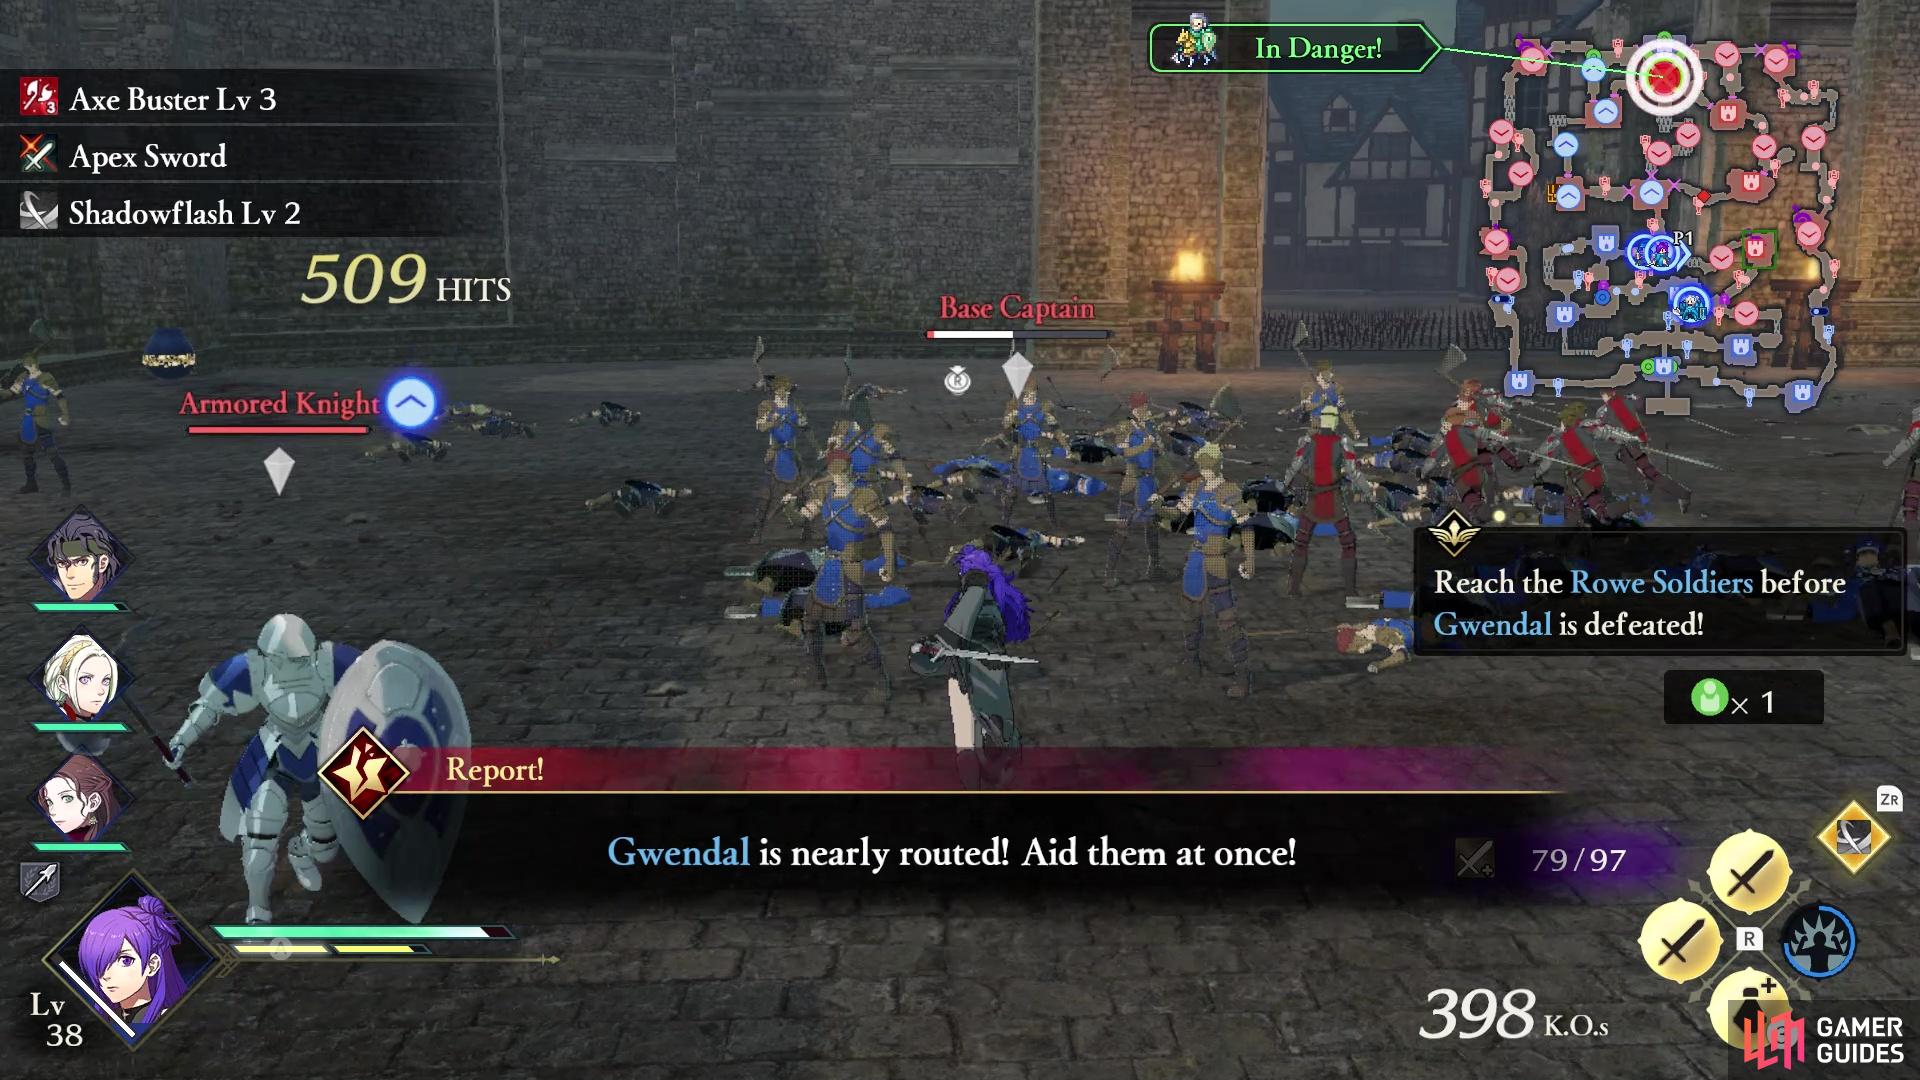
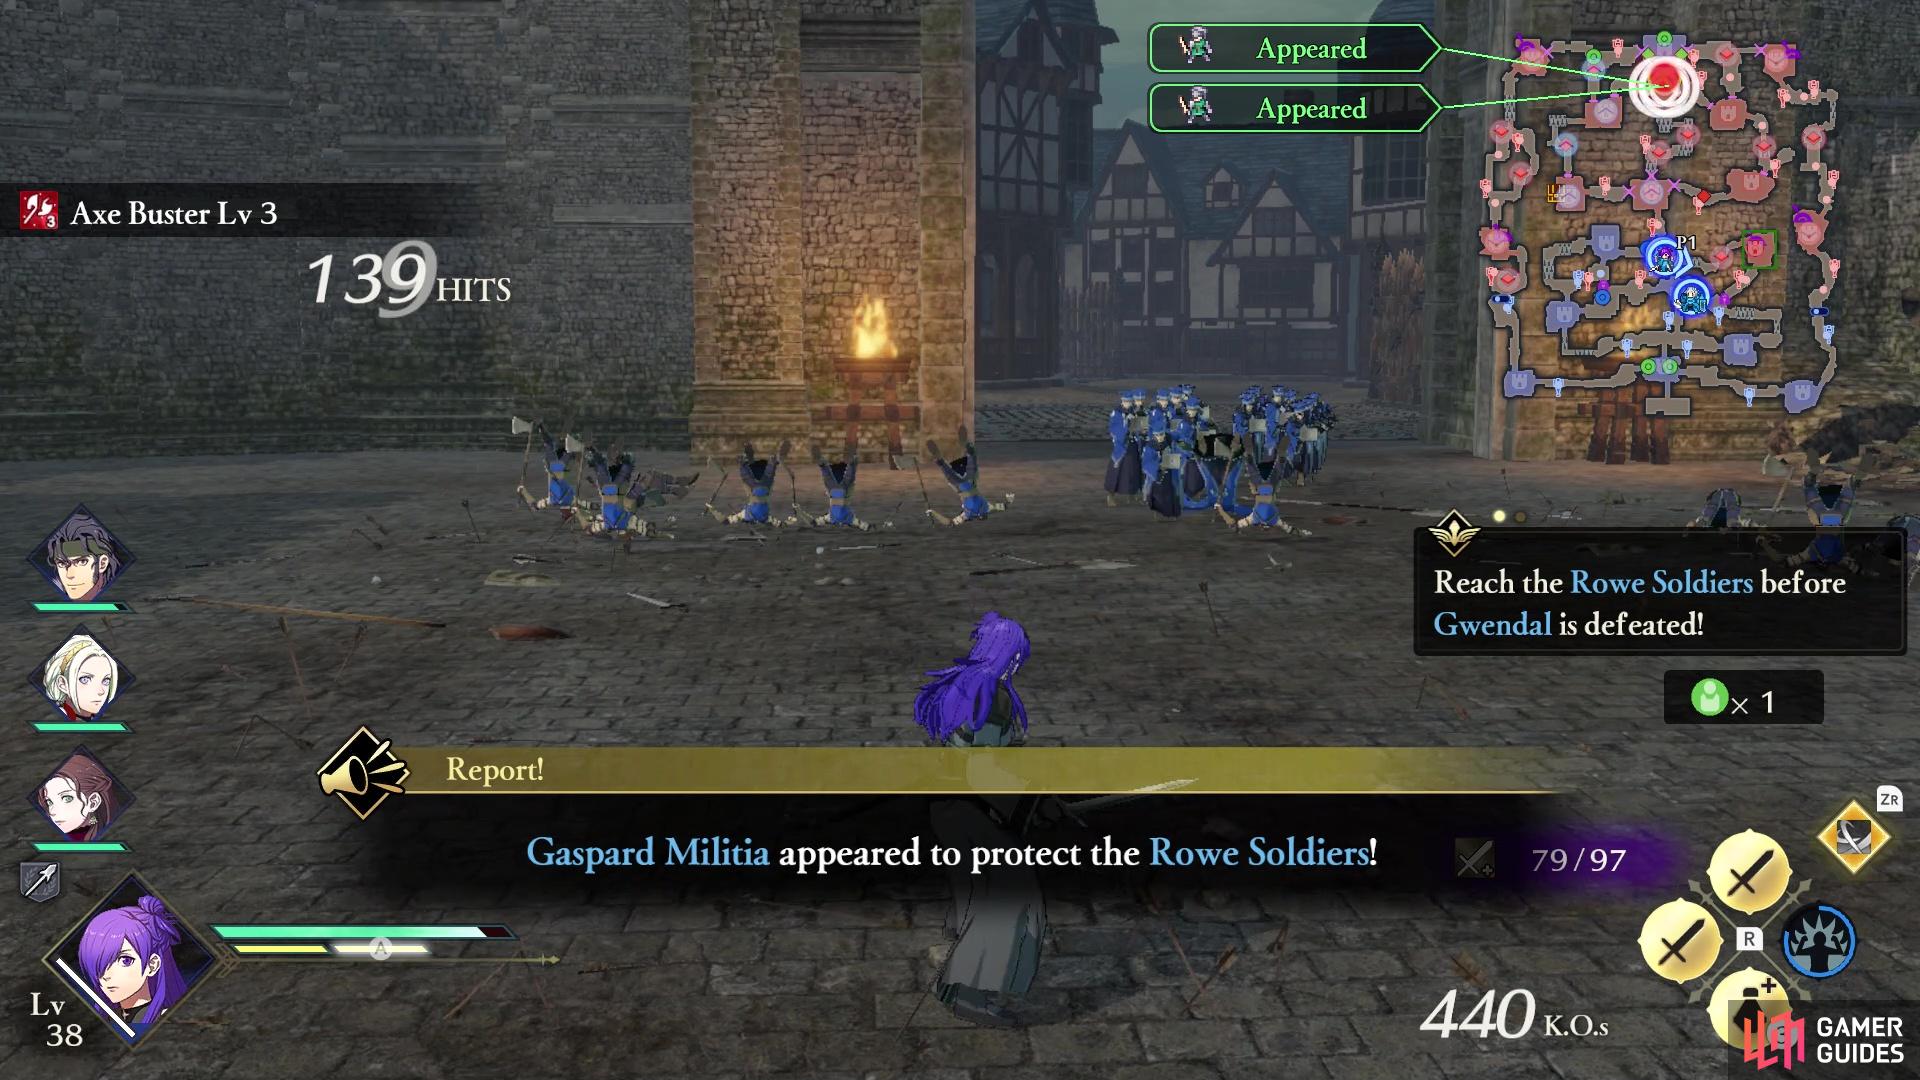
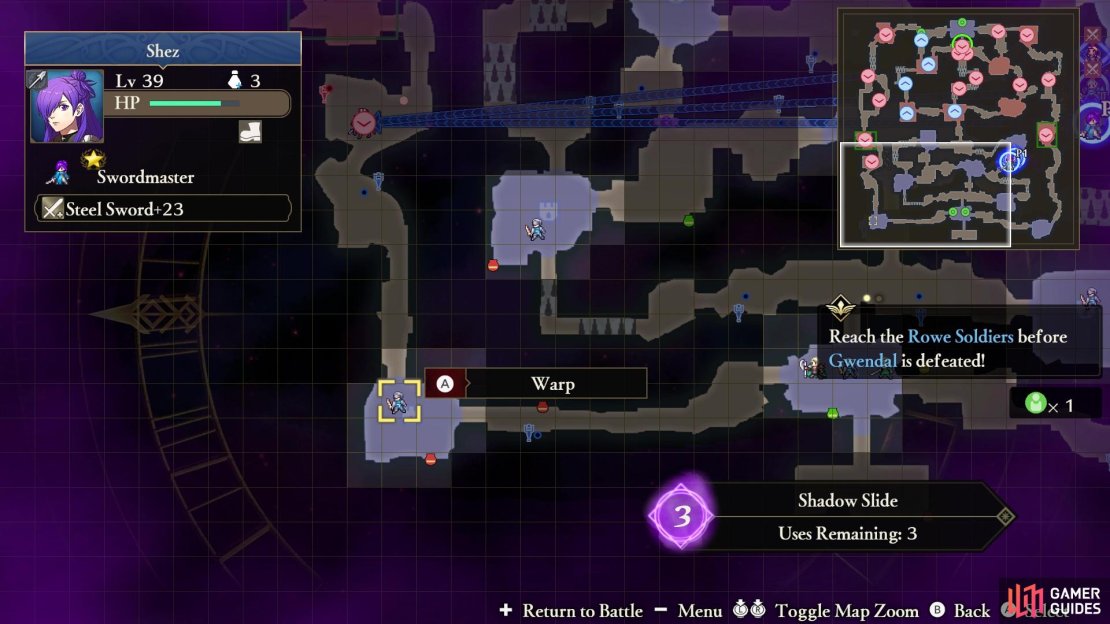
Mission 1: Reach the Rowe Soldiers before Gwendal is Defeated

(1 of 2) Petra’s preferred classes can open these locked gates

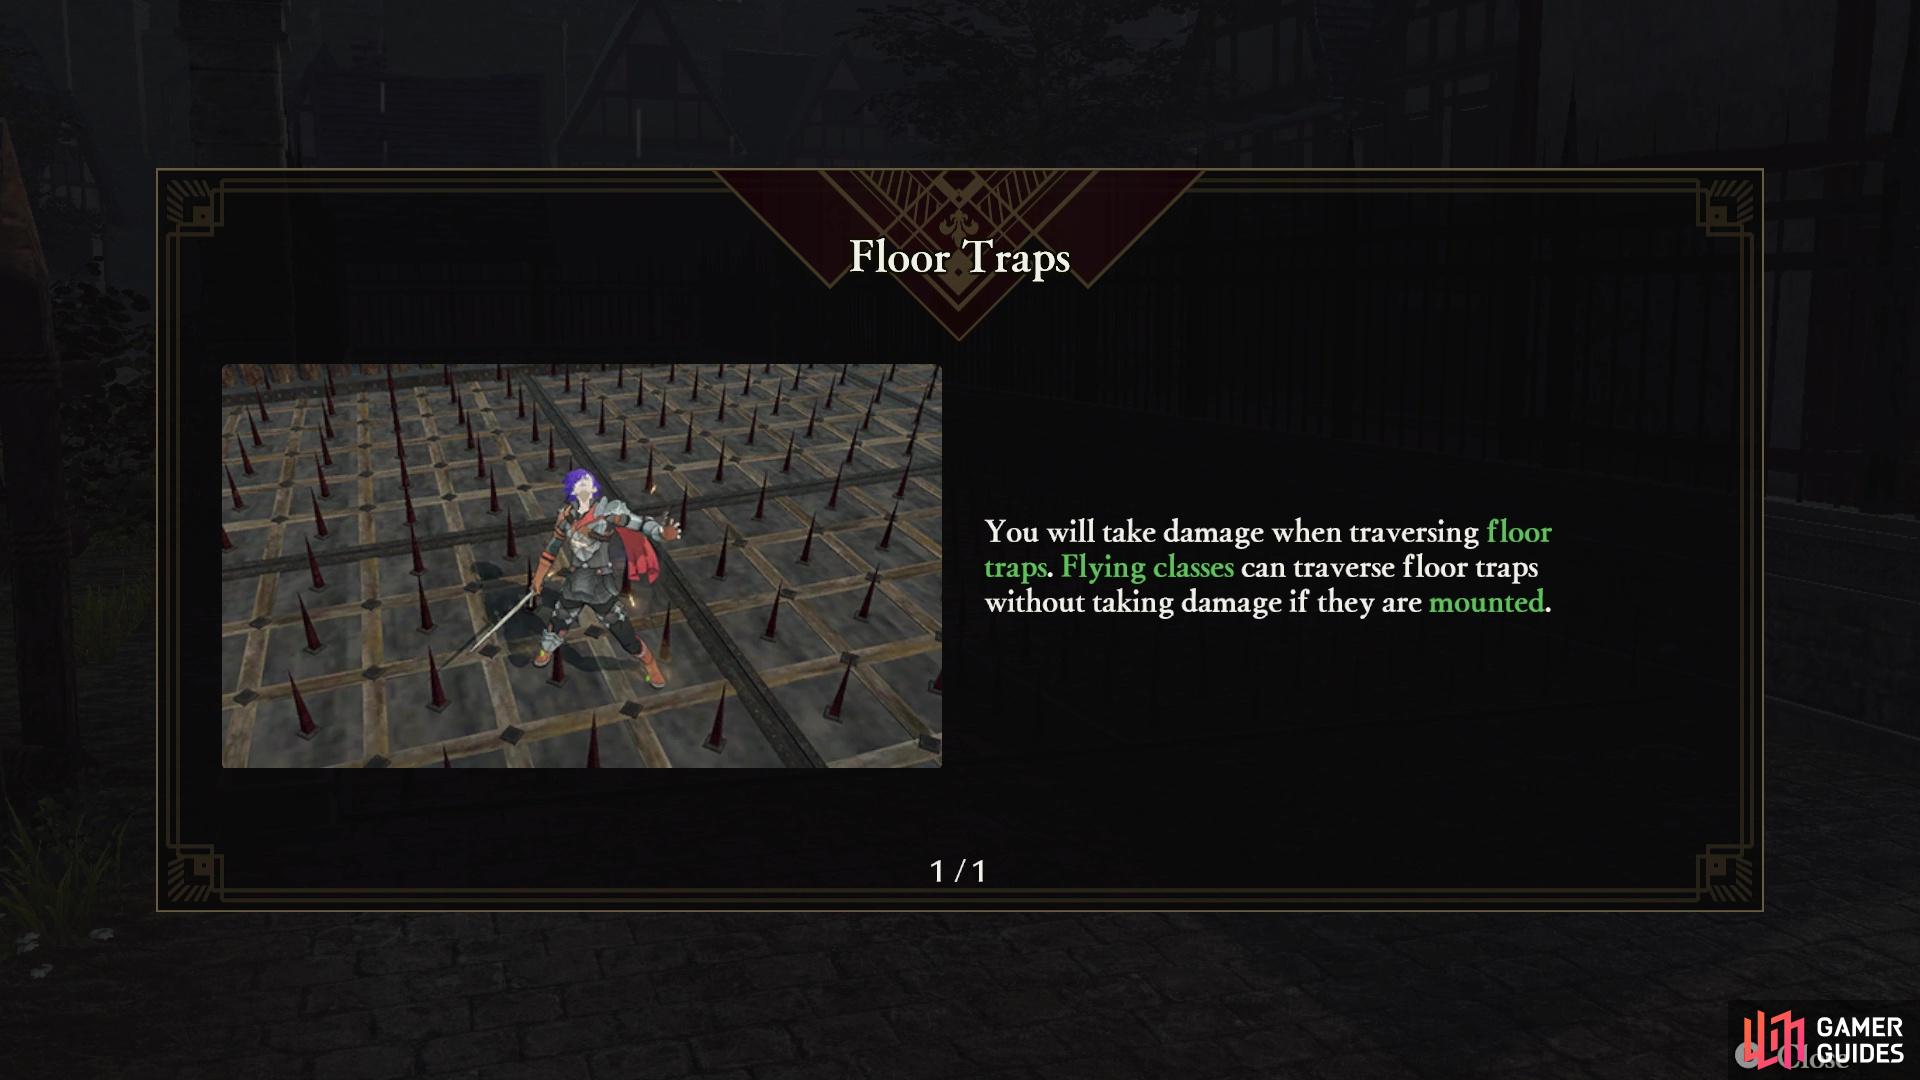
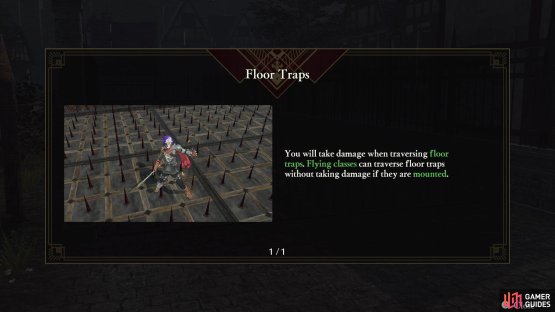
Petra’s preferred classes can open these locked gates (left), This battle will introduce floor traps to the game (right)
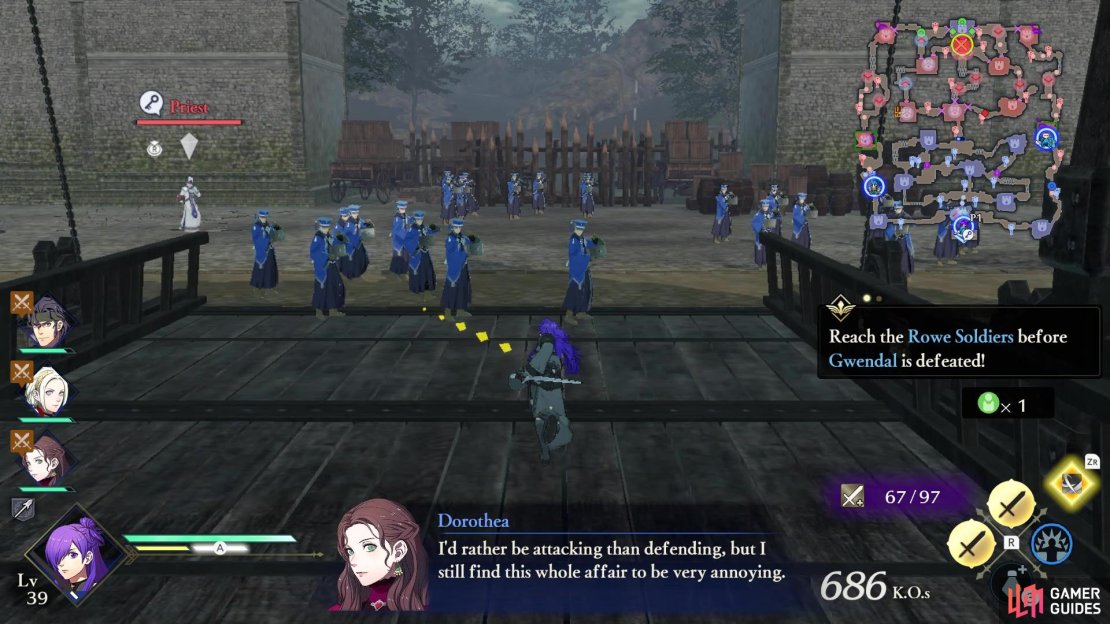
The overall mission for a majority of the battle will be trying to reach Gwendal and the Rowe soldiers before they get routed. This is a pretty tough task, especially since you can’t just go straight to them at the beginning of the battle. You will have to go through some hoops to reach them, as well as doing some back and forth with some strongholds. It should be noted that if they routed, then that won’t be the end of the battle and it will continue as normal, except that Rowe and Gwendal will become enemies. It is entirely possible to reach them in time, though, but it’s a challenging endeavor and you don’t seem to really get anything out of it.
Also, this map will introduce floor traps to the player, which are marked with the foreign icon. Basically, these are spike traps and they will come out every few seconds, so passing them will be a pain for most units. If you have any flying units, though, they will be able to pass over the spike traps without being harmed. Also, Shez’s unique action skill should allow them to pass over the spikes, too, provided you use it prior to going on the spikes themselves.
Side Mission: Disable the Controls to Open the Main Gate
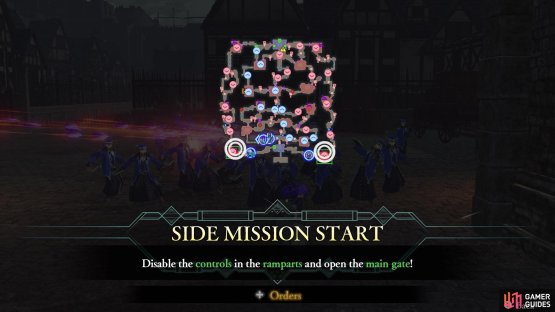

(1 of 2) The first set of levers are in the bottom corner strongholds
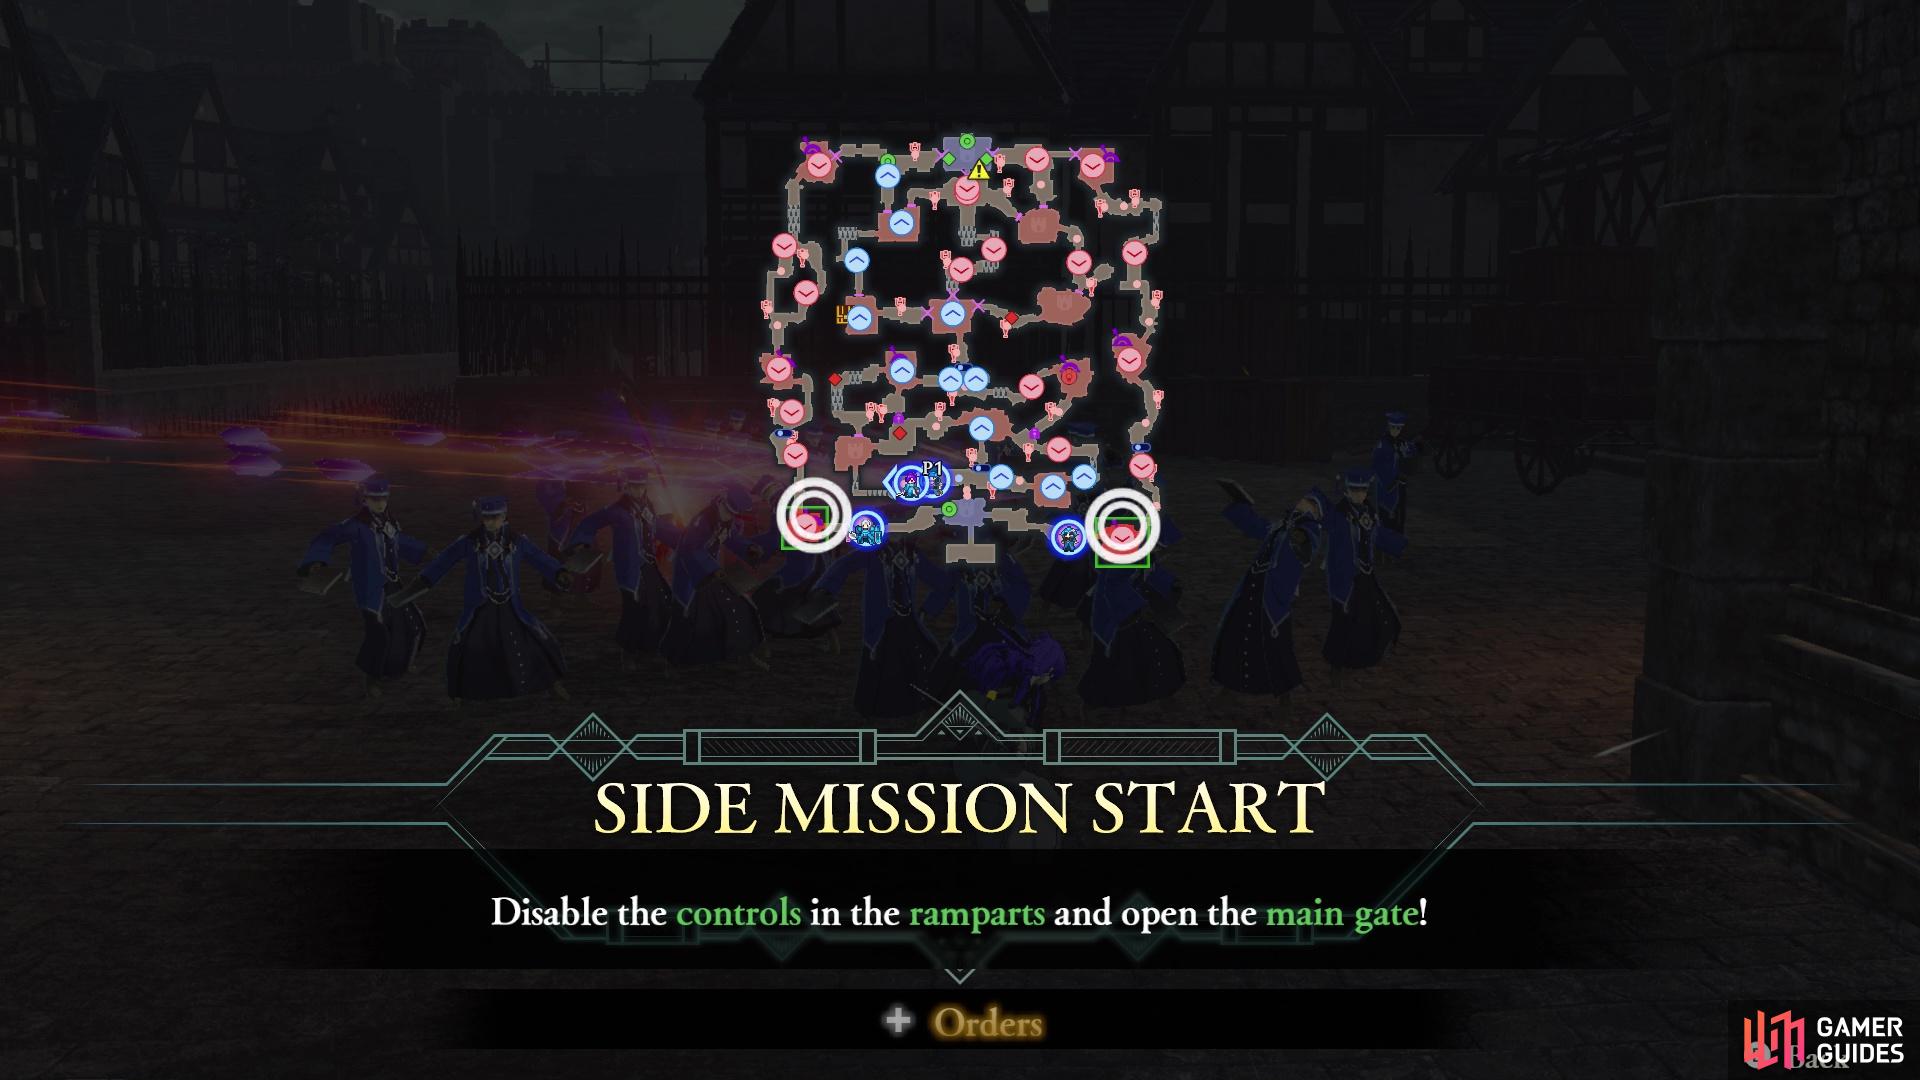
The first set of levers are in the bottom corner strongholds (left), You’ll have to clear the stronghold before being able to use them (right)
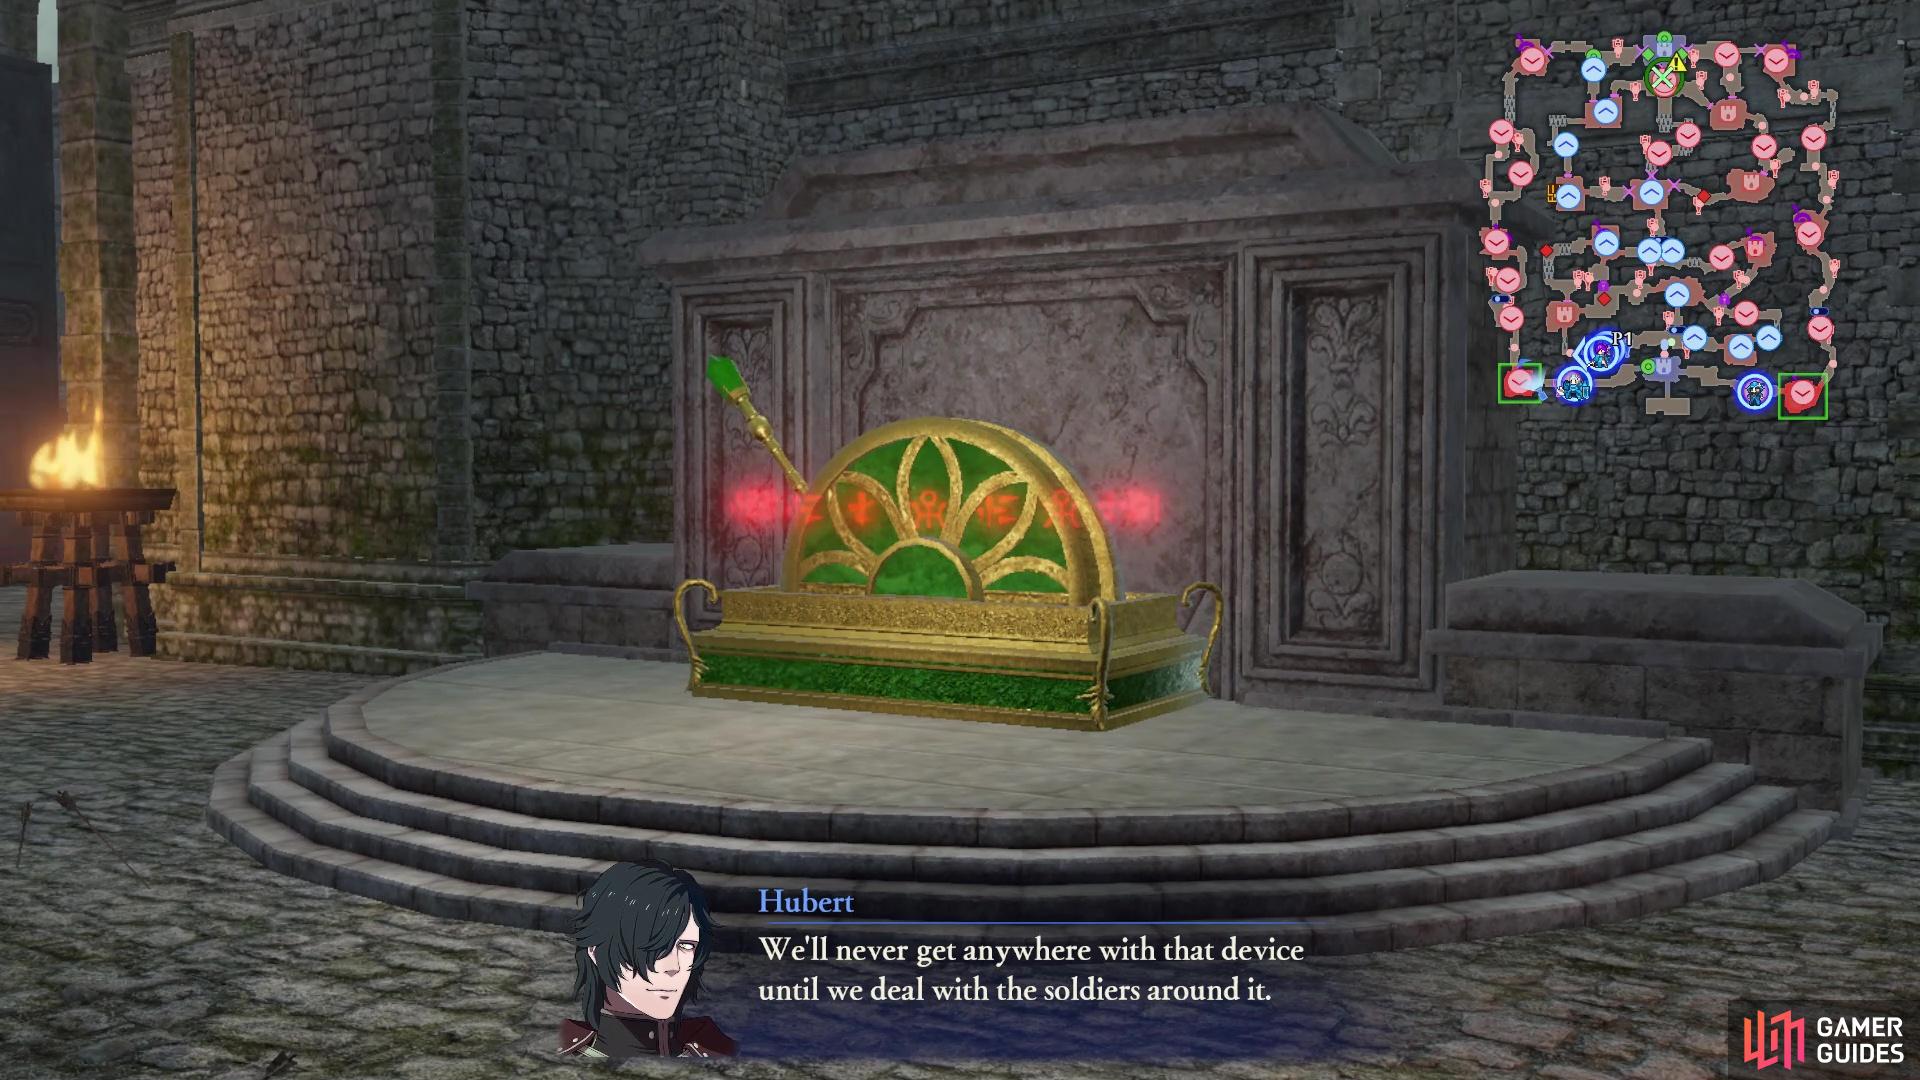
This side mission will pop up pretty early in the battle, pointing out the two strongholds in the bottom corners. Each of those strongholds will have a lever in them, which control the main gate just north of where you began. It is a side mission, since you have the option to go to the sides, where the spike traps. It’s best to send some allies to those strongholds to defeat the captains, then as soon as they take them, order them to hit the levers to open the main gate. As pointed out by Hubert, you will need to capture the strongholds before being able to interact with the levers.
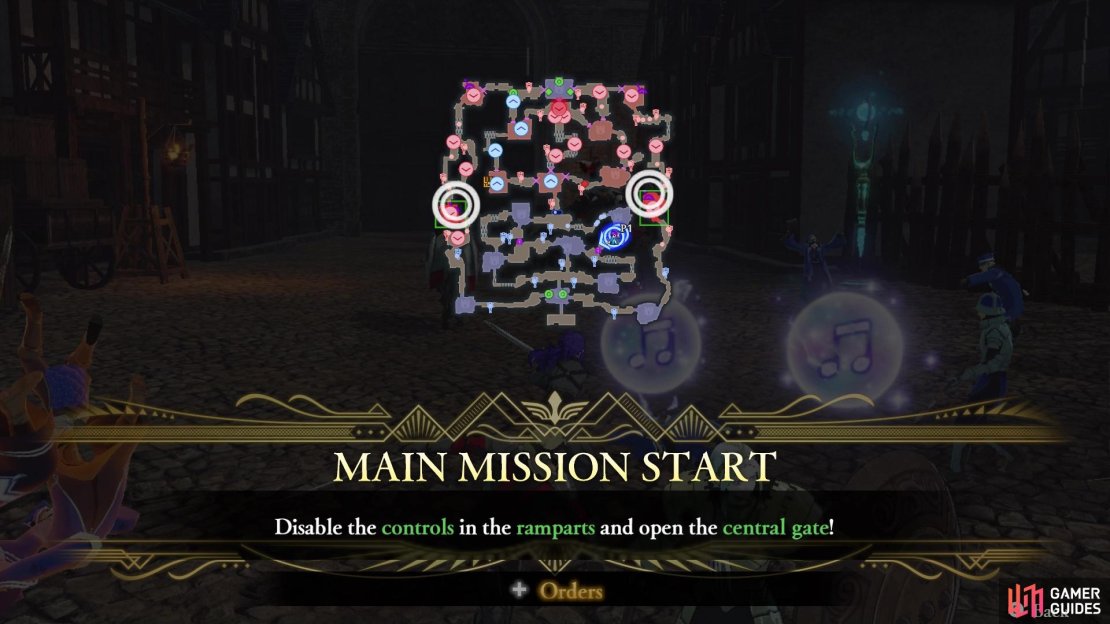
Mission 2: Disable the Controls in the City Streets
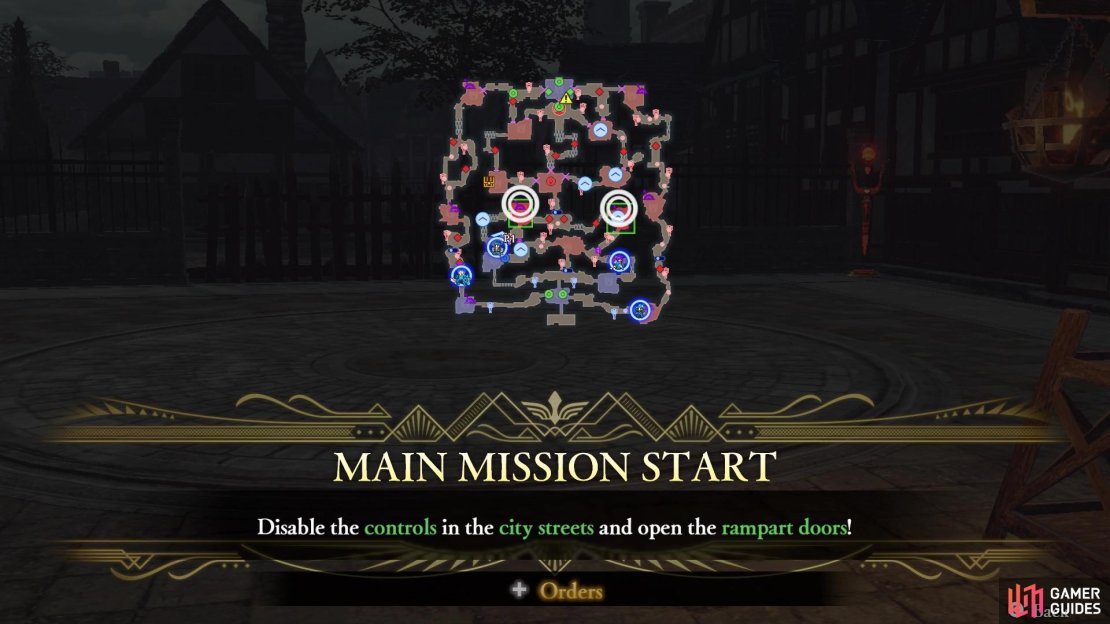
(1 of 4) The next set of locked gates require you to capture these strongholds
As your army makes their way up the sides of the map, you will uncover the next main mission. Hubert politely puts that it’s a multi-part process to access the inner walls of the fortress, as you first need to disable the controls in the city streets to get the rampart doors (the sides) open. This is where that unit with Locktouch will come into play. Once you get past the main gate, as described in the side mission above, or use the side paths with the traps, you will come across two locked gates. If you have the Locktouch ability, then you will be able to open these gates, making it simpler to access the strongholds with the levers you need to use.
If you don’t have someone on your team with Locktouch (Petra should have it as a Thief/Assassin, her preferred set of classes), then you have to go on a side path on the left side of the area, past more spike traps. This only grants to one stronghold at the time, making you travel more to reach the second one with a lever you need. However you do it, take the two strongholds and make sure you interact with the levers to open the rampart gates. Mercedes will be in the eastern of the two strongholds, and in order to recruit her, you will need the appropriate Strategy, as well as Jeritza participating in the battle.
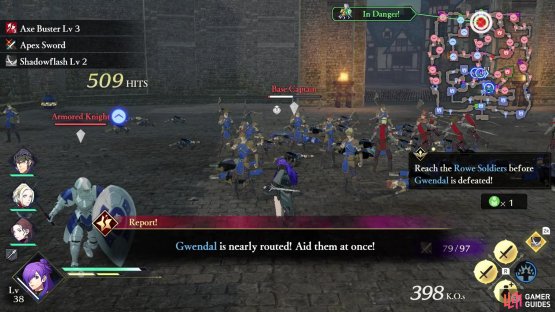
(1 of 2) Gwendal’s critical nature will allow you to initiate a Strategy
Gwendal’s critical nature will allow you to initiate a Strategy (left), which will spawn some Gaspard reinforcements to help him (right)
There’s a little note that will be put in here, related to Gwendal’s status. If you see the status that “Gwendal is nearly routed” appear on your screen, which can happen at any time, you will have the option to trigger a Strategy. Should you have chosen Gaspard Reinforcements prior to beginning the battle, then you will be able to trigger it when you see the above message. This causes two Gaspard Militia to appear with Gwendal and help him out, giving him some extra time.
Mission 3: Disable the Controls in the Ramparts
(1 of 4) You will need to travel up the sides in order to open the main gate
With the rampart gates open, you can now visit the strongholds shown on your map to activate another two levers that will open the main castle gates. This is where the Shadow Slide ability from Shez comes in handy, or if you took advantage of the tip given above. Should you not utilize Shadow Slide, then you will need to have someone travel all the way back to the eastern/western sides, and to the strongholds. Reminder that you can only use Shadow Slide a total of three times per battle. As with the other strongholds thus far in this battle, capture them and then order your allies to trigger the switches.
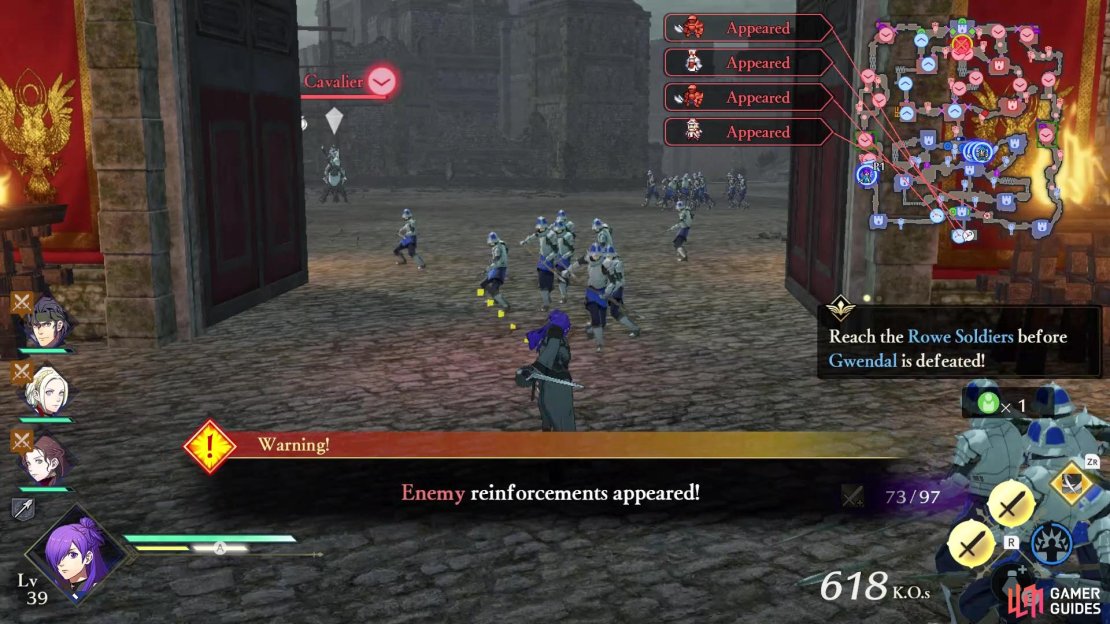
Note at around this time, some enemy reinforcements will appear in the southern portion of the map, at the central spot. Both Randolph and Fleche should be there, and they shouldn’t really have any trouble with those reinforcements at all, so you can safely ignore them. They don’t actually belong to any mission at all and just appear, plus one of the enemy units will be carrying the key to the chest for this battle. You won’t be able to access the chest just yet, but will get to it shortly.
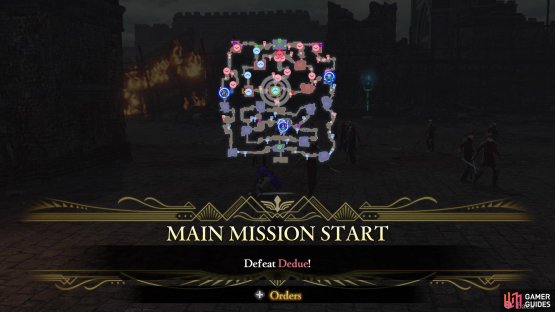
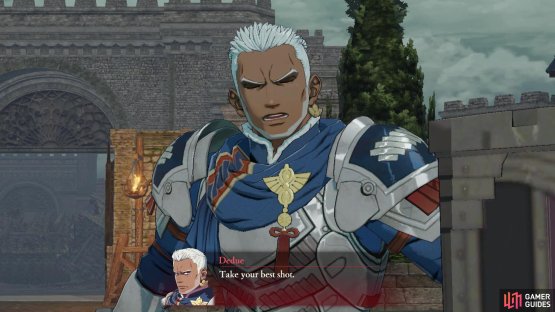
Mission 4: Defeat Dedue
(1 of 2) Dedue will be your opponent after opening the main gates


Dedue will be your opponent after opening the main gates (left), He will be wielding an axe (right)
When both switches have been used, the main gate leading to the northern half of the fortress will be opened. Of course, you will need to go back through the central section and if you didn’t have someone with Locktouch open those doors, then you have to go around the left side in the center, past some traps, to get to the newly opened gate. Of course, the first thing waiting for you just past the gate will be Dedue, whom you have to defeat for the next mission. He is an armored unit and wields an axe, so if you have Shez as a swords-user, they will make short work of him.
Side Mission: Use the Controls to Disable the Traps
At around the same time, especially if your units on the side paths continue north, should receive a side mission that will allow you to disable the traps. To do this, you will have to head to the corner strongholds at the top of the map, capture them, and do the same thing with the switches there. When this has been done, all of the spike traps on the map will no longer function, so you won’t have to worry about taking damage while crossing them.
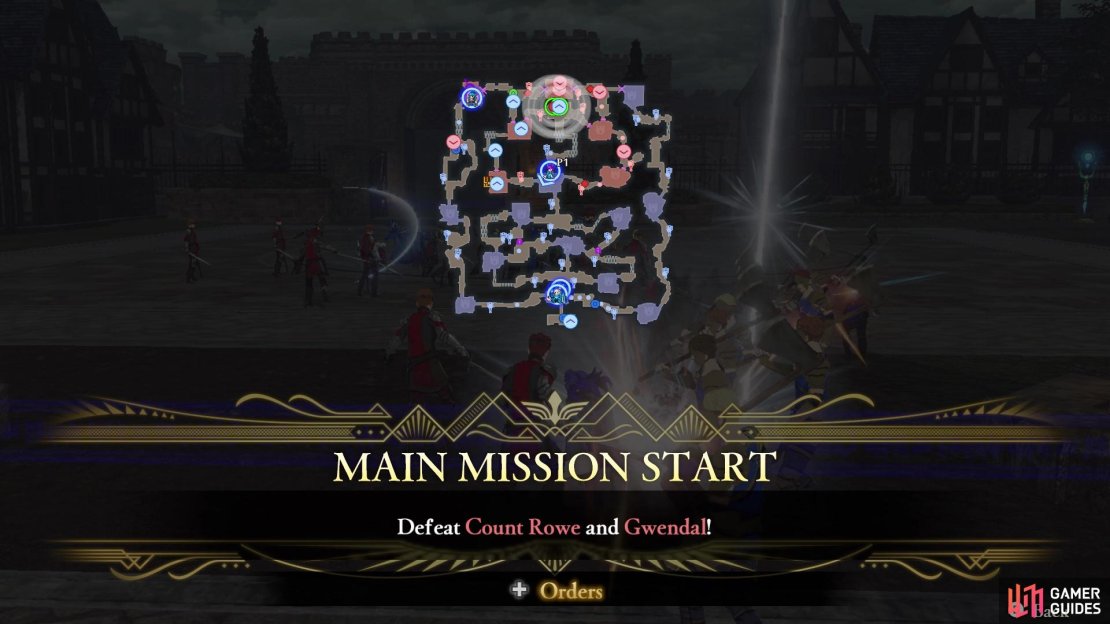
Mission 5-A: Defeat Count Rowe and Gwendal

(1 of 3) Rowe and Gwendal will only be enemies if you don’t reach them in time
Note that this mission will only appear if you fail to make it to Gwendal in time before he is routed. If you do not make it in time, then both Count Rowe and Gwendal will defect back to the Kingdom, and it’ll be your job to take them down. Gwendal is a mounted (horse) unit that’s armored and wields an axe, while Count Rowe is a Tome-user. The latter is equipped with a Defender’s Tome, so any mounted or armored units on your side will be at an extreme disadvantage against Rowe. If you chose the Hidden Staircases Strategy prior to starting the battle, you should likely get a prompt to trigger at this point. This opens a shortcut from the side paths, allowing your troops to reach the northern section of the fortress without having to do a lot of travelling.
Mission 5-B: Defeat Claude
If you managed to make it in time in reaching Gwendal and Rowe, then they will not defect to the enemy. If you made it in time, then Claude will be right out in the open, fighting against Gwendal. If not, then you will need to defeat both of the above in order to gain access to him, after which, he will open the gates to him. He is a spear-user, so someone that specializes in swords, like Shez, will be at a disadvantage.


(1 of 2) Claude will be waiting for you at the northern end
Claude will be waiting for you at the northern end (left), Ingrid appears to allow Claude to escape, after defeating him (right)
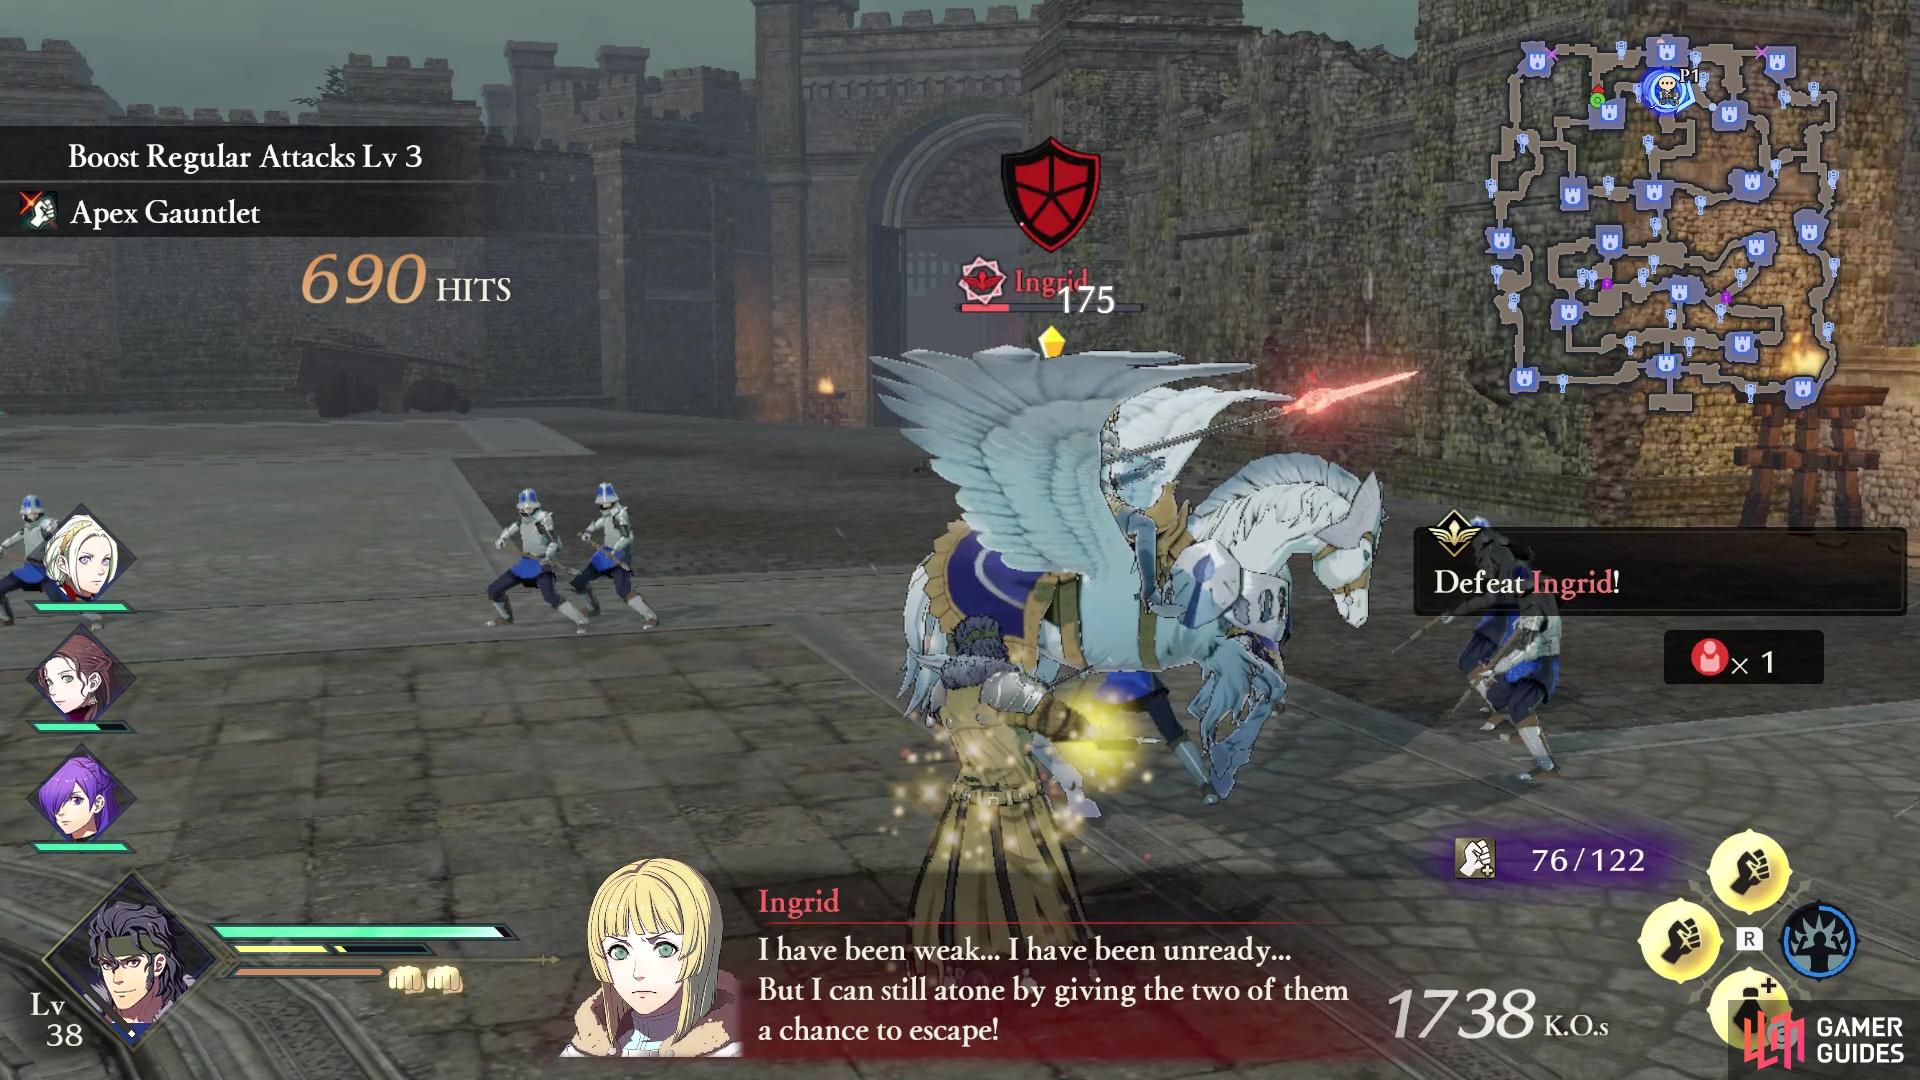
Mission 6: Defeat Ingrid
After defeating Claude, it appears the battle should be over, but both Claude and Dedue will escape, thanks to the help of Ingrid. She and some Pegasus Knights will appear just south of the northern stronghold. A Warrior Special from a strong allied unit should be more than enough to get rid of the Knights, leaving Ingrid alone. As you probably figured out, she is also a Pegasus Knight, and will be wielding a spear. Once Ingrid has been defeated, the battle will finally be over.
No Comments