
Information about noteworthy Base Camp events, interactions and activities for Chapter 4: To War! in the Azure Gleam route. This includes dialog choices that yield Support Points.
The first few Chapters in any route are going to be pretty busy, as there’s lots of gameplay features that have to be introduced, explained and subsequently expanded upon. Chapter 4, being the first Chapter in the game that gives you access to the Base Camp, War Map and Facilities, among other features, is no exception.
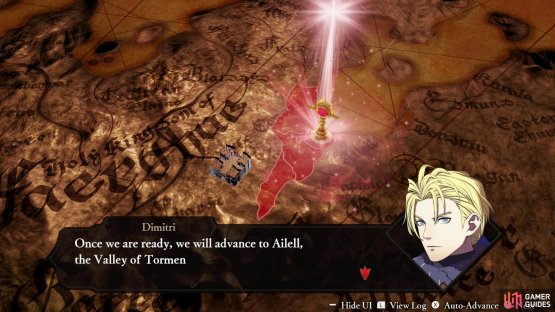
(1 of 2) Talk to Dimitri and he’ll explain the War Map to you,

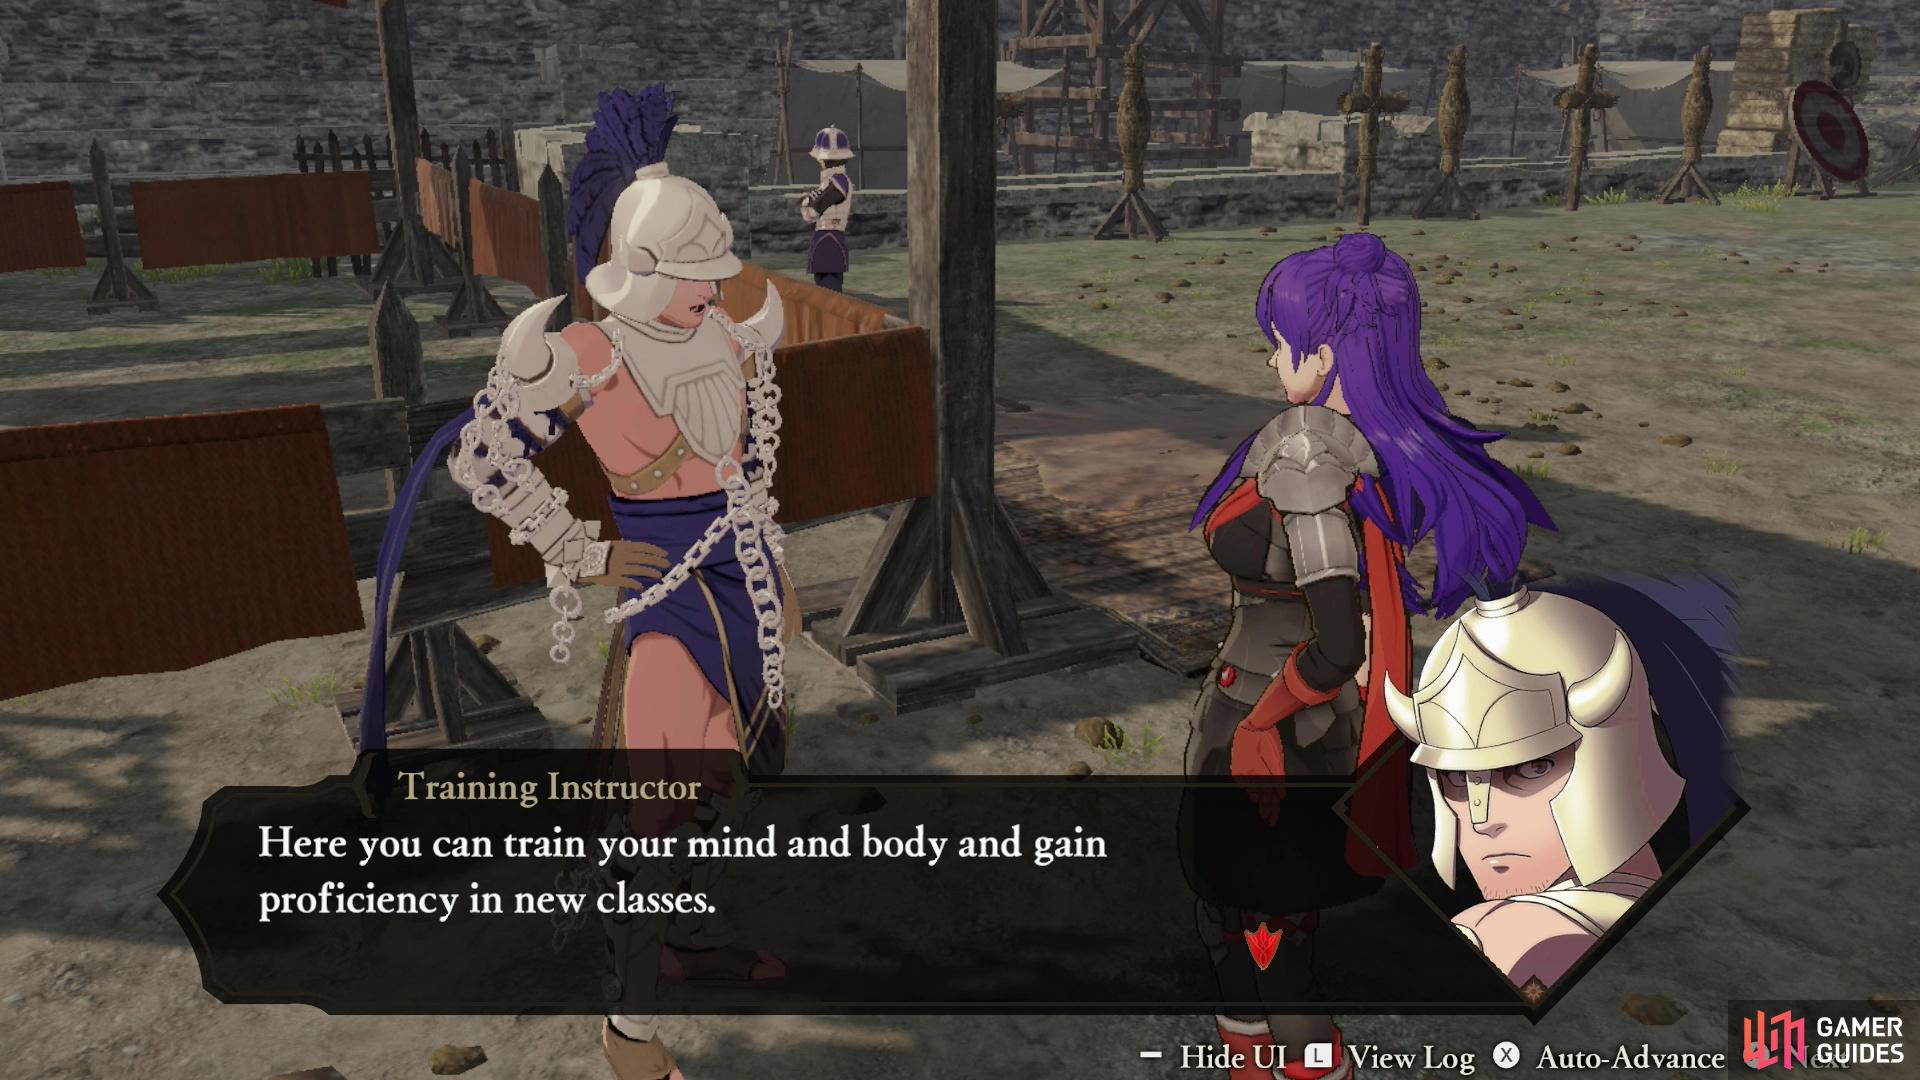
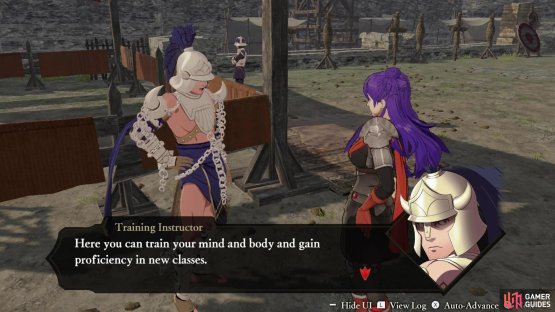
Talk to Dimitri and he’ll explain the War Map to you, (left), after which you’ll need to visit the Armorer, Item Shopkeeper and the Training Instructor. (right)
Explore the Base Camp
As soon as you’re in control you’ll be in the Base Camp, the hub area where you’ll perform a variety of activities and manage your units between battles, and the first part of this Chapter will be spent getting familiar with some of these features and facilities.
Start out by talking to Dimitri, who will give you an intro to the War Map. The War Map is comprised of numerous regions, each of which has a Side Quest battle you must complete to capture the region. Once a region is captured you’ll be able to attempt Main Quest battles and Side Quest battles in adjacent regions, as well as explore Surveying Spots in the captured region. Your goal, then, is to make your way from the Base Camp on your map, capturing regions en route to the Main Quest battle. You don’t have to complete all the Side Quest battles in a Chapter to reach the Main Quest battle, and you’ll get more Renown if you skip regions, but completing all the Side Quest battles is generally a better idea, as you can earn S-Rank rewards for completing Side Quest battles and explore the local Surveying Spots.
After the War Map has been explained you’ll be told to investigate various Facilities around the Base Camp:
-
Armorer: Buys and sells weapons. The weapons available to purchase will expand as you upgrade the facility, but as a general rule these bare-bones weapons are not worth your money.
-
Training Grounds: Allows you to Train, Level Up, Reset Levels and Unlock New Classes - a vital facility you’ll be visiting often.
-
Item Shopkeeper: Sells various items, including Seals, ingredients and Gifts. The store’s stock will expand as you upgrade the facility. Aside from Seals, nothing here is really vital.
Check out these facilities, then talk to the Strategist to visit the War Map (later on you can access the War Map via the Main Gate or by simply pressing the  button.
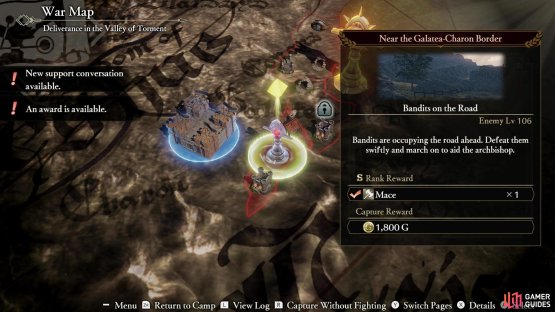
(1 of 2) Complete the Side Quest “Bandits on the Road”,
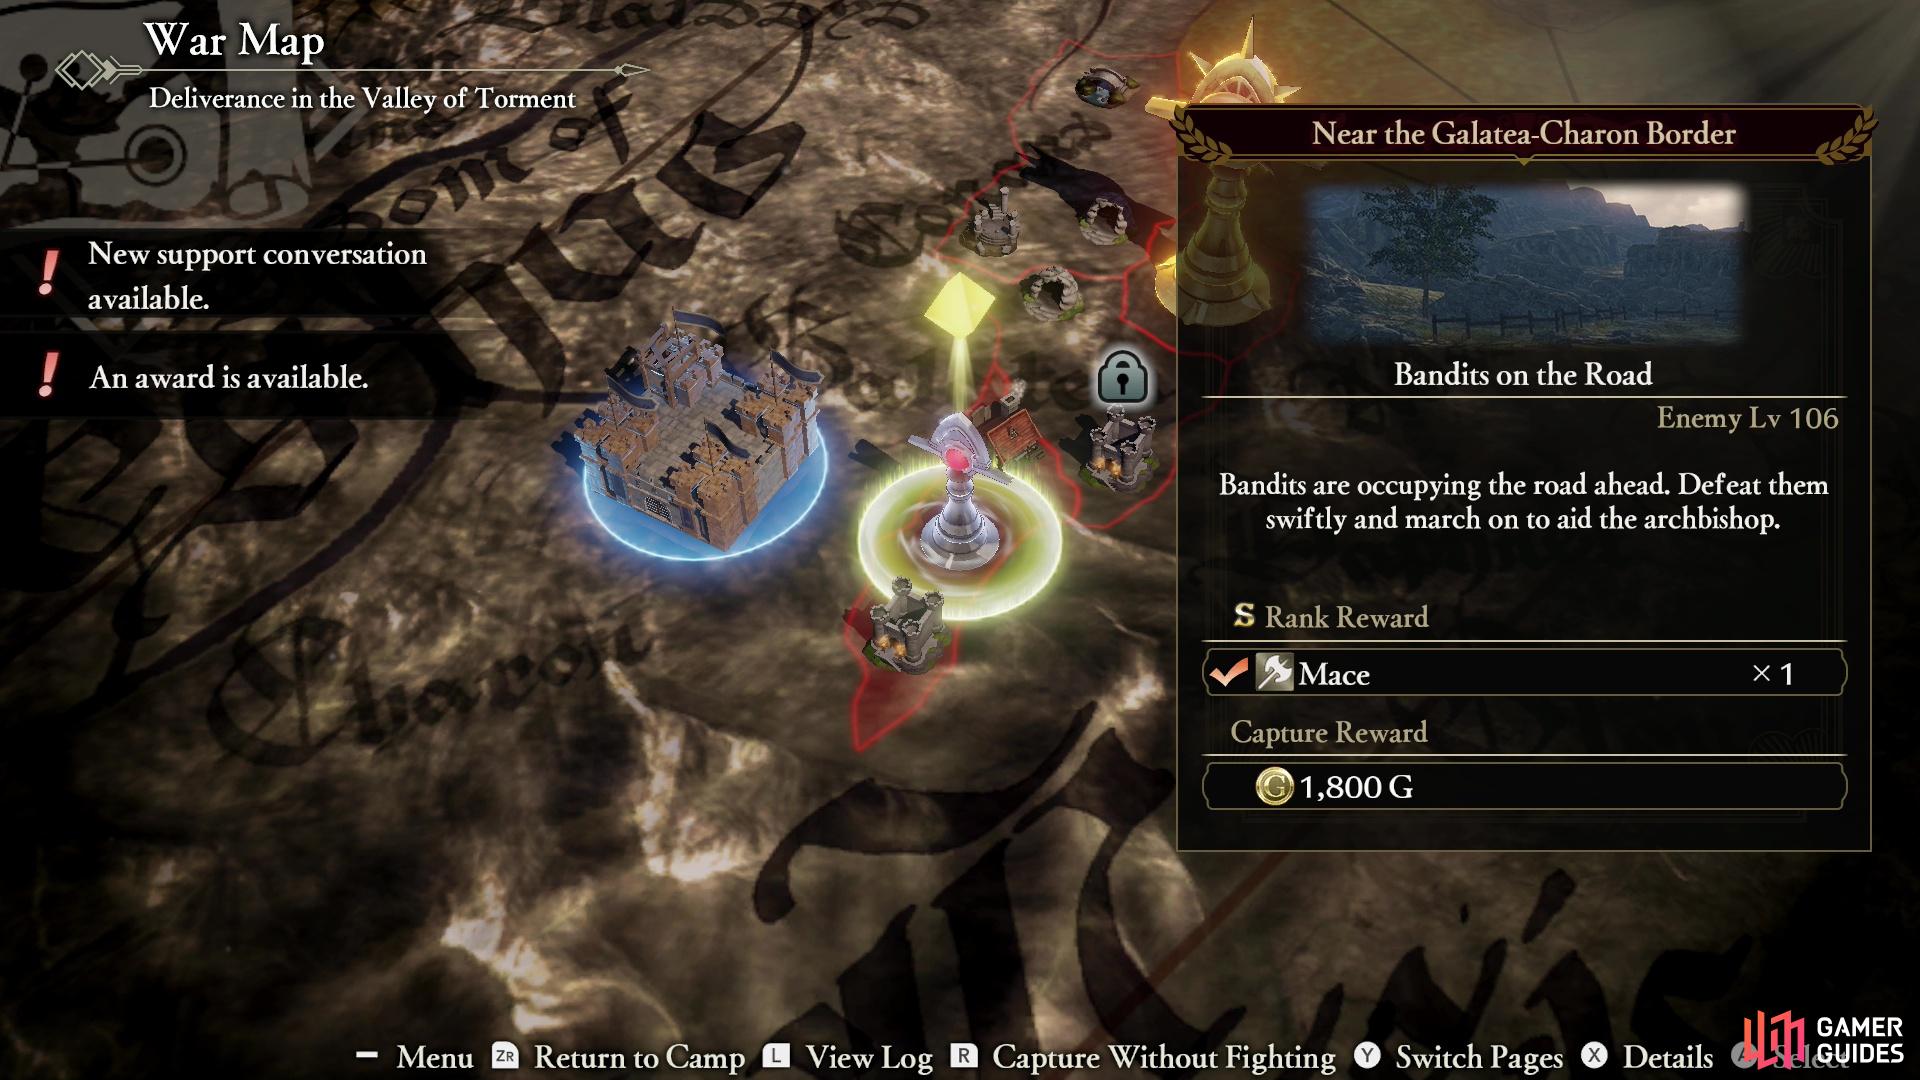

Complete the Side Quest “Bandits on the Road”, (left), then claim the region’s Surveying Spots. (right)
Bandits on the Road and the Second Exploration of the Base Camp
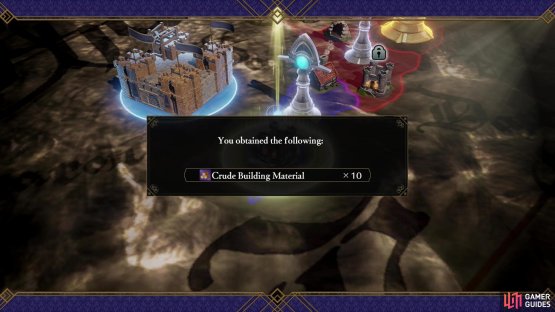
Now that you’re on the War Map you’ll need to complete your first Side Quest battle, Bandits on the Road. Once done you’ll be treated to a cutscene, after which you’ll be forced to explore the two Surveying Spots in the region you just conquered (Near the Galatea-Charon Border), earning you a Floral Adornment and Crude Building Material x10.
When both the Surveying Spots are explored you’ll automatically return to the Base Camp, where Rodrigue will hail you. Talk to him and he’ll tell you about Volunteering. Talk to the Chore Master (near the Kitchen) and they’ll explain the vitally important task of doing drudgery around the Base Camp.
(1 of 3) When you return to Base Camp for the second time you’ll need to volunteer for some chores,
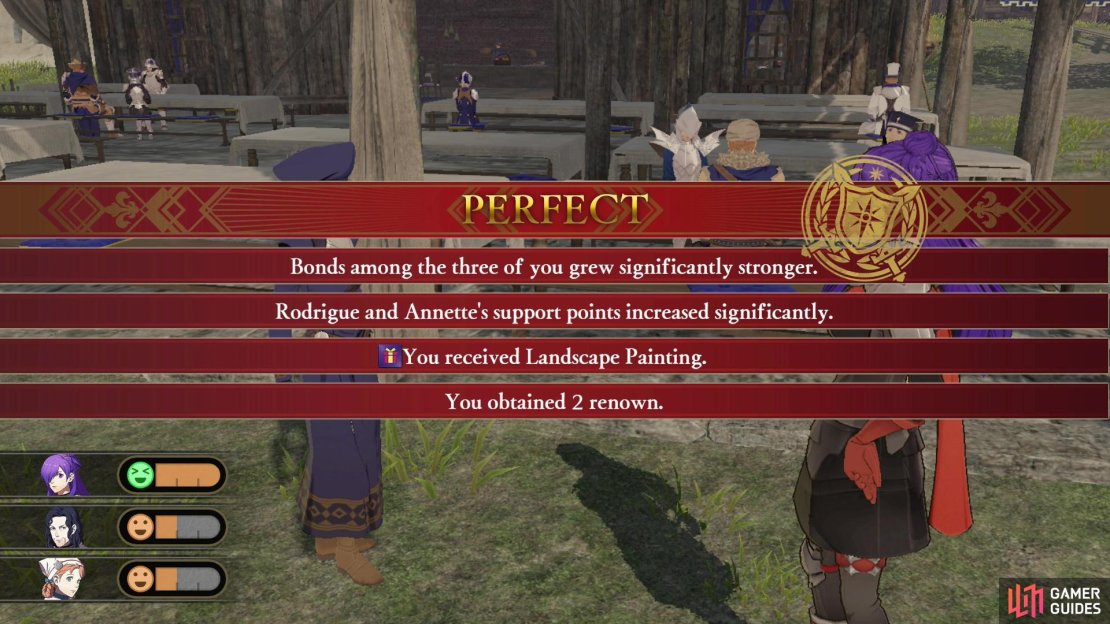
Volunteering for chores is simple enough: pick two allies to suffer the joys of hard work with you and the three of you will gain Support Points, Morale and you may also gain a Gift and Renown depending on the results. Only a Perfect result will yield a Gift, while Nice will earn one point of Renown and Great or Perfect will earn two points of Renown. Volunteering consumes one Activity Point, and characters who have already Volunteered cannot be chosen again in the same Chapter, so you’ll need to spread the love.
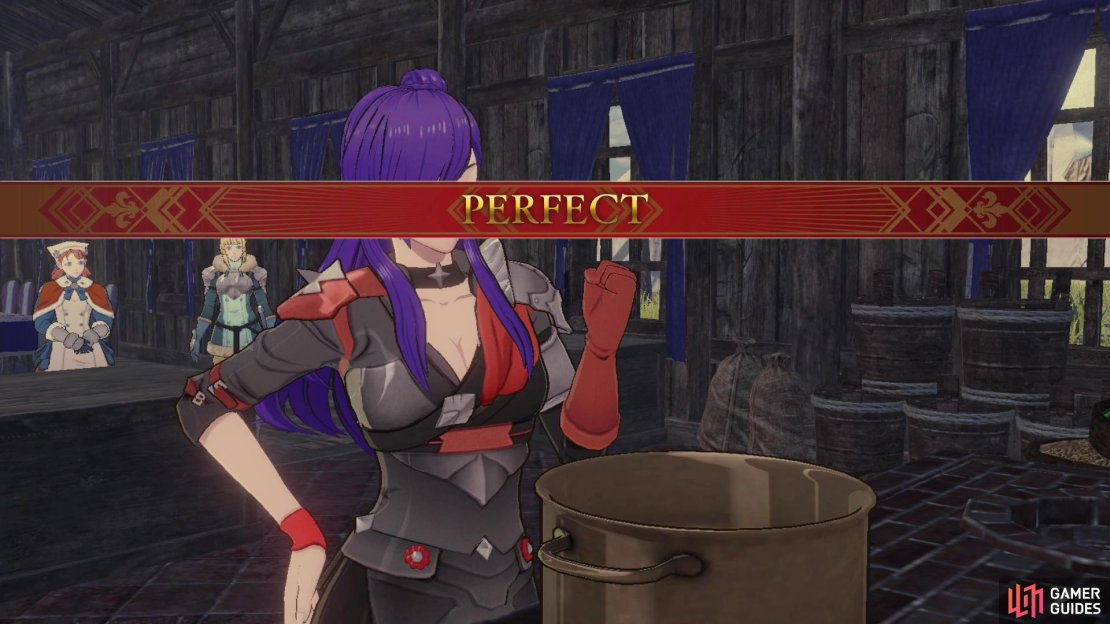
After you’ve done your first chore, you’ll be told to get a bite to each, and to facilitate the task you’ll be given Albinean Herrings x3 and Turnips x3. Talk to the Kitchen Master and cook whatever meal you wish (the Grilled Herring recipe should suffice). Different characters prefer different meals, but like with Volunteering you can invite two characters to dine with you. Each of you will gain Support Points and Morale, as well as other meal effects. Check out the Cooking in Fire Emblem Three Hopes page for more details.
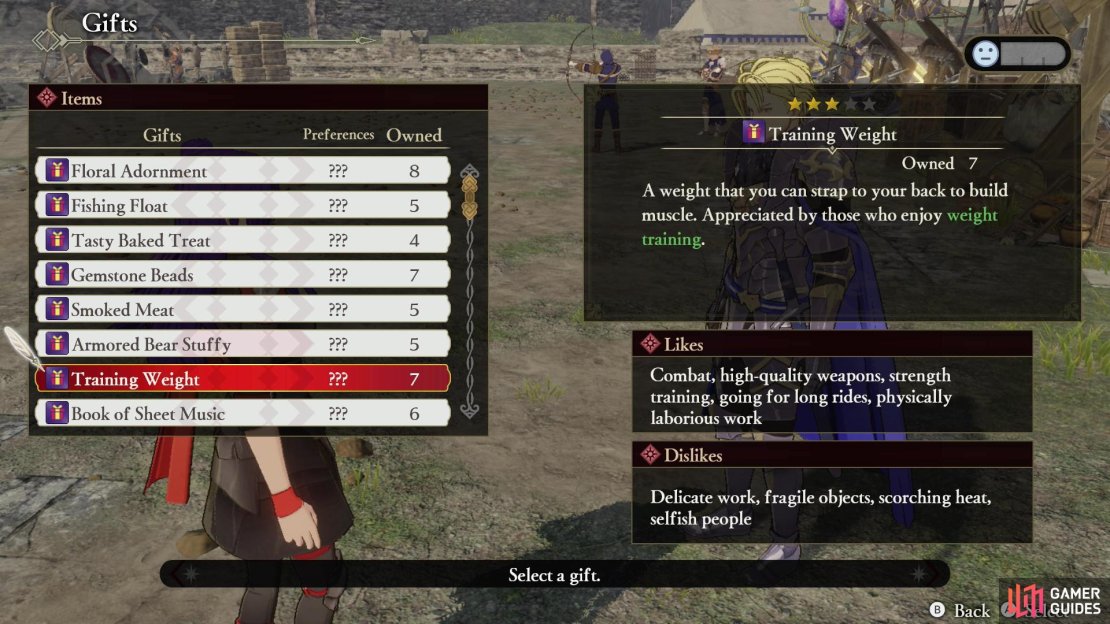
The last thing you’ll have to do during this trip to the Base Camp is give a Gift to Dimitri. Giving Gifts is a fairly straight-forward action, just talk to the desired character and choose the ”Give a Gift” option, after which you’ll need to select the Gift to give the character. Different characters prefer different Gifts, and will gain more Support Points if given Gifts they prefer. Dimitri himself prefers Ceremonial Swords, Riding Boots, Training Weights and Whetstones. If you have access to the Owl Perch, everybody likes Owl Feathers and make for great Gifts you don’t have to think about too much.
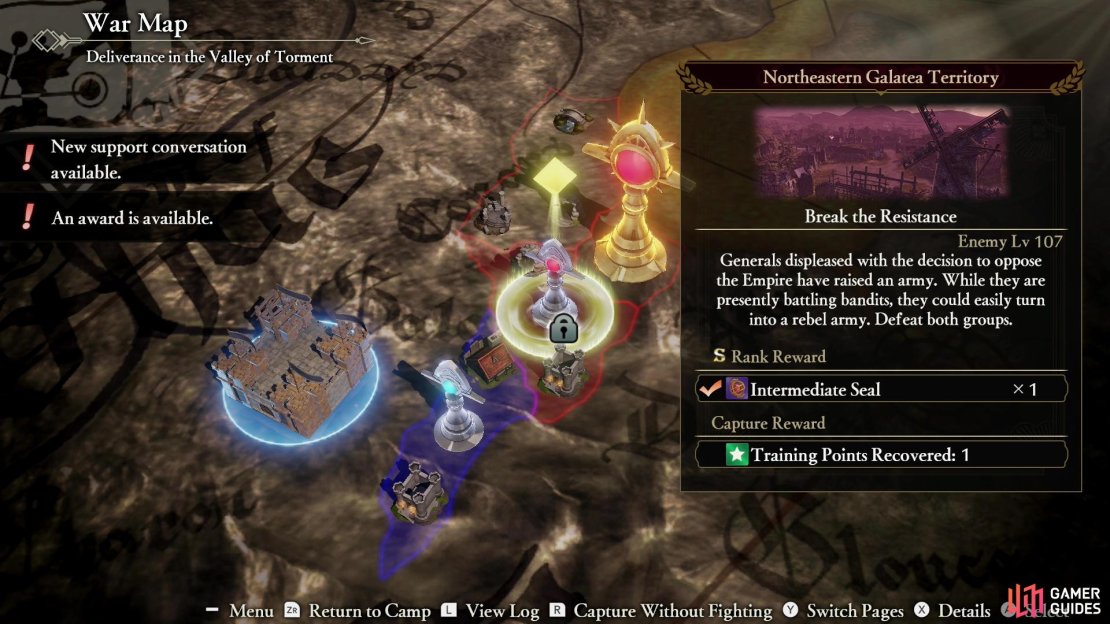

(1 of 3) Complete the Side Quest “Break the Resistance”,
Break the Resistance and the Third Exploration of the Base Camp
Exit to the War Map again and conquer the next region (Northeastern Galatea Territory) by completing the Break the Resistance Side Quest Battle. Once done you’ll return to the Base Camp again where Dedue will request your attention.
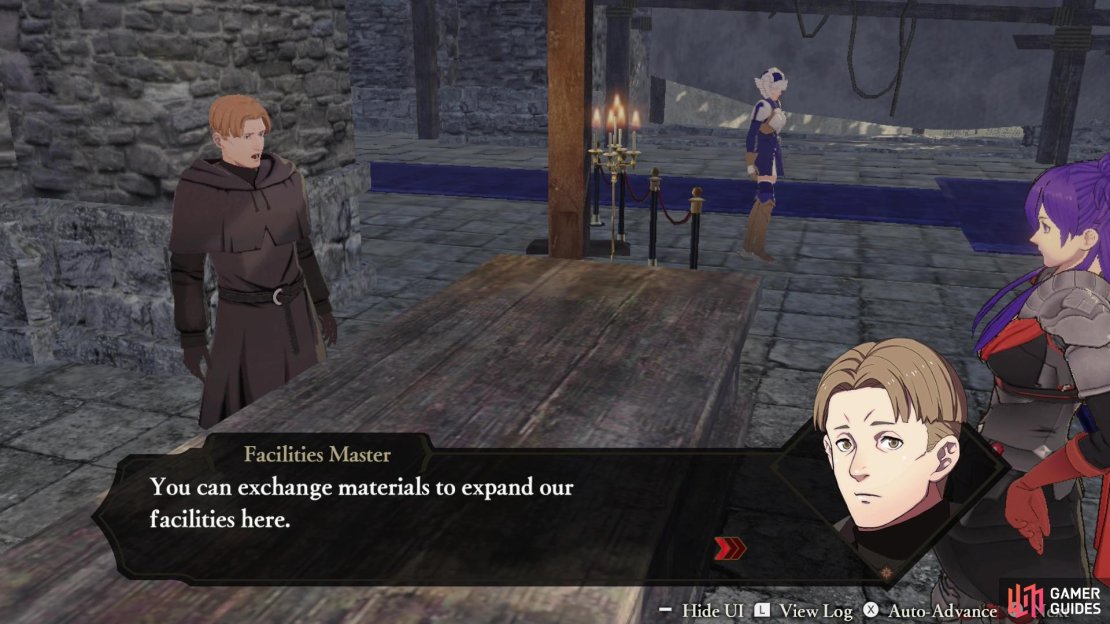
Speak to Dedue and he’ll tell you about upgrading facilities, giving you Crude Building Material x10 to facilitate the process. Talk to the Facilities Master and you’ll be given a more thorough explanation of the process, but essentially each facility has an upgrade tree, and you can unlock various upgrades by expending building materials. Most of these upgrades are heavily progression-locked, so you shouldn’t worry about it too much at this point in time, especially since you don’t have a great way of acquiring materials just yet, aside from whatever you scavenge from Surveying Spots.
With that, you’re done with tutorials for this Chapter, but you still have some work to do. You’ll want to expend the rest of your Activity Points and Training Points (we suggest using the former to Volunteer, if you want as much Renown as possible). You can also scour the Base Camp for Documents and talk to your allies, who may have dialog options that yield Support Points. Finally, when you’re done in the Base Camp you’ll need to return to the War Map and consider whether you want to move on to this Chapter’s Main Quest battle [Deliverance in the Valley of Torment] or capture the last region by completing the Side Quest battle Rescue the Believers, first. Doing the latter will cost your 2 Renown, but you’ll gain an Activity Point for capturing the region, which if used to Volunteer back at the Base Camp will end up getting you that Renown back… plus you’ll be able to claim the region’s Surveying Spots (we generally recommend just completing each Side Quest battle in each Chapter).
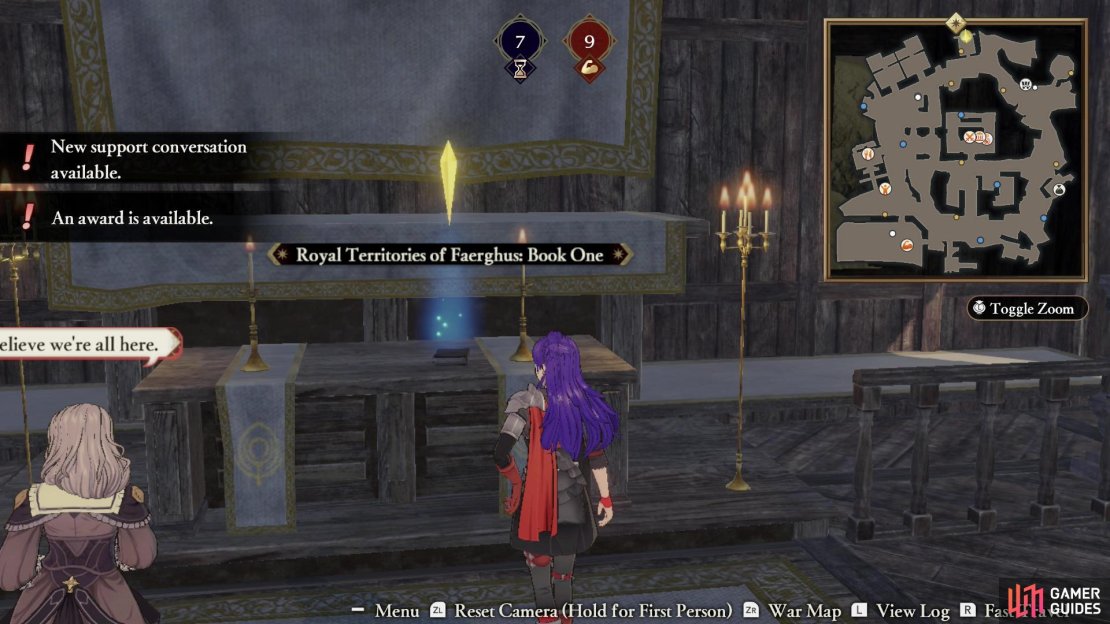

(1 of 3) You can find the document “Royal Territories of Faerghus: Book One” in the Chapel,
Azure Gleam Chapter 4 Documents
Below you’ll find all the Documents you can find around the Base Camp in Chapter 4.
-
Royal Territories of Faerghus: Book One: In the Chapel along the northern end of the Base Camp, on the altar. Mercedes should be standing nearby.
-
Letter from an Abyss Resident: On some parcels near the Item Shopkeeper’s stall, in the Marketplace.
-
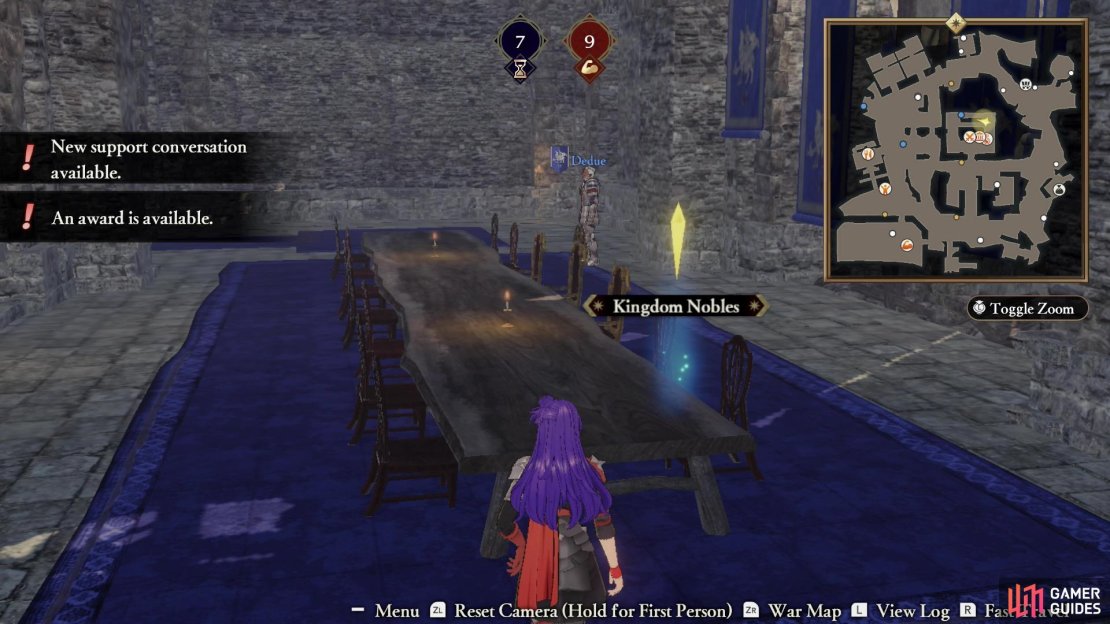
Kingdom Nobles: In the Command Center building (center of the map), search the long table in the northern room.
Talking to your allies in the Base Camp can yield Support Points.
Azure Gleam Chapter 4 Dialog Choices
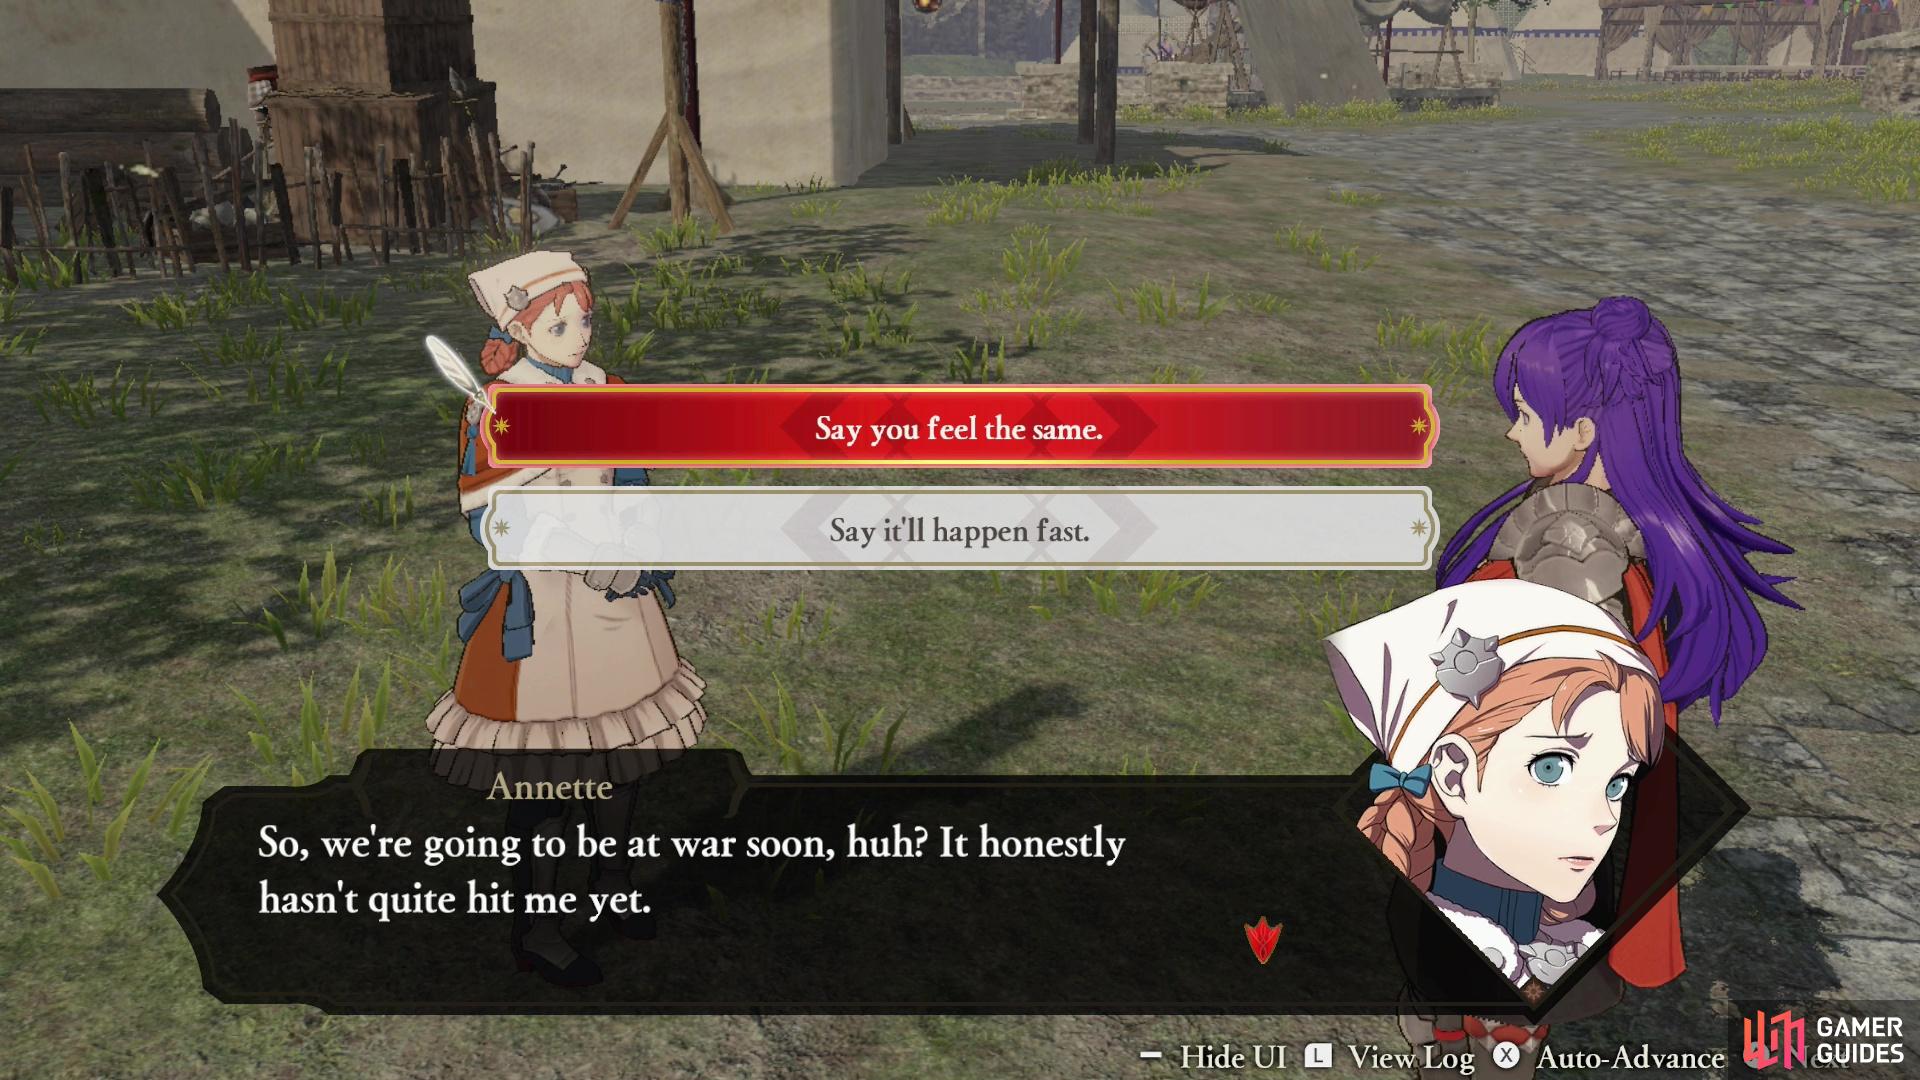
Below you’ll find all the dialog options that yield Support Points in Chapter 4.
| Character | Correct Response |
|---|---|
| Annette | Say you feel the same. |
| Ashe + Sylvain | Ask about Ailell (Sylvain) |
| Ashe + Sylvain | Chastise Sylvain (Ashe) |
| Felix | Propose practical countermeasures. |
| Ingrid | Give a reassuring response. |
No Comments