
This is a guide for Chapter 5: The Skirmish in the Fog in Fire Emblem Warriors: Three Hopes, this page focusing on the Southern Rowe Territory.
The battlefield for the Southern Rowe Territory battle
How to S Rank Southern Rowe Territory
| Completion Time | Enemies Defeated | Damage Taken |
|---|---|---|
| 07:00 | 500 | 30% |
As seems to be the case with all of the S Ranks thus far, time is definitely an issue here. You will probably want to control a unit going south, as the side mission and commander will be in that direction. So, you could order the rest of your allies to stick to the north and fight through the officers up there. If using strong units, none of the enemy should get through to the Village Ruins, meaning you don’t have to worry about a timer. If pressed for time and the commander has already shown up, then ignore the side mission and go straight for the main guy.
Mission 1: Defeat Enemies before they Break Through to Windmill Village Ruins
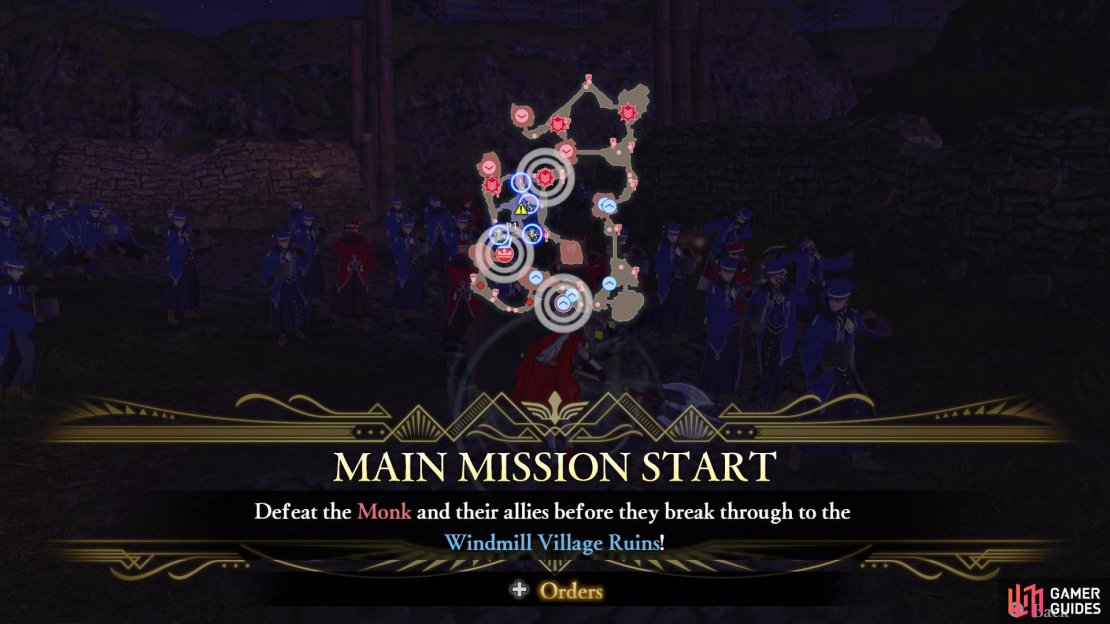
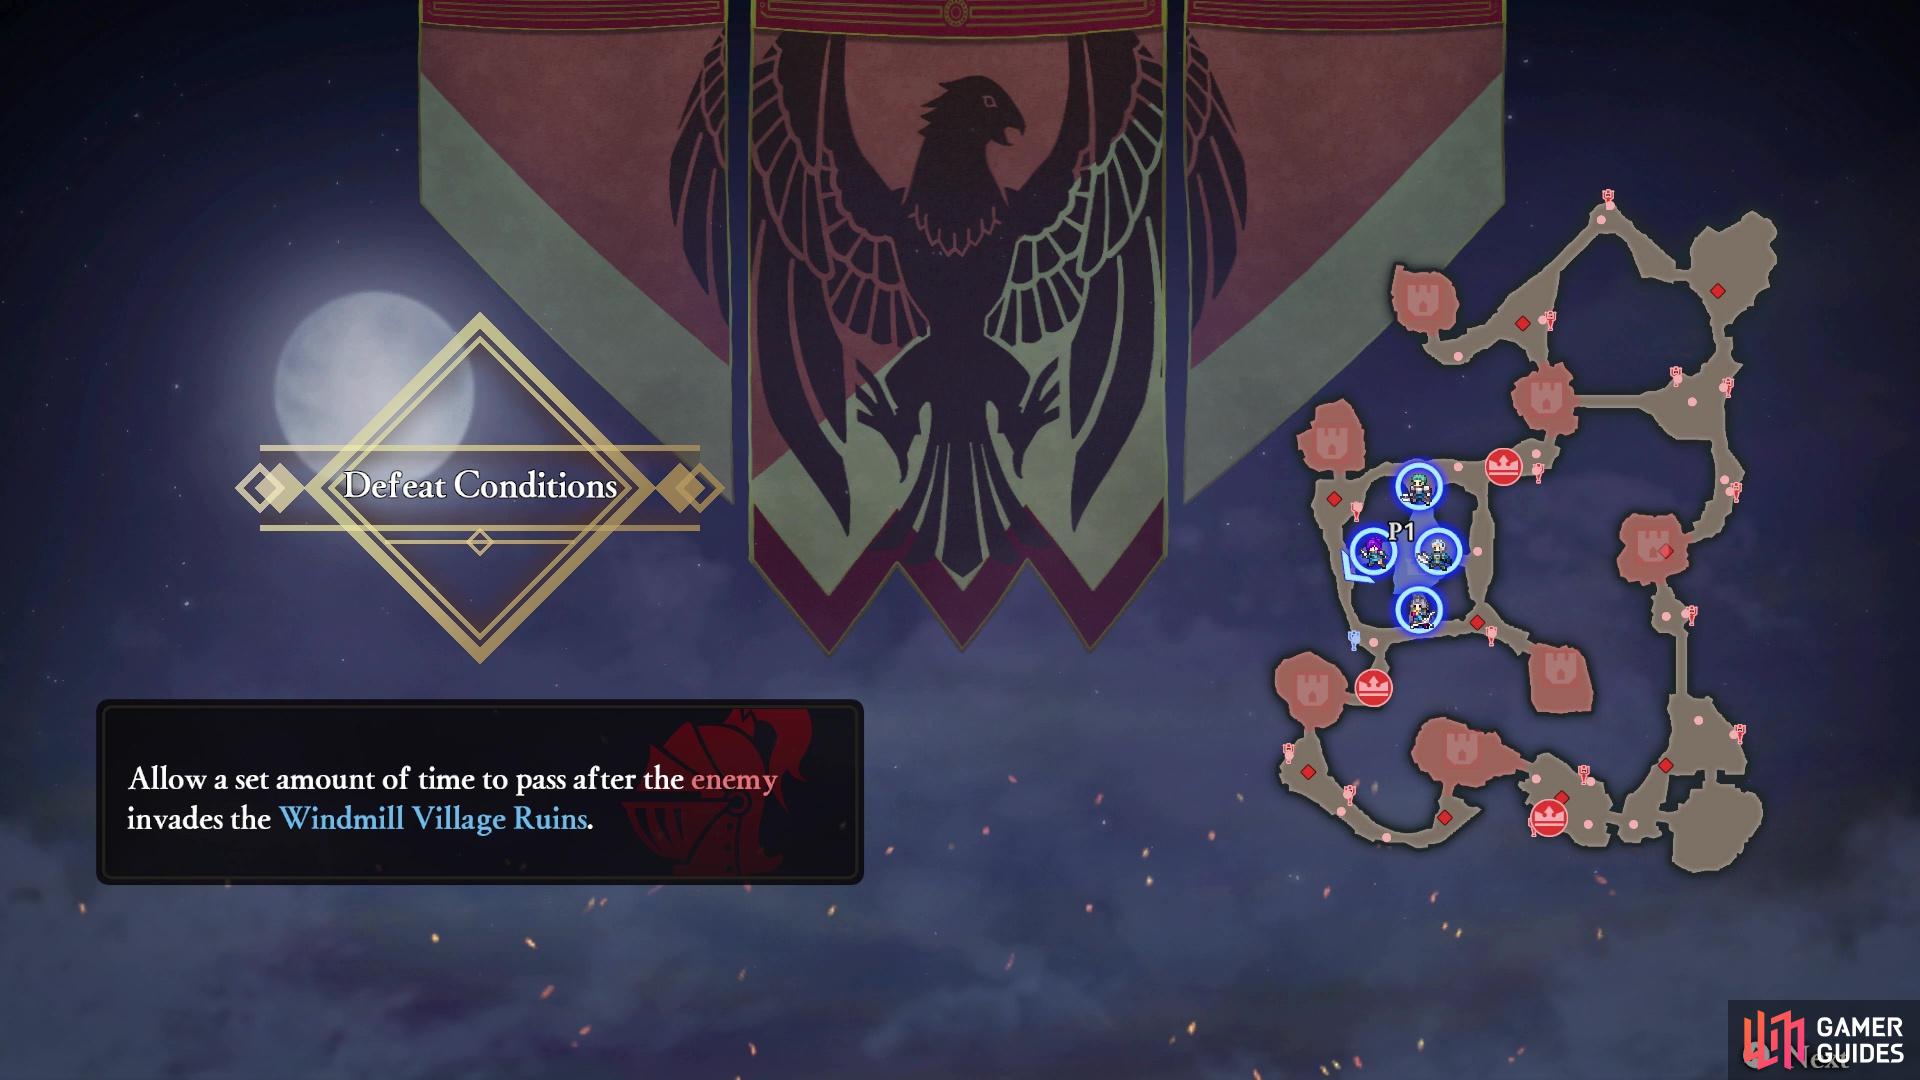
(1 of 3) You need to make sure the enemies don’t enter the Village Ruins
The defeat condition on this map is a bit different than the others you’ve encountered thus far. The Windmill Village Ruins is the stronghold where you start off, and the goal of the map is to keep the enemies out of it. Should enemies break through into the Village Ruins, then a timer will appear on your screen and you need to repel said enemies before it reaches zero. At the start of the battle, your goal is to defeat three specific enemies that are marked on the map. There will be on to your north, then two to the south, although the one southern unit is a lot farther away than the other.
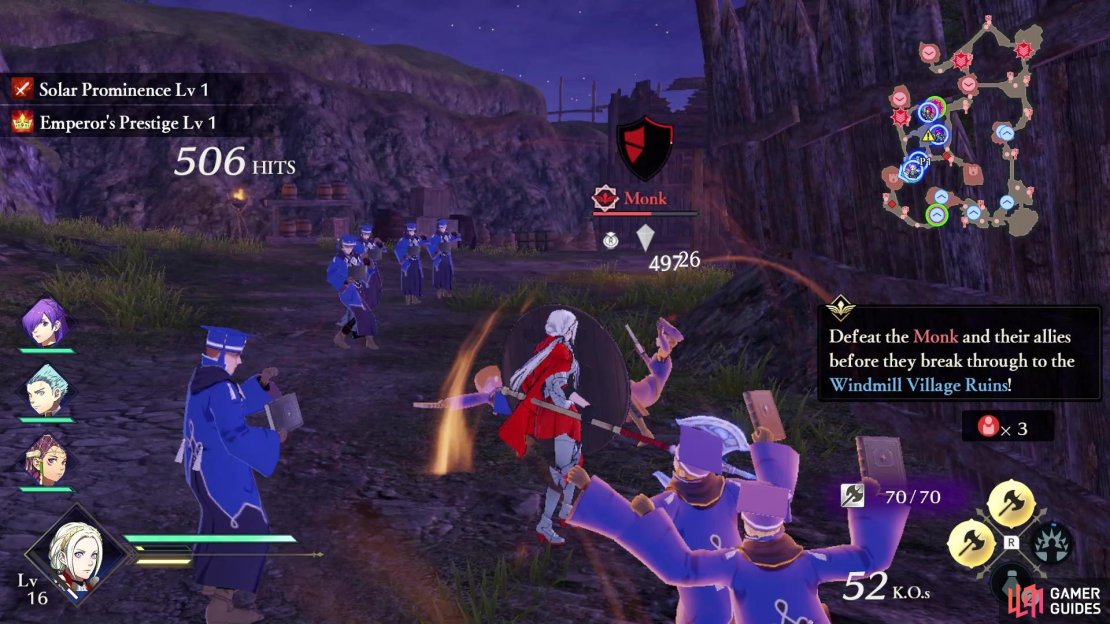
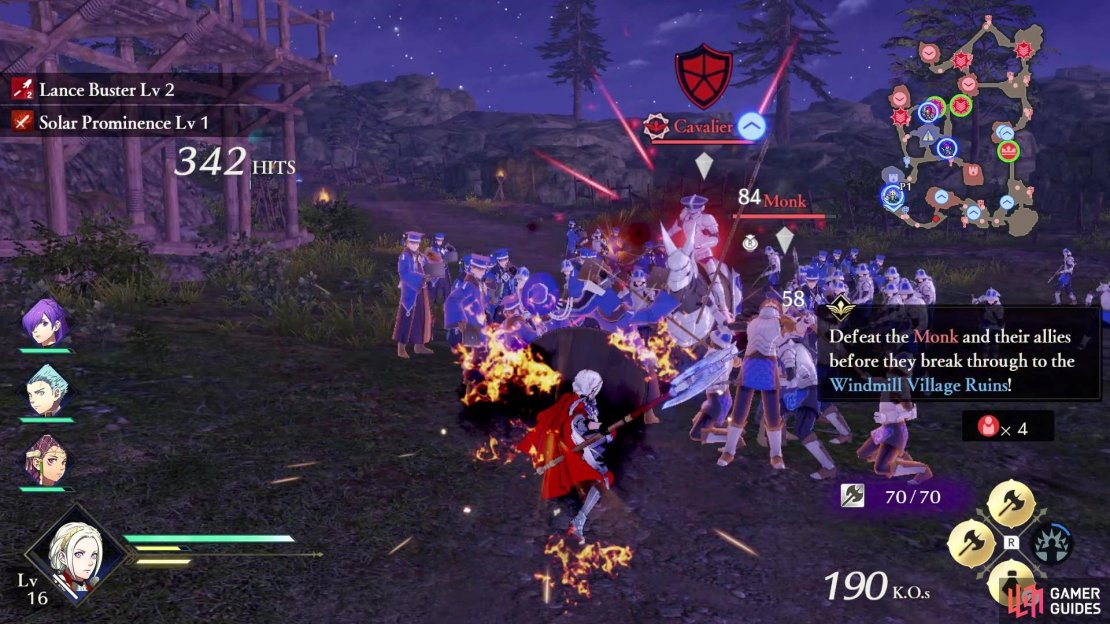
Thankfully, those three units will charge towards the Village Ruins, so you will need to be alert in case one of them enters it. Start off by going after the one to your immediate south, and hopefully by the time you finish with that one, the second southern one will be nearby. You can delegate the northern unit to one of your allies; just make sure you give the orders to one. As you’re fighting them, a Cavalier and more enemies will appear and start advancing on the Village Ruins. Reinforce the northern point with another ally, while you eventually defeat the Cavalier unit coming from the south.
Side Mission: Defeat the Cavalier and Ensure Recruitment
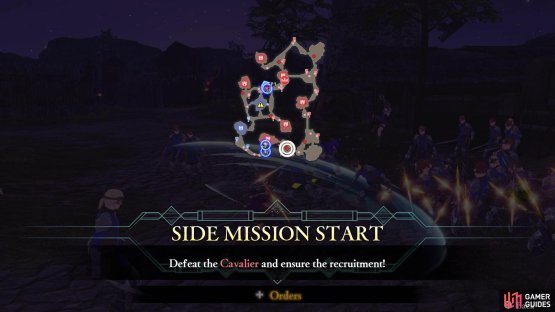

(1 of 2) The side mission involves defeating a Cavalier to ensure it joins your side

The side mission involves defeating a Cavalier to ensure it joins your side (left), You can just give orders to an ally to take care of it for you (right)
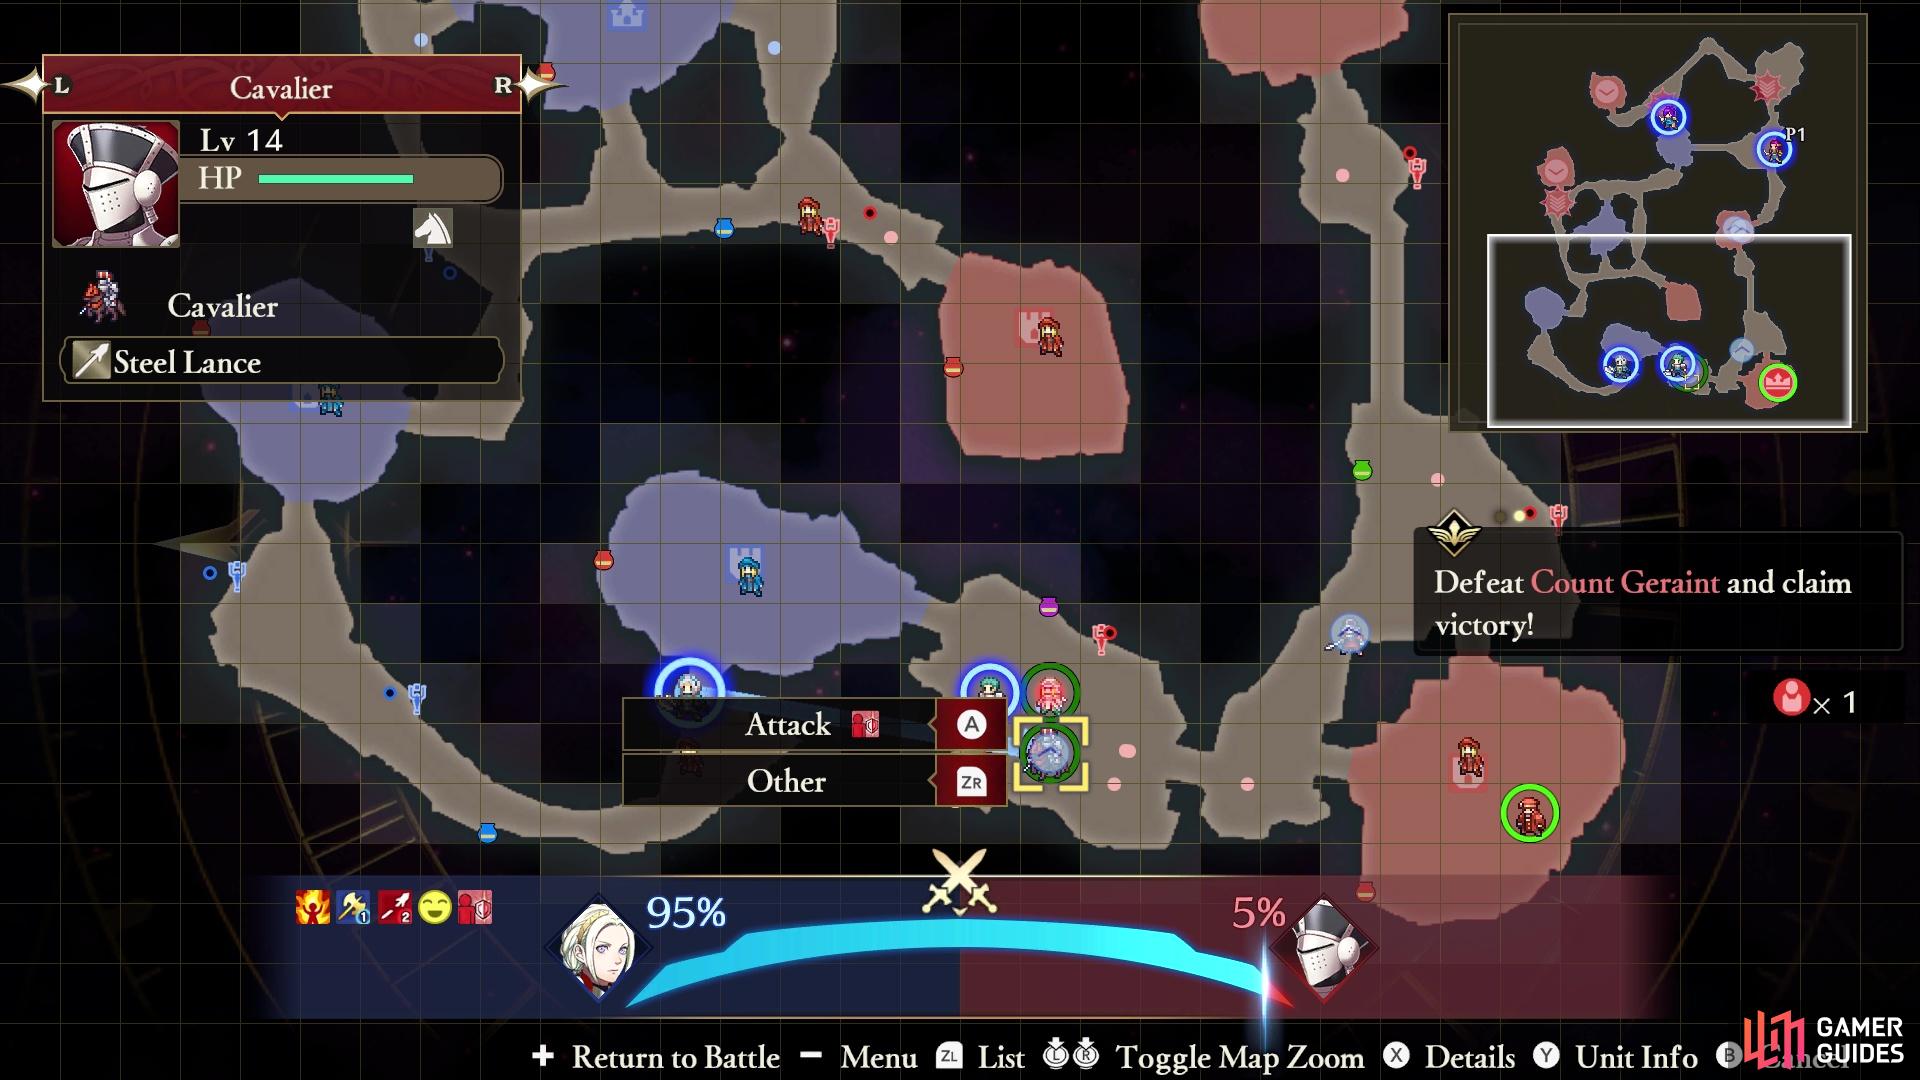
Just east of the southern stronghold, there will be a side mission that starts, as the Cavalier there will be attacking a Priest. Your goal is to defeat that Cavalier and ensure that the recruitment goes through. Your southern unit should be pretty free at this point, so you could just push through the stronghold, then charge the enemy there to quickly defeat them.
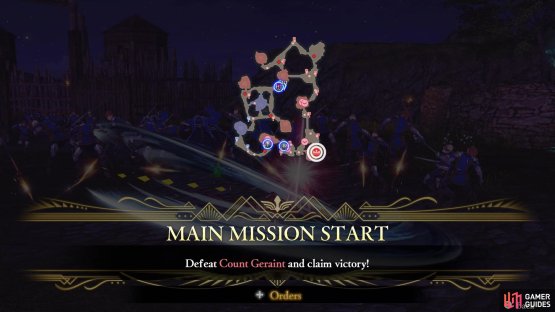
Mission 2: Defeat Count Geraint
After defeating all of the main units that are marked from the beginning of the map, as well as the reinforcements, the commander will show up in the bottom right corner of the battlefield. At this point, it’s entirely up to you on what to do, as there will still likely be officers on the field, plus all of the strongholds (although, they don’t really do anything for you). Should you want the S Rank, then it’s best to just charge straight at Geraint, who is a Monk-type unit, wielding a Tome. Defeat Count Geraint and the battle will be over.

(1 of 2) The commander will appear after taking out the marked units
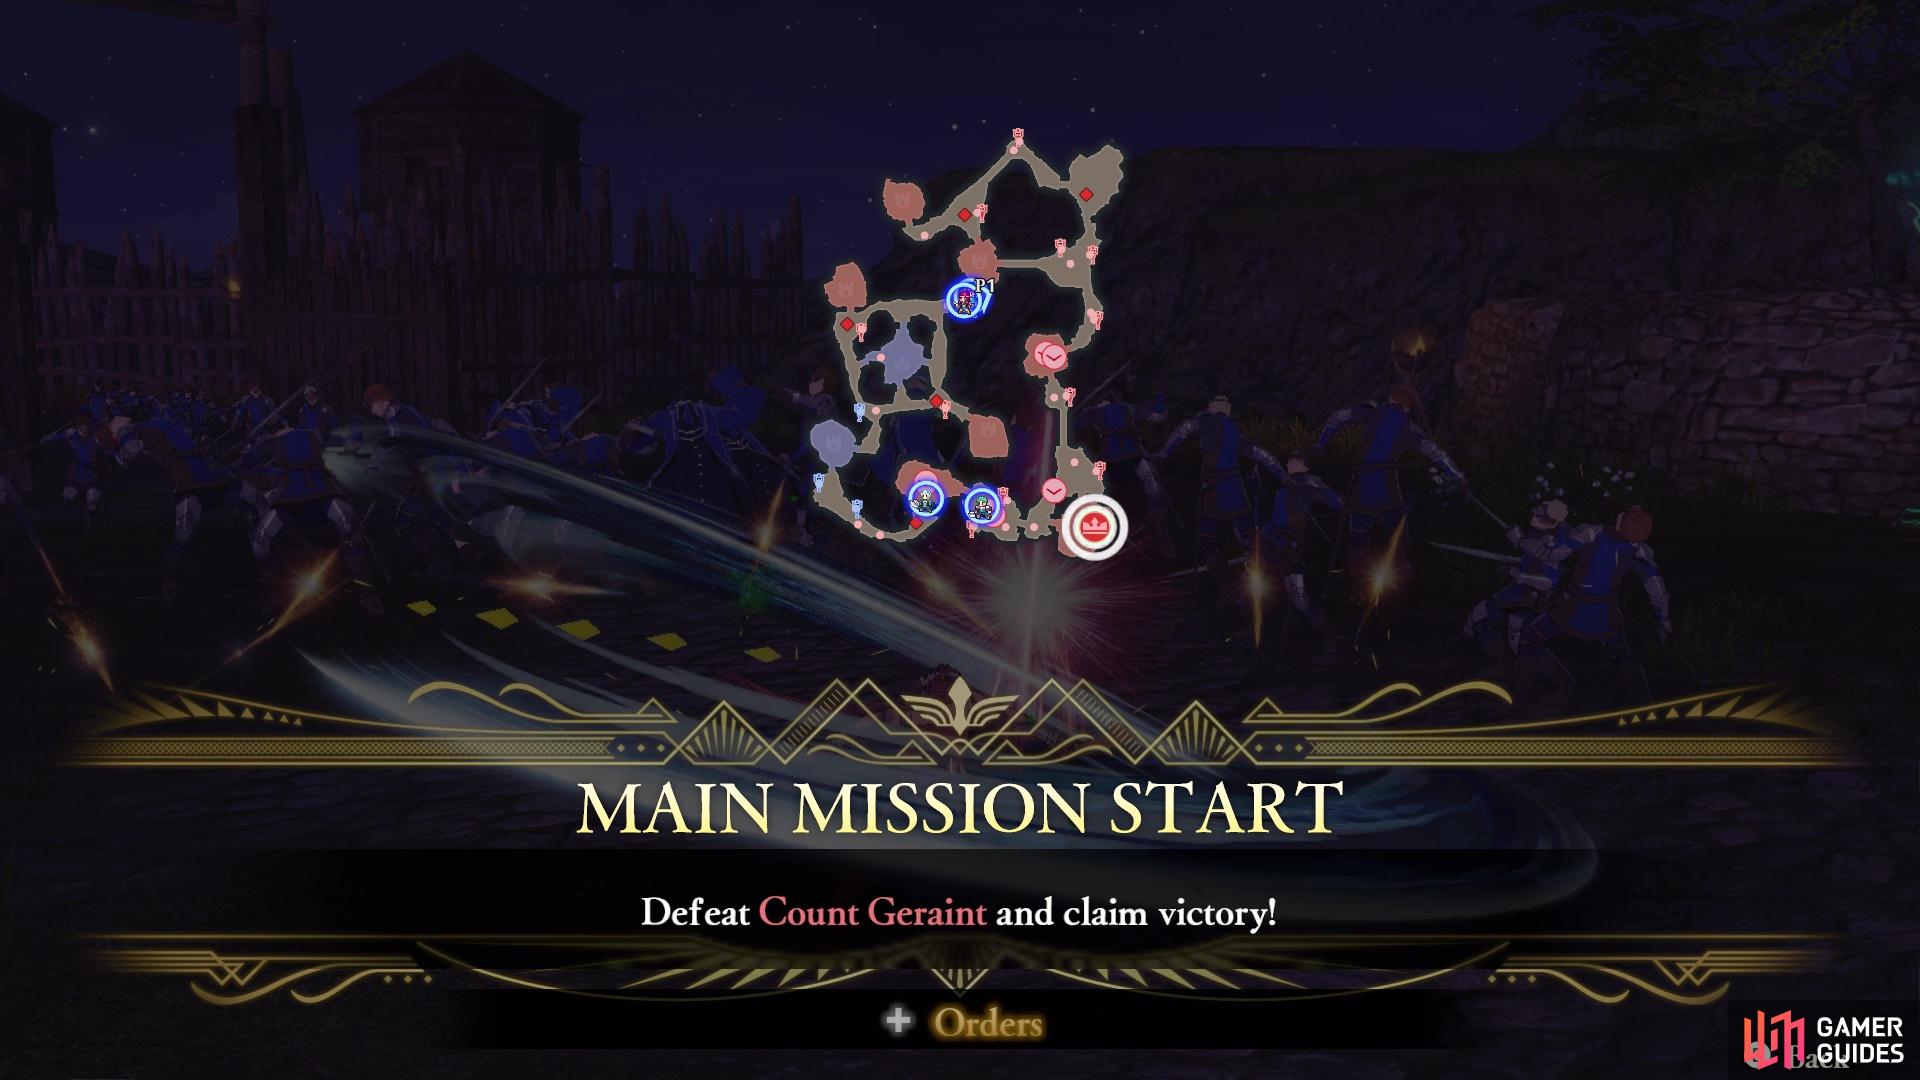
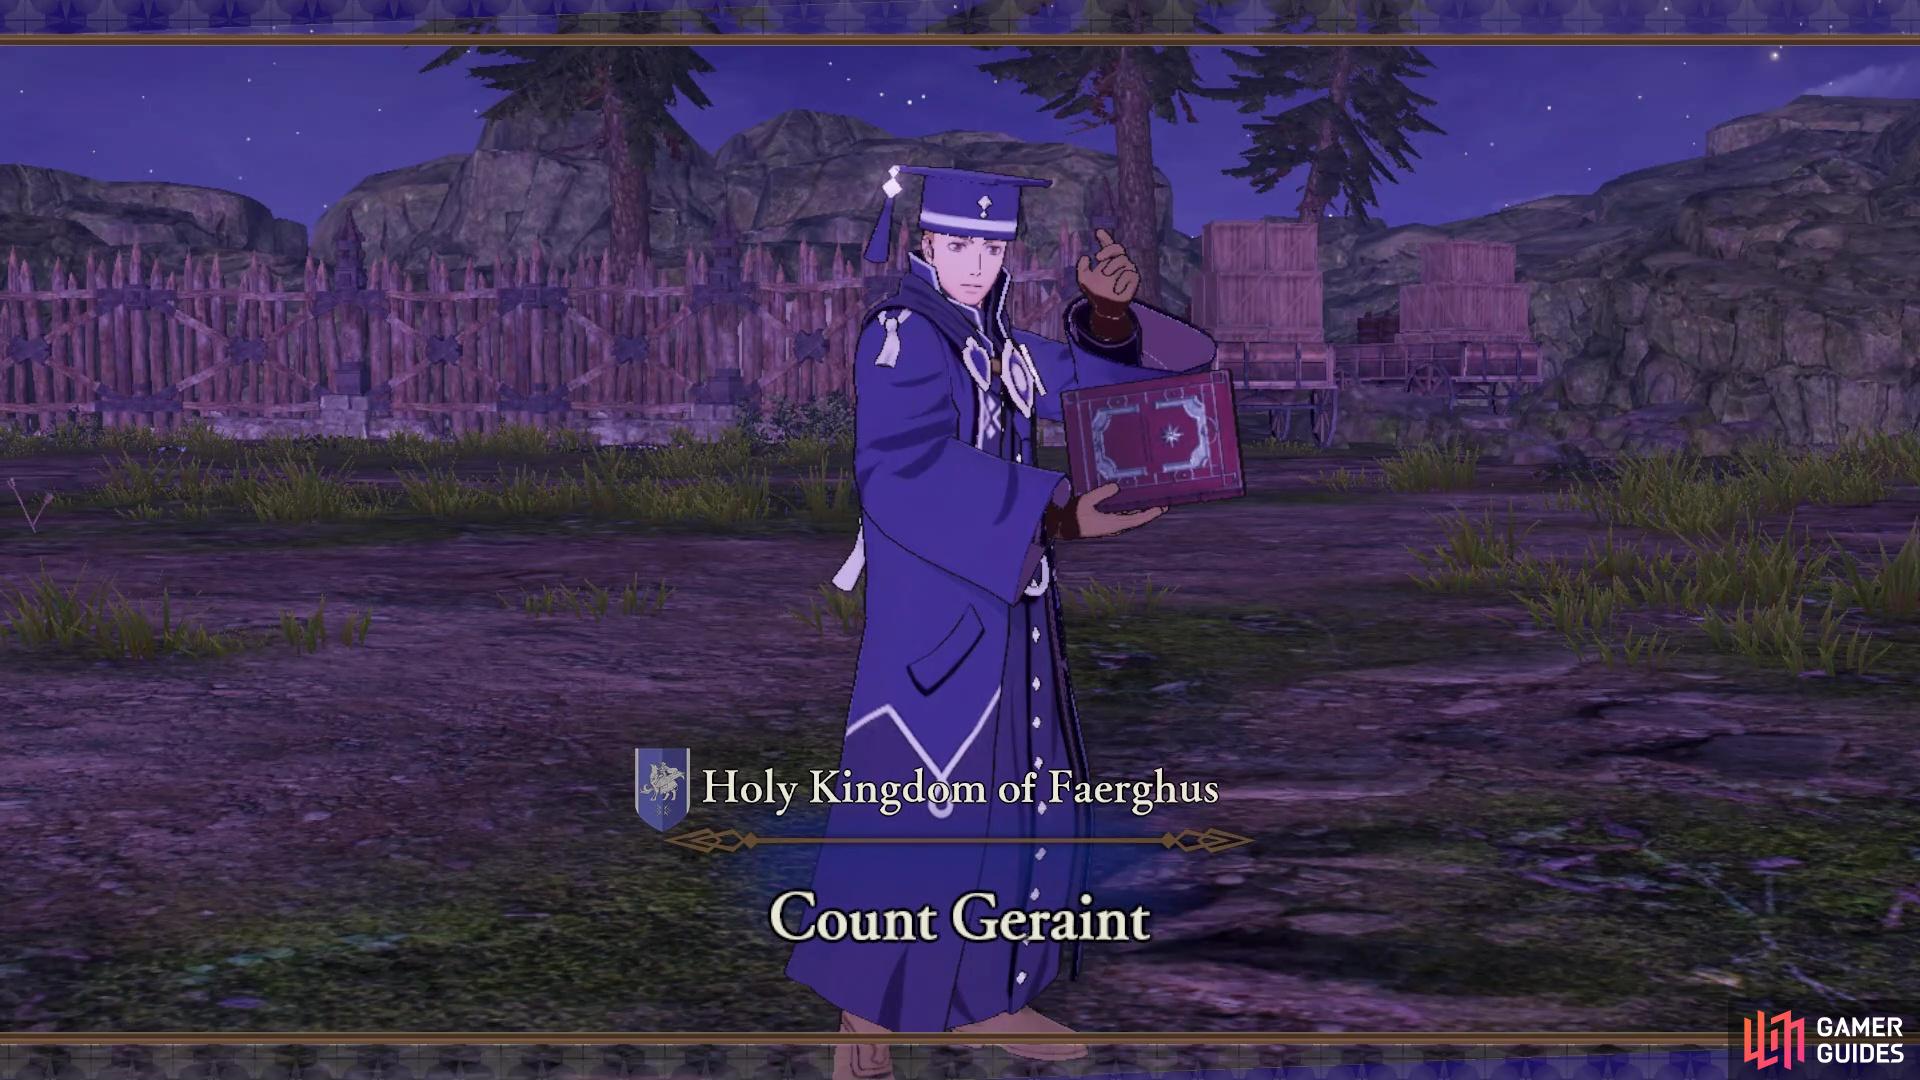
The commander will appear after taking out the marked units (left), Geraint is a magic-user with a Tome (right)
Clearing this battle should allow you to attempt the Extra Quest in that region. Just select the Surveying Spot with the clashing swords icon, which will show a choice of the Surveying Spot and the Extra Quest. For the Surveying Spots, you will get the following:
- Basic Building Material x38, Sutler’s License x15
- Peach Sorbet x1 (requires trading Peach Currant x3)
No Comments