
This is a guide for Chapter 5: The Skirmish in the Fog in Fire Emblem Warriors: Three Hopes, this page focusing on the Extra Quest, An Unexpected Encounter, in the Southern Rowe Territory.
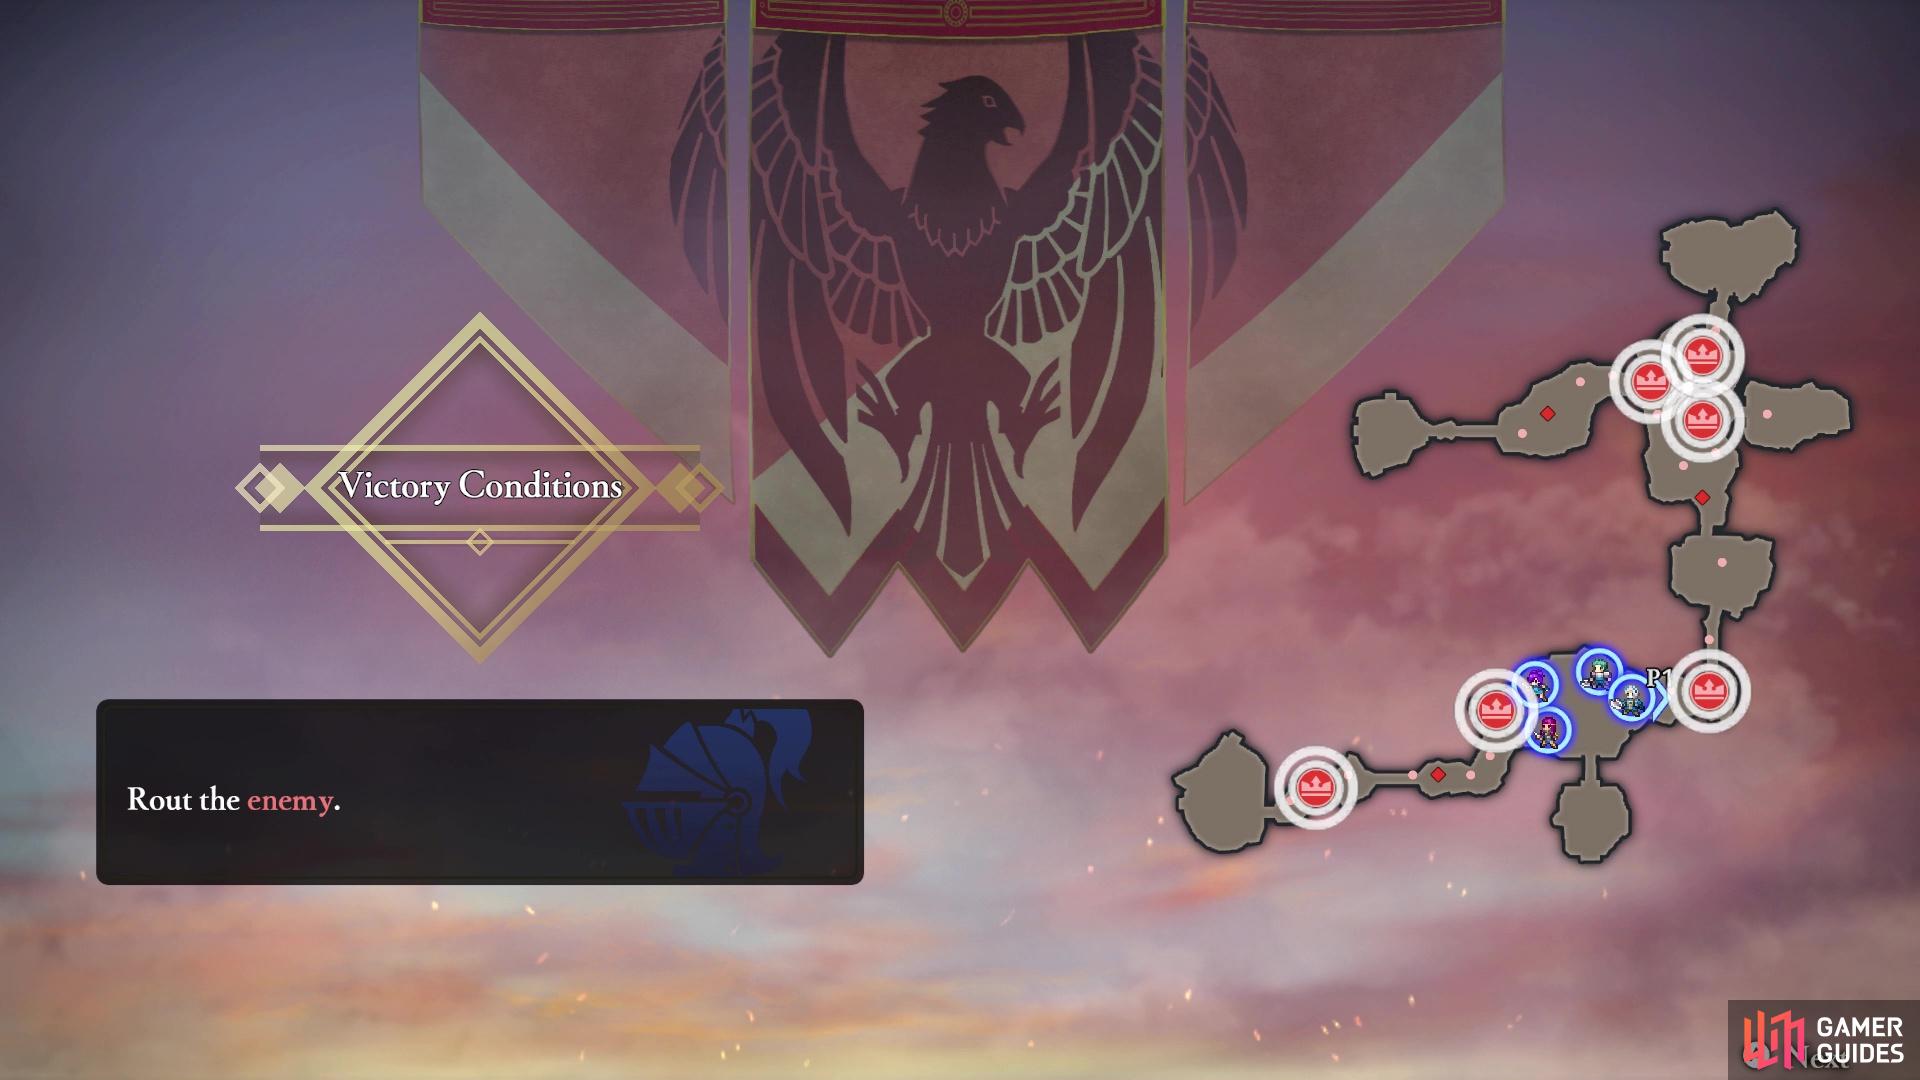
The battlefield for this Extra Quest
This battle is an Extra Quest, which is only available for a limited time on the map, and is designated by the clashing swords icon. For every region you capture on the world map, the Extra Quest counter will decrease and when it reaches zero, it will disappear. Simply highlight the Surveying Spot with the icon, where you will get a choice between the Extra Quest and Surveying Spot. These Extra Quests are great to do, as you will likely encounter a lot of Demonic Beasts, which in turn, means you can get a lot of great weapons to farm from them. Note that after completing the Extra Quests, you will not be able to replay them via the Record Keeper at your base.
How to S Rank An Unexpected Encounter
| Completion Time | Enemies Defeated | Damage Taken |
|---|---|---|
| 07:00 | 200 | 30% |
The Extra Quests tend to be even shorter than the Side Quests in the various regions. This makes it a lot simpler to get the S Rank, since the kill count is definitely a lot lower than usual. Overall, as long as you get that 200 kill count quickly, then you can simply beeline towards the main objectives to quickly finish the battle.
Mission 1: Defeat the Mage and Allies
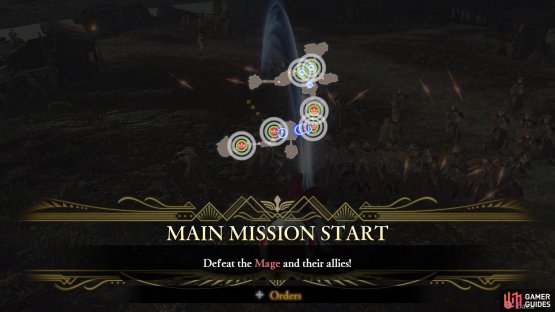

(1 of 2) Your goal at the beginning is to just defeat the officers on the map
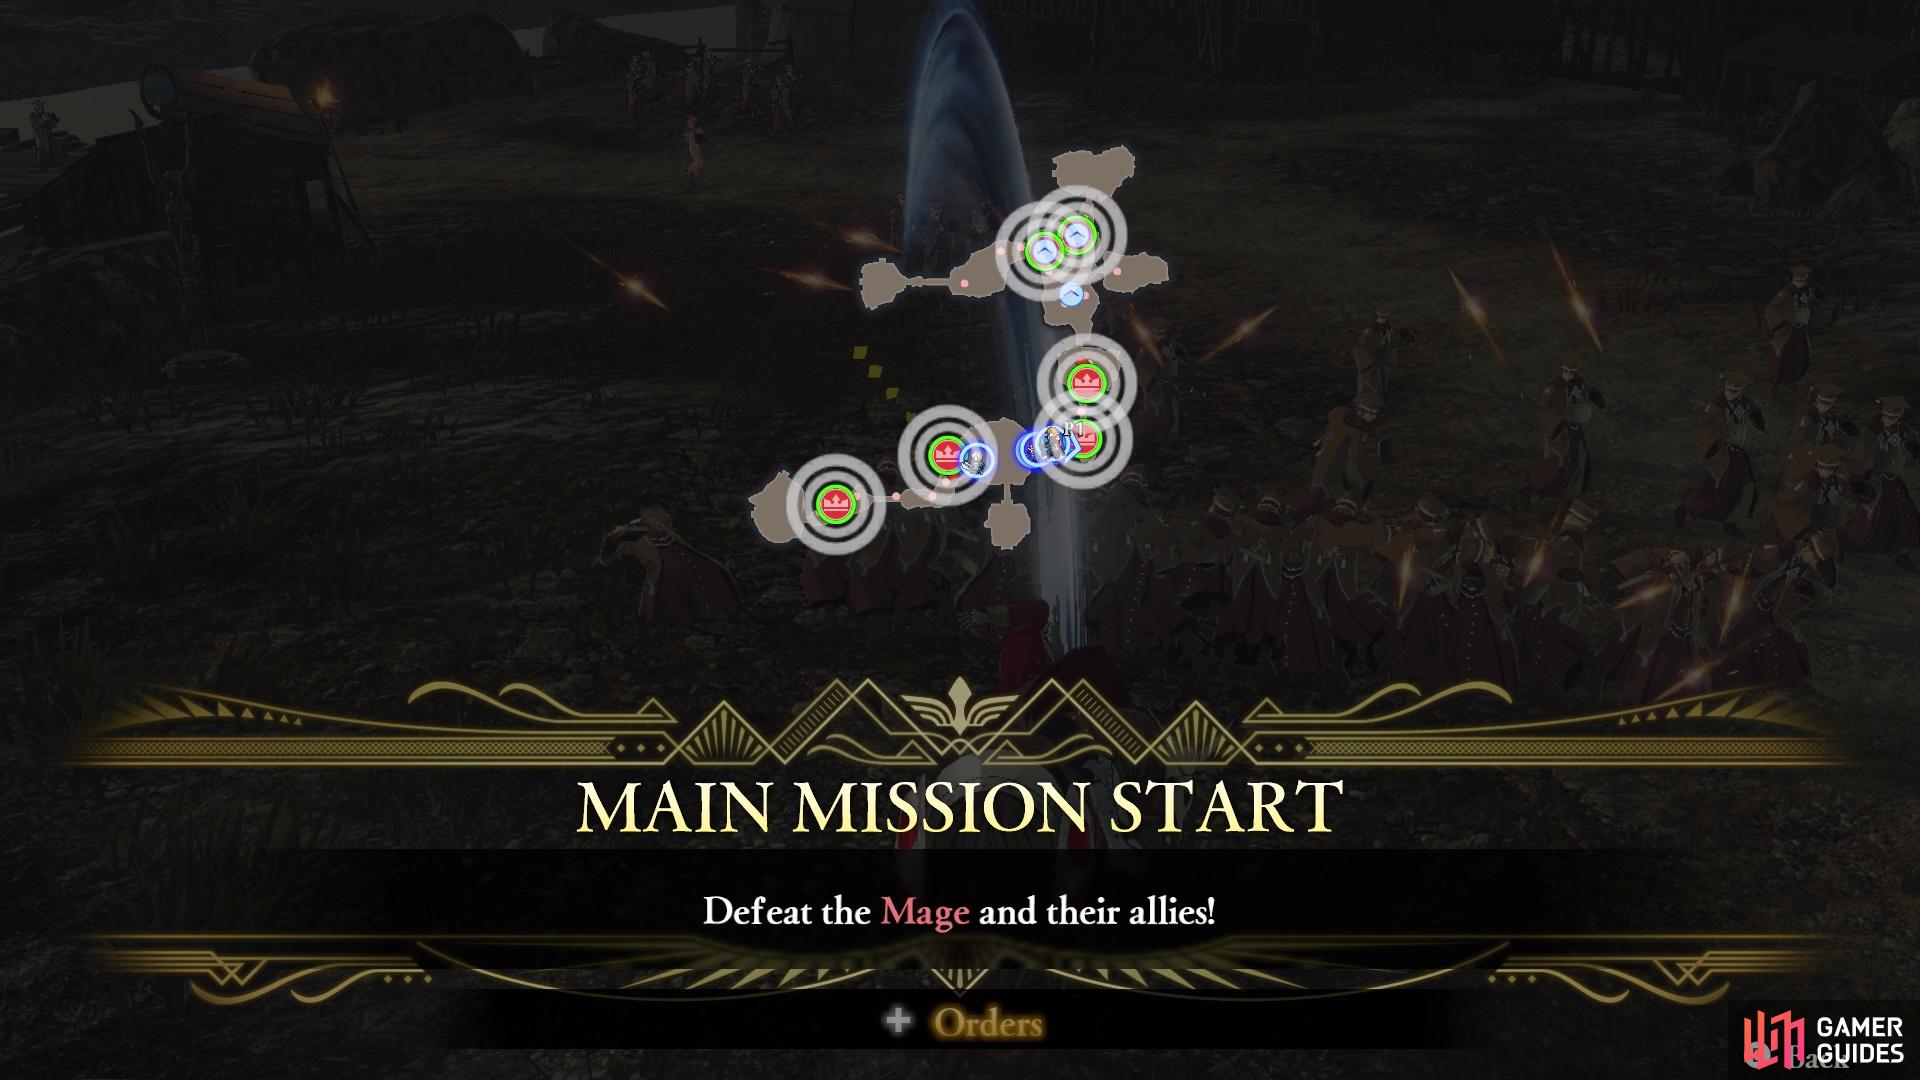
Your goal at the beginning is to just defeat the officers on the map (left), There’s nothing unusual about them, so cut them down with reckless abandon (right)
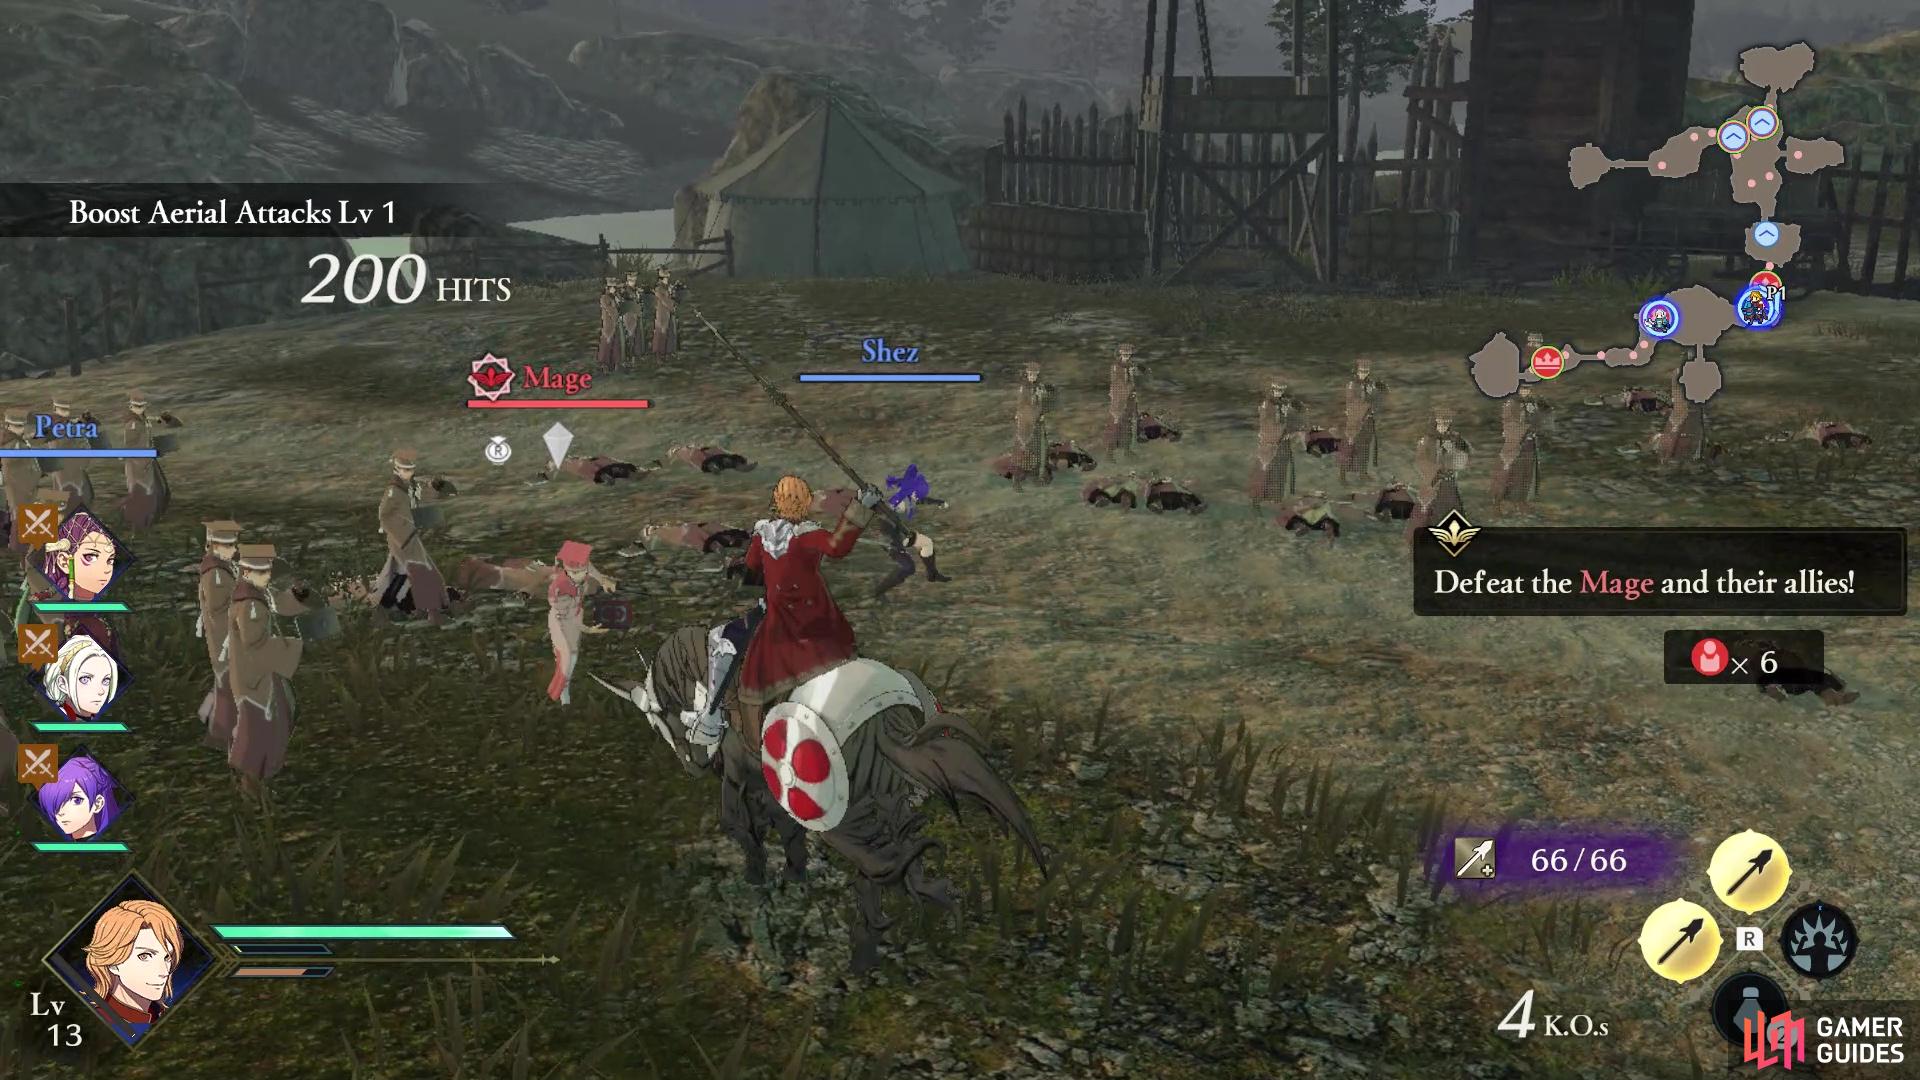
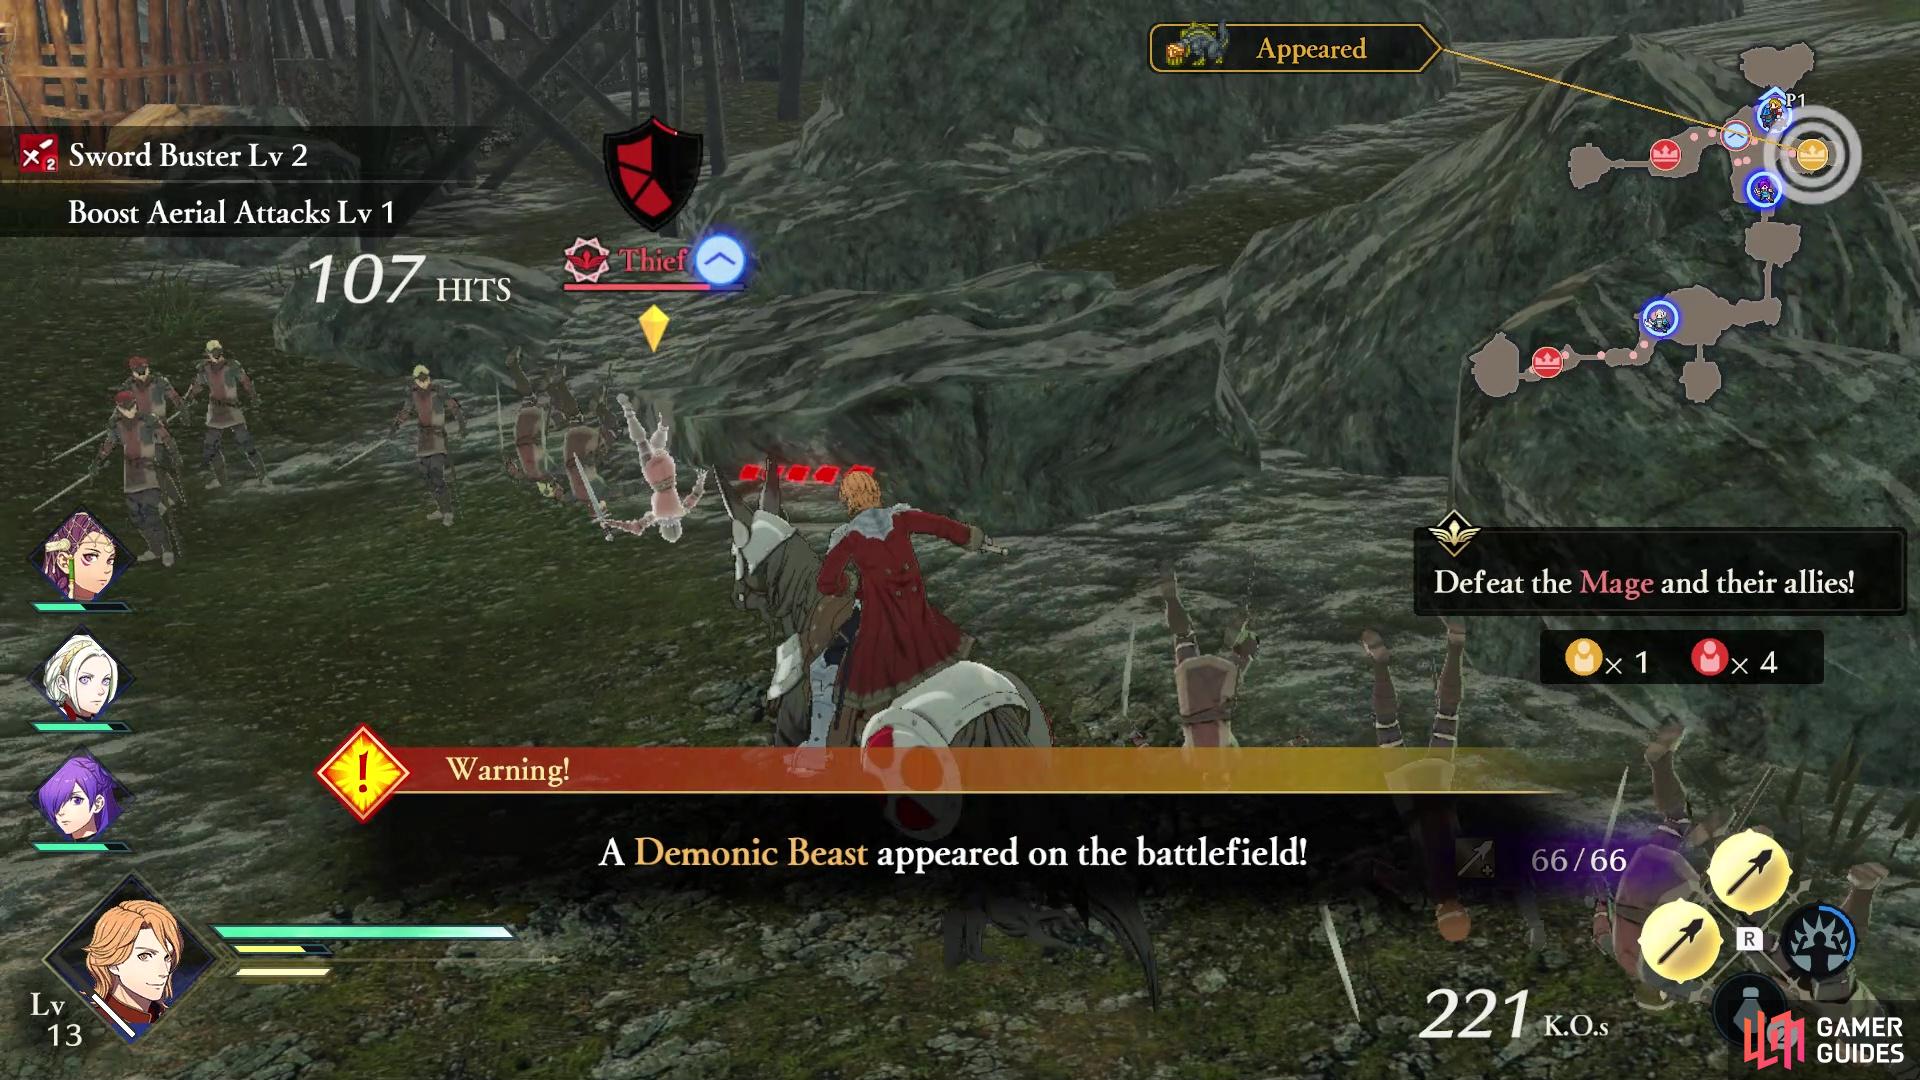
Your goal from the beginning of the map is to defeat the six marked enemy units. To make things simpler on yourself, send your allies to the farther units, which should be easier for you to concentrate on that S Rank. The enemy units on the map seem to be a mix of Tome-users and Sword-users, so you know which units to bring to counter them.
Mission 2: Defeat the Mage and the Demonic Beast
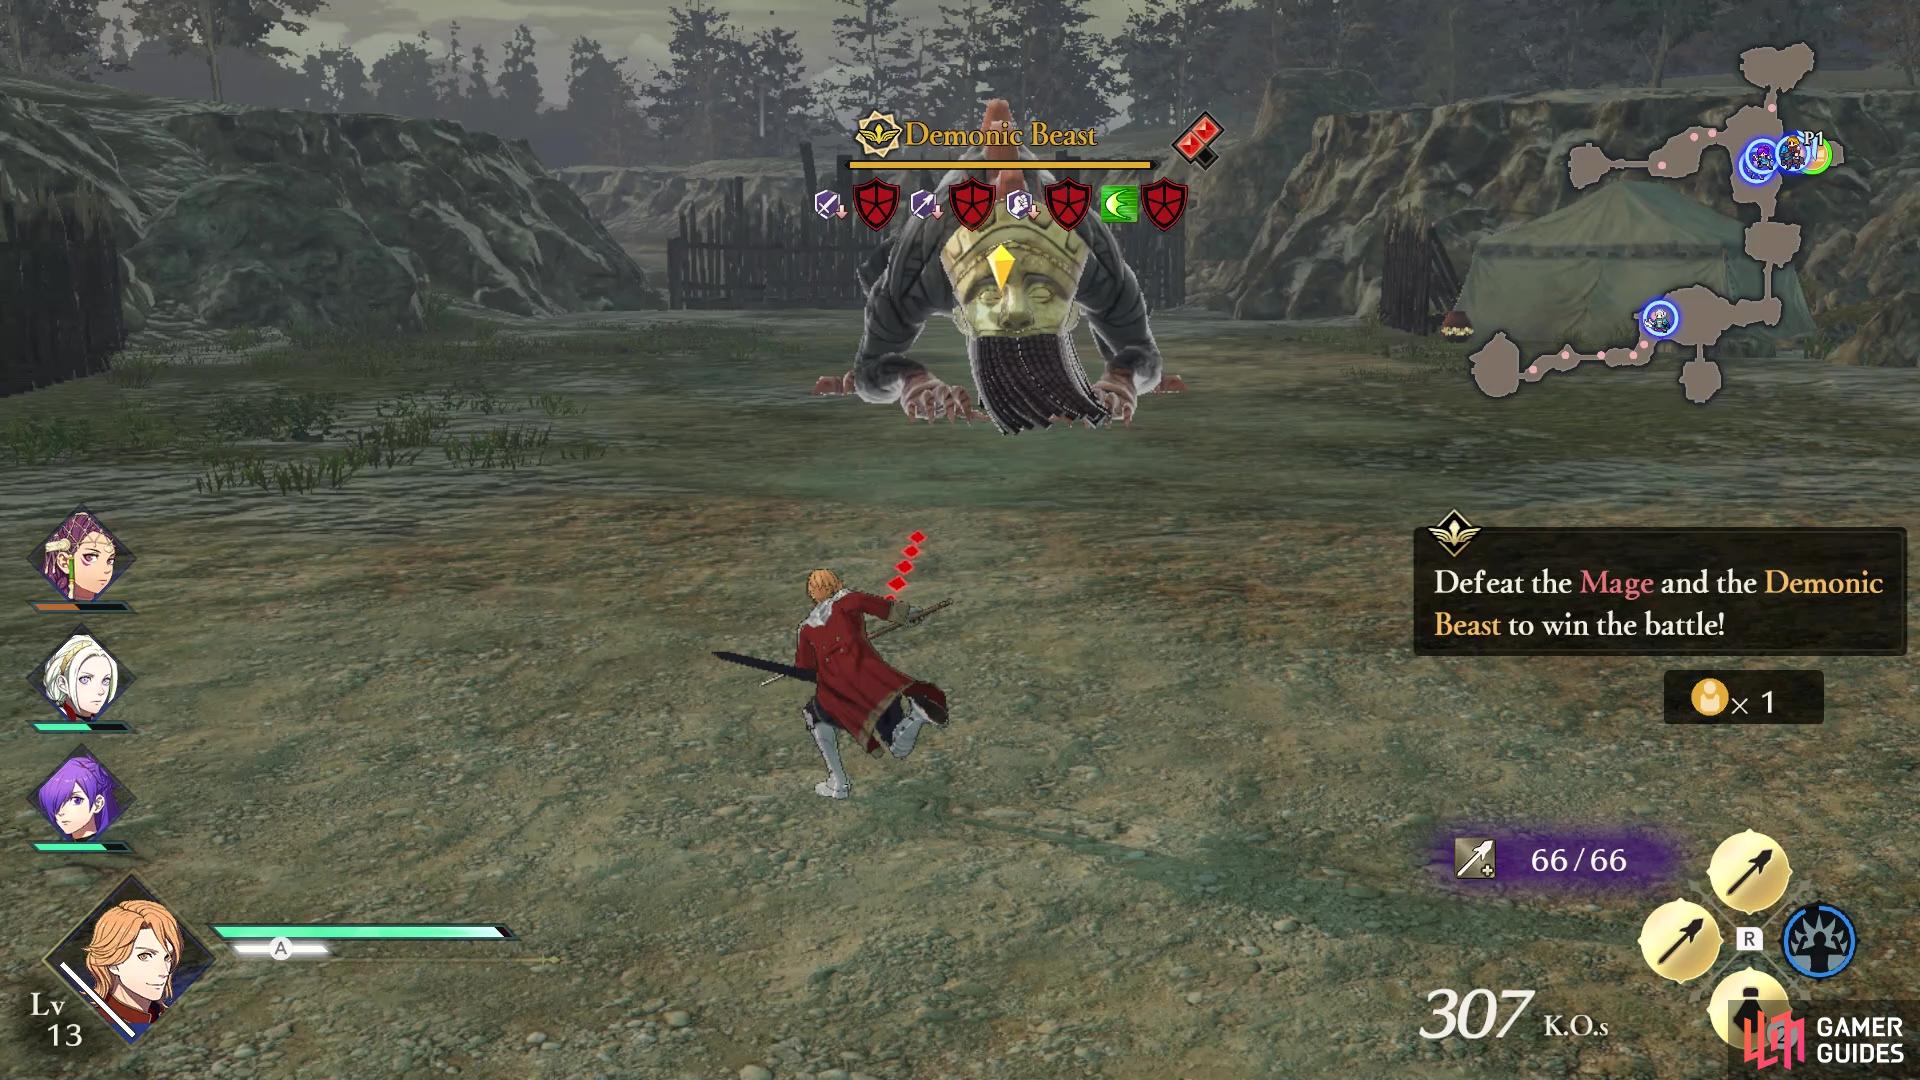
At some point during the battle, another Mage unit will appear from the northwest, while a Demonic Beast will appear towards the northern end. The main mission will change to require you to defeat both of these units. Now, the Mage unit should be nothing special, as they are a dime a dozen. However, the Demonic Beast is a little different, but not that much more difficult, considering the ease of which you can dodge its moves. As usual, the Demonic Beast has four shields, with four different weaknesses. Those weaknesses are Sword, Spear, Gauntlets, and Wind.

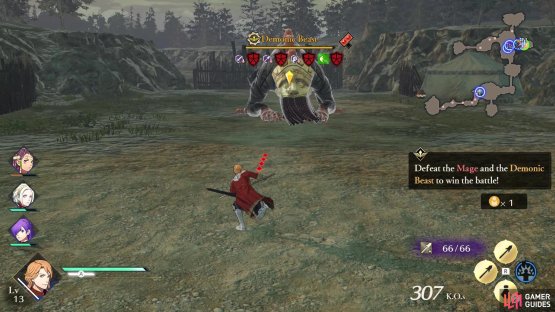
(1 of 2) The Demonic Beast will appear at some point
The Demonic Beast will appear at some point (left), Treat it like the others to easily defeat it (right)
Using one of those weaknesses until you get a Critical Rush will be the easiest way to deplete its three health bars. Doing this will also net you a bunch of extra goodies from the beast, so it’s always worth it. All of the Beast’s attacks are telegraphed, so you should be able to easily dodge them, unless you’re in the middle of an attack yourself. Once you down both the Mage and Demonic Beast, you will be finished with this Extra Quest.
No Comments