
Information about Monsters in Fire Emblem Three Hopes, including what are Monsters and how to defeat them in battle.
What Are Monsters in Fire Emblem Three Hopes?
Monsters are a special type of enemy, easily distinguishable from normal ones by the fact that they’re… well, giant and not just some normal human (mounted or otherwise). When a Monster appears on a battlefield, they almost always have a Main Mission or Side Mission attached to their presence, making it extra difficult to miss a Monster’s arrival. Monsters range the gamut from Crawlers (giant worms), Demonic Beasts (monstrous quadrupeds), Giant Wolves (rather self-explanatory, really) and Golems (massive bell-shaped automatons), and while their sizes and shapes are distinct they have numerous gameplay aspects in common that demand special consideration.
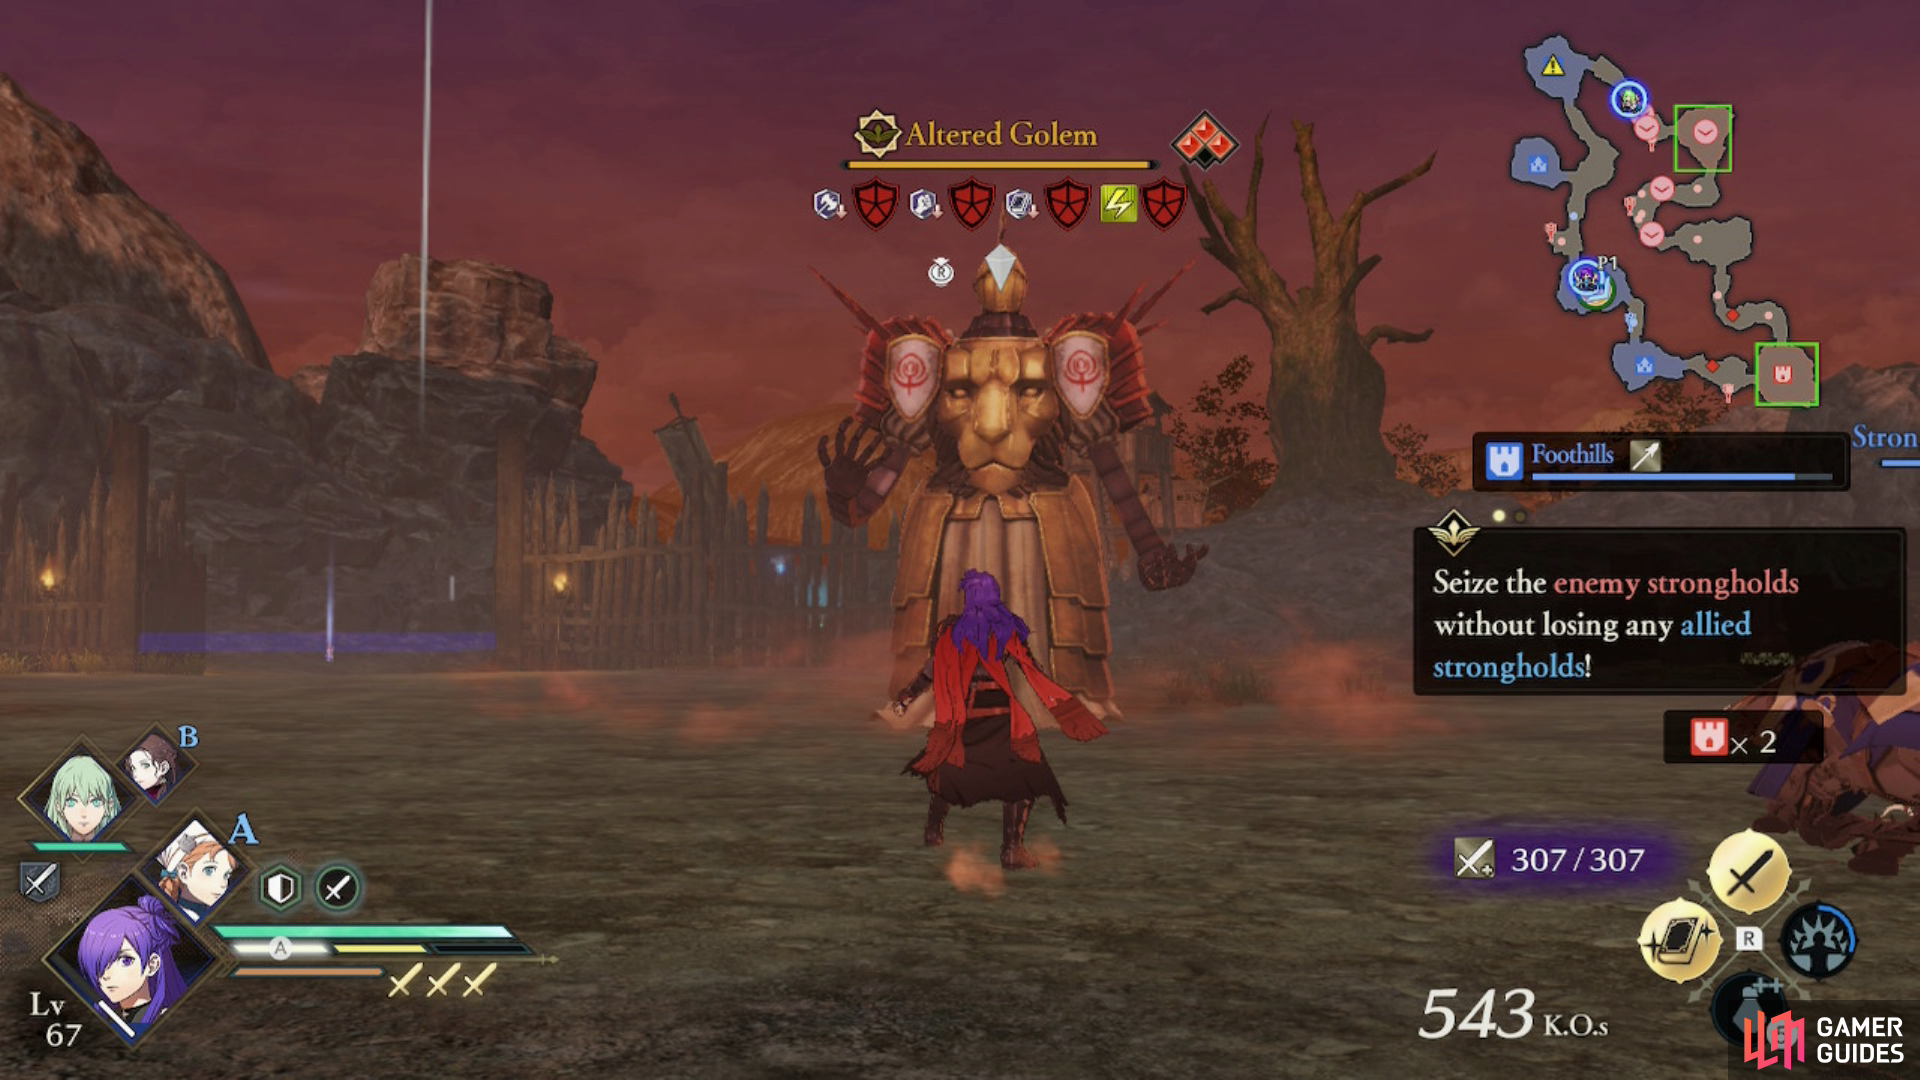
Monsters have multiple life bars and are vulnerable to specific weapons and elements.
How to Fight Monsters
If you find a monster and simply hack away at it long enough, it will die. That said, if you want to kill Monsters in a timely manner, or with any finesse, you’ll have to keep in mind the unique defenses they possess.
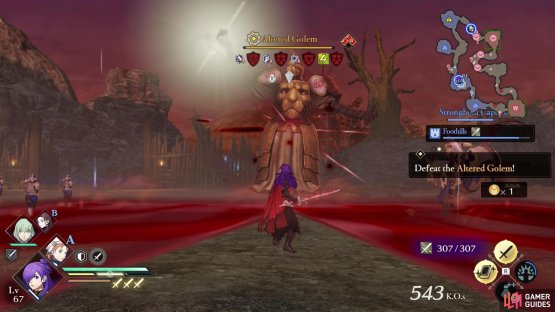
First, to the right of a Monster’s life bar you’ll find a cluster of diamonds, some filled (red). These indicate extra life bars that will have to be depleted sequentially. Every time a life bar is emptied, the Monster will become invulnerable and charge up an AoE attack (this mostly causes knockback rather than damage), and after the attack ends its life bar will refill and one of the red diamonds will turn gray. Deplete all of a Monster’s life bars and you’ll defeat it. When its final life bar is depleted you’ll need to perform a Critical Rush to put the Monster down for good.
In addition to multiple life bars you’ll find a number of icons under a monster, which represent the Monster’s vulnerabilities. This is roughly equivalent to a normal enemy’s Stun Gauge, save a Monster’s vulnerabilities are active all the time and they can only be depleted by striking them with the weapon type or element represented by one of the icons. If a Monster has a sword icon under its life bar, striking the Monster with a sword will empty the Monster’s sword-specific Stun Gauge, and when it’s depleted you’ll be able to perform a Critical Rush, which will most likely empty one of the Monster’s life bars. You can only trigger one Critical Rush from each vulnerability, once a specific Stun Gauge icon is gone, attacking with the same weapon/element type will not trigger another Critical Rush (save for the coup de grace once the Monster is ready to be defeated). Given the free damage that these Critical Rushes grant you, you should try to trigger them when the Monster still has a mostly full life bar, as once a life bar is depleted the Monster will trigger its invulnerable/knockback transition to the next life bar.
Having the correct weapons and elements to deal with a Monster - and fighting strategically so you can make the most of the Critical Rushes these trigger - is key to bringing down Monsters quickly and with minimal fuss.

(1 of 2) Monster attacks are always charged AoEs. The target area will be highlighted red.

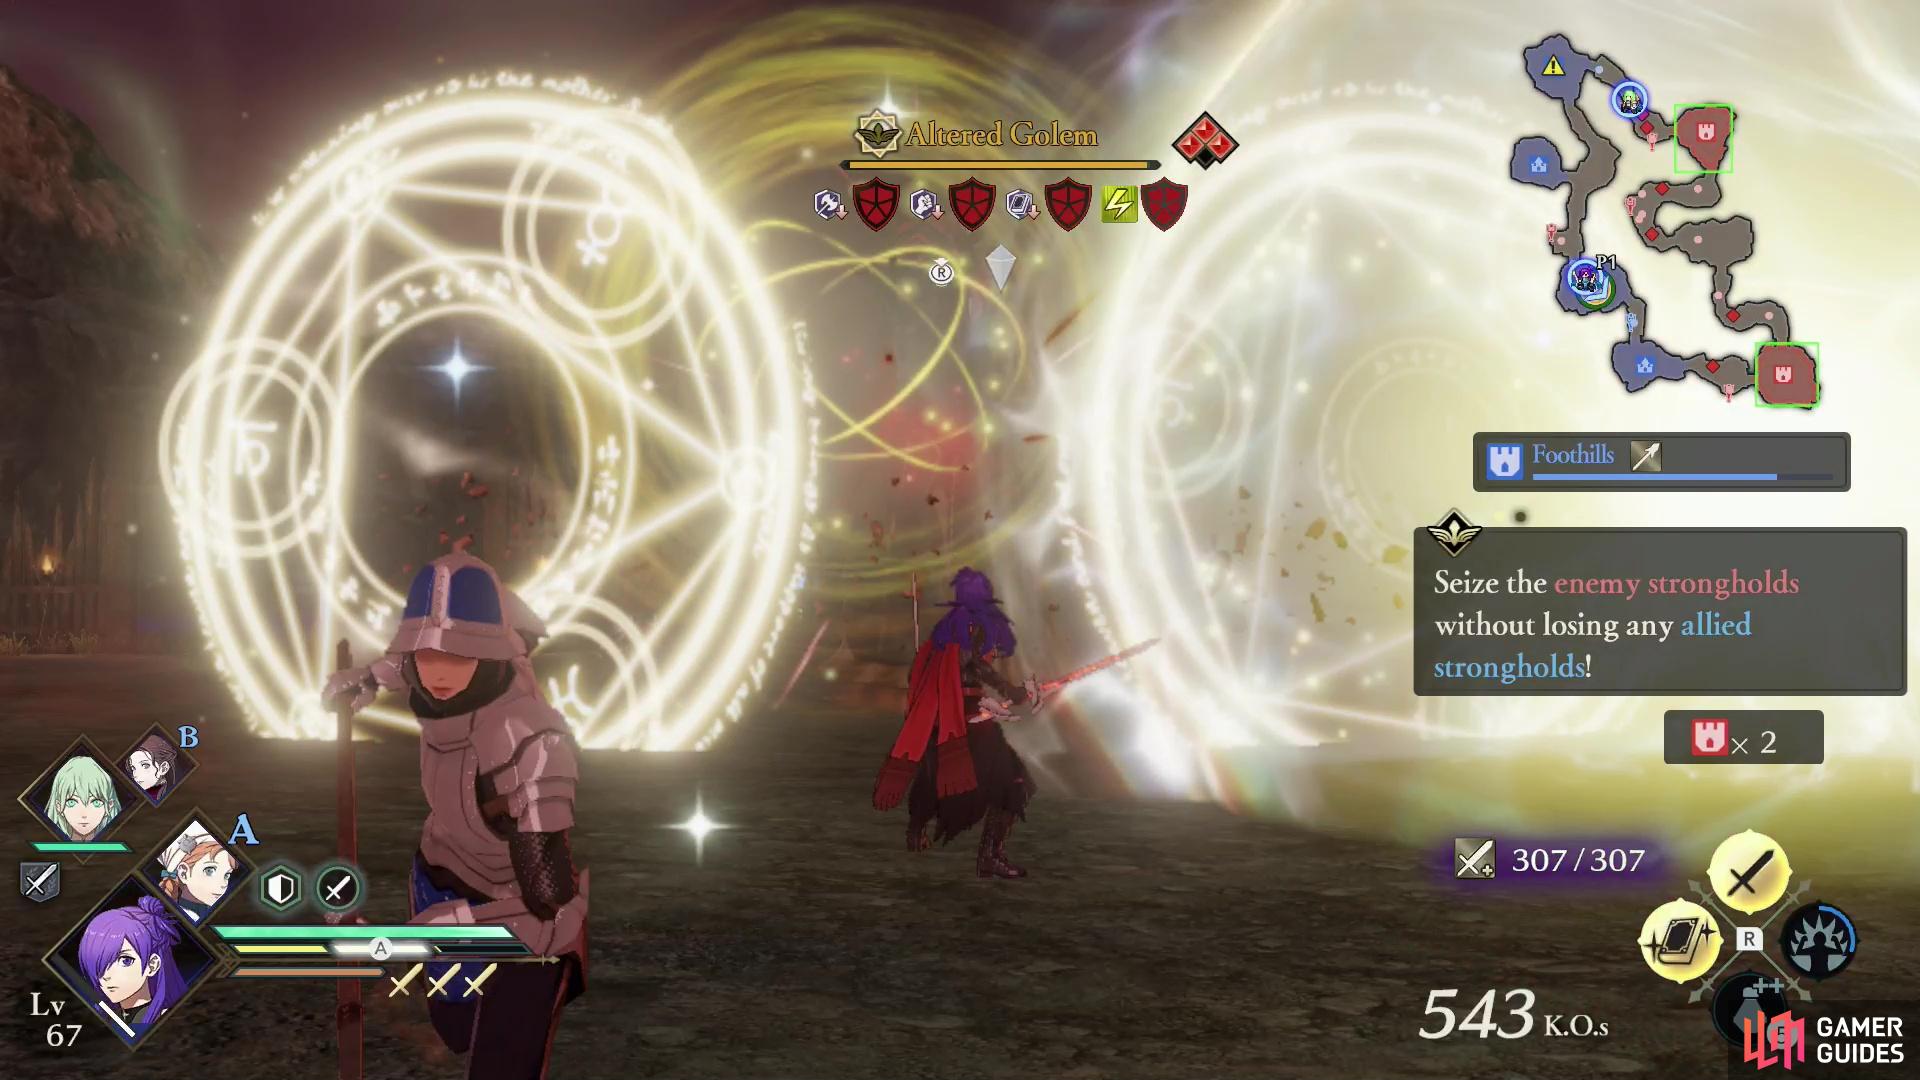
Monster attacks are always charged AoEs. The target area will be highlighted red. (left), The only defense against Monsters attacks is to simply not be there when they land. (right)
Monsters do not fight like normal enemies. They will not belt out quick, normal attacks - every attack they make is a charged, area-of-effect attack. Fortunately the target area will be highlighted red to let you know a Monster’s attack is incoming, and this should give you plenty of time to dodge. Just avoid over-committing to attacks, as Monsters do tend to hit quite hard. On the plus side, you can often score plenty of cheap hits on Monsters while they charge/carry out their attacks provided you’re not in their attack range.
Farming Monsters for Materials and Weapons
Defeating Monsters to complete a Main Mission or Side Mission objective is all well and good, and sometimes it’s required to complete a battle or to unlock a Surveying Spot, but there’s more incentive for killing Monsters than mere battle progression: drops! When one of a Monster’s Stun Gauges are depleted they’ll drop various Materials when their Life Bar is depleted following the resulting Critical Rush - if you have characters equipped with the right weapons and elements you could potentially farm a good number of materials (usually ores used to upgrade weapons]) from each Monster.

For much of the game, Monsters will be the best source of powerful new weapons.
Monsters also invariably drop weapons when defeated (Monsters encountered in Extra Quests will drop three weapons per kill!), and generally the weapons they’ll drop are the best sort of weapons available in that given point in the main questline, both in terms of base quality (steel, silver, brave, etc.) but in terms of number of modifiers and innate upgrade potential. This is more relevant in the early-to-mid-game where the weapons Monsters drop are significantly more powerful than almost anything enemy officers will drop, but by the end of the game the gap in quality will have shrunk a bit. The only downside to monster-dropped weapons is the fact that you’ll find them in a broken state, and they must be repaired before you can use them. For more information, check out the How to Get Better Weapons in Three Hopes page.
No Comments