
This is a guide for Chapter 5: The Skirmish in the Fog in Fire Emblem Warriors: Three Hopes, this page focusing on the Barnabas Territory.
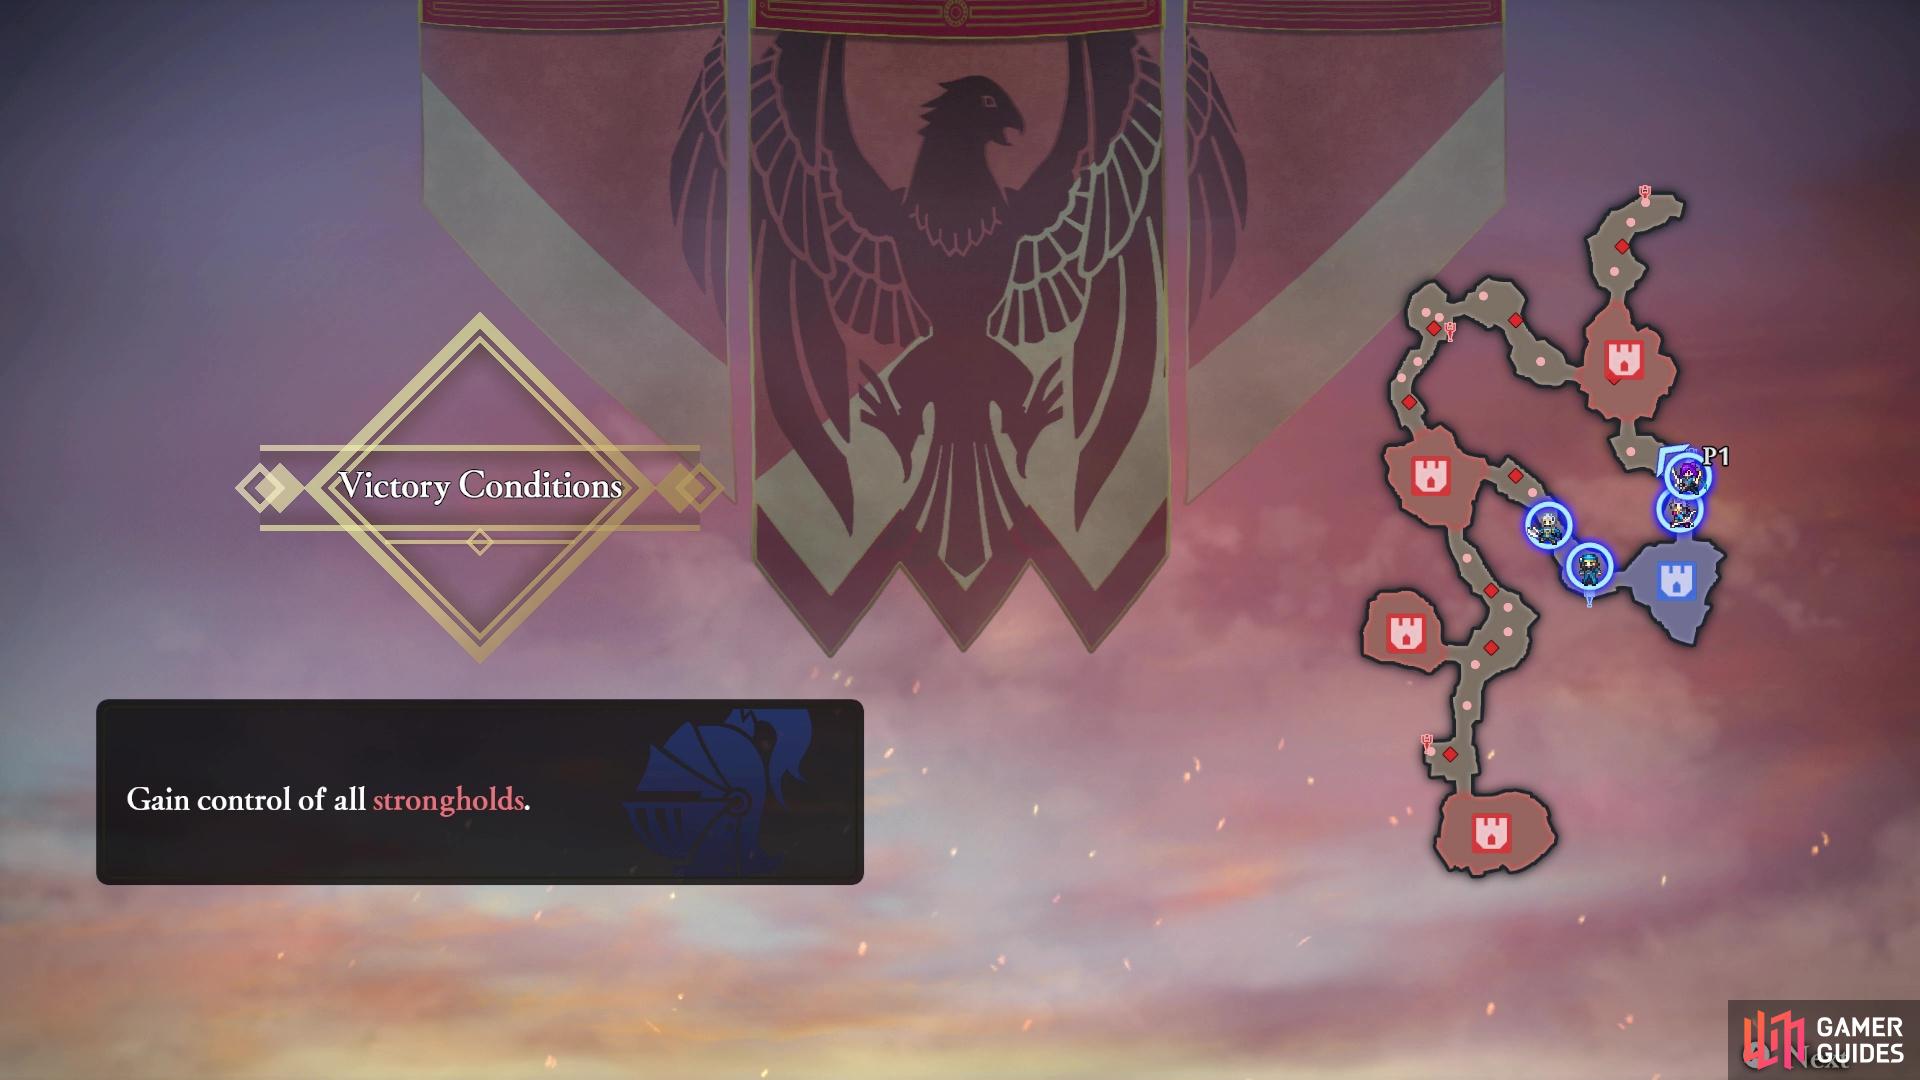
The battlefield for the Barnabas Territory battle
How to S Rank Barnabas Territory
| Completion Time | Enemies Defeated | Damage Taken |
|---|---|---|
| 07:00 | 500 | 30% |
Overall, this battle is not really all too difficult for an S Rank, with the main factory being the time. You will want to be a little careful in who you bring into the battle, as someone like Edelgard (if equipped with an axe) will be at an extreme disadvantage against some of the units on the map. The best thing you can do is go through your units and pick the ones that have an advantage against some of the enemy units. Keep in mind you will only have a total of four units to control, which is always how many you have for the entirety of the battle. When going for the S Rank, start by going south first, then making your way north, as the enemy commander will appear in the north.
There is a slight problem with the side mission in this battle, as it simply requires you to defeat 300 enemies. Doing the side mission is obviously going to take a decent chunk of time to do, but it definitely helps in achieving the 500 necessary kills for the S Rank. Once you get enough, though, simply forfeit the rest of the kill count and go straight for the objectives.
Mission 1: Seize the Strongholds
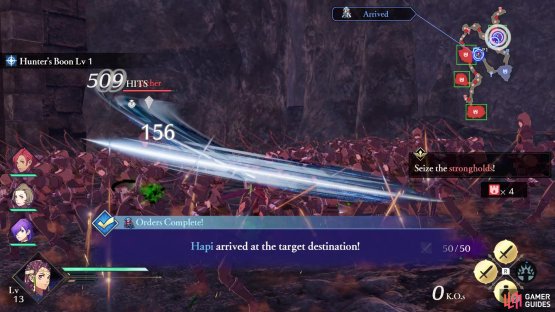

(1 of 2) Your goal at the start is to take over all of the strongholds


Your goal at the start is to take over all of the strongholds (left), which should be quite familiar to you at this point in the game (right)
The main mission from the outset involves you simply going around and seizing all of the strongholds on the map. There are four strongholds you will need to take, and considering the flow of the battle at the end, it’s best to work from the southern ones and leave the northernmost stronghold for last. There’s really not much more to this objective, since it’s pretty standard fare at this point.
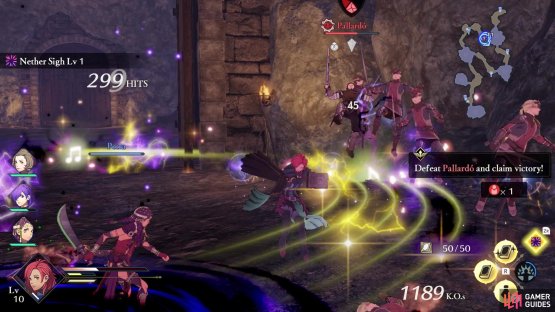
Side Mission: Defeat 300 Enemies
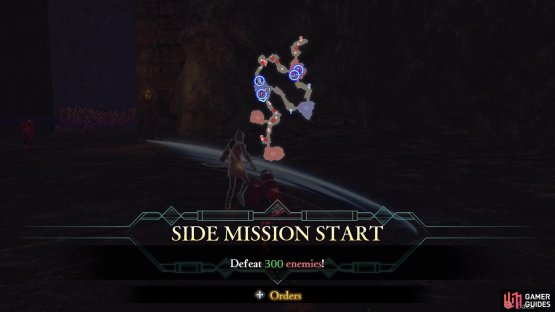
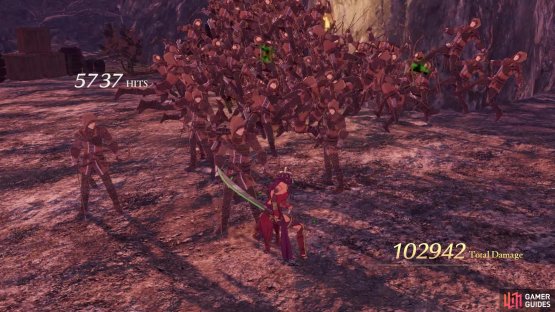
(1 of 2) The side mission requires you to defeat 300 enemies


The side mission requires you to defeat 300 enemies (left), Warrior Specials are great for taking out a lot of enemies at once (right)
At some point during the mission, some enemy reinforcements will appear and a Citizen will ask you to take down some enemies. This will trigger the side mission to start, which will task you with defeating 300 enemies. Now, the 300 enemies threshold doesn’t trigger until the side mission officially starts. This means that you will need to defeat an additional 300 enemies from the onset of the side mission appearing on your screen. It’s best to not get too close to the Base Captains, since you will want more enemies appearing here to make it easier on yourself.
Mission 2: Defeat Pallardo
After capturing all of the strongholds, you will finish with that main mission and cause the enemy commander, Pallardo, to appear in the north. If you took heed of the advice, you should be close to him. Otherwise, make the journey to Pallardo and defeat him. He is a sword-user, so it’s probably best to avoid using someone with an axe, since they would be at a disadvantage. There’s really nothing all too special about Pallardo, so he should go down like most other officers, just with a bit of extra health/defenses. When he has been defeated, the battle will be over.
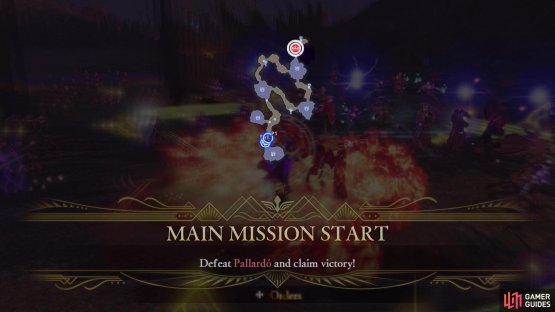
(1 of 2) The enemy commander will show up once you get all of the strongholds


The enemy commander will show up once you get all of the strongholds (left), There’s really nothing special about him, so he should go down fairly quickly (right)
Upon completing the battle, you will receive 10 Strategy Resources. You will also be forced into a cutscene, where you have a conversation with Hubert and Edelgard. When presented with the second choice, respond with Accept the truth of Hubert’s words to get some extra Support Points with him. You will be returned back to the War Map after that conversation is complete, where you can grab the rewards from the Surveying Spots.
- Smithing Stone x30 (requires someone with Armored Knight unlocked)
- Torch (requires all side missions done in this region)
- Basic Building Material x38, Recruit Training Gear x30
With those materials from the last one listed above, you will be able to upgrade the Training Grounds some more, if you want.
No Comments