This is a guide for the Derdriu main quest battle in Chapter 5: The Golden Guardian, in Fire Emblem Warriors: Three Hopes
Which Strategies to Choose for Derdriu, the Aquatic Capital
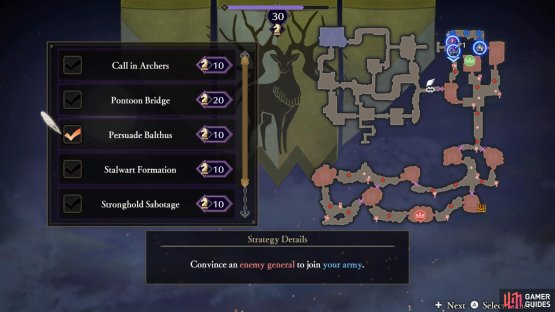
(1 of 2) Recruiting Balthus is generally a no-brainer.
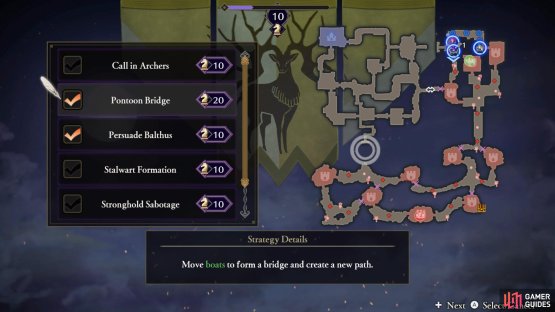
Recruiting Balthus is generally a no-brainer. (left), Creating a make-shift bridge out of boats is pretty smart. (right)
| Strategy | Cost | Strategy Details |
|---|---|---|
| Call in Archers | 10 | Summon archers to protect the defensive line |
| Pontoon Bridge | 20 | Move boats to form a bridge and create a new path |
| Persuade Balthus | 10 | Convince an enemy general to join your army |
| Stalwart Formation | 10 | Begin the battle in a defensive formation |
| Stronghold Sabotage | 10 | Decrease the durability of all enemy strongholds at the beginning of battle! |
| Anti-Lance Training | 10 | Grant the Lancebreaker ability to Stronghold Captains in allied strongholds |
Obviously, Persuade Balthus is a must, so you can recruit Balthus after kicking his behind. He brings along a Hero’s Relic too, the Vajra-Mushti. So even if you don’t use him, you’ll want it for the achievement(s).
Next, Pontoon Bridge is highly recommended. This creates a bridge connecting the west side with the south-west area when it matters most.
Besides those two, Anti-Lance Training is decent since this is a defensive mission and many of the invading foes wield lances.
How to S Rank Derdriu, the Aquatic Capital
| Completion Time | Enemies Defeated | Damage Taken |
|---|---|---|
| 15:00 | 1800 | 50% |
Compared to the previous main quest, you have slightly less time to clear the battle and more foes to defeat. On average, you need to defeat at least 120 foes per minute. This can be somewhat tricky considering you also need to meet all the story-based objectives.
Enabling the Pontoon Bridge Strategy will help save time, by creating a handy shortcut to the remaining enemy strongholds. Otherwise, remember to keep your controllable characters spread out, so you can occasionally switch to them and look for nearby clusters of foes. You can also use Shadow Slide (sparingly) to teleport to captured strongholds for the same purpose.
Mission 1: Seize the port strongholds
(1 of 2) Order a few characters to capture two of the strongholds.
Order a few characters to capture two of the strongholds. (left), Then go and handle the remaining stronghold yourself. (right)
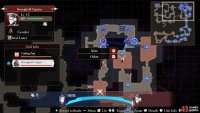
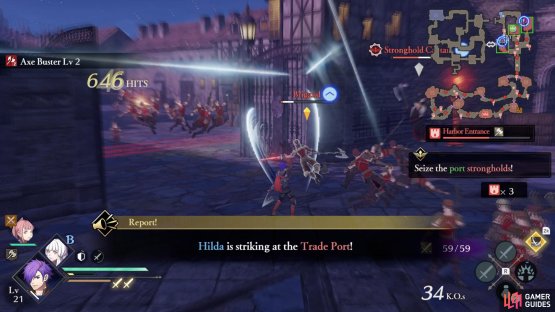
While keeping an eye on NPC Judith who’s at the center of the three north-eastern strongholds, you need to capture all three strongholds in the corner where you begin.
The one towards the west is protected by an axe wielder, so send somebody with swords that way (for instance, yourself as sword-wielding Shez). Meanwhile, the remaining two have lance-wielding captains, which is a job for axe users; those captains are also susceptible to a Horseslayer.
Be sure to use the Orders menu to send the appropriate character(s) to capture the strongholds you’re not going to.
Mission 2: Defeat the ambushers
(1 of 2) Once again, order some characters to capture strongholds you’re not going to.
Once again, order some characters to capture strongholds you’re not going to. (left), As you attempt to take the strongholds, be wary of enemy forces attacking the Allied Camp. (right)
The imperial army will pull a fast one and send enemies to ambush the north-west quadrant. When (or before) this mission begins, rush towards the north-west corner of the quadrant where you started, to wait for the drawbridge to open, so you can head across.
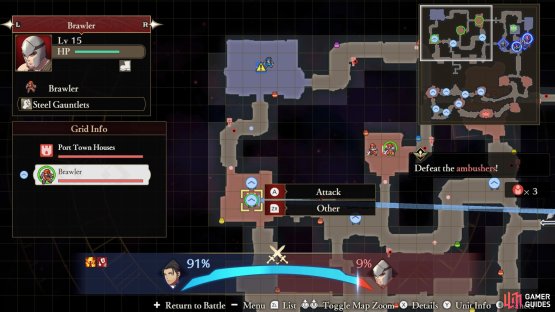
Your main goal is to capture the three enemy strongholds here. The westernmost stronghold has a Gauntlet user, so spank them with bows. Next, the center and east stronghold are guarded by axe-wielding captains, who are weak to swords.
Don’t panic and use the Orders menu to send at least one abled character to each stronghold. Meanwhile, you should leave a lance user in the north-east quadrant, where Judith is.
On top of capturing the strongholds, some enemy forces will also try to attack the Allied Camp in the north-west corner. You can either go and personally handle them yourselves or delegate some spare characters to repel them. Either way, they’re not that strong.
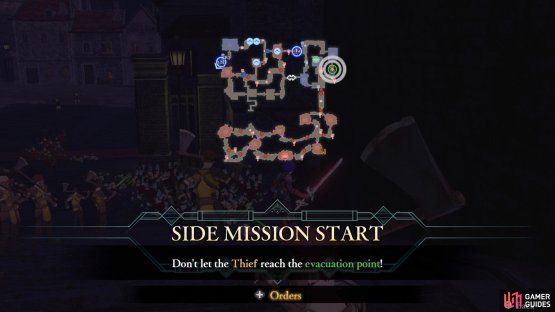
Side Mission 1: Don’t let the Thief reach the evacuation point
(1 of 2) Looting at a time like this?
Looting at a time like this? (left), Teach them a lesson with a lance user. (right)
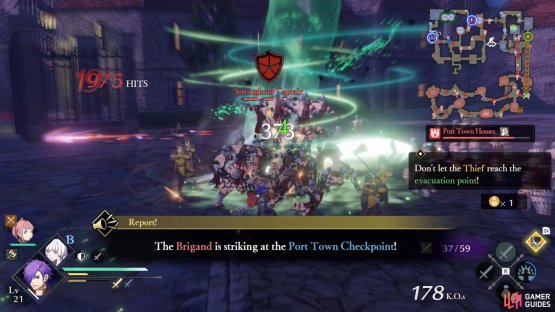
During the chaos, a rogue Thief will decide to cause headaches for you. It’ll spawn just below the north-eastern stronghold, in the starting quadrant. If you ignore him, he’ll run off towards an exit near the south-east corner of the map.
If you followed our advice just above, Order (or control) the lance user who stayed behind to defeat the Thief.
Mission 3: Defeat the invading troops
(1 of 2) Stop these Wyvern Riders from flanking the Allied Camp.
Stop these Wyvern Riders from flanking the Allied Camp. (left), Holst will pop in to lend some help. (right)
Once you’ve captured all the strongholds in the northern half of the map, Ferdinand won’t be happy. He’ll send in multiple groups of foes to try and get the strongholds back. Your task is to defeat three of the Wyvern Rider groups.
These three groups appear near the south edge of the Allied Camp quadrant and will try to advance towards the Allied Camp. If you recall the Battle of the Locket, bows will send the Wyvern Riders packing. Sword users will also fare well.
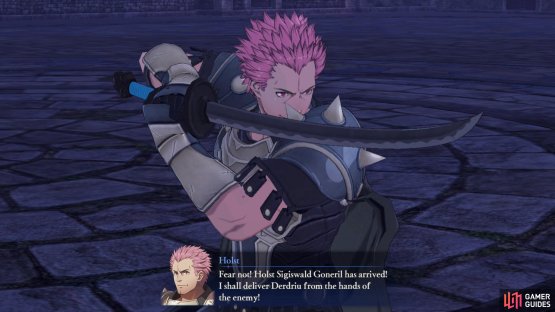
To even the odds, Holst will show up to lend a hand. He’ll occupy the 4th controllable character slot, as a sword-wielding Swordmaster. Feel free to use or order him to slay a Wyvern Rider or two.
Side Mission 2: Seize the strongholds to stop the fire orbs
(1 of 2) The empire will play dirty and launch fireballs.
The empire will play dirty and launch fireballs. (left), After creating the pontoon bridge, order some free hands to attack the fire orb strongholds. (right)
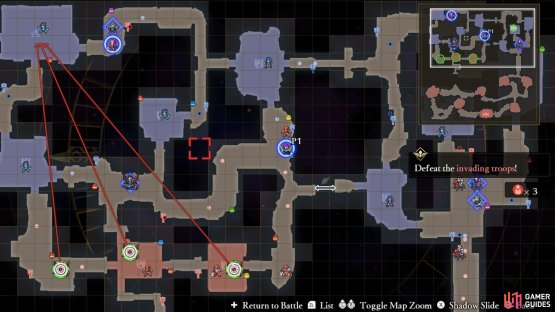
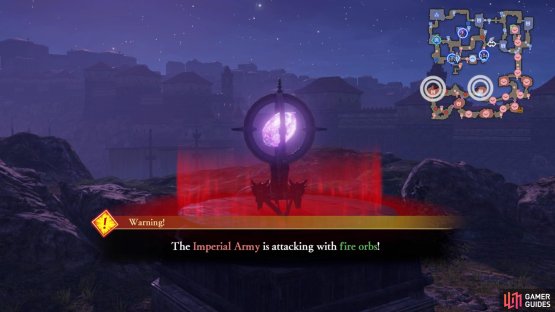
After Holst joins the fight, the enemy will begin launching fireballs on the battlefield. To stop these, you should conquer the two strongholds along the northern edge of the south-western quadrant. Trouble is, they’re pretty far away from where you’re probably fighting (near the Allied Camp).
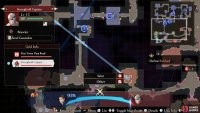
If you enabled the Pontoon Bridge strategy, trigger it now. This will create a bridge from the Allied Camp quadrant to where you want to go. Otherwise you’ll need to go all the way round the map, in a clockwise direction.
For the strongholds themselves, they’re occupied by Gauntlet users so field reliable Bow users. That said, you may wish to keep a Bow user on standby for an upcoming mission.
Mission 4: Defeat Balthus
(1 of 2) Before engaging Balthus, trigger the Strategy to persuade him.
Before engaging Balthus, trigger the Strategy to persuade him. (left), Then persuade him by beating him senseless. (right)
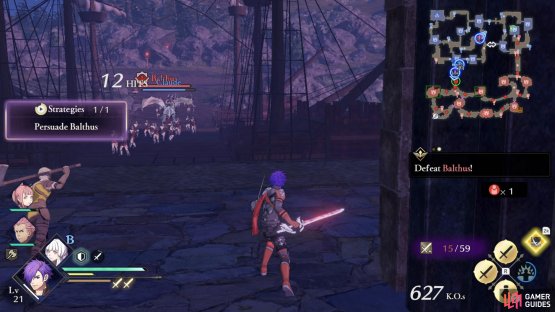
Succeed in repelling the invaders and Balthus will spawn near the south-west corner. That’s your cue to trigger the Persuade Balthus Strategy, so you can safely defeat him, then add him to your ranks.
Likewise, if you created the pontoon bridge, you can easily reach Balthus from the Allied Camp vicinity. Otherwise, you’ll have to circle around.
Balthus wields Gauntlets so bow users are his bane.
Mission 5: Defeat Ferdinand and defend Derdriu to the end
(1 of 2) Ferdinand von Aegir will join the fight.
Ferdinand von Aegir will join the fight. (left), Not while you’re stuck in the air… (right)
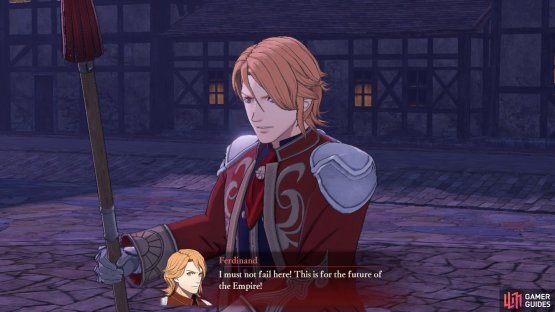
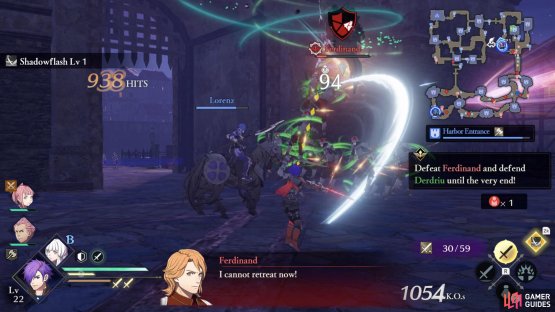
With Balthus out of the equation, Ferdinand has no choice but to enter the fray himself. He will spawn in the southernmost stronghold, along the center line. Defeating him will end the battle, so only do so once you’ve done everything. For instance, if you still need to rack up enemy kills for the S Rank, go and get ’em.
By the way, Ferdinand doesn’t always stick to one place. So if you’re not confronting him straightaway, keep tabs on his position every now and then. Because sometimes he’ll go and attack your strongholds. When it’s time to fight him, an axe or Horseslayer wielding character is recommended.
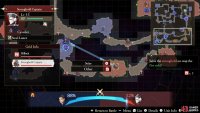
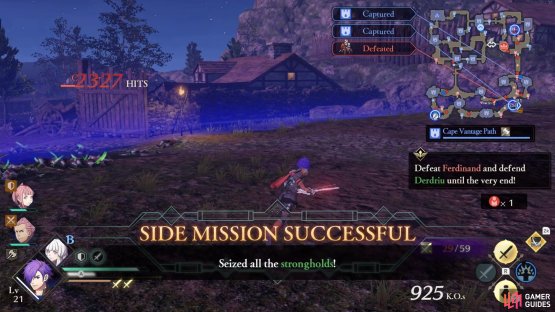
Side Mission 3: Seize all the stronghold
(1 of 2) There are many strongholds, so don’t hesitate to delegate some of the work.
There are many strongholds, so don’t hesitate to delegate some of the work. (left), It feels nice painting the battlefield blue. (right)
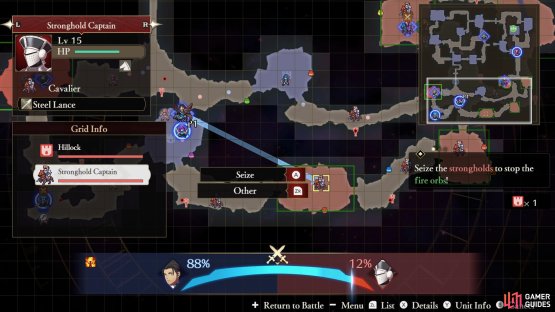
Like they say, never leave a job half-done. After capturing all the northern strongholds, if you have the time and patience, go and capture all the southern ones too. If you took out the fire orb strongholds, there should only be 5 left. Otherwise, there’s 7.
The three strongholds nearer the west side are guarded by Gauntlet captains; the four towards the east are protected by Lance-wielding cavalry. If you have them, bow and axe users will shine here. You could also put that Horseslayer to good use.









No Comments