
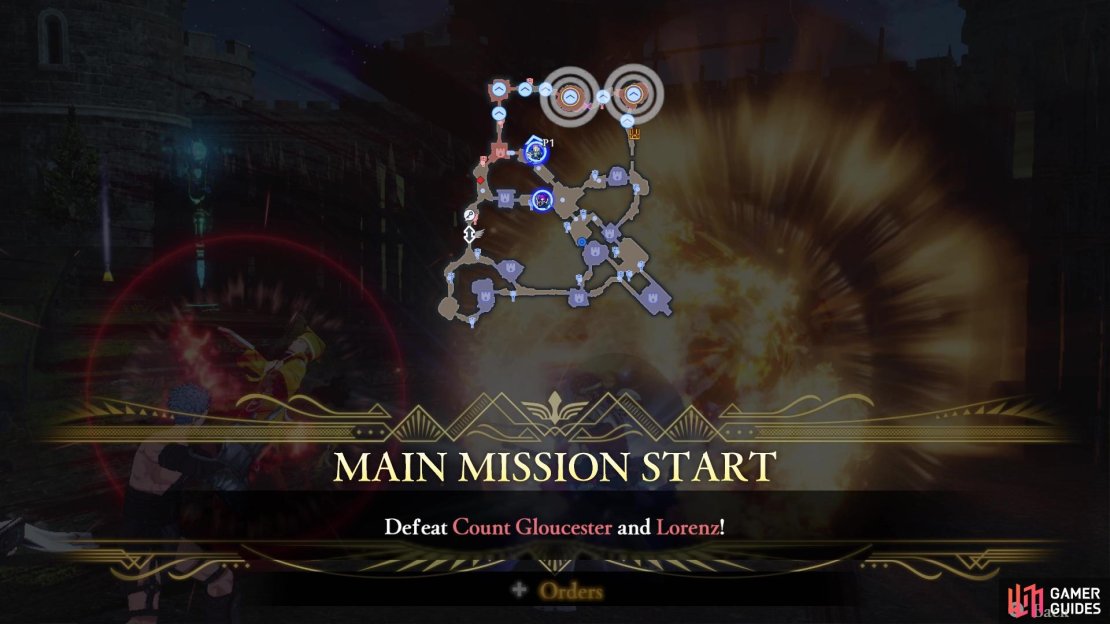
This is a guide for Chapter 6: Bridge of Betrayal in Fire Emblem Warriors: Three Hopes, this page focusing on the Main Quest, Great Bridge of Myrddin.

It’s time for the Main Quest for Chapter 6
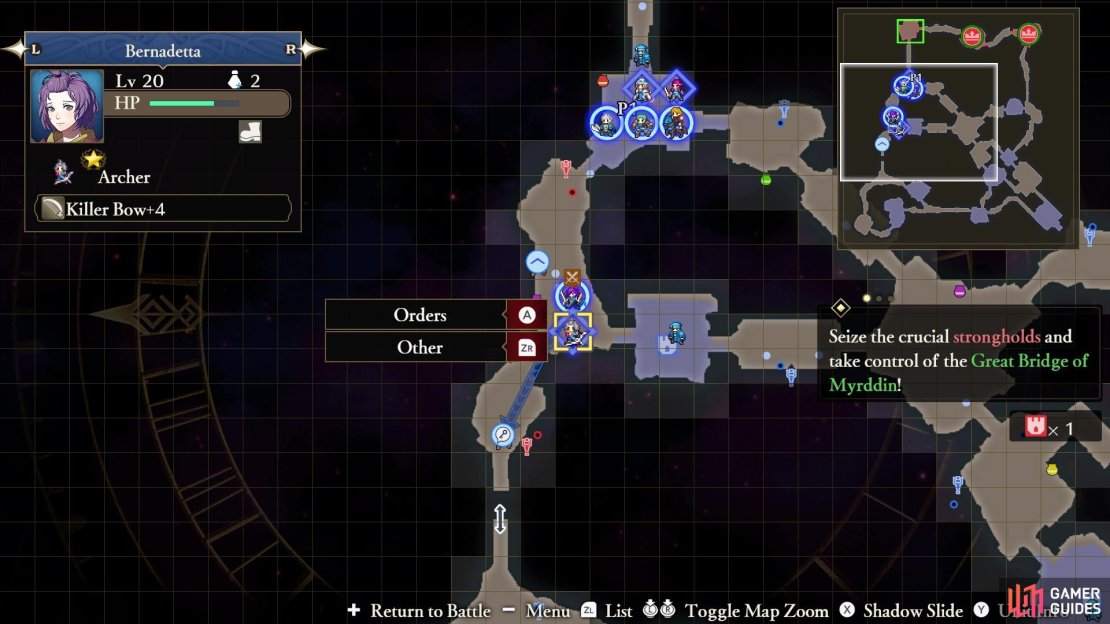
A quick reminder that this is the main quest for Chapter 6 of Scarlet Blaze, so make sure you have done everything else you wanted to do before starting this battle. That includes the side battles, spending all of your Activity/Training Points in the camp, and checking out all of the Surveying Spots. You will be unable to do these and get the rewards for them later. Note that you will be able to replay battles for S Ranks, so don’t worry too much about that right now.
Which Strategies to Choose for Great Bridge of Myrddin
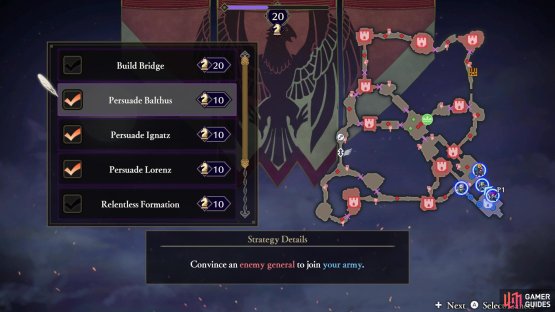
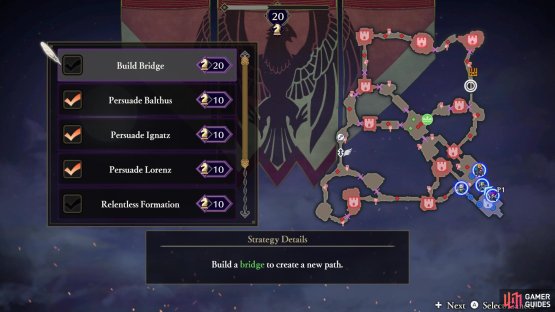
If you’ve captured all of the regions in this chapter, then you will have 50 Strategy Points to work with here. There are three characters to recruit in this battle, with their respective Strategies costing 10 Strategy Resources each. That will leave you with 20 left over, and the best option is probably the Build Bridge one. During the course of the battle, near the end, you will gain the option to build a bridge that will essentially act as a shortcut to the northeast corner of the map.
(1 of 2) There will be three enemy units to recruit in this battle


There will be three enemy units to recruit in this battle (left), Build Bridge is probably the last Strategy you will pick here (right)
| Strategy | Cost | Strategy Details |
|---|---|---|
| Build Bridge | 20 | Build a bridge to create a new path. |
| Persuade Balthus | 10 | Convince an enemy general to join your army. |
| Persuade Ignatz | 10 | Convince an enemy general to join your army. |
| Persuade Lorenz | 10 | Convince an enemy general to join your army. |
| Relentless Formation | 10 | Begin the battle in an offensive formation. |
| Assign Healers | 10 | Assign a healer unit to periodically heal allies. |
| Stronghold Sabotage | 10 | Decrease the durability of all enemy strongholds at the beginning of battle. |
How to S Rank Great Bridge of Myrddin
| Completion Time | Enemies Defeated | Damage Taken |
|---|---|---|
| 20:00 | 1200 | 60% |
You have a lot of leeway in getting the S Rank on this battle on your first attempt, since it’s a bit longer than previous Main Quests. Also, the number of enemies you have to defeat is also a bit lower than normal, making it even easier. Other than watching out for one instance of the ballistae, you really shouldn’t have too much trouble with taking too much damage. Sticking to the missions in question, even with the various Strategies you can trigger, shouldn’t pushing you over the time limit too much, as long as you are quick and efficient.
Mission 1: Secure the Route to Ladislava
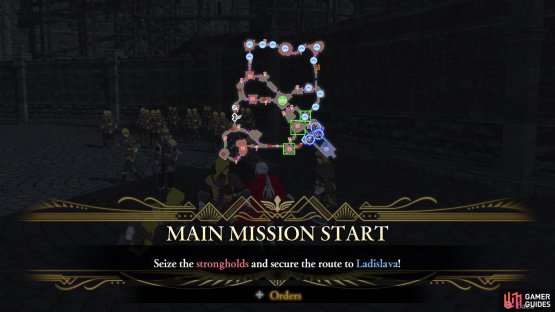

(1 of 2) Your first goal is to secure the three strongholds in front of you


Your first goal is to secure the three strongholds in front of you (left), You’ll receive this message after capturing one of the strongholds (right)
The first main mission of the battle will have you somehow find a route to get to Ladislava, who is stuck in the middle of the map with some other friendly units. Should she be defeated, then you will fail the mission and will need to start over. It doesn’t need to be said, but there is a bit of urgency here, since you have to make sure Ladislava stays alive, although she can hold her own for quite a bit of time. In order to secure a route to Ladislava, you will need to capture the three strongholds right in front of you at the beginning of the battle. There’s nothing special about these strongholds, but as soon as you capture one…
Side Mission: Seize the Western Stronghold
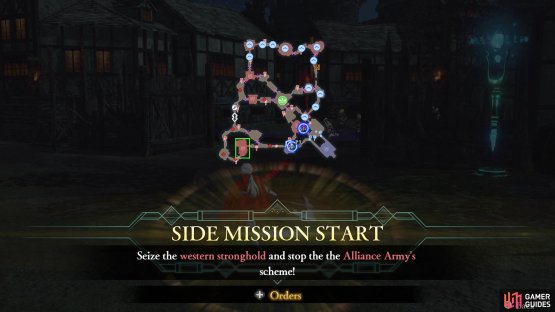

(1 of 2) You will be told to seize that western stronghold


You will be told to seize that western stronghold (left), You could just send someone to take it for you while you concentrate on the main objective (right)
Hubert will chime in after capturing one of the strongholds in the first Main Mission, saying that the enemy is being suspiciously quiet in the west. Thus, he wants you to seize the western stronghold to put an end to the Alliance’s scheme. This is the stronghold directly west of the southern stronghold from the above set of three. Nothing will happen when you go to the western stronghold, but upon capturing the stronghold, something will happen.
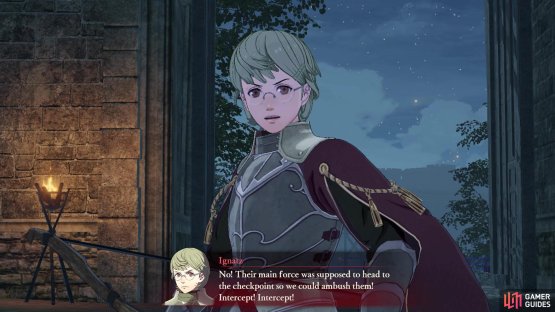
Mission 2: Defeat and Recruit Ignatz
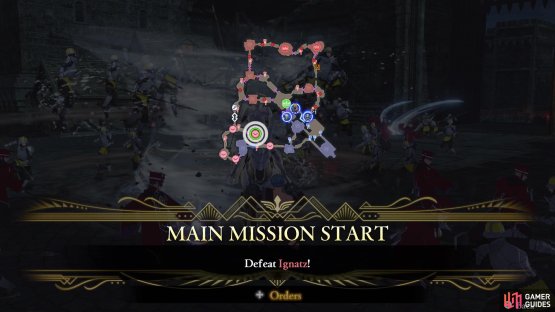
(1 of 2) Ignatz will appear if you take the western stronghold


Ignatz will appear if you take the western stronghold (left), He is a Bow-user and you will be able to recruit him (right)
Ignatz will appear if you capture the western stronghold, surprised that you didn’t fall into the Alliance’s trap. If you went ahead and ignored that stronghold, then Ignatz will appear right during the next Main Mission, with him setting off the ballistae to effectively ambush you. Of course, either way, he will still sic the ballistae on you, but you will have the element of surprise on your hand. Since one of the Strategies you could grab at the beginning of the battle involved recruiting Ignatz, you will see it pop up on your screen, so initiate the Strategy. Ignatz is a Bow-user, so hopefully you brought someone along that can have an advantage against him.
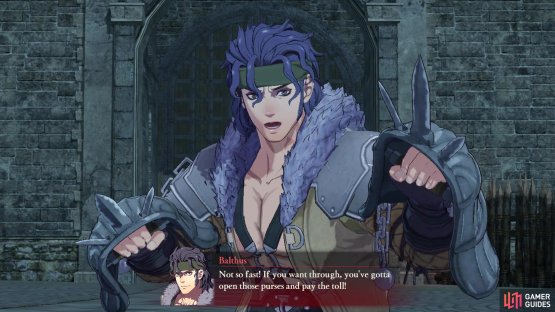
Mission 3: Defeat and Recruit Balthus
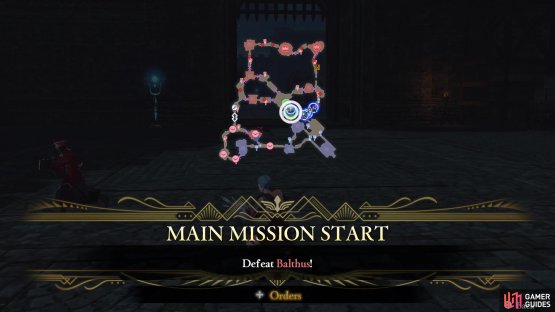
(1 of 2) Balthus will block your path to rescuing Ladislava


Balthus will block your path to rescuing Ladislava (left), He is also another recruitable character you can get for your army (right)
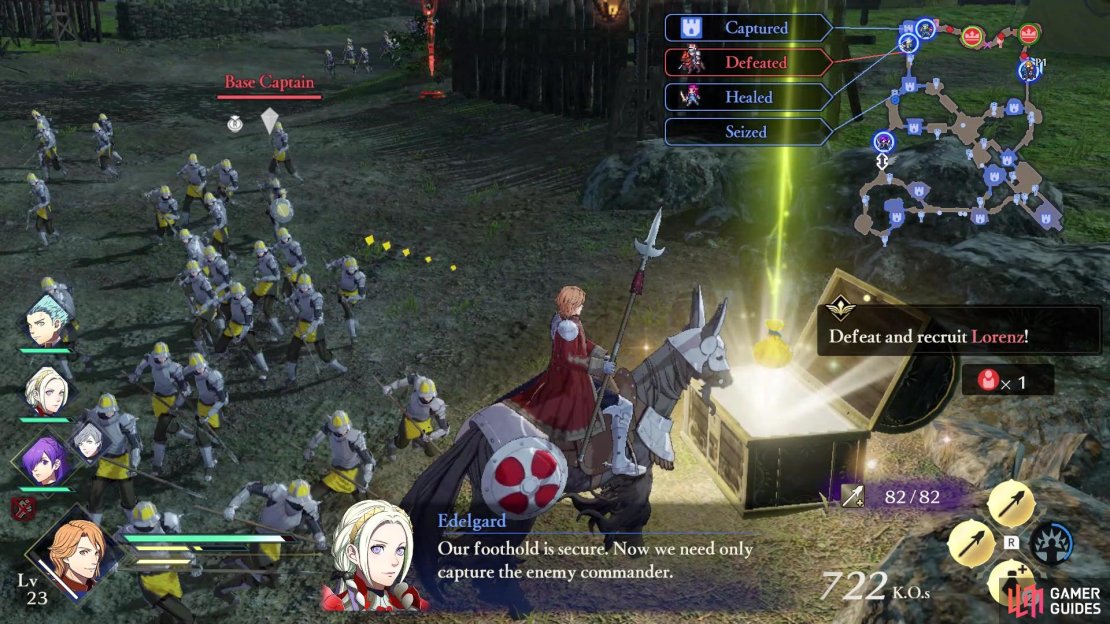
Once you have taken control of the three initial strongholds, approach the gate leading to the central area with Ladislava and Balthus will appear to stop you. If you chose the Persuade Balthus Strategy, then you will be able to initiate it now, so do that and defeat Balthus in battle. He is a Gauntlets-user, so use the appropriate character to help, if needed.
Note that after defeating Balthus, you will be granted access to the area with Ladislava. Help her out by defeating the enemy units doing battle with her, which in turn, will fulfill the opening mission you had concerning her. Upon saving Ladislava, she will retreat.
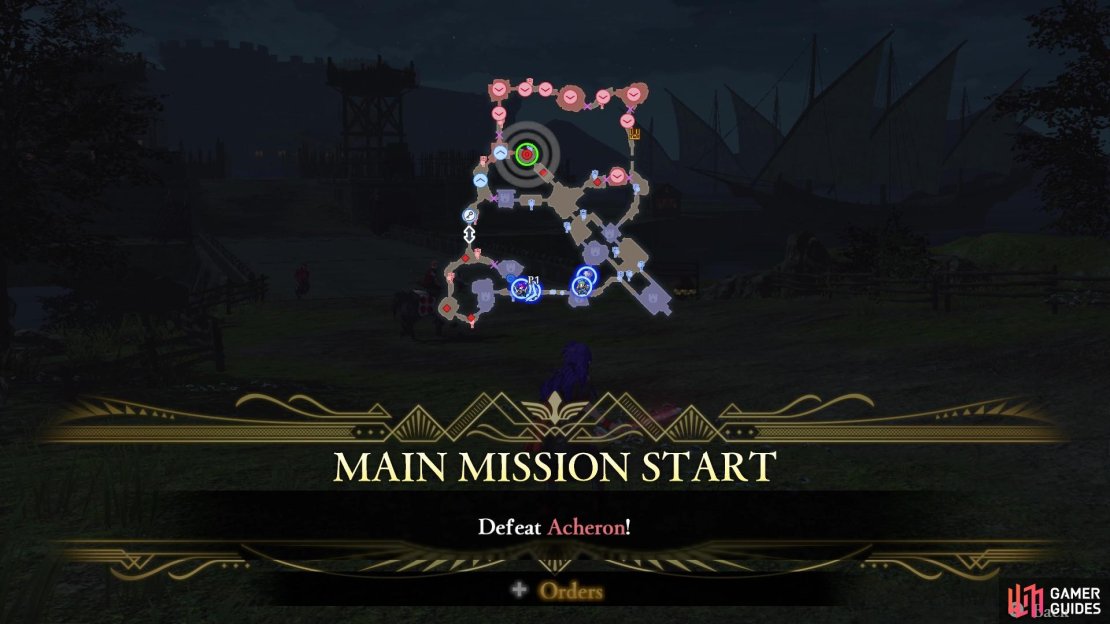
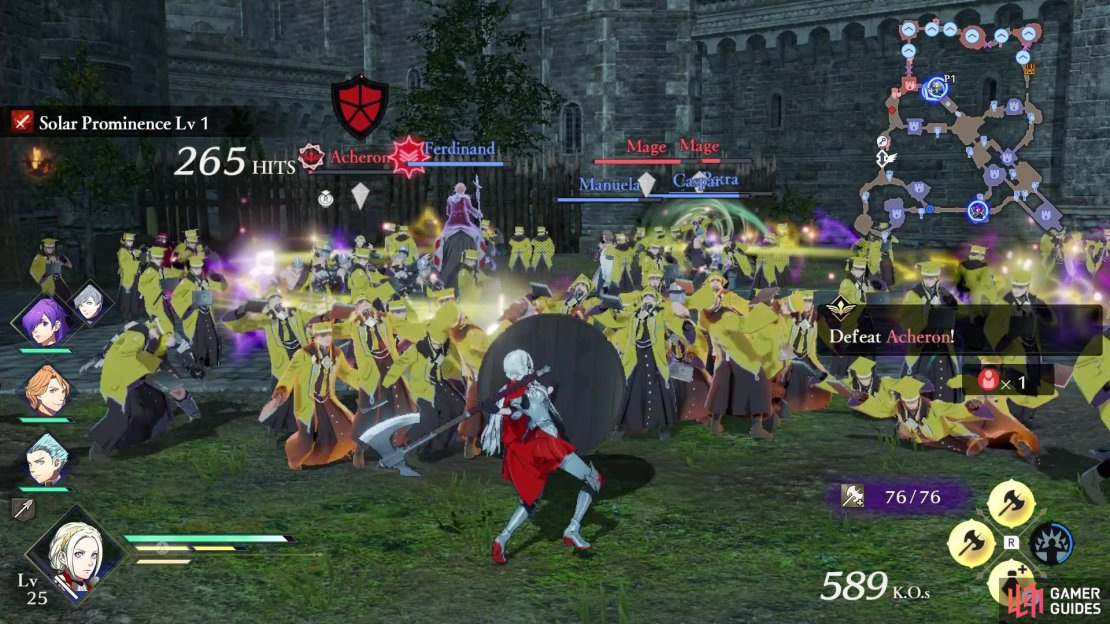
Mission 4: Defeat Acheron
When you have defeated both Ignatz and Balthus, as well as rescued Ladislava, then Acheron will spawn just northwest of where Ladislava was located. He will also have some minions near, one right in front of him, and another to the east. Note that Edelgard will be at a supreme disadvantage against them all, due to the weapon they have equipped, so it’s best to not send/use her against them, if possible. Acheron is a Tome-user outside of that, so you know who to send, should you have them in your current party.
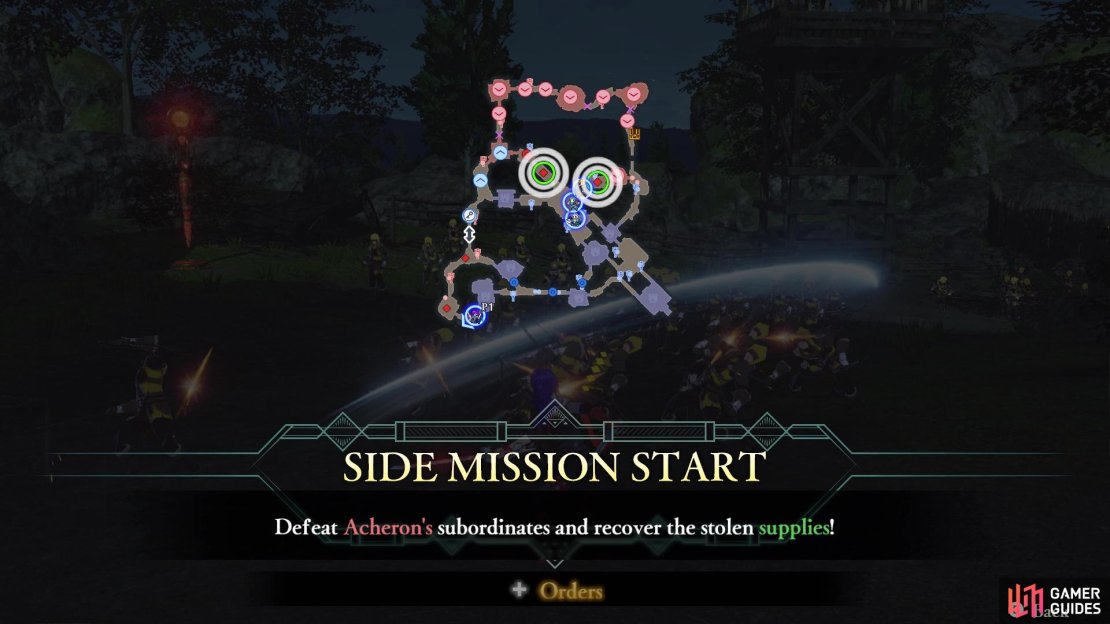
Side Mission: Defeat Acheron’s Subordinates and Recover Supplies
Not long after Acheron spawns, he will blurt out about stealing some of the Empire’s supplies, prompting this side mission. Since you will likely be defeating his two subordinates, you now actually have incentive to do so. As mentioned above, Edelgard will be at a supreme disadvantage against them, so it’s best to have her sent somewhere else. Defeat both of the subordinates marked on your map to recover the supplies. If you chose the Build Bridge Strategy at the beginning of the map, then these supplies will be used to do just that.
(1 of 4) Acheron will be one final obstacle before you reach Gloucester
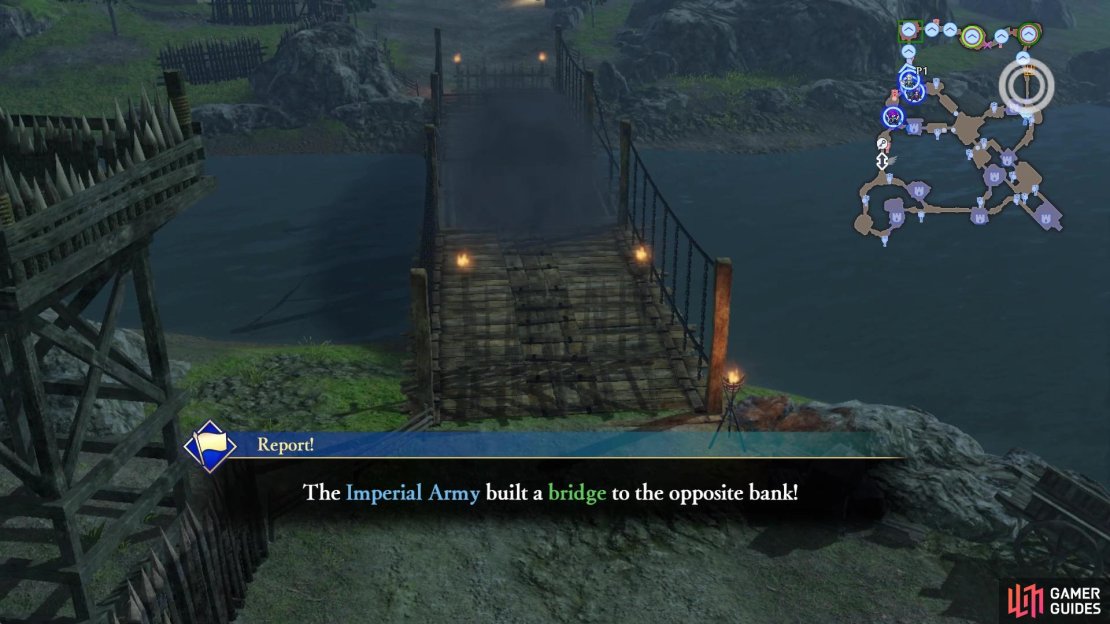
Side Mission: Take Control of the Great Bridge of Myrrdin
With Acheron down for the count, it’s time to finish this battle with House Gloucester. Before reaching them, you will prompt a side mission to appear, which asks you to take control of the Great Bridge of Myrrdin by capturing the two strongholds in the northwest corner of the map. The strongholds aren’t anything special, so they should fall pretty quickly.
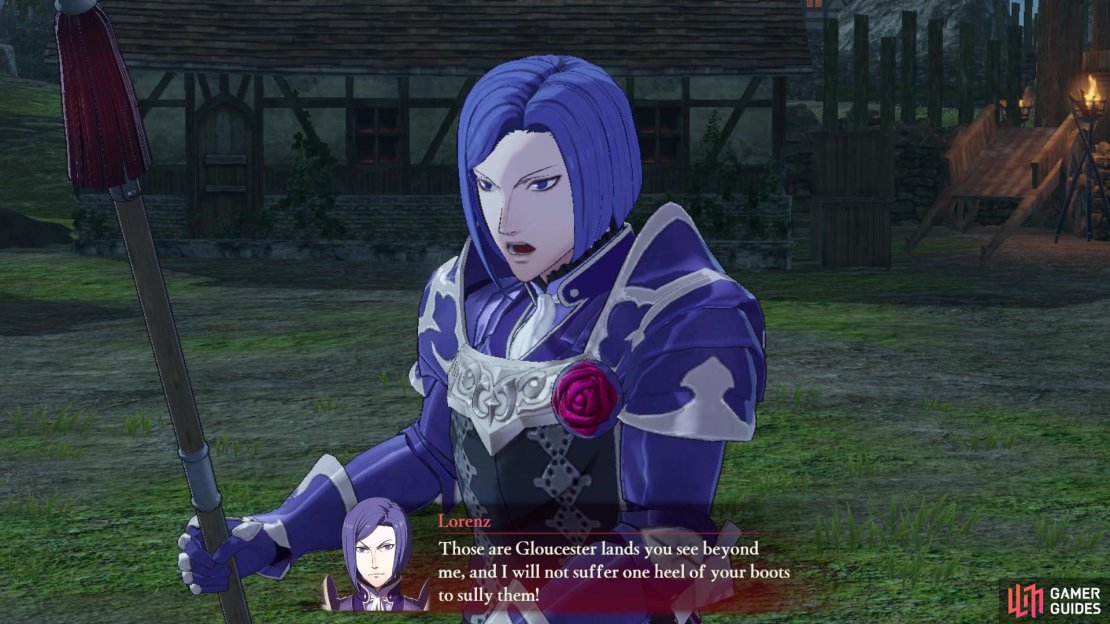
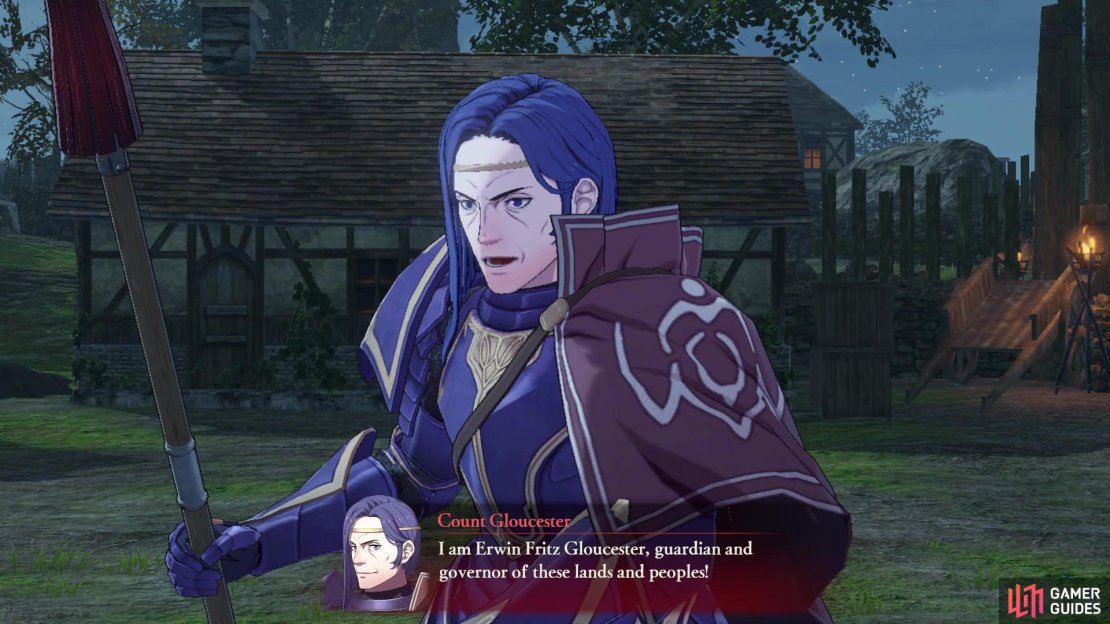
Mission 5: Defeat and Recruit Lorenz and Count Gloucester
The only thing left to do at this point is to go after both Lorenz and Count Gloucester, the two commanders for this battle. They will be separated, thankfully, so you can go after one or the other at first. Note that Lorenz is a recruitable character, so hopefully you chose that Strategy prior to the battle’s start. Initiate it whenever you see it pop up on your screen, changing that mission to defeating and recruiting Lorenz.
It should be quickly noted that there is a chest on the map, located just across the makeshift bridge your army built to the northeast. If you don’t have someone who can open it, then you need the key, which is on an enemy unit just north of the gap that requires a flying unit on the western side of the map. Send someone to dispatch this unit, then open the chest for a Bullion. From here, it’s just a matter of defeating both Lorenz and Count Gloucester, both of whom are mounted units (horses) and using Spears. Defeat them both to win the battle and move onto Chapter 7.
No Comments