
This is a guide for the Western Riegan Territory main quest battle in Chapter 6: The Leader’s Stratagem, in Fire Emblem Warriors: Three Hopes.
Which Strategies to Choose for Western Riegan Territory


(1 of 2) You don’t actually want to kill Bernadetta, do you?
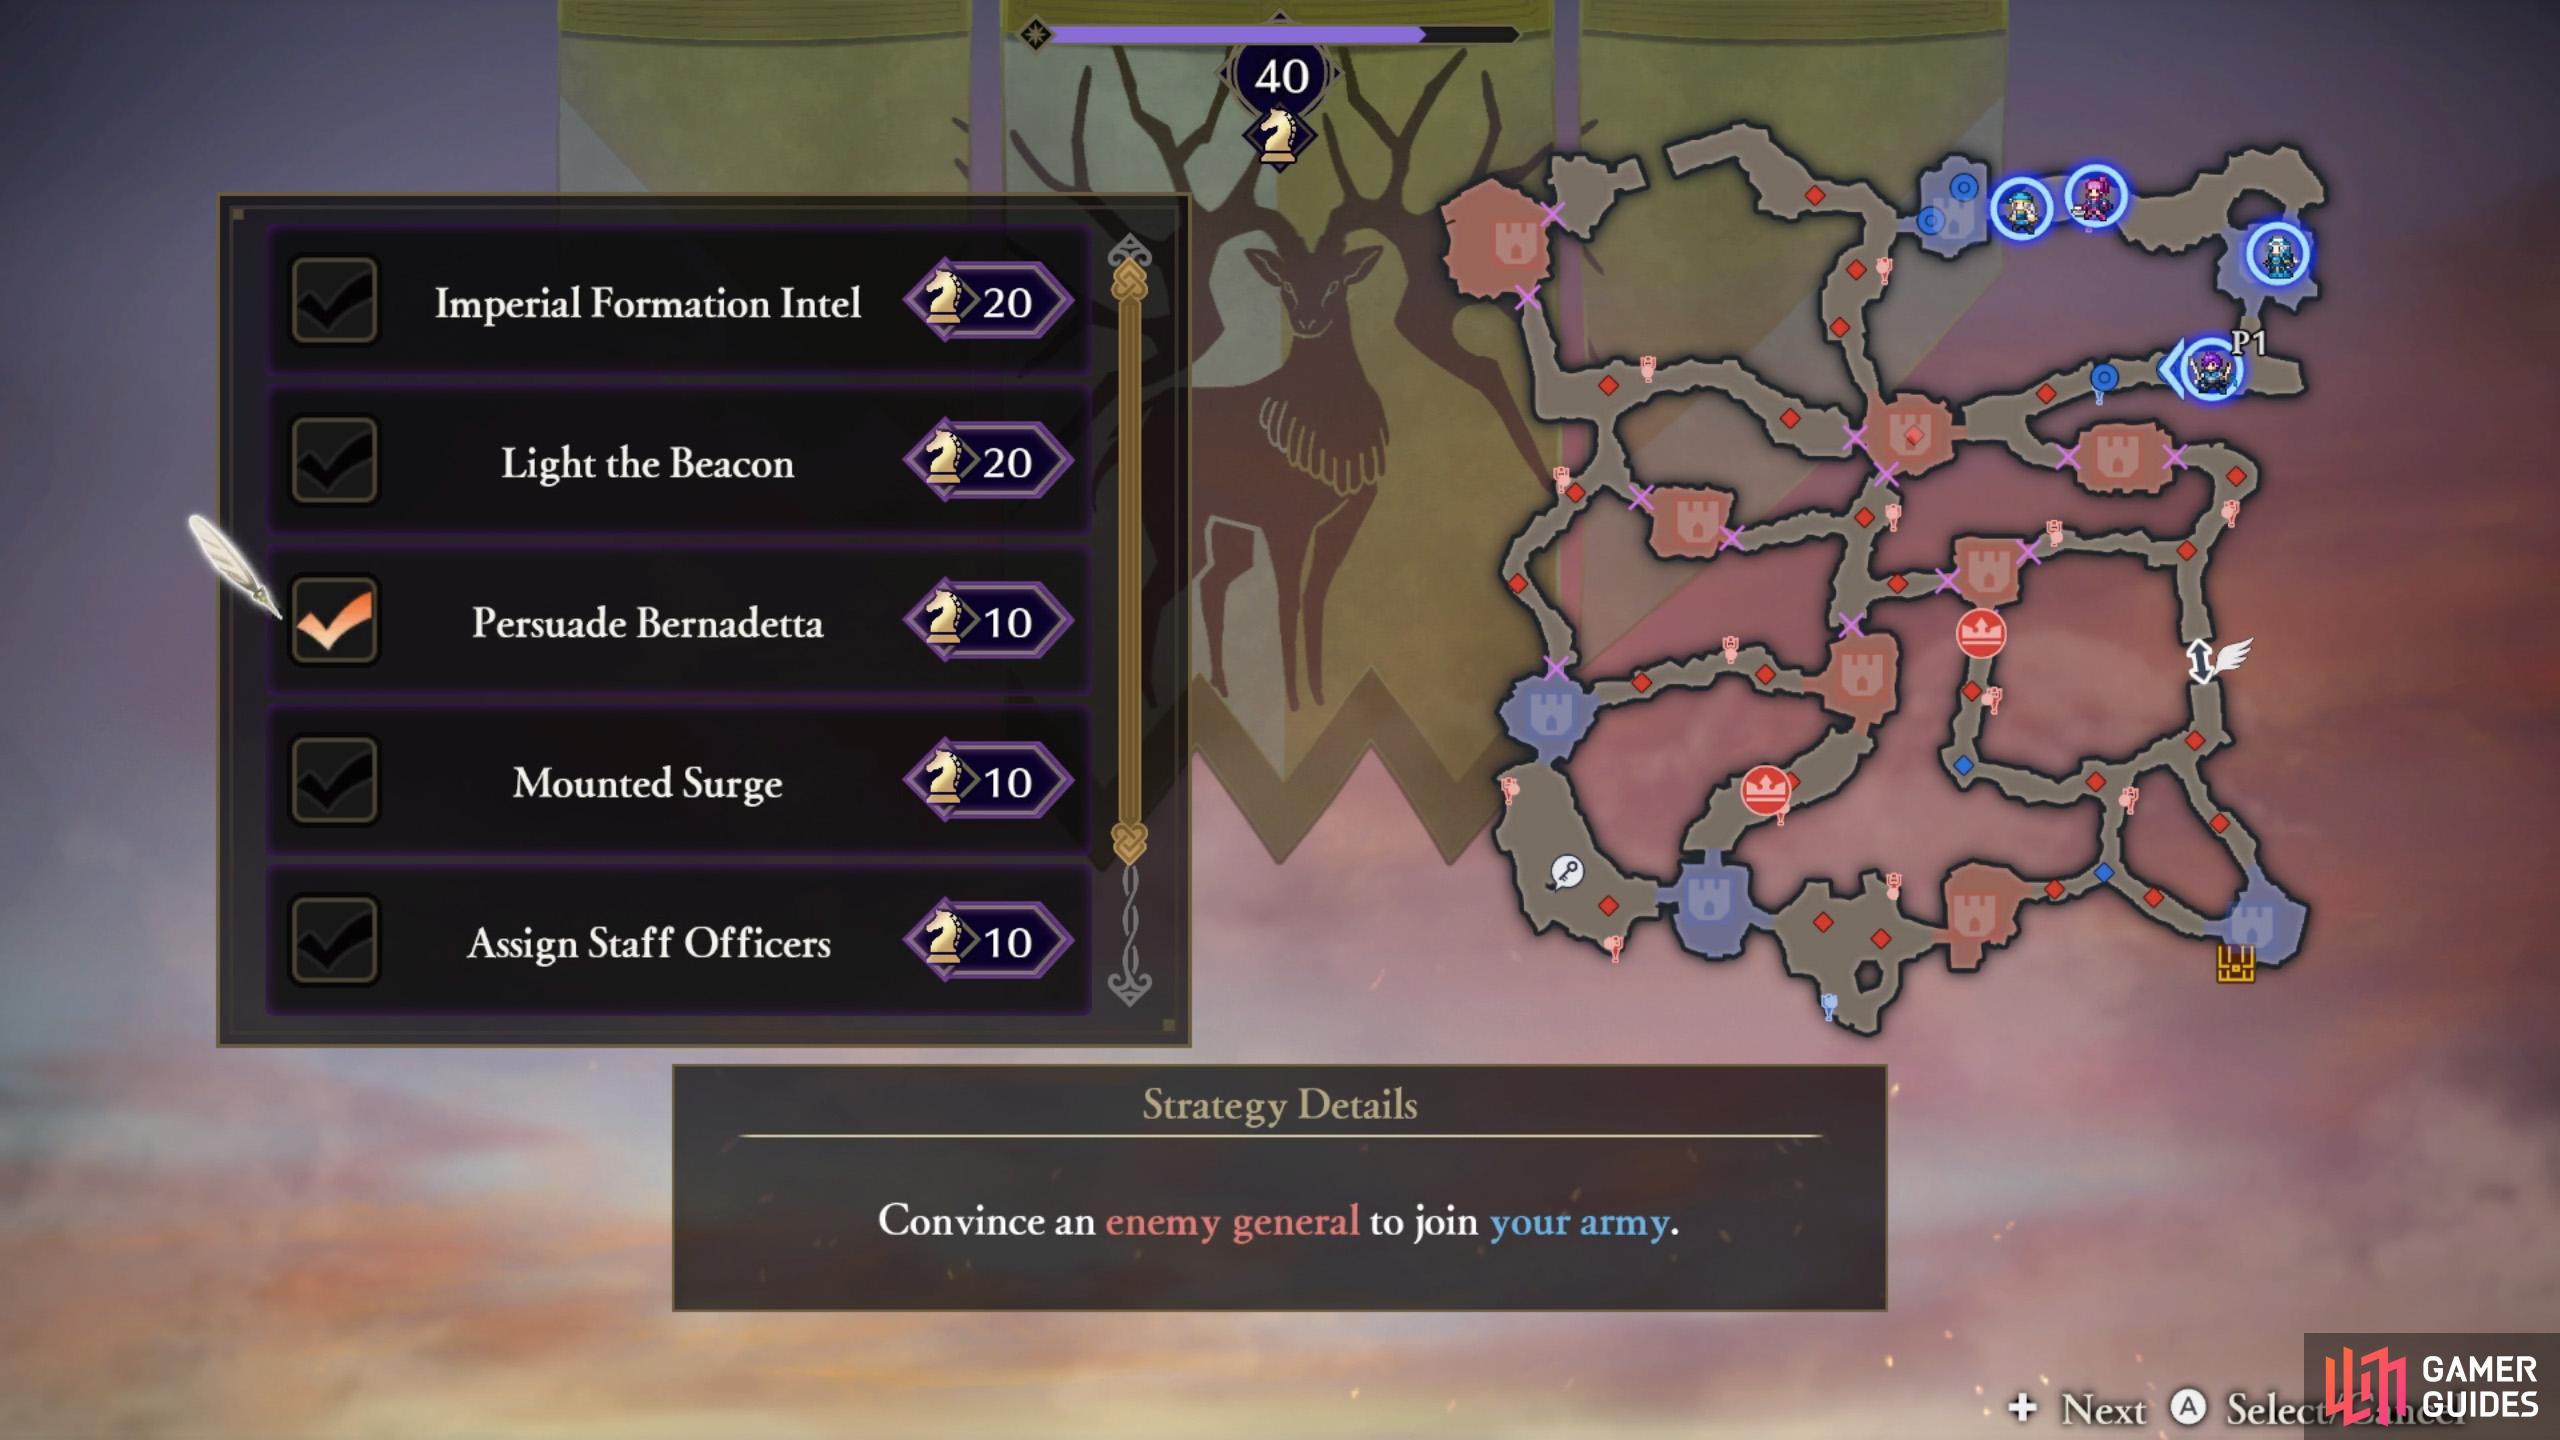
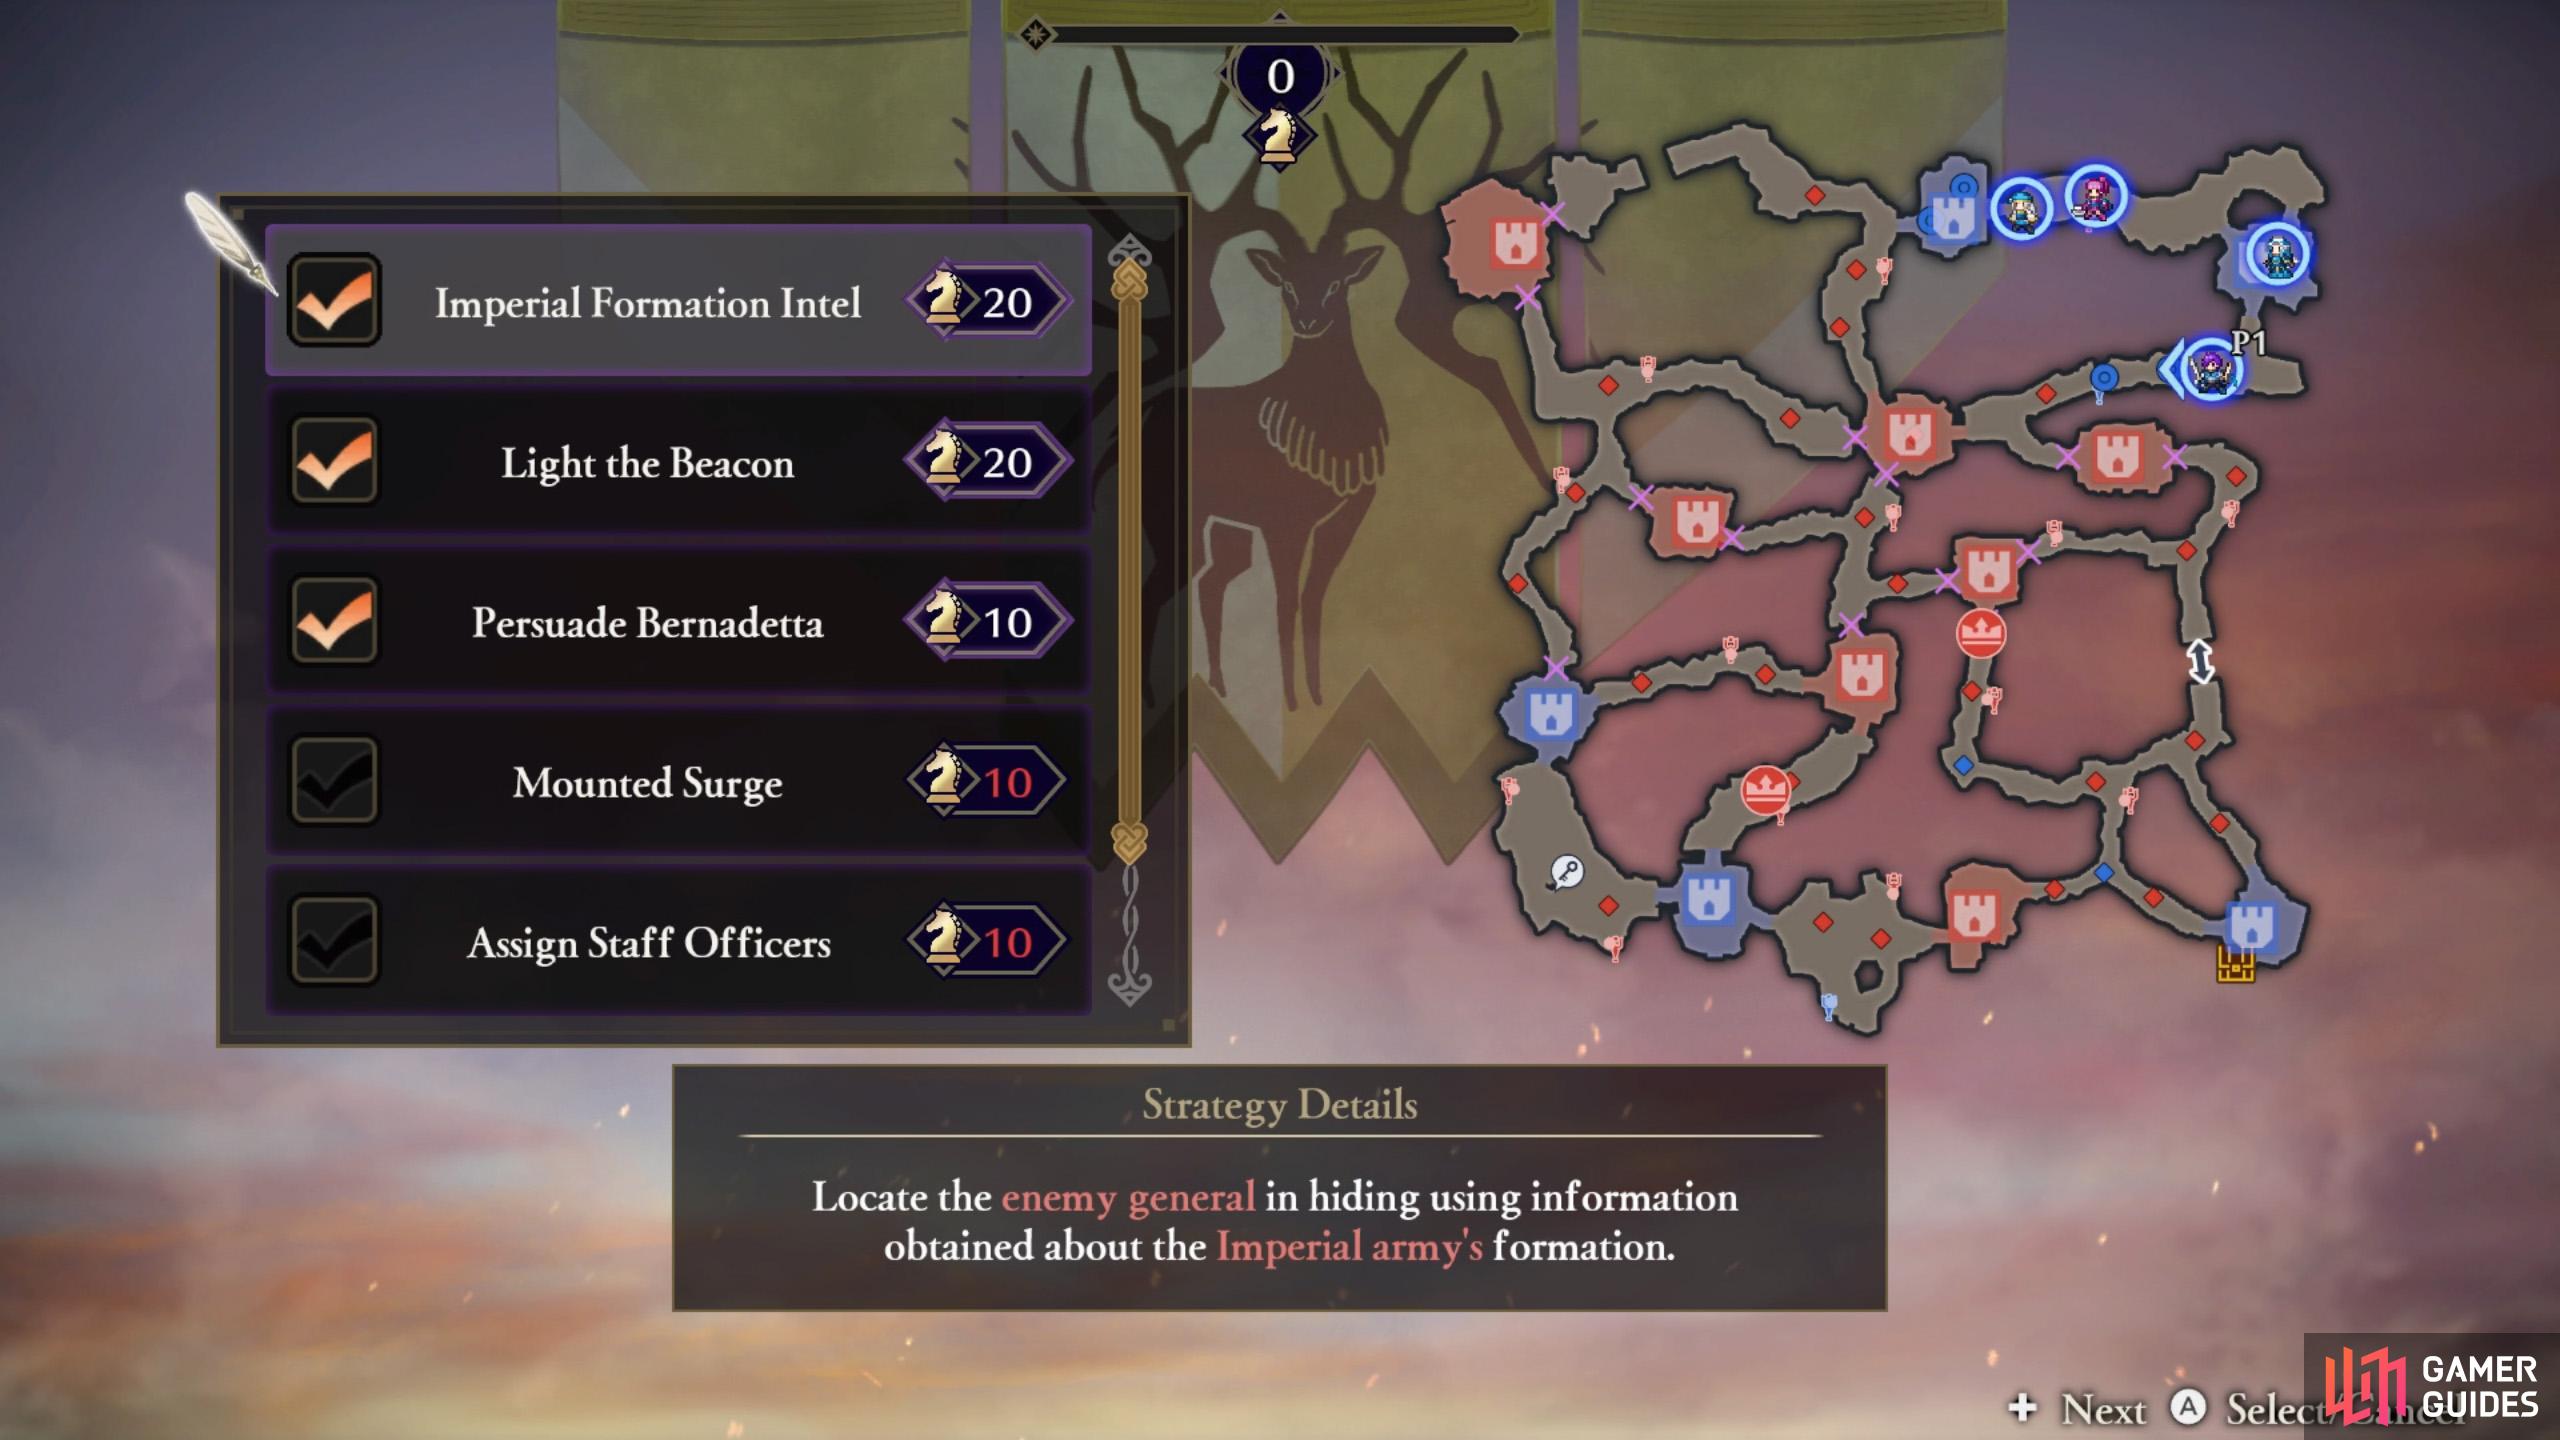
You don’t actually want to kill Bernadetta, do you? (left), Choosing this will speed up locating Bernadetta, when she hides. (right)
| Strategy | Cost | Strategy Details |
|---|---|---|
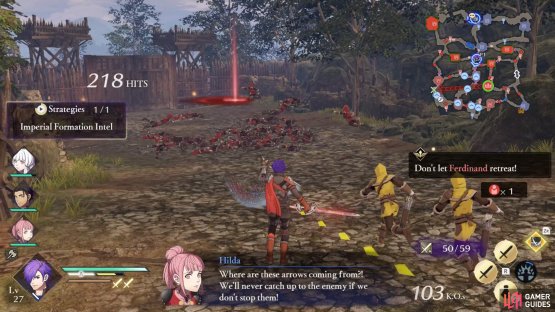
| Imperial Formation Intel | 20 | Locate the enemy general in hiding using information obtained about the Imperial army’s formation. |
| Light the Beacon | 20 | Light beacons to confuse the enemy and temporarily halt the enemy advance. |
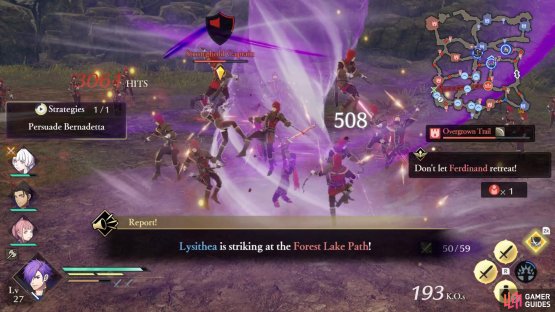
| Persuade Bernadetta | 10 | Convince an enemy general to join your army. |
| Mounted Surge | 10 | Summon a mounted unit to engage the enemy. Reinforcements will deploy periodically. |
| Assign Staff Officers | 10 | Slightly strengthen allies for a period of time at the start of battle. |
| Poison Tactic | 10 | Begin the battle with the enemy’s HP slightly decreased. |
The top 3 Strategies all happen to be the ones along the top. Naturally, Persuade Bernadetta is important if you want to recruit her, rather than slay her. Meanwhile, Imperial Formation Intel is used to track Bernadetta’s hiding place. Lastly, Light the Beacon isn’t mega useful, but it beats the rest at least.
How to S Rank Western Riegan Territory
| Completion Time | Enemies Defeated | Damage Taken |
|---|---|---|
| 12:00 | 1200 | 50% |
The time limit has reduced further since the last main quest. But the enemy kill requirement has been relaxed as well, so you only(!) need to defeat 100 foes per minute. Clearing the fight within the time limit shouldn’t be difficult, so it’s only really the enemy count to worry about, as usual.
Remember that you can check your S Rank progress mid-battle by opening the pause menu with  . This will let you keep tabs on how many enemies you still need to defeat, plus your remaining time.
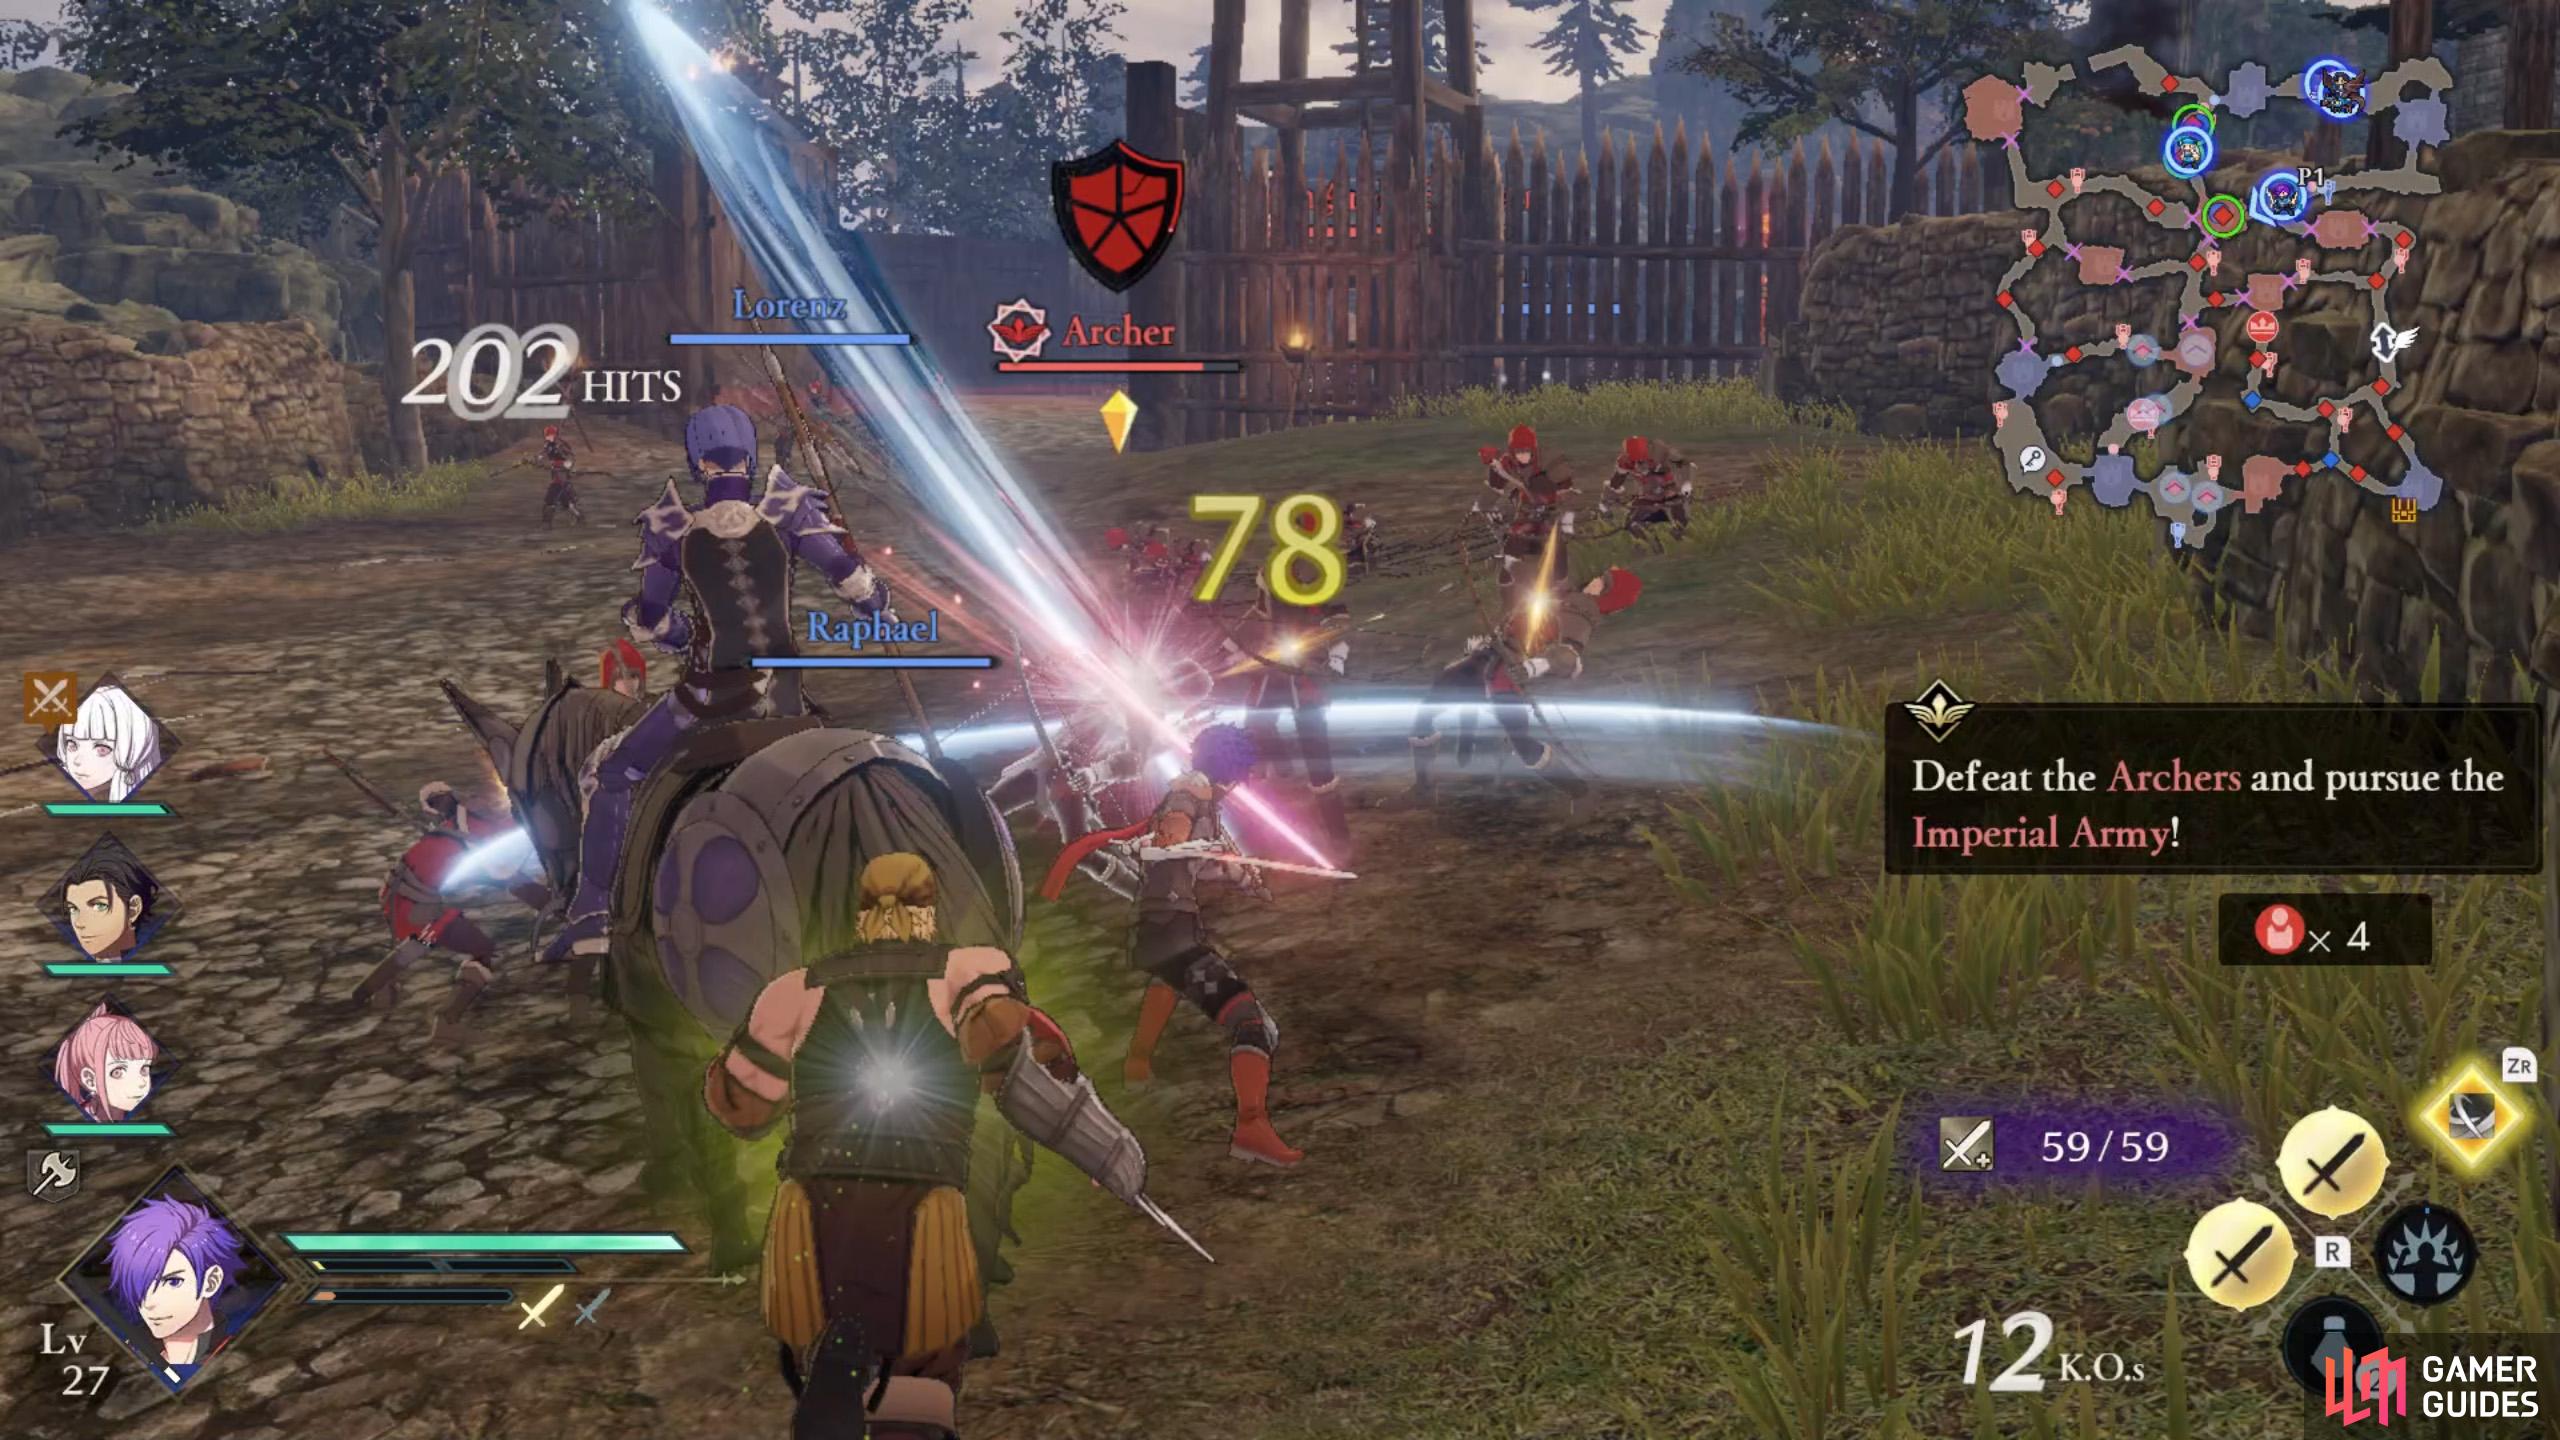
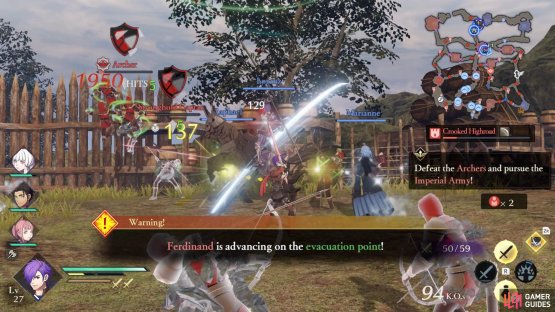
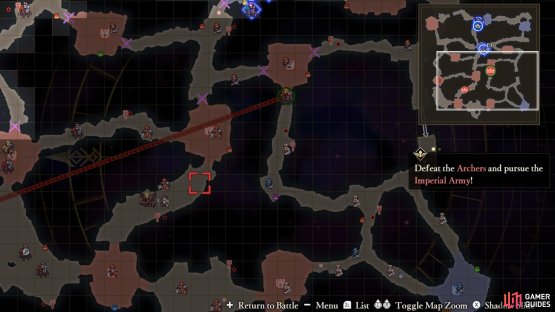
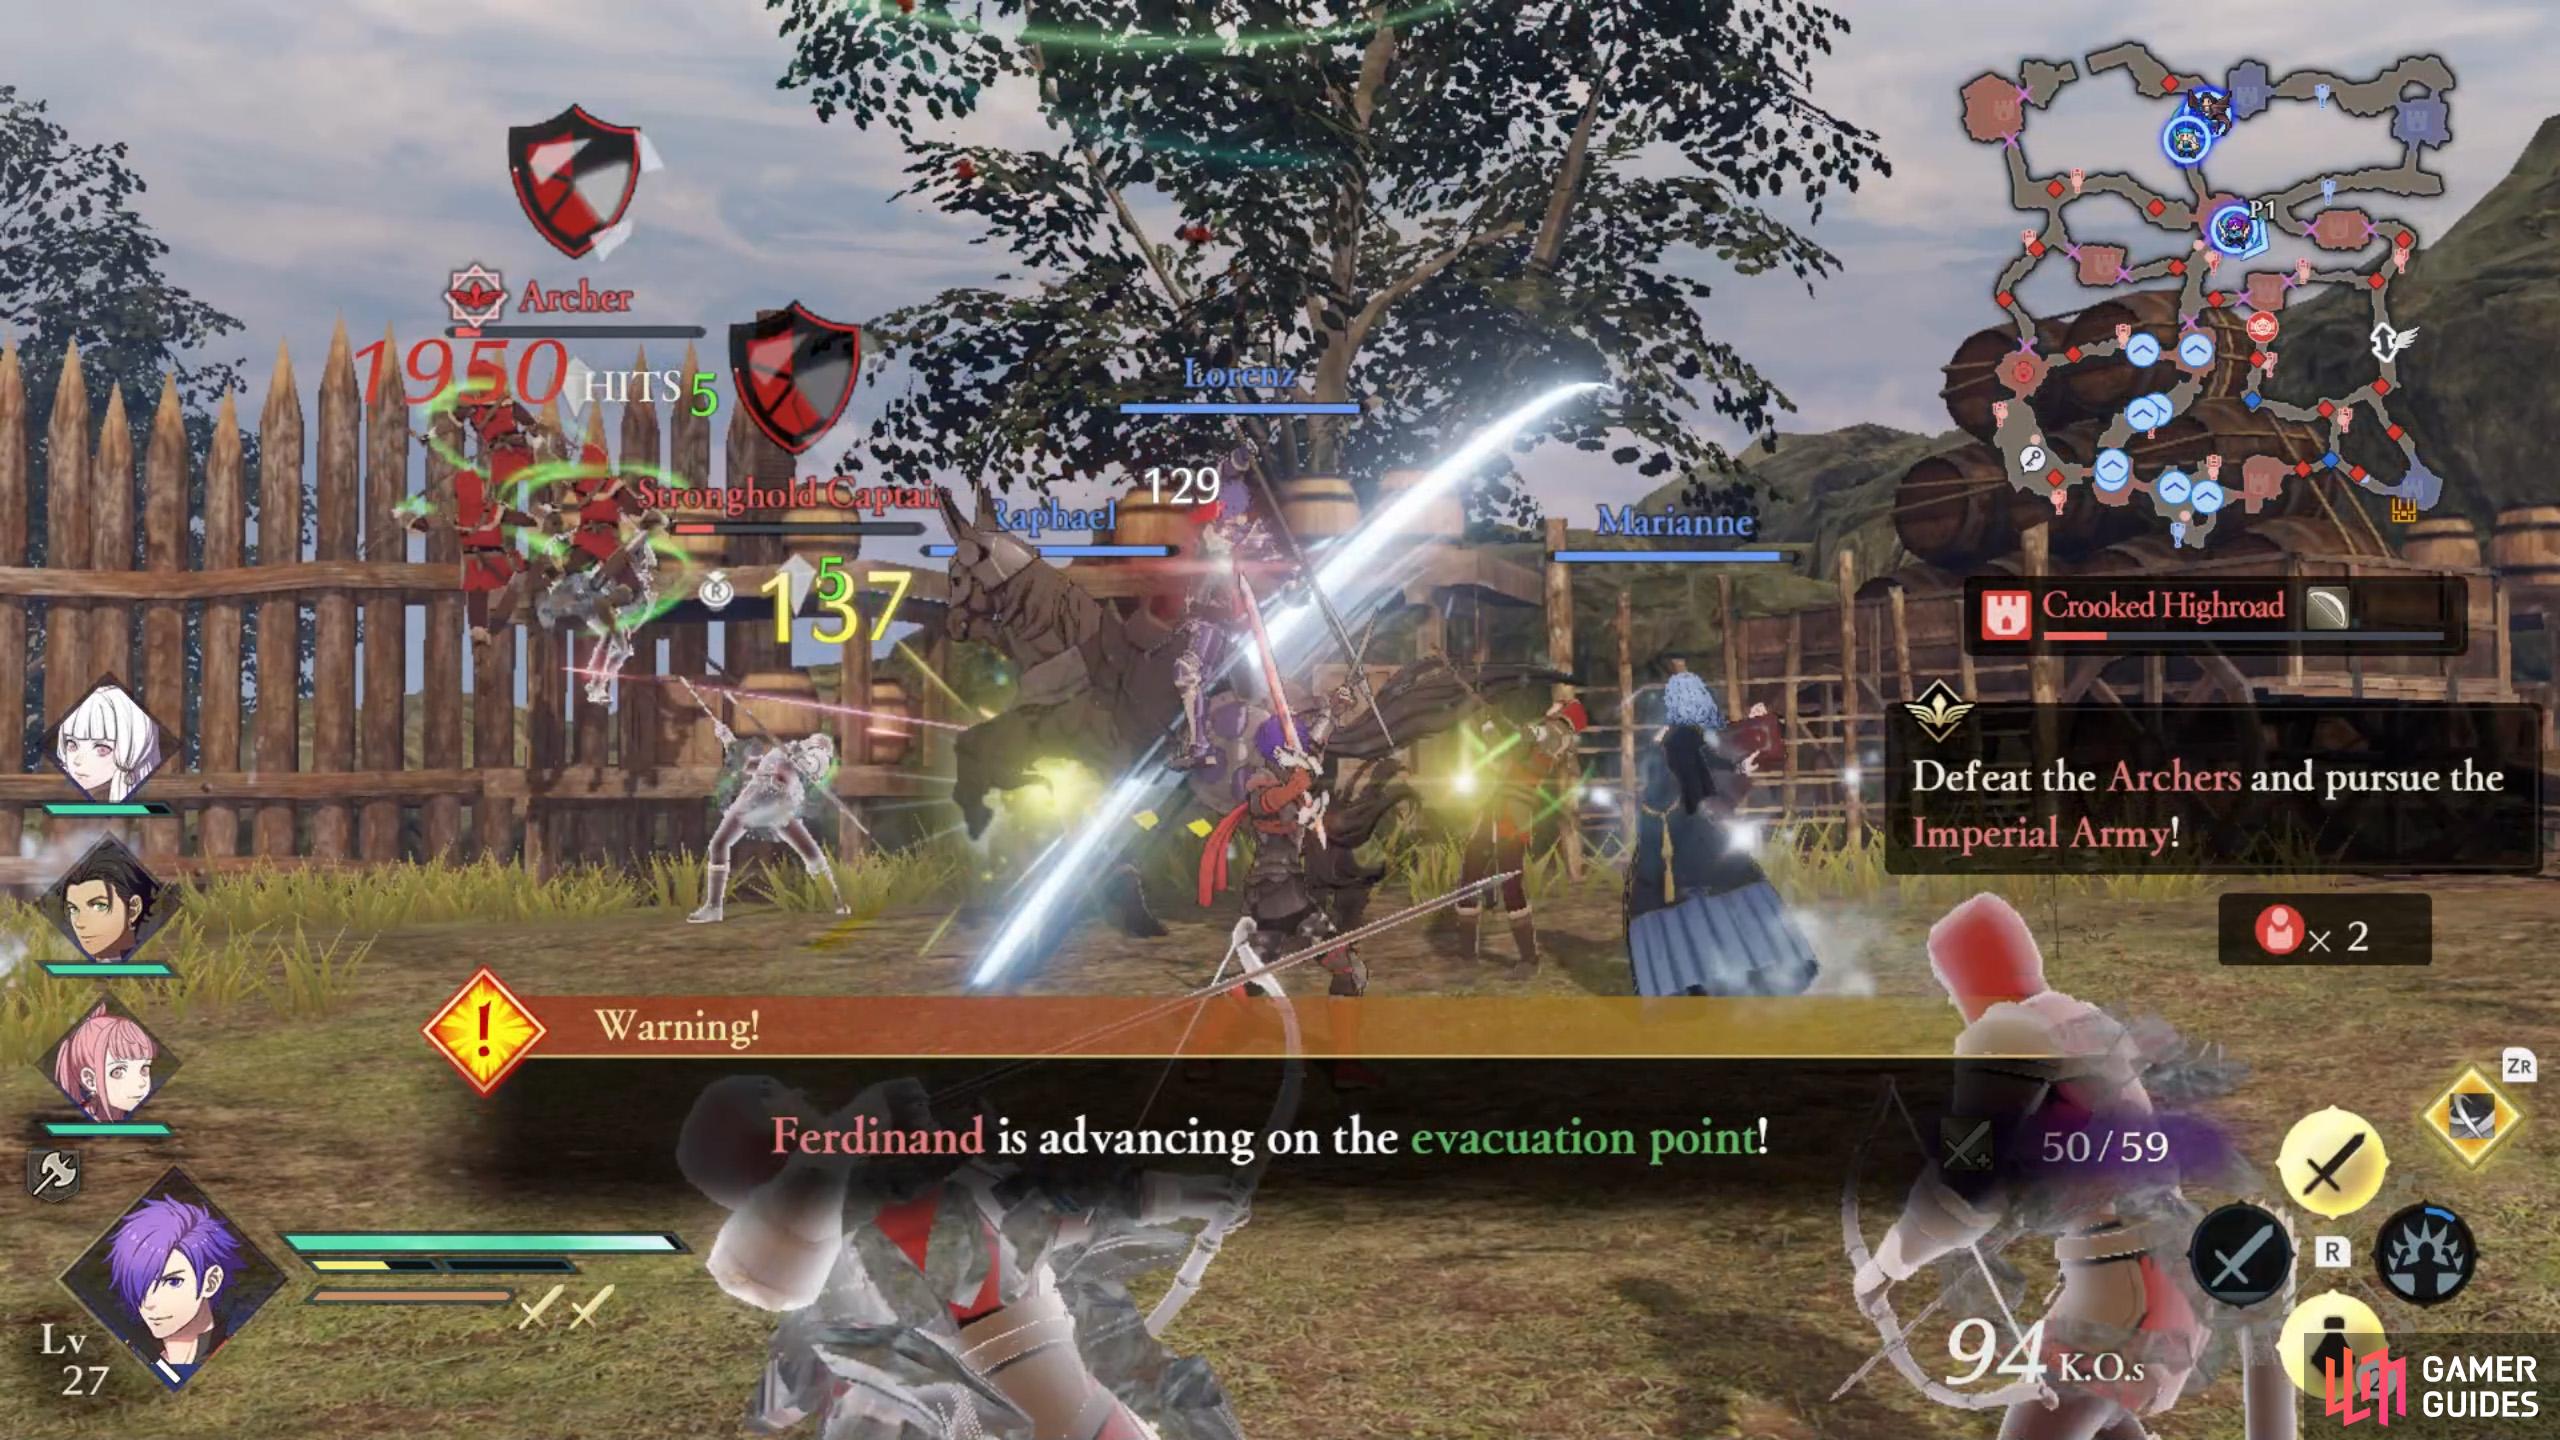
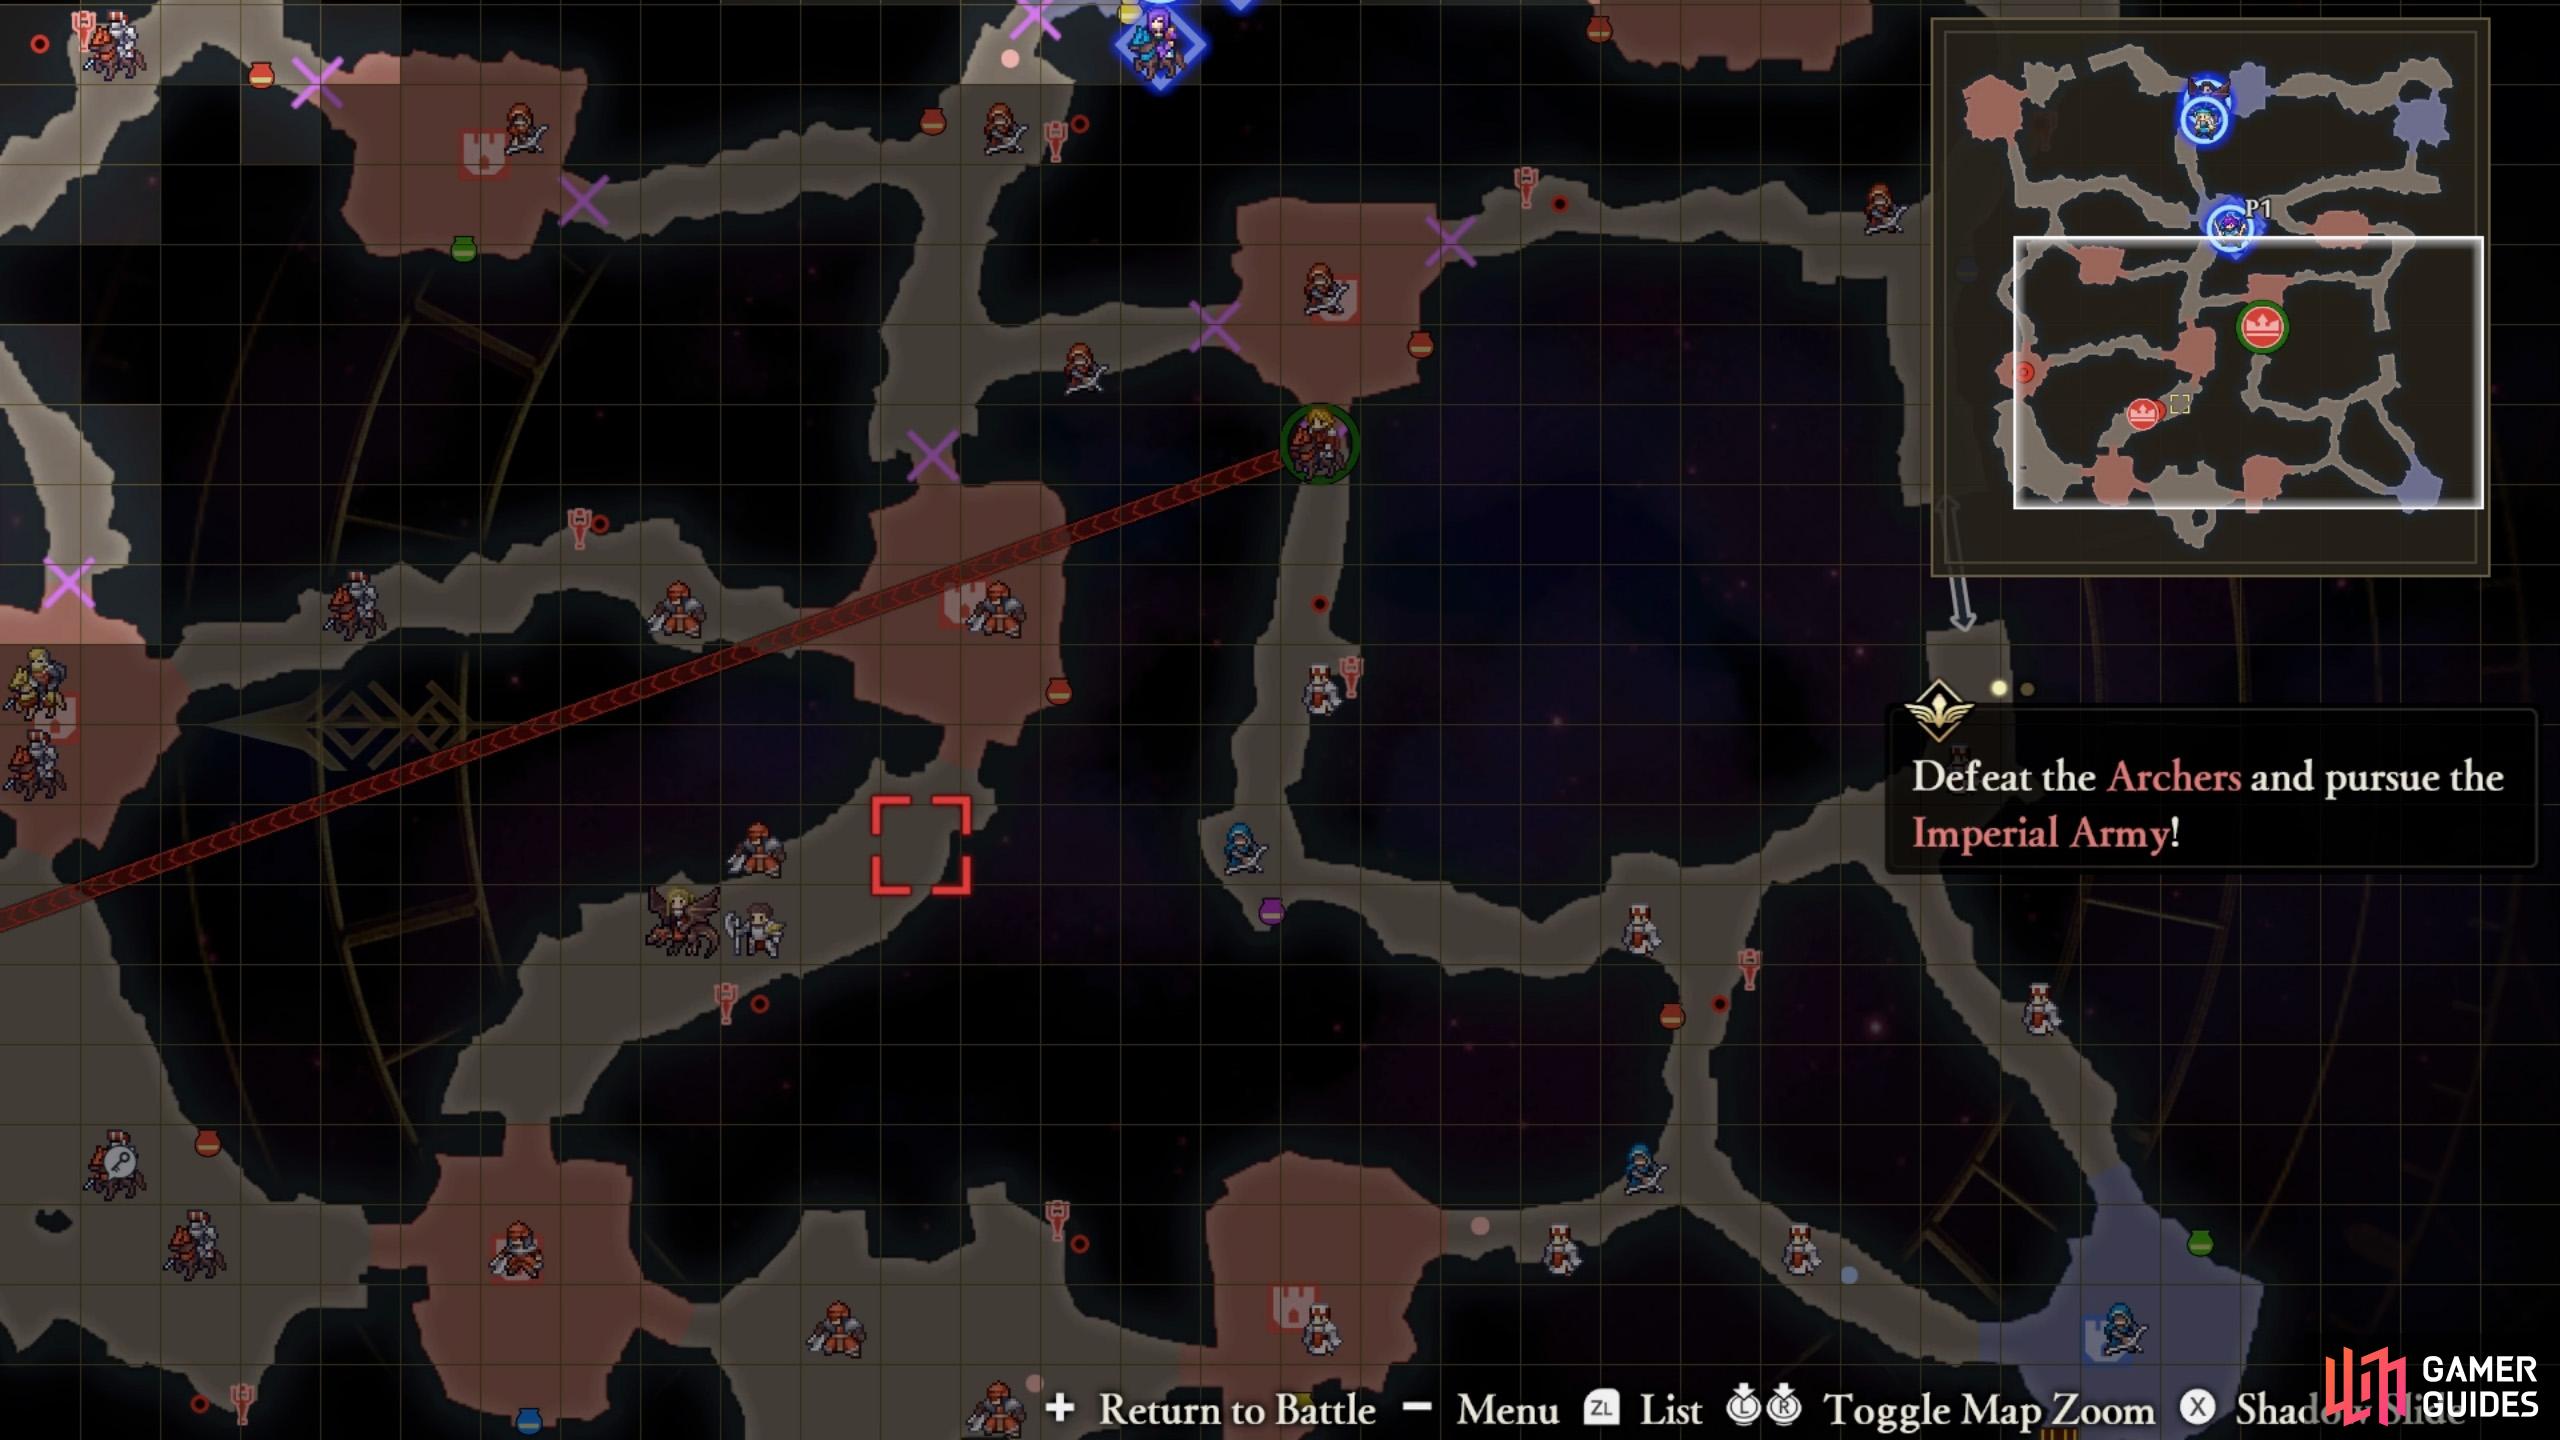
Mission 1: Defeat the archers and pursue the imperial army


(1 of 2) Order some characters to dispatch the four, circled archers.
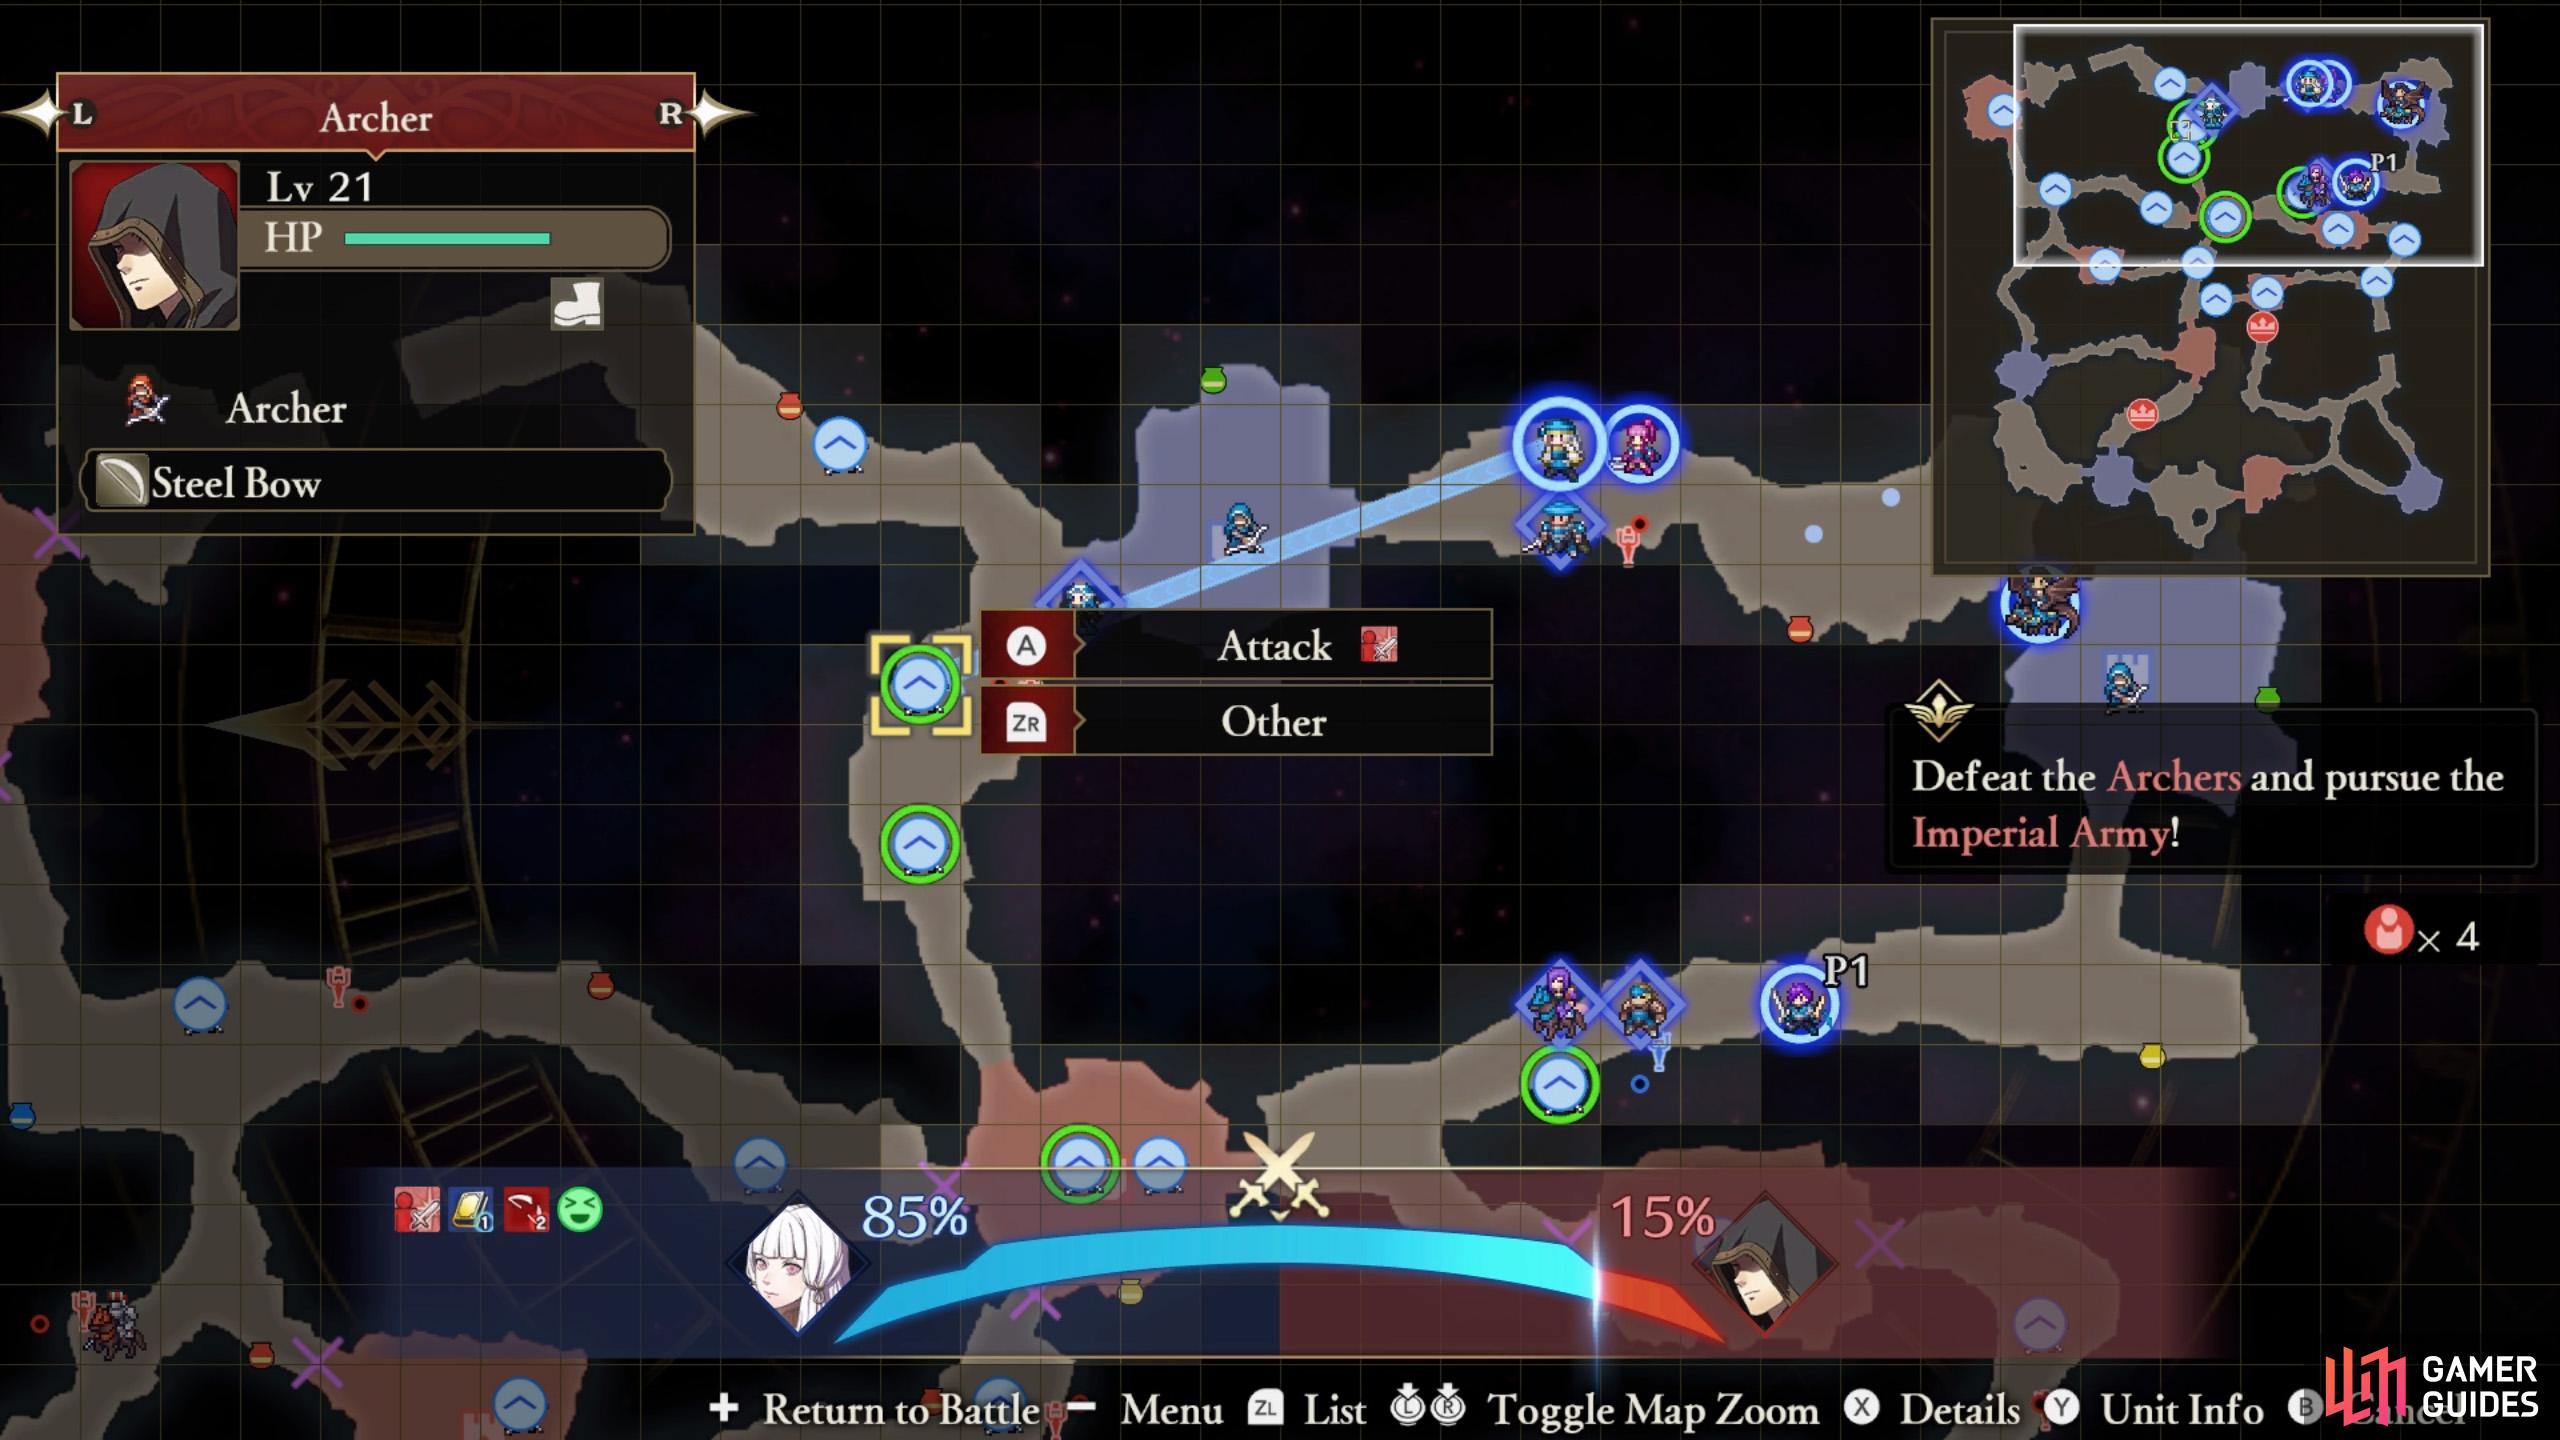
Order some characters to dispatch the four, circled archers. (left), You should handle one or two of them yourself, too. (right)
To begin with, you’re tasked with defeating 4 nearby archers. Notice how your characters are divided into two groups, one near the far north and another a short distance south. Each group can reach two of the archers quicker than the other. So you could Order two characters from each group to beat up a nearby archer each. Bonus points if they’re magic-users.
After a while, Jeralt’s Mercenaries will show up to assist the imperial army. In particular, Jeralt himself and Alois, who you met earlier, will both enter the fray.
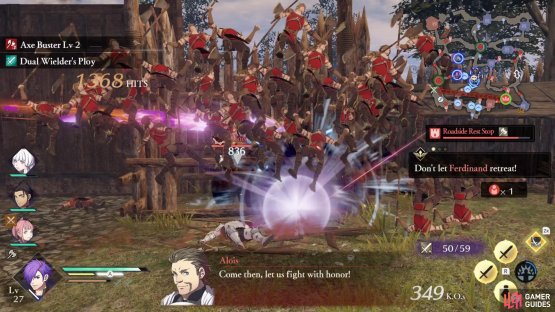
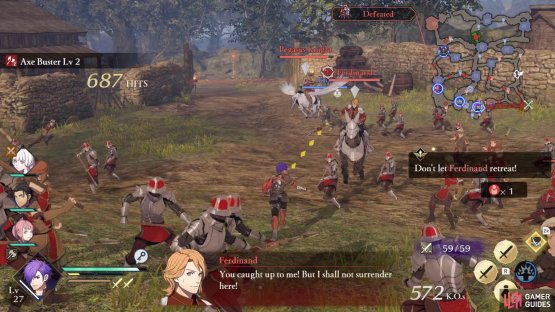
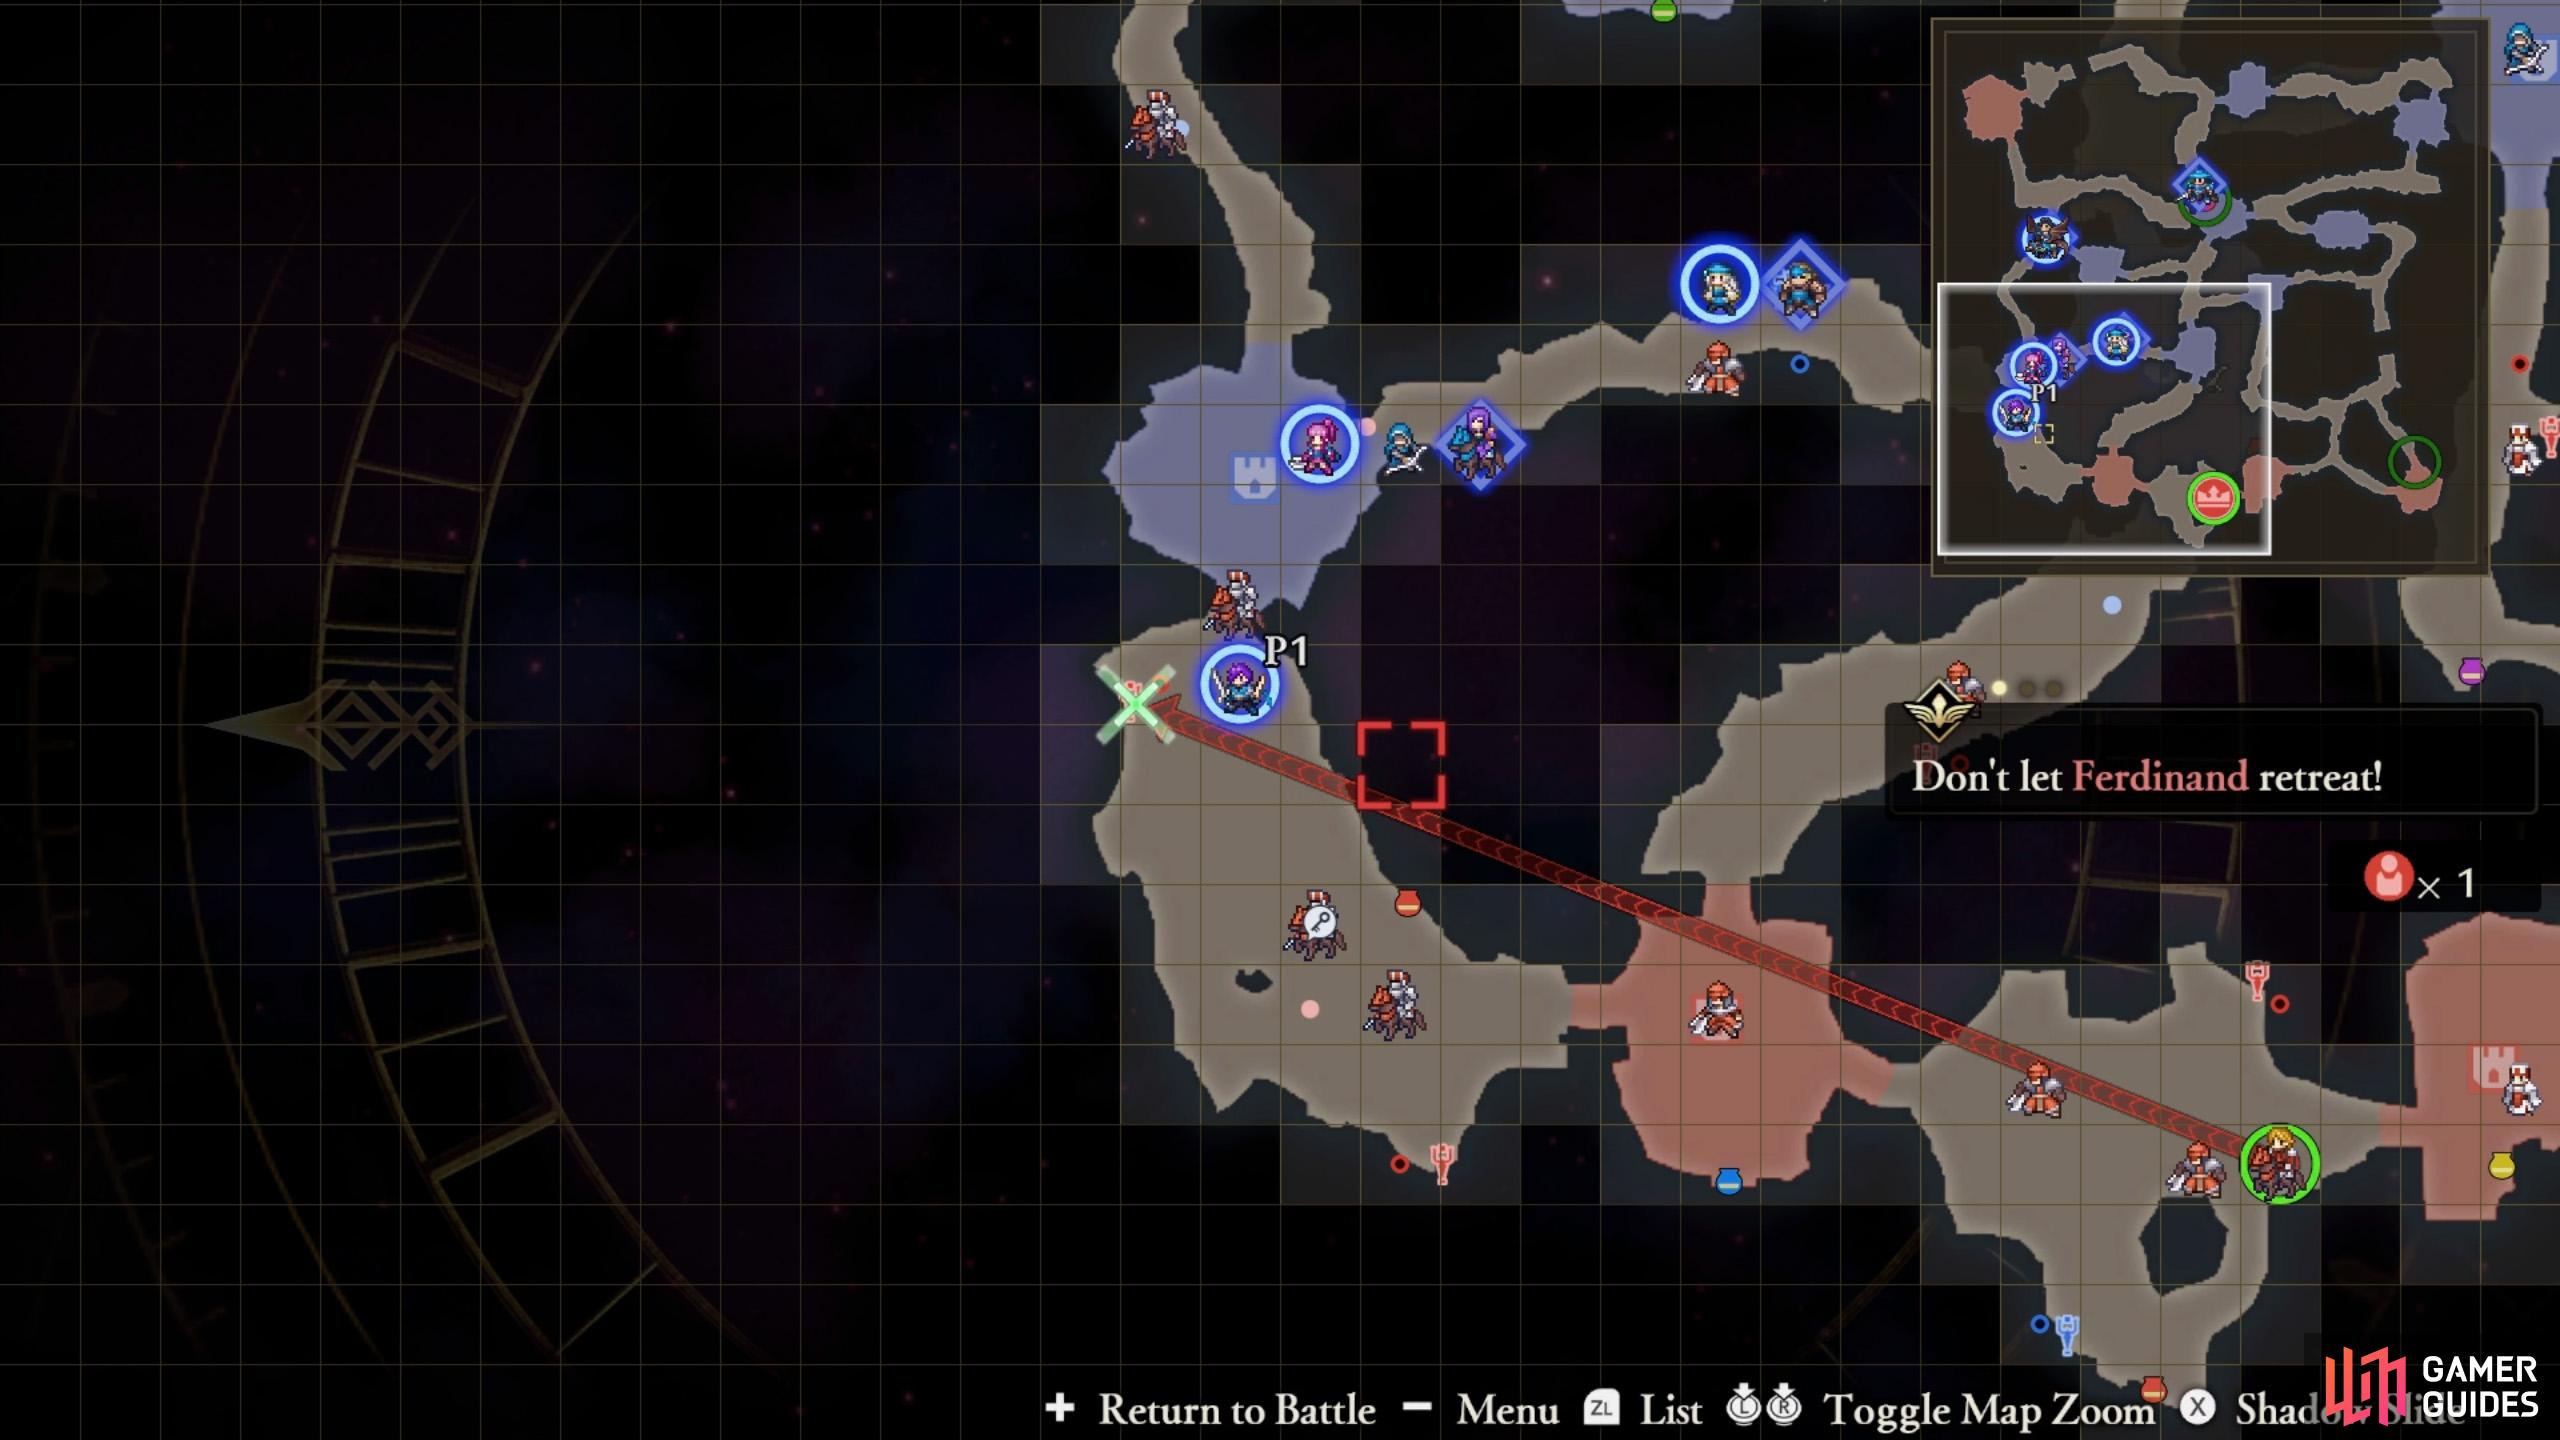
Mission 2: Don’t let Ferdinand retreat
(1 of 2) Oh no, you don’t!
Oh no, you don’t! (left), Actually, you can’t reach Ferdinand to stop him… (right)
With the mercenaries to support him, Ferdinand will begin planning a retreat. He’s located near the center of the map and will attempt to travel in a clock-wise direction to the exit near the far west. Unfortunately, as it stands, you cannot reach Ferdinand right now. But don’t panic. Every now and then, some Alliance soldiers will slow him down.
When Ferdinand is halfway to the exit, you can trigger the Light the Beacon Strategy to slow him down. However, it shouldn’t be critical, unless you’re playing really, really slow.
Mission 3: Search the strongholds for the sniper, Bernadetta
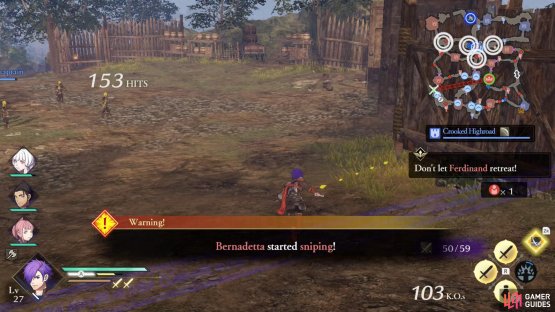
(1 of 2) Bernie will take things into her own hands.


Bernie will take things into her own hands. (left), Use the Imperial Formation Intel strategy to pinpoint her location. (right)
Once you’ve dispatched the four archers, Bernadetta will begin sniping the map from a secret location. You now have to search the four enemy strongholds in the northern half of the map for her. This is where the Imperial Formation Intel Strategy comes in; triggering it will reveal Bernadetta’s position straight away.
If you didn’t enable this Strategy, no big deal. You’ll likely want to search–and capture–all four strongholds anyway. So Order 3 or 4 capable characters to capture the strongholds. They’re all occupied by archers, so attacking them with magic users would be preferable.
Anyway, Bernadetta’s location is random. Once you’ve found her, control somebody (ideally a magic user) and get ready to face her down.
Mission 4: Defeat Bernadetta

(1 of 2) It’s hard not to feel sorry for her.
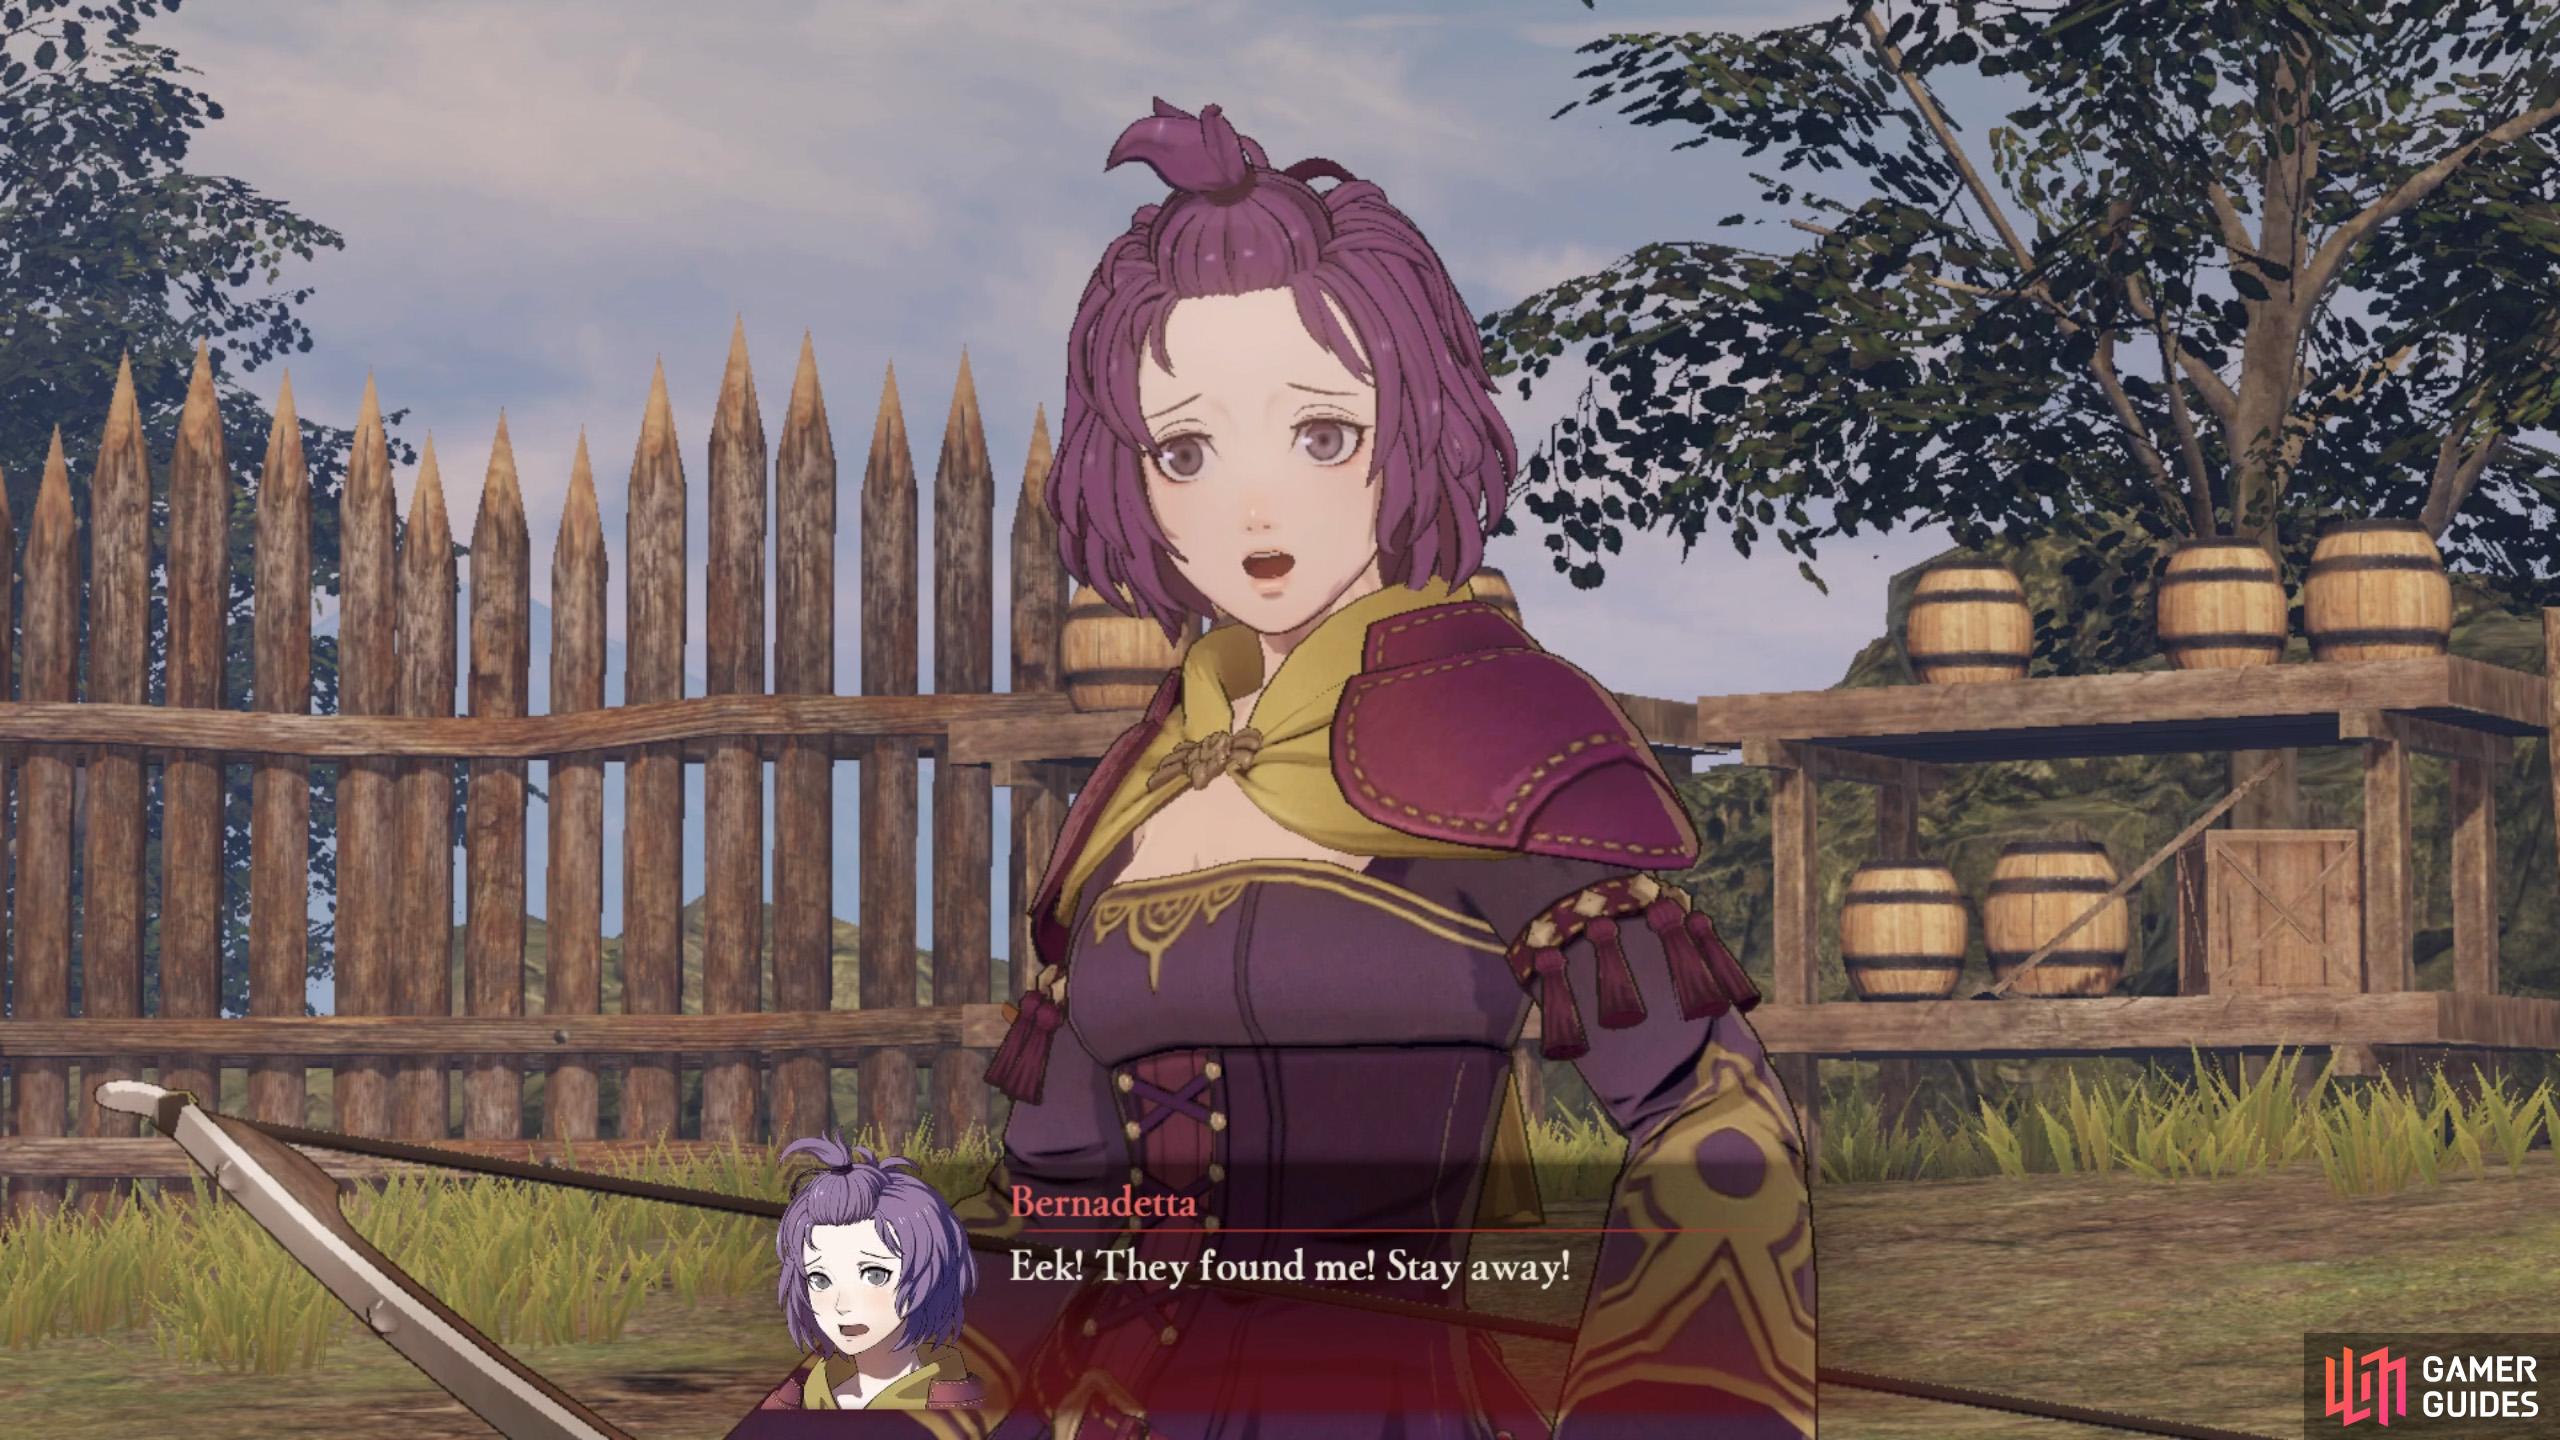

It’s hard not to feel sorry for her. (left), Be a good heart and trigger the strategy to persuade her. (right)
Having found Bernadetta, you can now choose to kill or recruit her. To recruit her, you should trigger the Persuade Bernadetta Strategy when the prompt appears on the left. Regardless of your choice, you need to defeat her in battle. Since she’s a bow user, a magic user is once again the most suitable for the task.
Mission 5: Break through Jeralt’s defenses and pursue Ferdinand

(1 of 2) Are you fighting or are you on the floor?

Are you fighting or are you on the floor? (left), Meanwhile, Jeralt is enjoying his time in the air. (right)
Successfully beat up Bernie and Jeralt’s Mercenaries will properly enter the picture. The gates leading to the two strongholds slightly south from the center and to the west will open. They are guarded by Alois and Jeralt respectively. Against Alois, you’ll want to use sword and anti-armor characters. Meanwhile, Jeralt should be tackled by axe and anti-cavalry characters.
They’re both fairly formidable, so you should control a character to take them on yourself. Order some spare characters to assist you with the same boss and/or to weaken the other boss. Also, since there isn’t much else to do right now, you could assign one of the controllable characters as your adjutant.
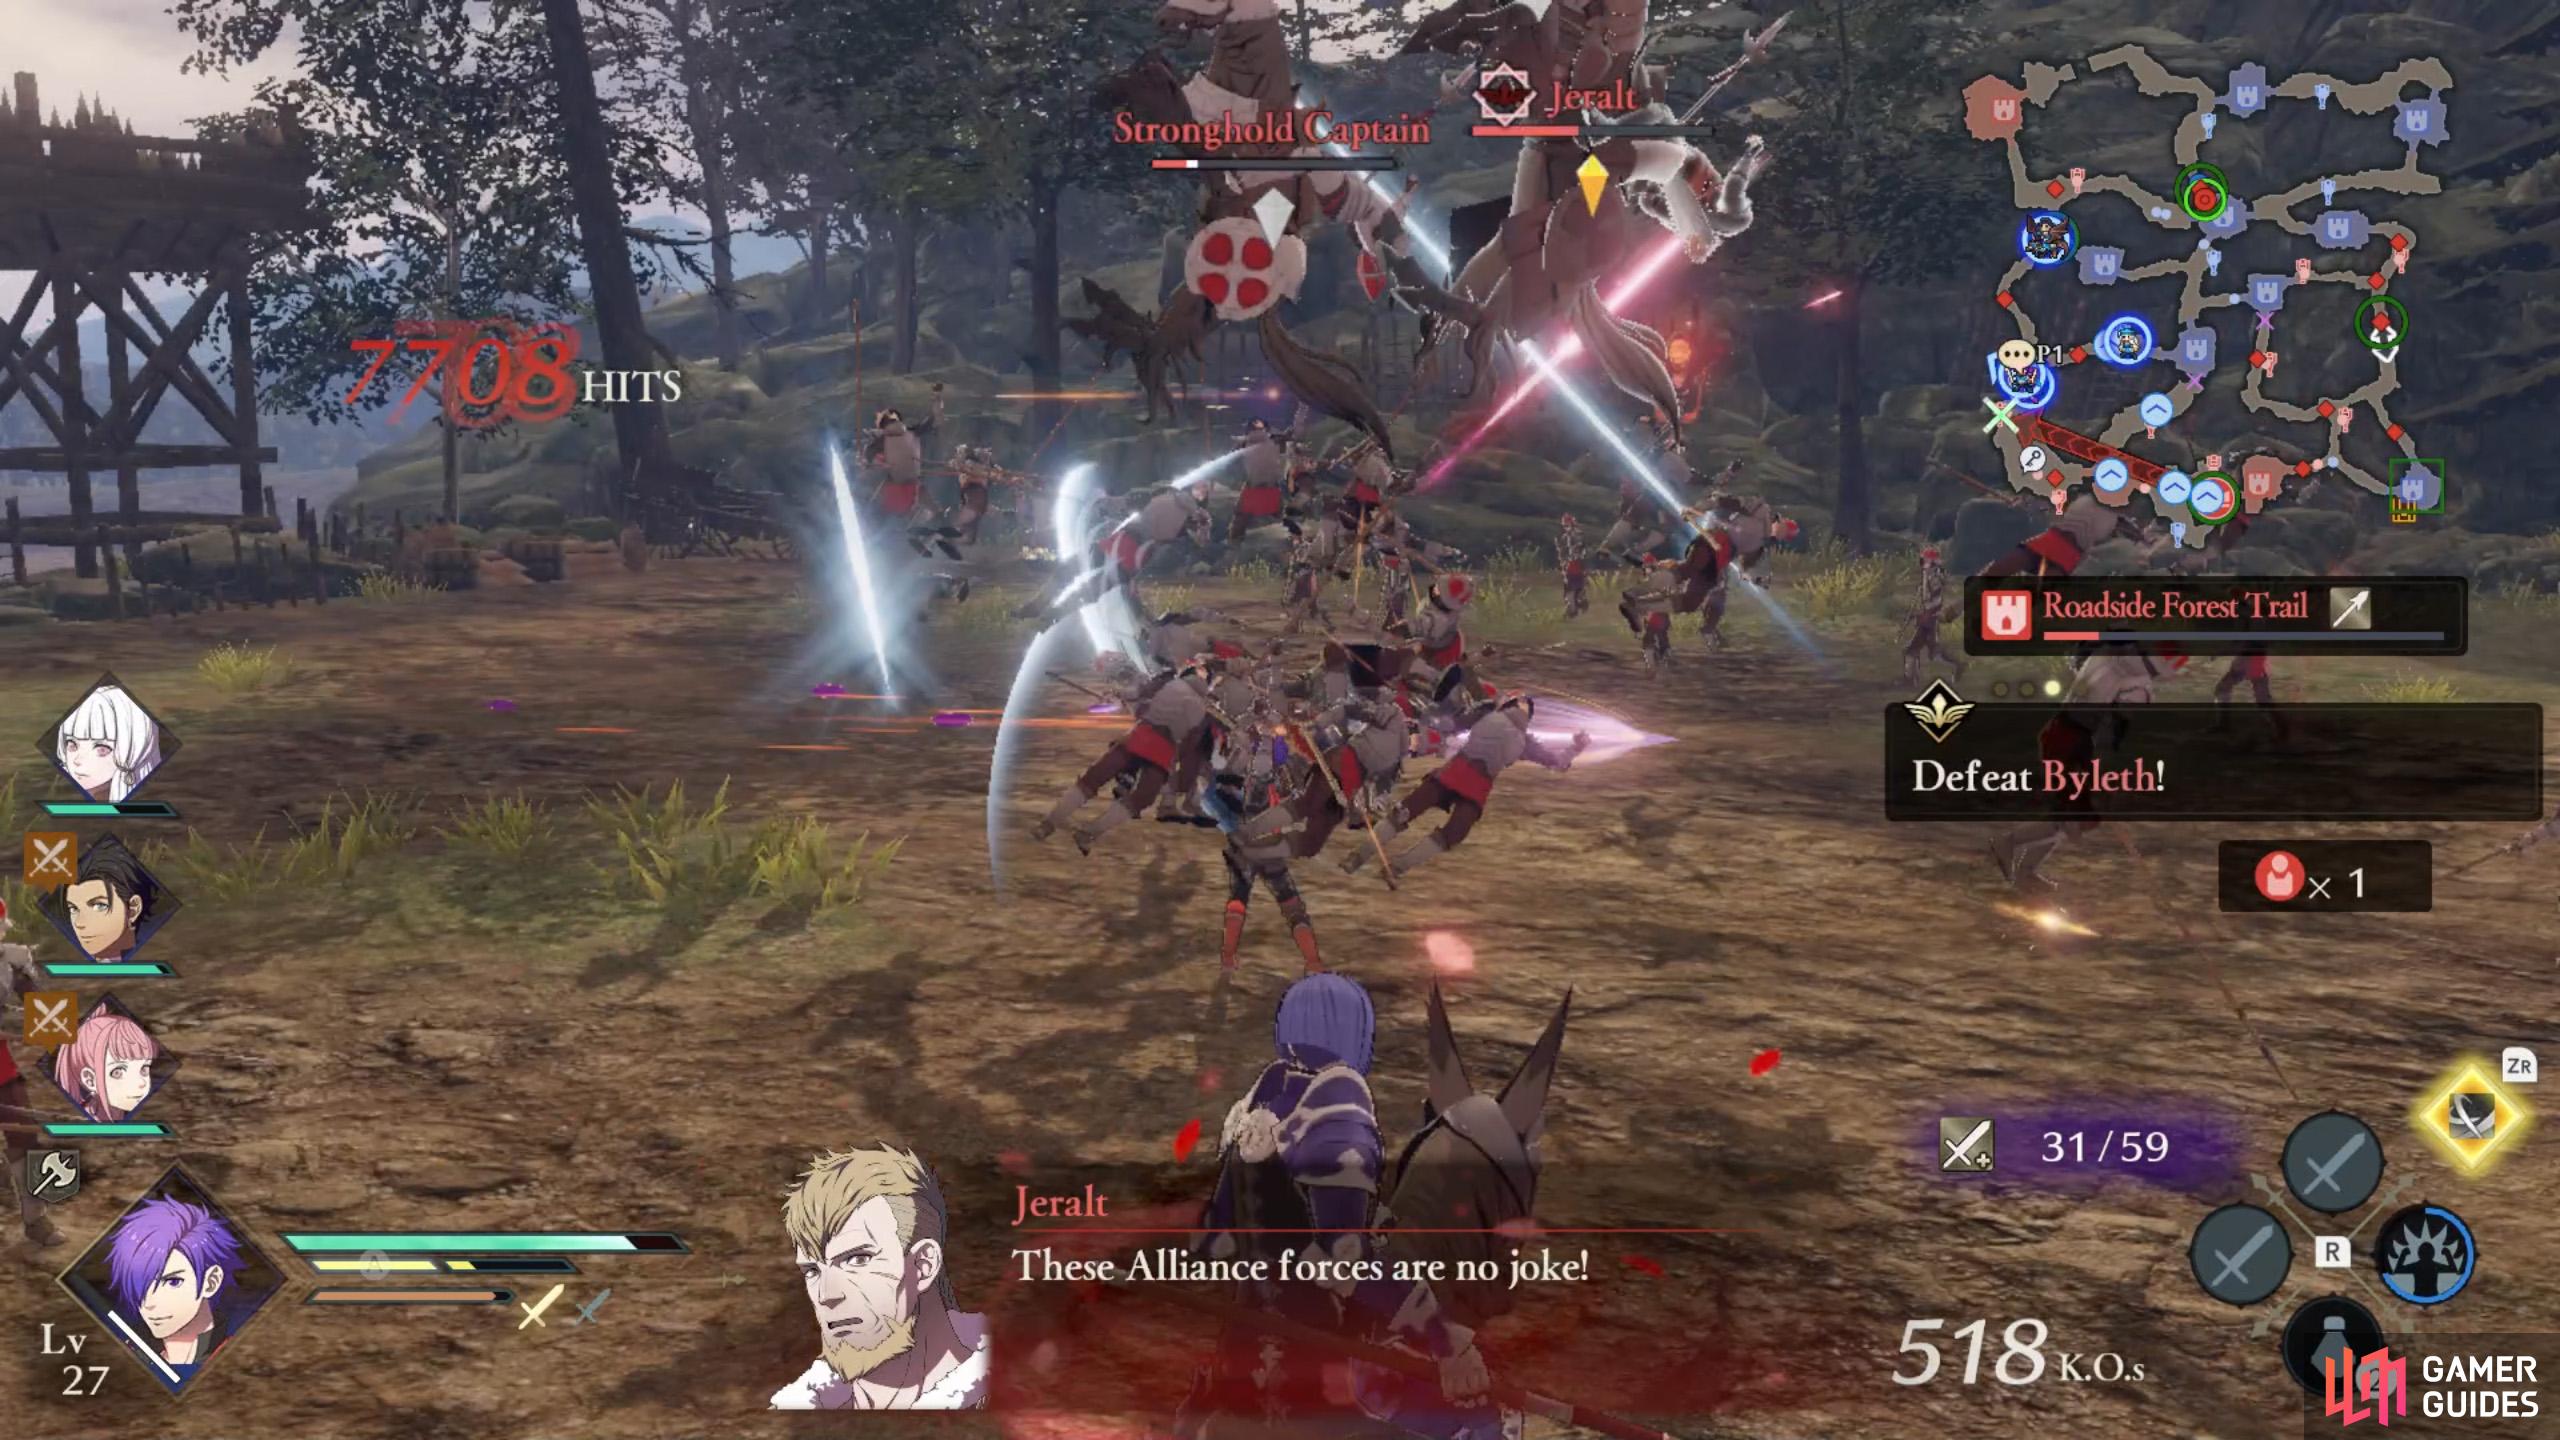
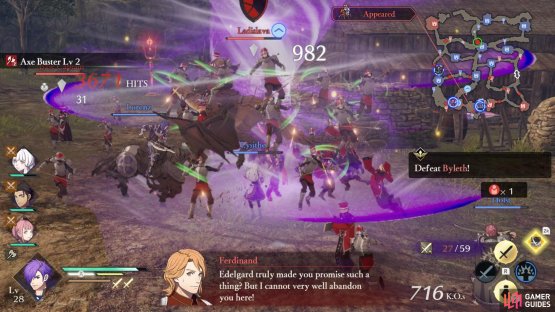
Mission 6: Defeat Byleth
Uh oh, while you’re engaging Jeralt and/or Alois, the Ashen Demon will spawn in the stronghold slightly north from the center. Although it’s tempting to finally confront Shez’s fated rival, focus on defeating Jeralt/Alois instead, to progress the battle.
Also, don’t panic if Ferdinand is near the retreat spot; you should still have plenty of time.
Side Mission 1: Prevent the Pegasus Knights from breaking the siege

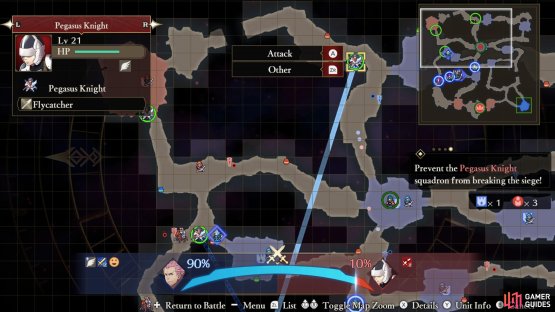
(1 of 2) Quick, stop those Pegasus Knights!
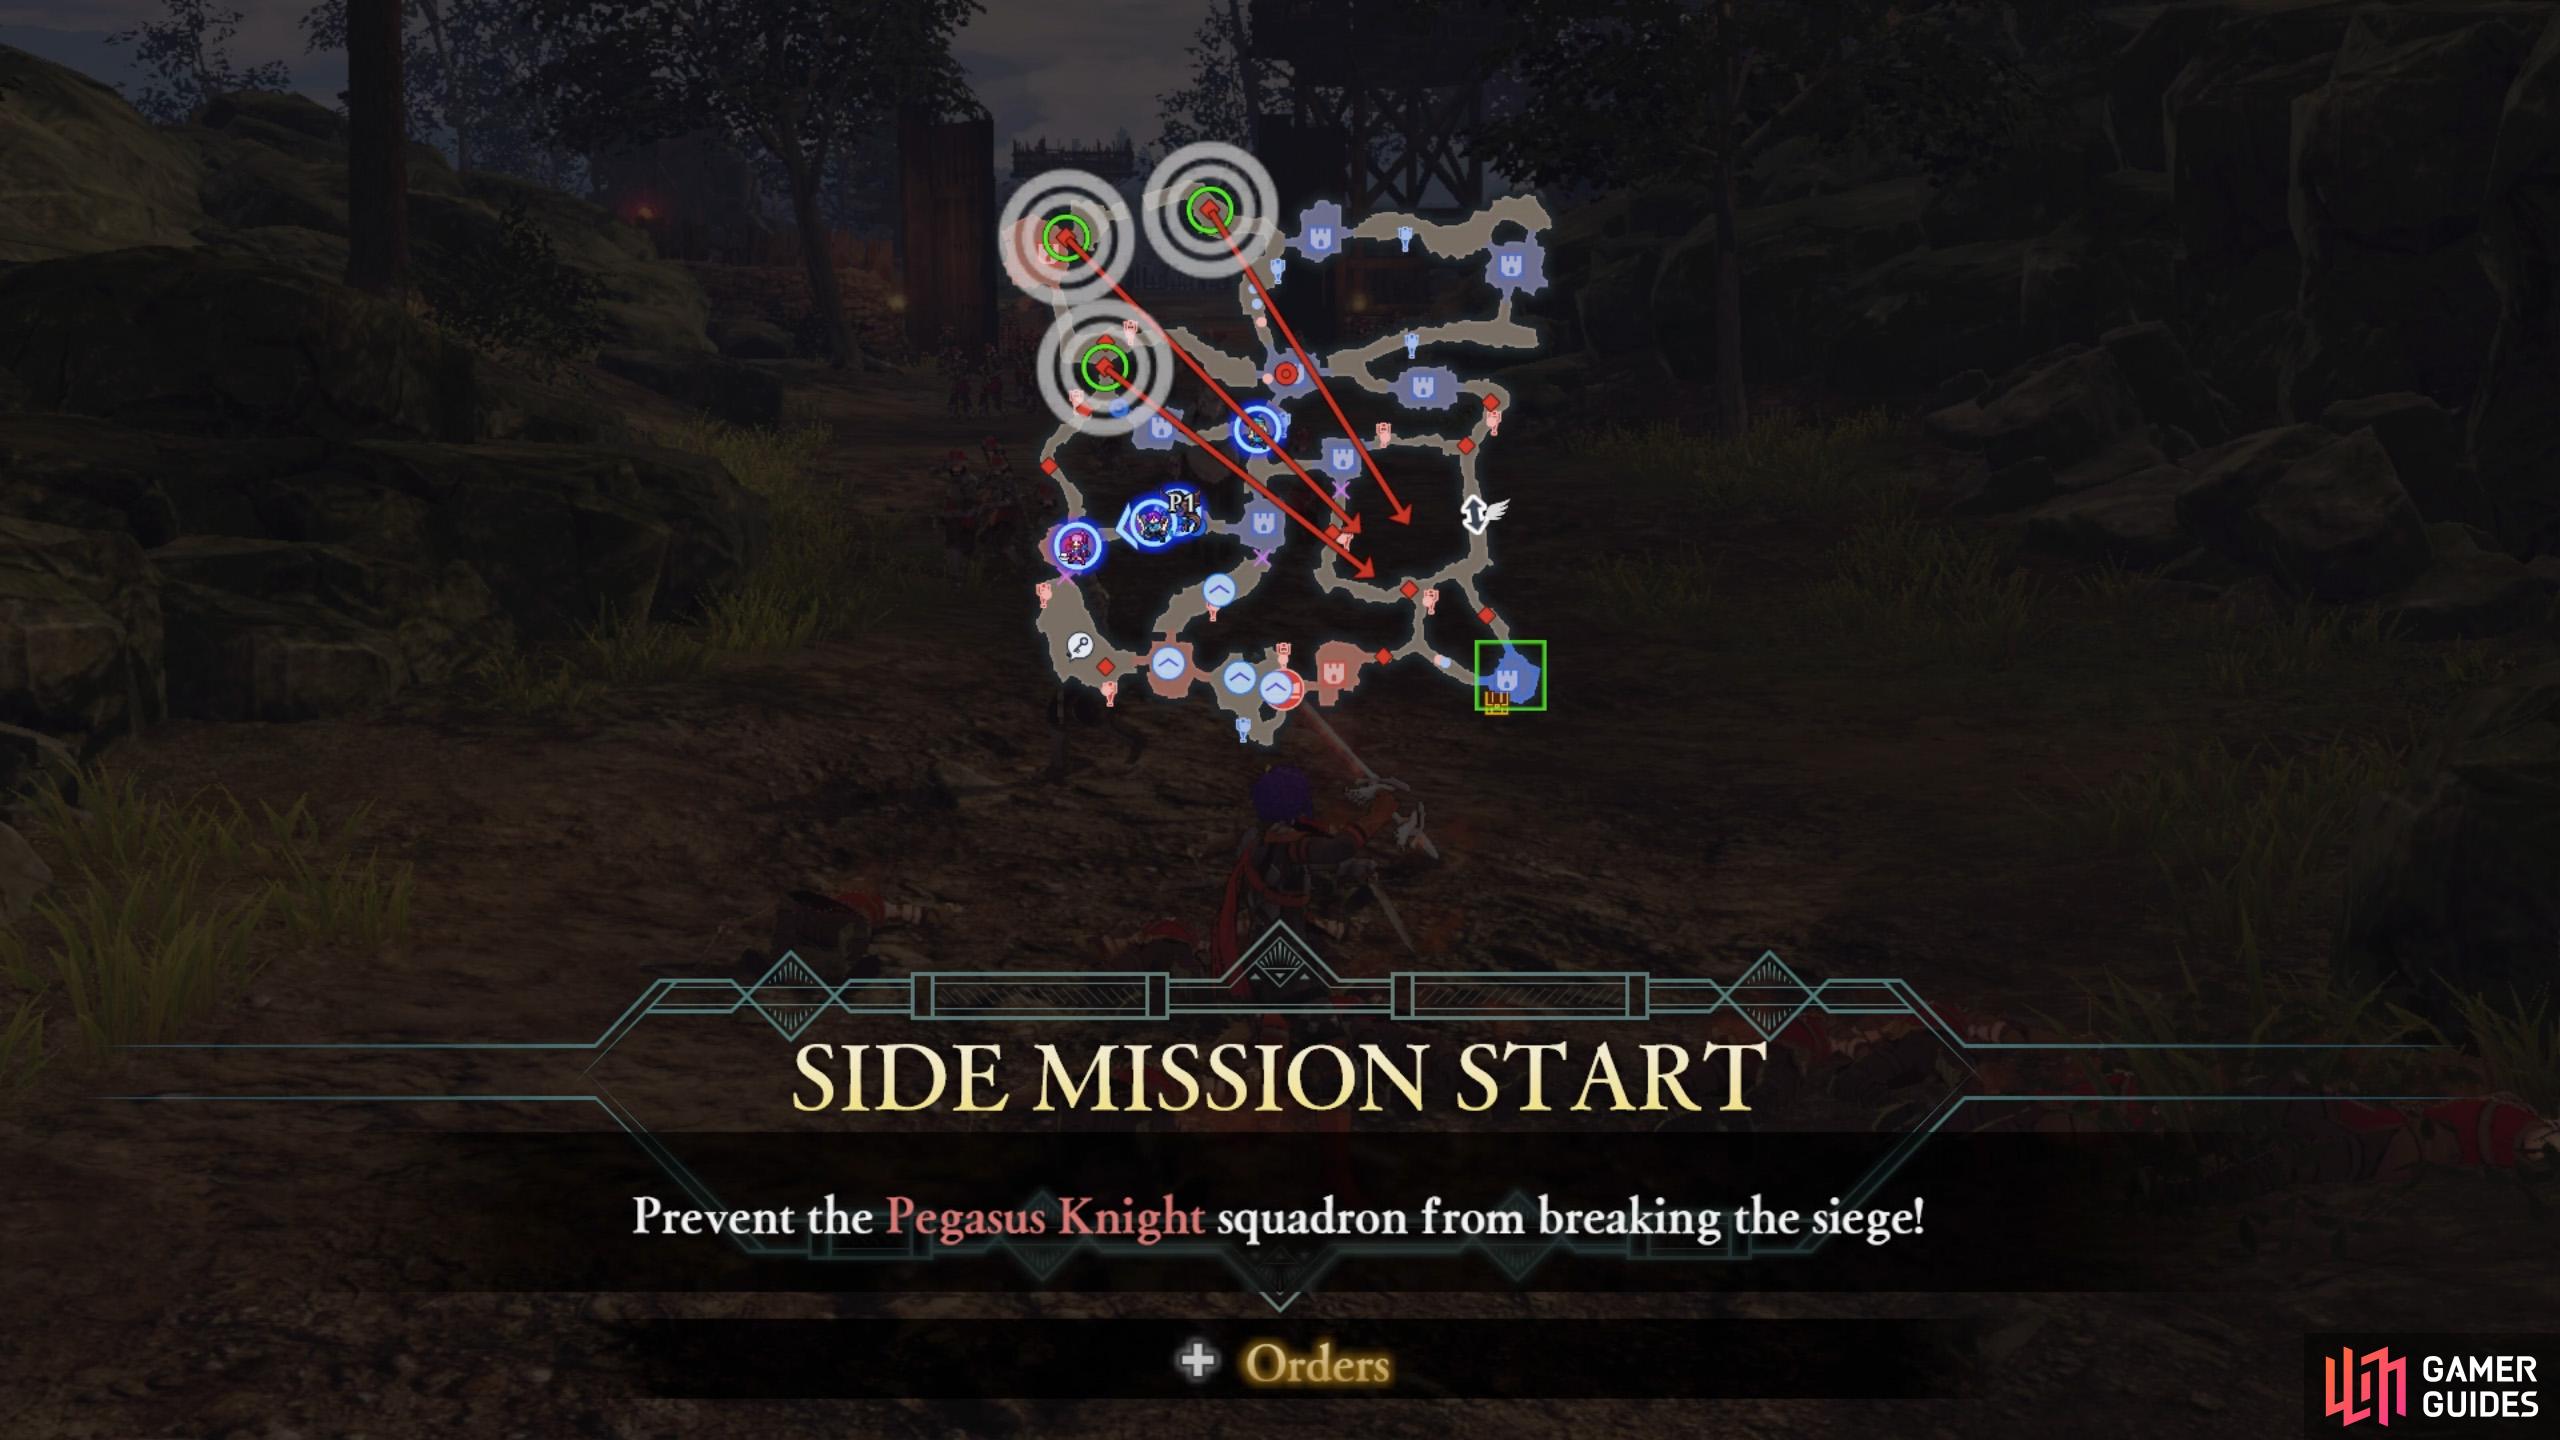

Quick, stop those Pegasus Knights! (left), Despite being weak to lances, the Wingthresher can do the job. (right)
At some point, probably when one of Jeralt or Alois retreats, three Pegasus Knights will spawn near the north-west corner and begin traveling towards the south-east corner. Naturally, your goal is to stop them. However, this can be quite tricky because they’re fast and once they across the eastern chasm, you can’t follow them.
Should you lack flying characters, you’ve no choice but to swiftly intercept the Pegasus Knights before they pass the chasm. Send in bow and axe users to halt their flight ASAP–and to be safe, control one of them yourself. Don’t hestitate to use Shadow Slide to teleport back one of the central strongholds, if a Pegasus Knight is about to break through.
In the event that you fail this side mission, a new retreat spot will apppear in the south-east corner, which Ferdinand will begin advancing to instead, if it’s nearer.
Mission 2: Don’t let Ferdinand retreat (Continued)

(1 of 2) Finally, you can reach the rest of the map.

Finally, you can reach the rest of the map. (left), Time for a rematch, Ferdinand! (right)
Once you’ve defeated both Jeralt and Alois, the remaining stronghold gates will open up. So you can finally give chase to Ferdinand! After you’ve caught up, sick an axe user or somebody with an anti-cavalry weapon on him.
Mission 7: Defeat Ladislava

(1 of 2) Ladislava will put her life on the line for Ferdinand.
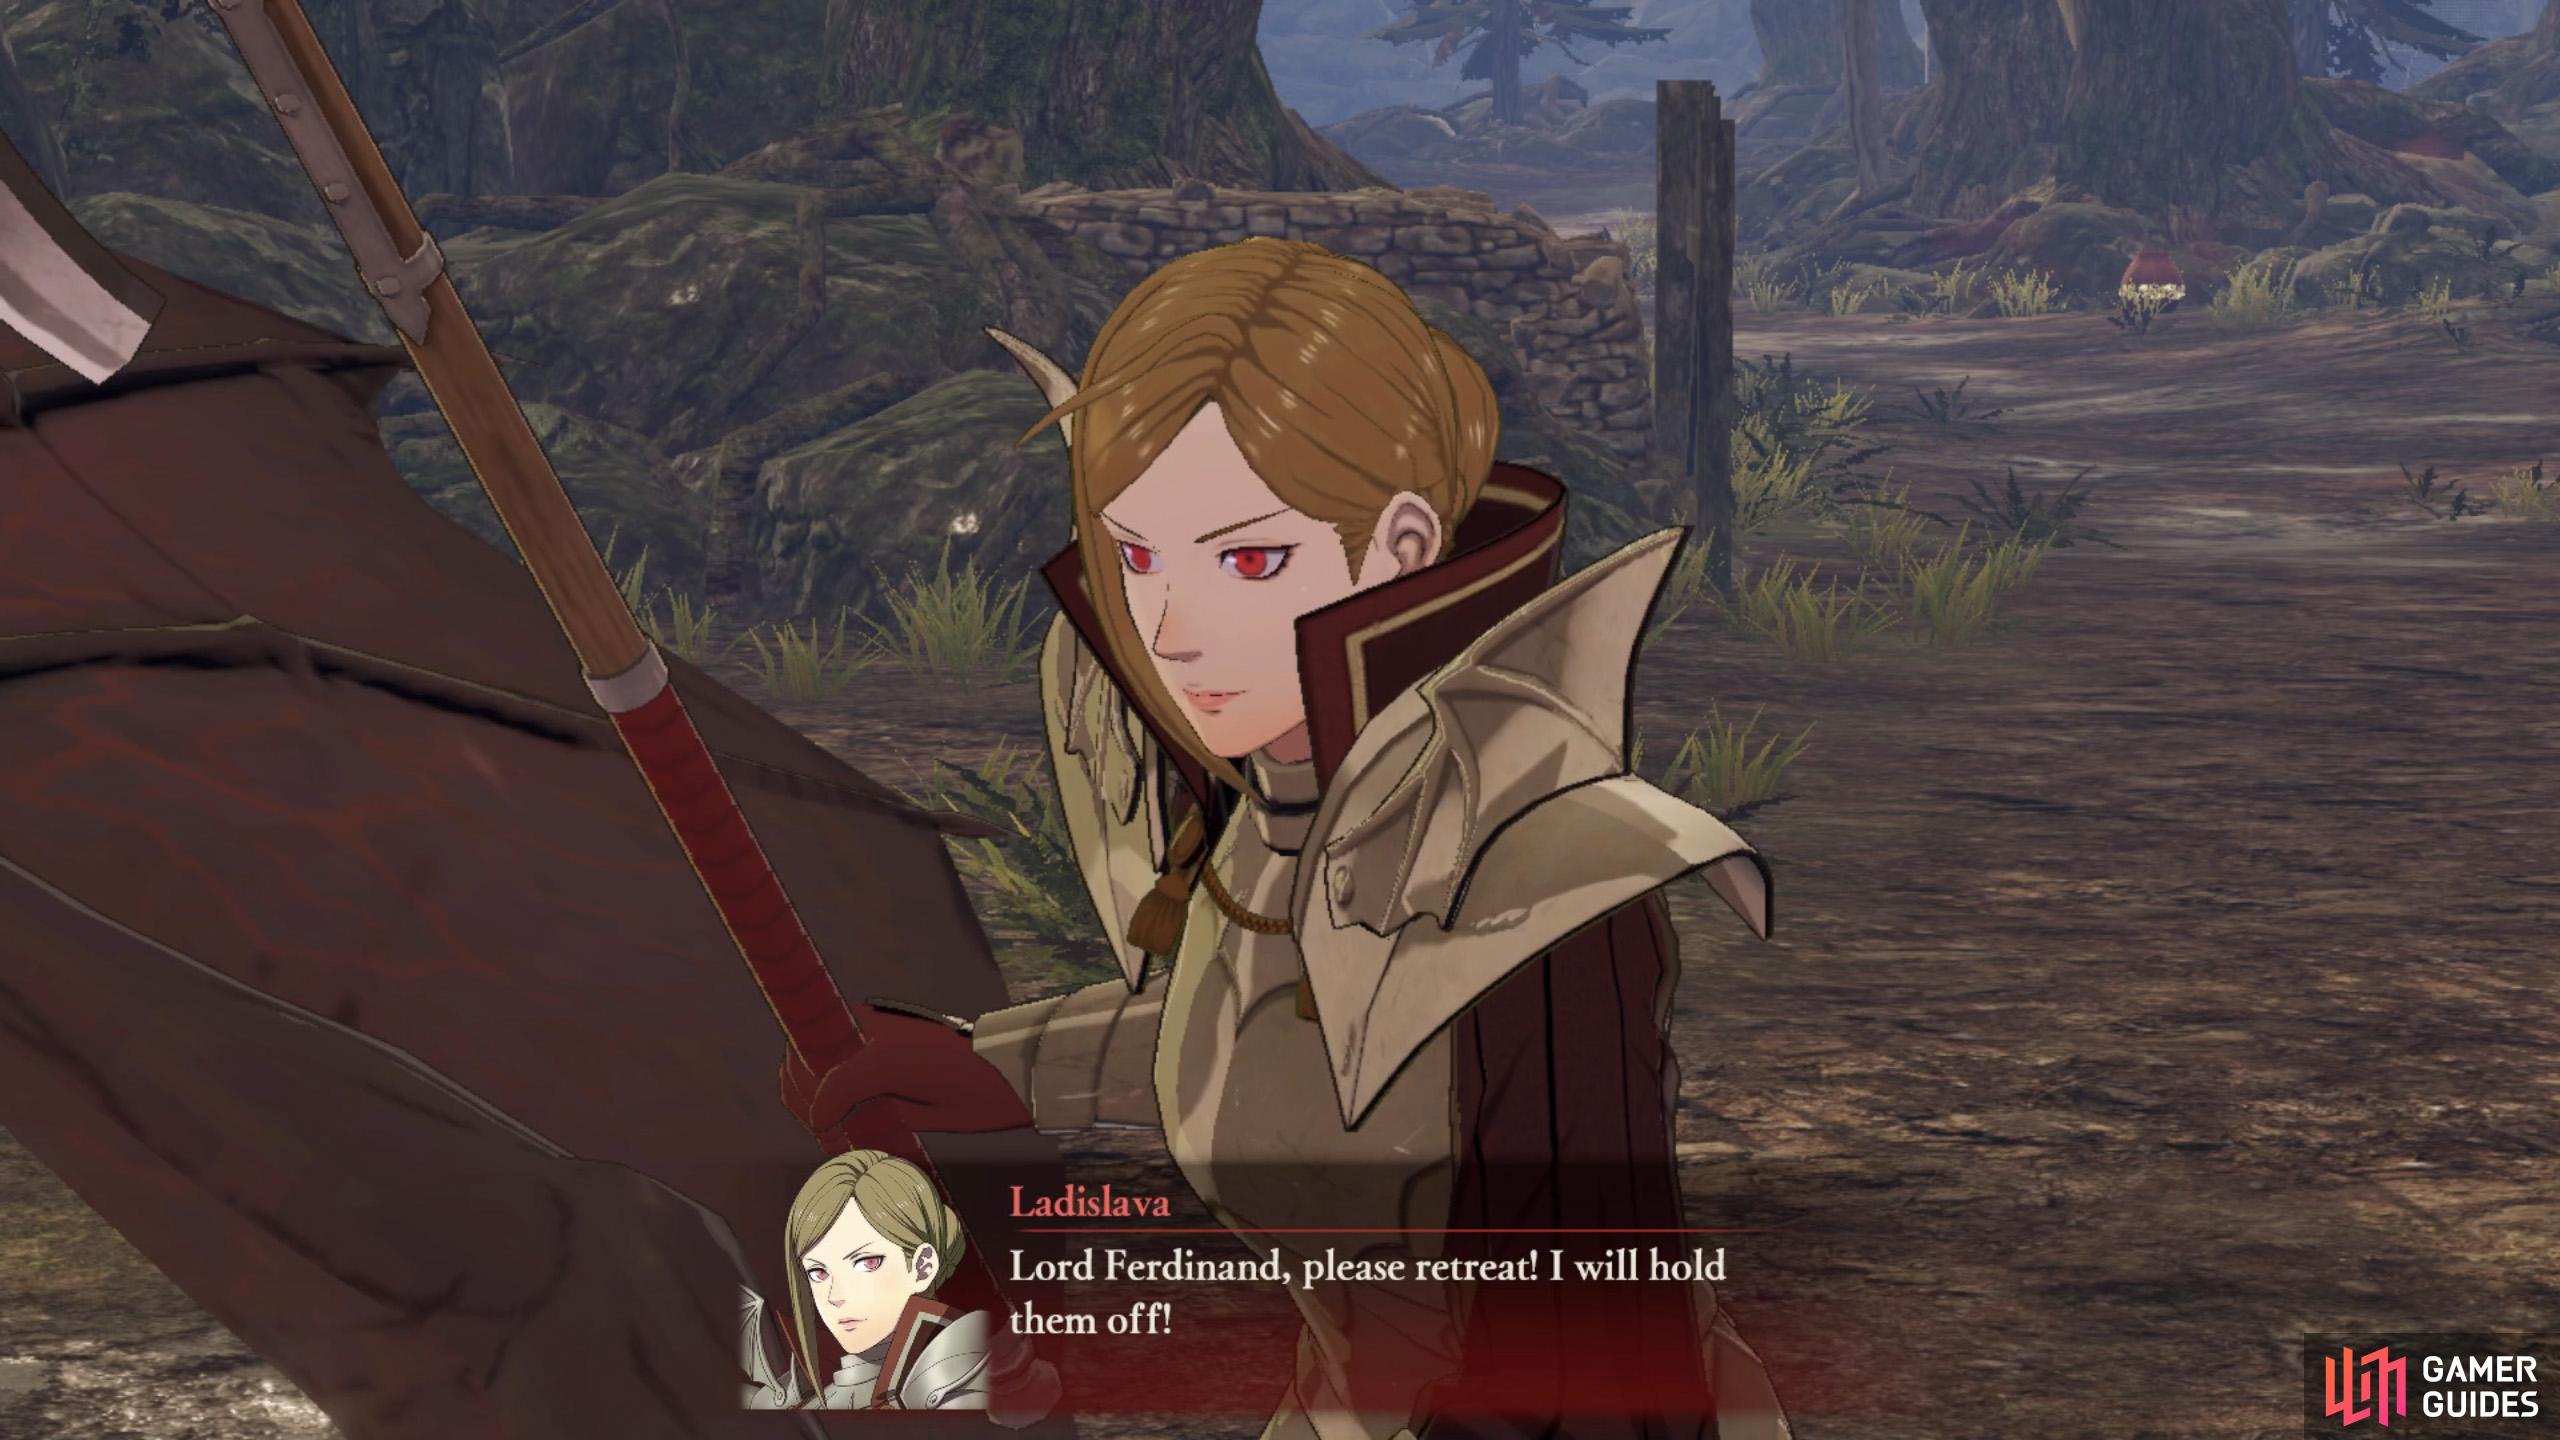

Ladislava will put her life on the line for Ferdinand. (left), Even so, you can’t afford to show mercy to your foes… (right)
Defeating Ferdinand doesn’t end the fight though. Ladislava will reappear at the middle of the southern strongholds, with some additional enemy forces. Take her on with a bow (ideally) or sword user.
Once she keels over, the battle will end. Like usual, check you haven’t missed anything (like enough enemies slain for the S Rank) before landing the final blow.
Side Mission 2: Face and defeat Byleth
Should you directly engage Byleth, the mission to defeat Byleth will change into a side mission. Indicating it’s completely optional. If you’re feeling daring, you could challenge Byleth with Shez. However, we suggest fighting the Ashen Demon with a lance user (if Shez is one, then no problem).
Once Byleth’s HP becomes low, they will retreat from the battlefield.
No Comments