
This is a guide for Chapter 5: The Skirmish in the Fog in Fire Emblem Warriors: Three Hopes, this page focusing on the Extra Quest, An Unexpected Encounter (2), in the Western Erebus Territory.
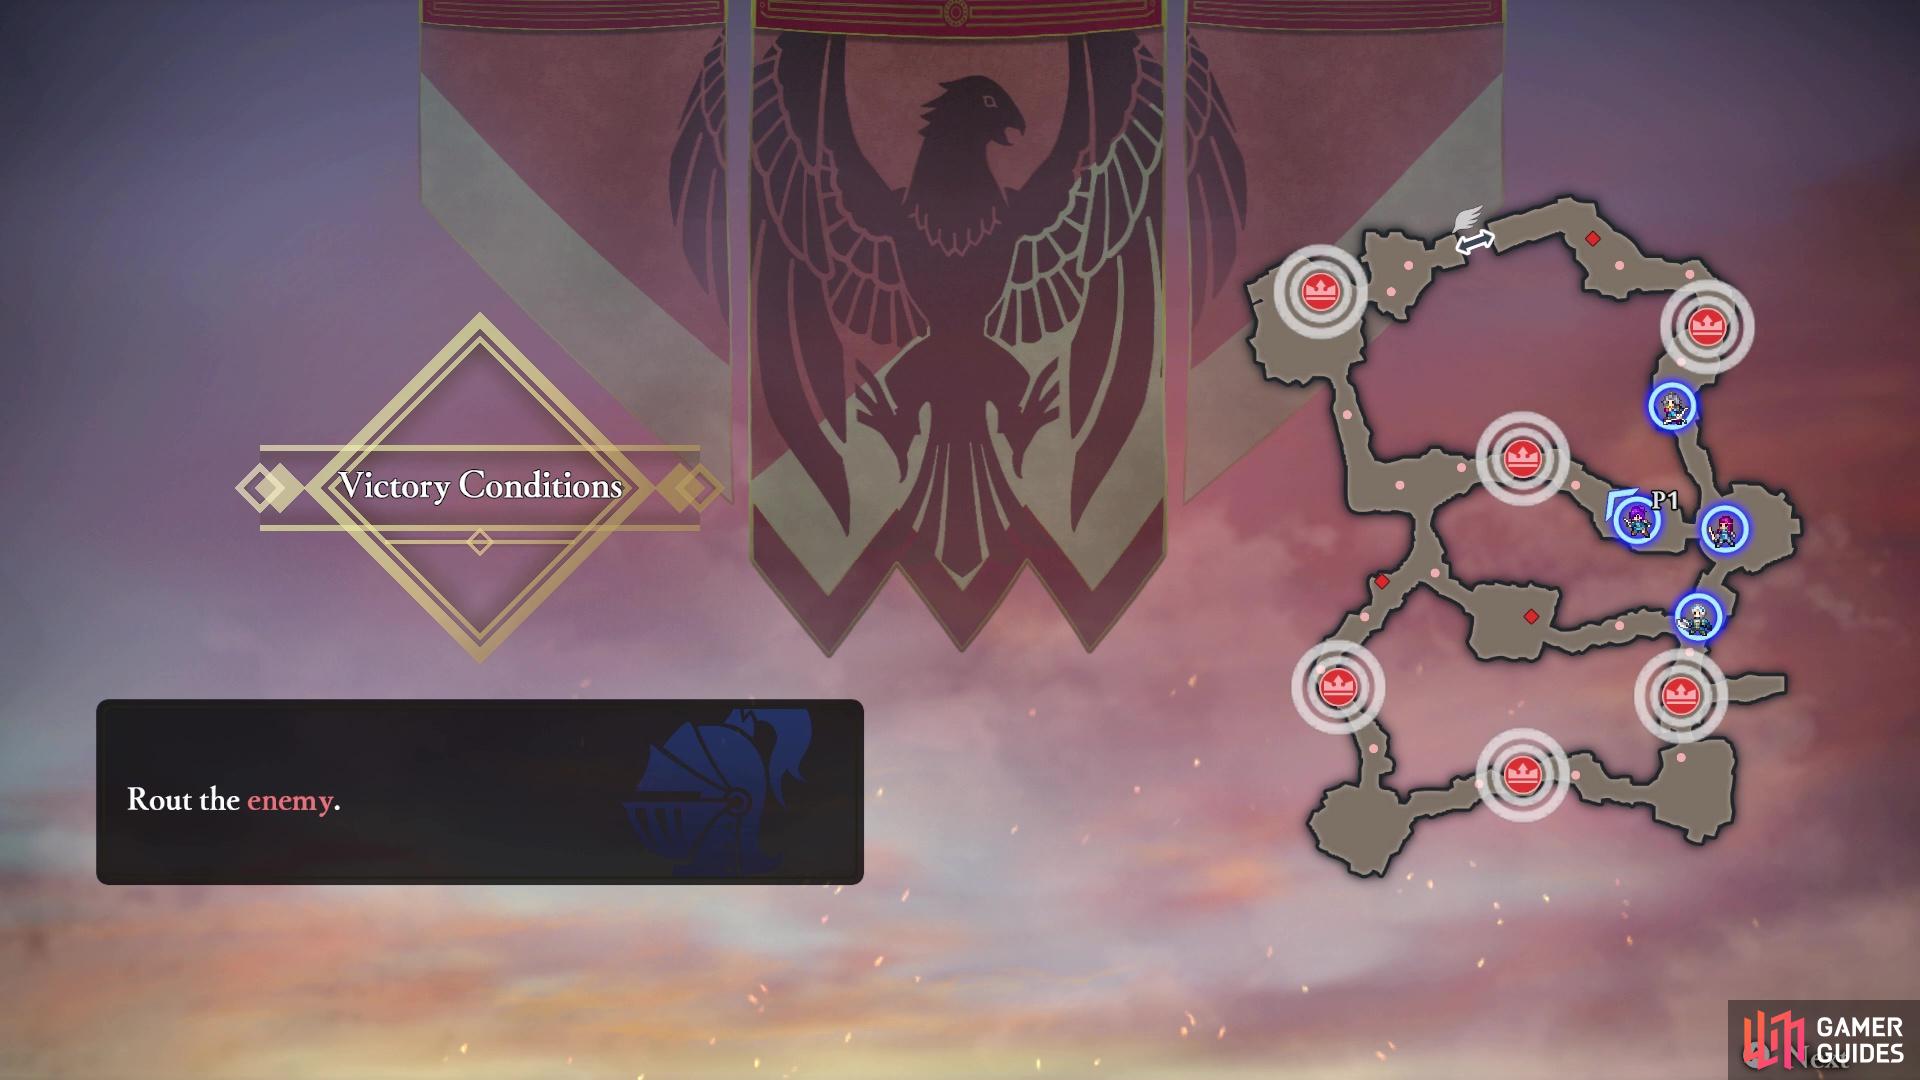
The battlefield for this skirmish
This battle is an Extra Quest, which is only available for a limited time on the map, and is designated by the clashing swords icon. For every region you capture on the world map, the Extra Quest counter will decrease and when it reaches zero, it will disappear. Simply highlight the Surveying Spot with the icon, where you will get a choice between the Extra Quest and Surveying Spot. These Extra Quests are great to do, as you will likely encounter a lot of Demonic Beasts, which in turn, means you can get a lot of great weapons to farm from them. Note that after completing the Extra Quests, you will not be able to replay them via the Record Keeper at your base.
How to S Rank An Unexpected Encounter
| Completion Time | Enemies Defeated | Damage Taken |
|---|---|---|
| 07:00 | 200 | 30% |
Similar to the other Extra Quest with the same name, this is fairly easy to S Rank, due to the low kill count required. Assign your allies to go after the main officers needed to trigger the second main mission, and you should get the 200 kills along the way easily. The only thing to watch out for is taking a lot of damage from the Demonic Beast, as their attacks hurt quite a bit.
Mission 1: Defeat the Cavalier and Allies
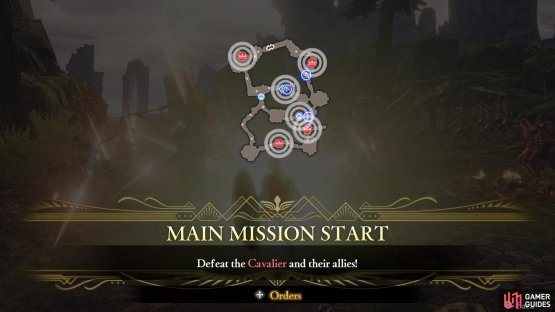

(1 of 2) Just go to town on the named enemies at the start of the battle

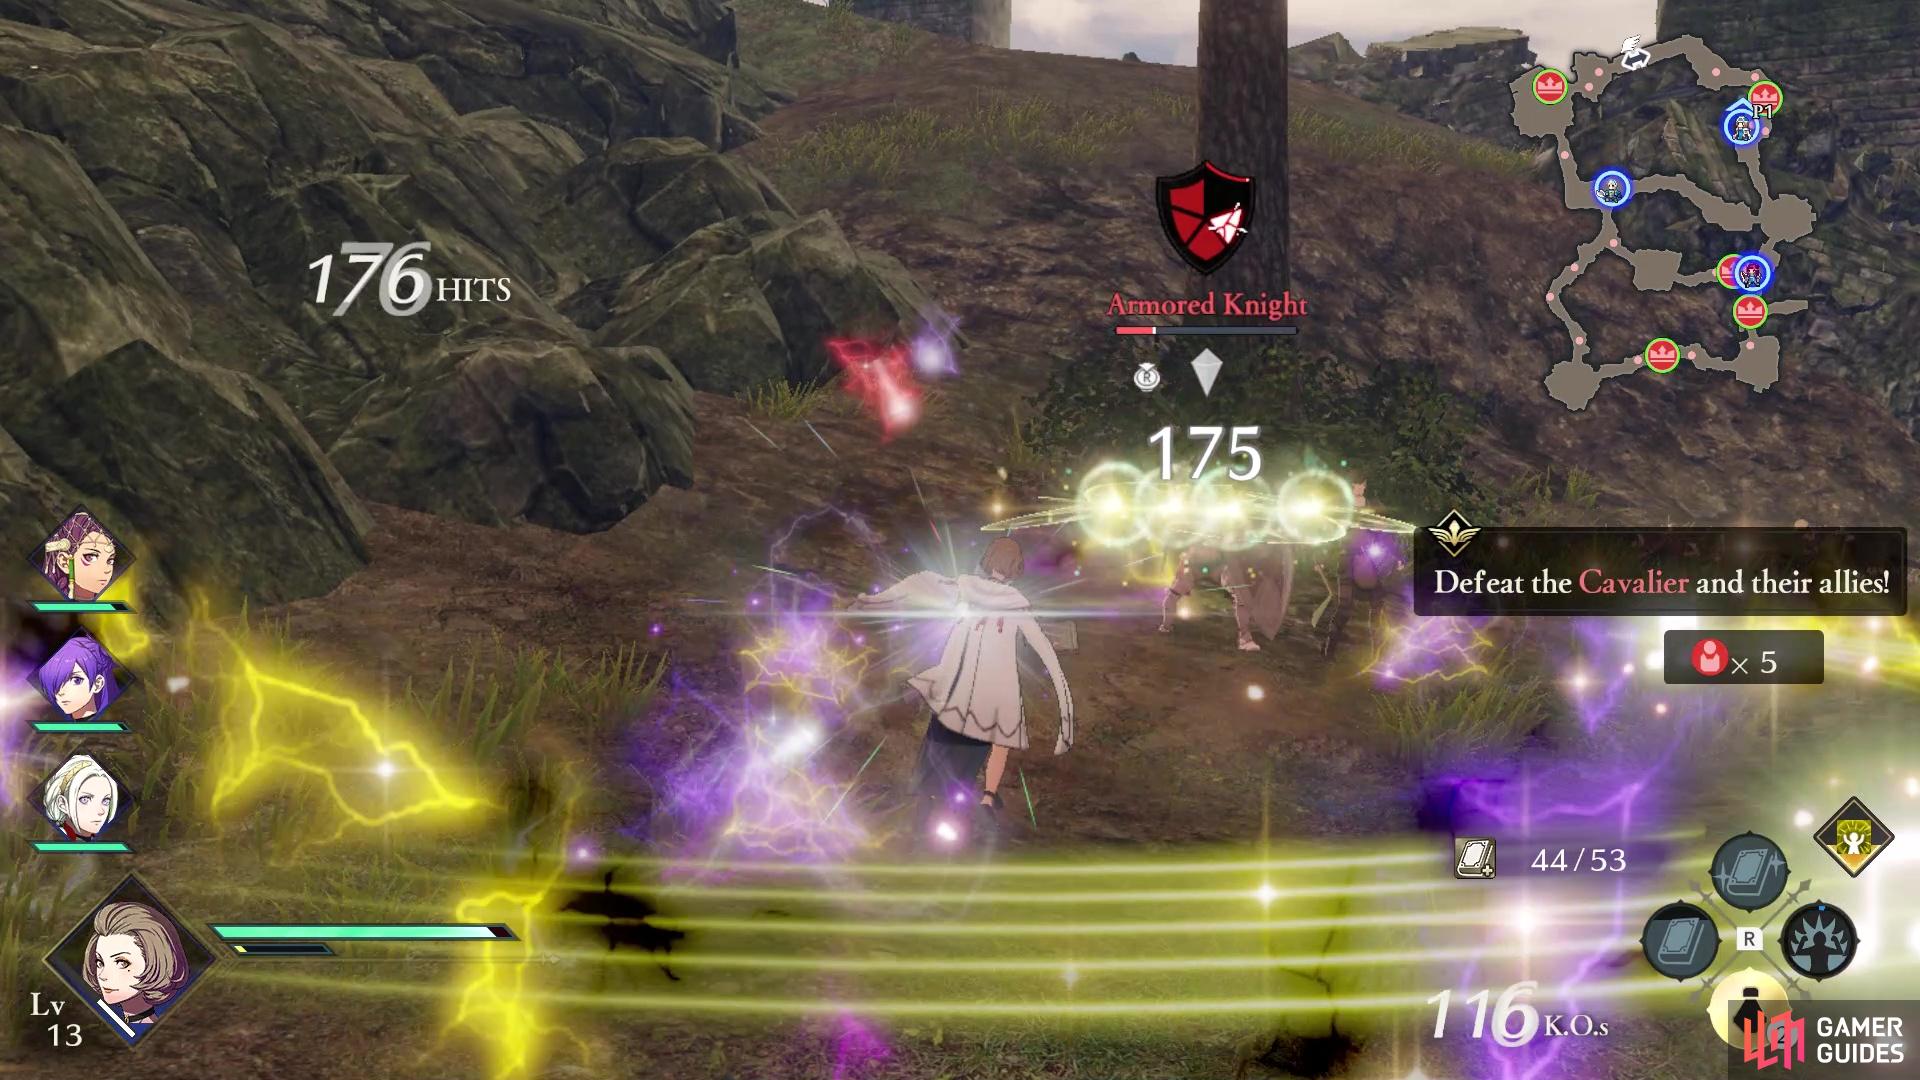
Just go to town on the named enemies at the start of the battle (left), Use a magic-user on the Armored Knights (right)
You will find some striking similarities between this battle and the other Extra Quest from before, as they are pretty much the same in terms of what you have to do. At the beginning of the battle, your main goal is to defeat the Cavalier and their allies. Depending on the level of your characters and the ones you brought into battle, this should be a pretty simple task. The officers you are facing will mostly consist of Armored Knights and Spear-users on horseback. If you recall the one tutorial, Armored Knights have a bit of a weakness to magic-users, so anyone that will be carrying a Tome will be great here.
Mission 2: Defeat the Cavalier and Exp. Demon Beast
It’s not exactly clear what causes the enemy commander to appear, but it might just be a certain number of officers defeated that makes him and a Demonic Beast show up. The Cavalier starts off in the northwest part of the map, then immediately shoots down to the Demon Beast in the southwest corner. The Demon Beast should be something you’re used to now, especially if you’ve been doing all of the other side mission stuff. If not, then the Monsters have four shields, with each one corresponding to a different damage type.
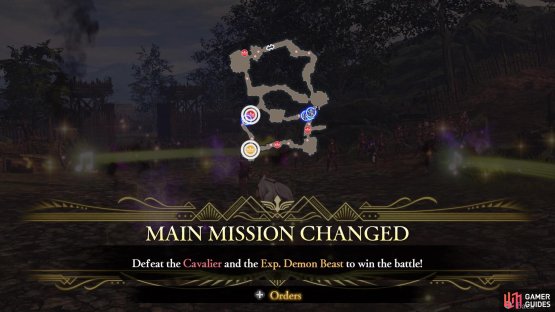

(1 of 2) The commander and a Demon Beast will eventually show up
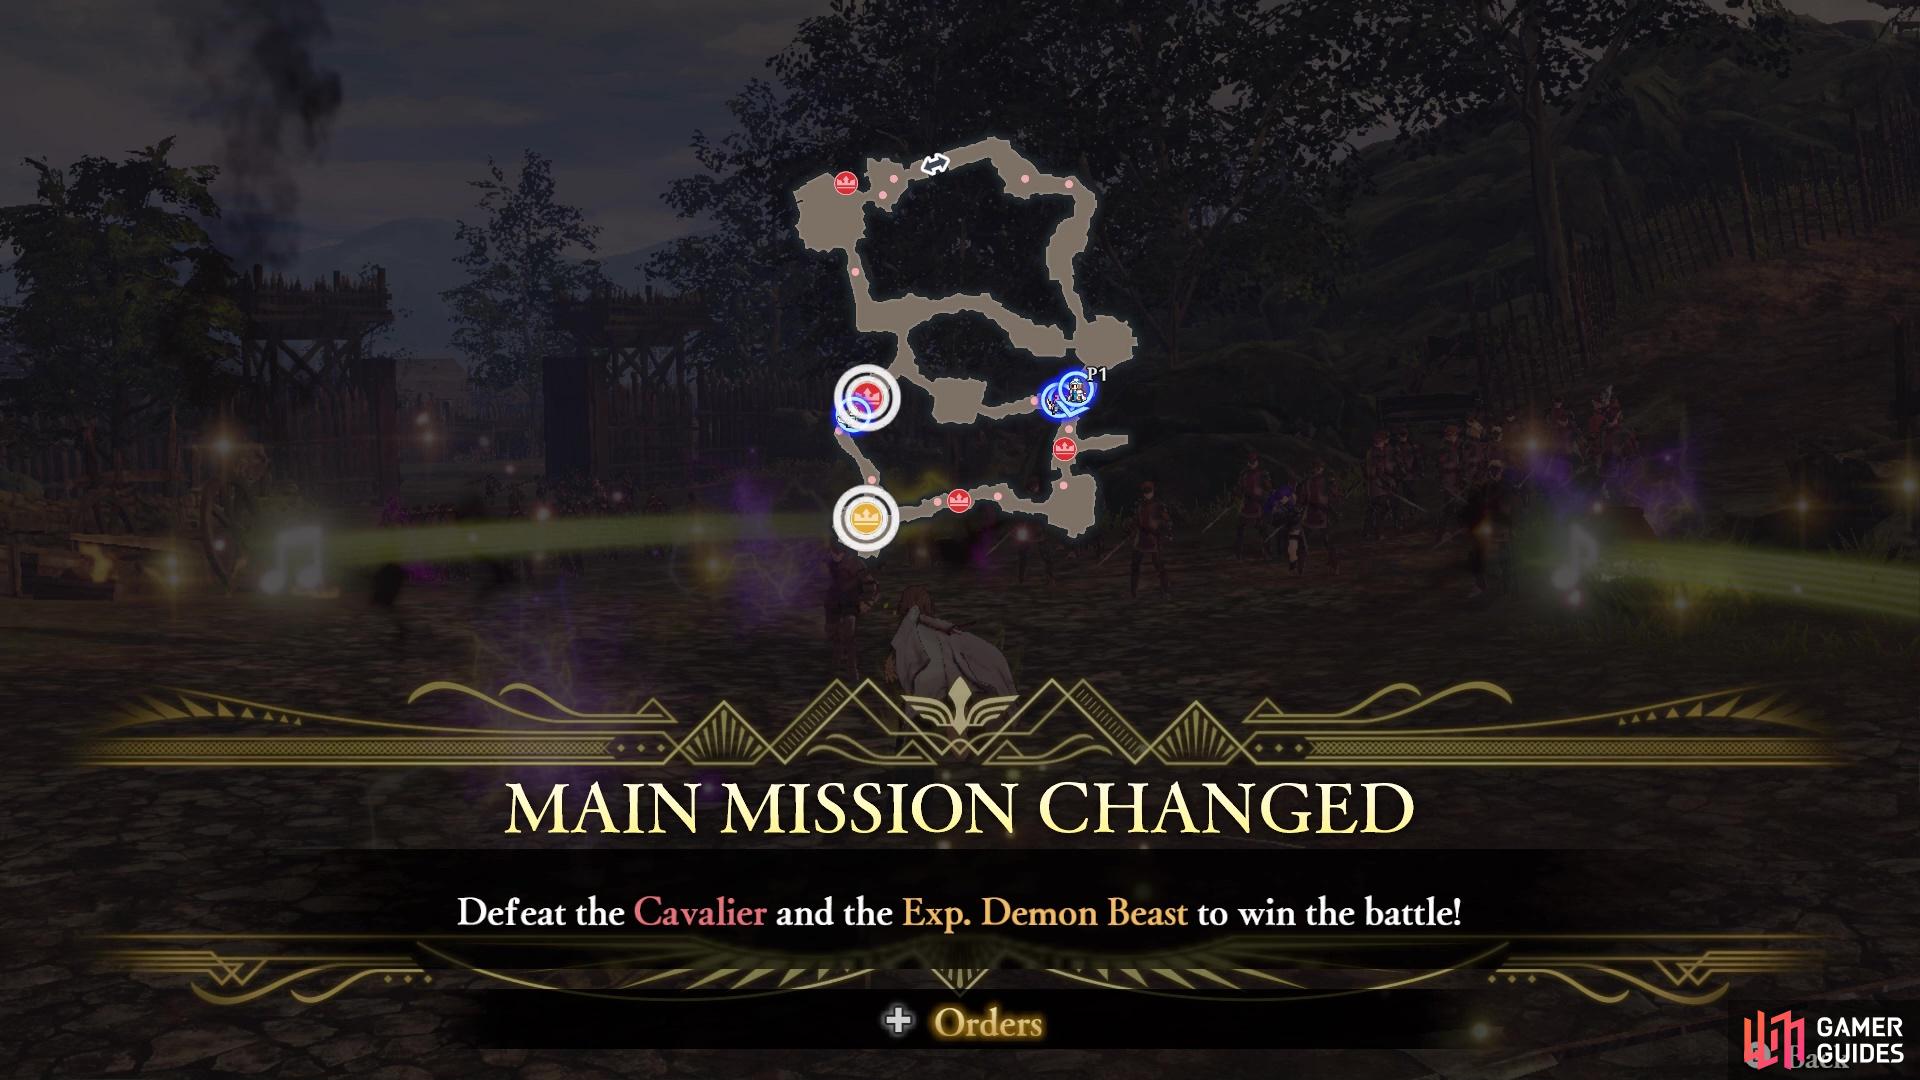
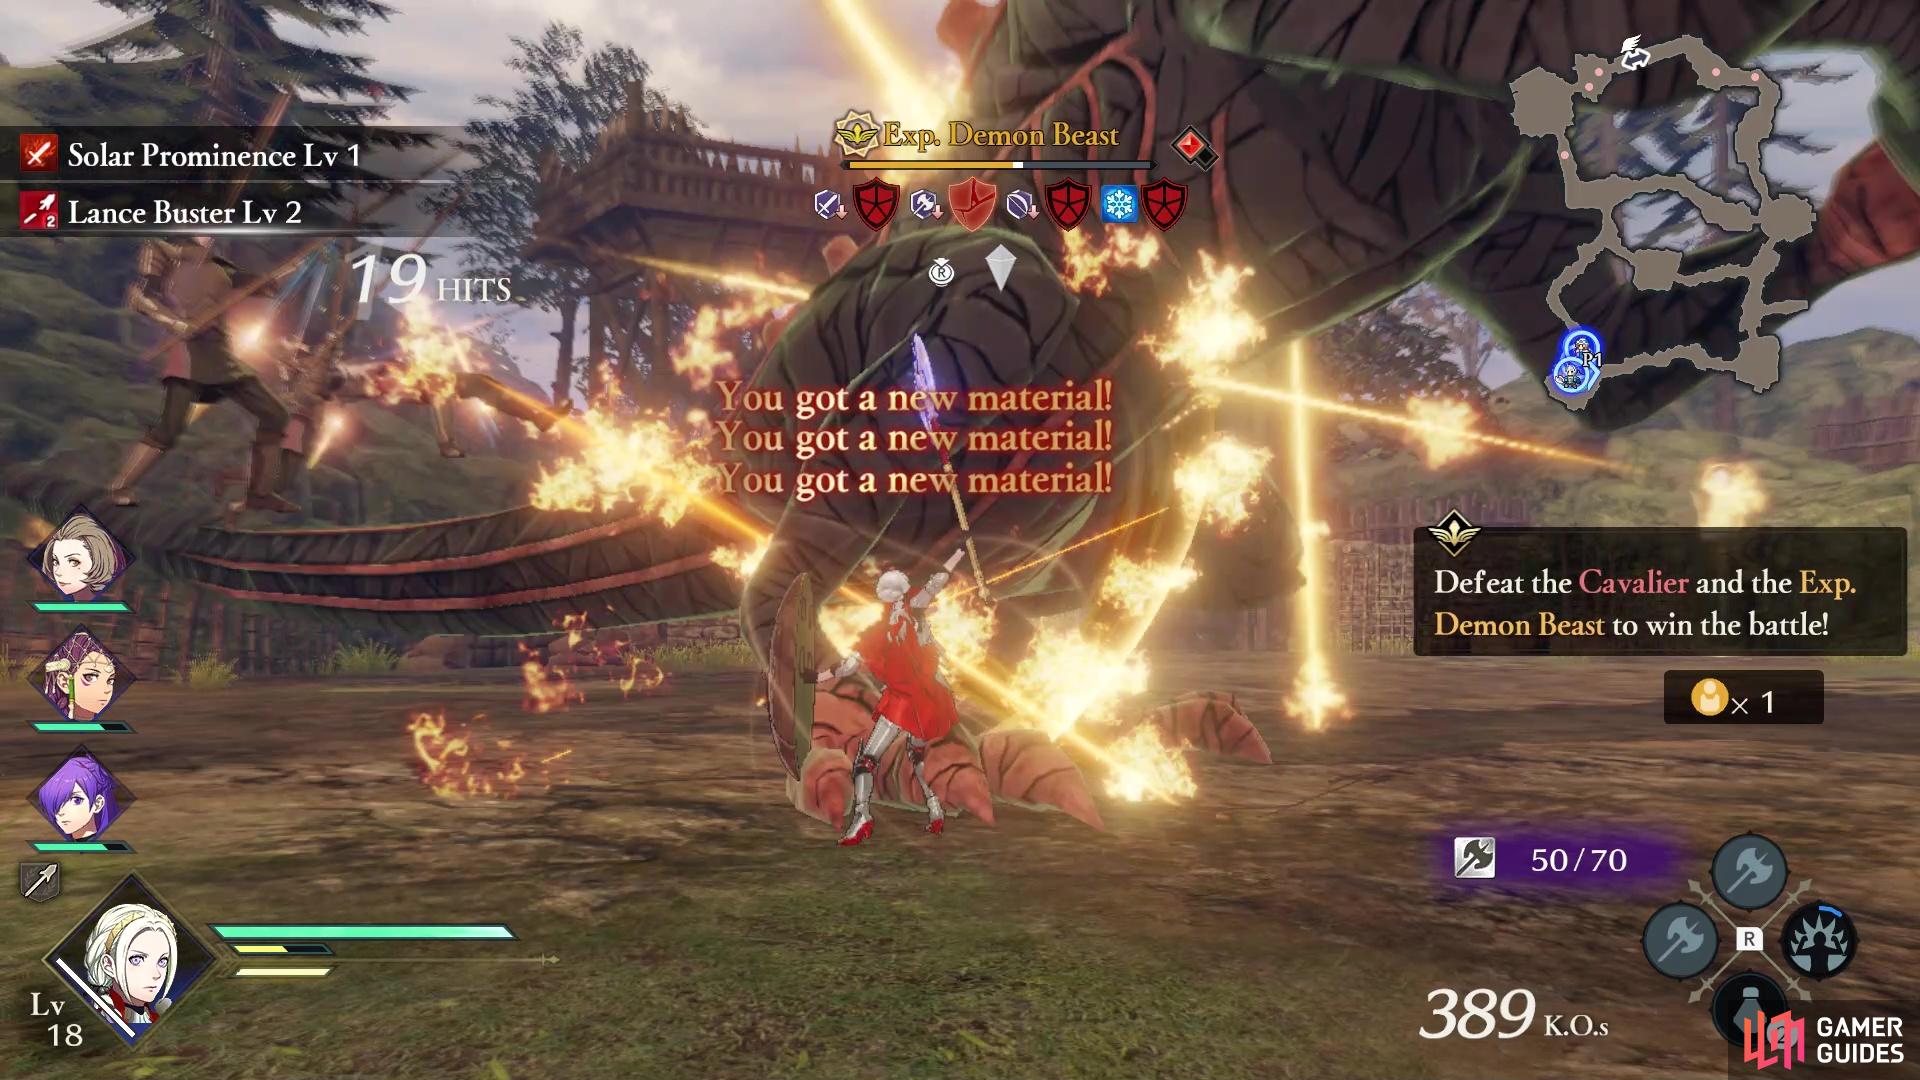
The commander and a Demon Beast will eventually show up (left), Depleting a shield will net you some nice materials from the Demon Beast (right)
They also will usually have multiple health bars, but the different weaknesses will help with that. The Monster in this battle only has two health bars, and will be weak to Sword, Axe, Bow, and Ice. As long as you have two of those, you should have no problem taking out the Monster. Breaking the shields will not only net you a Critical Rush, but that will get you some extra materials/weapons, as well as drain one of its life bars. Defeat both the Cavalier and Demon Beast to finish the battle.
No Comments