
Walkthrough for Deliverance in the Valley of Torment, the Main Quest battle in Chapter 4: To War! for the Azure Gleam (Blue Lions) route. Including details about how to complete the battle’s Main Missions and Side Missions, achieve an S-Rank and recruit Petra and Hapi.


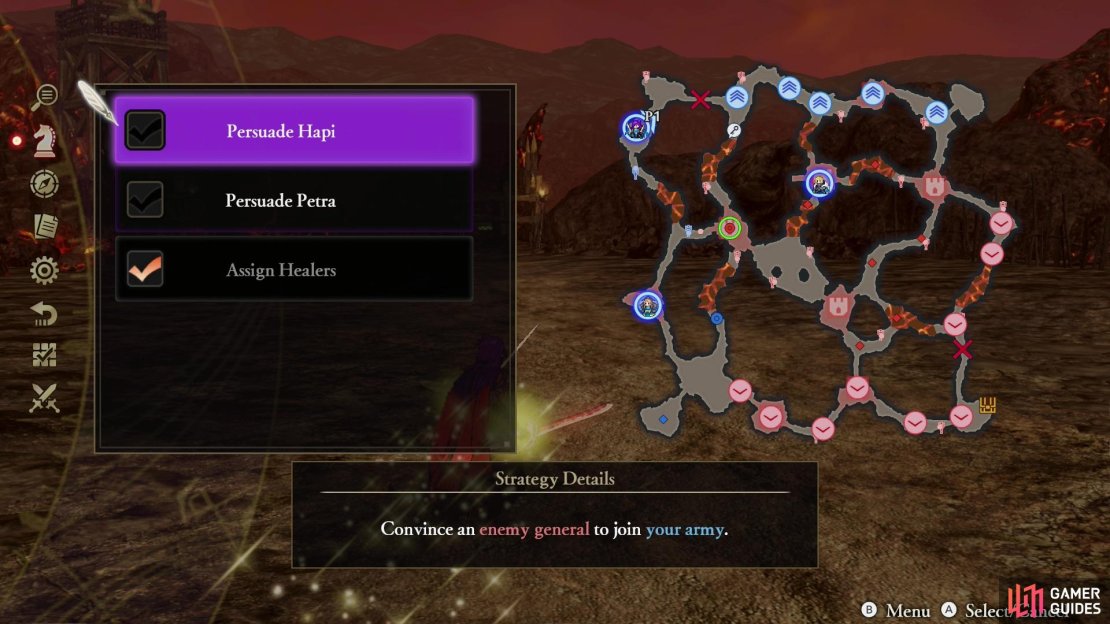
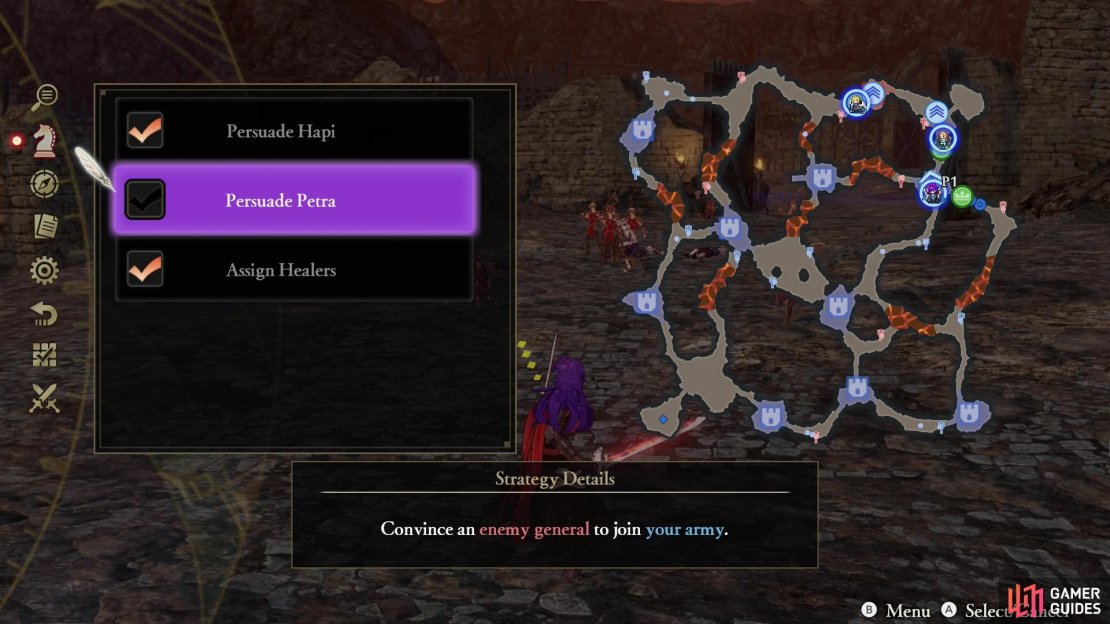
(1 of 2) Grabbing the two “Persuade” Strategies will use up most of your Strategy Point budget for this battle, but it’s the right move to make, long-term.
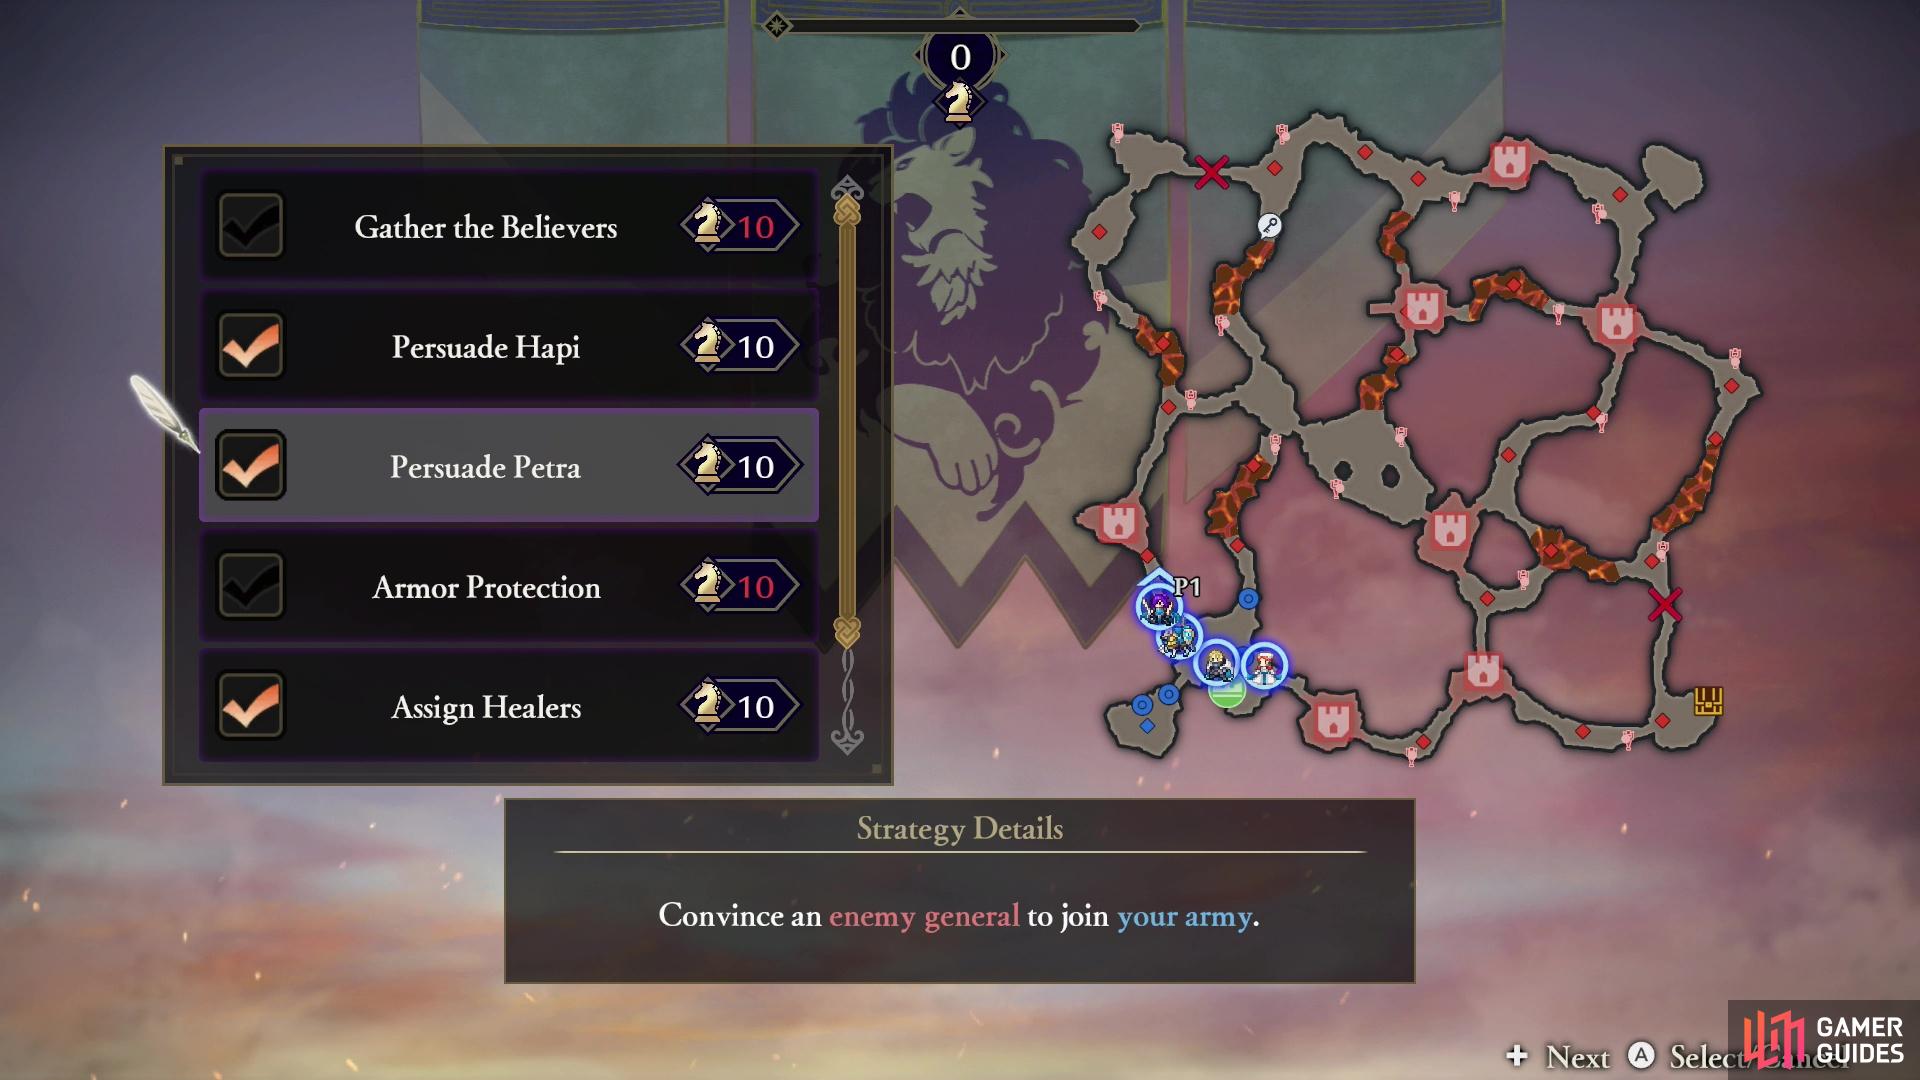
Grabbing the two “Persuade” Strategies will use up most of your Strategy Point budget for this battle, but it’s the right move to make, long-term. (left), Ensure you have several units with healing magic equipped for this fight, as it makes it much easier to keep the various units you have to escort alive. (right)
Which Strategies to Choose for Deliverance in the Valley of Torment
| Strategy | Cost | Strategy Details |
|---|---|---|
| Gather the Believers | 10 | Have the Church of Seiros soldiers assemble to protect a target. |
| Persuade Hapi | 10 | Convince an enemy general to join your army. |
| Persuade Petra | 10 | Convince an enemy general to join your army. |
| Armor Protection | 10 | Assign an armored unit to protect allies as they advance. |
| Assign Healers | 10 | Assign a healer unit to periodically heal allies. |
| Built Up | 10 | Begin the battle with additional allied strongholds secured. |
One of the core elements in this battle is rescuing and escorting various Church of Seiros units, and to that end you’ll be much safe with the Gather the Believers, Armor Protection and Assign Healers Strategies active. That said if your units are well-leveled and you deploy them to secure various objectives, they shouldn’t need the help. The best long-term Strategies are Persuade Hapi and Persuade Petra, as these will each get you a chance to recruit a new character to your side, and in these early Chapters, the more units you have access to, the better. If you want to recruit Hapi and Petra, grab those strategies, then pick Assign Healers to round out your Strategies - assuming you have enough Strategy Points. It’s also not a bad idea to ensure you have multiple characters with healing magics set in your primary deployment slots - the AI isn’t the best at healing, especially not at healing allied units, but if you can switch to Annette and Mercedes and heal a troubled ally, things could run much more smoothly.
How to S Rank The Conquest of Hevring
| Completion Time | Enemies Defeated | Damage Taken |
|---|---|---|
| 15:00 | 1200 | 50% |
This can be a tricky mission to S-Rank, as there are a lot of moving parts and a lot of fires you need to put out, and not a lot of time to do everything in. Time will be the hardest requirement to satisfy, but it can be tricky balancing your KO count if you’re zipping about following the strategies below. On the plus side, the numerous escort objectives in this mission pretty much force you to do a lot of running about and delegating responsibilities to other units, and while having other characters clear objectives won’t be as good for your KO count as if you did everything yourself, it does save time. If you’re underleveled, the tight time and KO requirements are probably going to remain out of reach, but once you’re stronger everything should fall into place.
All in all, you might just want to not worry about achieving an S-Rank on your first playthrough of this battle. It’ll be much, much easier with a few more levels and, more importantly, the significantly enhanced weapons you’ll get next Chapter. Yes, you’ll be able to replay battles starting in Chapter 5, so you don’t even need a whole new playthrough, just a bit of patience.
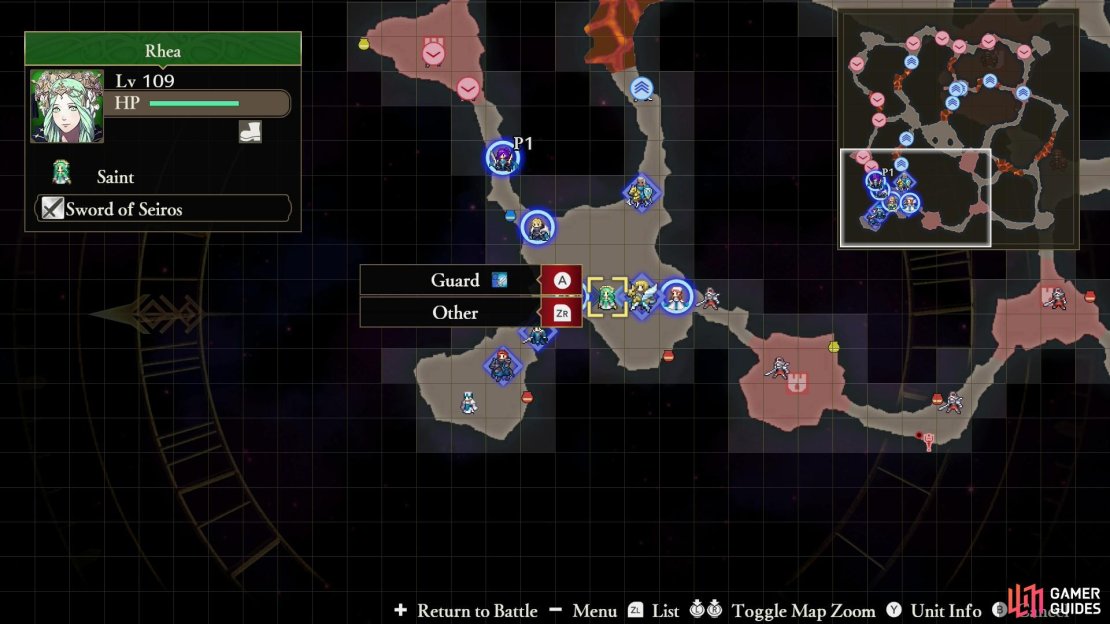

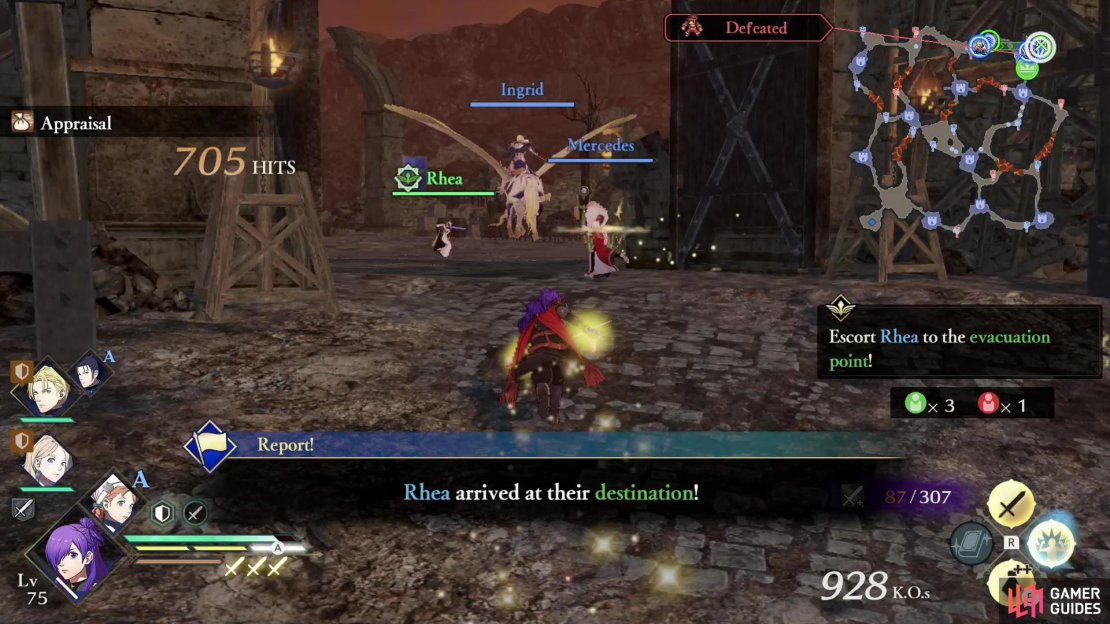
(1 of 3) Assign some units to protect Rhea, including one who can heal. Rhea’s fairly self-sufficient, but this will buy you time to explore the map.
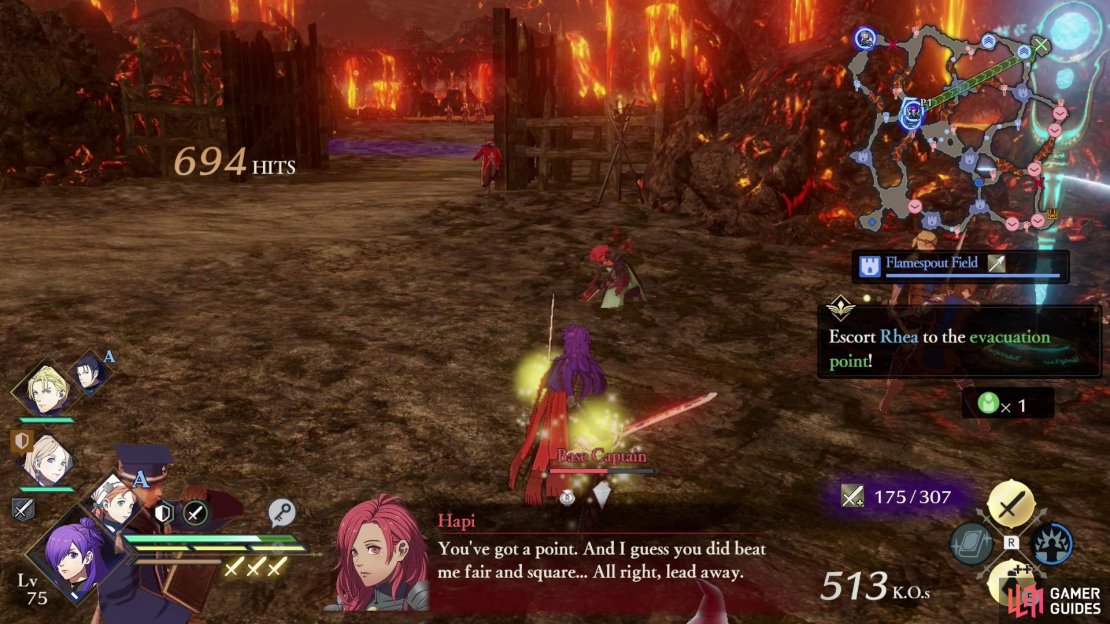
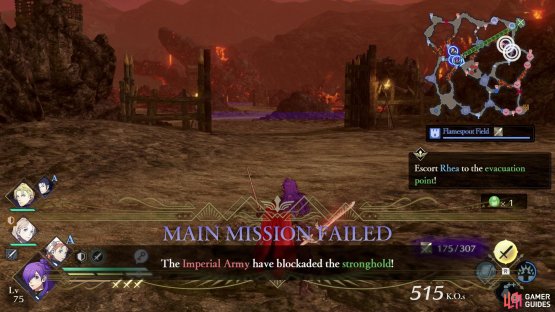
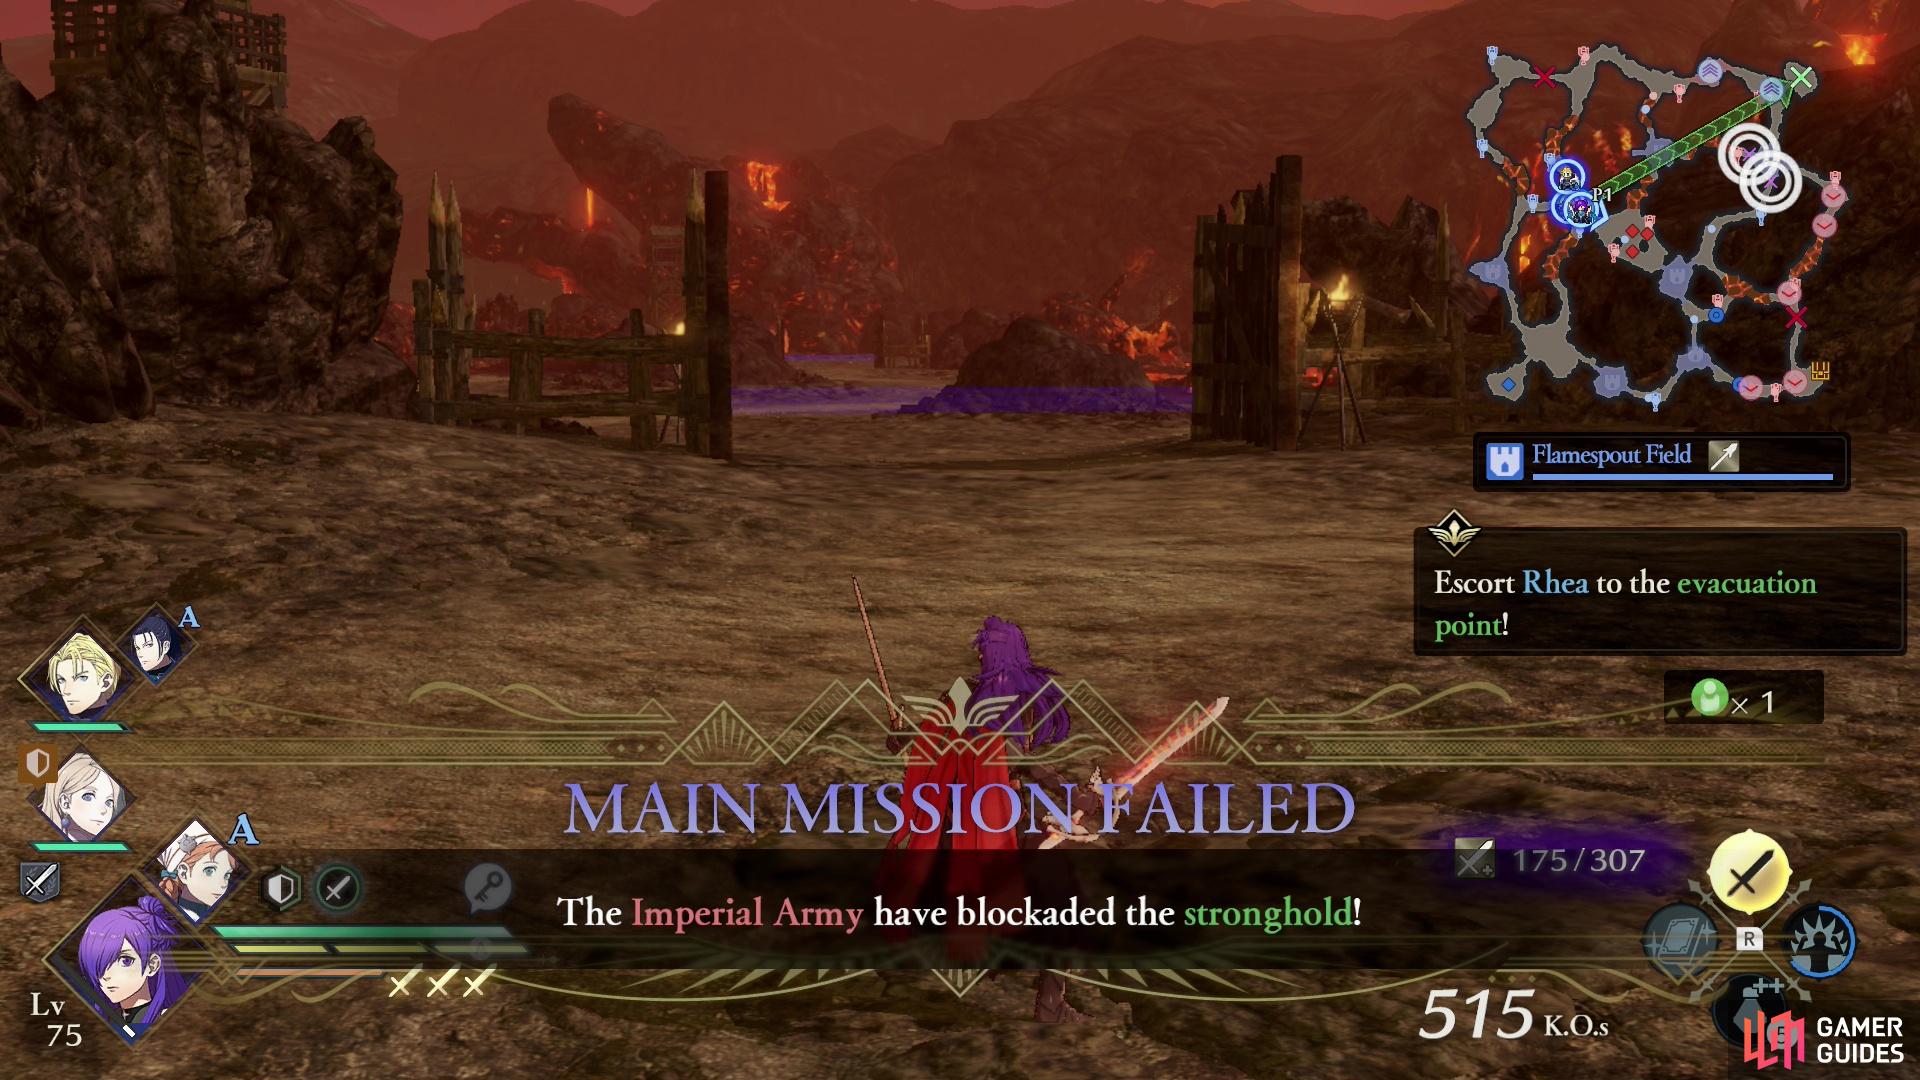
Main Mission: Escort Rhea to the Evacuation Point!
This will be the main objective that runs throughout the battle, and while numerous distractions arise, you must always attend to this. Rhea isn’t a pushover, but you’ll be doing yourself a great service if you assign a sturdy melee unit and a healer to look after her - Felix/Ingrid/Sylvain and Mercedes/Annette are a good retinue, and should more than suffice to keep Rhea save throughout the battle. She will, however, stop progressing every time she’s engaged, and this can be a good thing, as it can give you time to run ahead and clear out more of the level, provided Rhea’s kept safe enough while you do so. You’ll want to eventually secure every Stronghold on the map, as there will be upcoming objectives taking you through all of them.
At the start of the battle Rhea will head north to the Searing Bedrock Stronghold. Let her and the retinue you assign deal with it while you run up to the northwestern corner of the map and clear out the enemy generals there (including a Myrmidon with a Key), then loop back down to a clearing northeast of the Searing Bedrock Stronghold. If you have enough competent units, send a strikeforce (preferably an axe-wielder, like Dedue) east along the southern end of the map to secure the Lava Cave Entrance and Lava Cave Interior Strongholds, as you’ll eventually want to be able to reach the southeastern corner of the map. If you can secure the northwestern and southeastern corners of the map quickly, you’ll be well-prepared for upcoming objectives.
Also note the patches of lava throughout the stage - you’ll take damage if you stand on them, so don’t let enemy units distract you as you cross.
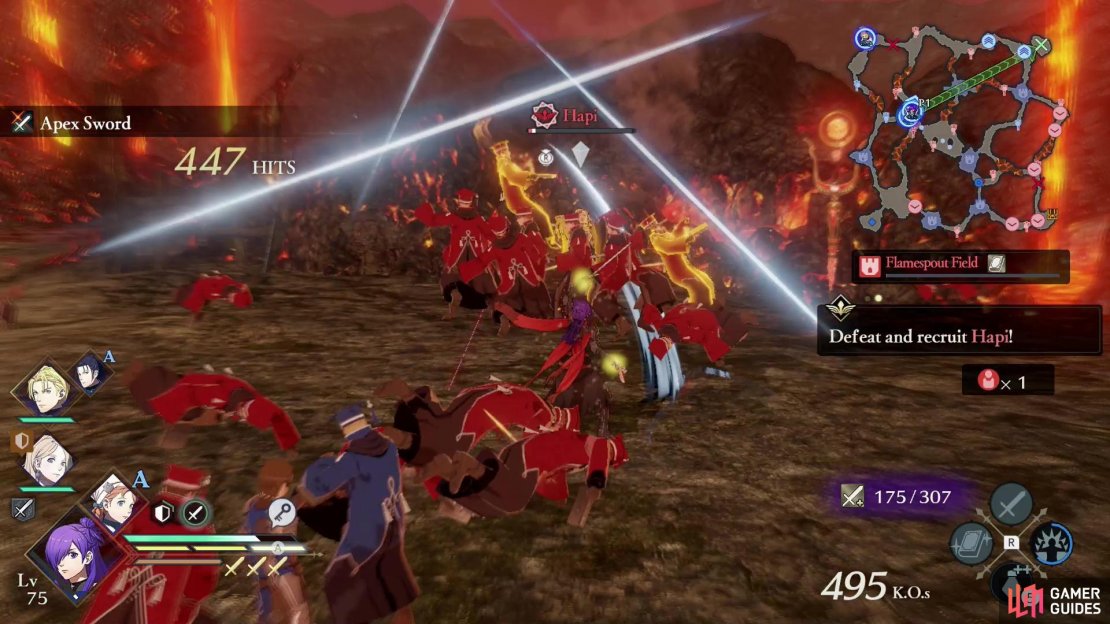
(1 of 3) When Hapi appears (and you’re done clearing the map), select the “Persuade Hapi” Strategy,
Main Mission: Defeat Hapi!
As you’re going about this business, Hapi will appear in the clearing northeast of the Searing Bedrock Stronghold. Once Rhea and her retinue capture the aforementioned Stronghold they’ll have to get past Hapi, and will stop their advance to fight her. This gives you even more time to capture future objectives, and you should take the opportunity to do so. If Rhea has an allied unit or two guarding her, Hapi shouldn’t pose any significant threat.
After Hapi appears you’ll be encouraged to utilize the Persuade Hapi Strategy if you selected it earlier. Do so, and once Hapi is defeated she’ll join your forces, although she won’t be playable until next Chapter.
Given that the way east from the northwestern corner of the map is blocked by a boulder, you’ll probably have to run back down and around to reach the enemy units in the north-center of the map (including the aforementioned Myrmidon with a Key). If this means you have to run past Hapi, so be it - she’ll be too focused on Rhea to cause problems. Once you’ve wrapped around and secured the Crater, Seething Lava Path and Lava Cave interior Strongholds you’ll be in excellent shape for the rest of the battle. Assign a primary (playable) unit to guard the Lava Cave Interior Stronghold, and send another playable unit up to the northwestern corner of the map to stand around waiting for events to trigger there. Once done, go defeat Hapi and get Rhea moving again.
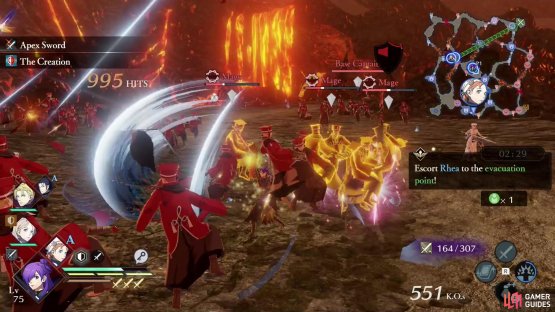
(1 of 2) Defeat a trio of Mages within 3:00,

Defeat a trio of Mages within 3:00, (left), or they’ll block the route forward, forcing you to take a more arduous detour. (right)
Main Mission: Defeat the Mages before the Stronghold is Blockaded!
Once Hapi falls three Mages will appear in the cavern to the southeast of where Hapi kept guard, and you’ll be tasked with defeating them within 3:00 lest they block safer paths forward. Not that it should matter at this point, consider you should have already cleared the western half of the map, and ideally secured some Strongholds ahead of Rhea’s current location (Crater, Seething Lava Path and possibly even the Barren Rockscape).
If you somehow take too long, the three enemy Mages you were supposed to defeat will be joined by three Myrmidons and the Barren Rockscape Stronghold will be sealed (even if you claimed it!), forcing Rhea to travel over stretches of lava. Not ideal, but not the end of the world if you have a healer, although if you couldn’t defeat the Mages quickly, that’s not a good sign for the rest of the battle.

(1 of 3) Assign units to assist Seteth and Catherine - this is more to buy yourself time rather than to avoid helping them yourself.
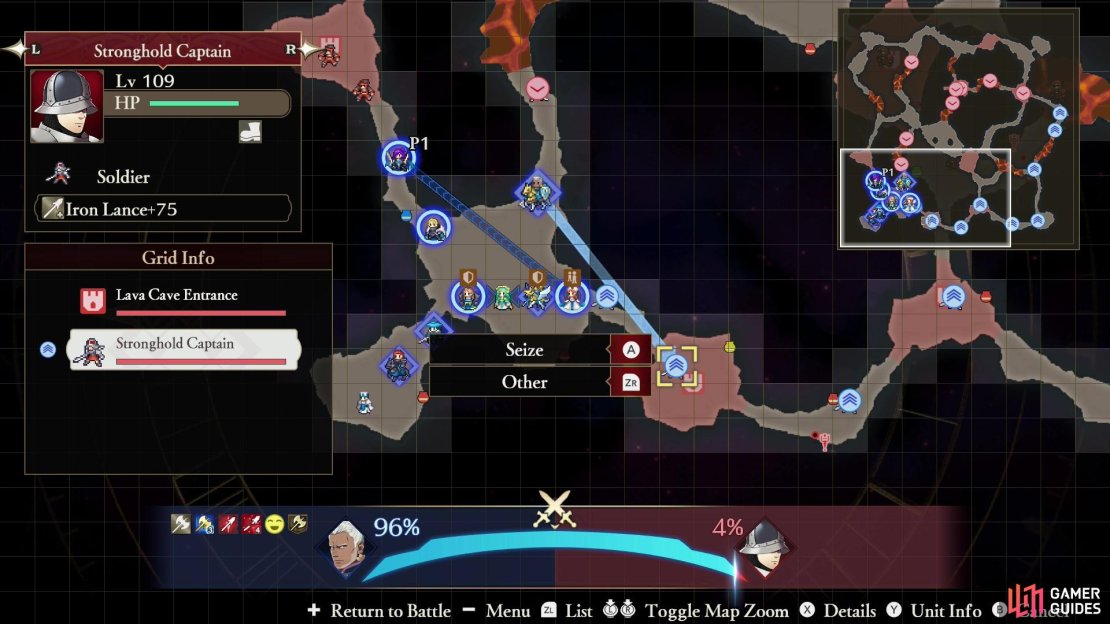
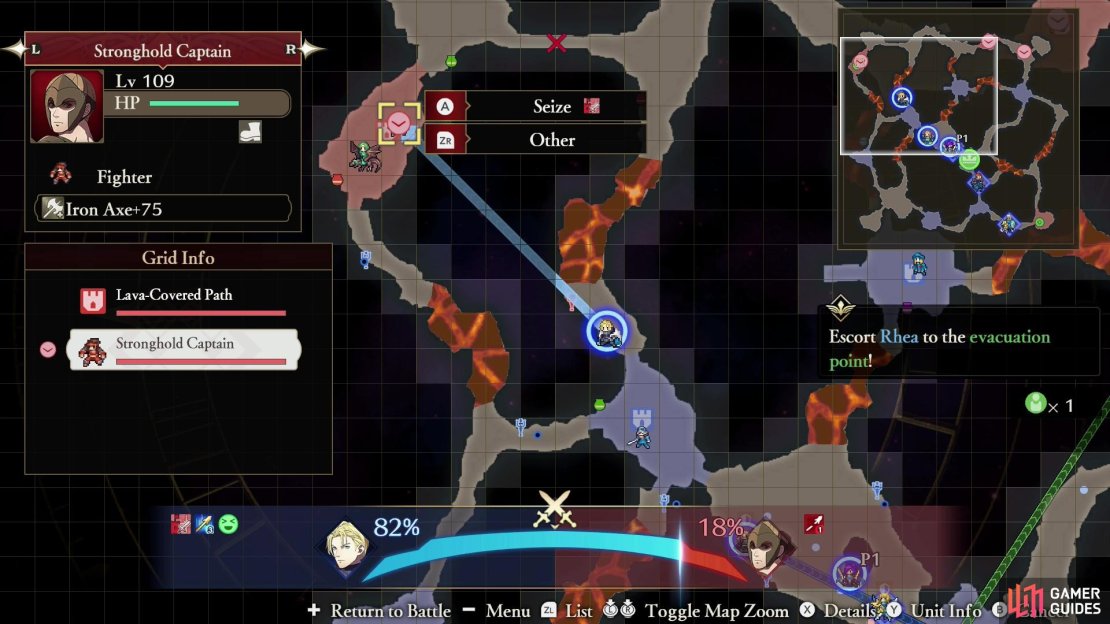
Main Mission: Seize the Strongholds and aid Seteth and Catherine!
Shortly after Rhea starts advancing again (whether you botched the Main Mission above or not) another complication will pop up - hopefully a complication you’ve done much to mitigate by now. Seteth and Catherine will appear along the northwestern and southeastern corners of the map, respectively, and the enemy will gain new Strongholds where they appear (Lava-Covered Path and Lava Cave Depths). Seteth and Catherine will now join Rhea as rescue objectives - if they die, you lose.
If you cleared out the northwestern corner of the map, Seteth should only be bothered by the Stronghold Captain - hardly a pressing situation, but you’ll still need to send a playable unit up to assist him. If not with fighting, then with future passage. Meanwhile, Catherine likely faces more danger to the southeast, but if you captured the Lava Cave Interior and sat a unit there earlier, you should be able to just order them to rush east and seize the Stronghold Catherine is in. If this unit is an axe-wielding Dedue, you shouldn’t have any problems.
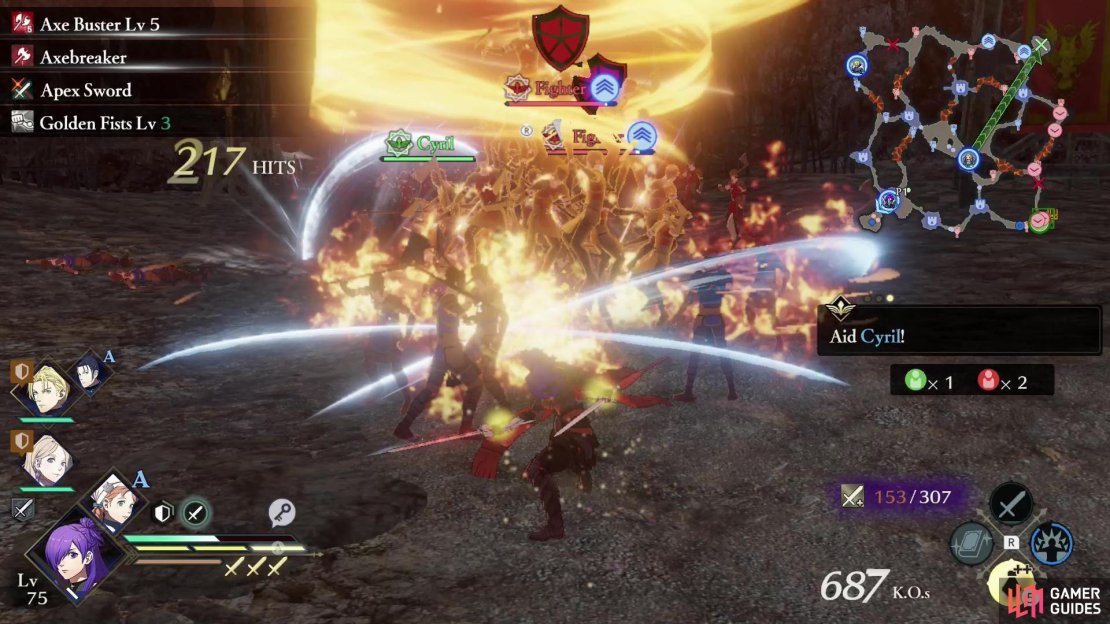
Main Mission: Aid Cyril!
Nothing can ever be simple, however, and even supposing you have Seteth and Catherine well in hand, Cyril will appear near where you started in the southwestern corner of the map, where he’ll be attacked by two Fighters. He’s not mission-critical like Seteth and Catherine are, but if you can make the trip down to save him, do so. Cyril will retreat immediately after being rescued.
To facilitate this, you’ll unlock the “Shadow Slip” ability for Shez, which makes her by far the best character to play for pretty much every mission where precision and speed count… which is just about every mission you’d care to S-Rank. To use this ability, open your map by pressing the  button, then press the
  to activate Shadow Slide. Once done, simply select a Stronghold you’d wish to teleport to and you’ll whisk there nigh instantaneously. You can only use Shadow Slide three times per battle.
We assigned Dimitri to help Seteth and Dedue to aid Catherine, but we took Shez and ran her in an L from the northwest to the southwest to the southeast, assisting in the rescue of all three Church of Seiros units. Doing this on foot takes too much time, but with Shadow Slip we’re able to quickly buzz around the map, rescuing the Church of Seiros refugees. This is good for the KO count and helps complete all these objectives cleanly, just be sure to assign Dimitri and Dedue (or whomever else you sent to aid Seteth and Catherine) to guard the two… mostly to keep them nearby for an upcoming objective than for any other reason.
If you end up at the Lava Cave Depths Stronghold (where Catherine is located, in the southeastern corner of the map), you might as well loot the chest there to score some Bullion, assuming you acquired the key from the Myrmidon in the northwestern corner of the map. Alternatively you can loo the chest with any unit possessing the “Locktouch” ability (Ashe has this by default, as do Thieves).


(1 of 2) As an added bonus for saving Catherine you can loot a chest for some Bullion.
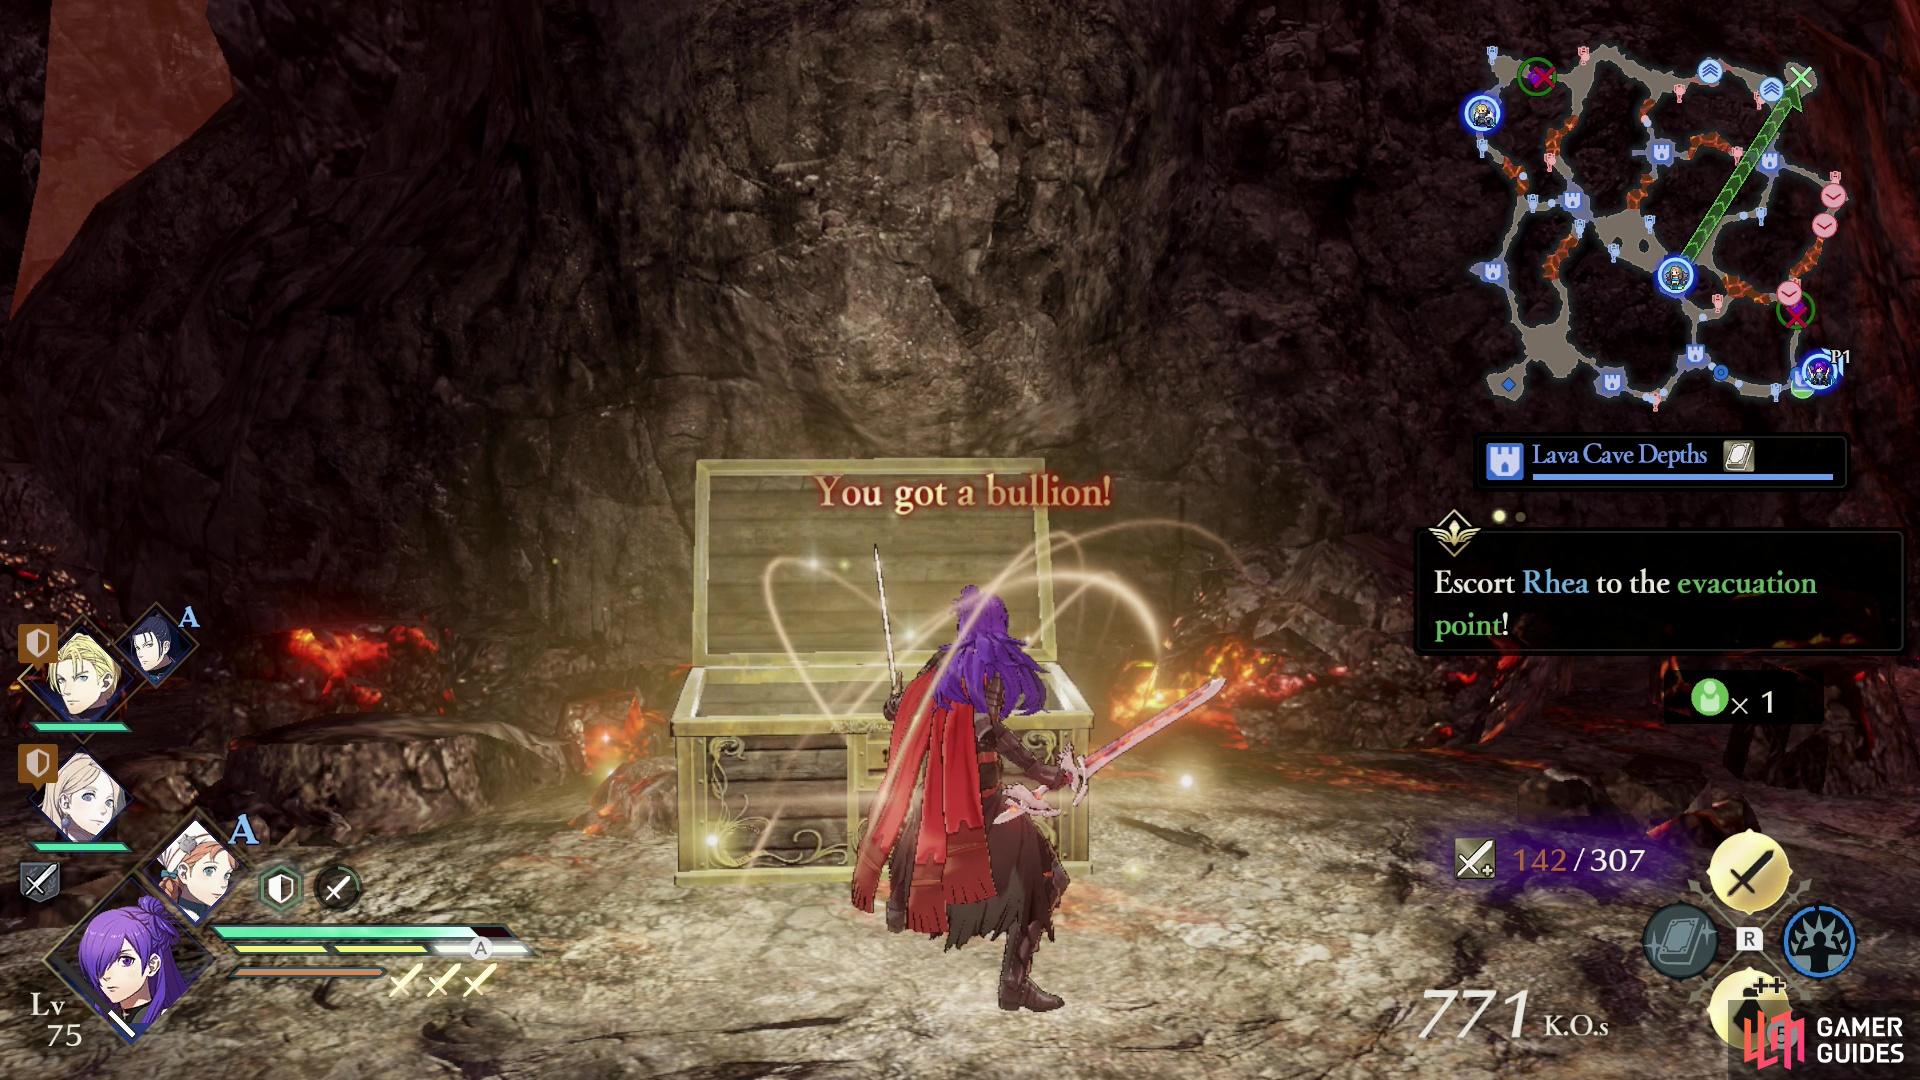
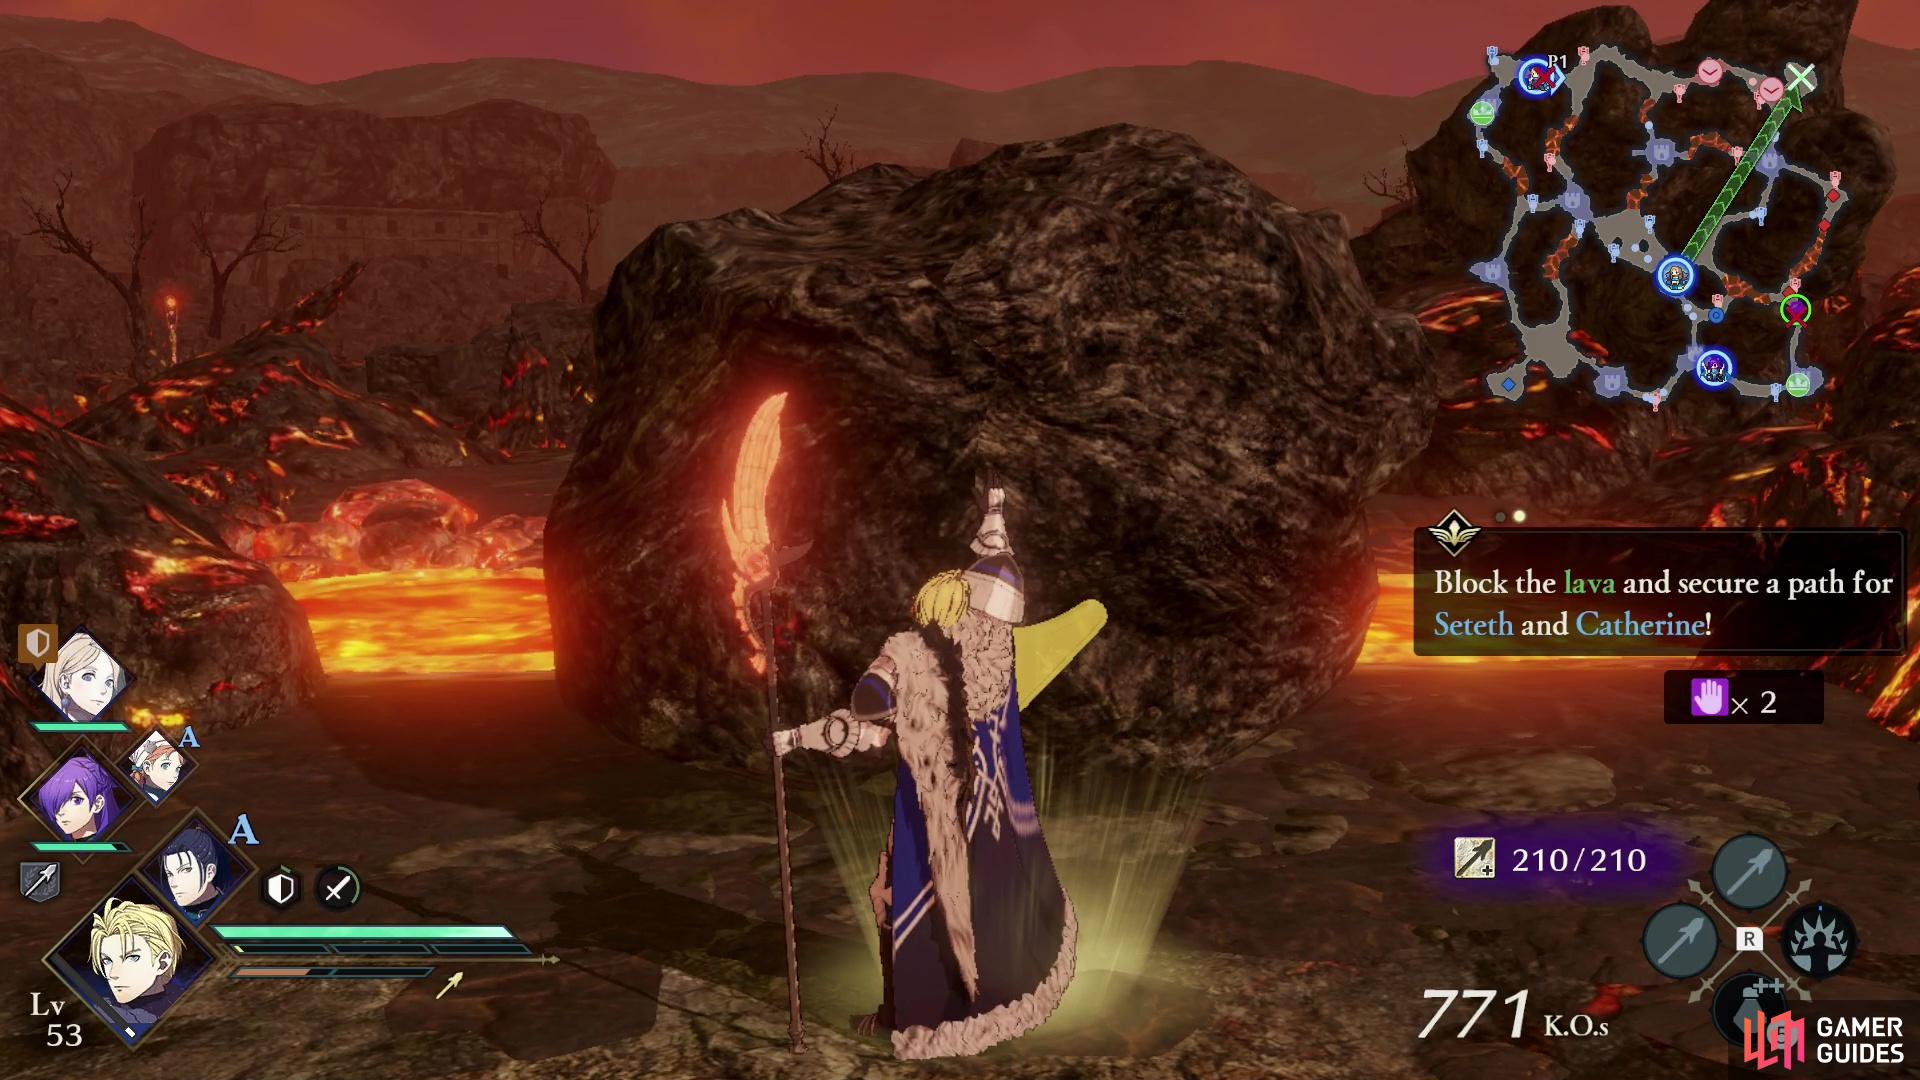
As an added bonus for saving Catherine you can loot a chest for some Bullion. (left), Use the units guarding Seteth and Catherine to dislodge some boulders, creating a path for the Church of Seiros refugees to advance. (right)
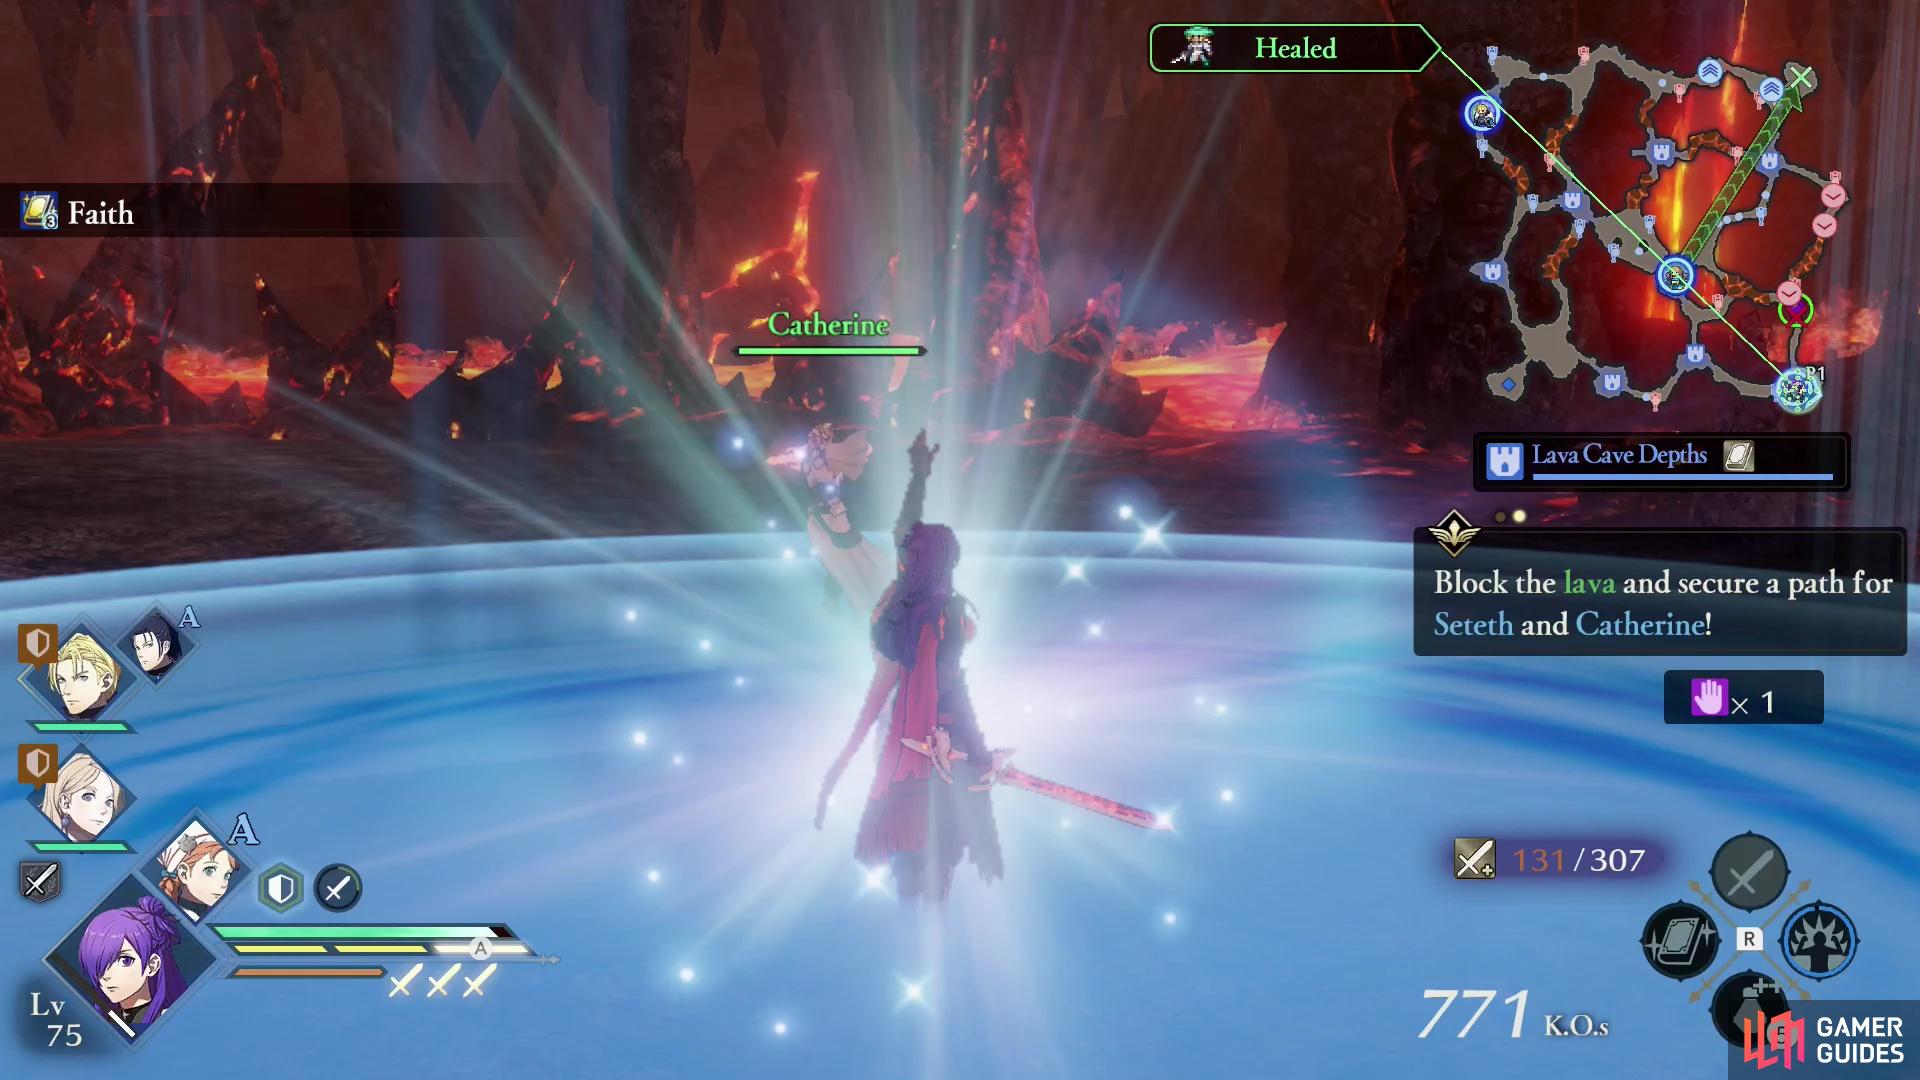
Block the lava and secure a path for Seteth and Catherine!
Rescue Seteth and Catherine and this objective will pop up. They may not be in immediate danger, but they’ve no clear route to escape, and going around obstructions is simply not in their playbook. That being the case, you’ll need to take control of a playable unit near them and push some boulders to block the lava flow impeding their escape… As if you didn’t do enough to help them already. Go up to these boulders and press the  button to create a path forward, and just be lucky you don’t have to carry Seteth and Catherine out on your back.
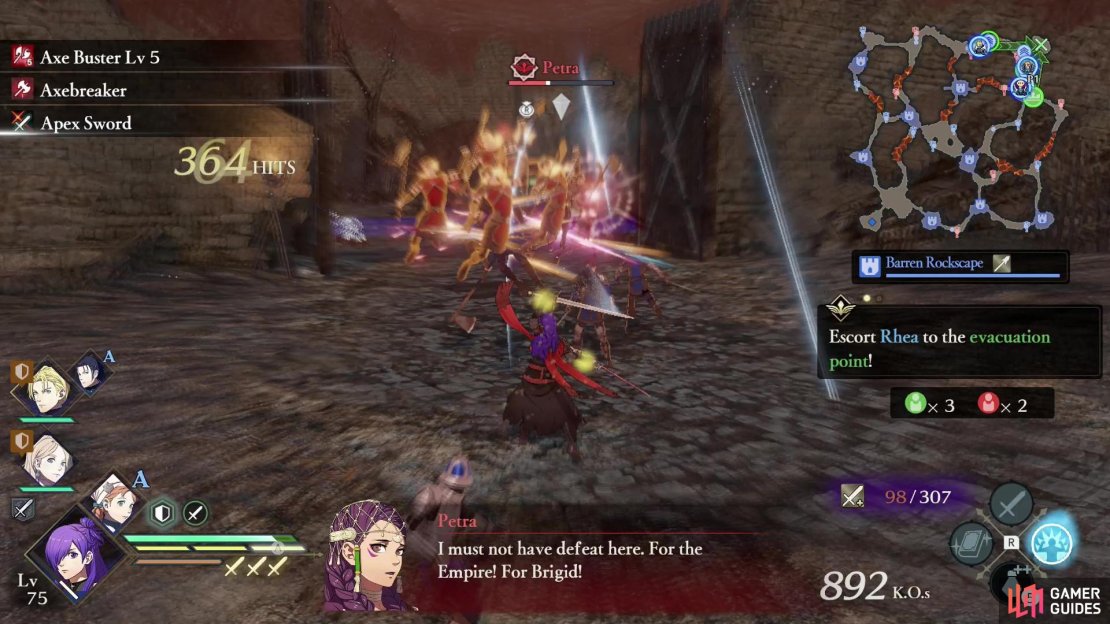
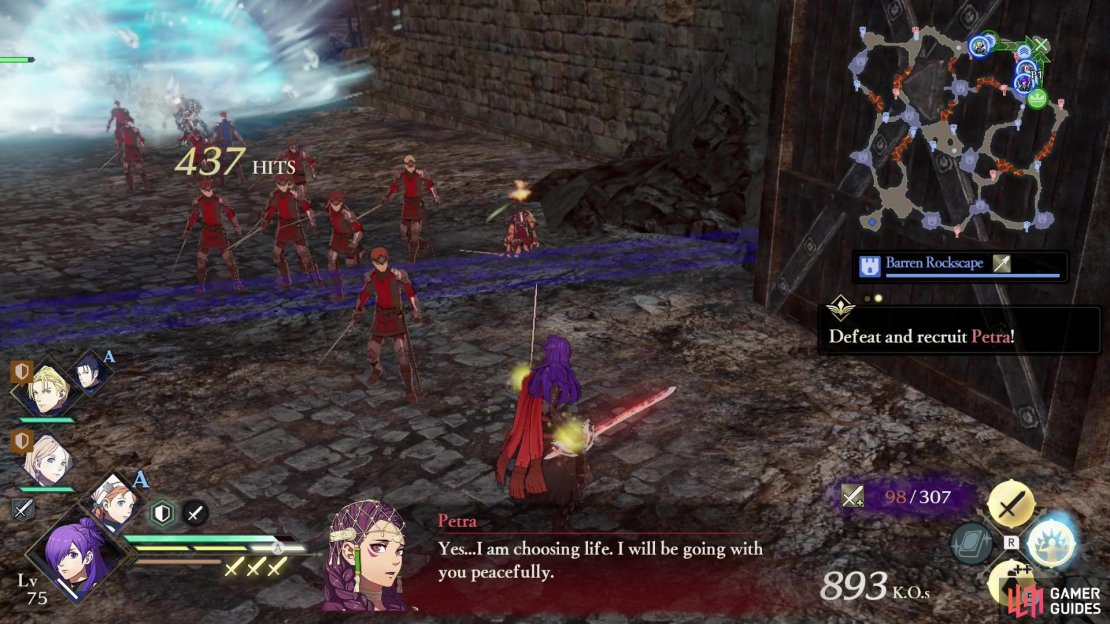
(1 of 3) When Petra appears, activate the “Persuade Petra” Strategy,
Main Mission: Defeat Petra!
Provided the opportunity to escape, Rhea, Seteth and Catherine will begin to move again, actually making good progress as they converge on the northeastern corner of the map. Just outside the evacuation point, however, Petra will appear to halt the escape attempt.
By now everything else on the map should be cleared, so simply activate the Persuade Petra Strategy and defeat Petra in combat to recruit her to your side (she’ll be playable next Chapter) and keep the Church of Seiros refugees moving.
With Petra gone, the last impediment to your progress goes with it… for now. Kill any enemy units holding the retreat up and Catherine, Seteth and Rhea should all be able to make their ways to the evacuation point. You’ll finally complete the Escort Rhea to the Evacuation Point! objective at this point.
(1 of 3) Escort Rhea, Seteth and Catherin to the evacuation point along the northeastern corner of the map.
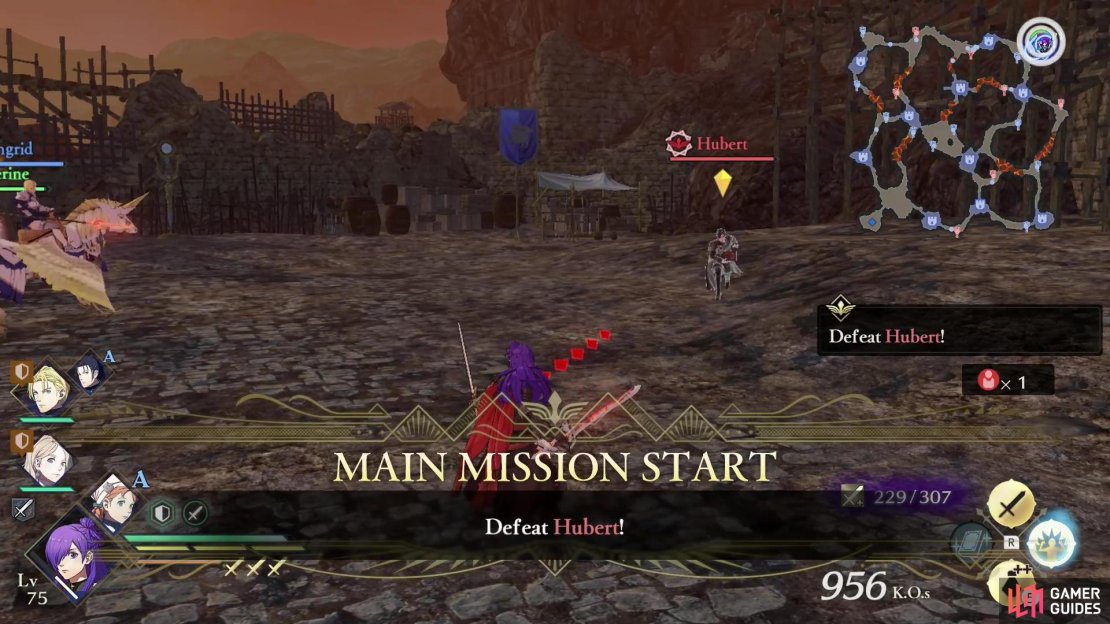
Main Mission: Defeat Hubert!
Only one more obstacle left. After all three Church of Seiros VIPs make it to the evacuation point, Hubert will arrive in a last-ditch effort to salvage the situation. Defeat him and the battle is won.
No Comments