
This is a guide for Chapter 4: The Struggle Continues in Fire Emblem Warriors: Three Hopes, this page focusing on the Western Burgundy Territory.
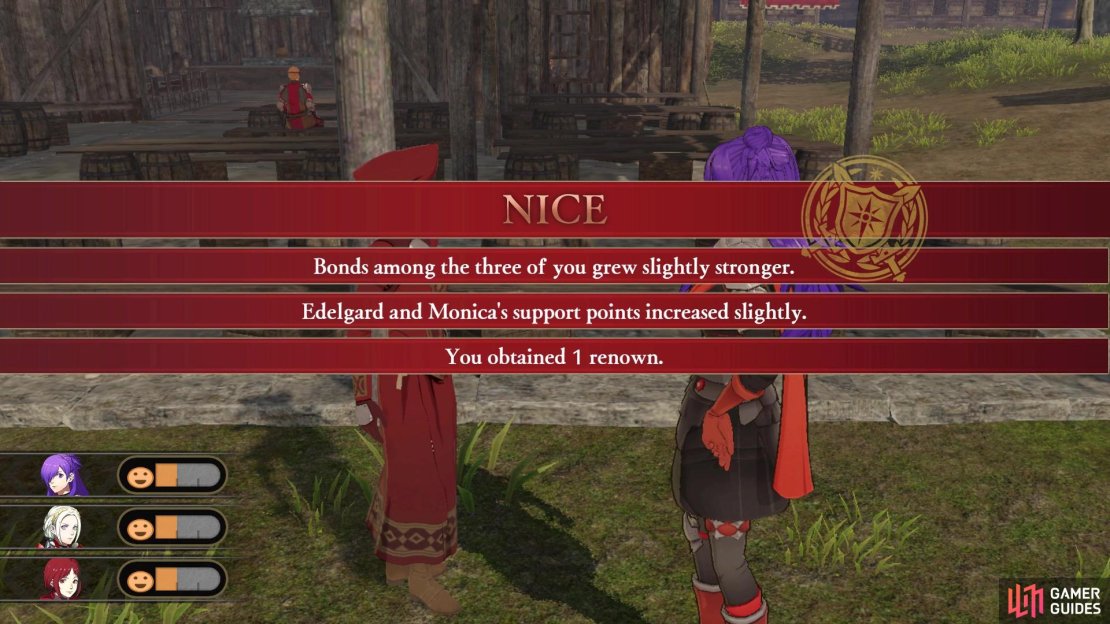
Upon returning to the camp after the battle at Eastern Burgundy Territory, you will meet with Monica, who will open up the Chore Master NPC. This will unlock the Volunteering aspect of your camp, where you can volunteer with two allies to raise Support Points and Morale. Of course, there are different tasks to do and each ally has their own strengths and weaknesses. Thus, it’s important to choose allies that like doing that chore, since it will give them more Support Points and Morale. In addition to the above, Volunteering will also reward you with Renown, which is a currency you can use to purchase some things from your Journal at your tent in camp.
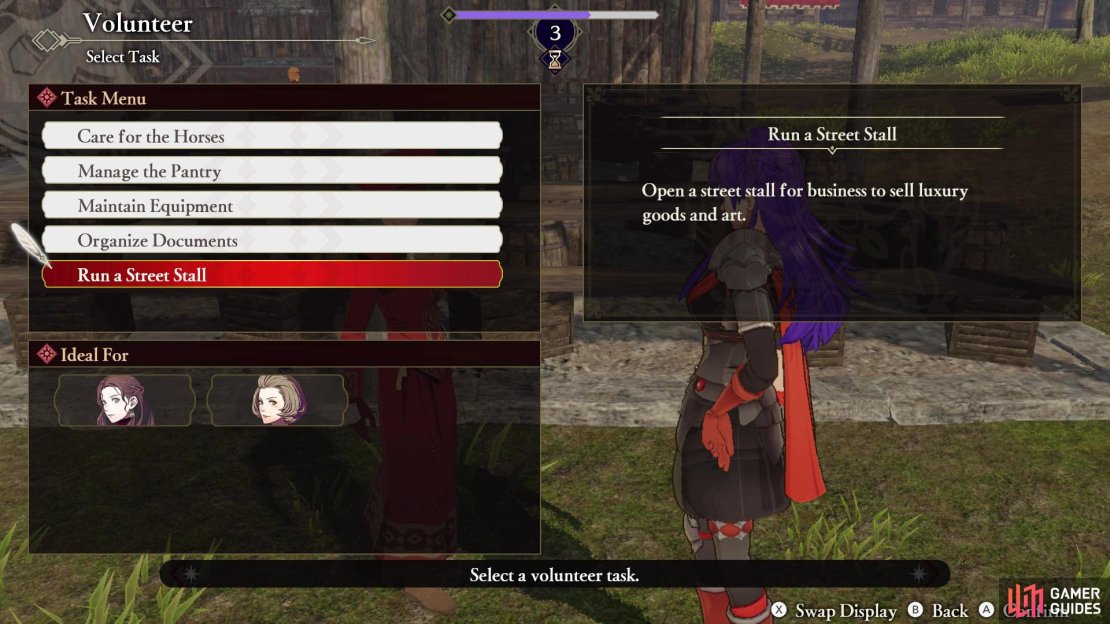
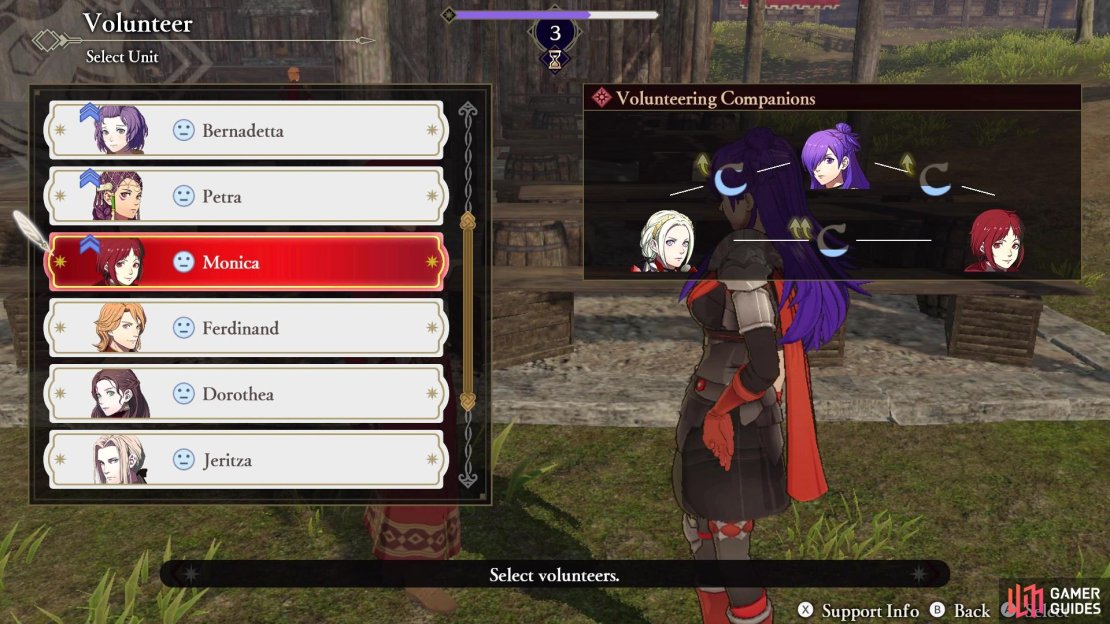
(1 of 3) Each character will have a preferred chore they like to do
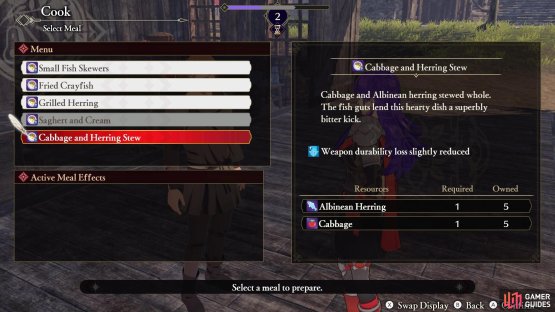
After messing with the Volunteering system, it’s time to head on over to the mess hall. This will unlock Cooking, another activity you can do, with Ferdinand handing you some ingredients. Similar to the chores, cooking will allow you to bond with your allies, but it also provides a bonus effect that will last for the rest of the chapter. Similar to Volunteering, each ally has their own preferences for the food you can cook. Despite what you may think, the cooking activity is not really a minigame, as the game chooses how well you do during the cooking process.

(1 of 2) Cooking is similar to the Chores, as every character will have their own preferences

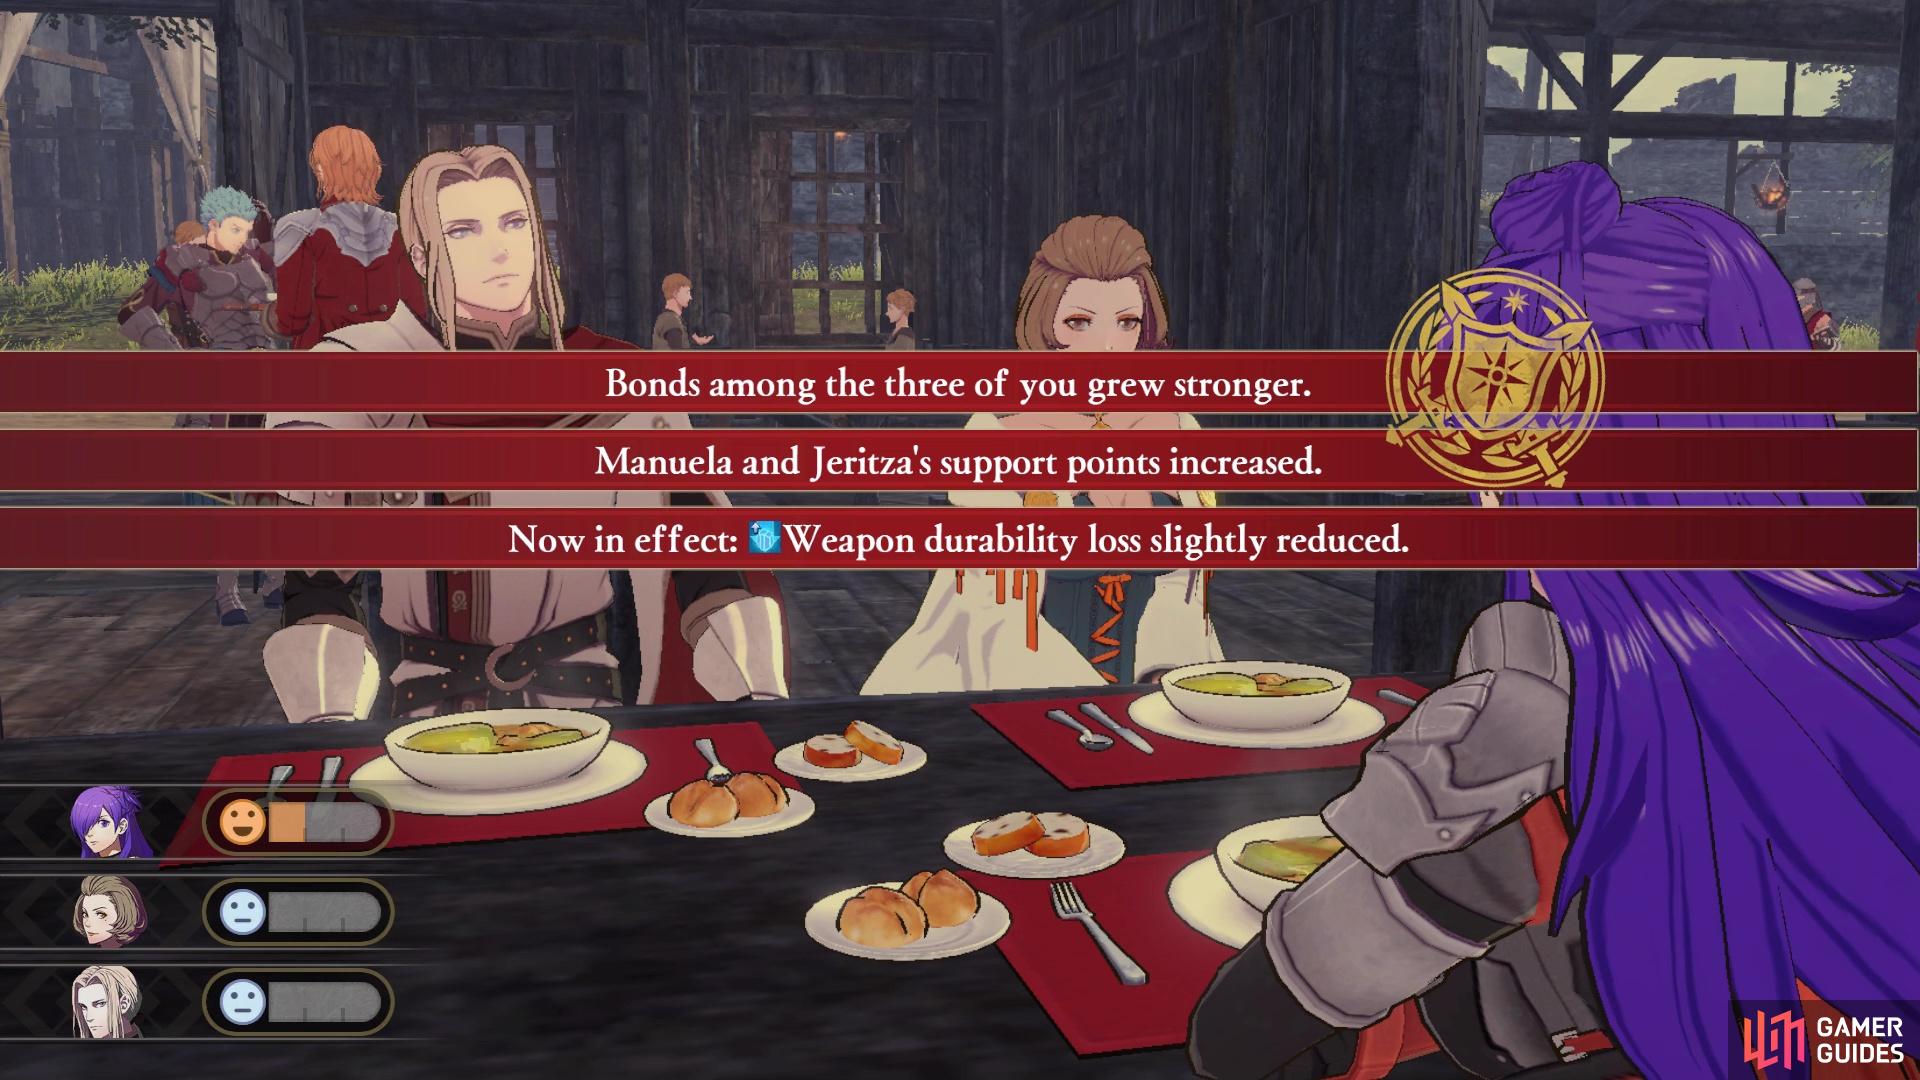
Cooking is similar to the Chores, as every character will have their own preferences (left), It is also a great way to raise your Support Ranks (right)
Both the Volunteering and Cooking will use up Activity Points, which are similar to the Training Points. They will be automatically refilled at the beginning of every new chapter, so make sure you use them before completing a chapter, as they don’t carry over to the next one. Next, you will receive a short tutorial on giving Gifts to allies. You will sometimes get Gifts as rewards, but you will also be able to purchase them from the Item Shopkeeper. Note that the Item Shopkeeper will have them in limited supply, which will get refreshed at the start of each chapter.
That about wraps it up for the new base stuff, so it’s time to get to the next battle.
Energized Units
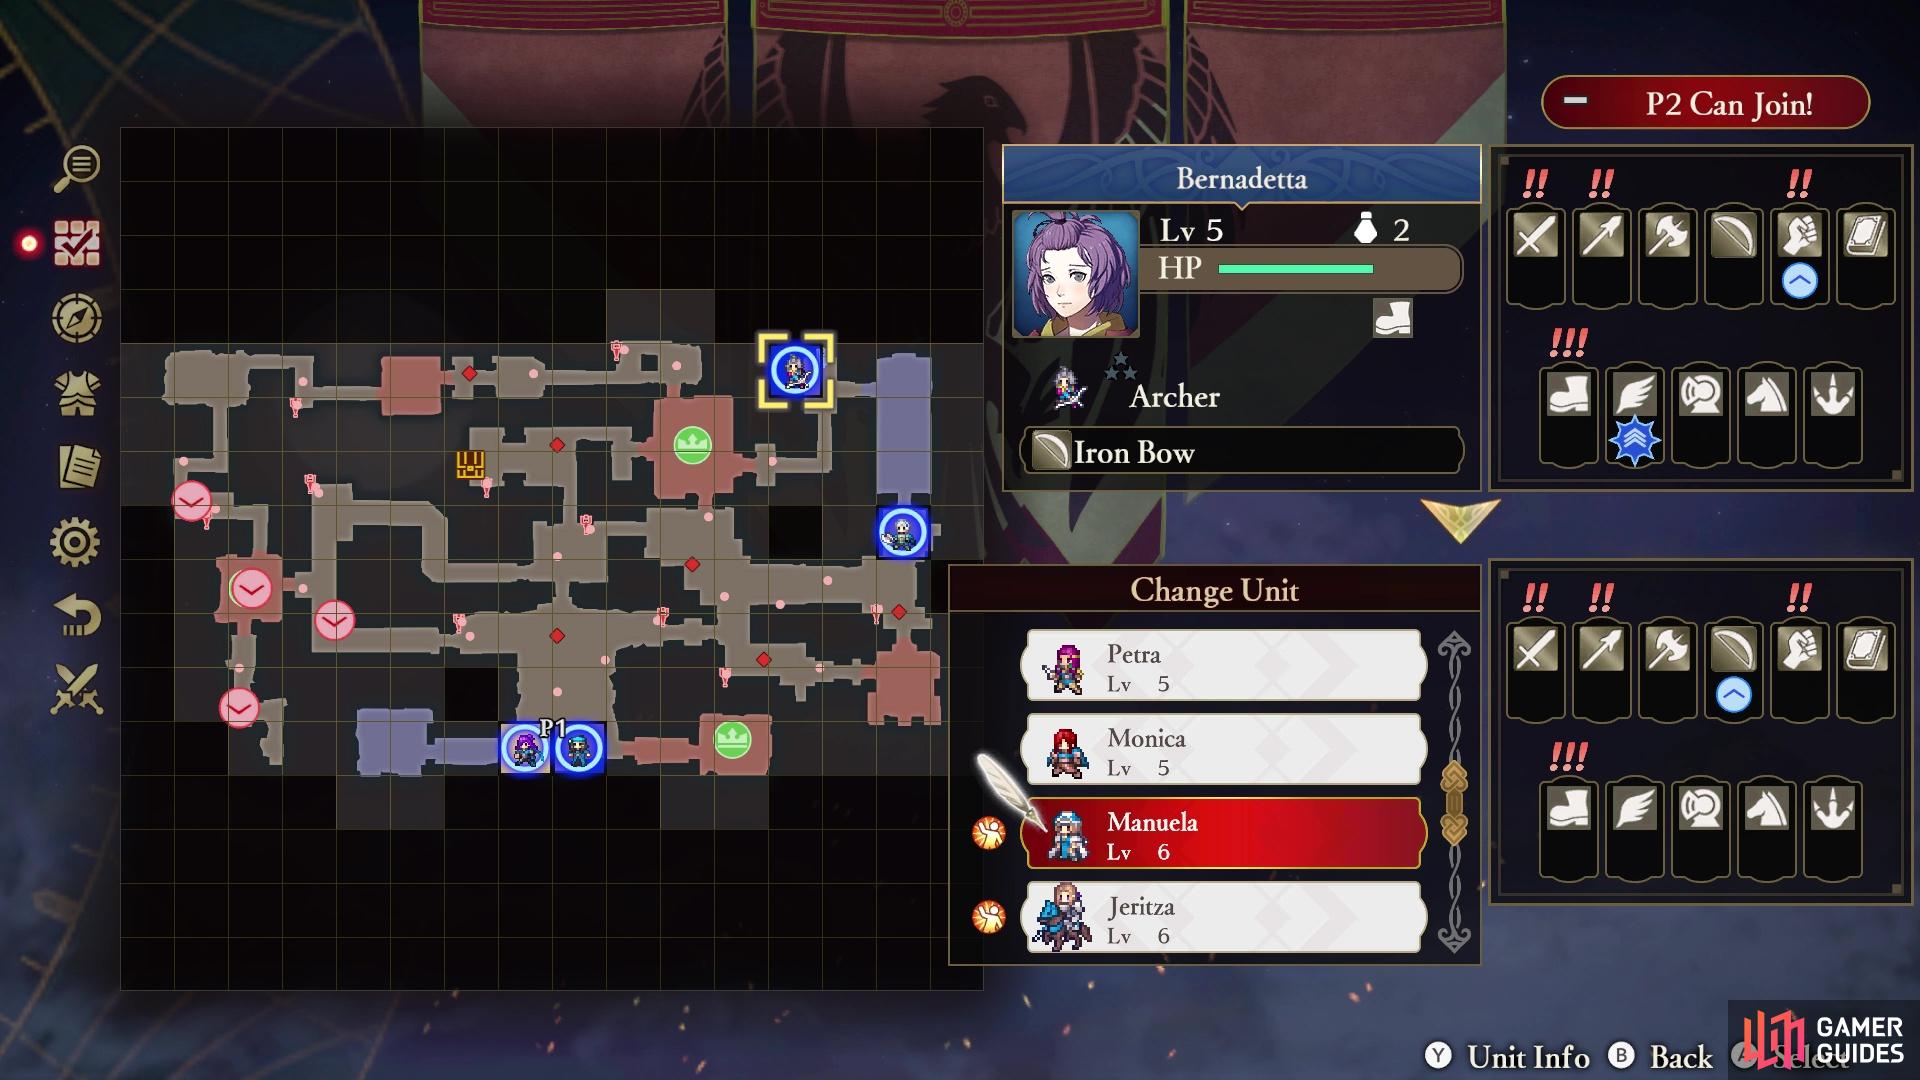
Before you actually get into the battle, you will likely receive a short tutorial on Energized Units. If a unit does not participate in the previous battle, they may sometimes start to feel energized. These are signified by a little icon ![]() next to their name in the pre-battle screens. Note only will they receive bonus experience during battle, but the entire squad will get bonus experience on the battle results screen. This energized status will go away after the battle is over, no matter if they participated or not.
next to their name in the pre-battle screens. Note only will they receive bonus experience during battle, but the entire squad will get bonus experience on the battle results screen. This energized status will go away after the battle is over, no matter if they participated or not.


(1 of 2) Energized Units will help you gain more experience overall across all characters

Energized Units will help you gain more experience overall across all characters (left), You will know there’s an Energized Unit by the little icon next to their name (right)
How to S Rank West Burgundy Territory
| Completion Time | Enemies Defeated | Damage Taken |
|---|---|---|
| 07:00 | 400 | 30% |
This is definitely a very challenging battle for getting an S Rank, not because of the time or damage taken parts, but simply the enemies defeated. The reason for this is you don’t have a lot of time to do anything, since this is a rescue mission and the units you’re supposed to rescue can go down pretty quickly. Particularly, the Mage in the western stronghold is the biggest problem, so you will need to babysit it quite a bit. It’s best to not worry about the S Rank on your first time through the stage, and come back when your characters are a bit stronger.
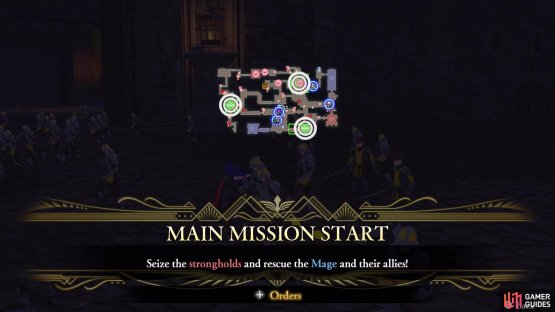
Mission 1: Seize the strongholds and rescue the Mage and allies
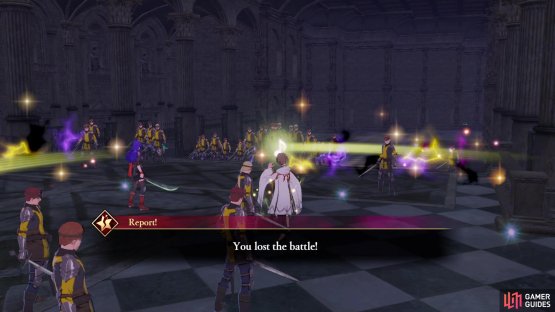
(1 of 2) Your entire mission is to make sure the Mage and their allies stay alive
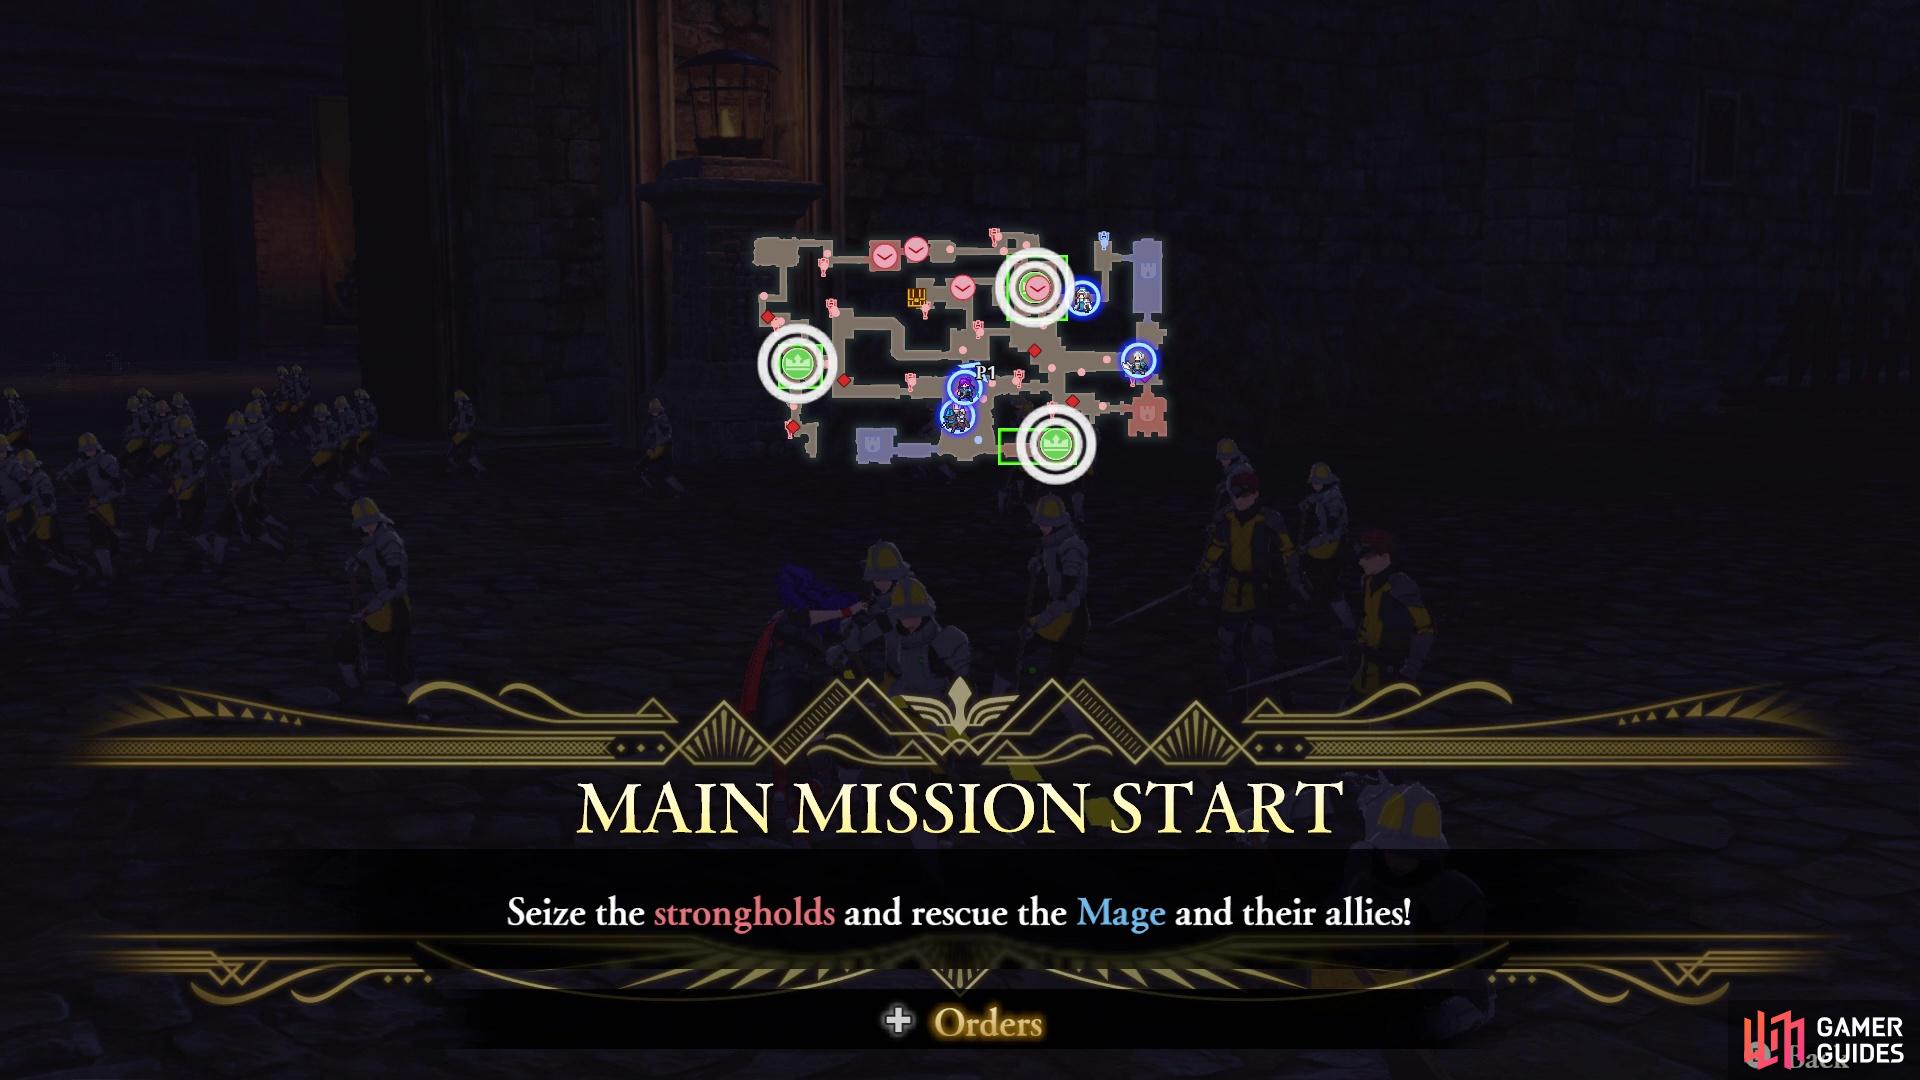
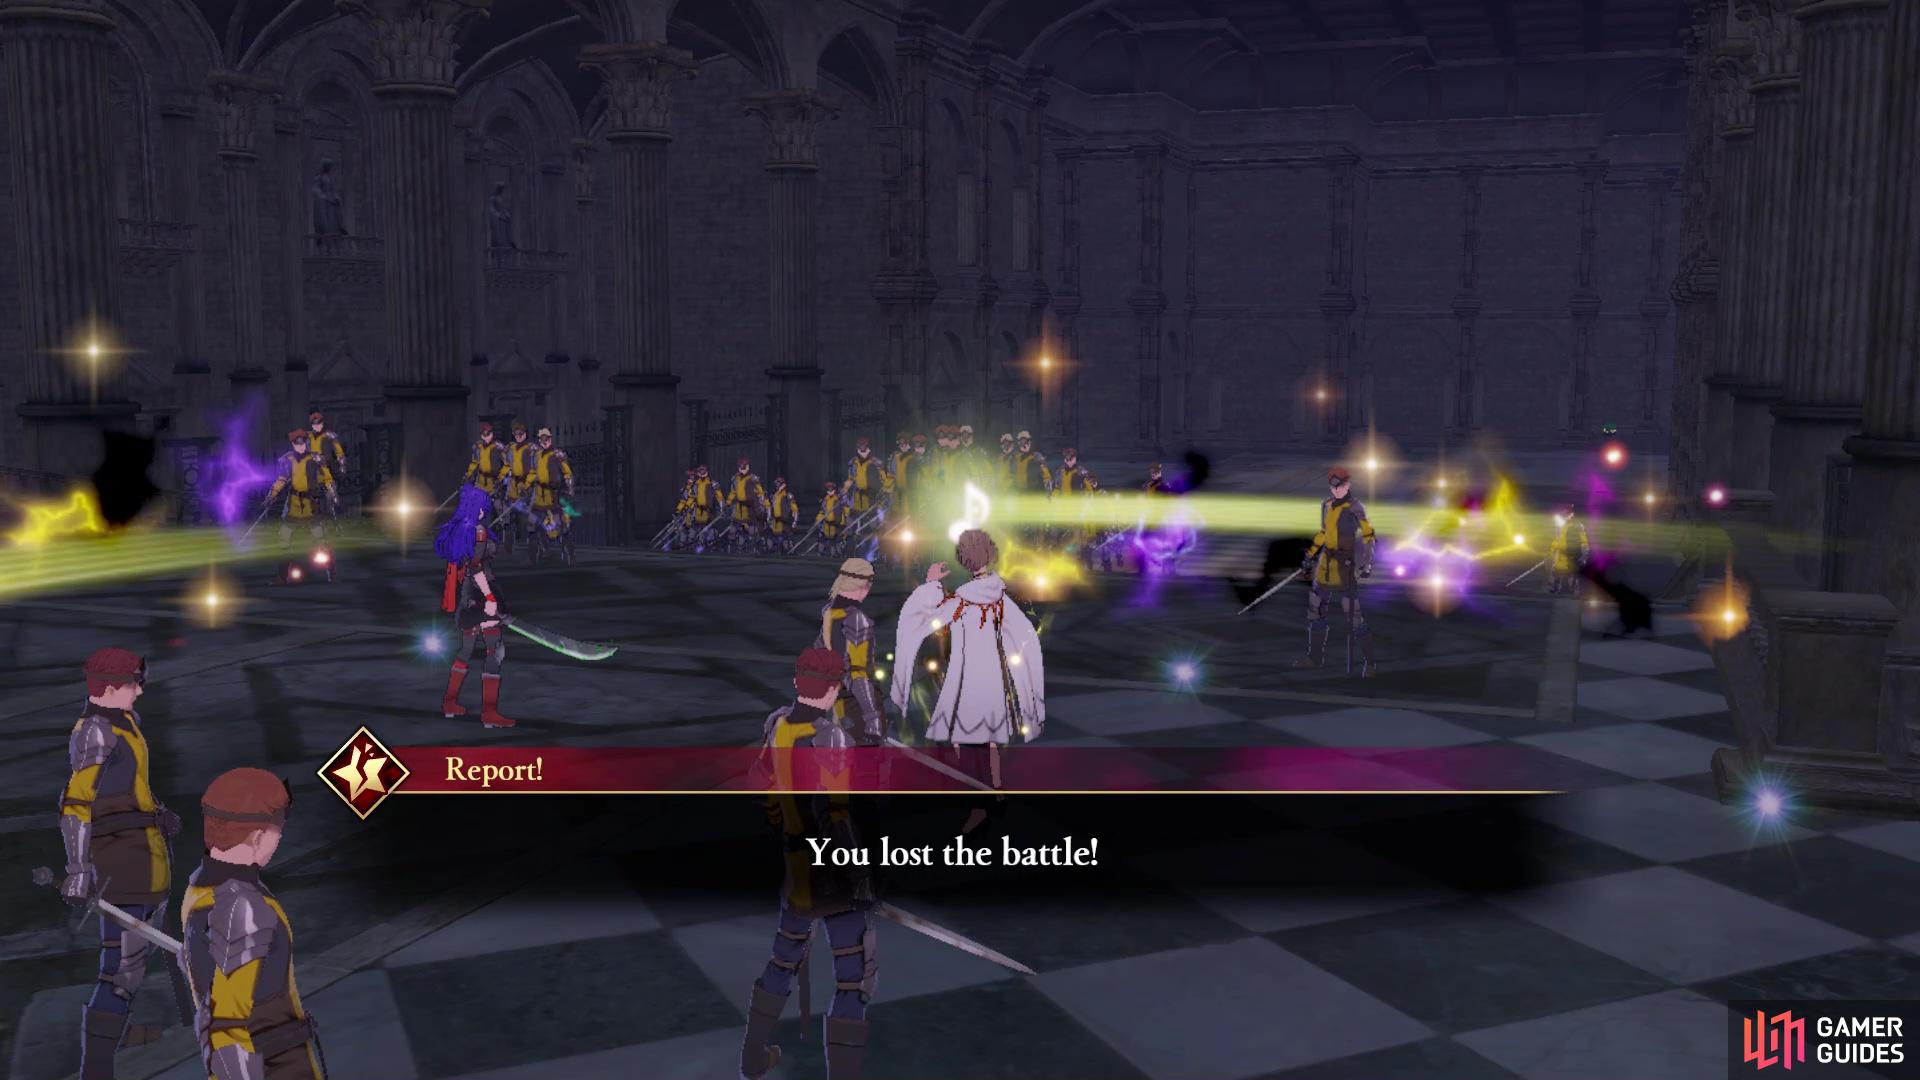
Your entire mission is to make sure the Mage and their allies stay alive (left), If any one of them falls, you will lose the battle (right)
The start of the battle is definitely going to be a bit hectic. Your goal is to make sure the Mage and their two allies do not get defeated, since that will result in a failed mission. The Mage is inside the western stronghold, while their two allies on in strongholds on the other side of the map. When you begin the mission, your first priority should be to assign two allies to the ones on the eastern side, then go after the Mage yourself, so you have an easier time protecting them.
Side Mission: Defeat the Thief targeting the Chest
At some point, not too long into the battle, a Thief will appear on the right side of the map. This Thief will be heading straight towards the chest, which is located north of your starting position. If the Thief makes it to the chest, then they will steal the contents inside and run away with it. If you wish to obtain the treasures within, then you will need to defeat this Thief, who is also holding the key, then open the chest.
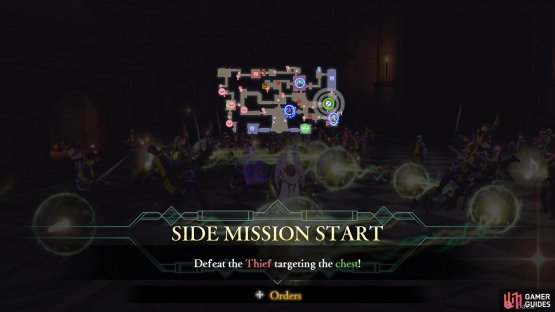

(1 of 2) The Thief will appear not long after the battle begins
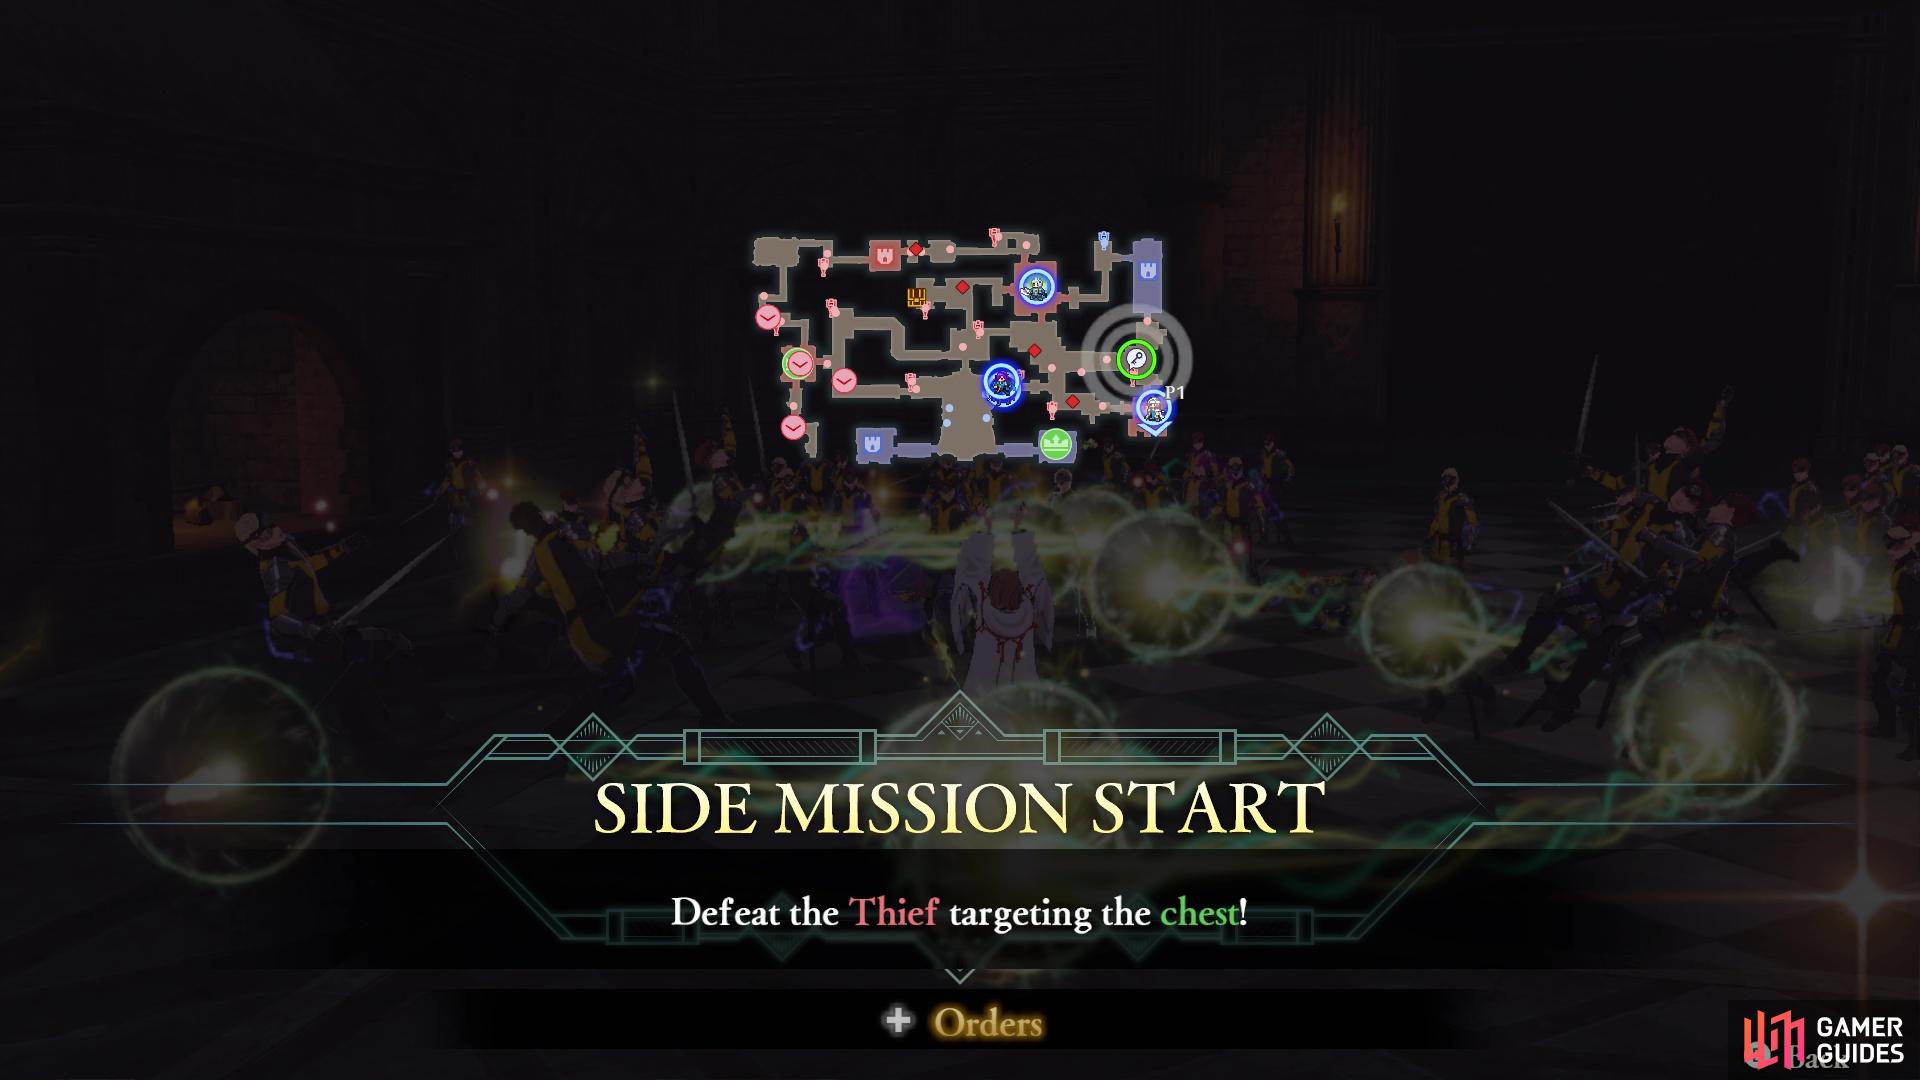
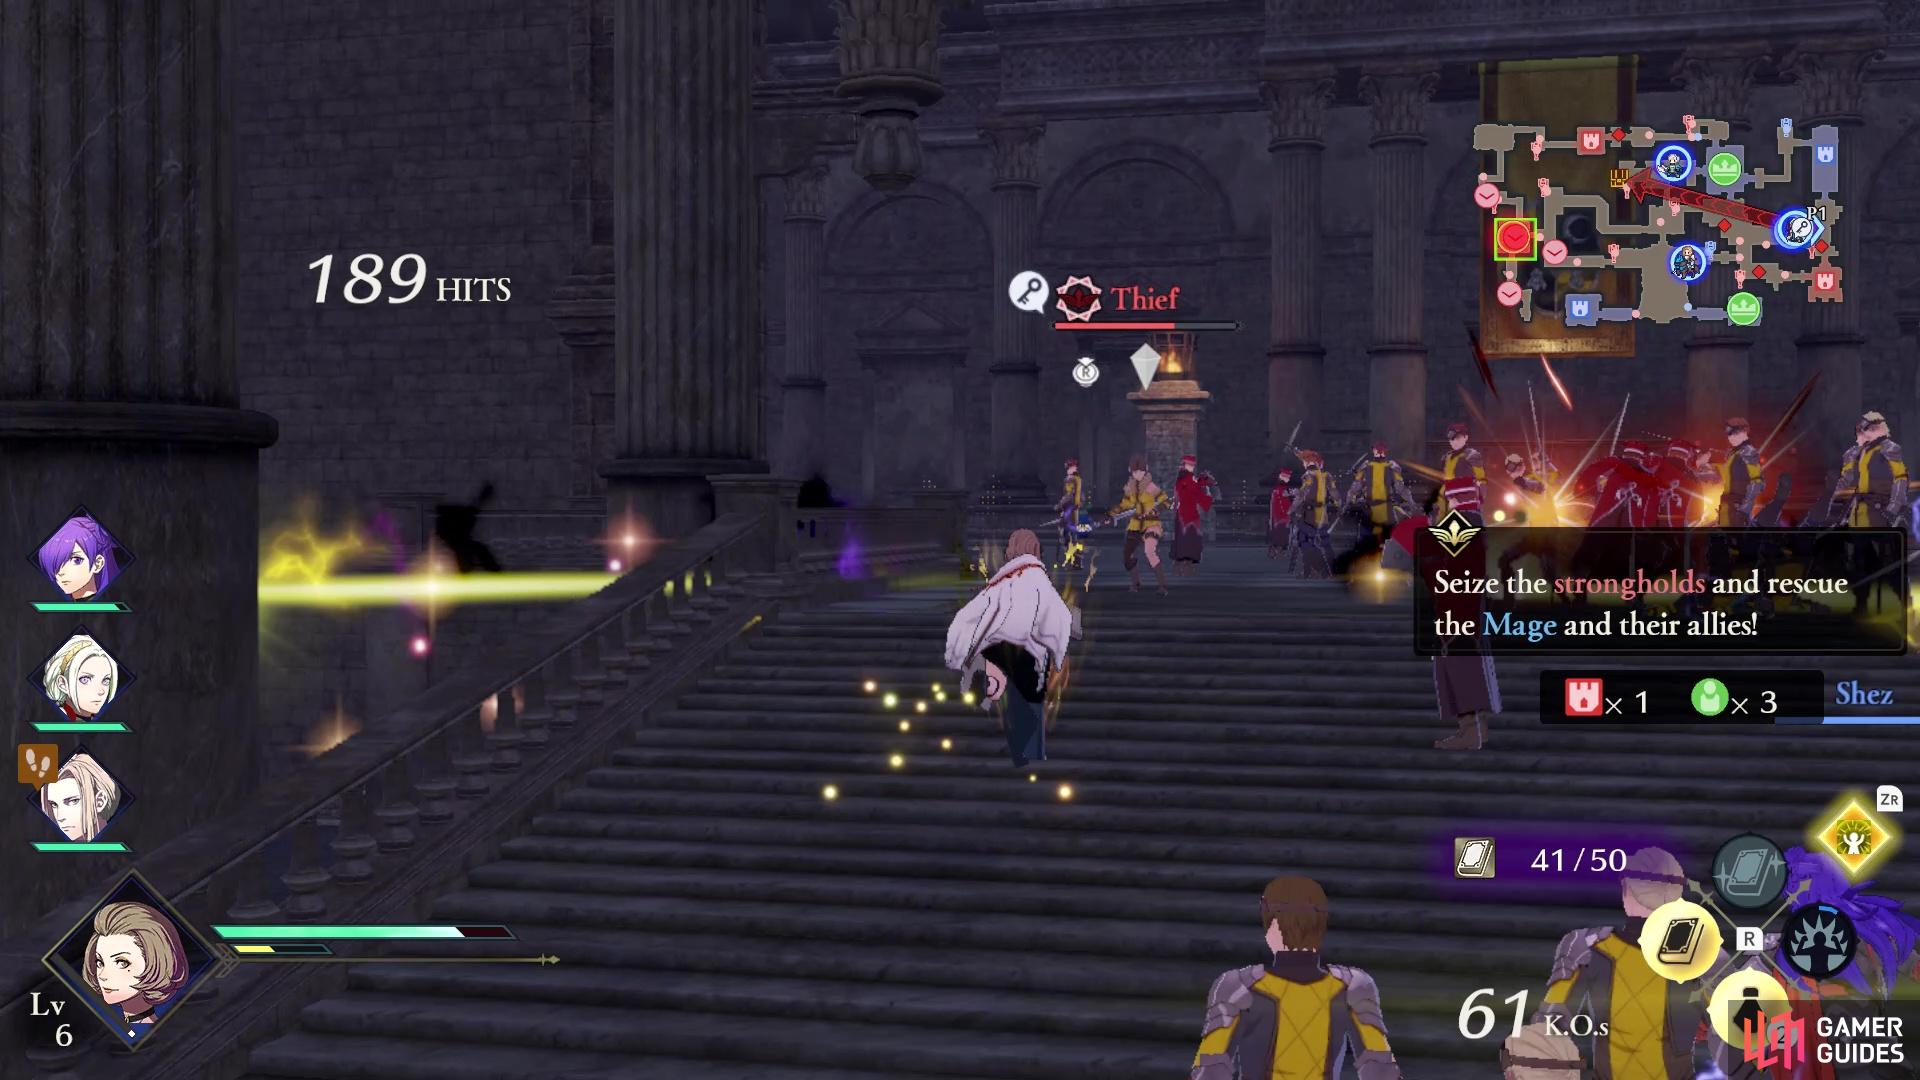
The Thief will appear not long after the battle begins (left), The Thief will make a beeline straight for the chest (right)
Mission 2: Escort the Mage and allies to First Ballista Station
Upon rescuing the Mage and the two other allies, they will begin retreating to the First Ballista Station stronghold. This is located to the west of where you started the map, so you will need to help guide them to the stronghold. Of course, things won’t be that simple, as an enemy officer will appear near each of the three units you need to protect, which will stall their retreat. Defeat them and the friendly unit that was being attacked will go on towards the stronghold. Again, prioritize protecting the Mage first, assigning allies to defend the others. Once they have all arrived at the stronghold, the mission will be over.
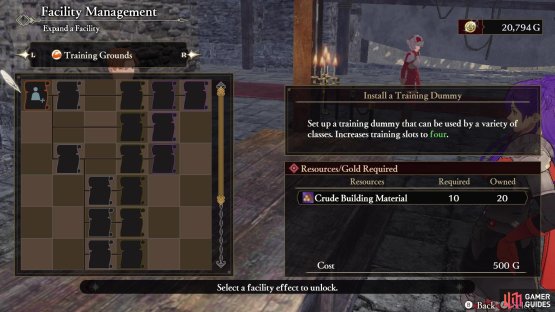
How to Upgrade Your Facilities at Camp
After the battle is over and you return to the War Map, you will receive 10 Strategy Resources, as well as recover a Training Point. You will be forced to go back to camp, so do so to learn about upgrading your Facilities. You should have enough materials to upgrade two of the three facilities right now. Ideally, you want to upgrade the Training Grounds first, since that allows you to add two more people to train. The Recreation Quarter will also unlock new recipes for you to use, which is great when you need to improve Support ranks. Upgrading the Marketplace simply increase the number of Gifts you can purchase.

(1 of 2) Each facility will have a number of upgrades you can do to it
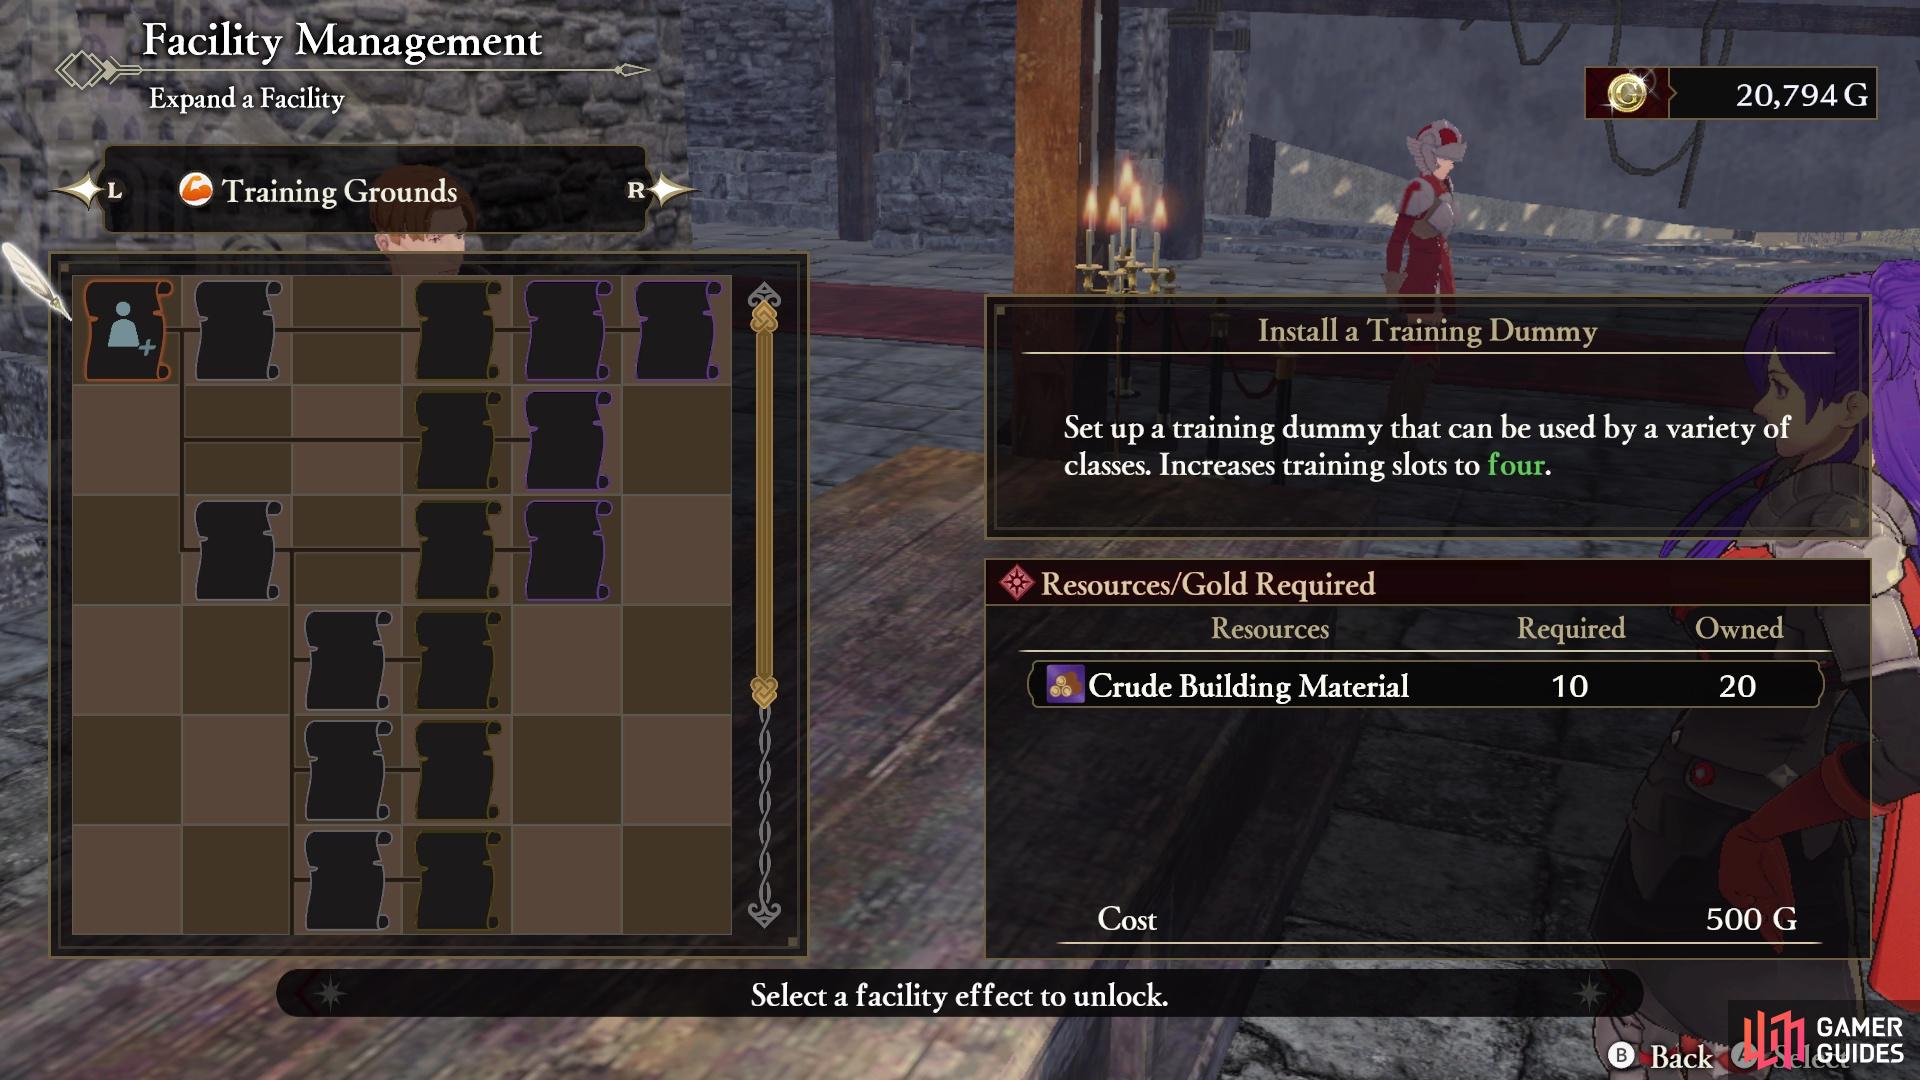
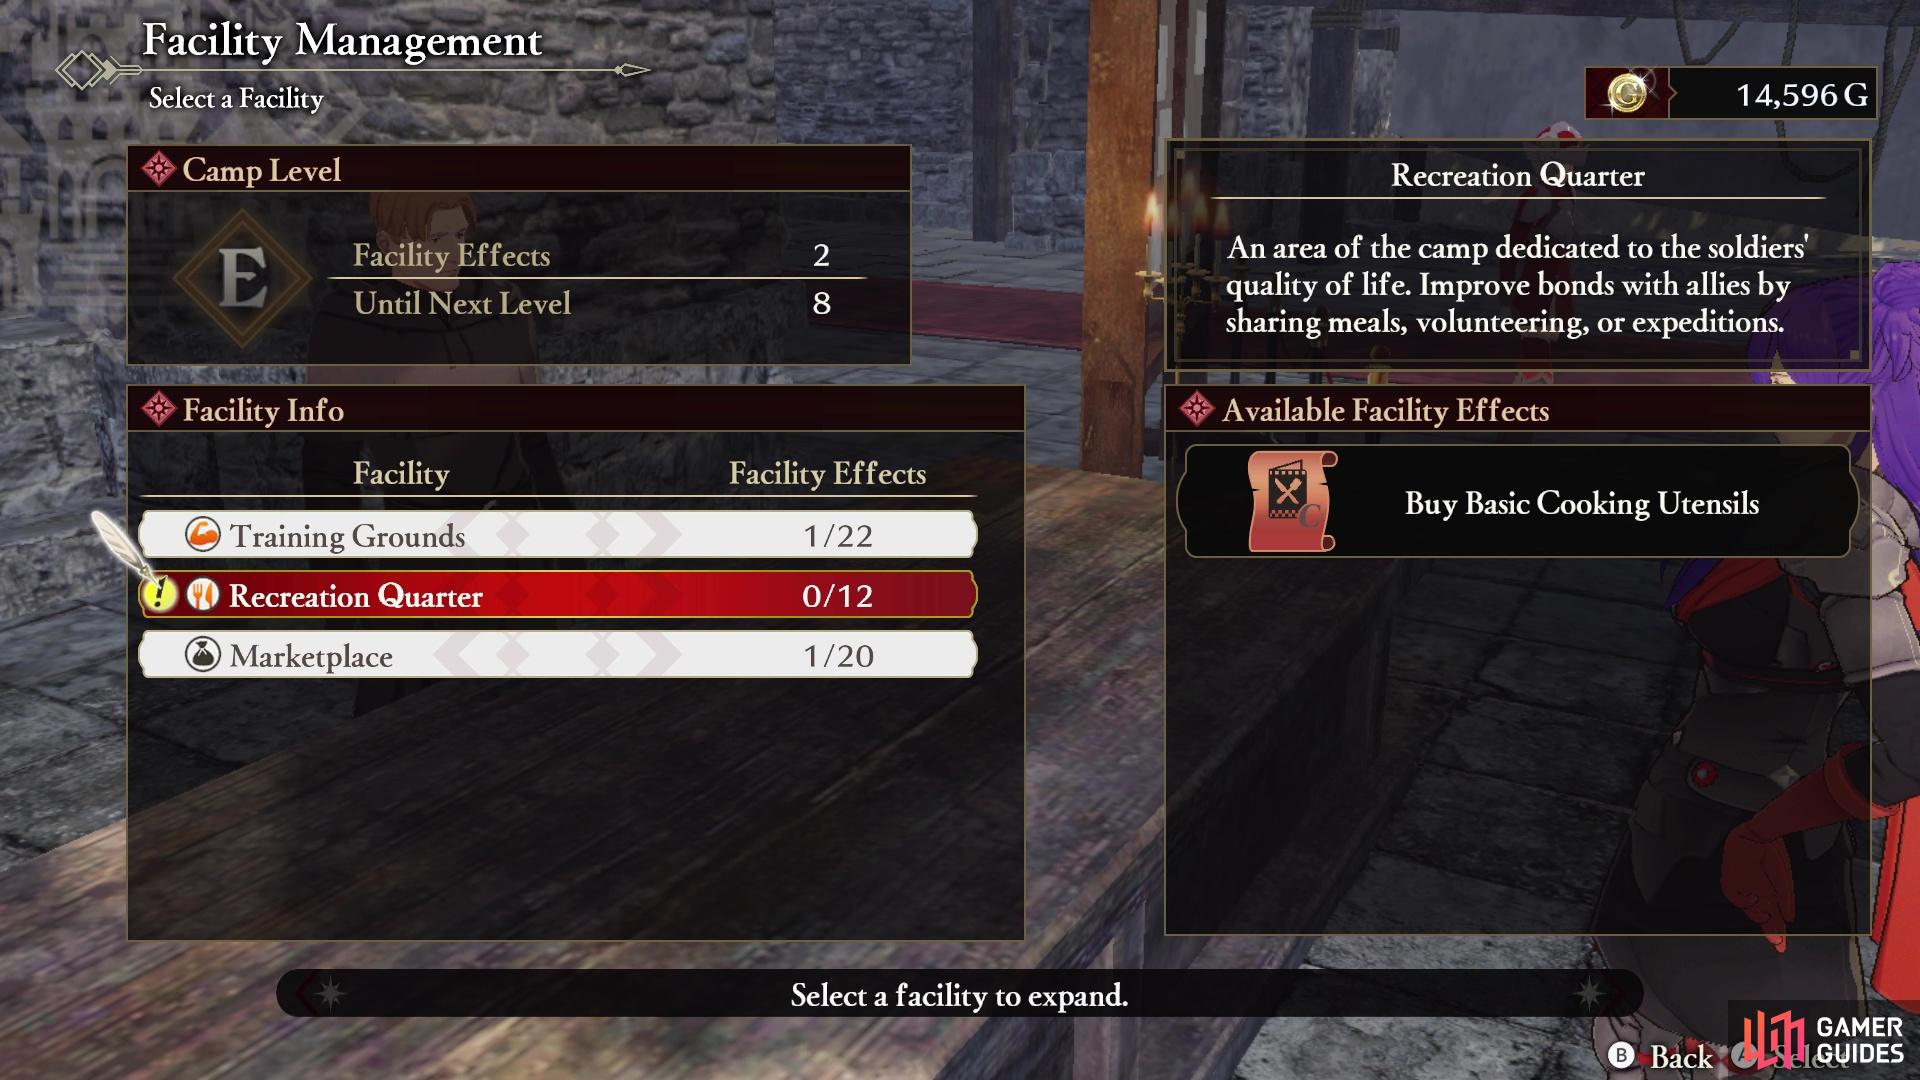
Each facility will have a number of upgrades you can do to it (left), Upgrading the facilities will also help level up your overall camp (right)
Feel free to do whatever you want after, making sure to return to the War Map to grab the Surveying Points you couldn’t previously, which will net you the following:
- Impregnable Wall (Strategy)
- Crude Building Material x10 (requires paying 500 G)
That will bring you to an end of this page now, so it’s time to move onto the next battle.
No Comments