Information about noteworthy Base Camp events, interactions and activities for Chapter 5: Skirmish in the Fog in the Azure Gleam route. This includes dialog choices that yield Support Points.
You’re still pretty early on in the main questline, so you’ll be spending a bit of time checking out new things. This is just as well, as the new facilities you’ll unlock this time are incredibly useful. Do some grinding and you could make significant leaps in power this Chapter.
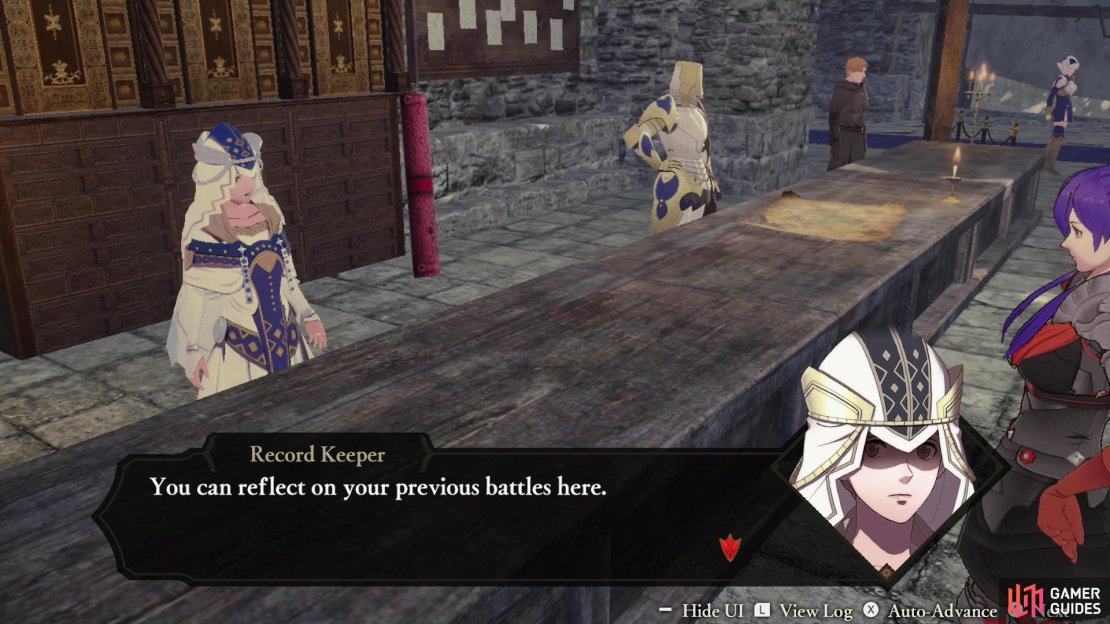
(1 of 4) In Chapter 5 you’ll be introduced to new camp facilities, including the Record Keeper,
Explore the Base Camp
When the Chapter starts you’ll need to chat with Dimitri (make sure to respond with ”Tell him you understand.” for some Support Points, after which you’ll need to check out several new facilities:
-
Record Keeper: This wonderful NPC allows you to replay past Main Quest and Side Quest battles, including those from previous Chapters. Best way to grind in the game, and it allows you to attempt to earn S-Ranks on missions you couldn’t quite master the first time around. You can use any character you’ve recruited on these battles, even ones who weren’t available originally. In New Game + you’ll be allowed to deploy any character you unlocked during any playthrough. Handy!
-
Blacksmith: Makes your weapons better. Right now he can’t unleash [Hero Relics], so you’ll just have to make do with more mundane weapons. Still, repairing and upgrading weapons, especially higher-quality ones dropped by Monsters, can net you serious power boosts.
-
Supply Master: The Supply Master will allow you to trading materials and weapons for Smithing Stones, and Smithing Stones for ores and building materials you need to upgrade weapons. If there’s a specific ore you need to upgrade a weapon, or building material you need to upgrade a facility, this is where you can get it, if you’re willing to trade. You can also get upgrades that earn you ingredients, ores and materials passively as you complete battles. Unlock it as soon as possible to start earning extra goodies as you go about your bloody business.
-
Battalion Master: Sells you Battalions, which function more or less like accessories. Equipped Battalions can give you advantage against certain types of units, and massively mitigate damage from said units. If you know you’re going to be, say, hunting Monsters, or engaging in a battle with a significant number of archers, or crossing swords with a certain Ashen Demon, dragging along a complimentary Battalion can make your life much, much easier.
Once you’re done checking out these new facilities, buy whatever Crests are in stock at the Item Shopkeeper and note that you can now blow Activity Points by taking characters on Expeditions. If you want to ogle some of your allies, this is the way to do it, but we’re going to keep Volunteering to build up our stockpile of Renown.
With that, you’re now done with the Base Camp for this Chapter. At least, you’re done with tutorials and whatnot. You’ll still want to expend all your Training Points and Activity Points, seek out Documents, and make the rounds talking to characters on the off chance that doing so will yield Support Points. Before we get to that, however, there’s one more thing to discuss…
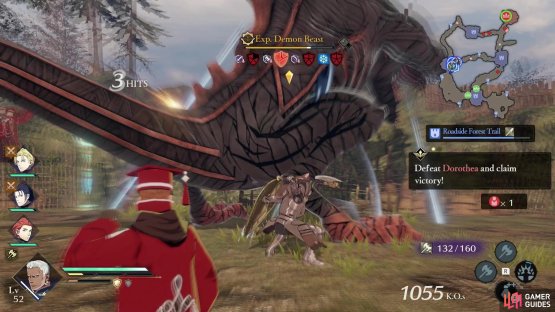
(1 of 2) Defeat the Monster in the battle “Halt the Enemy’s Pursuit” to get its weapon drop,
Defeat the Monster in the battle “Halt the Enemy’s Pursuit” to get its weapon drop, (left), which can repair into some relatively powerful weapons you can benefit from for a long time. (right)
Farming for New Weapons
Chapter 5 in the Azure Gleam route is noteworthy not only because you unlock the Blacksmith, but there’s a great way to farm new weapons, as well. In the Southern Geraint Territory region you’ll find the Side Quest battle Halt the Enemy’s Pursuit. In this battle you can encounter an “Exp. Demon Beast”, which will always drop a weapon when defeated, and in this case it’ll almost certainly be an Iron or Steel weapon with higher base stats, modifiers, and innate upgrade potential than anything else you’re likely to find.
To get this critter to spawn, rescue three allied units (Armored Knight, Archer and Mercenary) in and near three Strongholds across the map. Defeat the hordes attacking said allies and once they’re unencumbered by the assaults of enemy officers they’ll flee to your main base along the southern end of the map. Once they successfully make it to the safety of the aforementioned Stronghold you’ll get a Side Mission that tasks you with KOing 300 enemies. Once this Side Mission is complete an “Exp. Demon Beast” will appear in a Stronghold along the western end of the map.
During this time the enemy commander - Dorothea - will appear in a Stronghold to the northeast. Avoid defeating her until you conquer the Monster, and once the beast is slain and your weapon obtained, finish off Dorothea to complete the battle.
You can replay this battle as many times as you want, farming for weapons… not that the Exp and Class Exp you’ll gain from rerunning this battle will hurt, either. Optimistically you can farm until you find Steel weapons with two useful modifiers and the potential to be raised up to around +30 due to the weapon’s innate “Increase Might” and “Increase Durability” potential. One such weapon, when fully upgraded, will make the next several Chapters a breeze, but obtaining one may take a few runs if you’re unlucky (especially if you’re looking for a specific type of weapon, like a Steel Sword), not to mention a lot of Gold and Smithing Stones to actually upgrade.
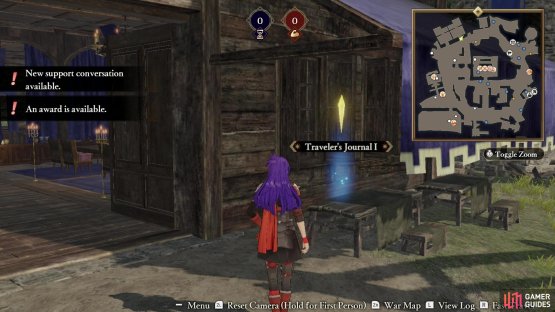
(1 of 2) Grab the “Traveler’s Journal I” from the table outside the Common Area.
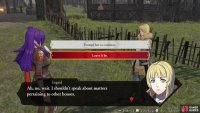
Grab the “Traveler’s Journal I” from the table outside the Common Area. (left), Talk to your companions and pick responses they approve of for Support Points. (right)
Azure Gleam Chapter 5 Documents
Below you’ll find all the Documents you can find around the Base Camp in Chapter 5.
- Traveler’s Journal I: On a table outside of the Common Area, which are the buildings just northeast of the Personal Quarters.
Azure Gleam Chapter 5 Dialog Options
Below you’ll find all the dialog options that yield Support Points in Chapter 4.
| Character | Correct Response |
|---|---|
| Ashe | Ask for more details. |
| Catherine | Tell her you’ve heard of her. |
| Dimitri | Tell him you understand. |
| Flynn | Accept what she says. |
| Hapi | Say nothing. |
| Ingrid | Leave it be. |
| Mercedes | Agree they’re different. |
| Petra | Tell her the Empire’s army will be there too. |
| Seteth | Ask if that’s the only reason they’re fighting. |








No Comments