
This is a guide for Chapter 3: The Battle for the Locket in Fire Emblem Warriors: Three Hopes.
After a hectic first mission at the Officer’s Academy, your next task requires you to assist in defending the Fódlan border from Almyran invaders. The fate of an entire country rests on your shoulders. We just started this game, right?
Before the Fight

(1 of 2) Before the invasion, be a good lad/lady and motivate your friends.


Before the invasion, be a good lad/lady and motivate your friends. (left), Anything for you, Claude. (right)
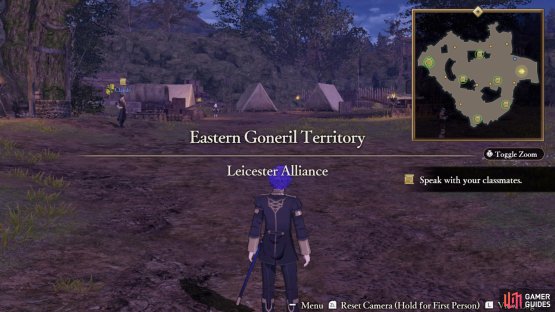
Prior to the invasion, go around the camp and chat to your fellow students, indicated by the scroll icons on the map. Then finish up by speaking to Claude.
S Rank Requirement
| Completion Time | Enemies Defeated | Damage Taken |
|---|---|---|
| 15:00 | 600 | 50% |
Battle Preparations


(1 of 2) You can re-position characters or change who can be controlled.

You can re-position characters or change who can be controlled. (left), Use the Convoy to change your equipment, abilities or class. (right)
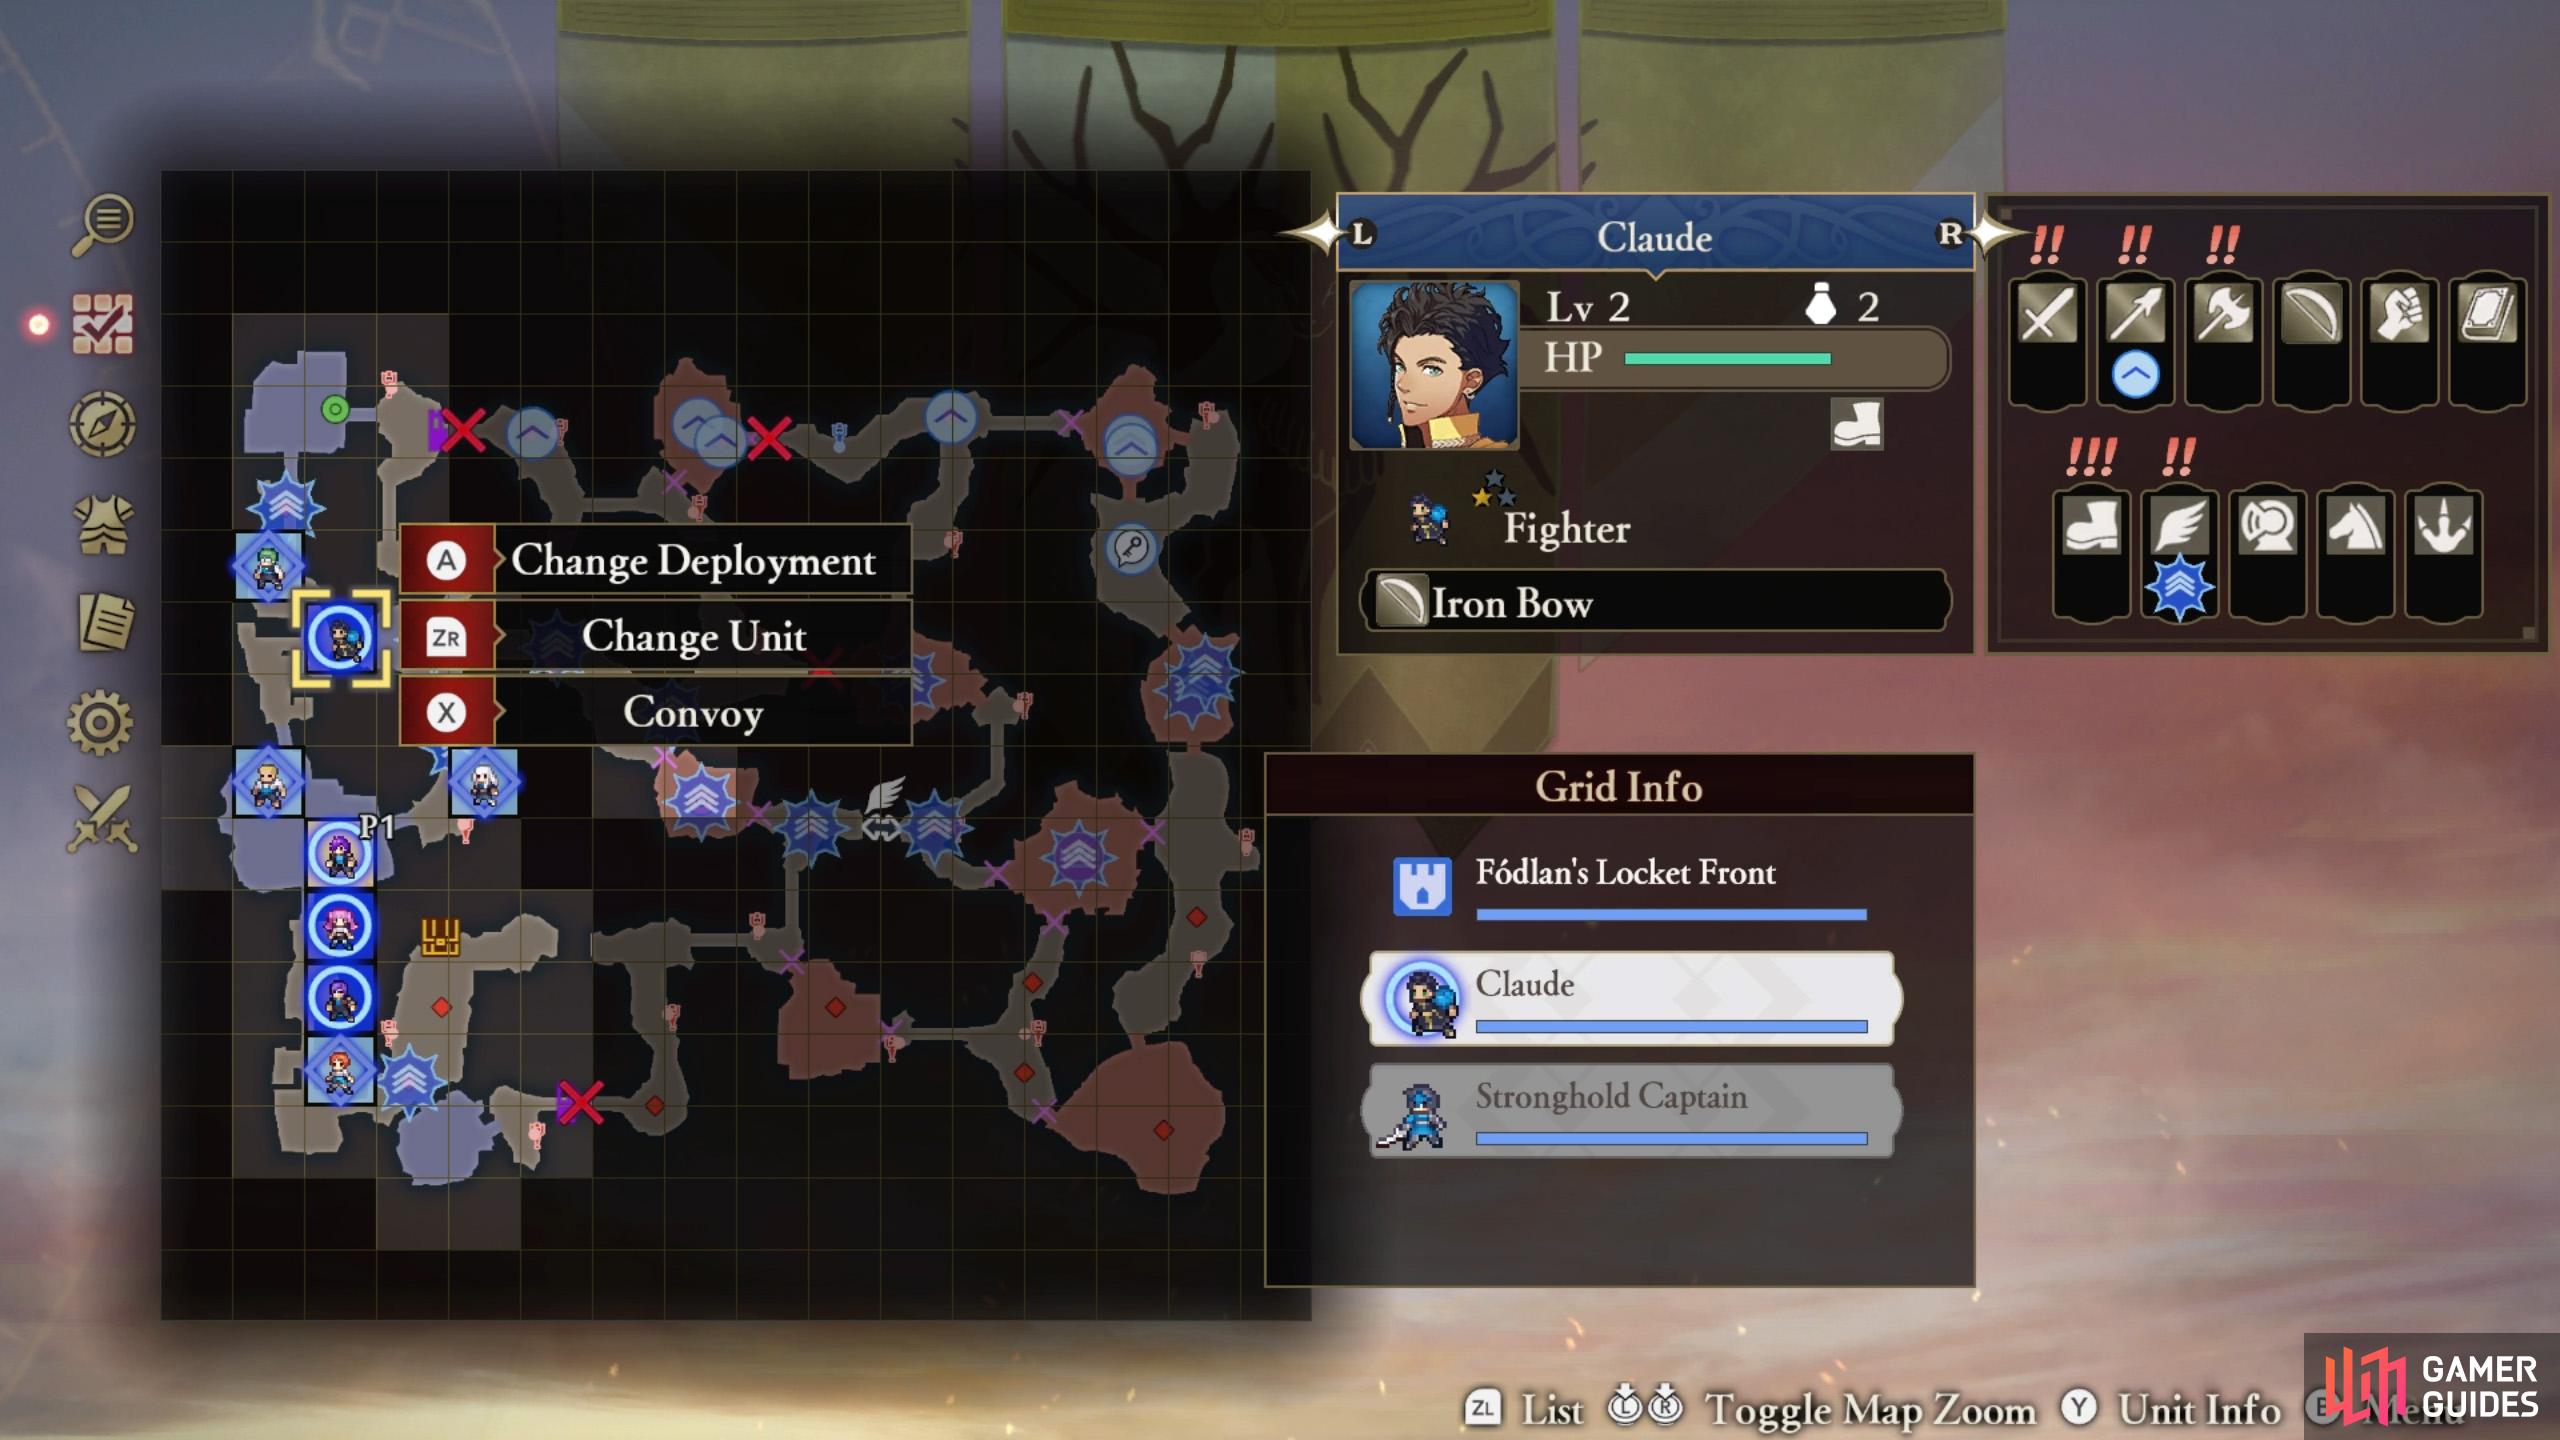
At the battle preparations screen, there are a few things you can do. First, you can re-position your characters with  . This can be important for bigger maps, especially when the starting placements can be separated by a vast distance.
Next, pressing  will let you swap in/out characters from your Roster. At the moment, all the characters from your Roster are already on the field. However, you can also use this to swap characters between controllable deployment spots (circle icon and dark blue grid) and non-controllable ones (diamond icon and light blue grid).
We suggest sticking to the default selection of controllable characters. At the least, you’ll want a sword, lance, axe and bow user. If you really want to, you can access the Convoy and change a character’s class to Mercenary (sword), Soldier (lance), Fighter (axe, bow or gauntlet) or Monk (tome).
Finally, speaking of the Convoy, you received a Venin Edge from the previous fight. Select “Convoy” from the menu, choose a sword user (probably Shez) and give them this sword via the “Set Equipment” tab.
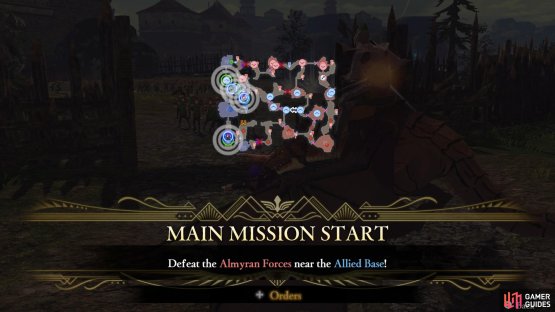
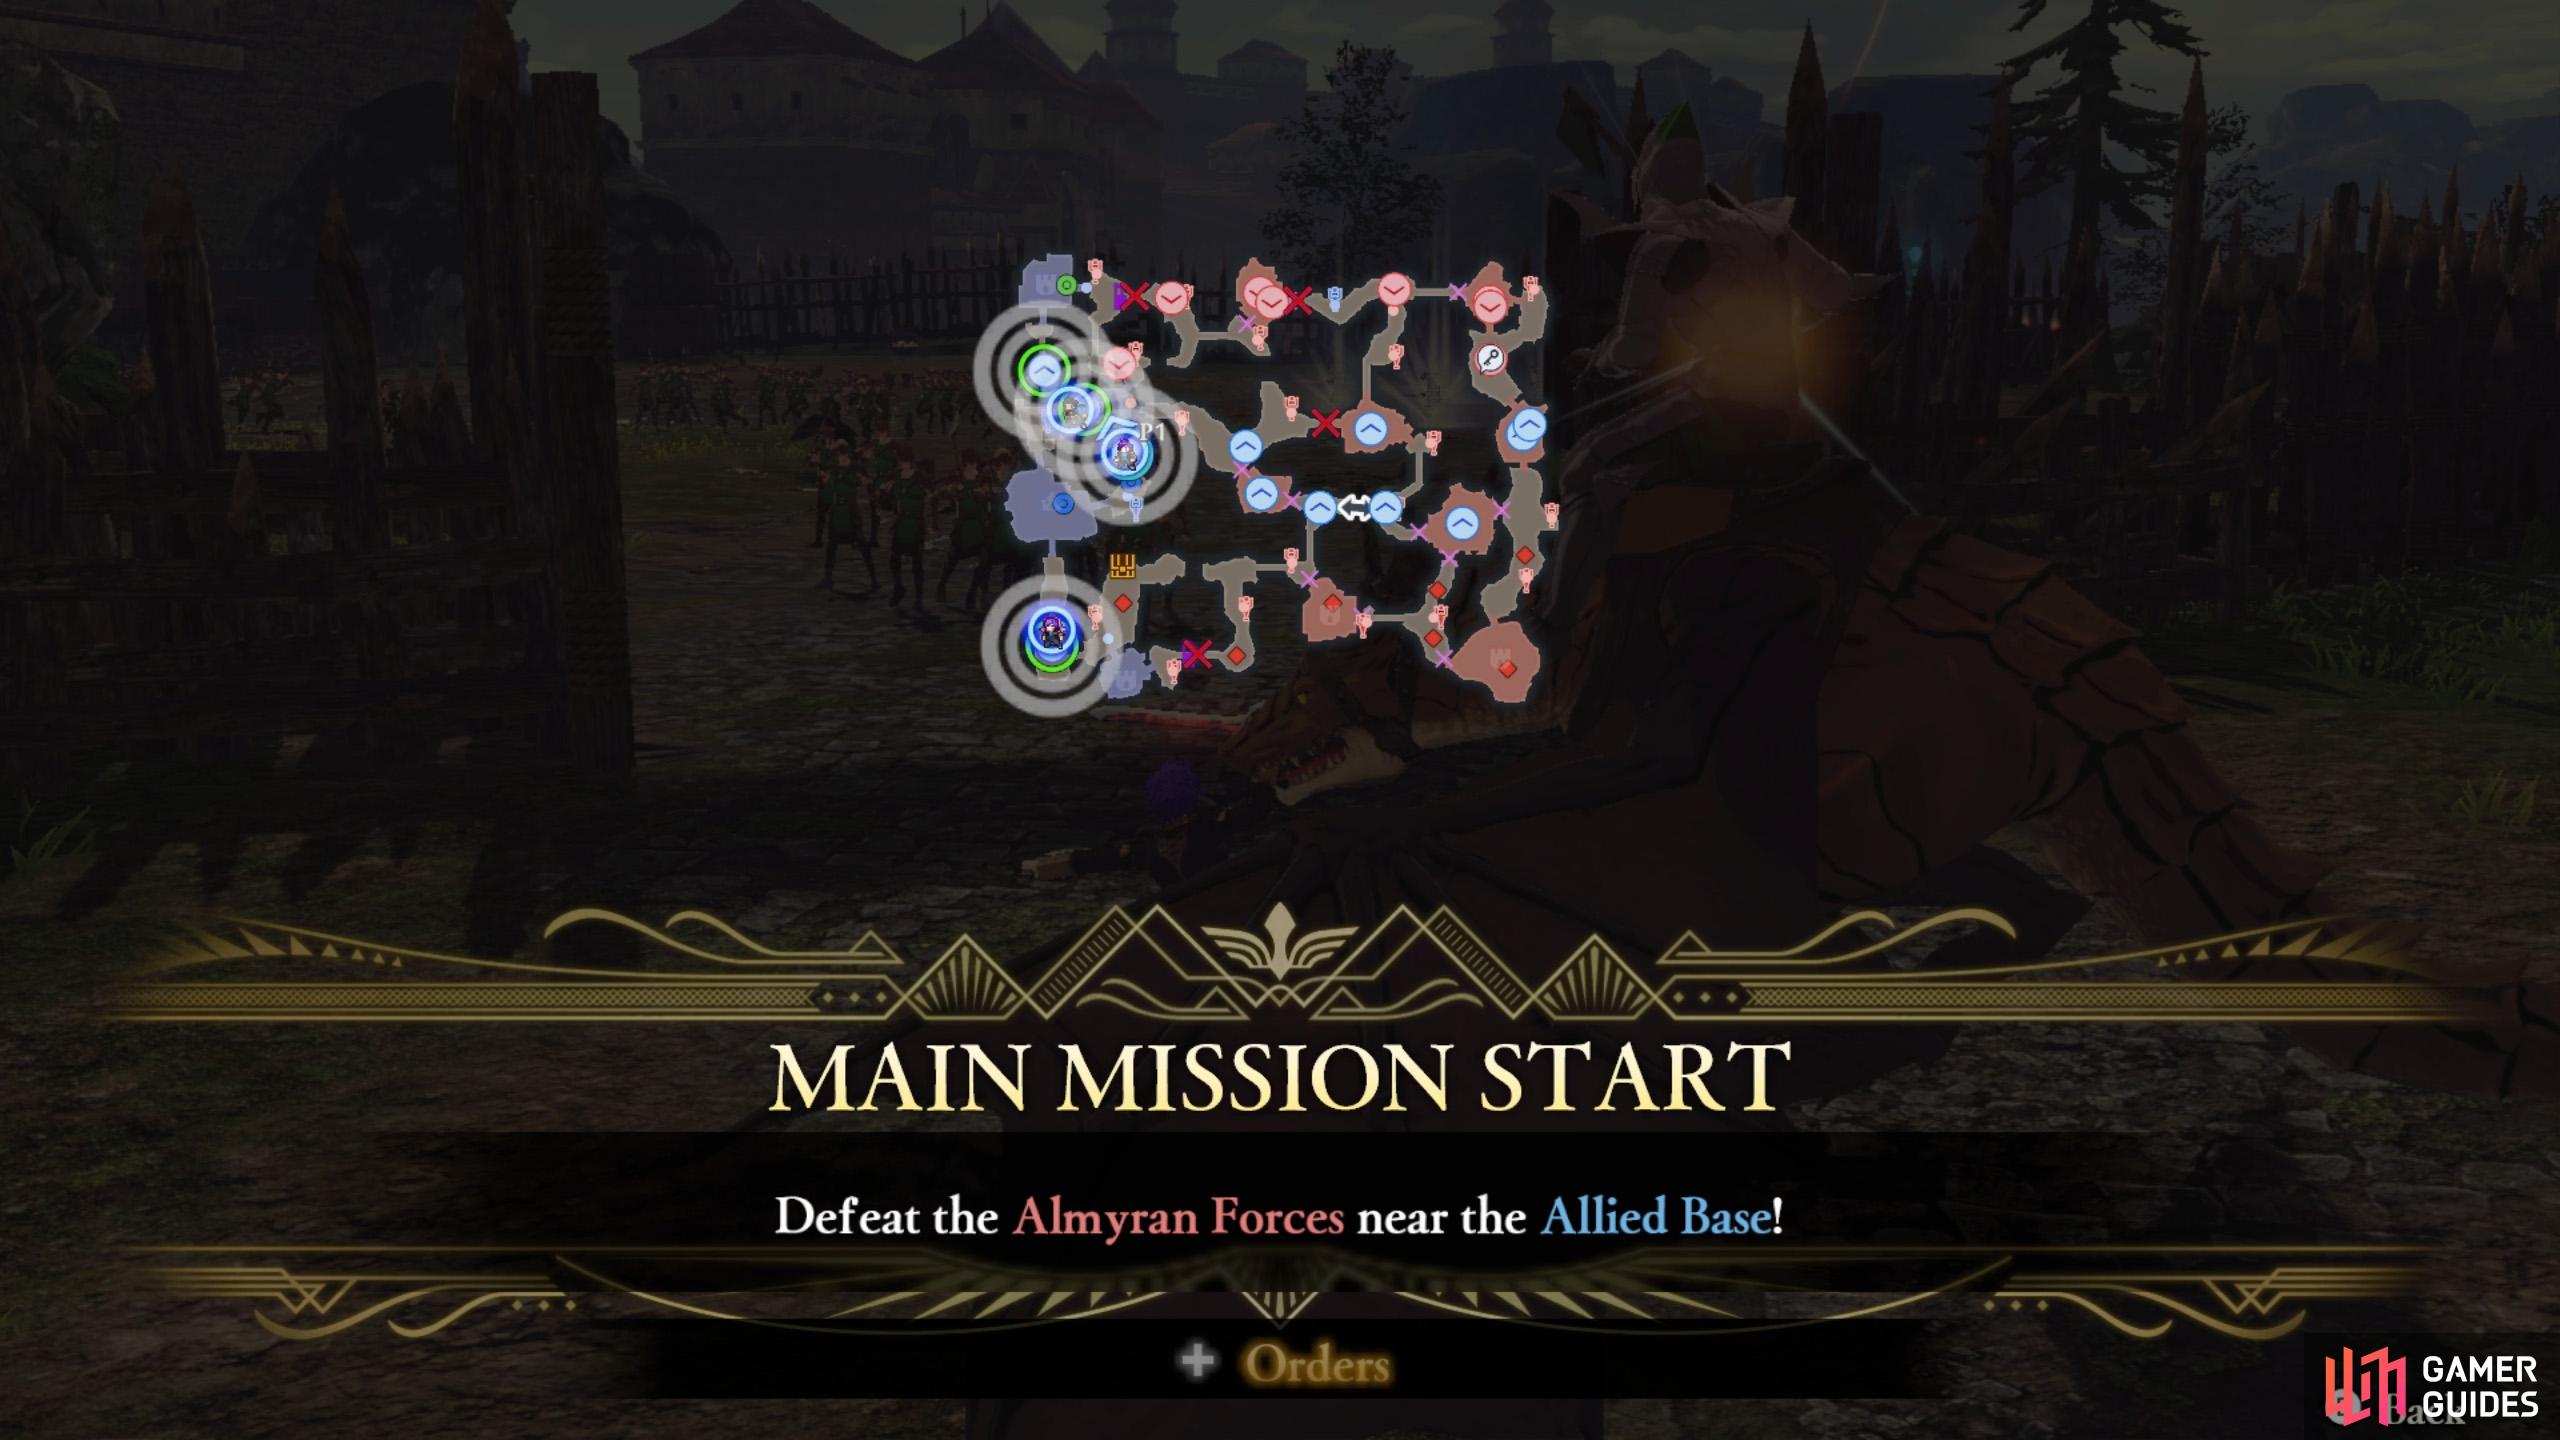
Mission 1: Defeat the Almyran forces near the allied base
(1 of 2) 4 groups of Wyvern Riders will spawn near your strongholds.

4 groups of Wyvern Riders will spawn near your strongholds. (left), Use swords and bows to make mincemeat of them. (right)
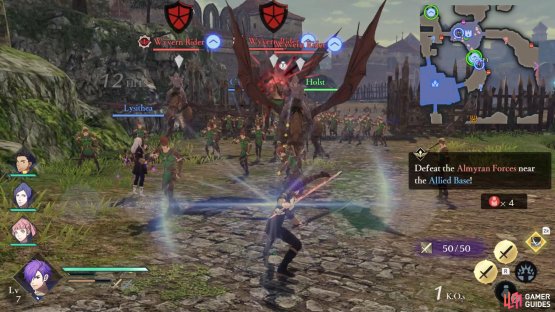
When you enter the battlefield, four Wyvern Rider groups will spawn near/at your strongholds. One slightly south from the north-west corner, another at the south-west corner and two a short distance east of to the western stronghold where you begin from.
You’ll probably want to focus on the group of two, yourself. Bow users (Claude and Ignatz in their default class) are recommended, while sword users should do well too.
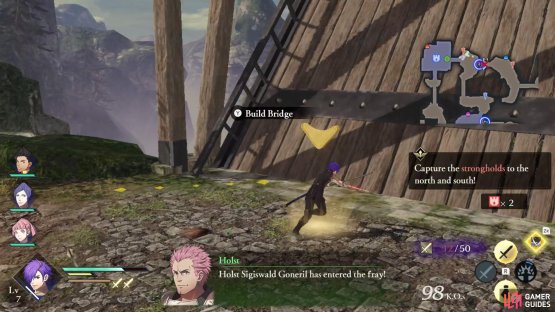
Mission 2: Capture the strongholds to the north and south

(1 of 2) You need to activate the drawbridges to reach the strongholds.

You need to activate the drawbridges to reach the strongholds. (left), Field an axe user to the north and a lance user to the south. (right)
Next, the Almyran forces will open some of their stronghold gates. For the second phase, you need to capture the stronghold directly to the north and to the south. To reach these, you should trigger the drawbridges located west from each. This will require going along the northern and southern path, from the north-west and south-west corners.
Send an axe user along the northern path and a lance user along the southern path. This is a pretty simple task, so use the Orders menu with  and direct those two characters to the corresponding bridge, then press to order them to “Build Bridge”. Once they’ve built it, order them to take the stronghold beyond the drawbridge.
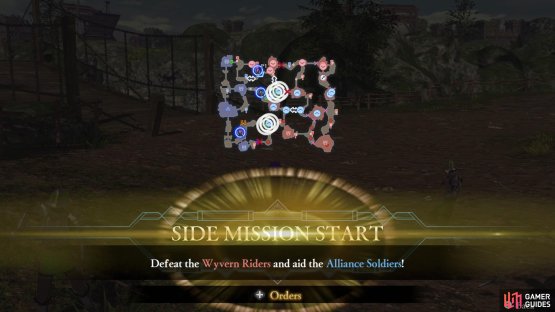
Side Mission 1: Defeat the Wyvern Riders and aids the Alliance soldiers

(1 of 2) Some silly NPCs need help.

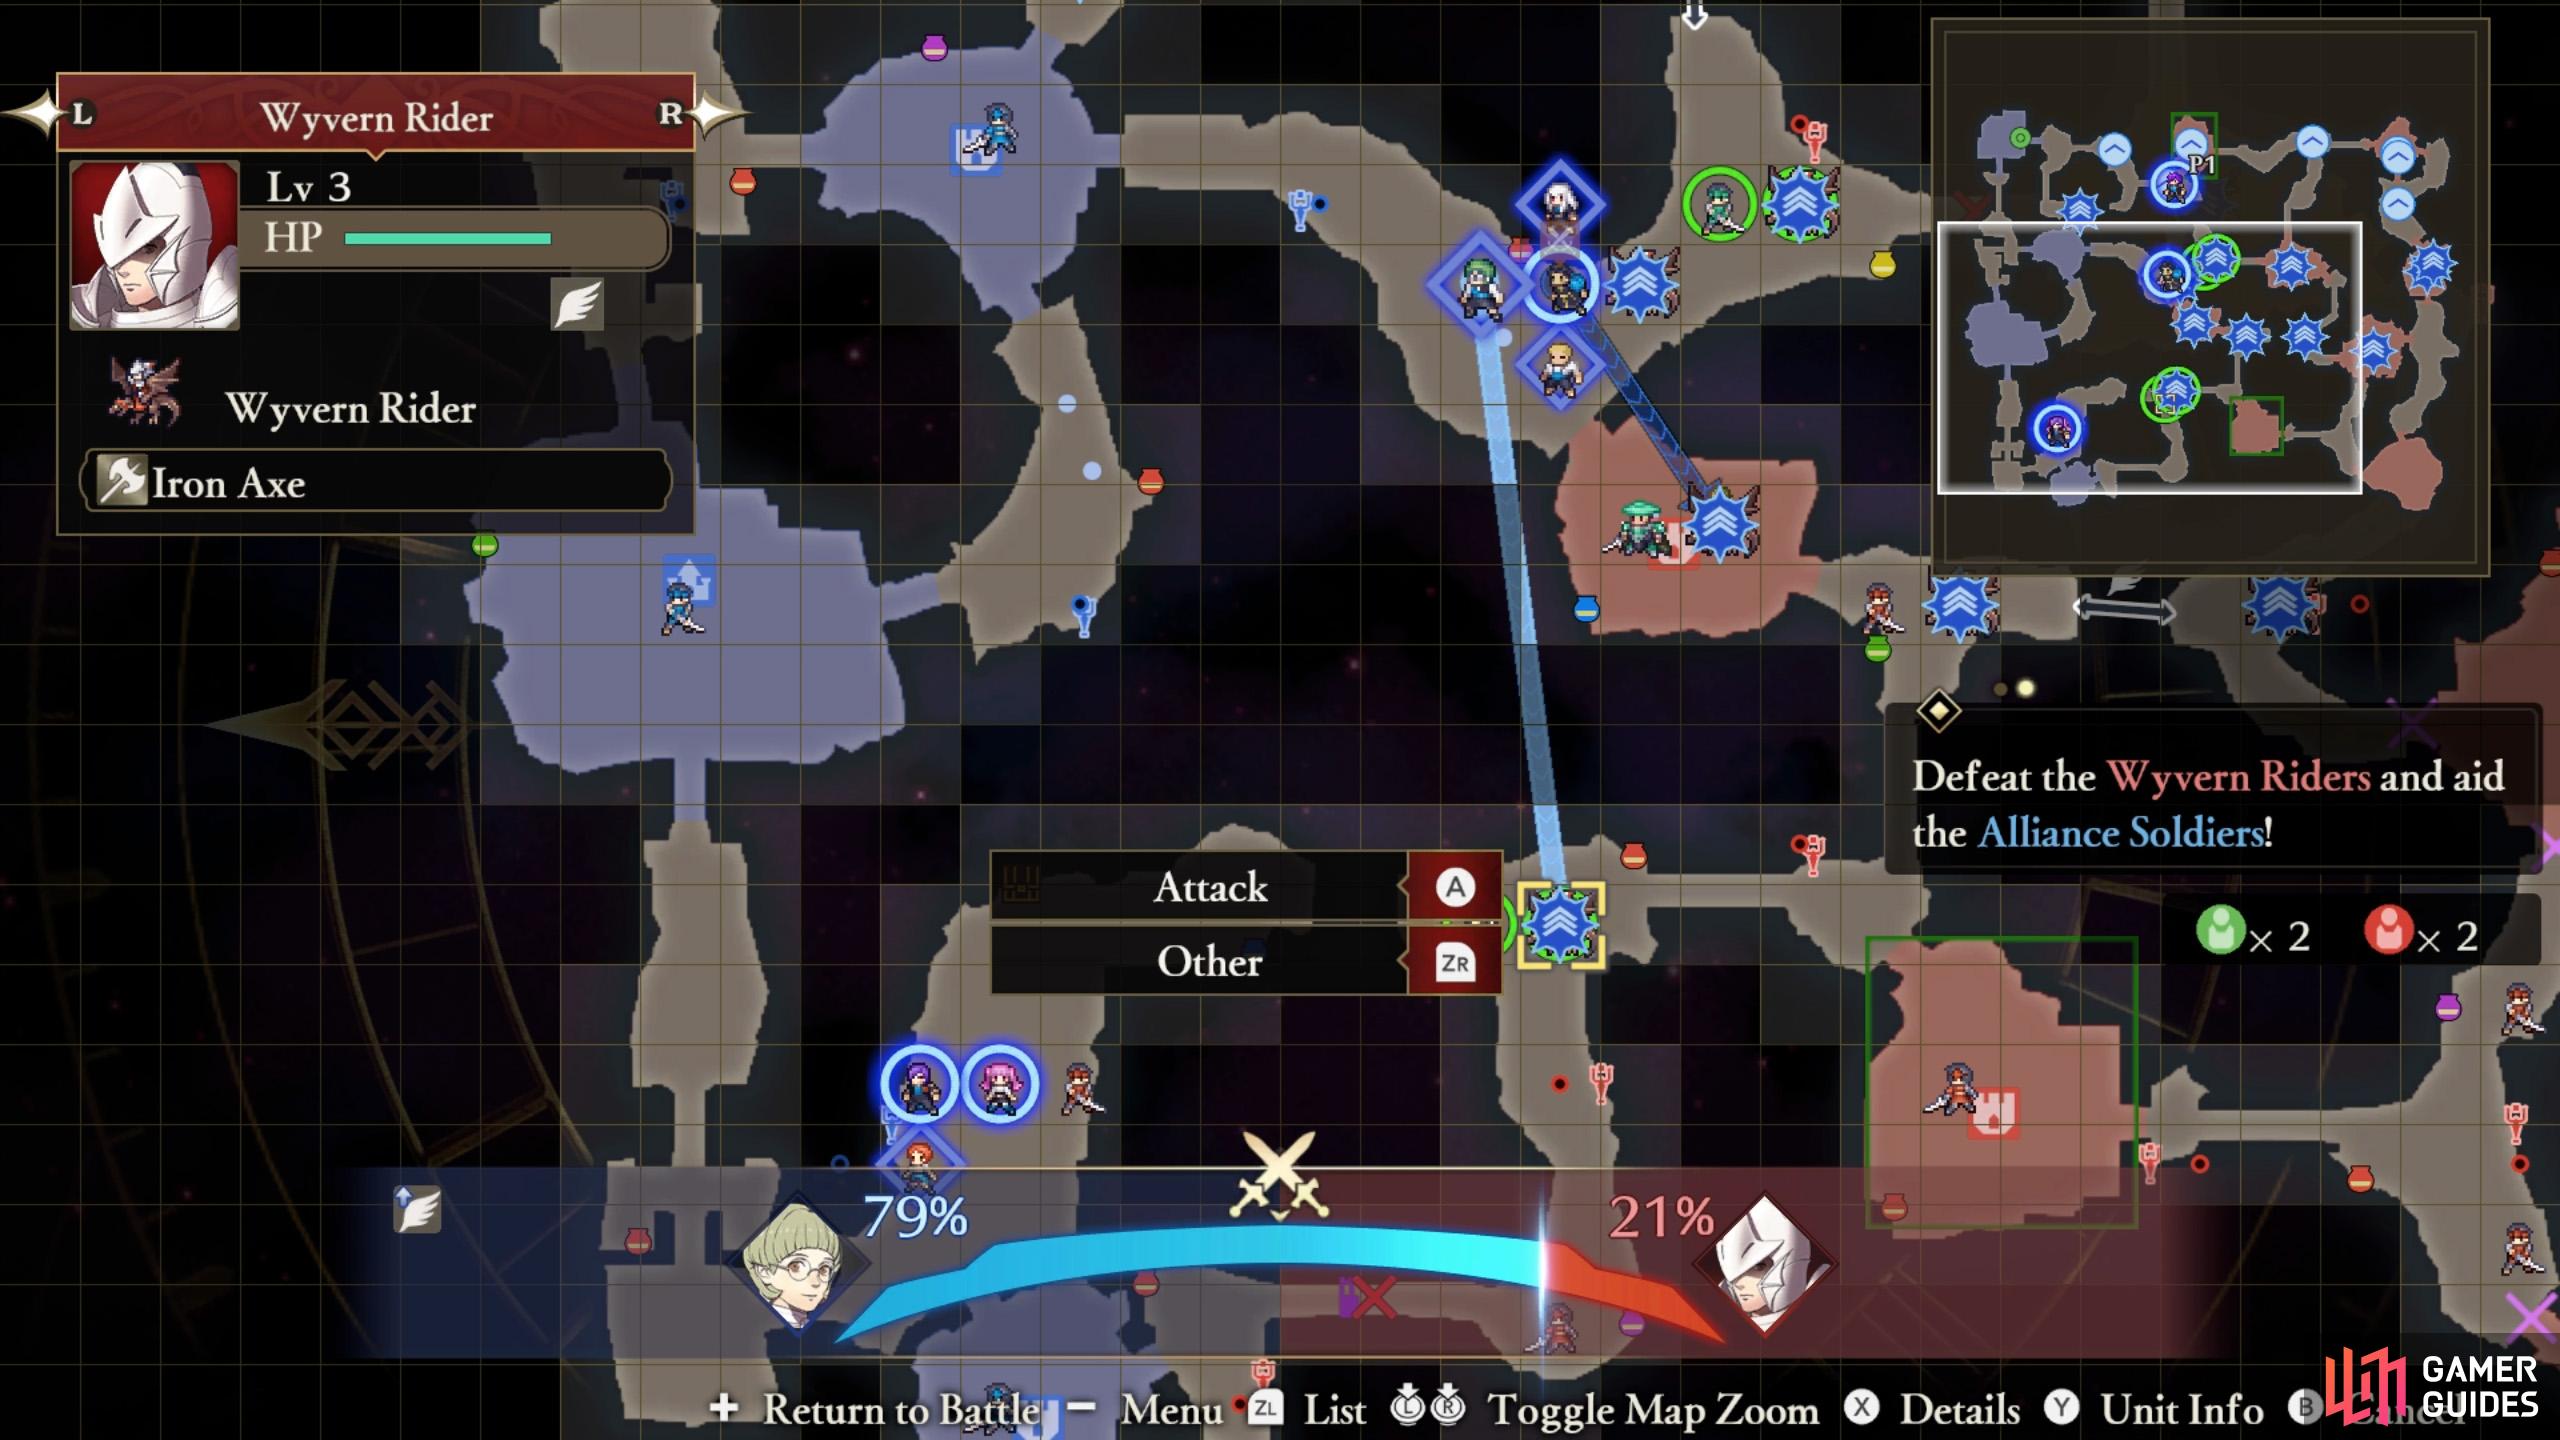
Some silly NPCs need help. (left), Send bow or sword users after the Wyvern Riders. (right)
While everything is happening, two Alliance soldiers will become attacked by Wyvern Riders, one near-ish the center and another south from the center. Similar to the start of the battle, we suggest taking on the Wyvern Riders with bows users or sword users.
Likewise, this is a trivial task that you don’t need to get involved with. Open the Orders menu with and order two bow/sword users to defeat a Wyvern Rider each.
Side Mission 2: Defeat Nader

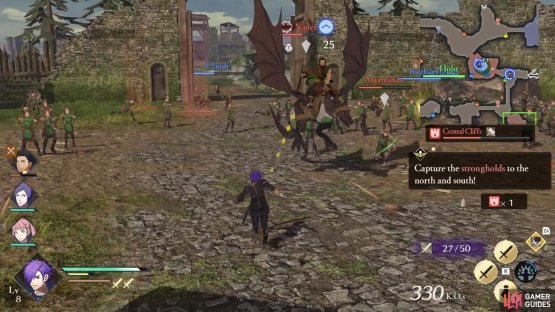
(1 of 2) Nader the Undefeated earned his name by not staying around long enough to lose.
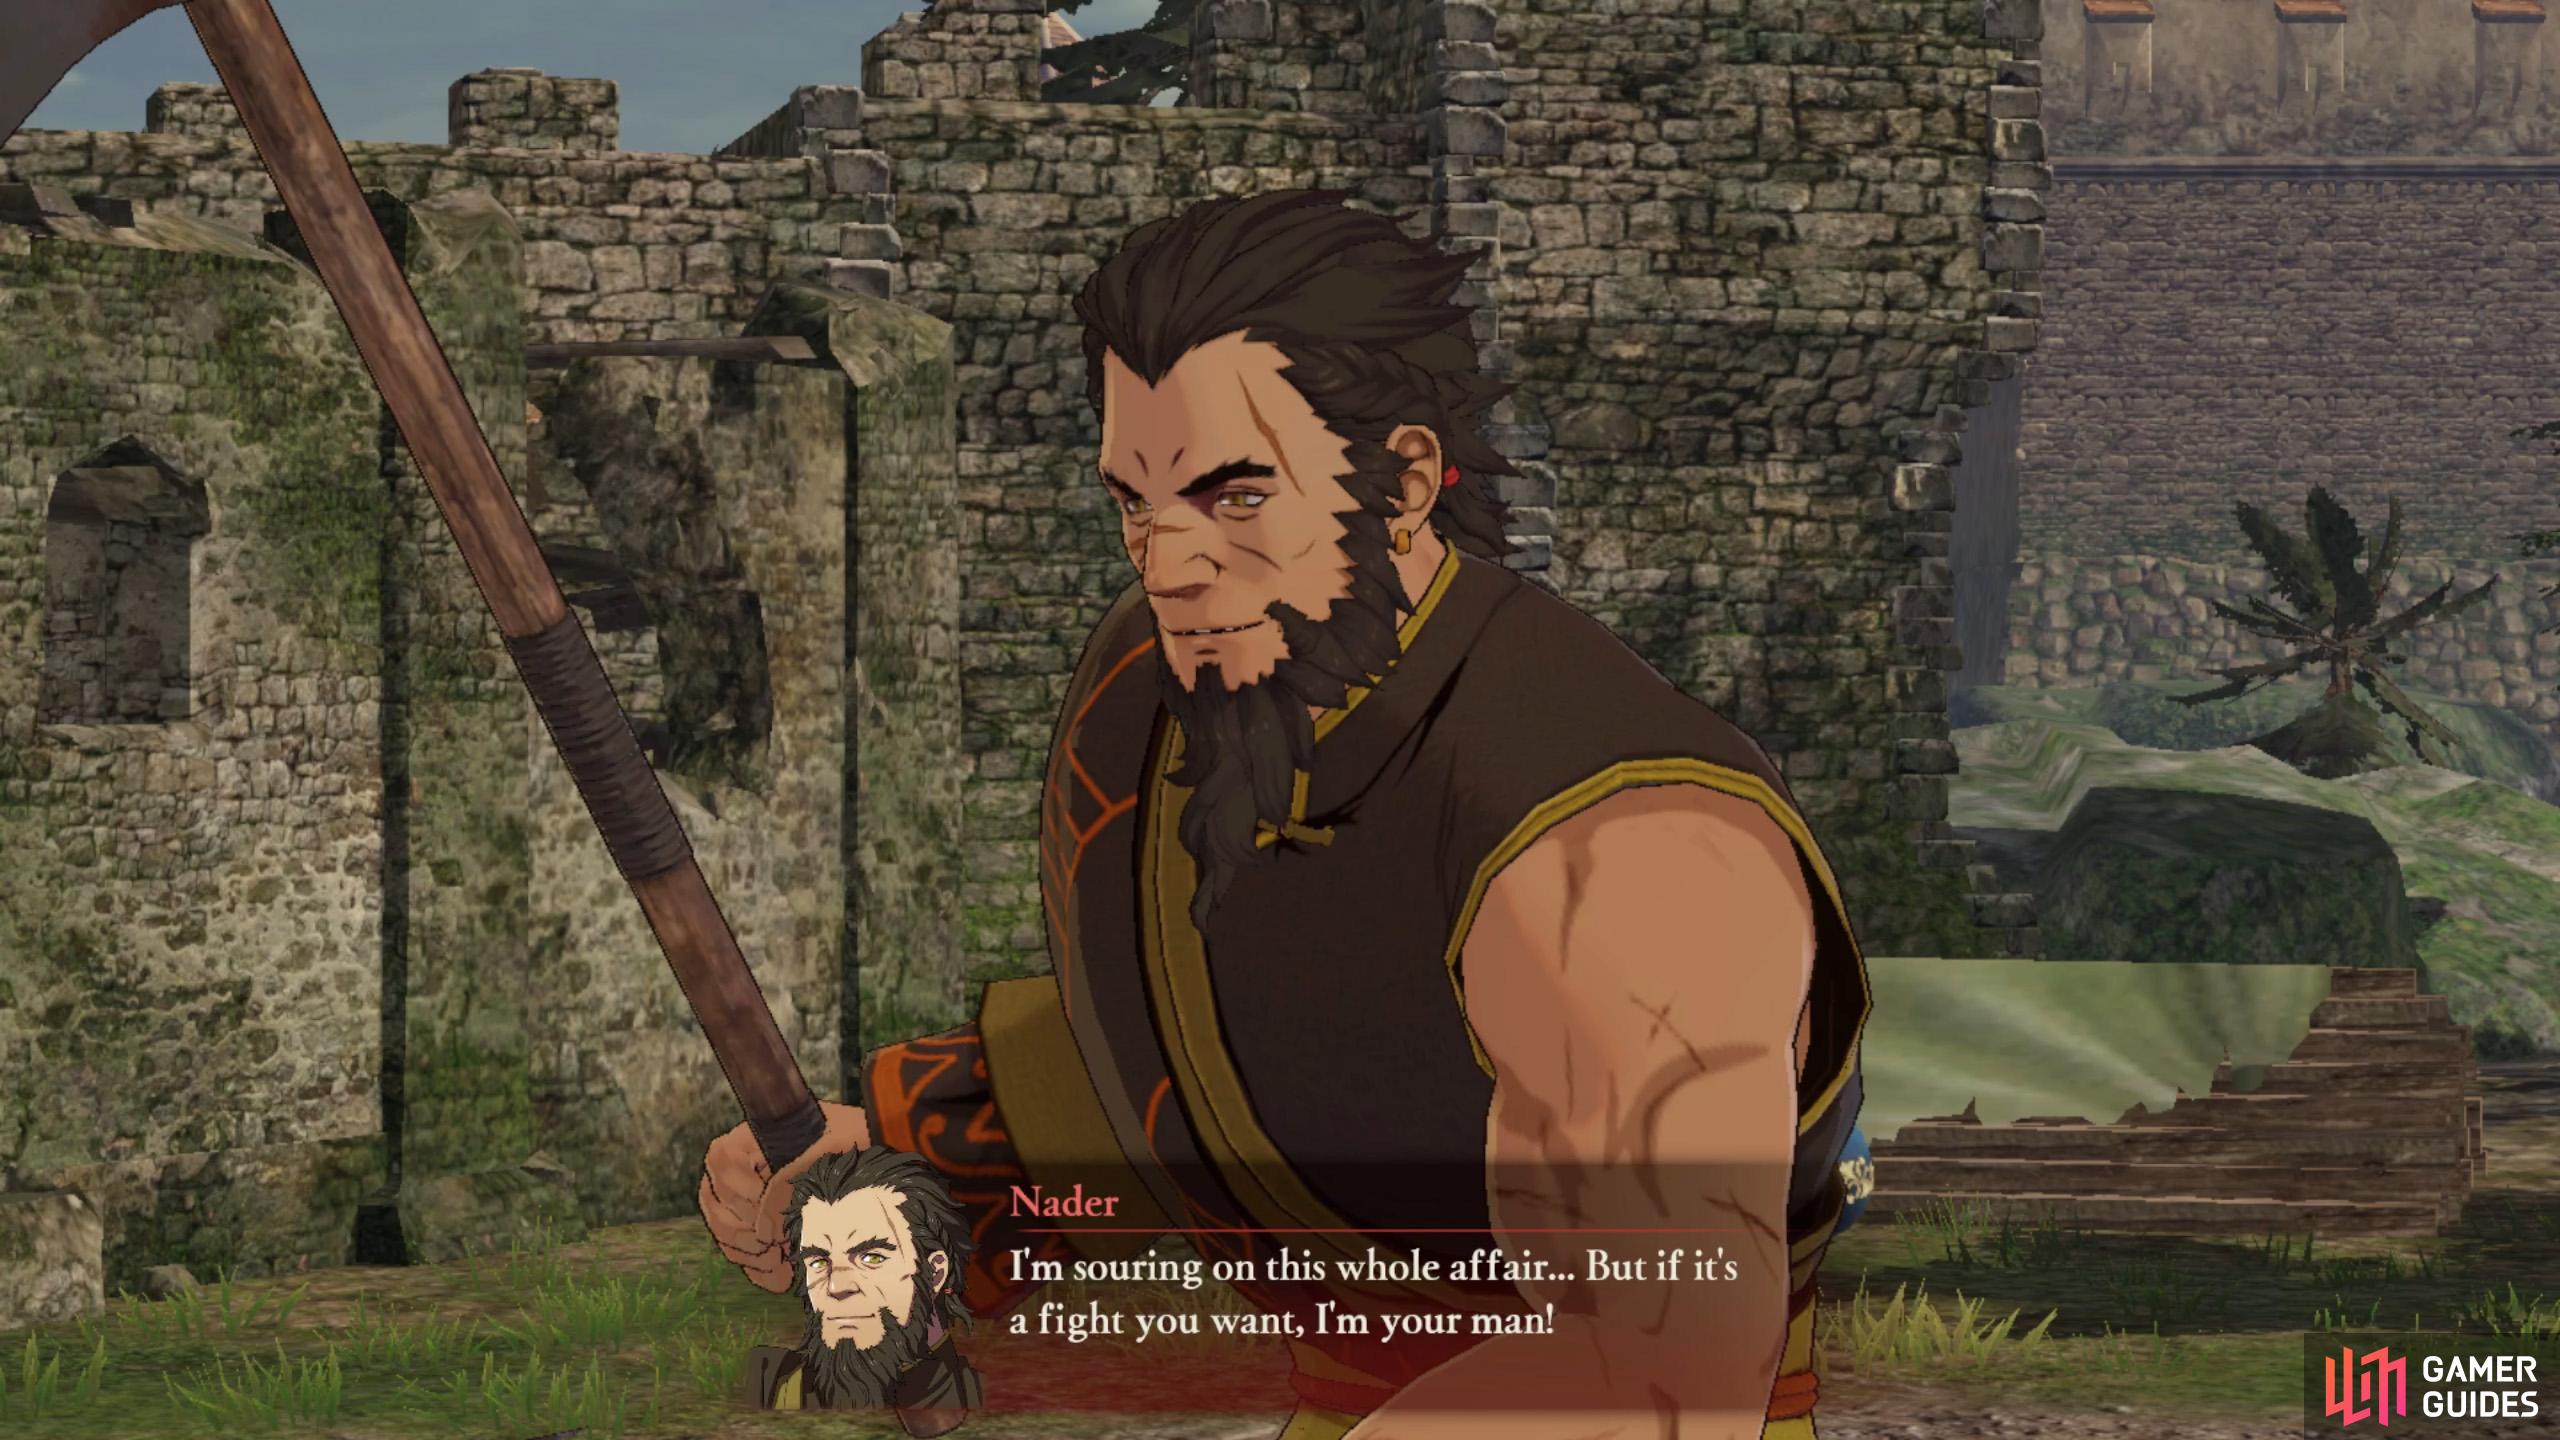
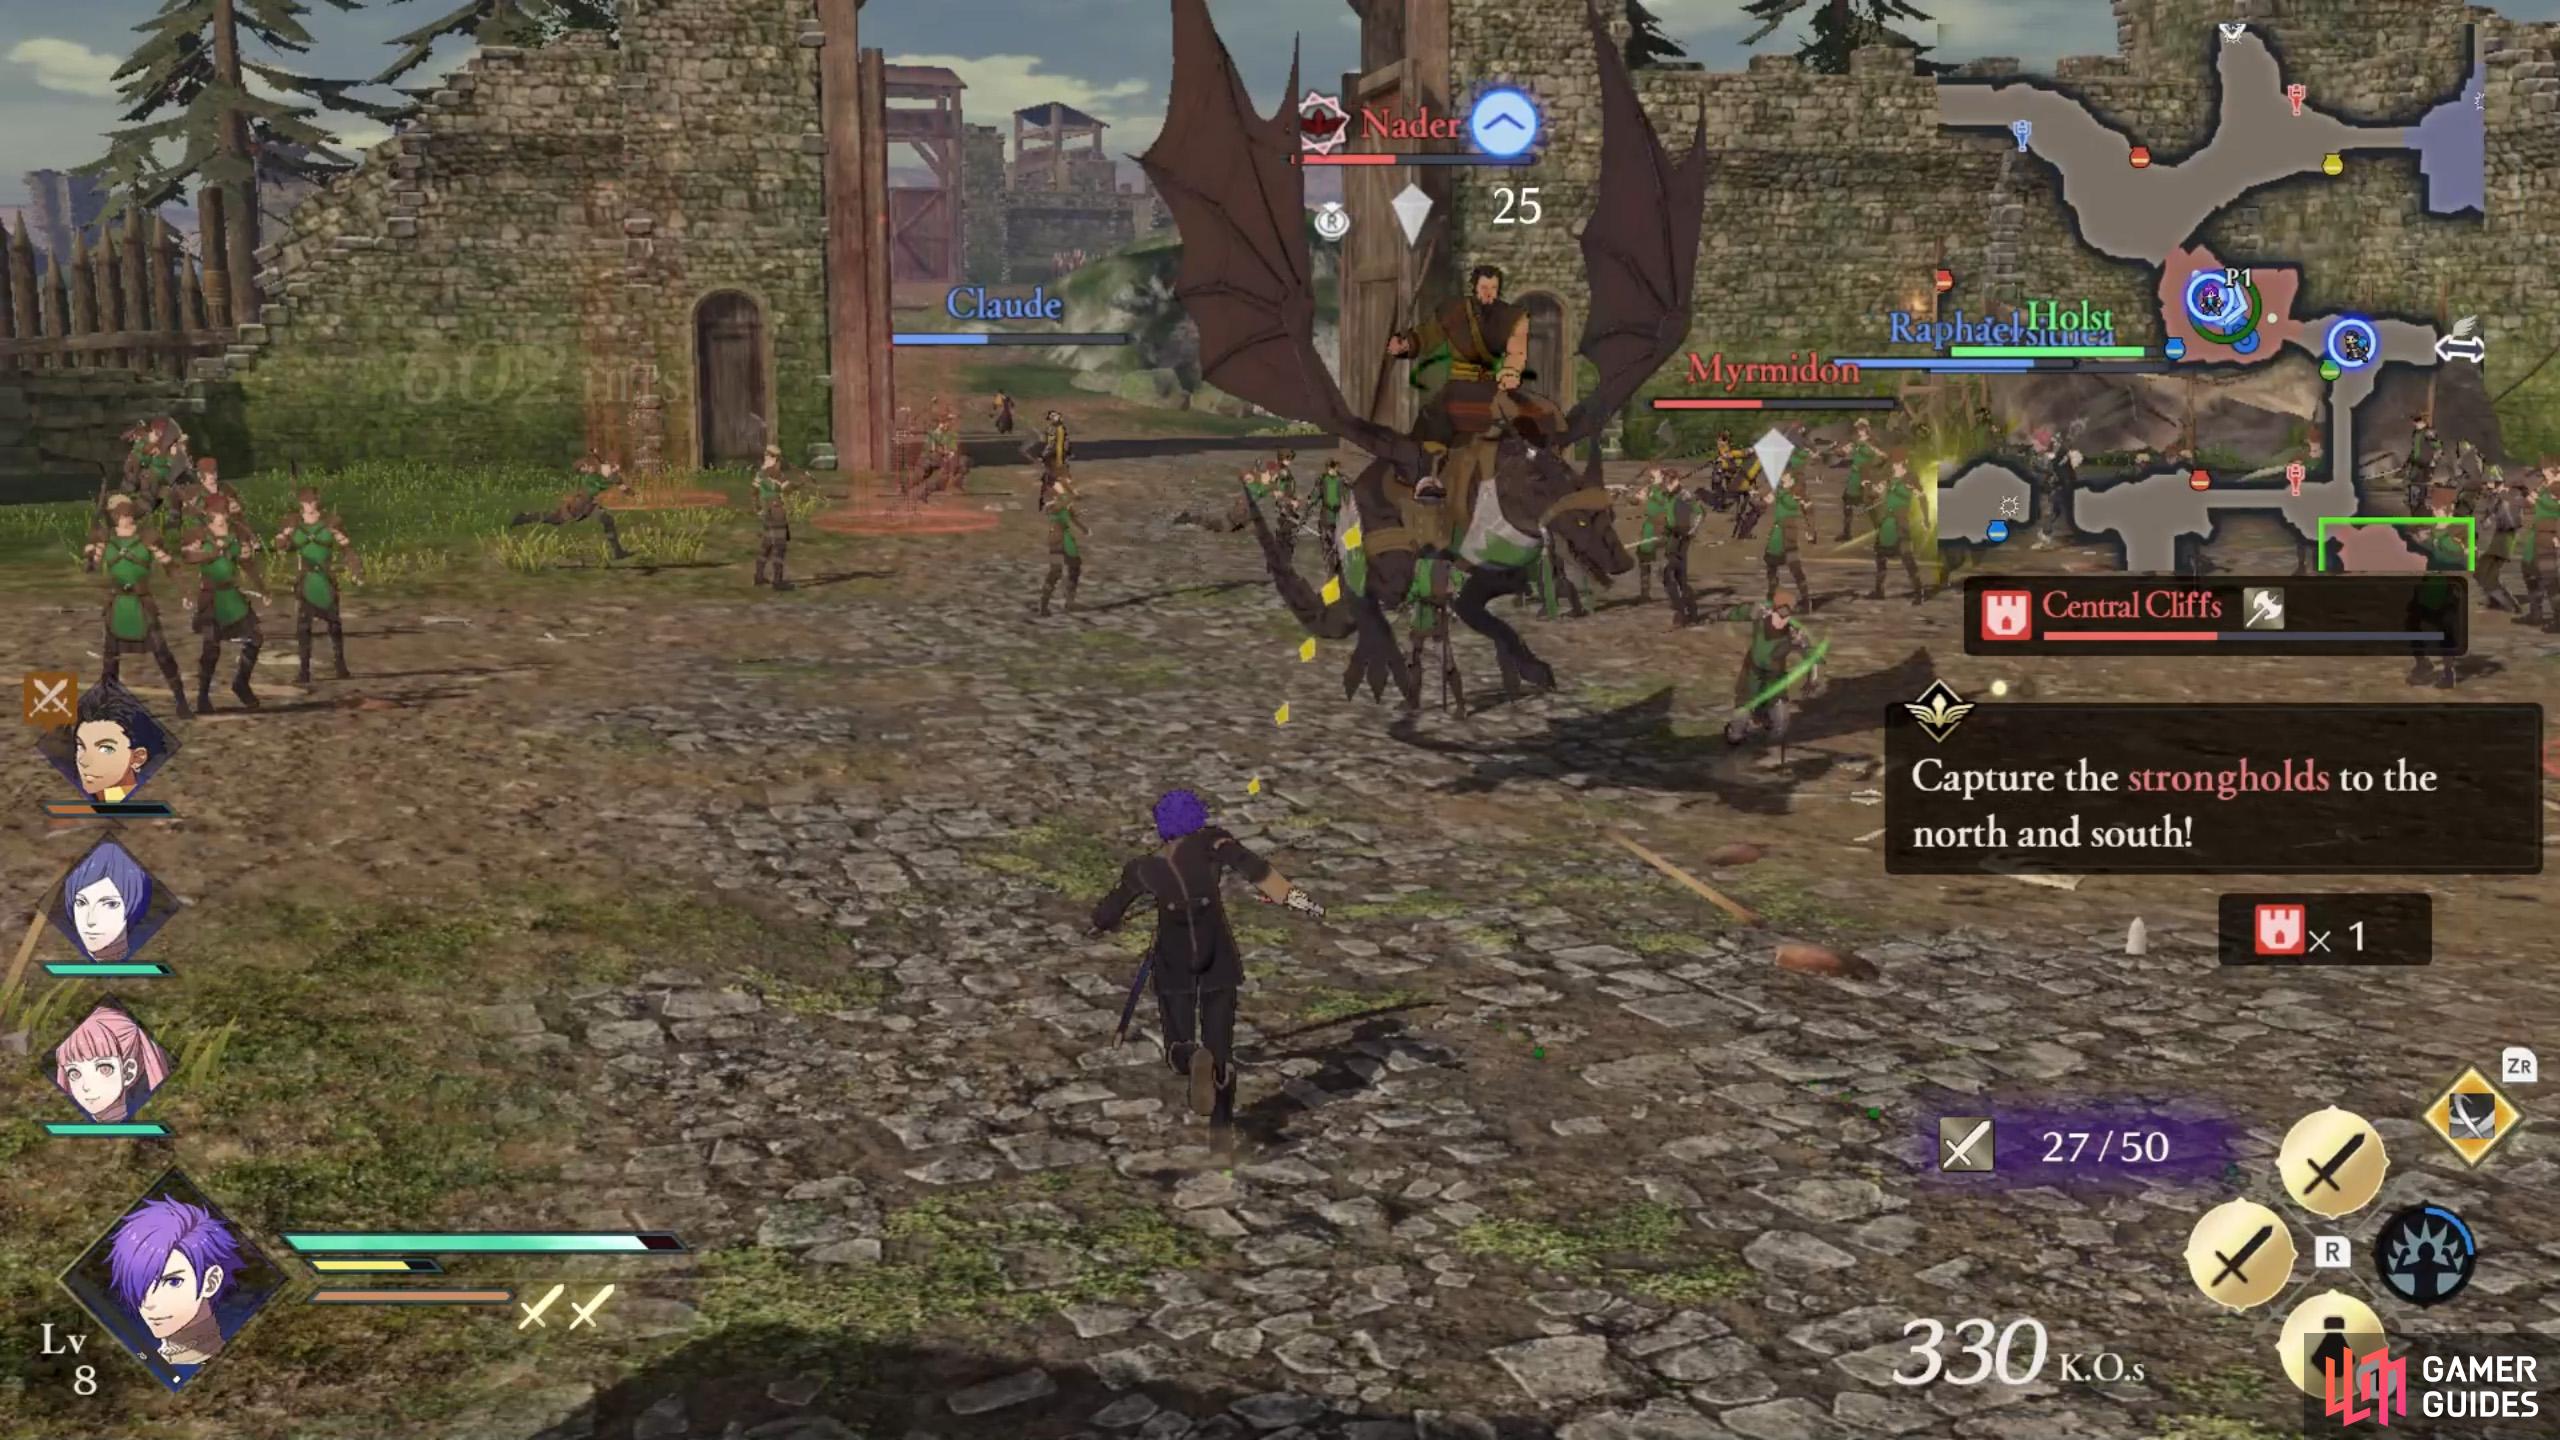
Nader the Undefeated earned his name by not staying around long enough to lose. (left), Use bows or swords to send Nader running (or flying) away. (right)
There’s more going on. At the central stronghold, where Holst is, Nader is causing a nuisance. He’s basically a stronger Wyvern Rider, so control a bow/sword user yourself and take him on. With everyone in their default classes, you have 3 bow/sword users, which is exactly enough for both side missions, simultaneously. Otherwise, prioritize saving the Alliance soldiers.
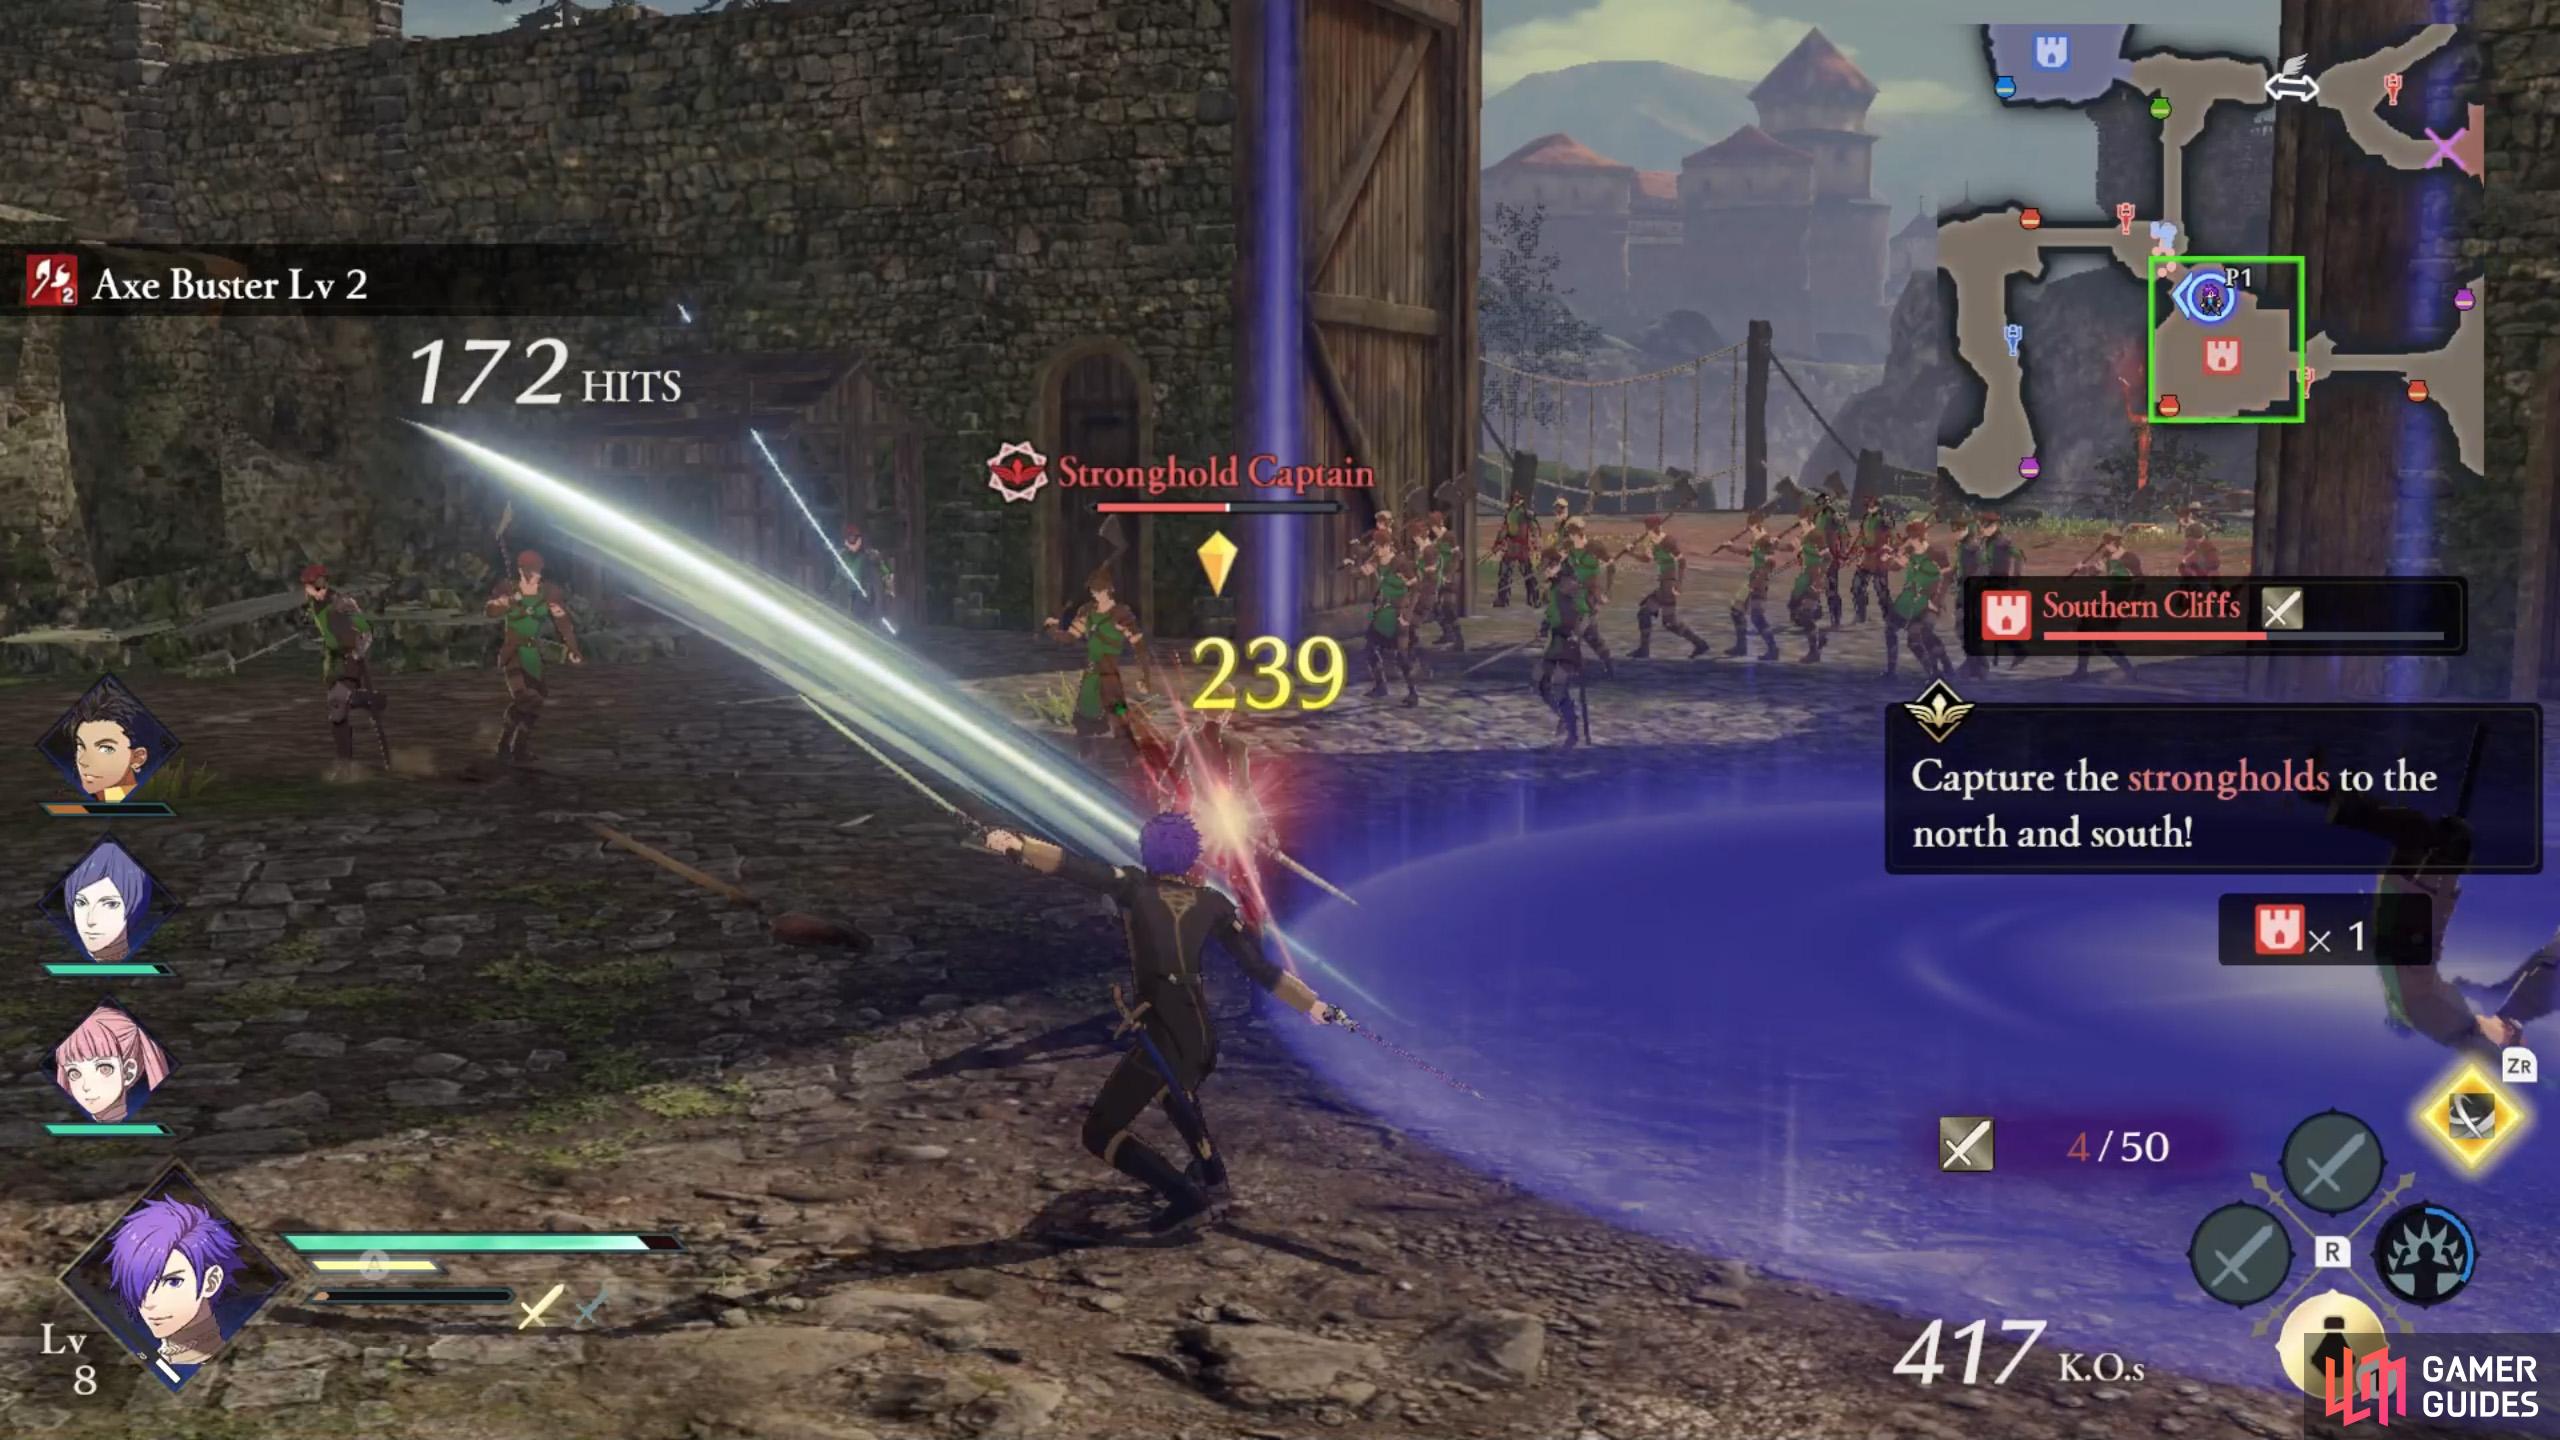
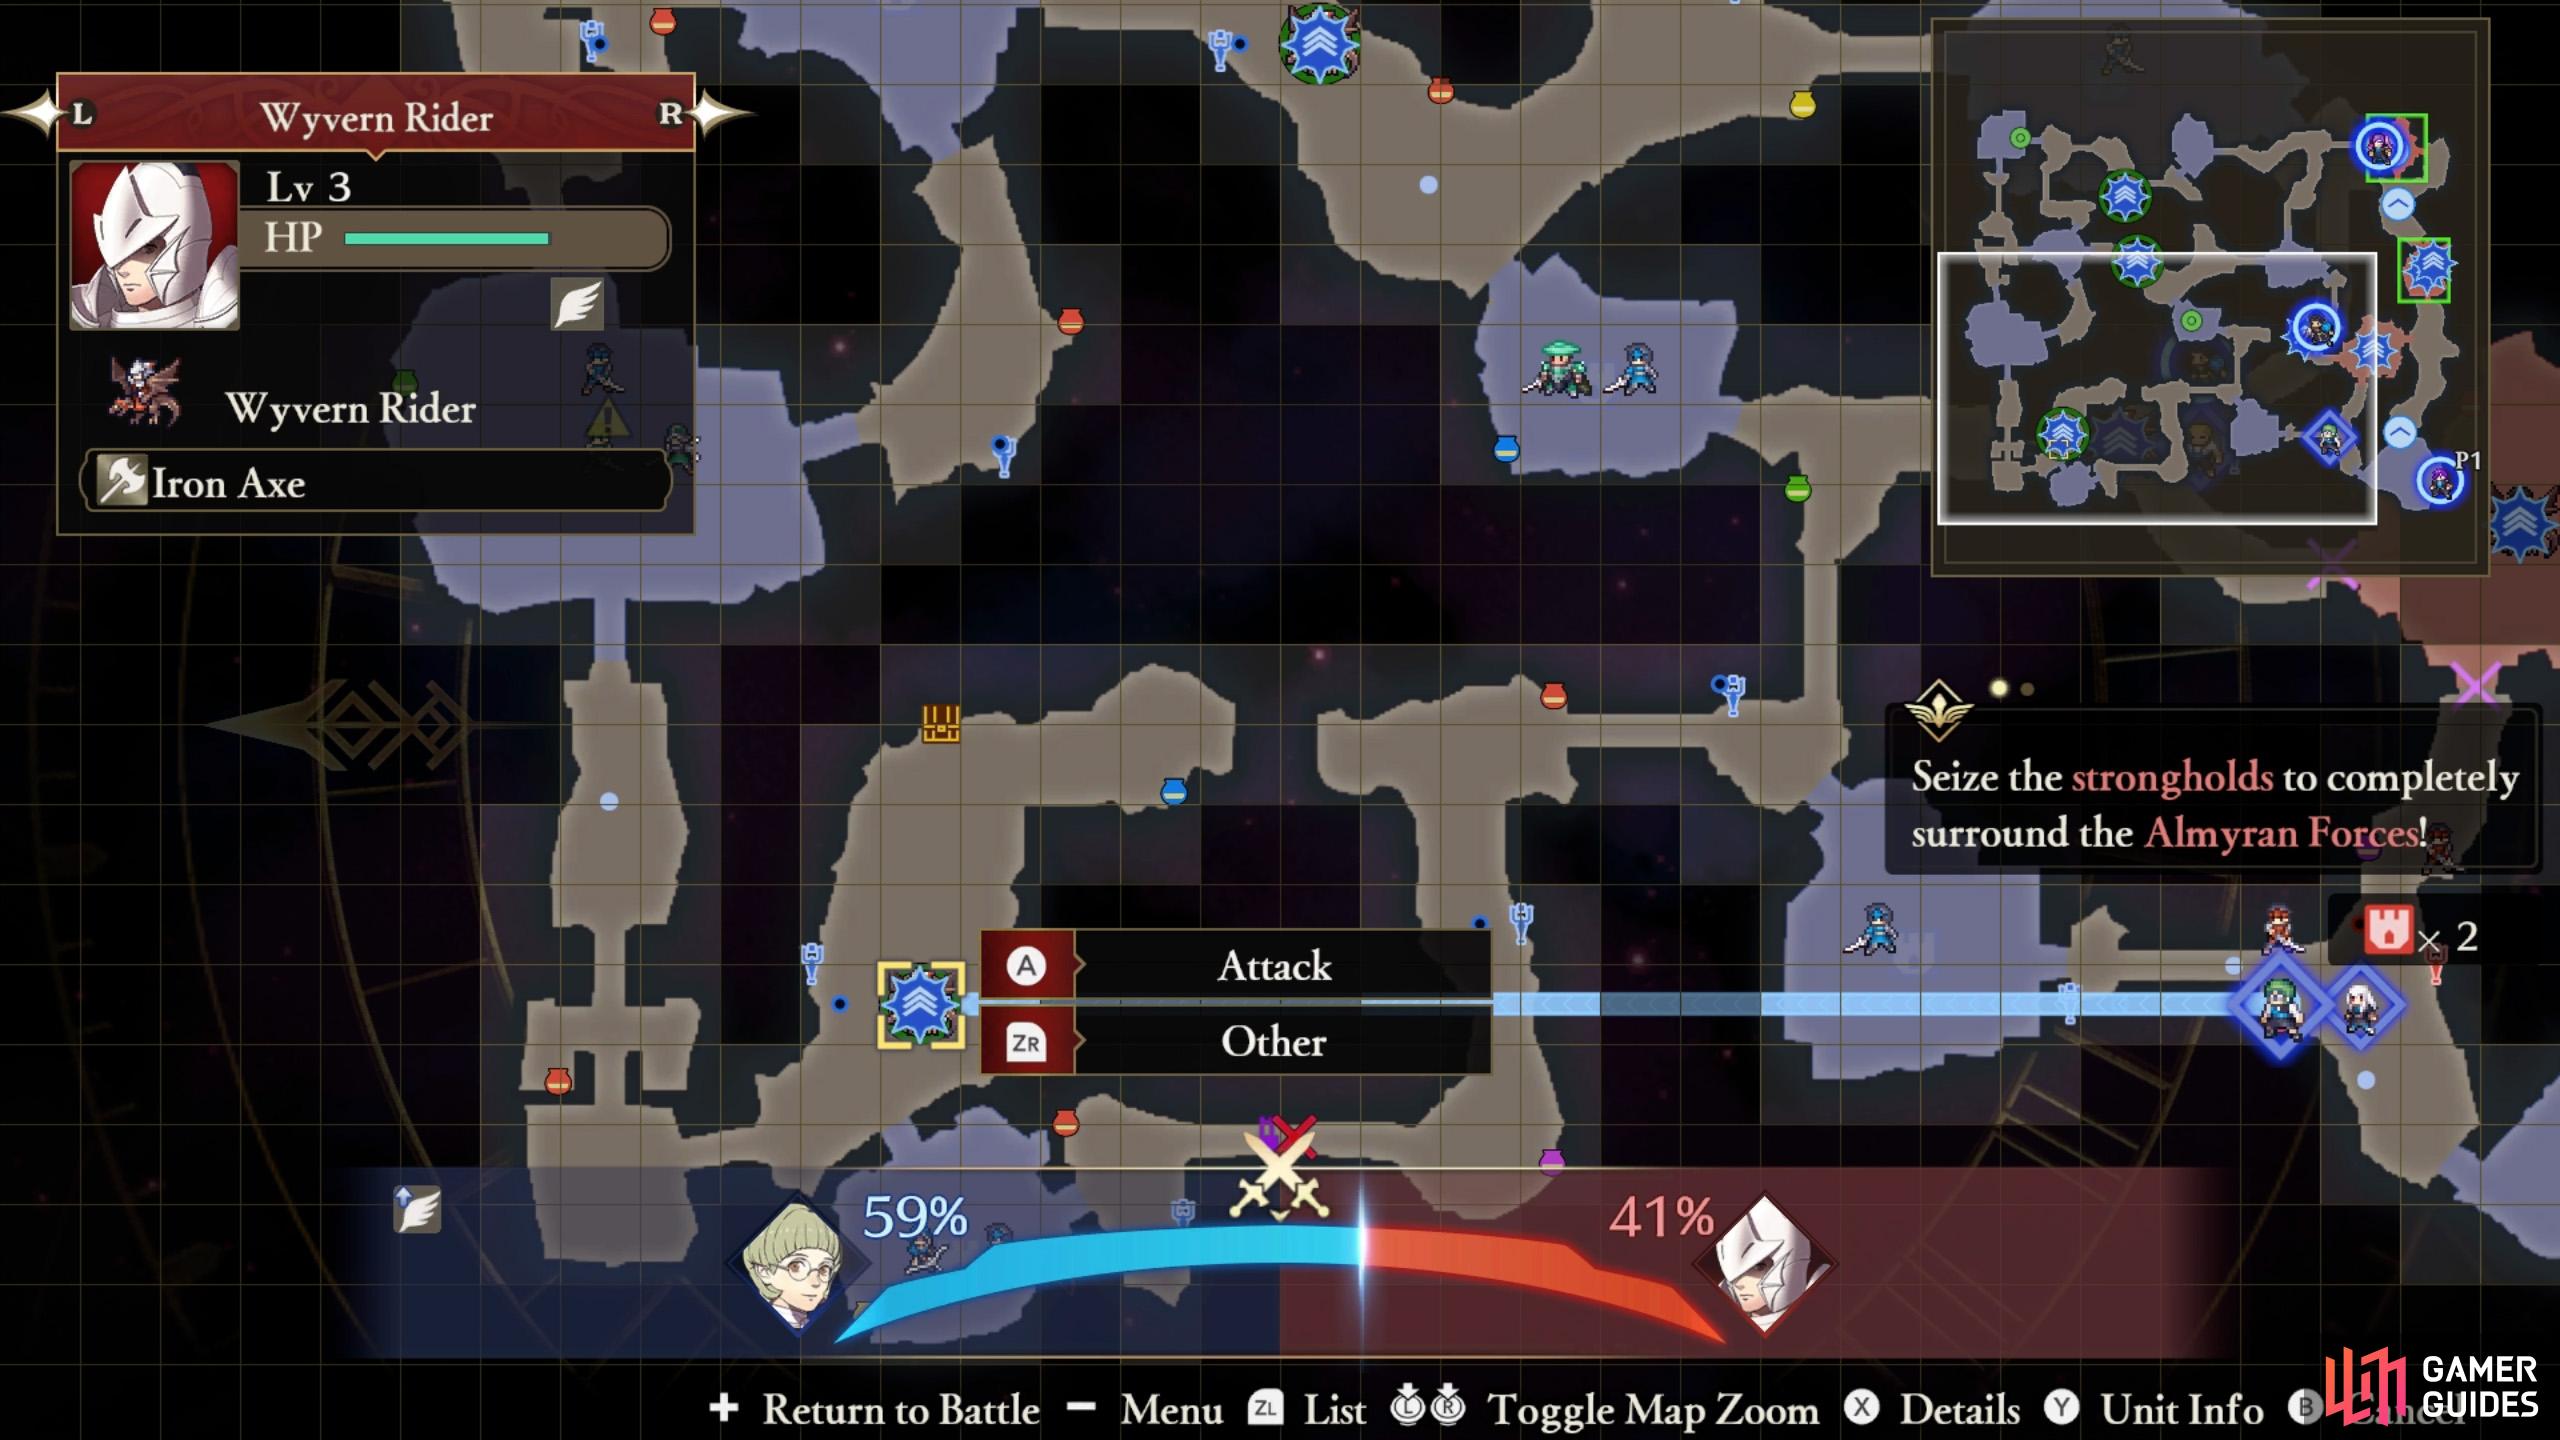
Mission 3: Seize the strongholds and surround the Almyran forces
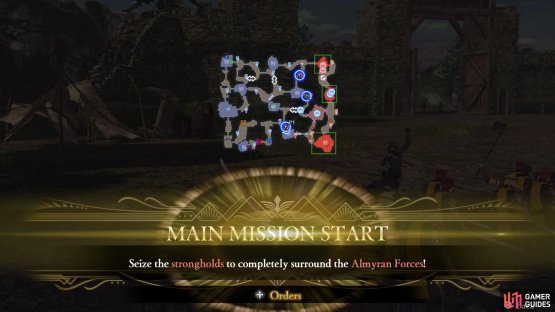
(1 of 2) After two strongholds, what’s three more?
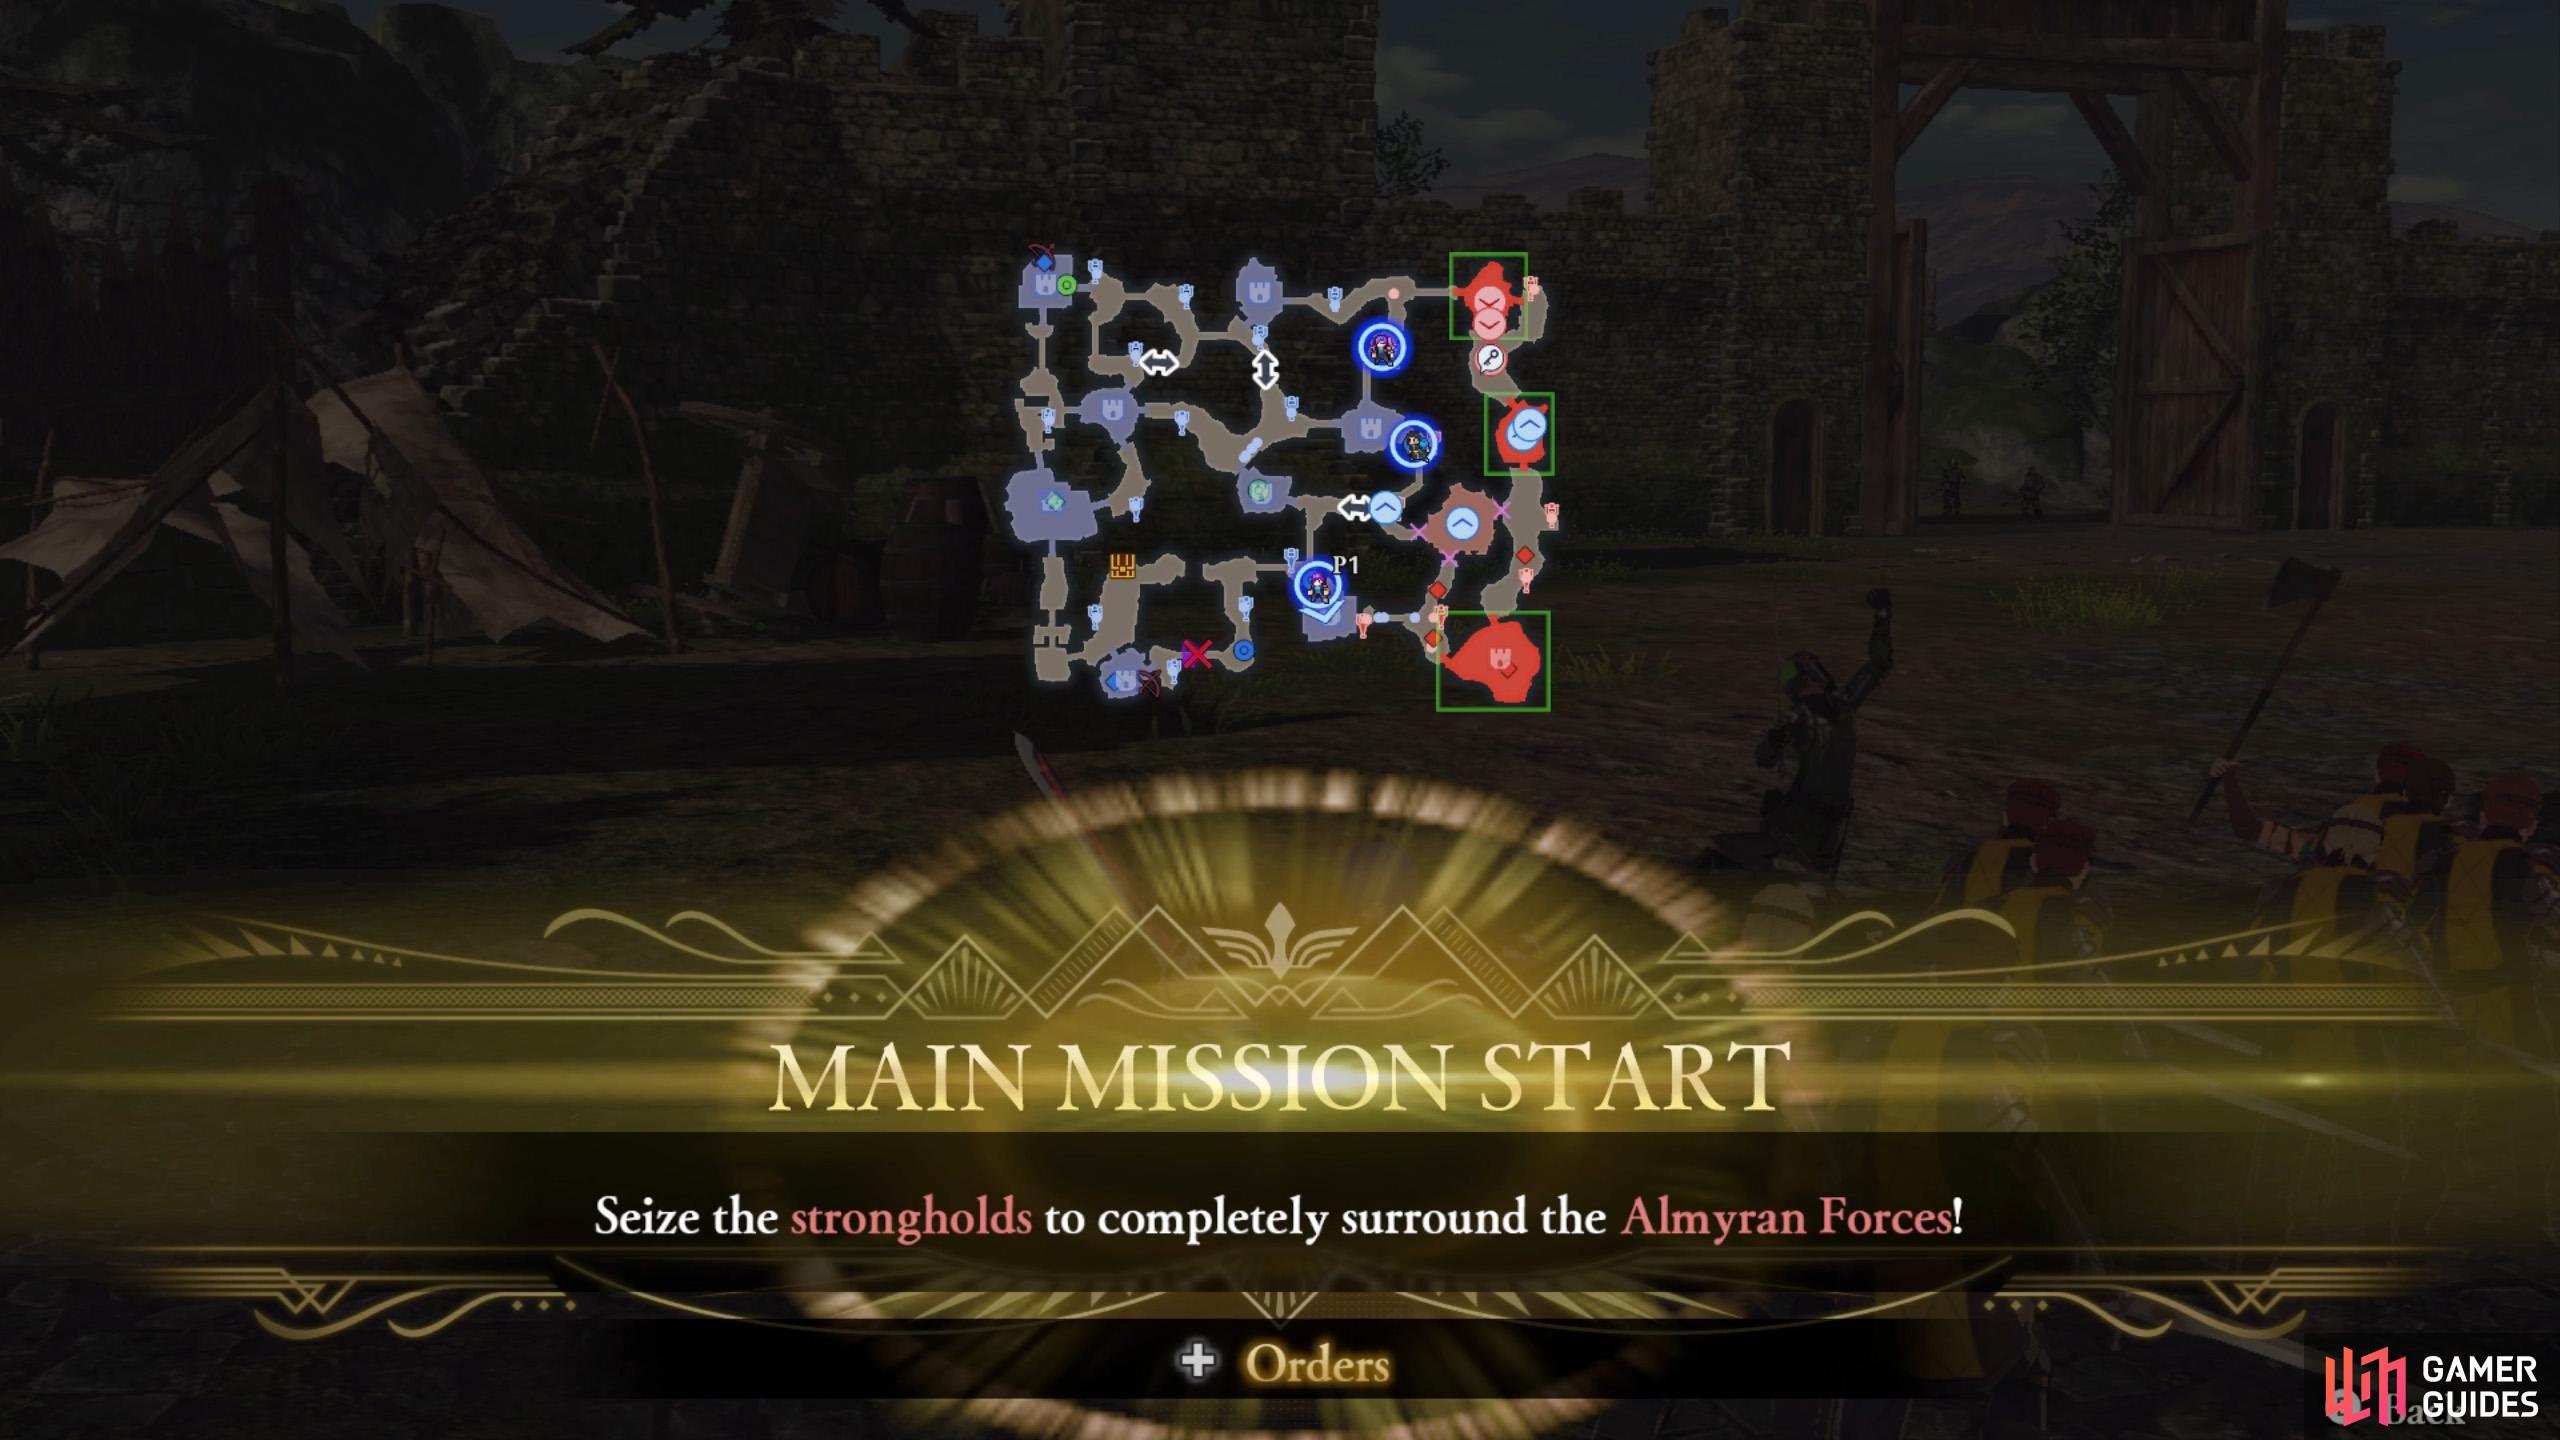
After two strongholds, what’s three more? (left), Send your sword/bow units to take on the middle stronghold. (right)
Having secured the north and south strongholds, the Almyran forces fail to learn their lesson and open most of their remaining gates. That’s your cue to push forward and continue capturing their strongholds. There are three strongholds–towards the north-east, east and south-east.
Similar to Mission 2, the upper stronghold is guarded by lancemen, so an axe, bow or gauntlet user should head that way. If you only have one axe user, keep them on hold for now. Likewise, the bottom stronghold is occupied by swordsmen, so a lance user is preferable. Finally, the middle stronghold has an axe-wielding Wyvern Rider, who’s susceptible to bow and sword users.
Again, use the Orders menu to dispatch 3 suitable characters to those strongholds. Meanwhile, order at least 3 characters back to your initial strongholds at the western edge of the map. Remember that you have 8 characters in this battle, 4 controllable and 4 not. However, you can issue orders to all 8.
Meanwhile, you should control a free character and head towards the south-east stronghold. We suggest controlling an axe, gauntlet or bow user. If you’re stretched thin for whatever reason, control whoever is supposed to take the south-east stronghold (the lance user).
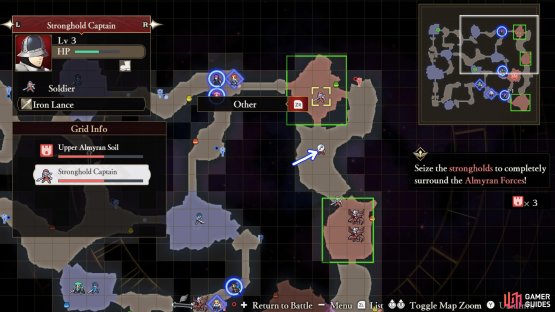
(1 of 2) You can loot a chest key from this lance-wielder.
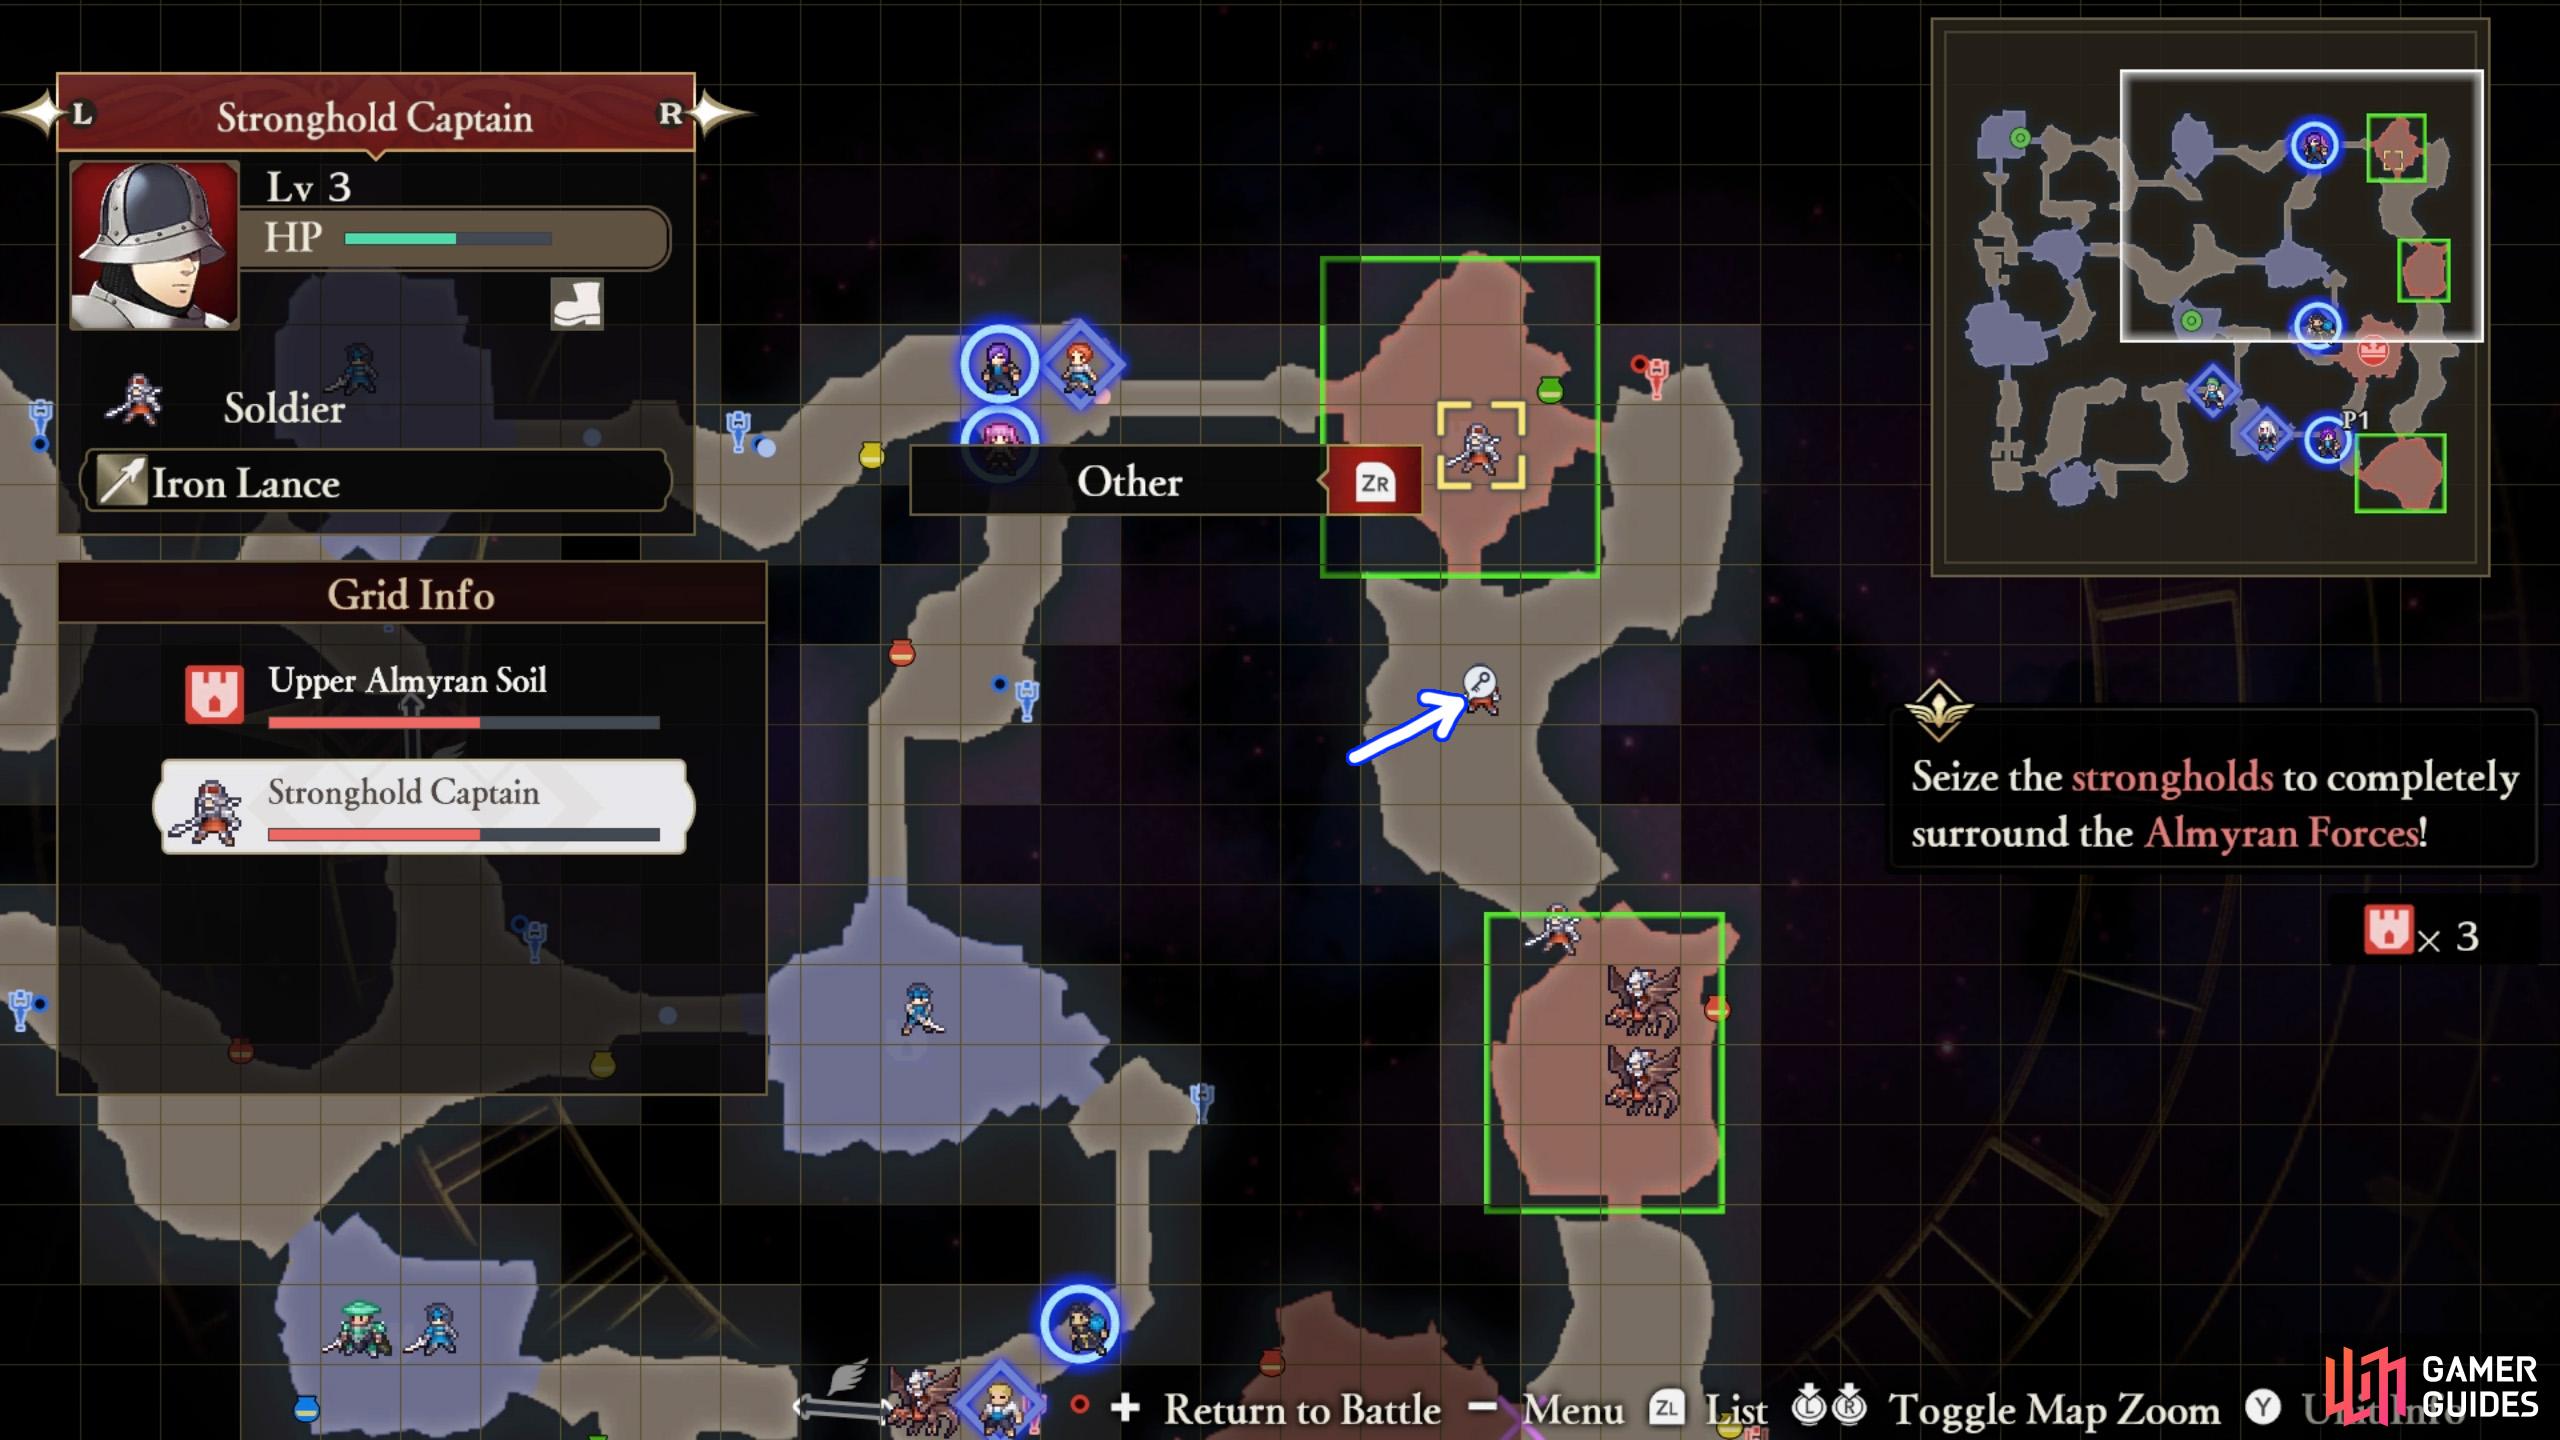
You can loot a chest key from this lance-wielder. (left), This chest contains an exam seal. (right)
Now that the east section has opened, you can reach a soldier holding a Chest Key just south of the north-east stronghold. You can order a character heading in that direction to defeat this soldier first, before continuing to the stronghold.
Once you’ve got the key, order somebody who’s near the chest (located south-east from the allied base) to open the chest. Of course, make sure that person isn’t busy.
Side Mission 3: Defeat the Messenger and stop the reinforcements
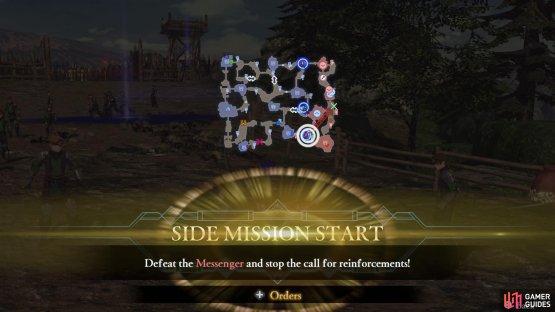

(1 of 2) Uh oh, stop them from calling reinforcements!

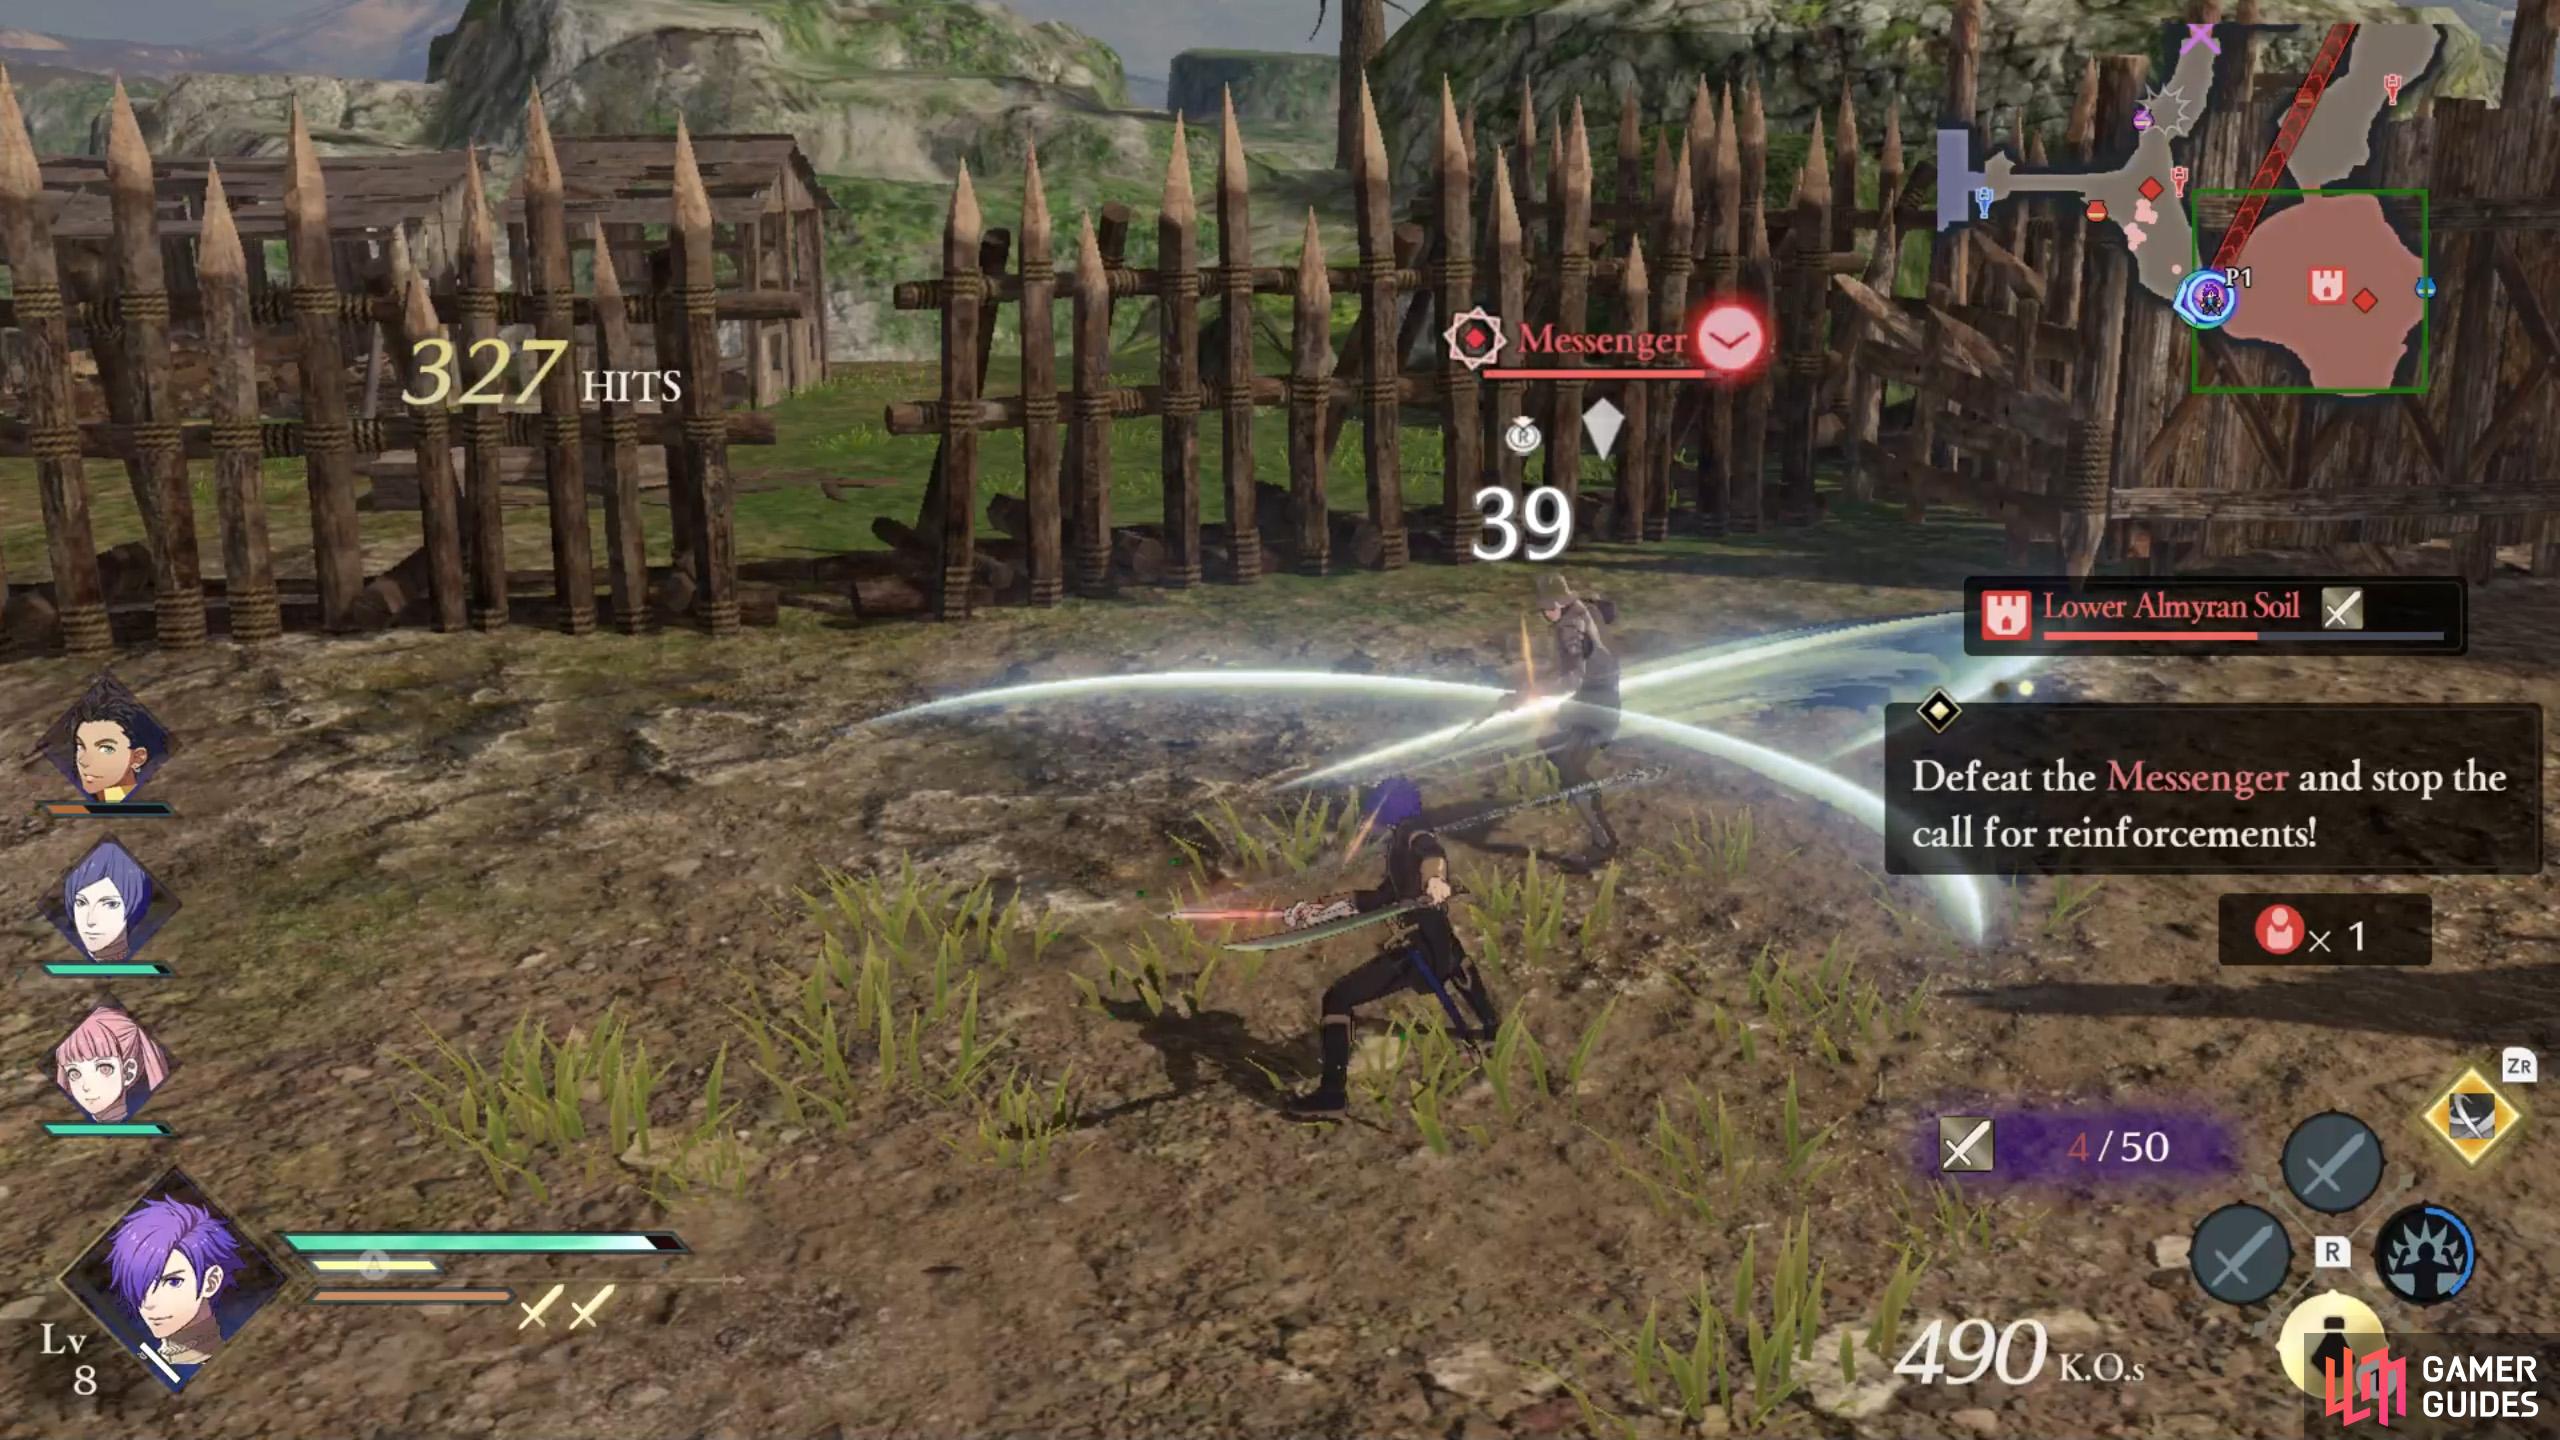
Uh oh, stop them from calling reinforcements! (left), Send an axe user after the messenger if possible. Otherwise, whoever’s closest. (right)
After a short while, a lance-wielding Messenger will spawn slightly west from the south-east stronghold. They will run towards a location just south of the east stronghold to call reinforcements. Without delay, chase after/intercept the Messenger. That’s why, earlier, we recommended going to the south-east stronghold yourself.
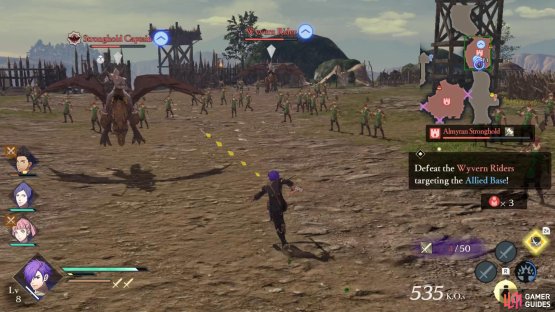
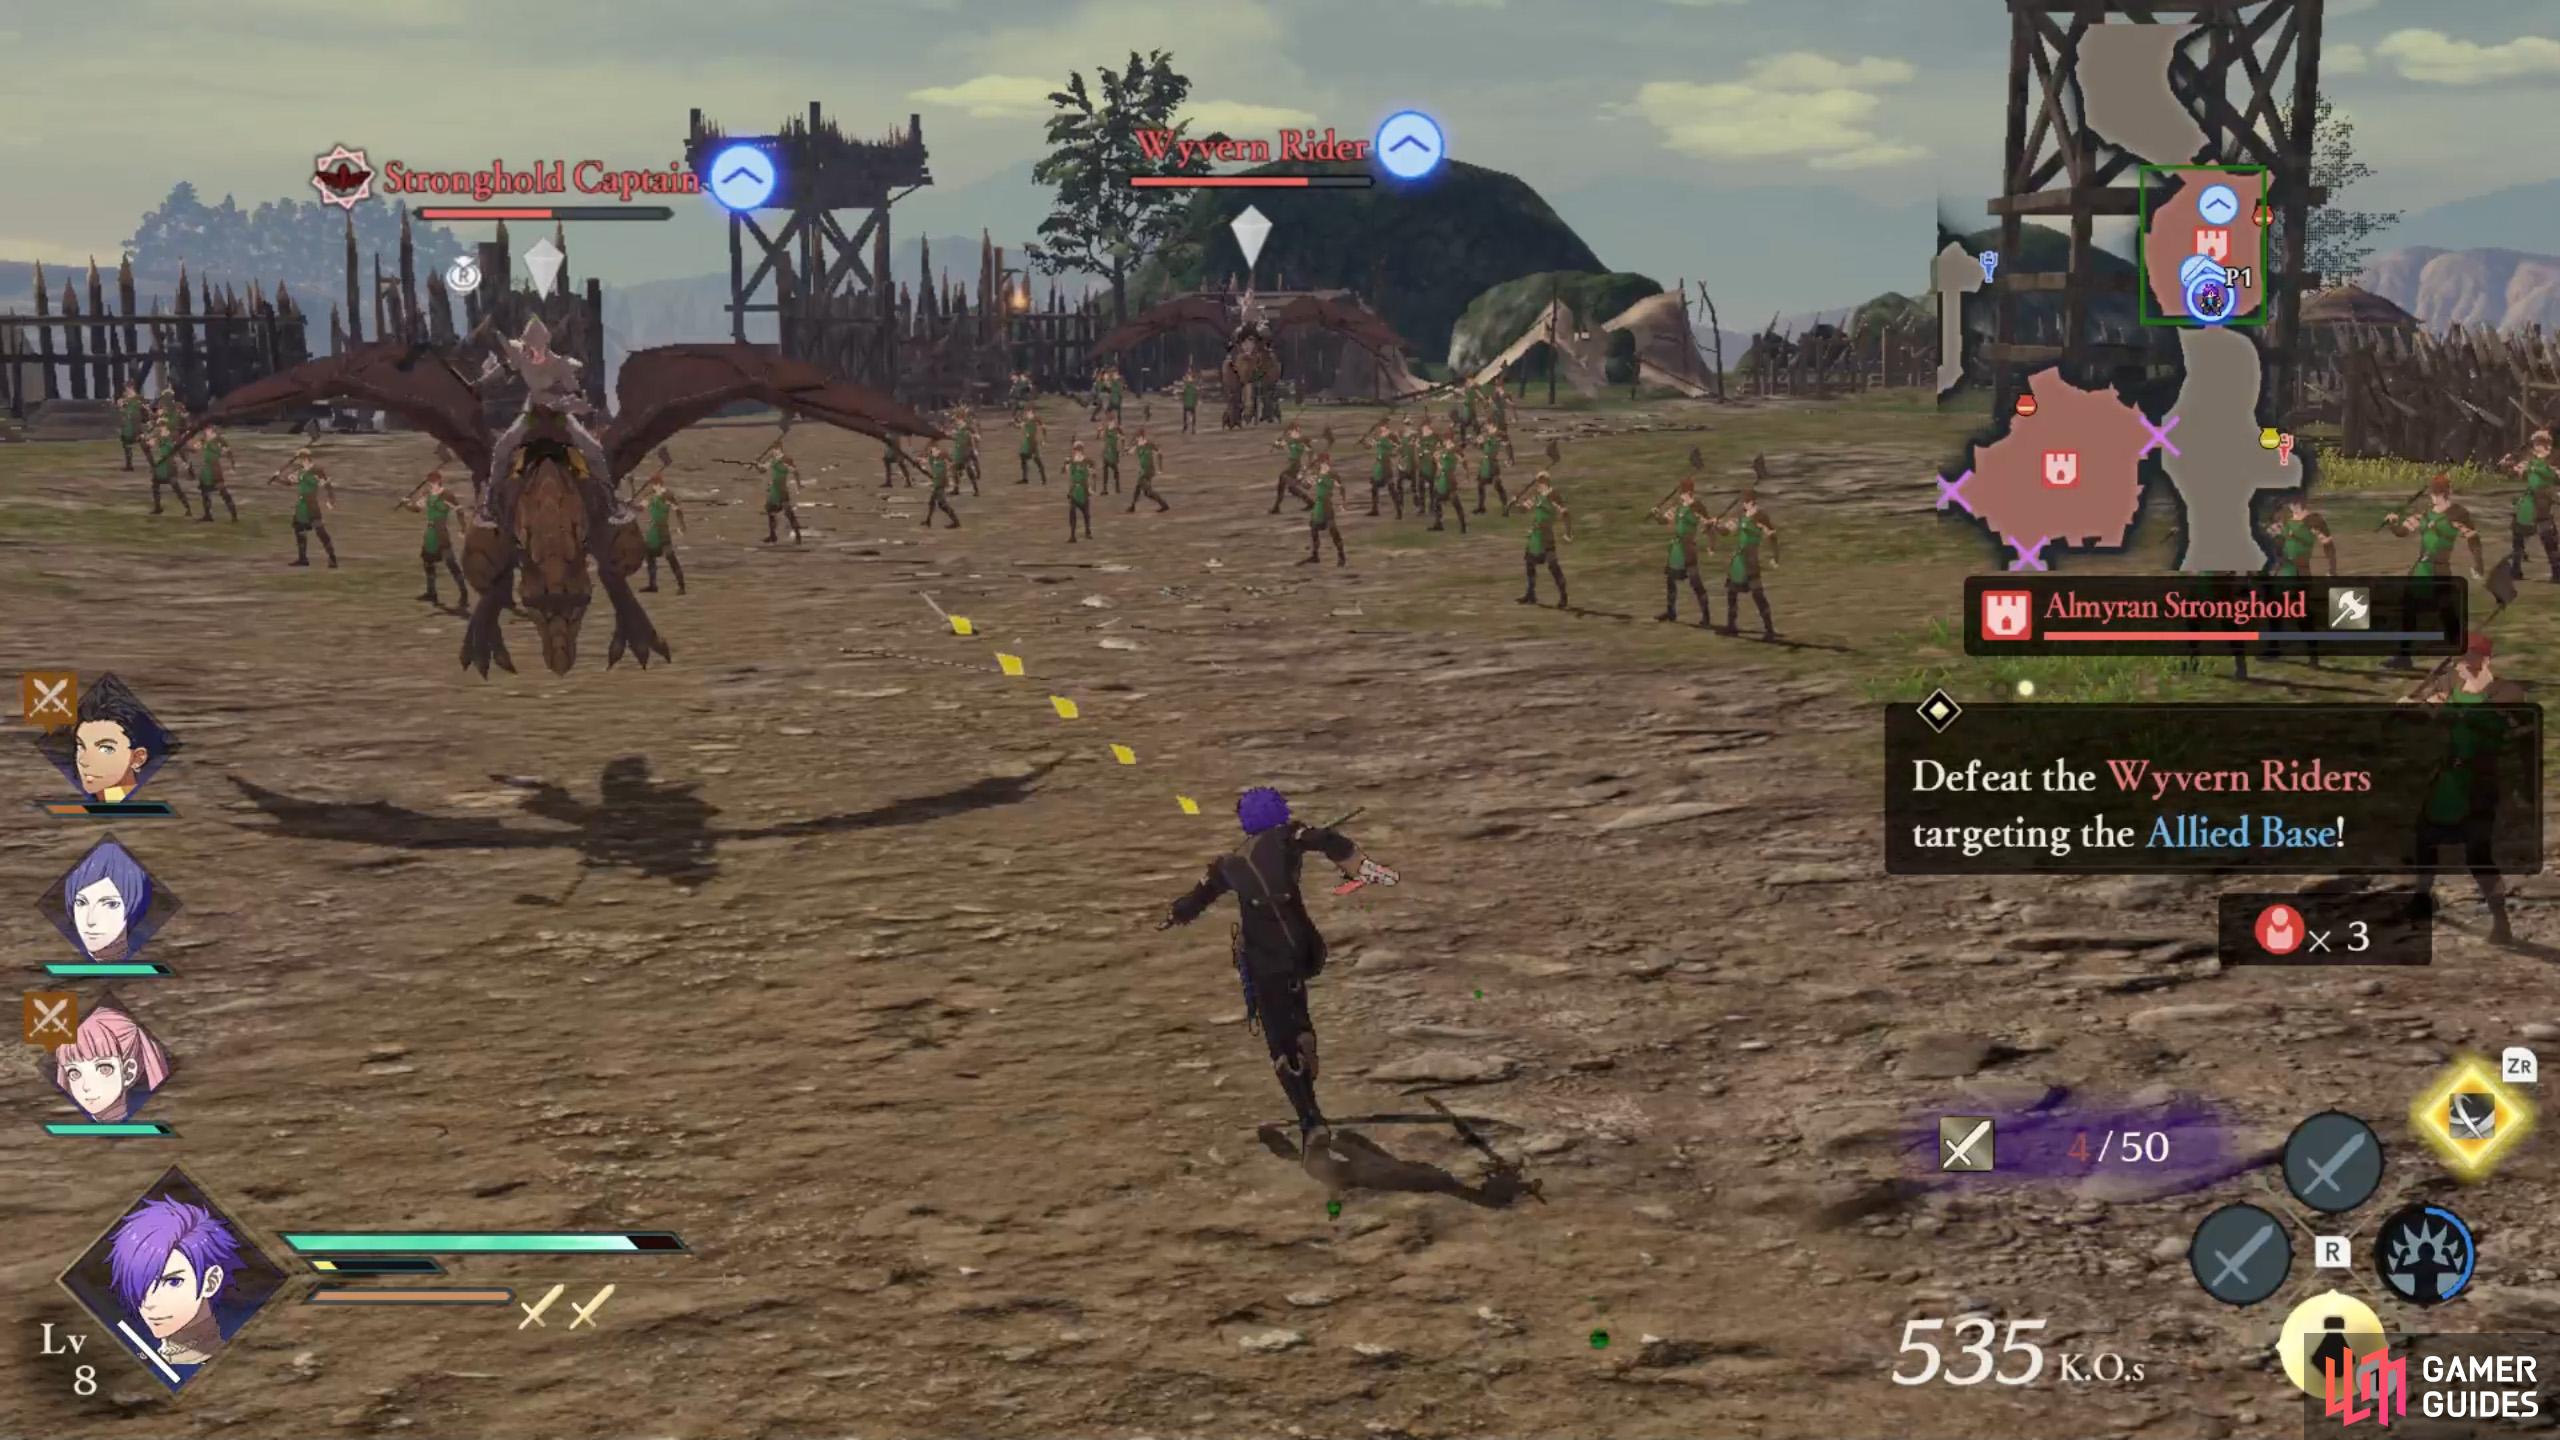
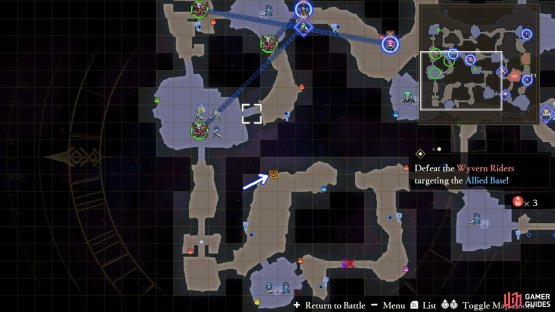
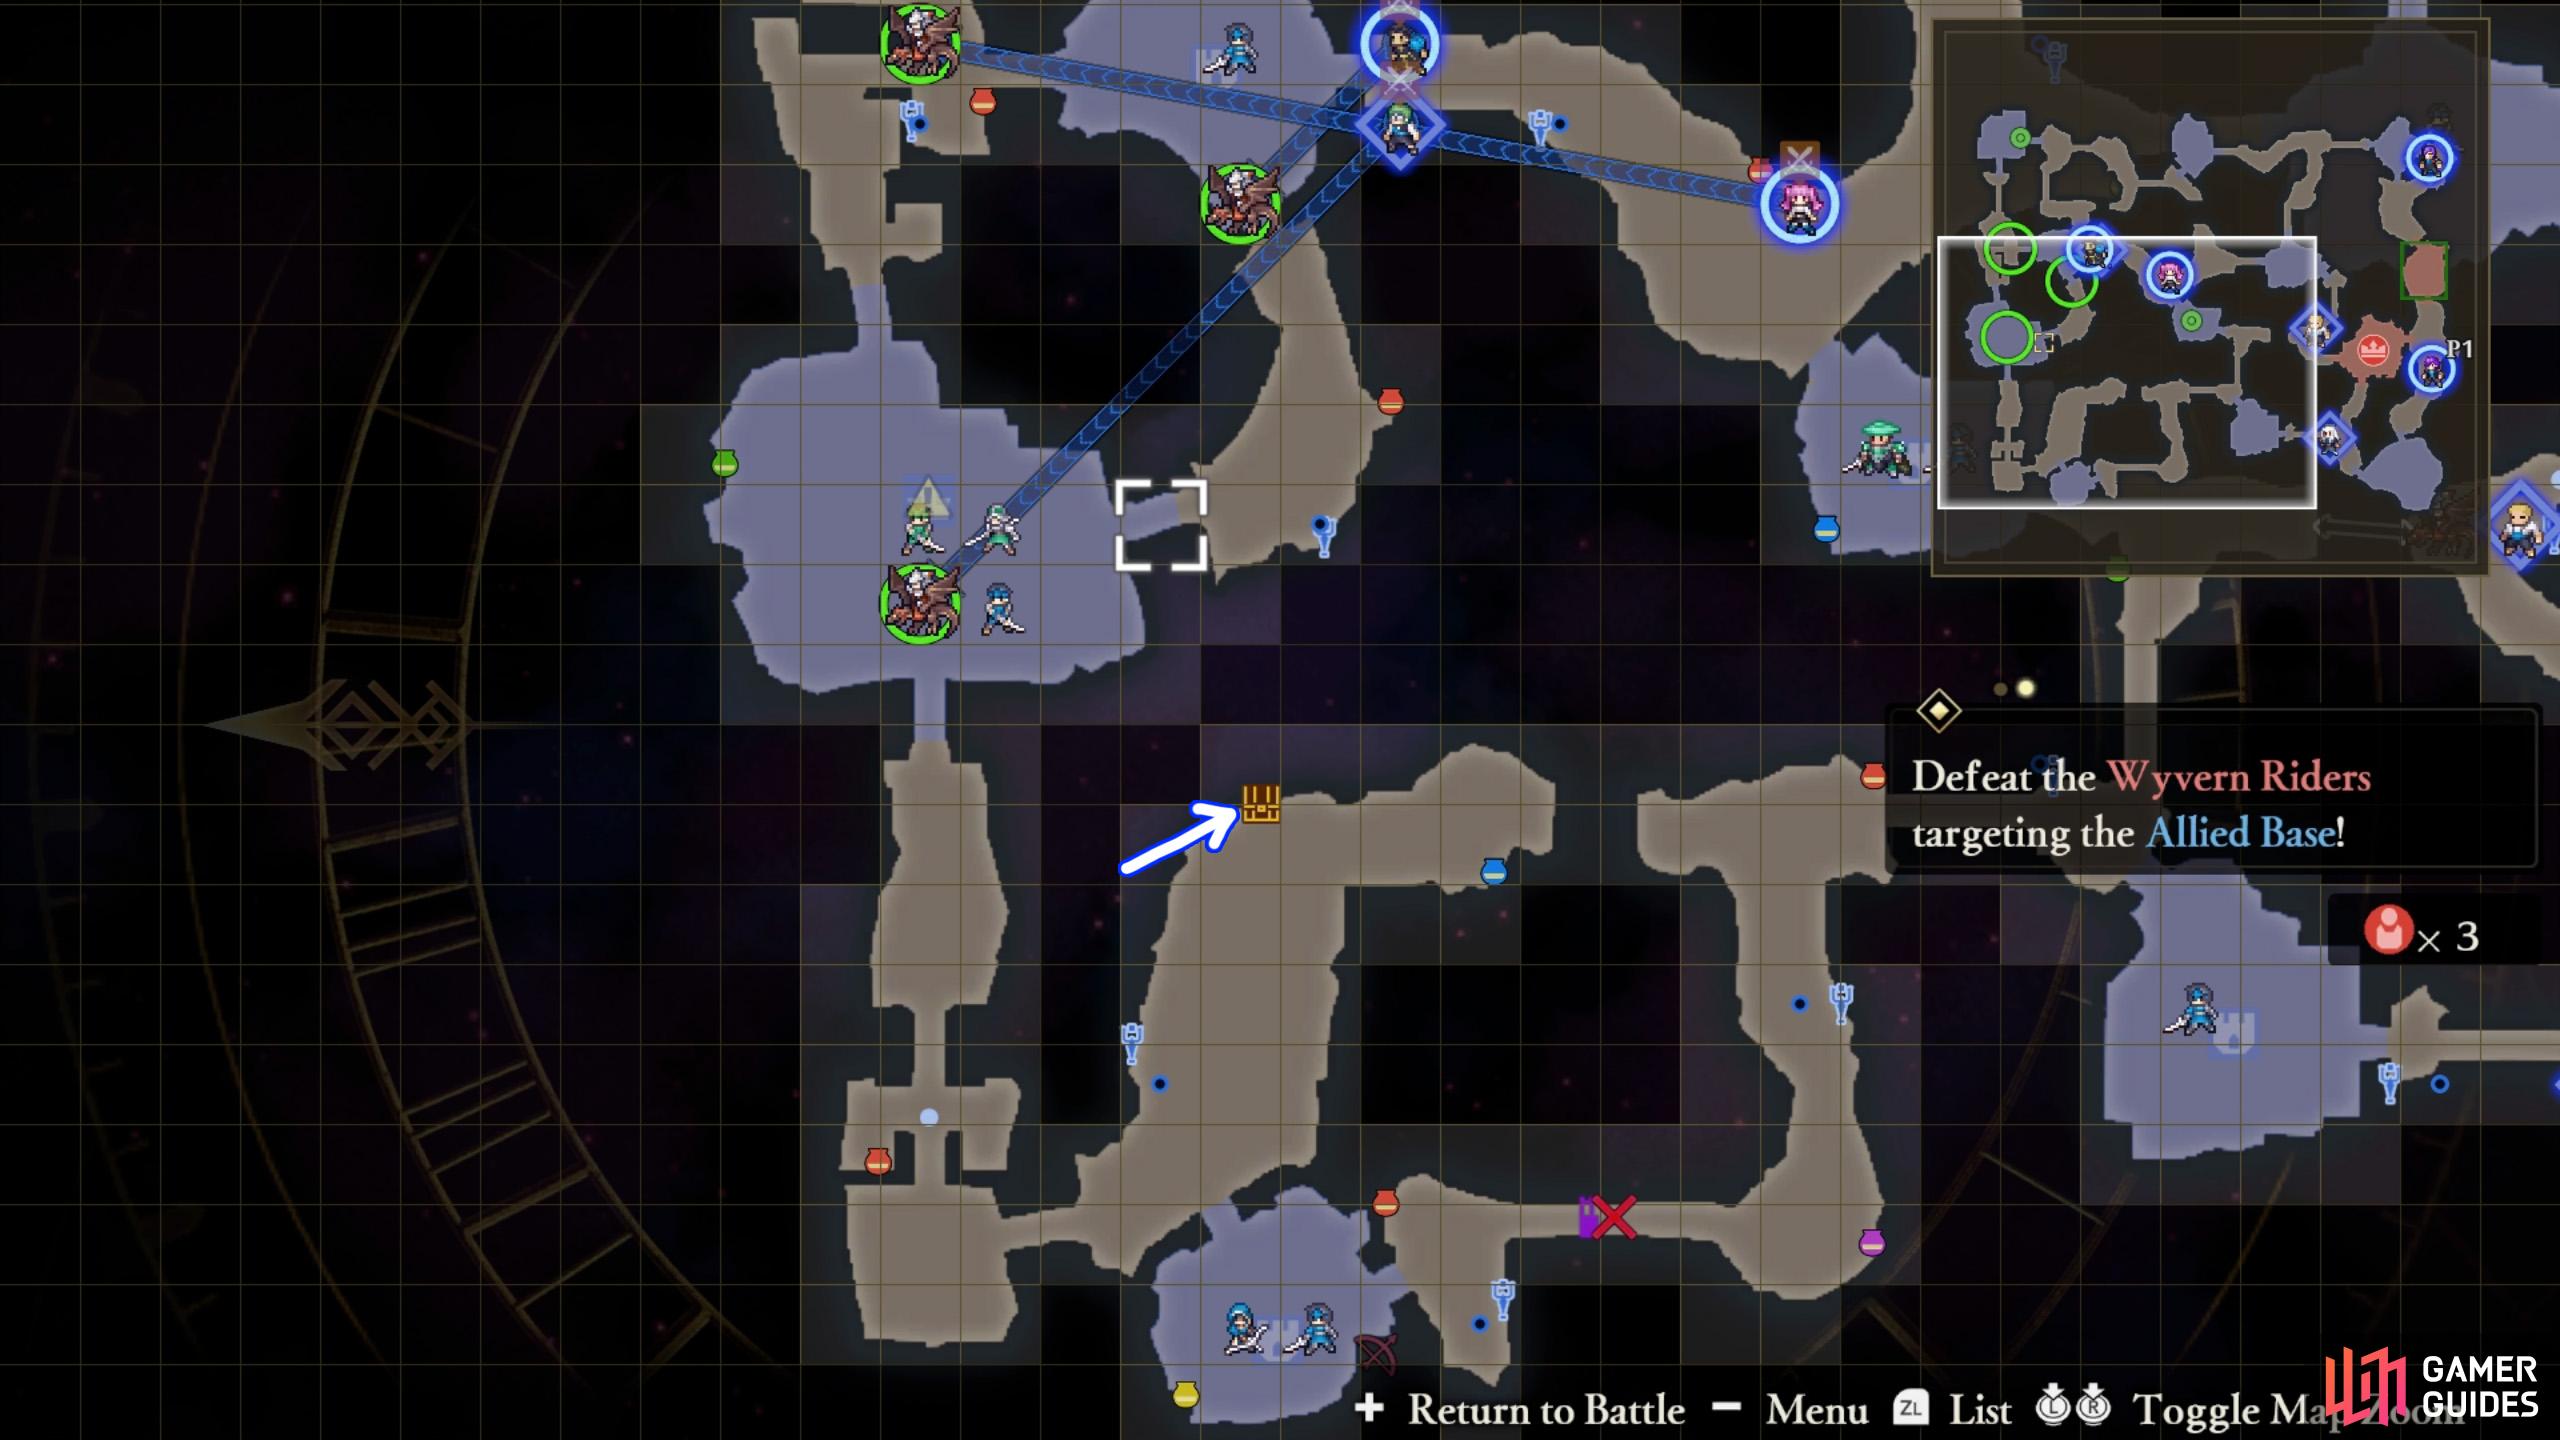
Side Mission 4: Defeat the Wyvern Riders targeting the allied base


(1 of 2) Hopefully you didn’t neglect to defend your base.
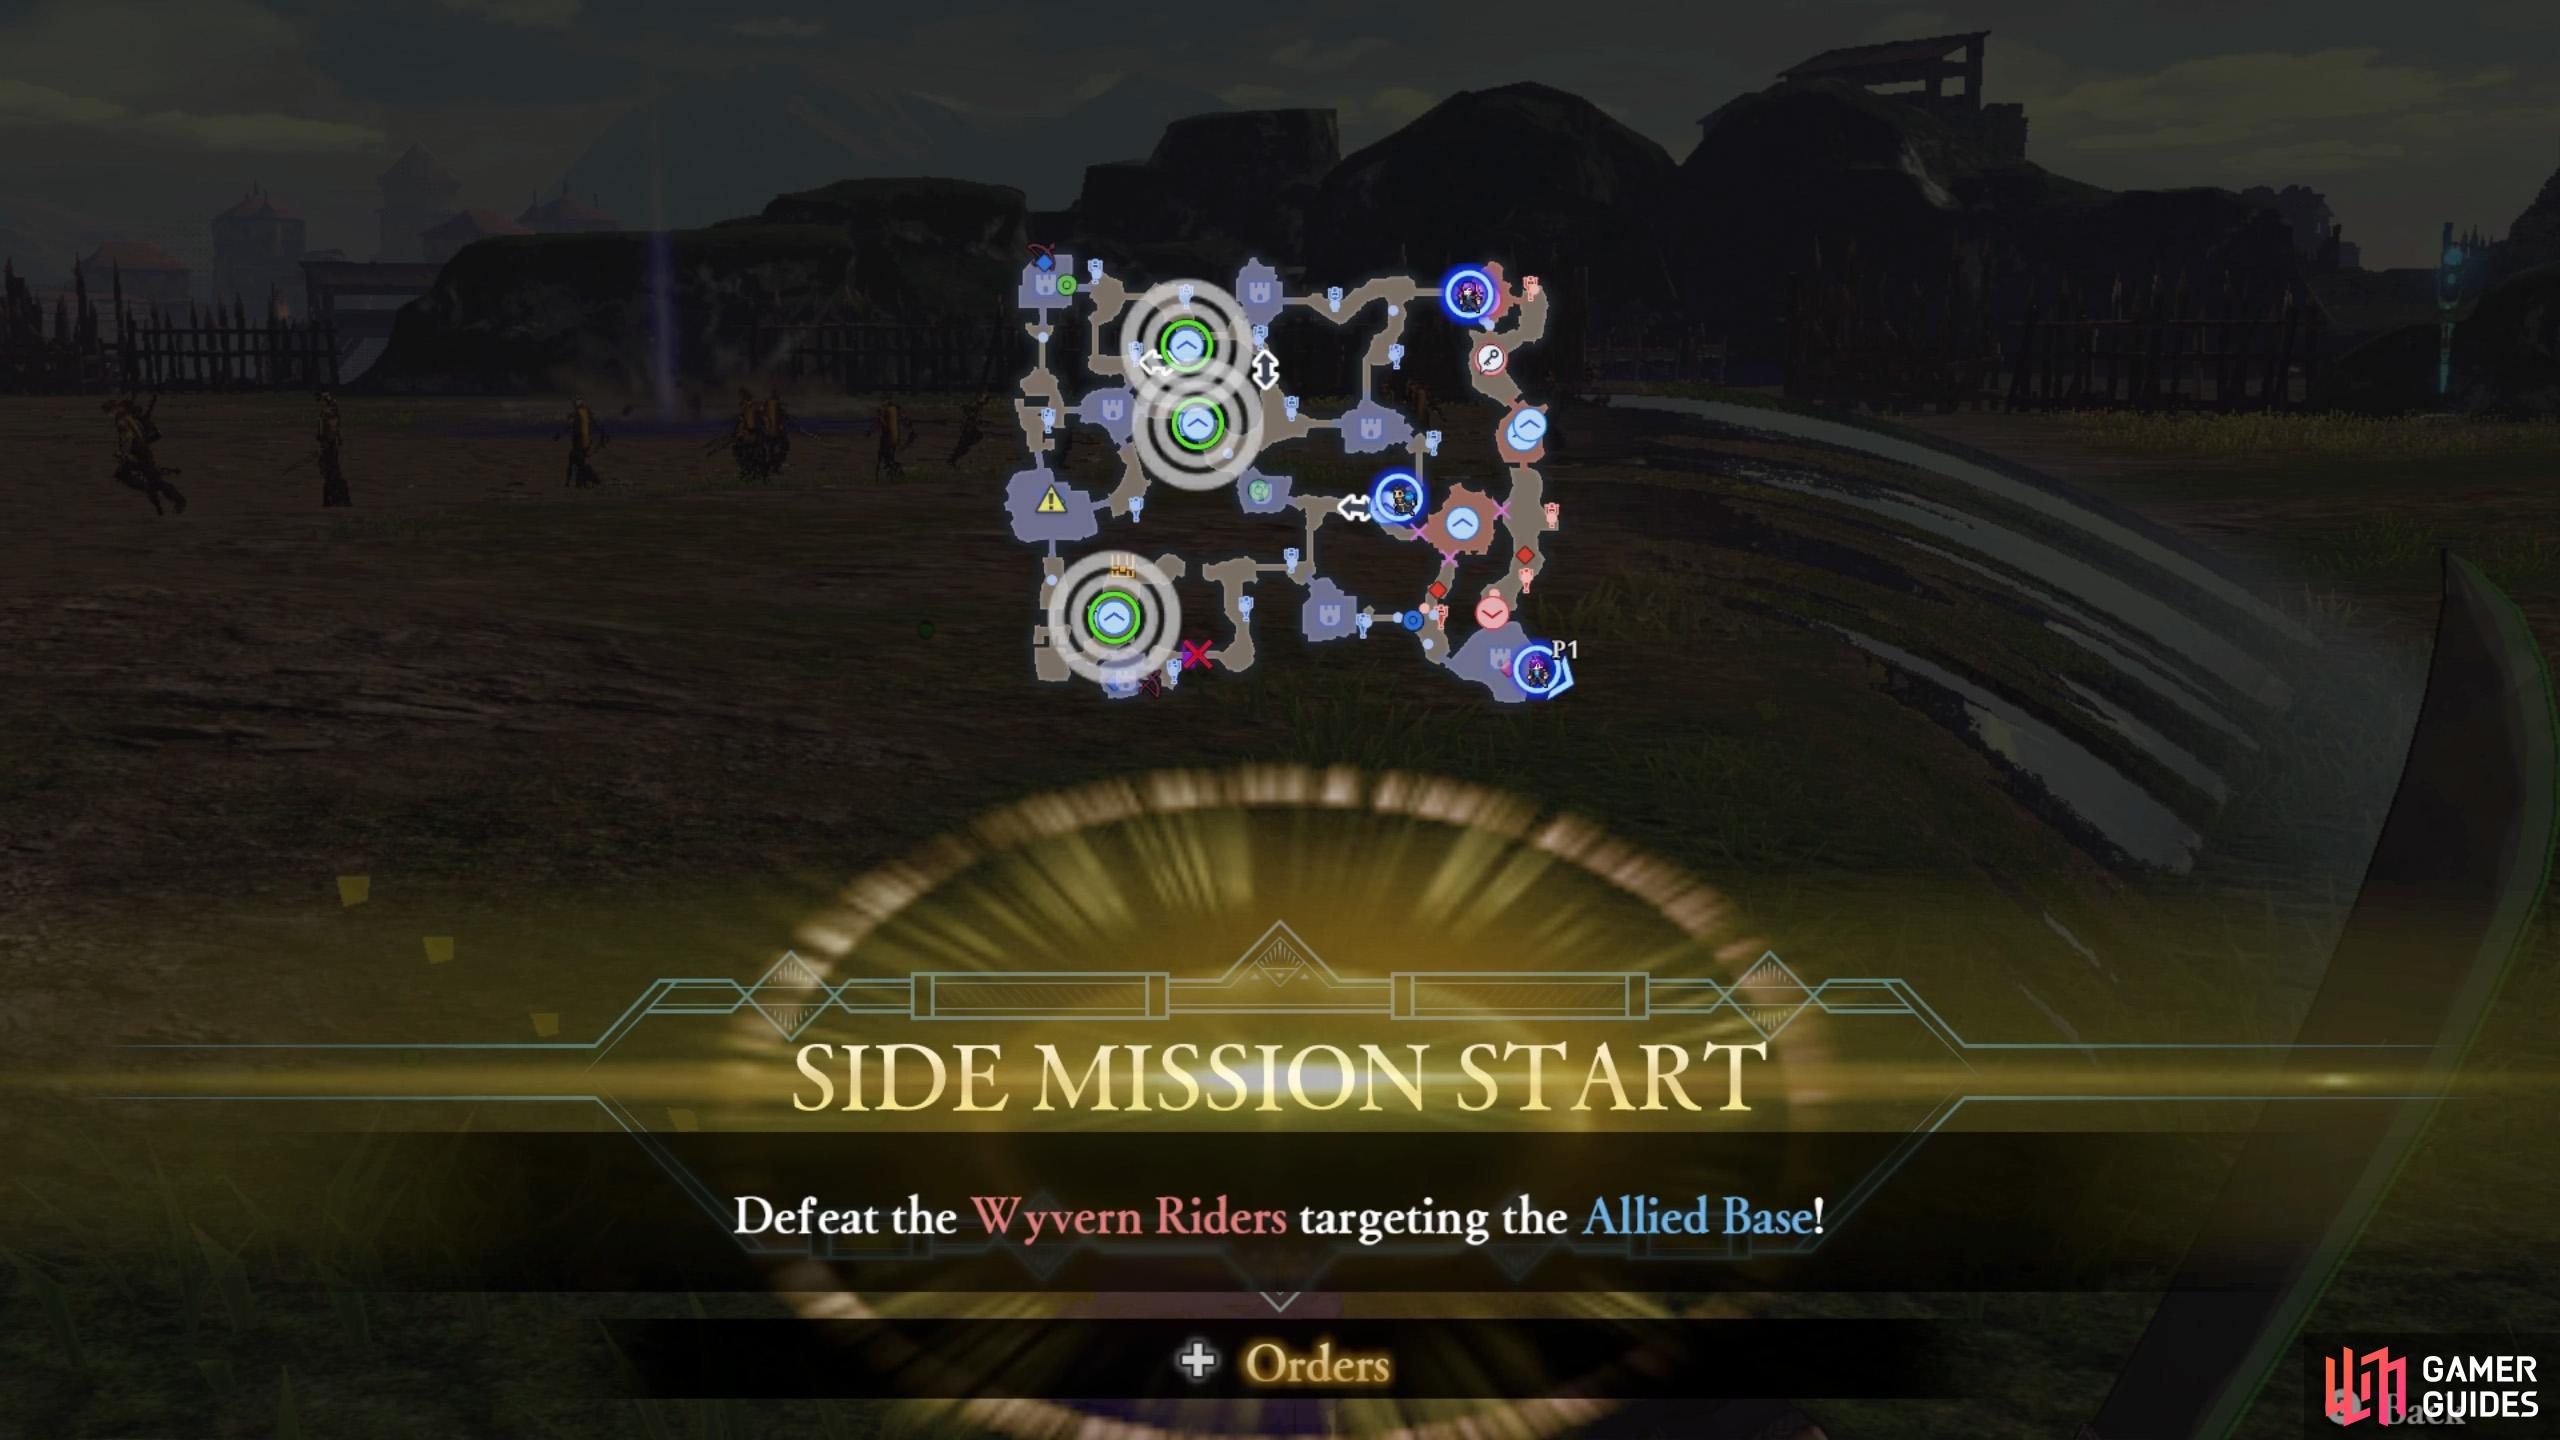
Hopefully you didn’t neglect to defend your base. (left), Oops, quickly order your archers to stop them! (right)
Also around this time, 3 Wyvern Riders will spawn a short distance east from your initial strongholds and target those strongholds. With so much going on, it’s very easy for all your characters to be stationed towards the far east, faraway from the strongholds…
Hopefully you took our advice and sent some free characters back to the strongholds. Otherwise, if you’ve defeated the Messenger, control Shez and dash back to the west with . Remember that bow and sword users are the best choice for Wyvern Riders.
Mission 4: Defeat Shahid


(1 of 2) The Great… what? Hopefully great at losing.

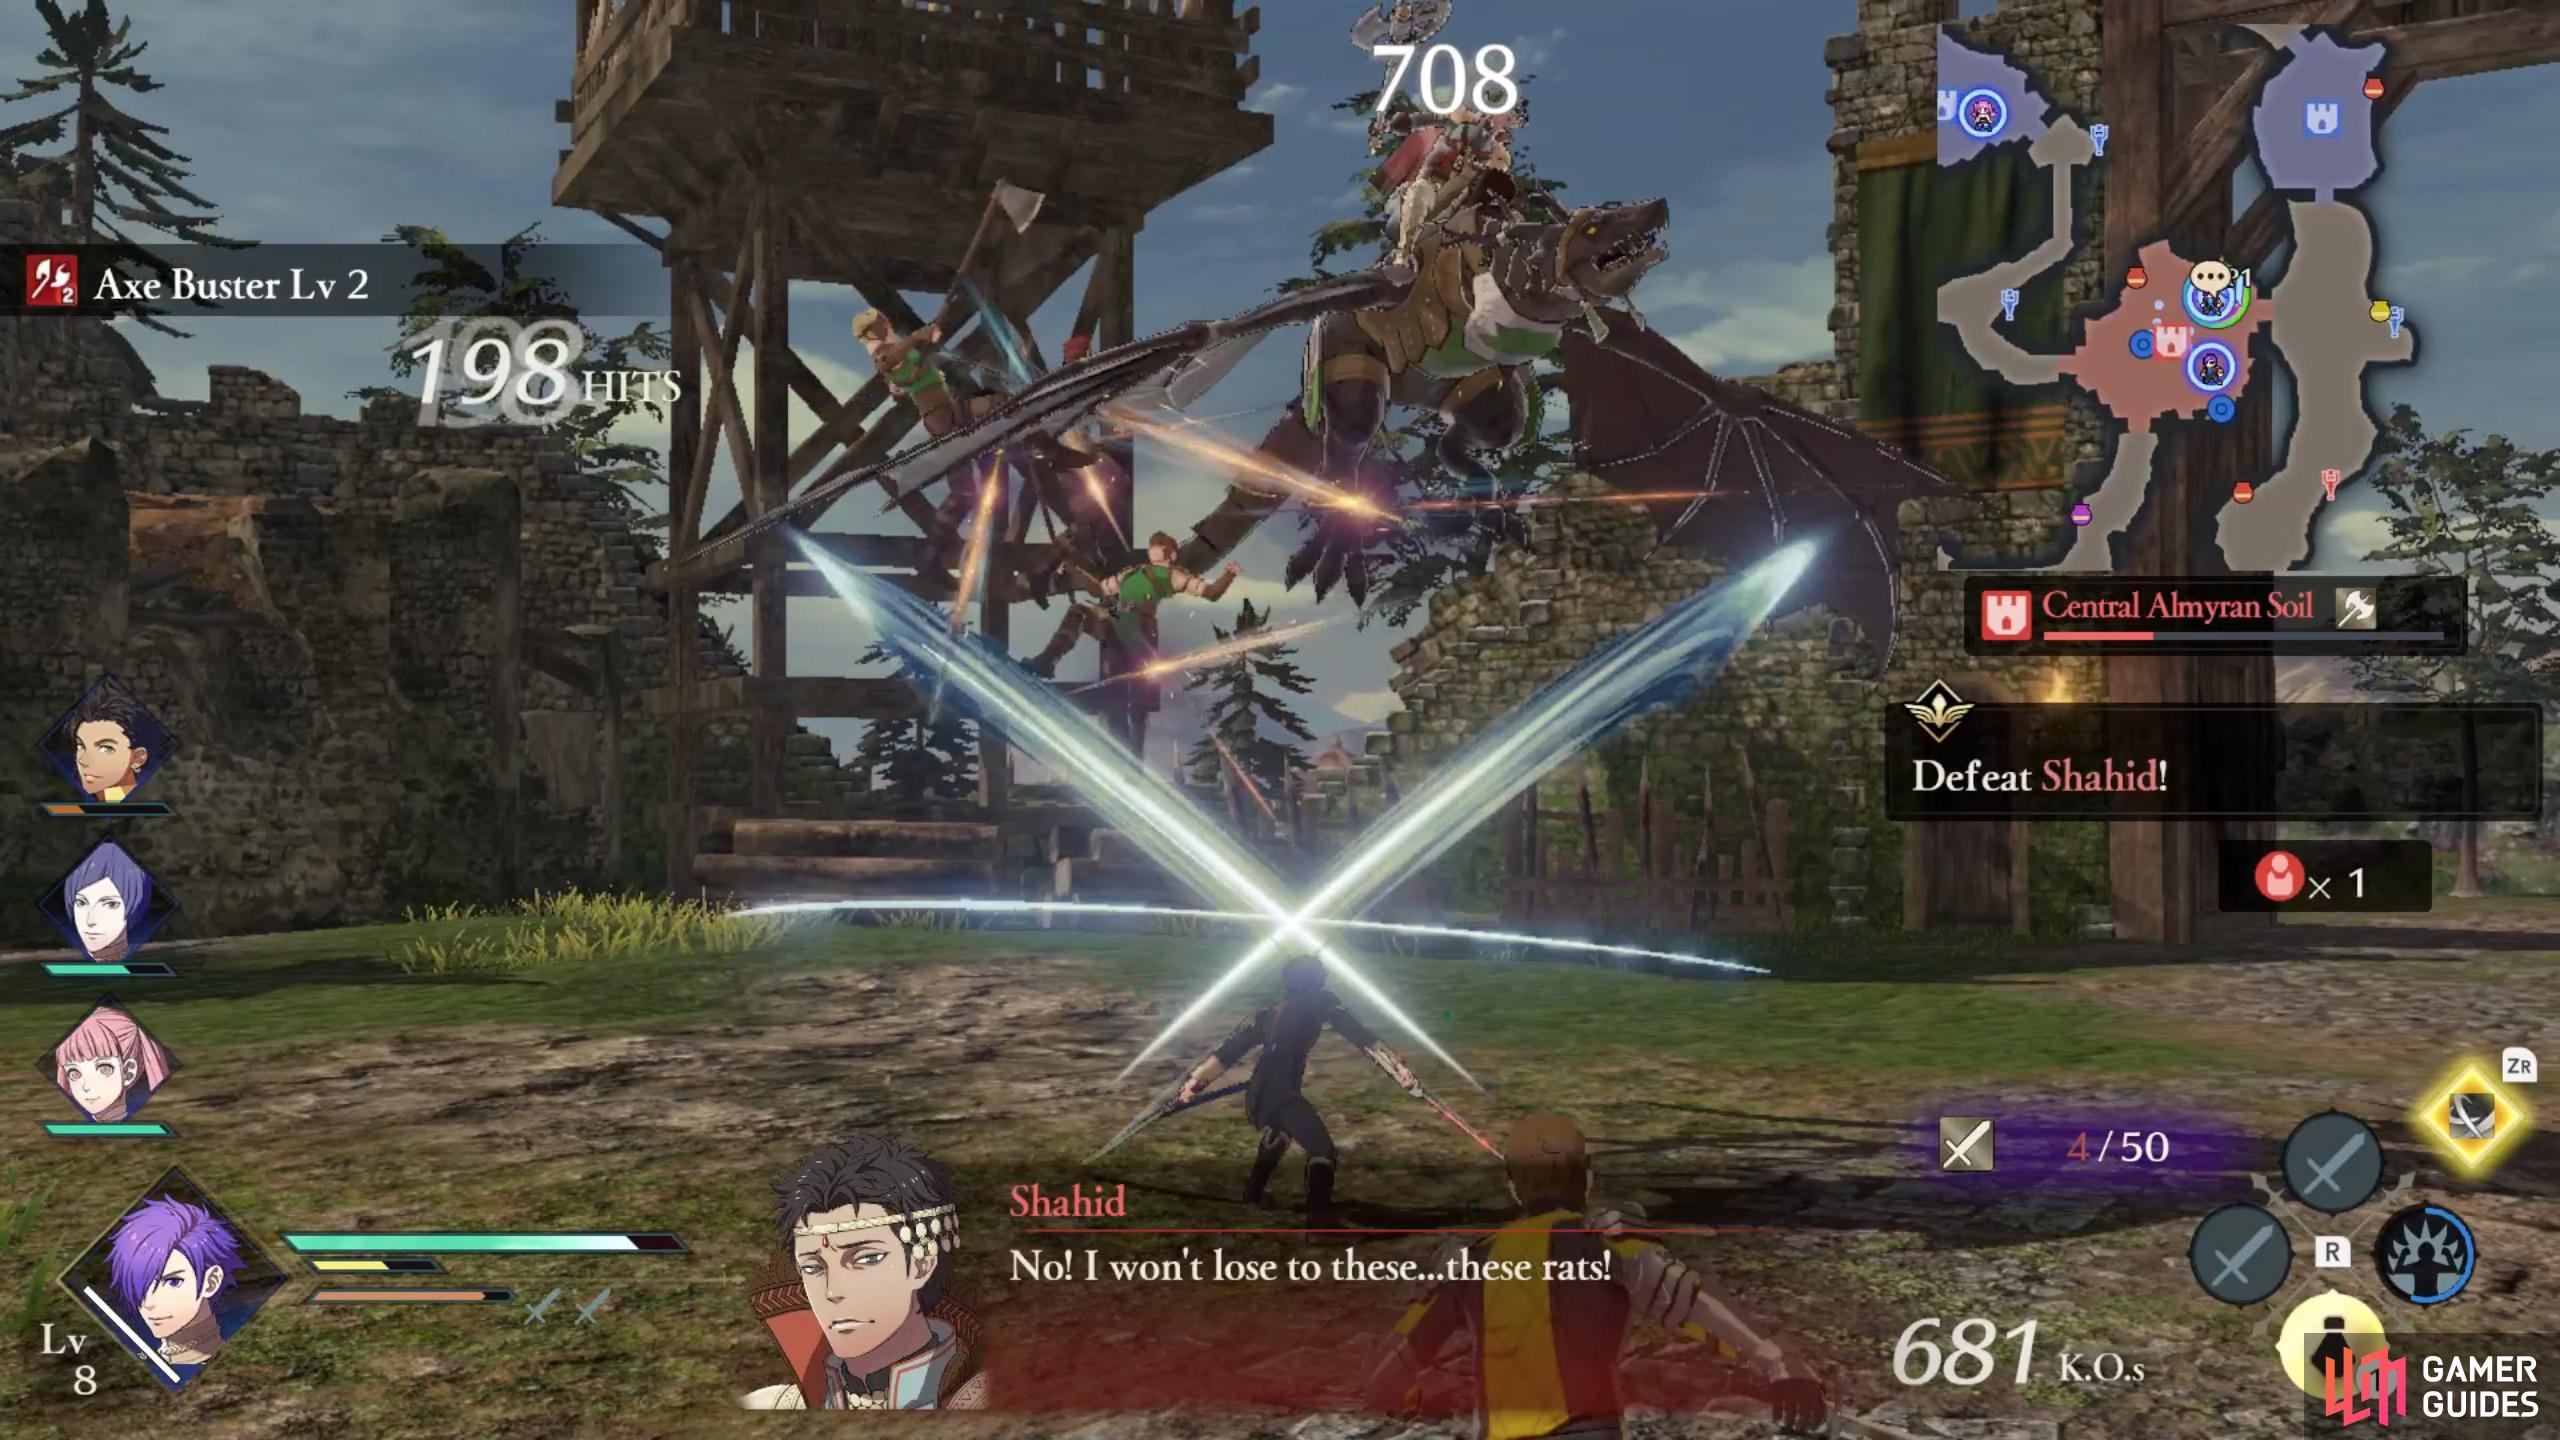
The Great… what? Hopefully great at losing. (left), Well, he’s got a great big mouth, that’s for sure… (right)
To wrap up this battle, march to the remaining stronghold where Prince Shahid is stationed. He’s a Gurgan, which is a beefier Wyvern Rider. But nothing a bow user or sword-wielding Shez can’t handle. Hopefully by this point, you’ve completed Side Mission 4 and protected the allied base. So you can focus your attention on Shahid.
No Comments