
This is a guide for the Northern Siward Territory main quest battle in Chapter 10: Love and Loss, in Fire Emblem Warriors: Three Hopes.
Similar to the Almyran invasion, this is a short chapter with just a main quest battle.
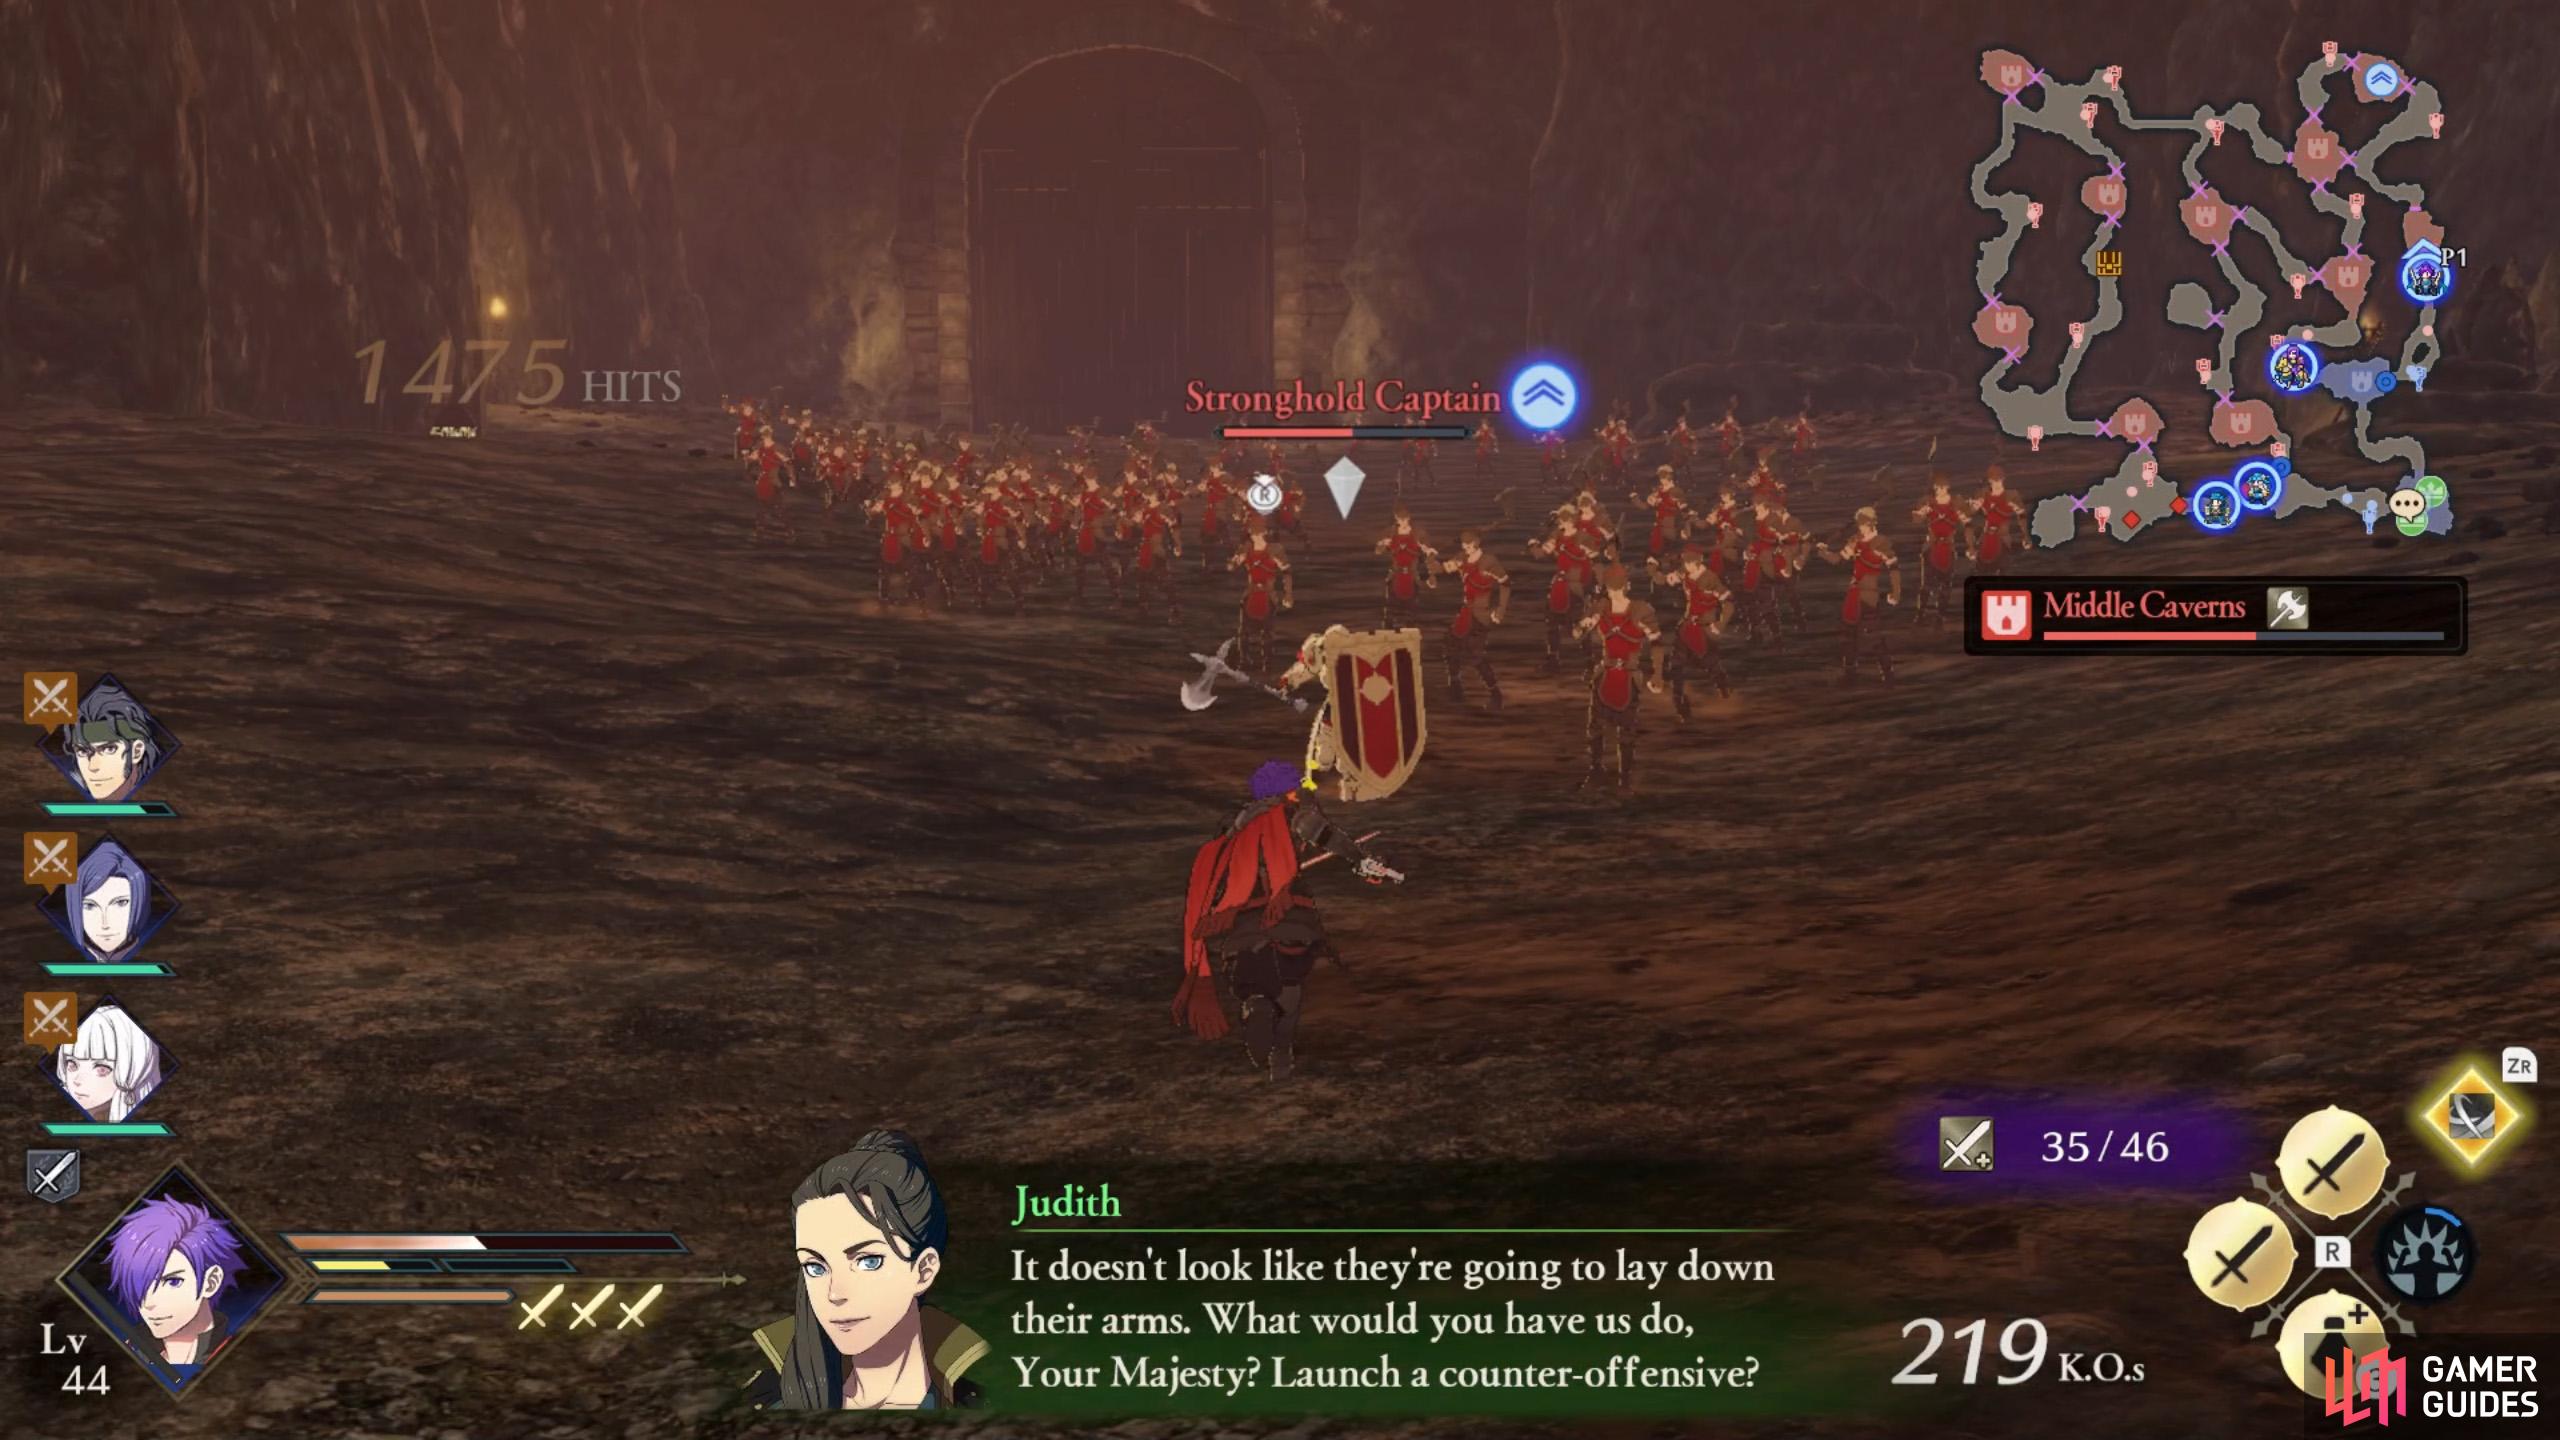
Which Strategies to Choose for Northern Siward Territory
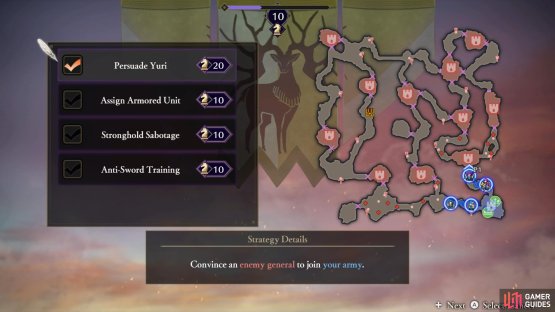

(1 of 2) Choose this to sway Yuri to your side.
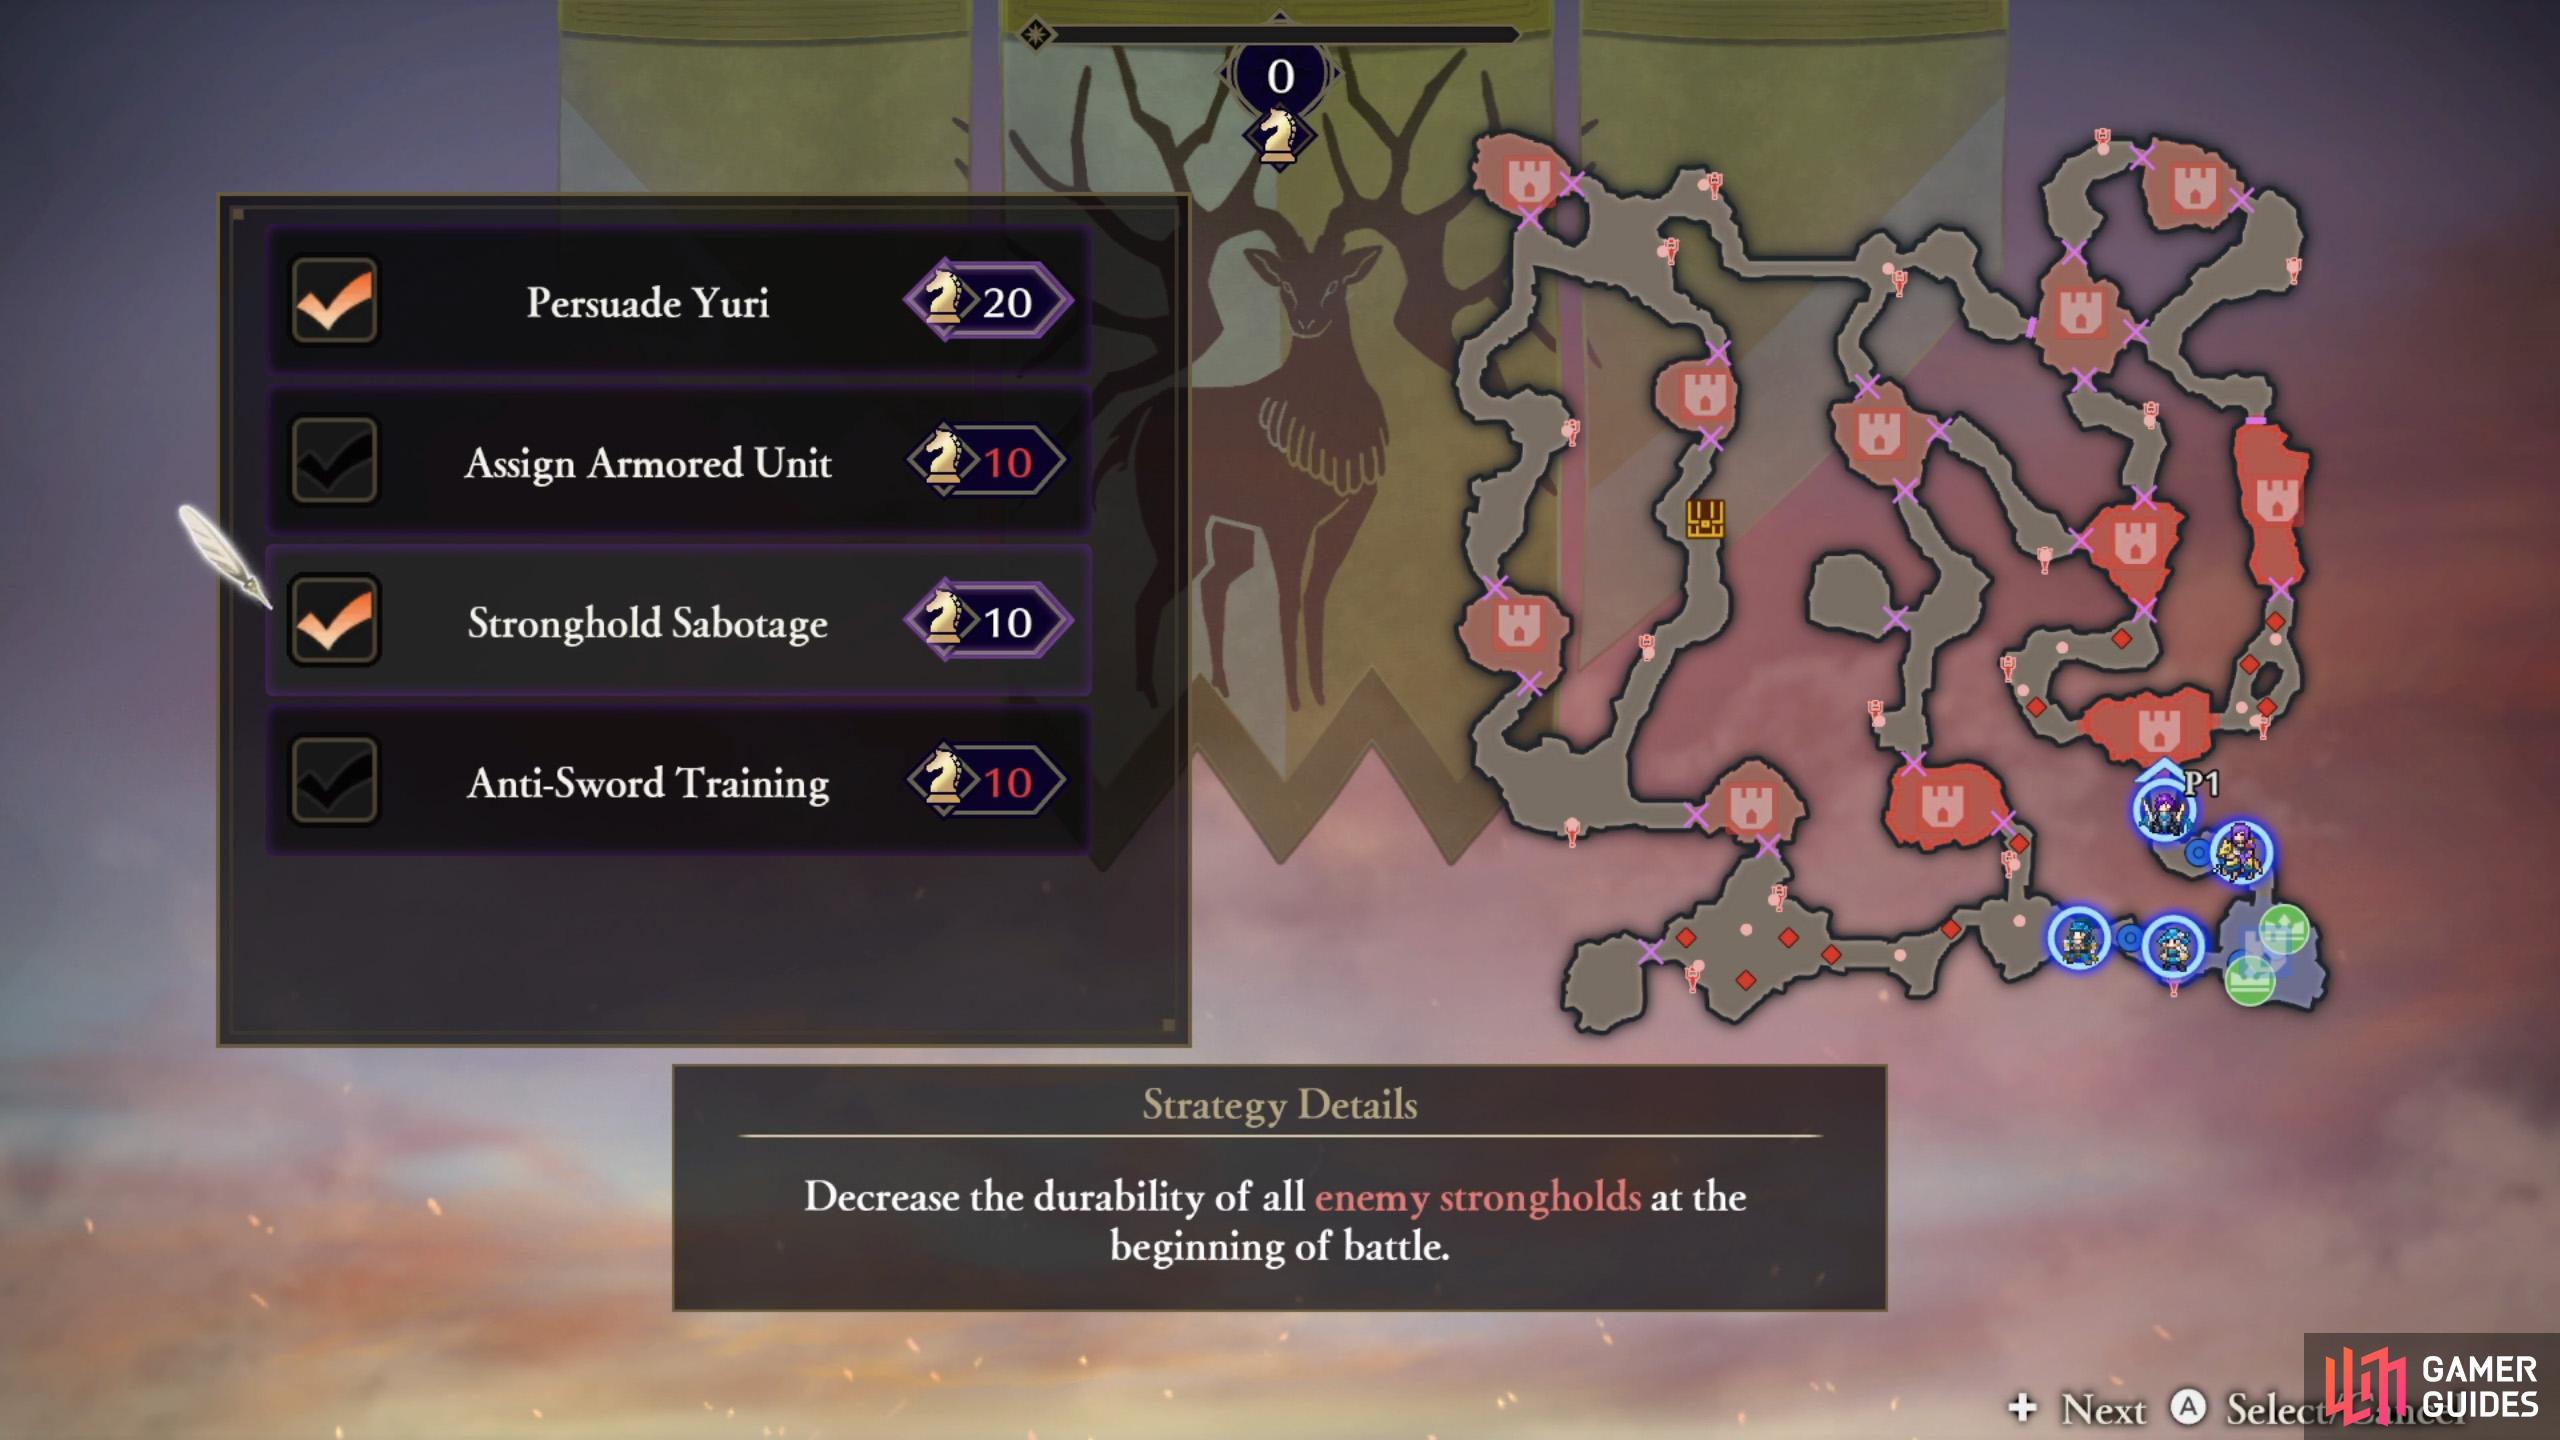
Choose this to sway Yuri to your side. (left), And this to weaken the nearby strongholds. (right)
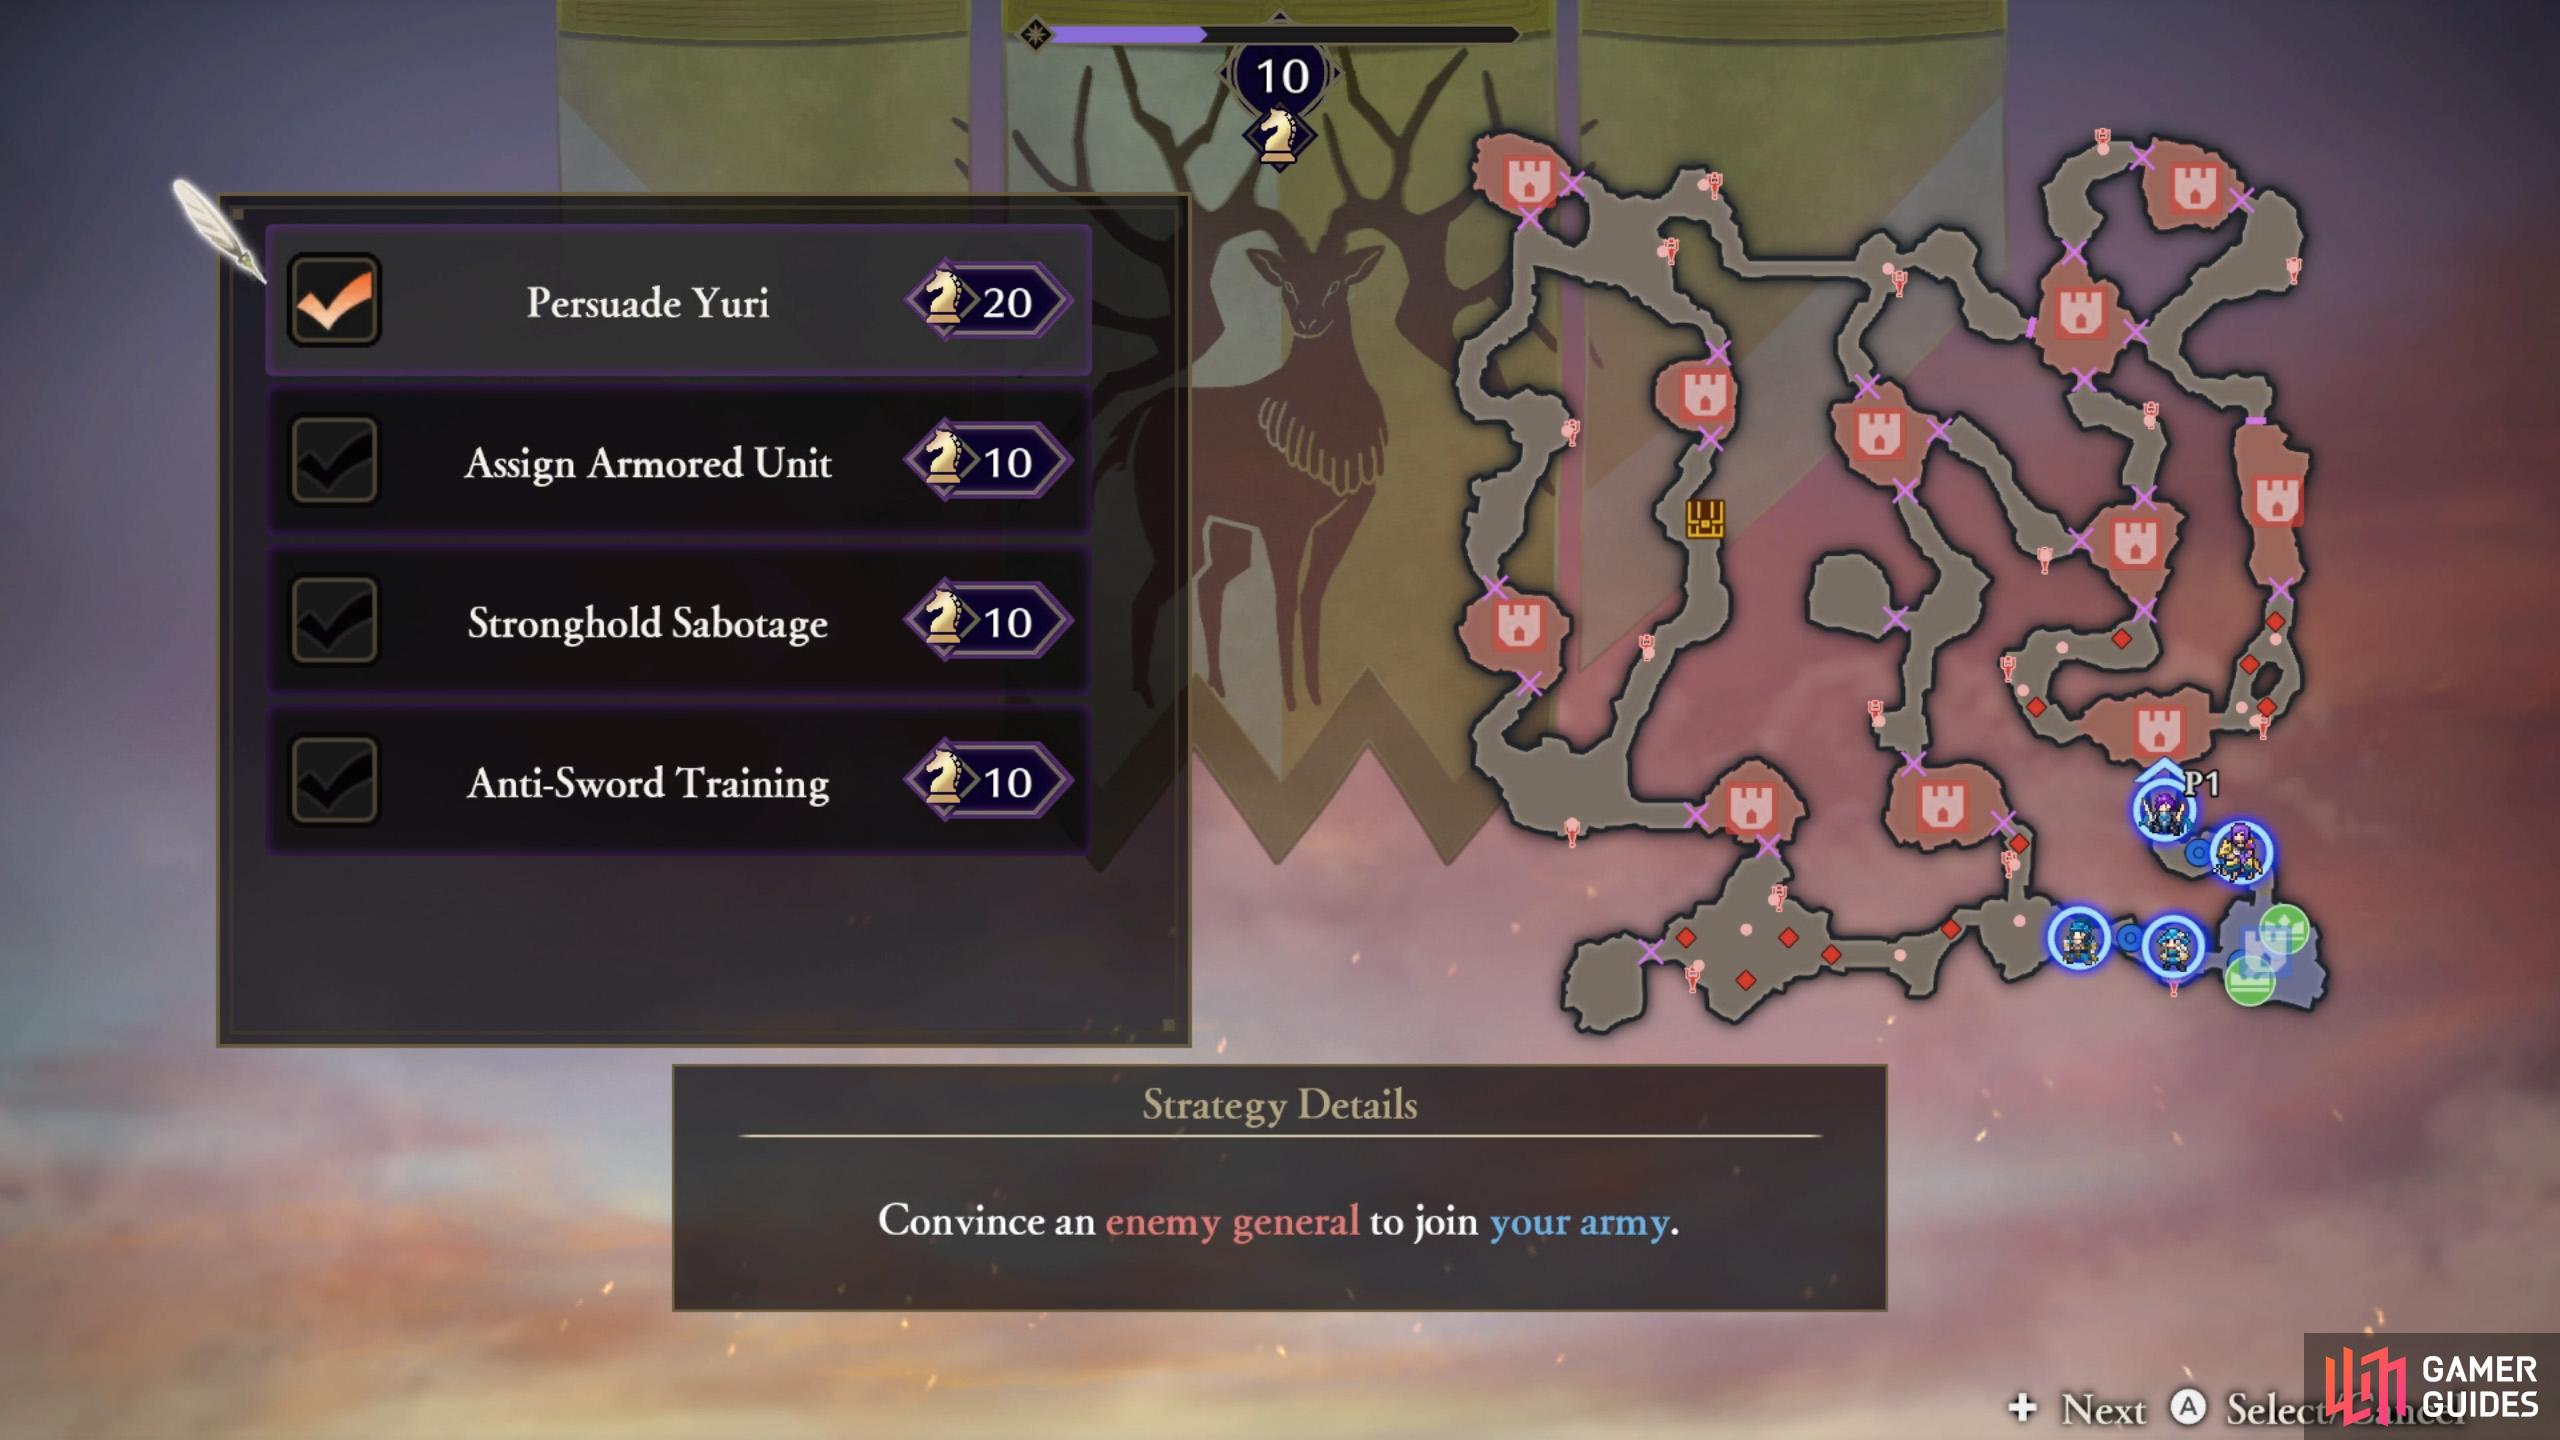
| Strategy | Cost | Strategy Details |
|---|---|---|
| Persuade Yuri | 20 | Convince an enemy general to join your army. |
| Assign Armored Unit | 10 | Assign an armored unit to protect a target. |
| Stronghold Sabotage | 10 | Decrease the durability of all enemy strongholds at the beginning of battle! |
| Anti-Sword Training | 10 | Grant the Swordbreaker ability to Stronghold Captains in allied strongholds |
Not many choices to pick from here. Persuade Yuri is essential if you want to befriend the Ashen Wolves’ leader, by beating him up. For once Stronghold Sabotage is decent, weakening the nearby strongholds, which you need to seize within a narrow time limit.
How to S Rank Northern Siward Territory
| Completion Time | Enemies Defeated | Damage Taken |
|---|---|---|
| 15:00 | 1500 | 50% |
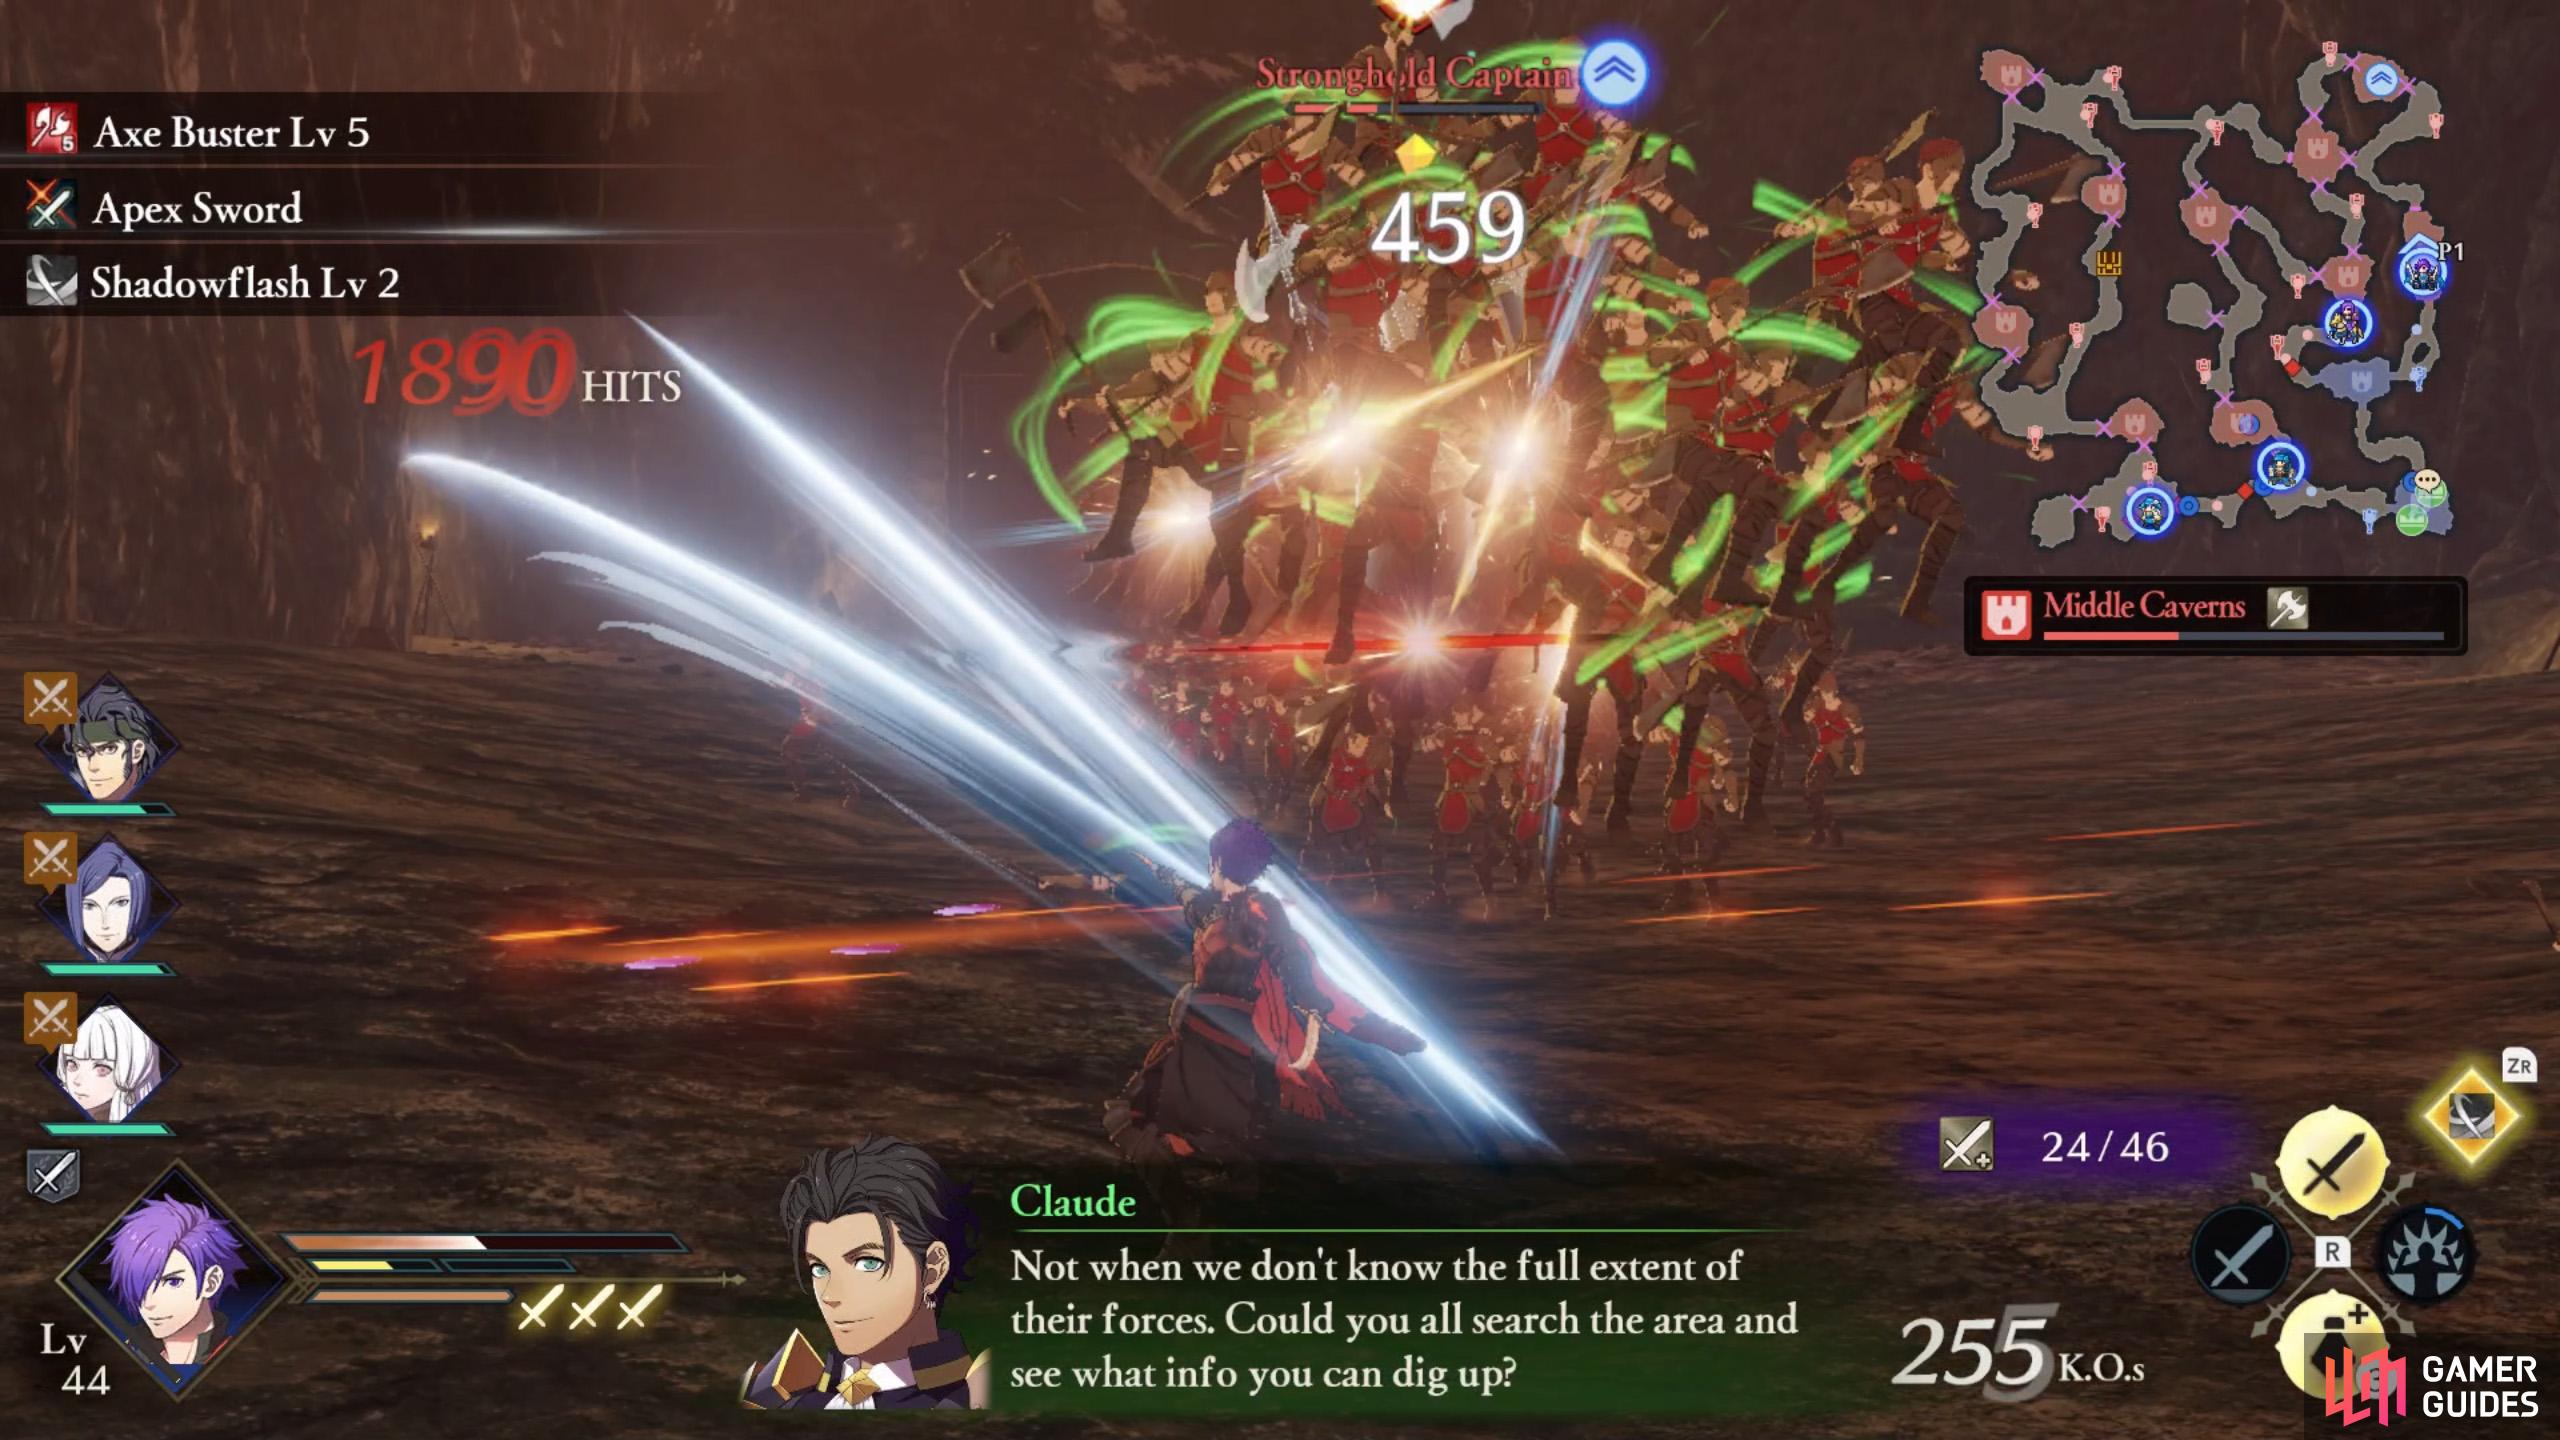
There’s quite a lot going on during this battle and the S Rank should be the least of your concerns. If you keep your wits, you should be able to make it. Otherwise, you can always retry this battle via the Record Keeper after you get stronger.
Most of the time, you’ll be waiting on NPC Claude to move his butt and there’s not much you can do to speed him up. When he’s playing decoy, try to keep close to him, so you can quickly swat away attackers, reducing the time he’s stuck not moving.
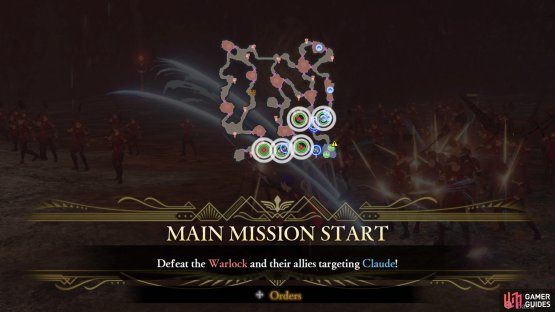
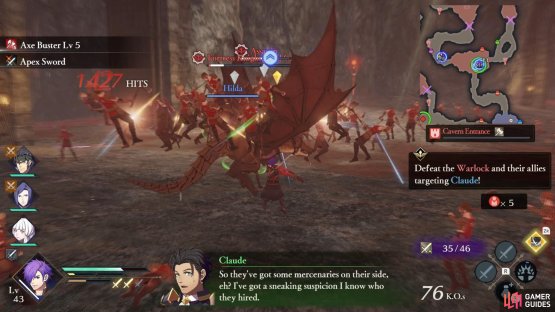
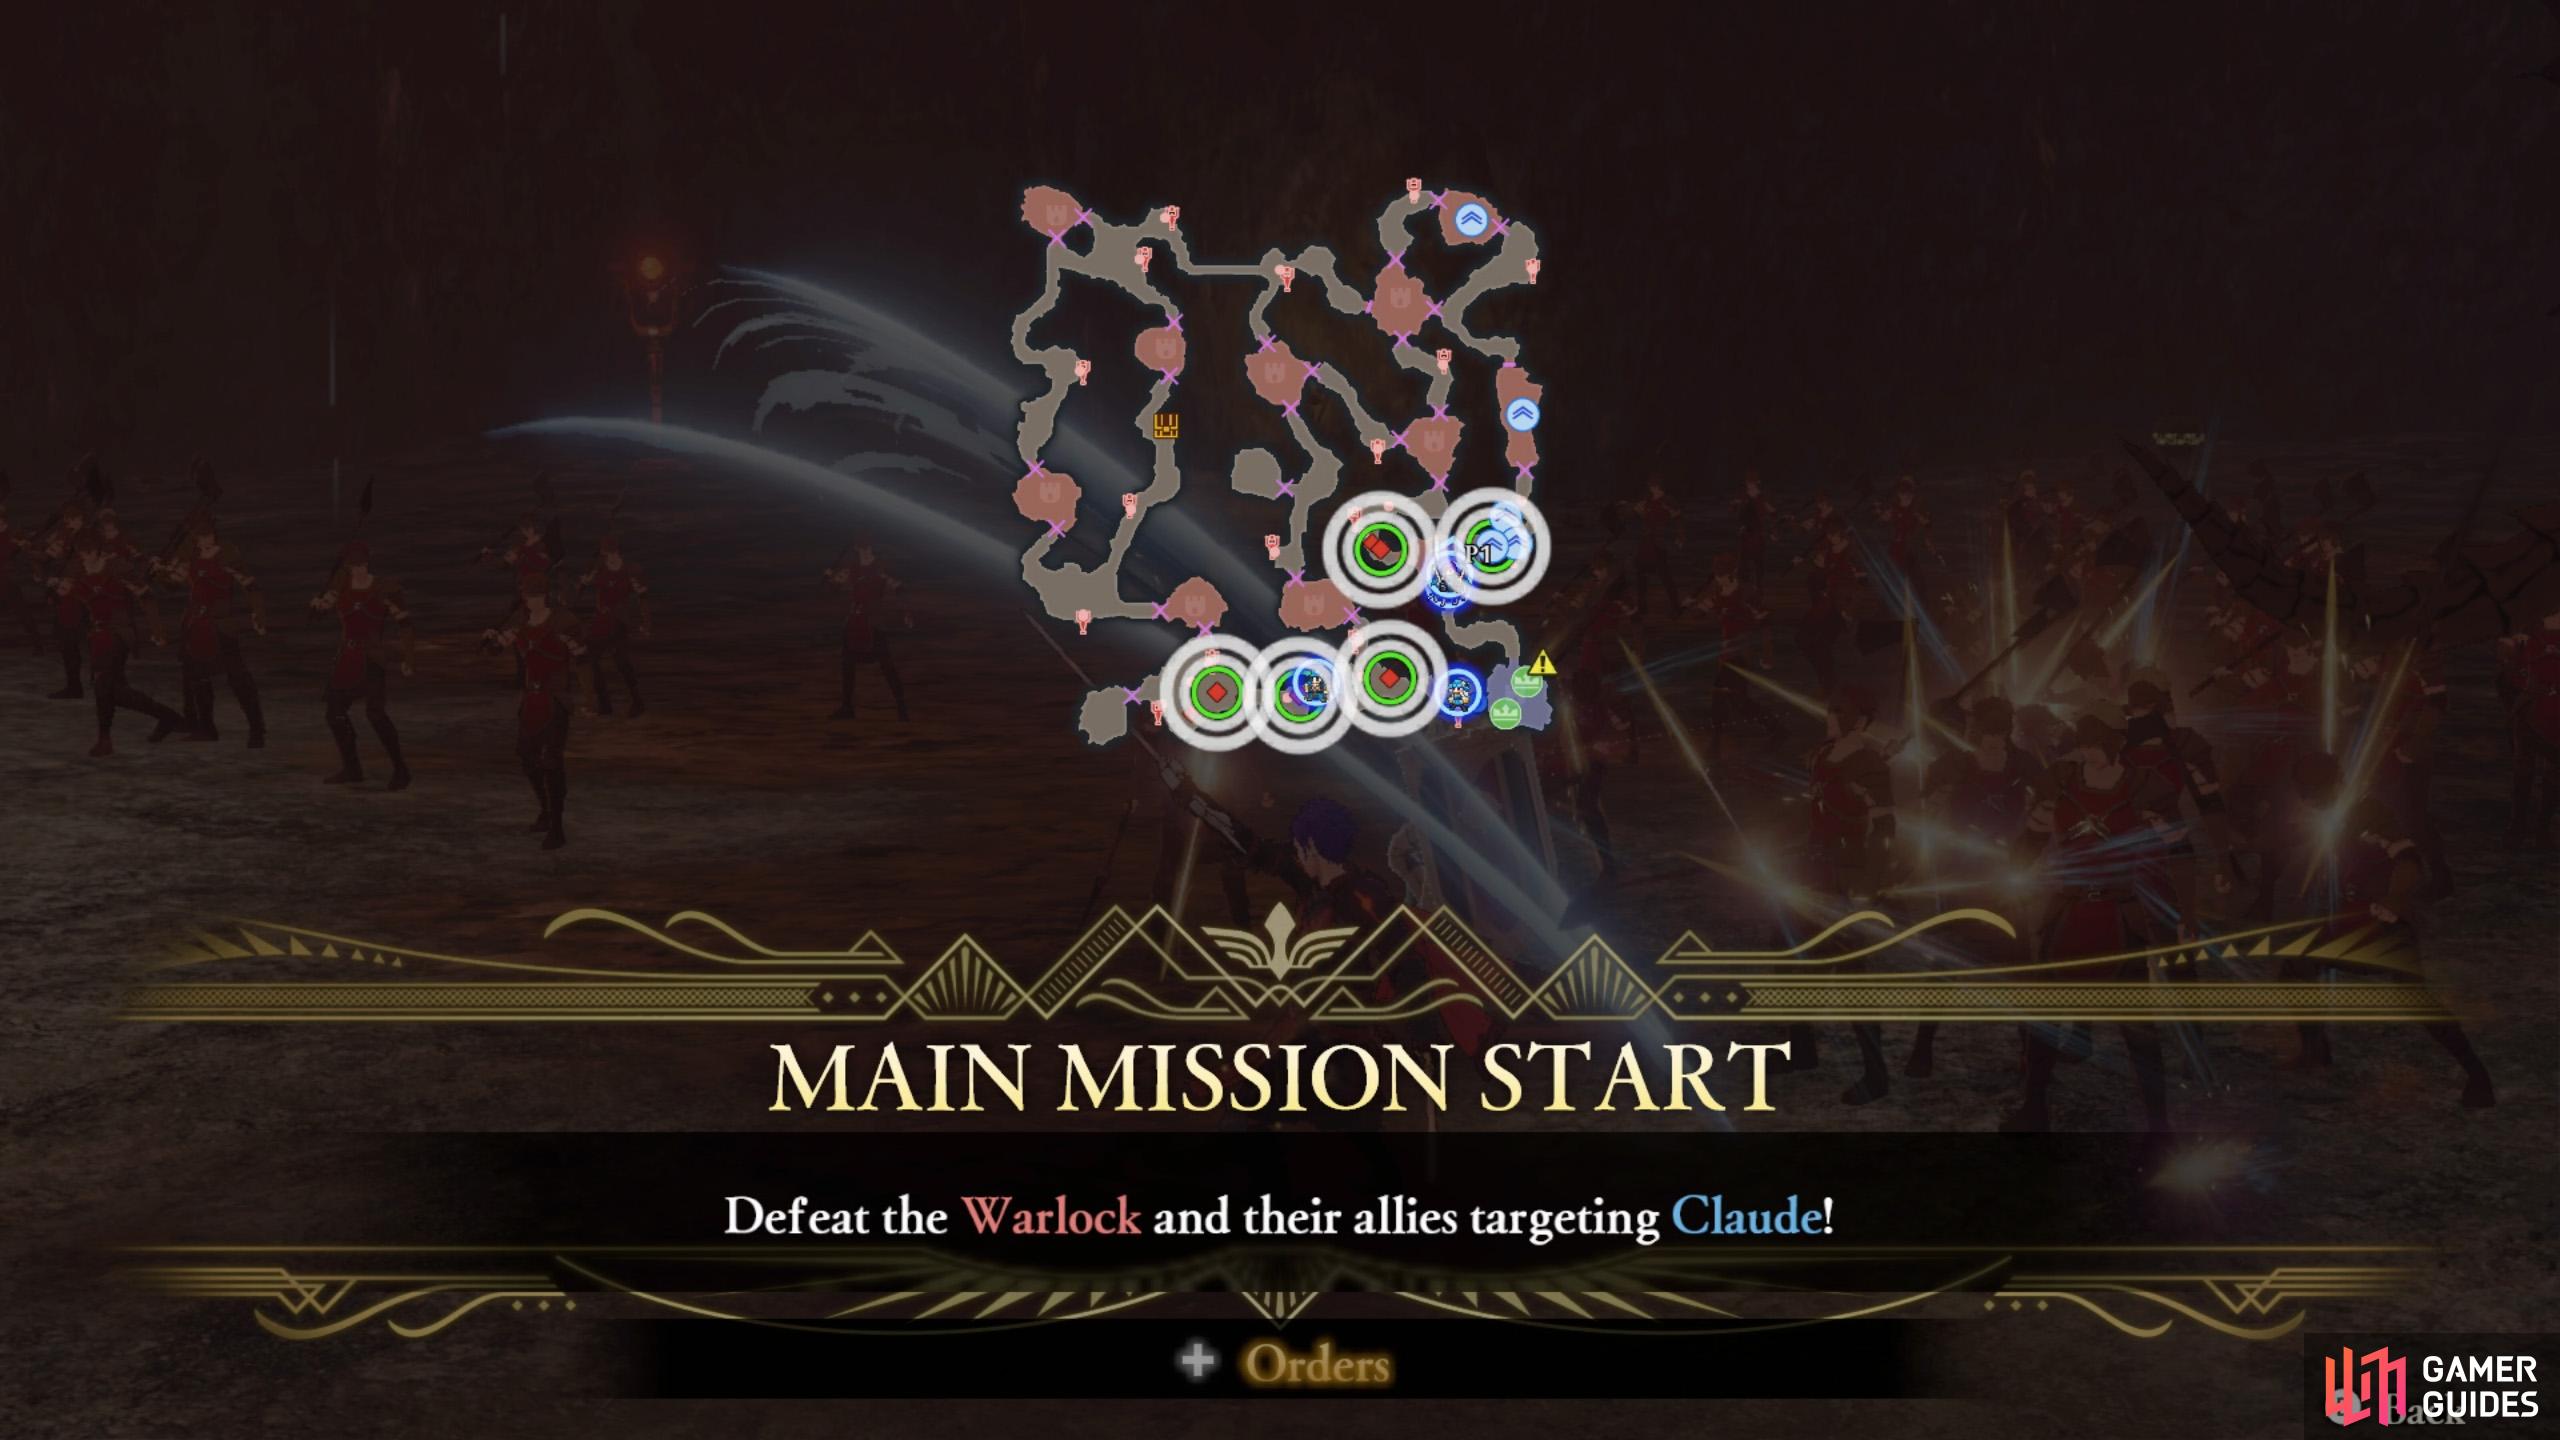
Mission 1: Defeat the Warlock and their allies targeting Claude
(1 of 2) The first mission is simple: defeat five nearby enemies.

The first mission is simple: defeat five nearby enemies. (left), You should fight the enemies near the stronghold north of the allied camp. (right)
For this battle, Claude will be a NPC and you need to protect him from harm. From the onset, five enemies will target Claude. Three Warlocks west from the allied camp, plus an Assassin and Fortress Knight towards the north.
Use the Orders menu to send 3 characters (ideally 1 or 2 with Gauntlets) to dispatch the Warlocks and preferably a lance wielder to face the Assassin.
Control Shez or another sword user to fight the Fortress Knight yourself. You may also wish to conquer the nearby stronghold, which is also guarded by a Fortress Knight. Afterwards, hang around near the gate to the next stronghold to the north-east.
Mission 2: Quickly get information on the enemy
Once Claude’s safe, you’ll have 3 minutes to gather as much information as possible. This will involve completing 3 other missions:
- Mission 3
- Mission 4
- Mission 5
If you want to recruit Byleth and Jeralt, you need to clear all 3 within 3 minutes, which is no small feat. Issuing Orders with the appropriate characters will be vital.
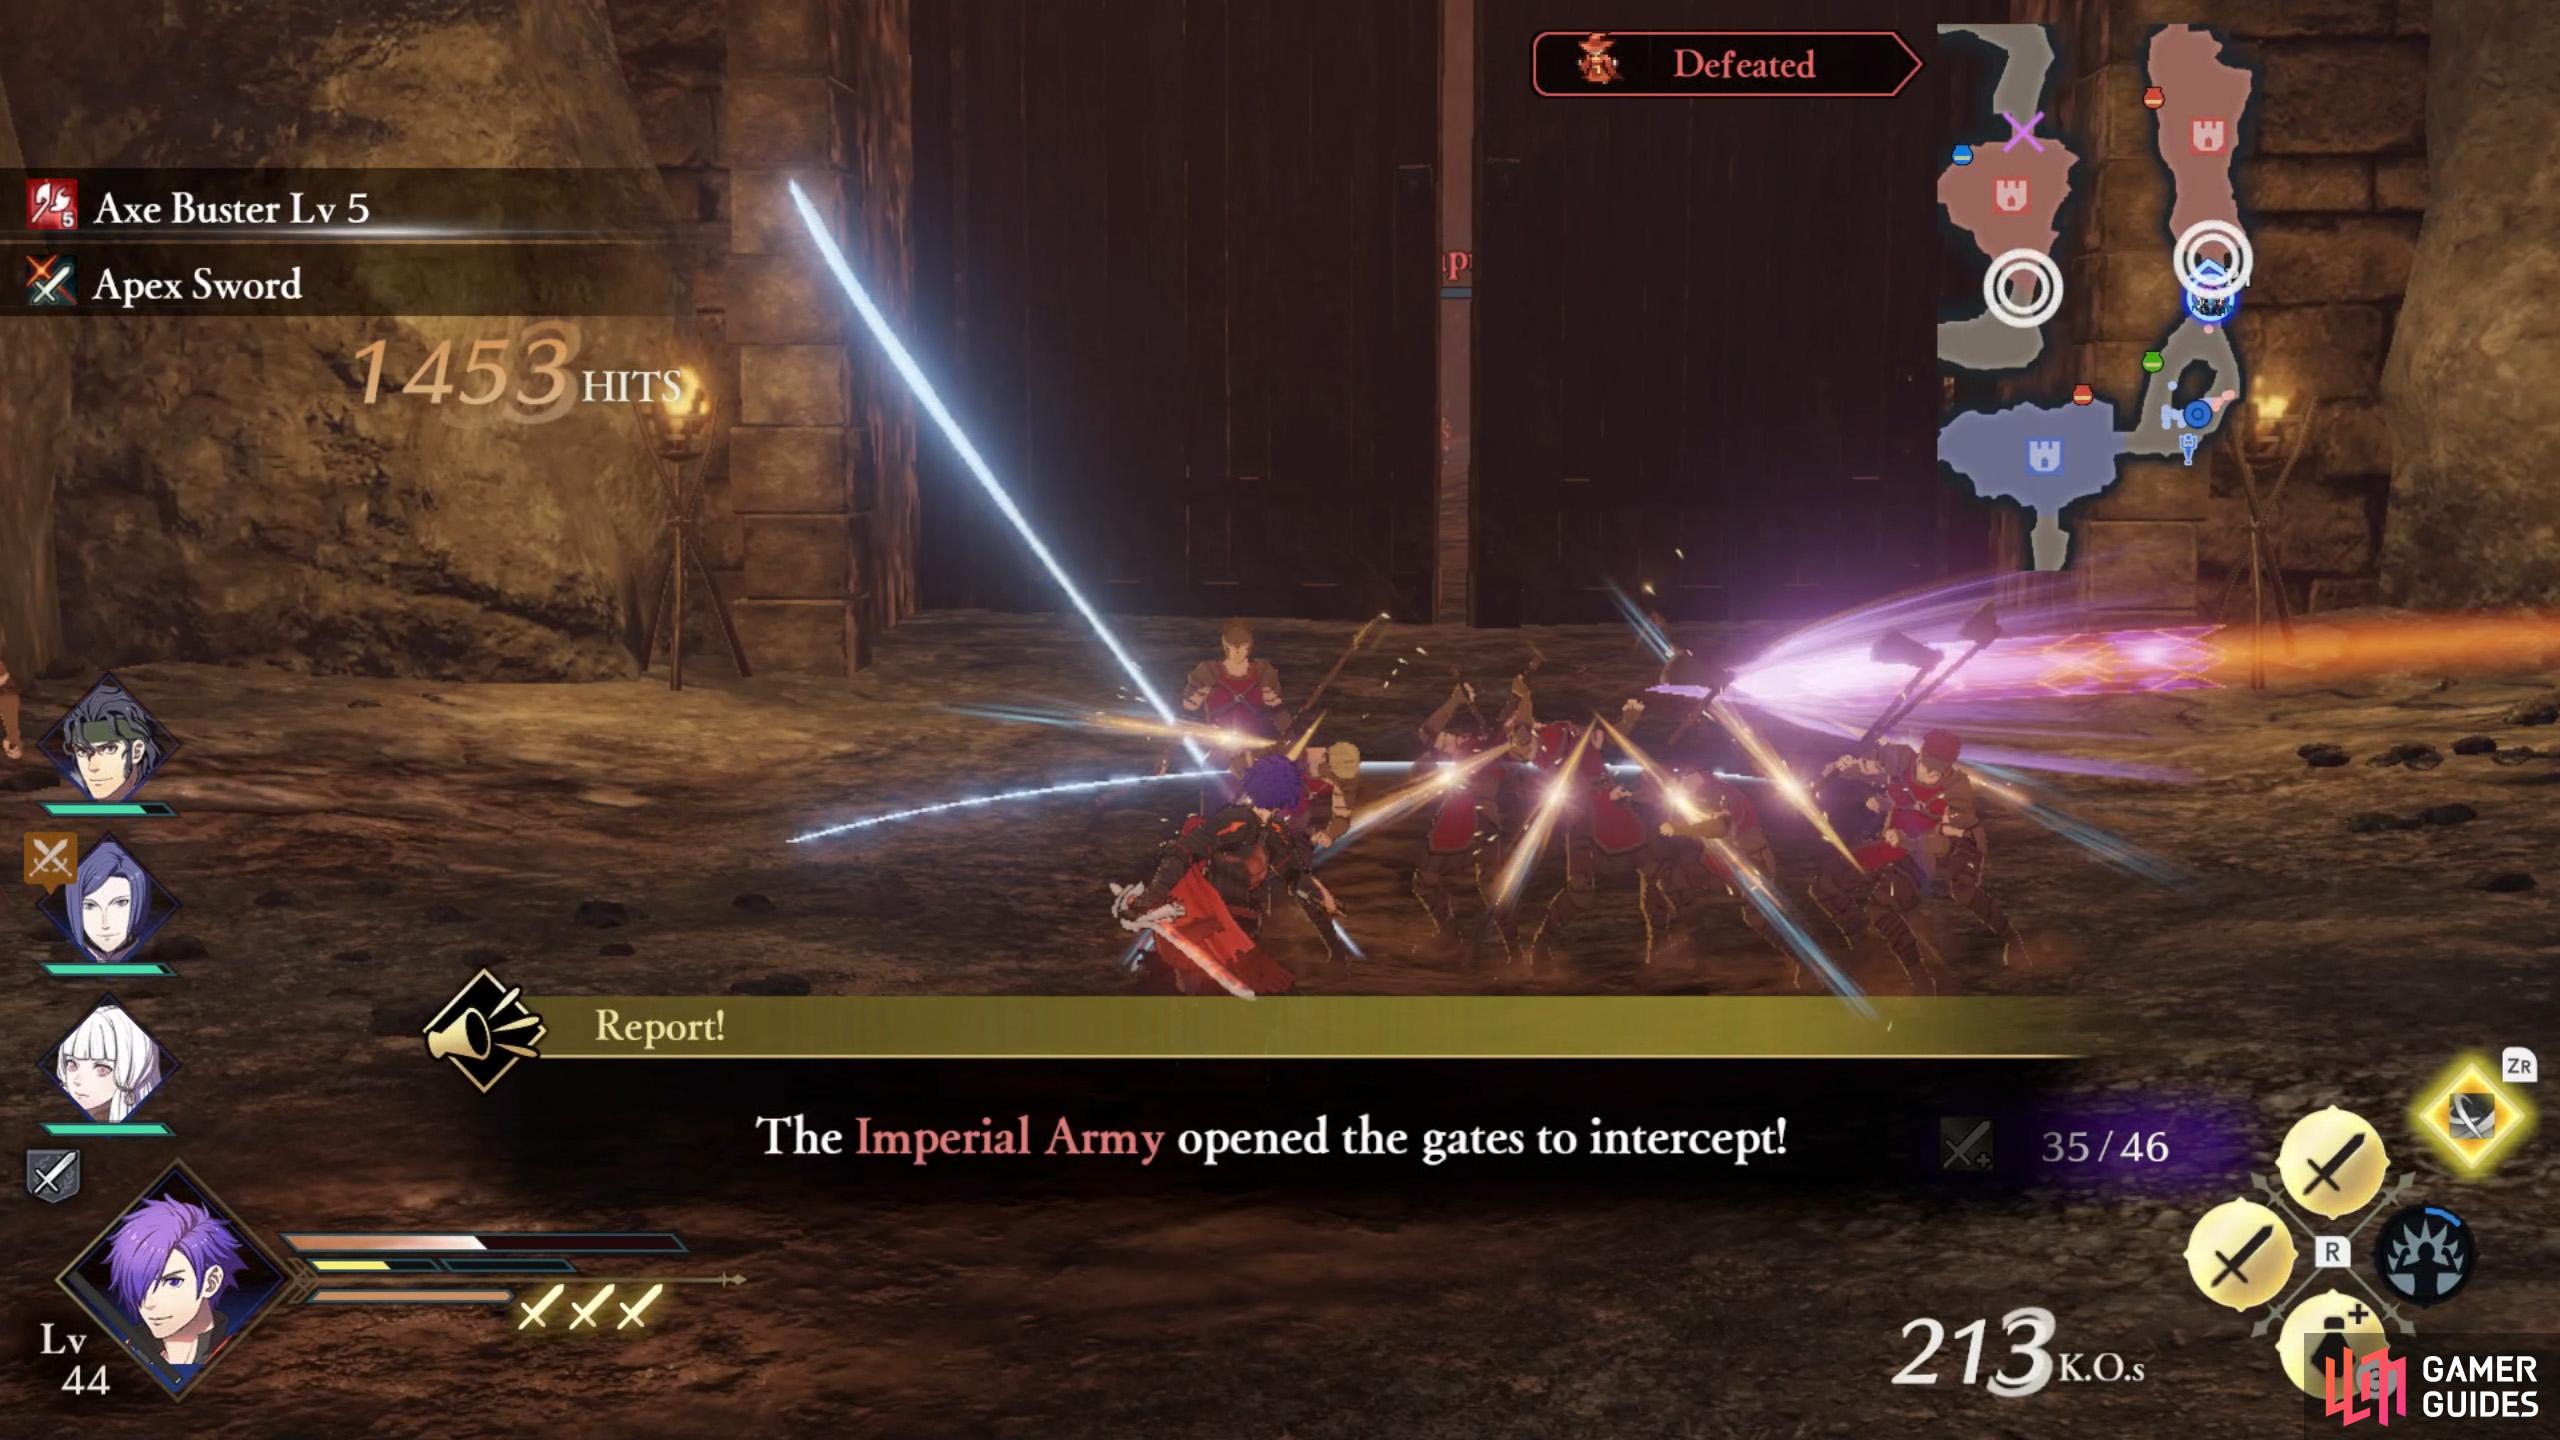
Mission 3: Seize the strongholds in the caves to get information on the enemy

(1 of 2) Wait outside the gate of the next stronghold to the north-east.
Wait outside the gate of the next stronghold to the north-east. (left), The Stronghold Sabotage Strategy will be very useful here. (right)
This is the first of three missions that you must complete within 3 minutes. You’ll be tasked with capturing three strongholds at the edge of the allied camp quadrant.
As soon as you’ve completed Mission 1 and the gates open, immediately Order a Gauntlet user towards the westernmost stronghold and a lance user towards the middle of the three strongholds. Meanwhile, you should control a sword user towards the easternmost stronghold. Order your remaining characters towards the south-west corner.
Mission 4: Aid the Recon Soldier to get information on the enemy


(1 of 2) When you see this message, get ready to Order some folks around!
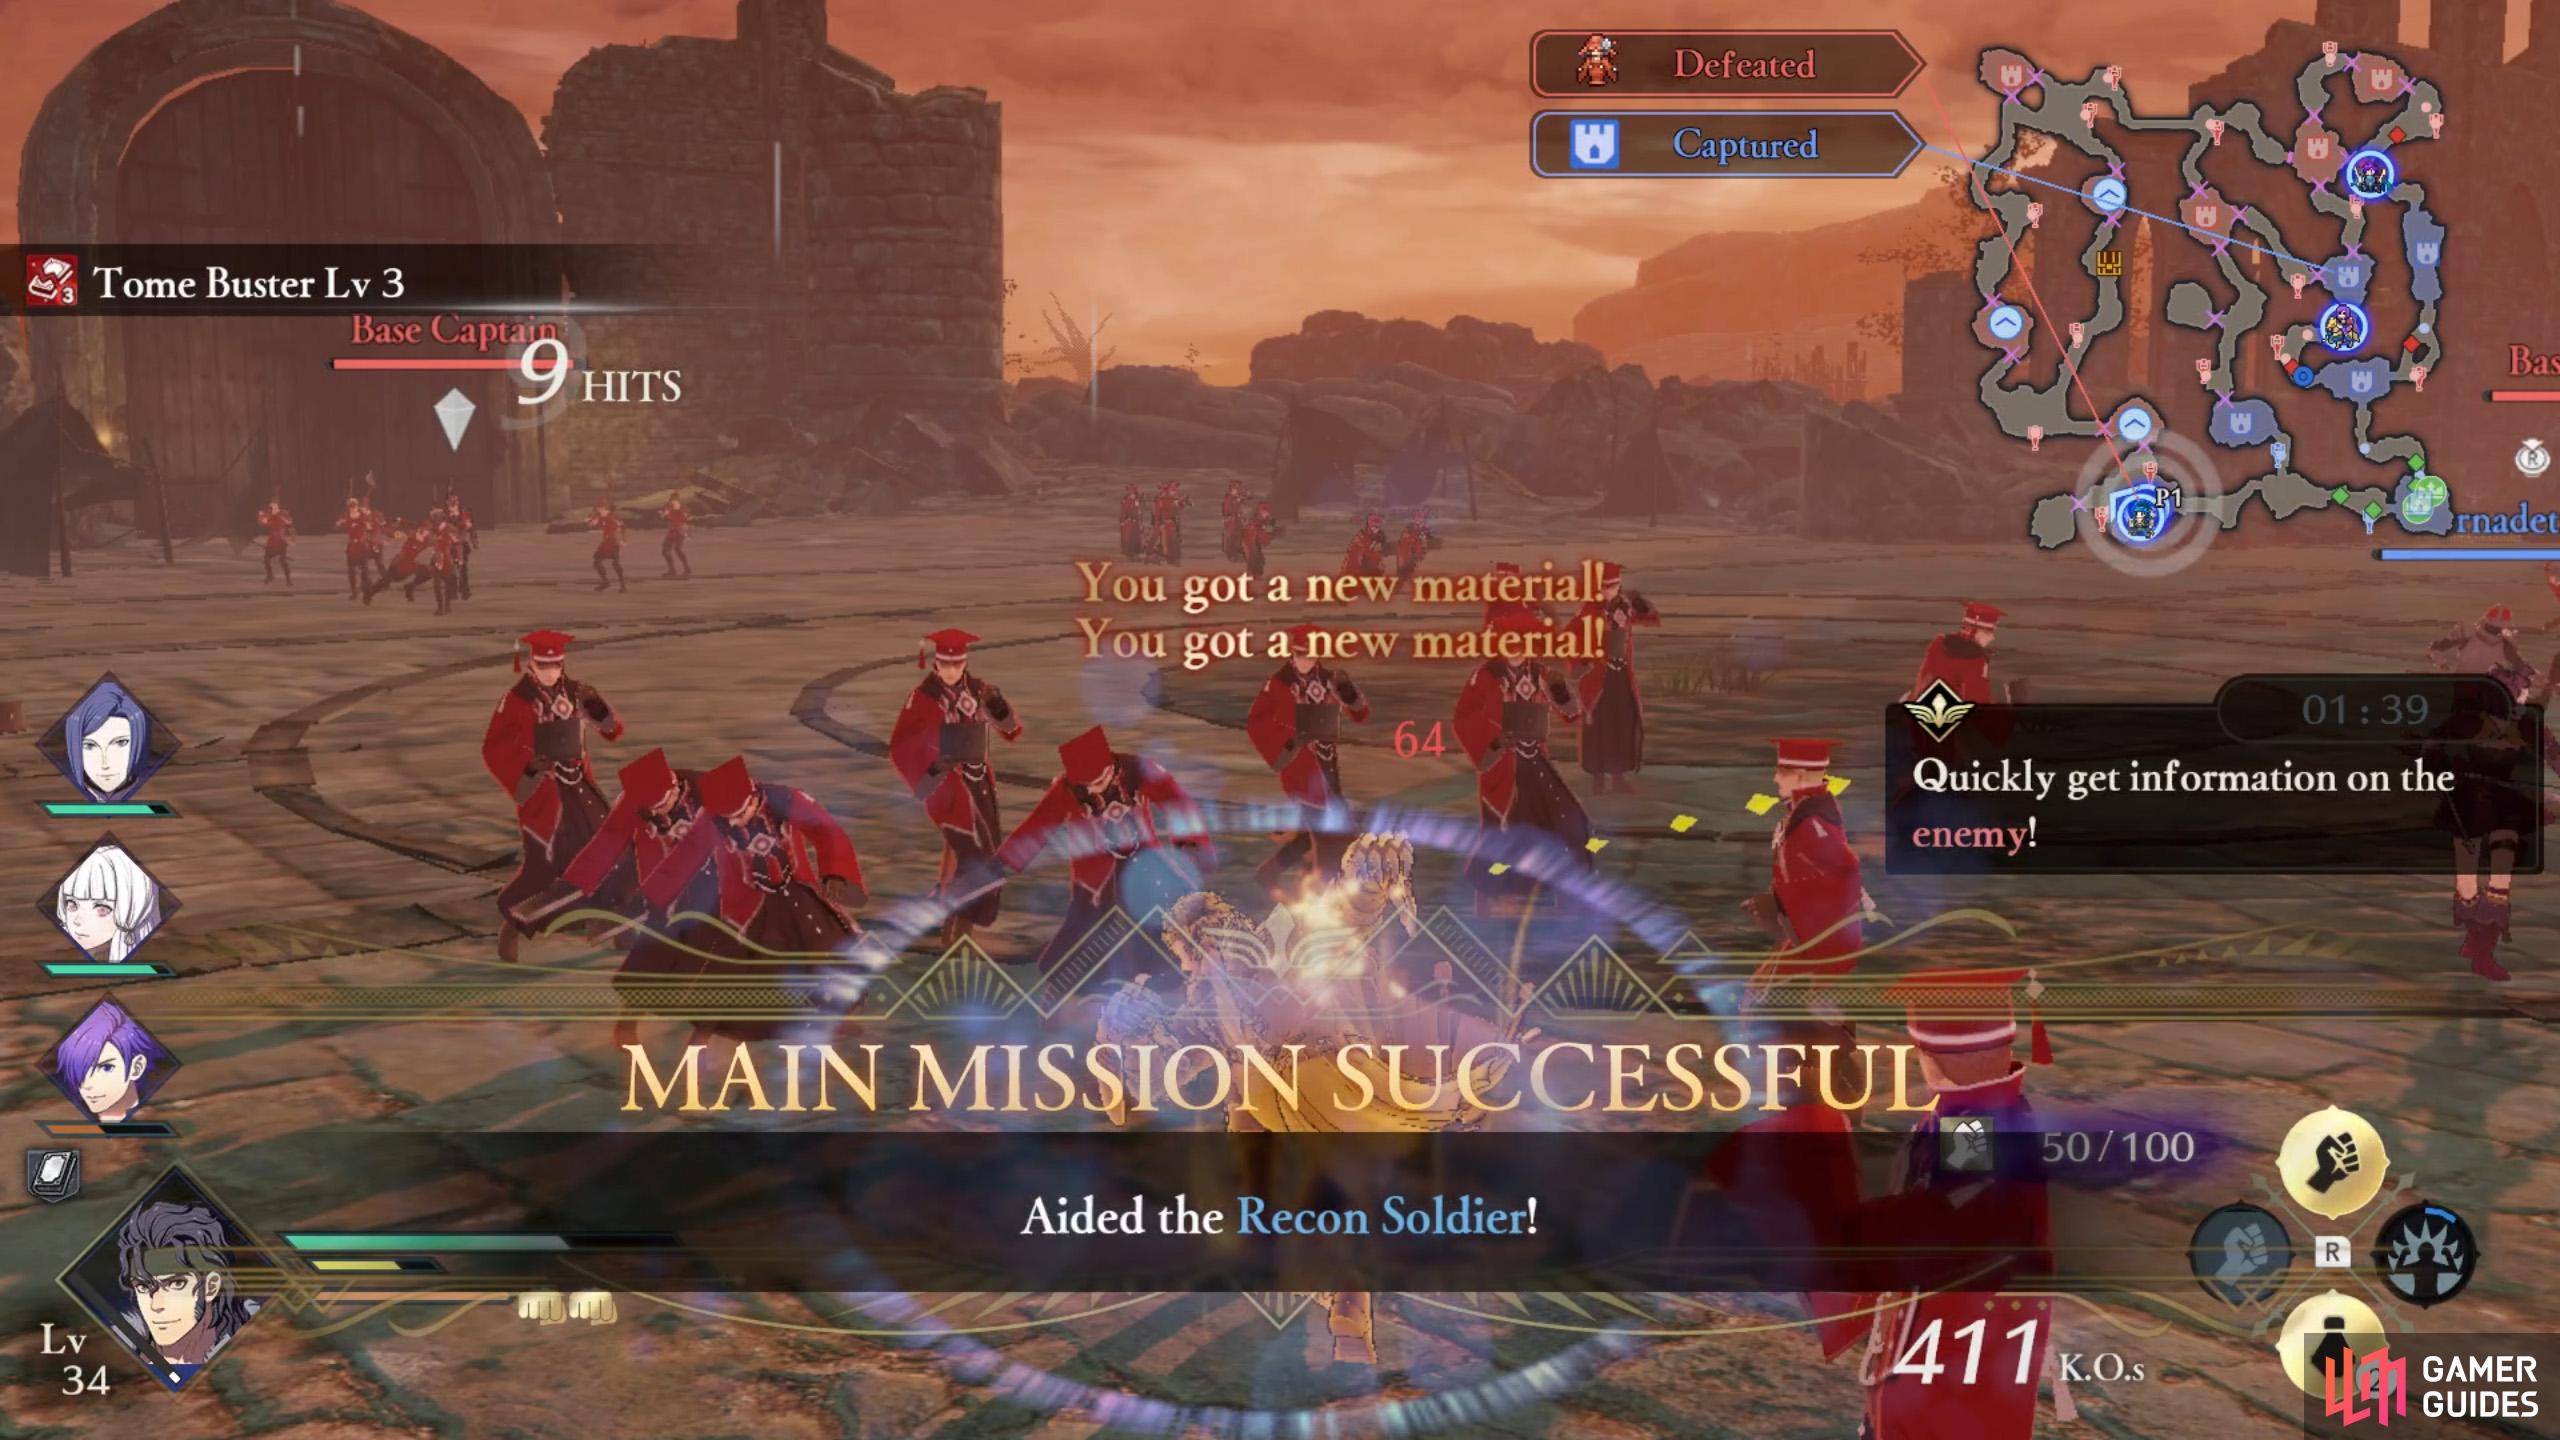
When you see this message, get ready to Order some folks around! (left), Feel free to switch over to them when the coast is clear. (right)
This is the second of three missions that you must complete within 3 minutes. A Recon Soldier will appear near the south-west corner, surrounded by foes. You must defeat the 3 highlighted Warlocks.
Again, don’t wait for the mission to pop up. When the Recon Soldier spawns in and you see the alert near the bottom of the screen, Order some characters to fight the Warlocks near the south-west corner. It helps if some of them wield Gauntlets.
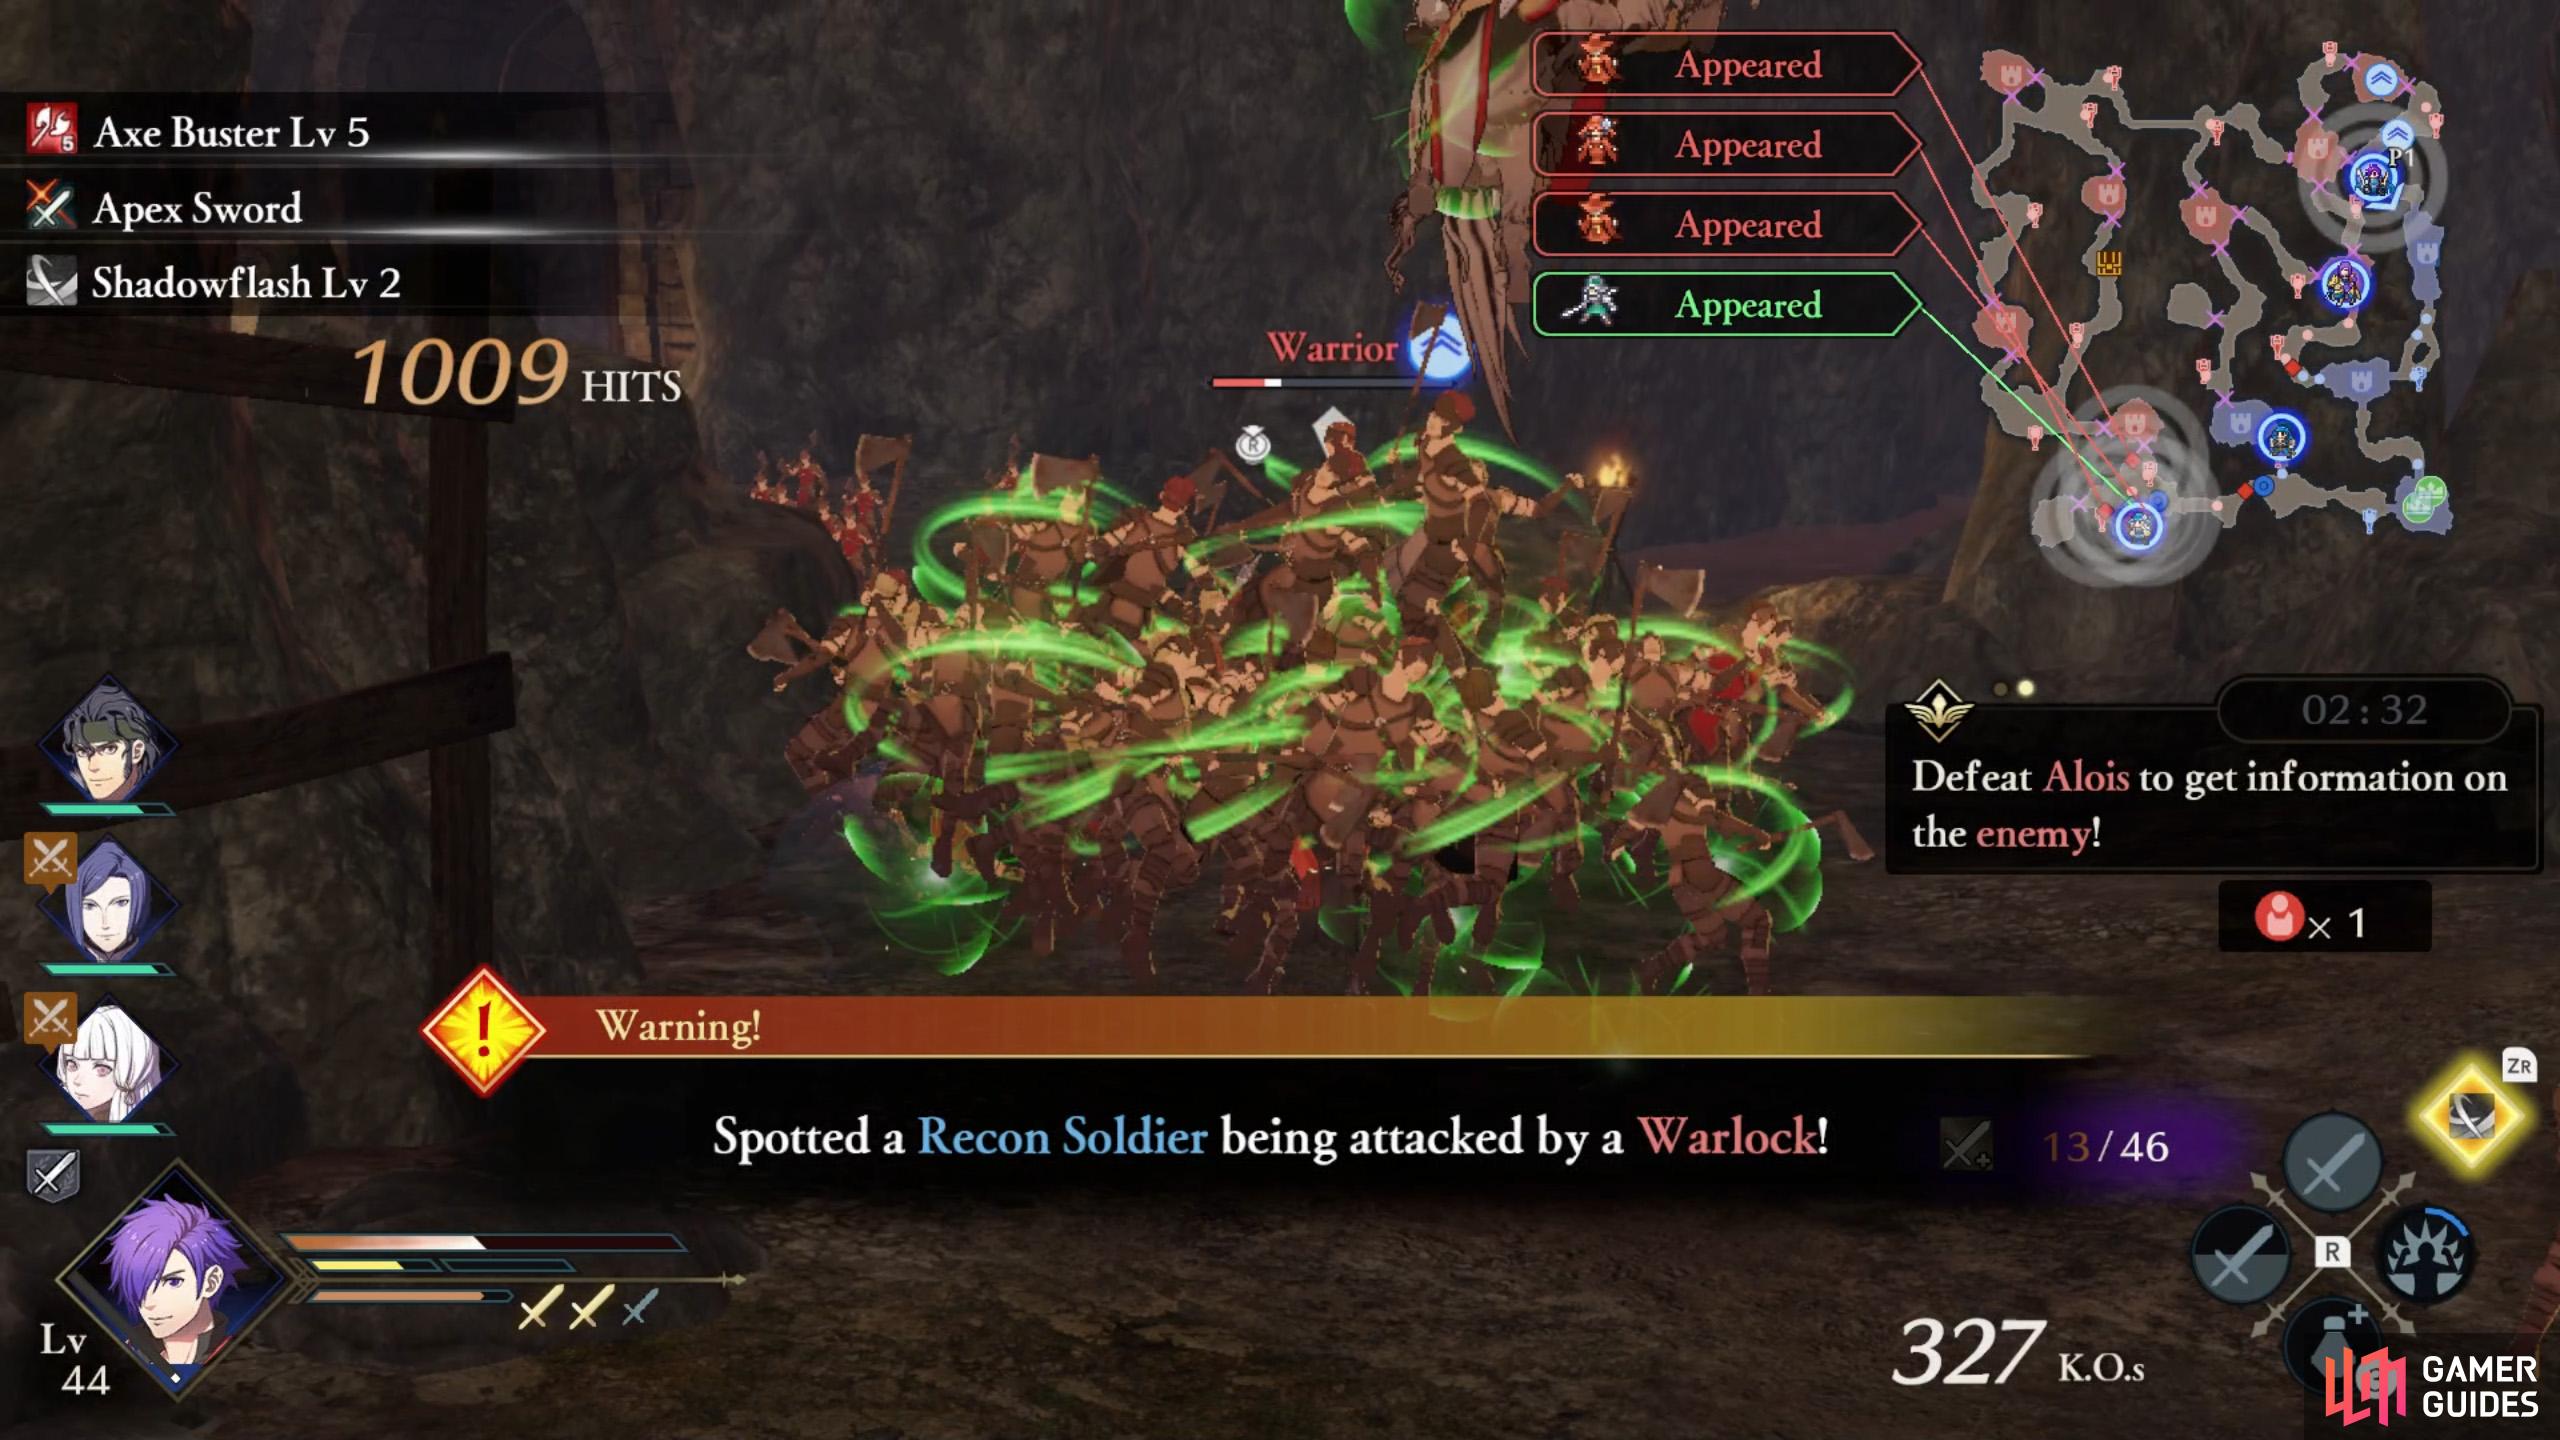
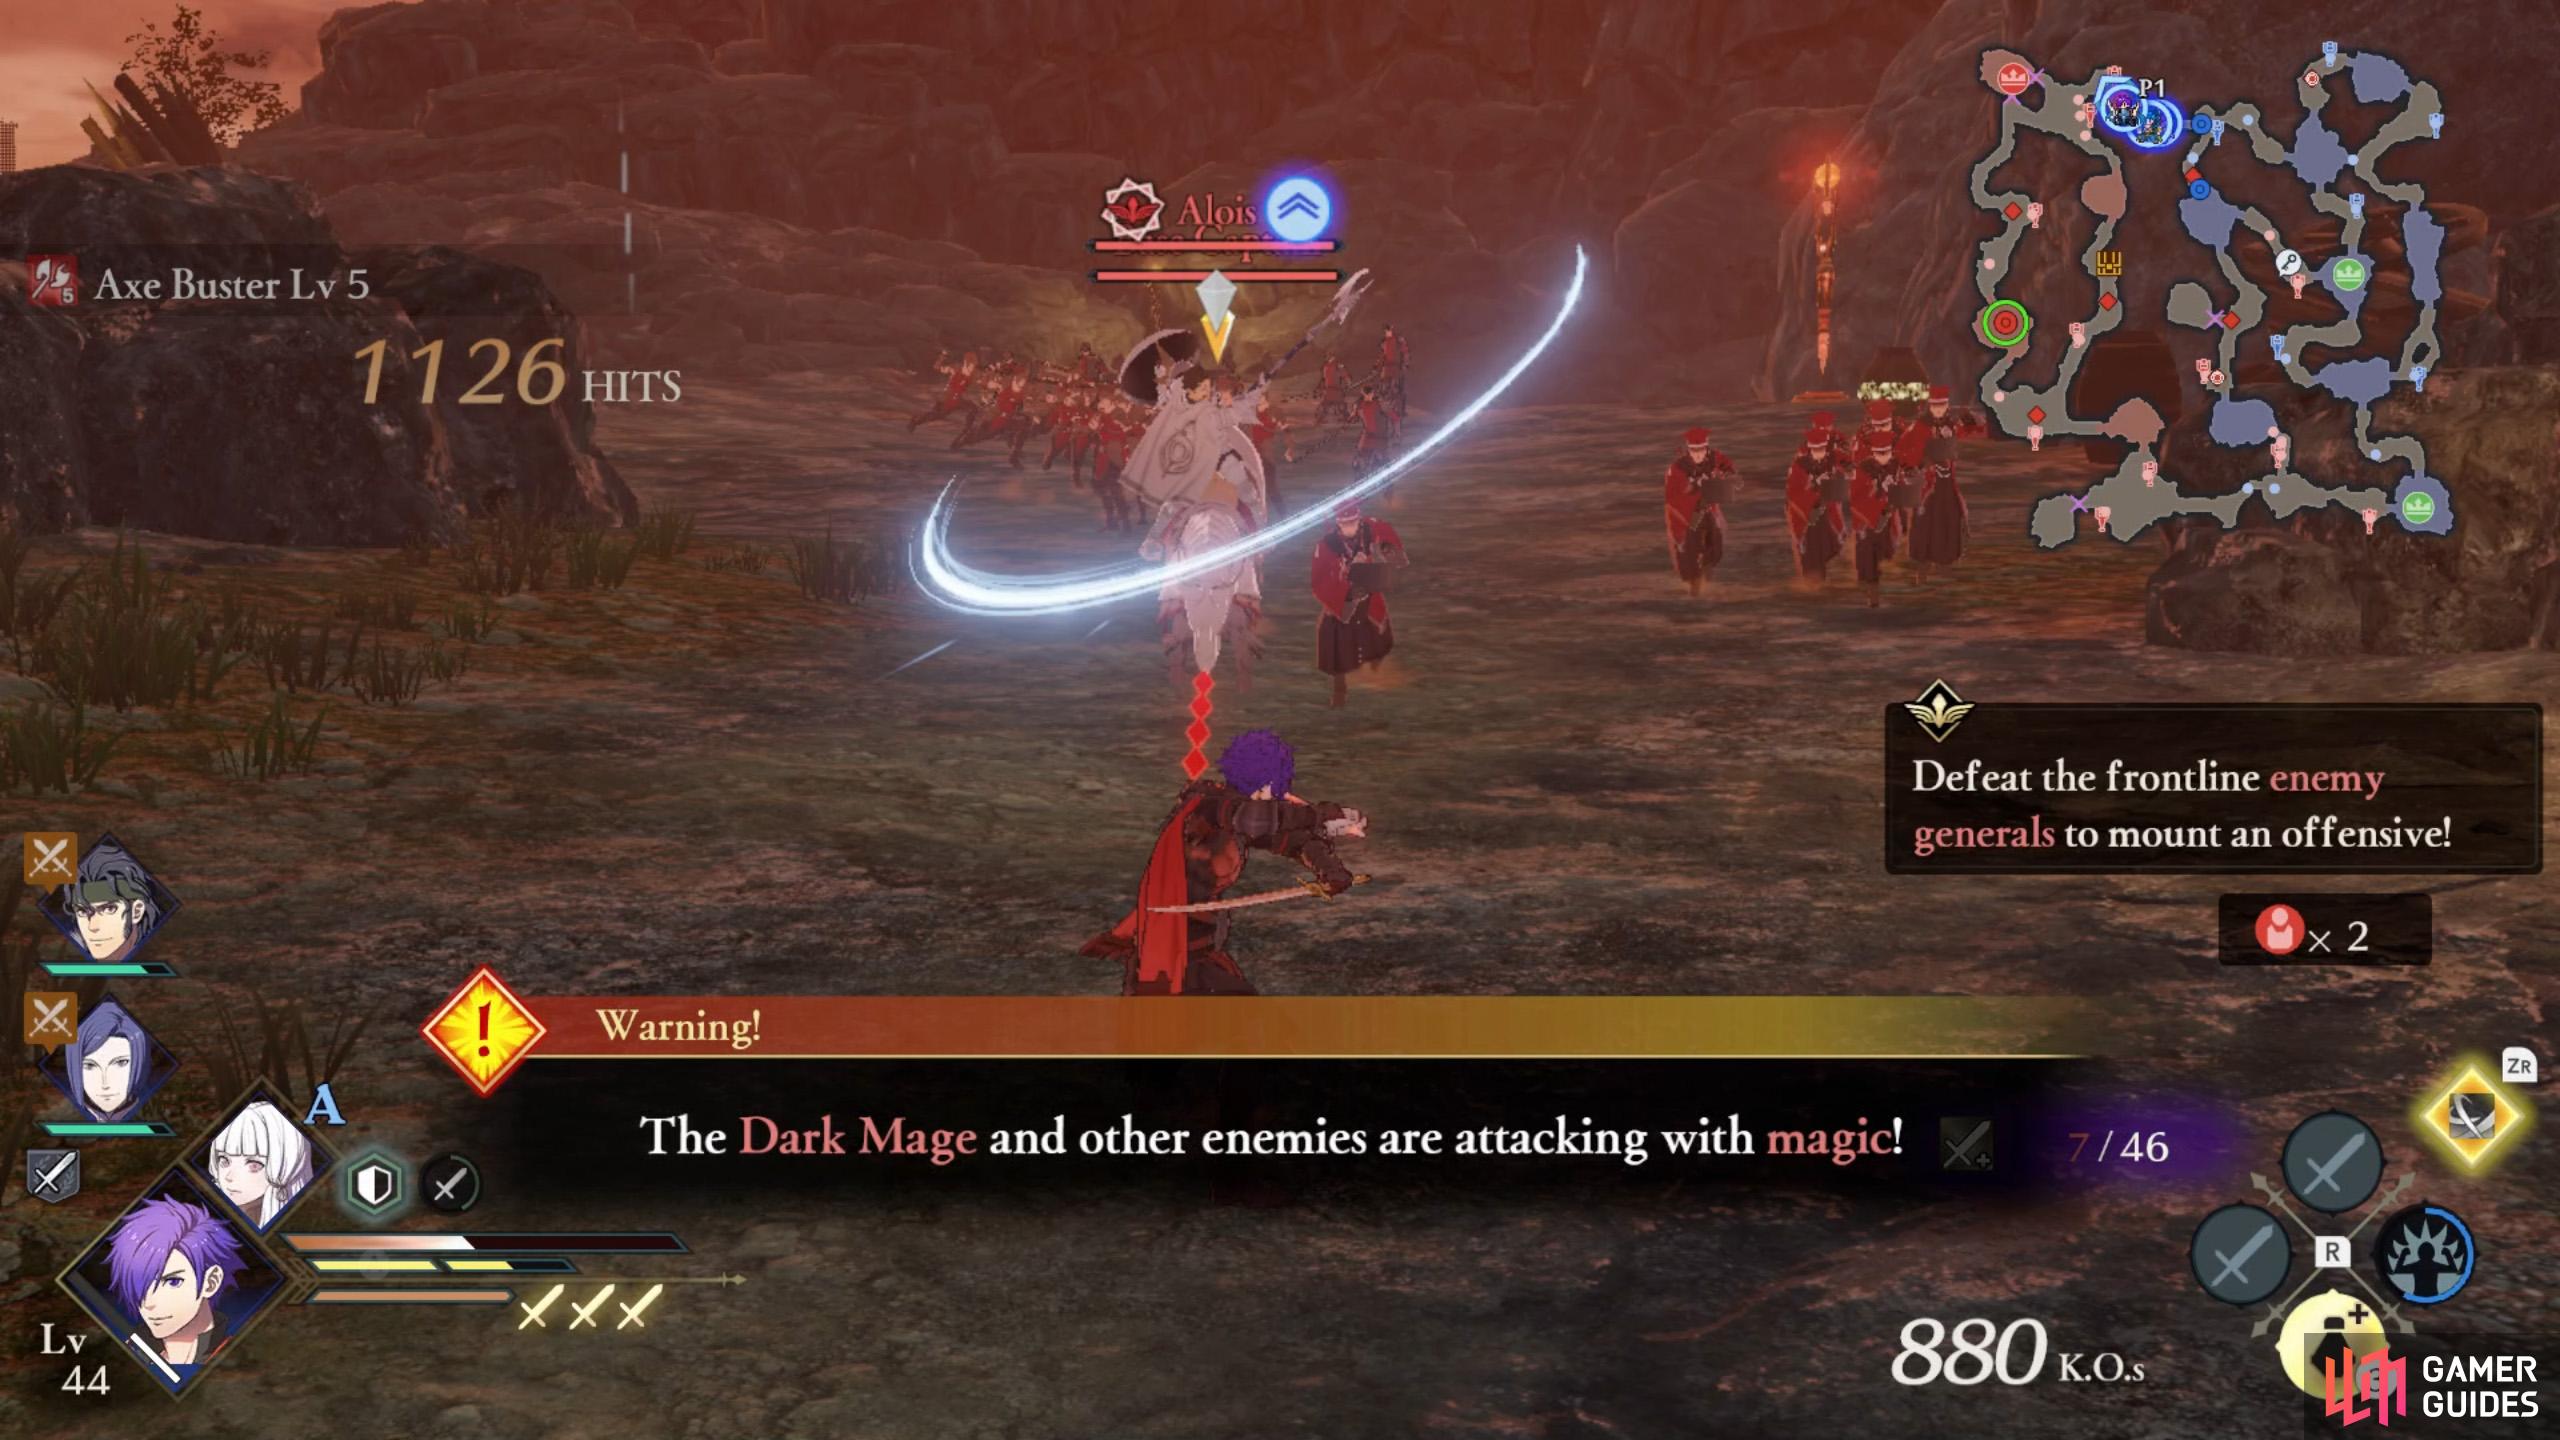
Mission 5: Defeat Alois to get information on the enemy

(1 of 2) After capturing the easternmost stronghold, head here to wait for Alois.

After capturing the easternmost stronghold, head here to wait for Alois. (left), Then slice through Alois before he slices you with his jokes. (right)
This is the last of three missions that you must complete within 3 minutes. After taking the easternmost stronghold, the gate to the north will open and you can encounter Alois there. Say “hi” to him by beating the living pulp out of him.
Hopefully you took our advice and controlled a sword user to capture the easternmost stronghold. When the gate opens, control the same character and give Alois the beating of his life. No more dad jokes!
After Alois falls, switch over to any character(s) still working on Missions 3 and 4.
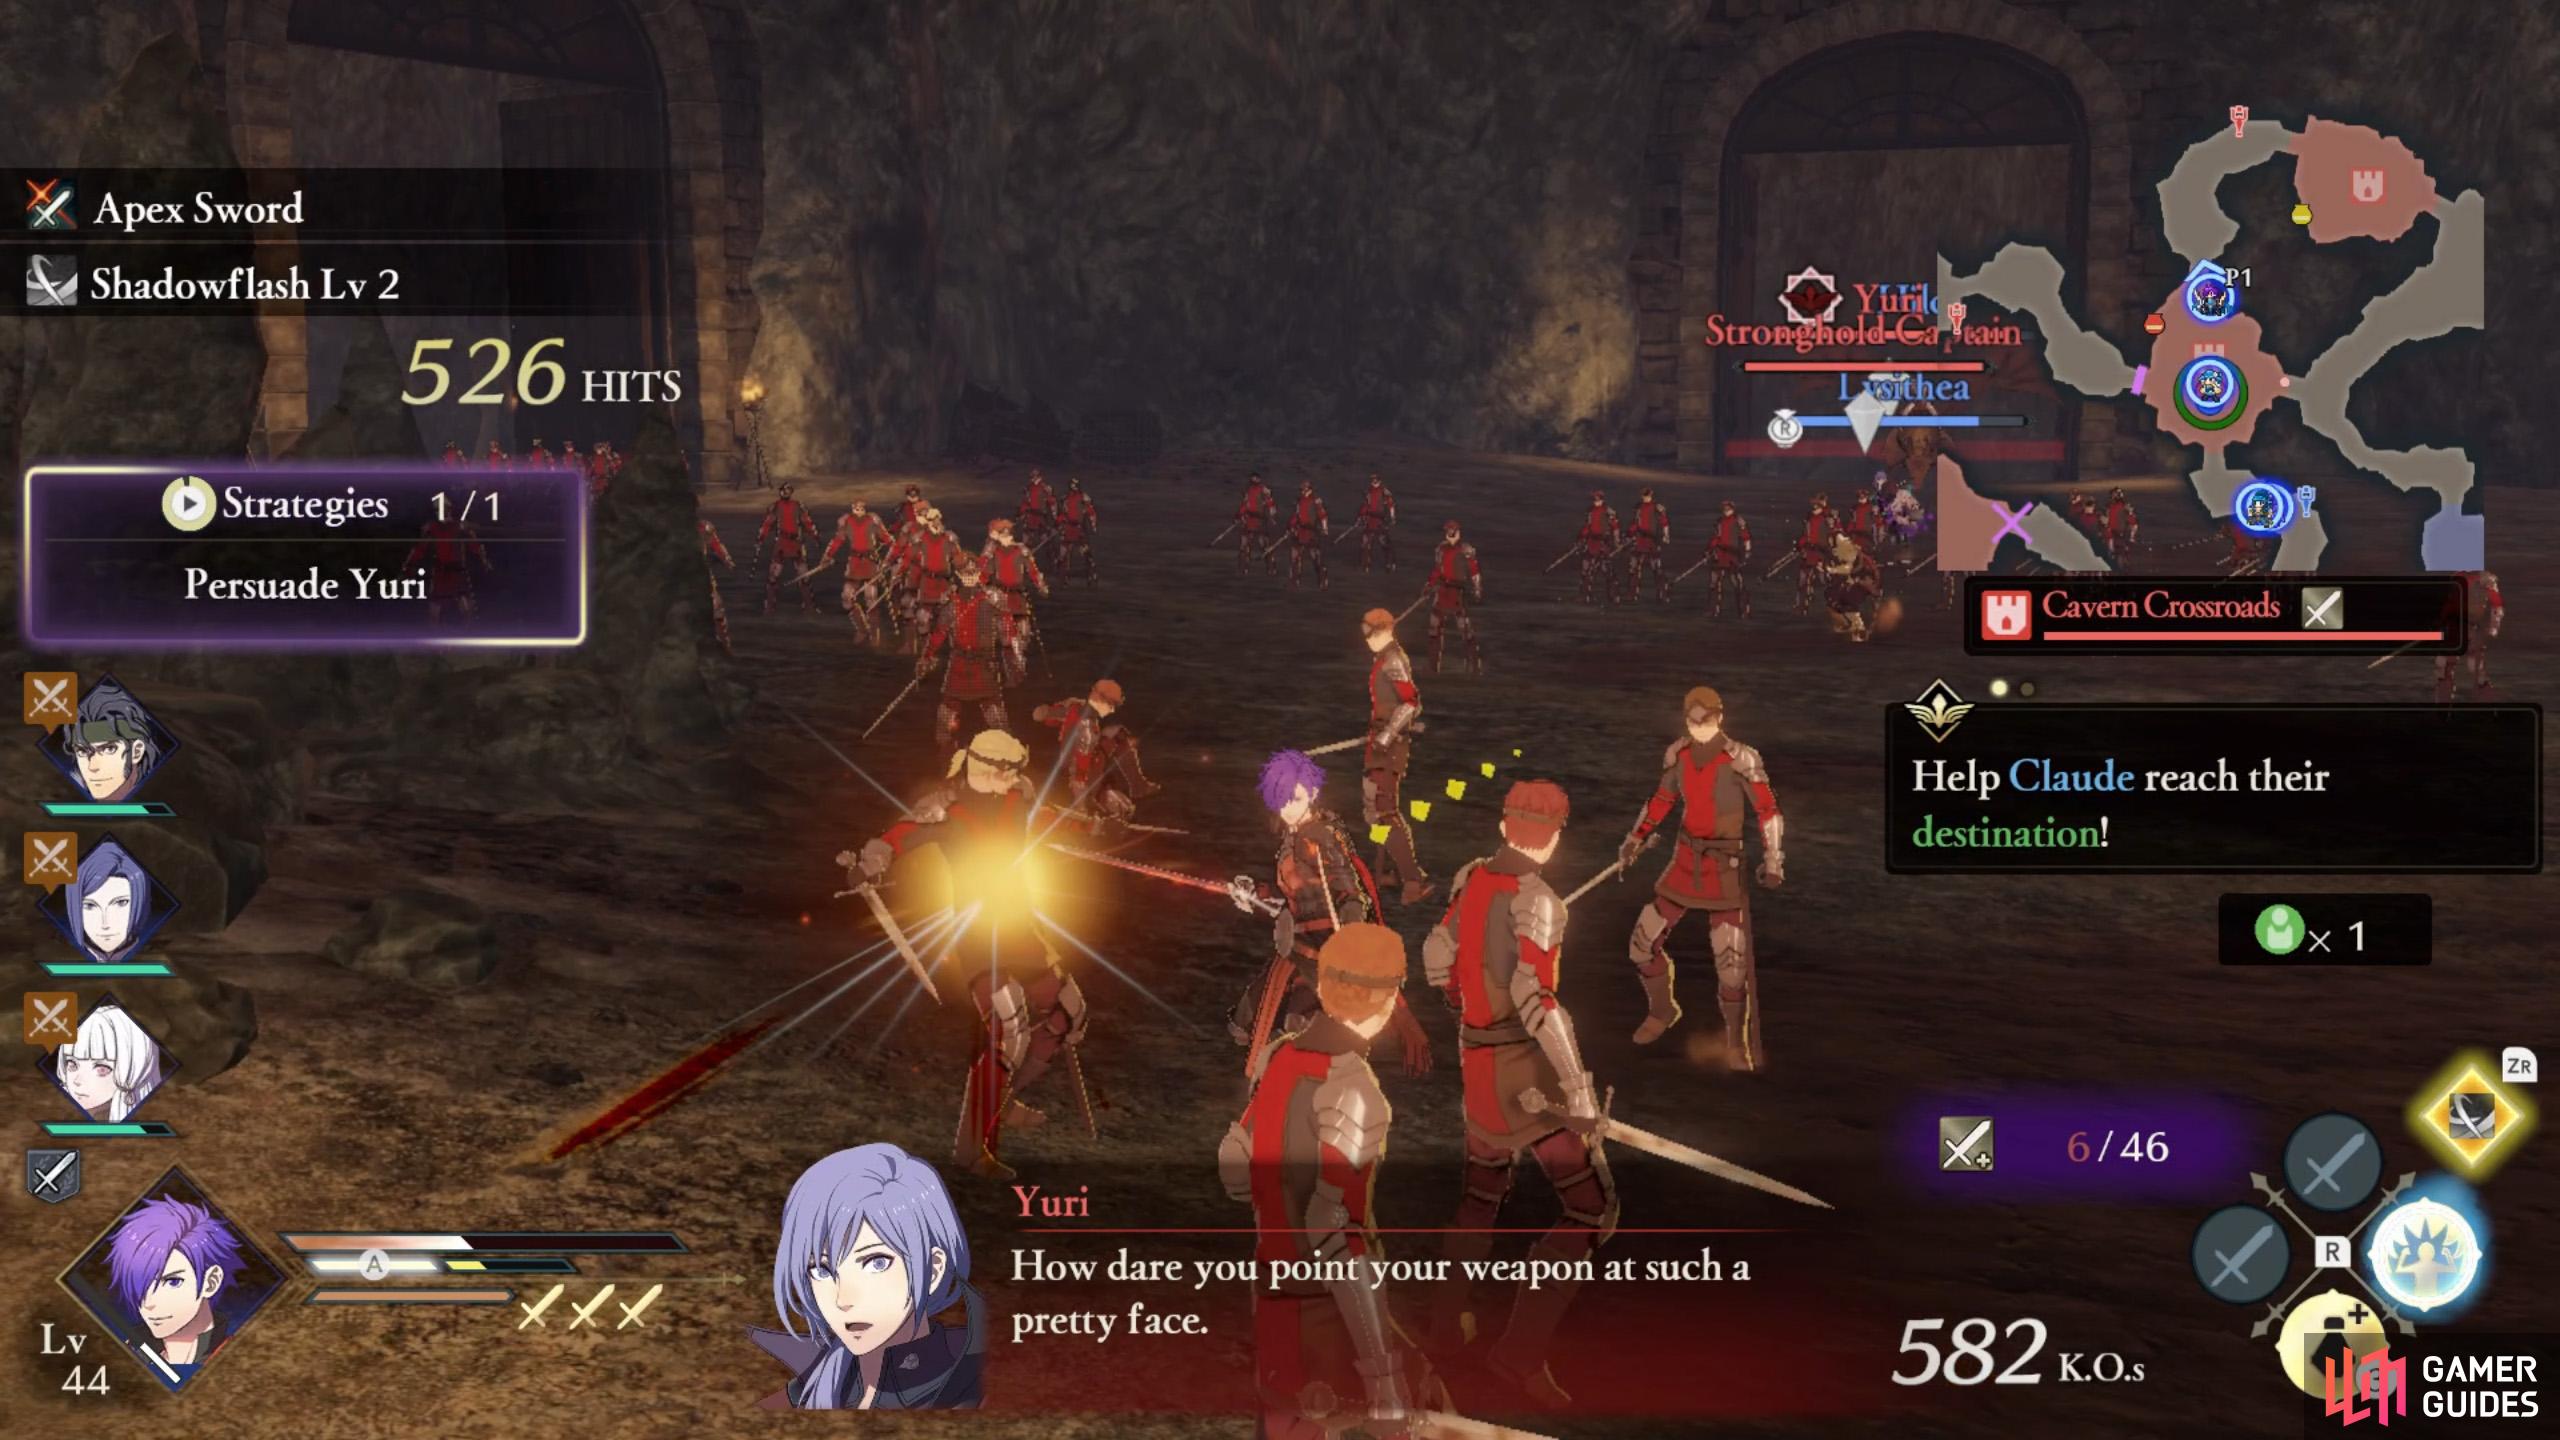
Mission 6 (Byleth): Help Claude reach their destination

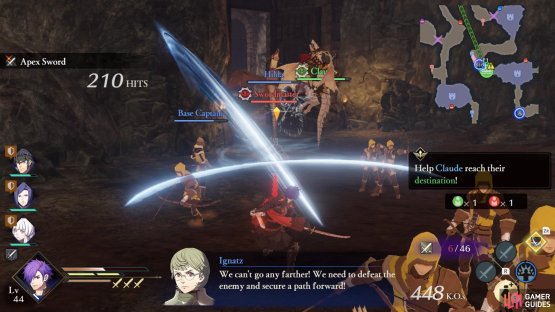
(1 of 2) If you want, Order some characters to defend Claude.

If you want, Order some characters to defend Claude. (left), But if you want to clear this battle fast, you should follow Claude too. (right)
Succeed in gathering intel and Claude will act as a decoy to lure out Byleth. He’ll begin marching to a point towards the far north, halfway across horizontally. Now you’ll need to follow Claude and fend off any enemies blocking his path.
First, a Swordmaster will spawn a short distance west from the first stronghold to the north, the Cavern Entrance. Intercept them with a lance user if possible.
Next, another Swordmaster will appear at the next stronghold north (along the west branch), the Forked Cavern Road. You know the drill. Soon after, a Warrior will materialize further north–a simple task for a sword user.
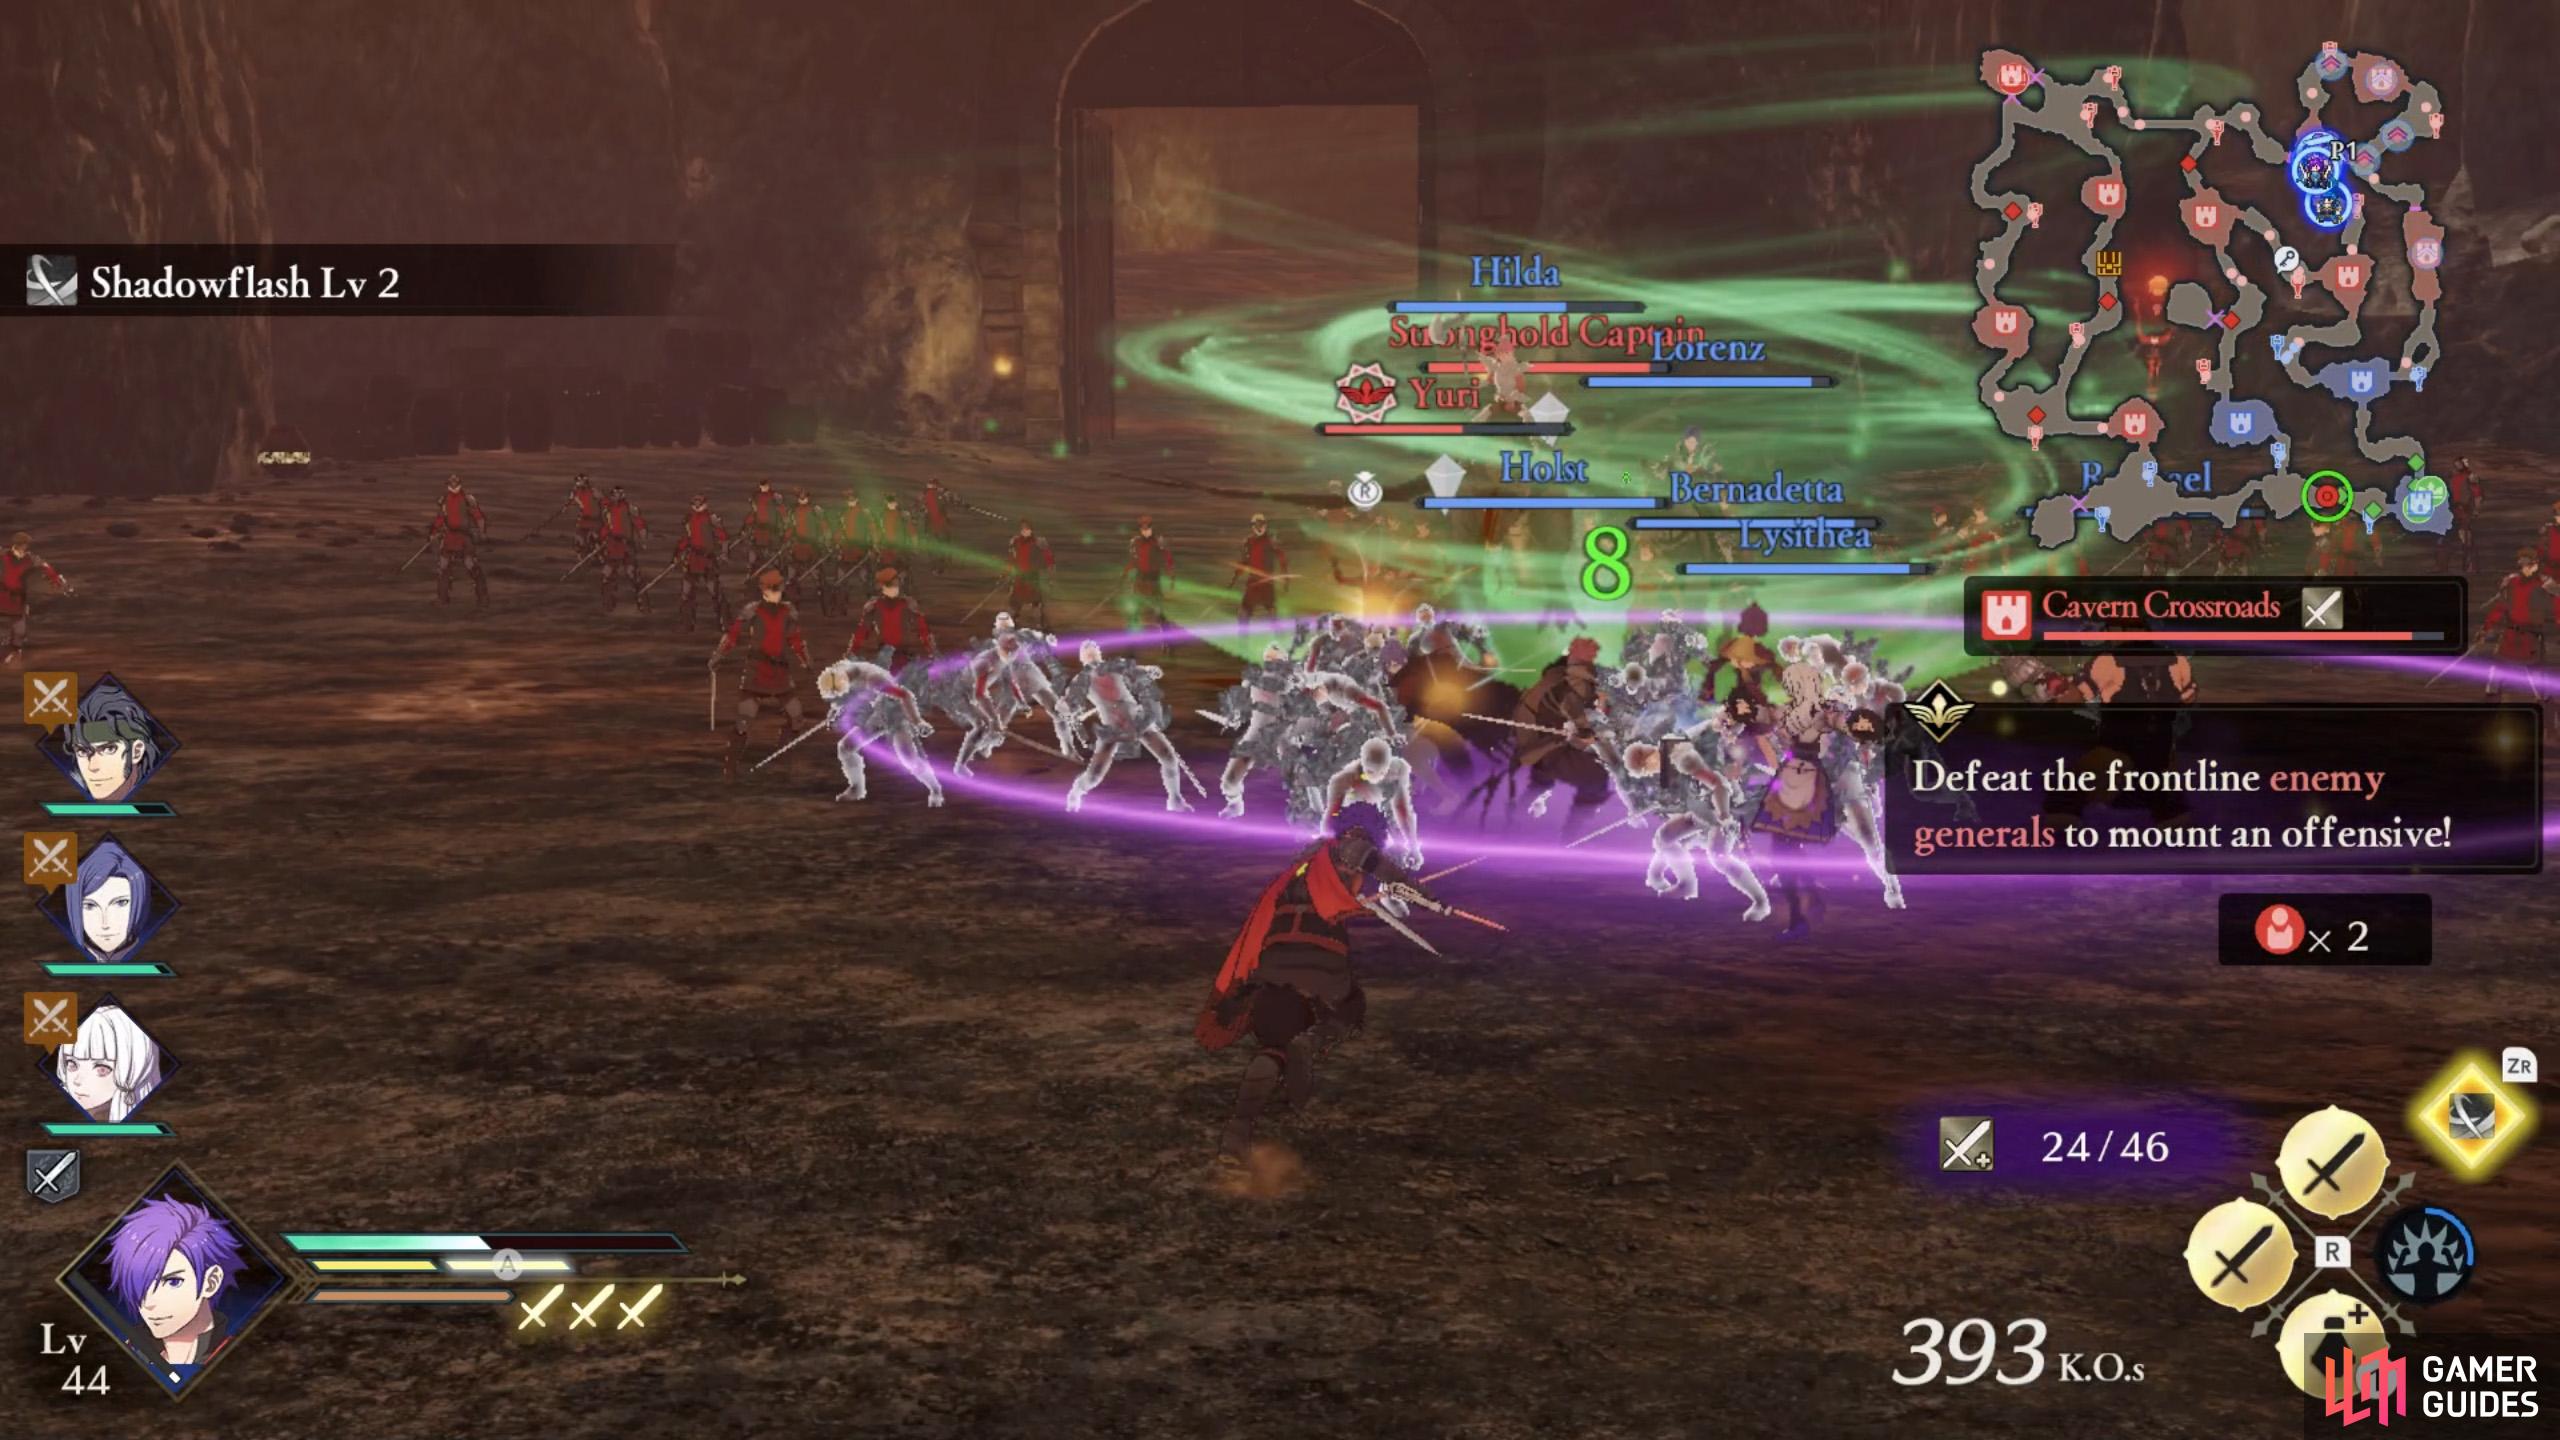
When you reach the next stronghold north, the Cavern Crossroads, one final roadblock will appear: Yuri. This will trigger mission 7 to defeat him.
After you’re finished taking care of Yuri, Claude can continue west to his destination, ending this mission.
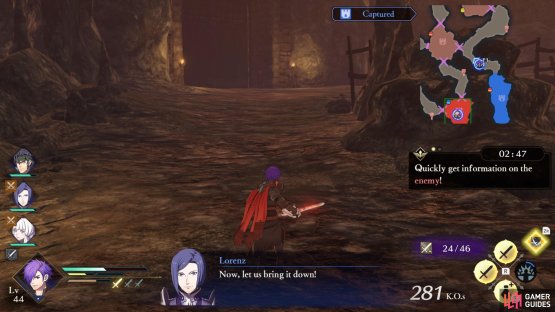
Mission 7: Defeat Yuri


(1 of 2) Um, we’re kinda busy here…
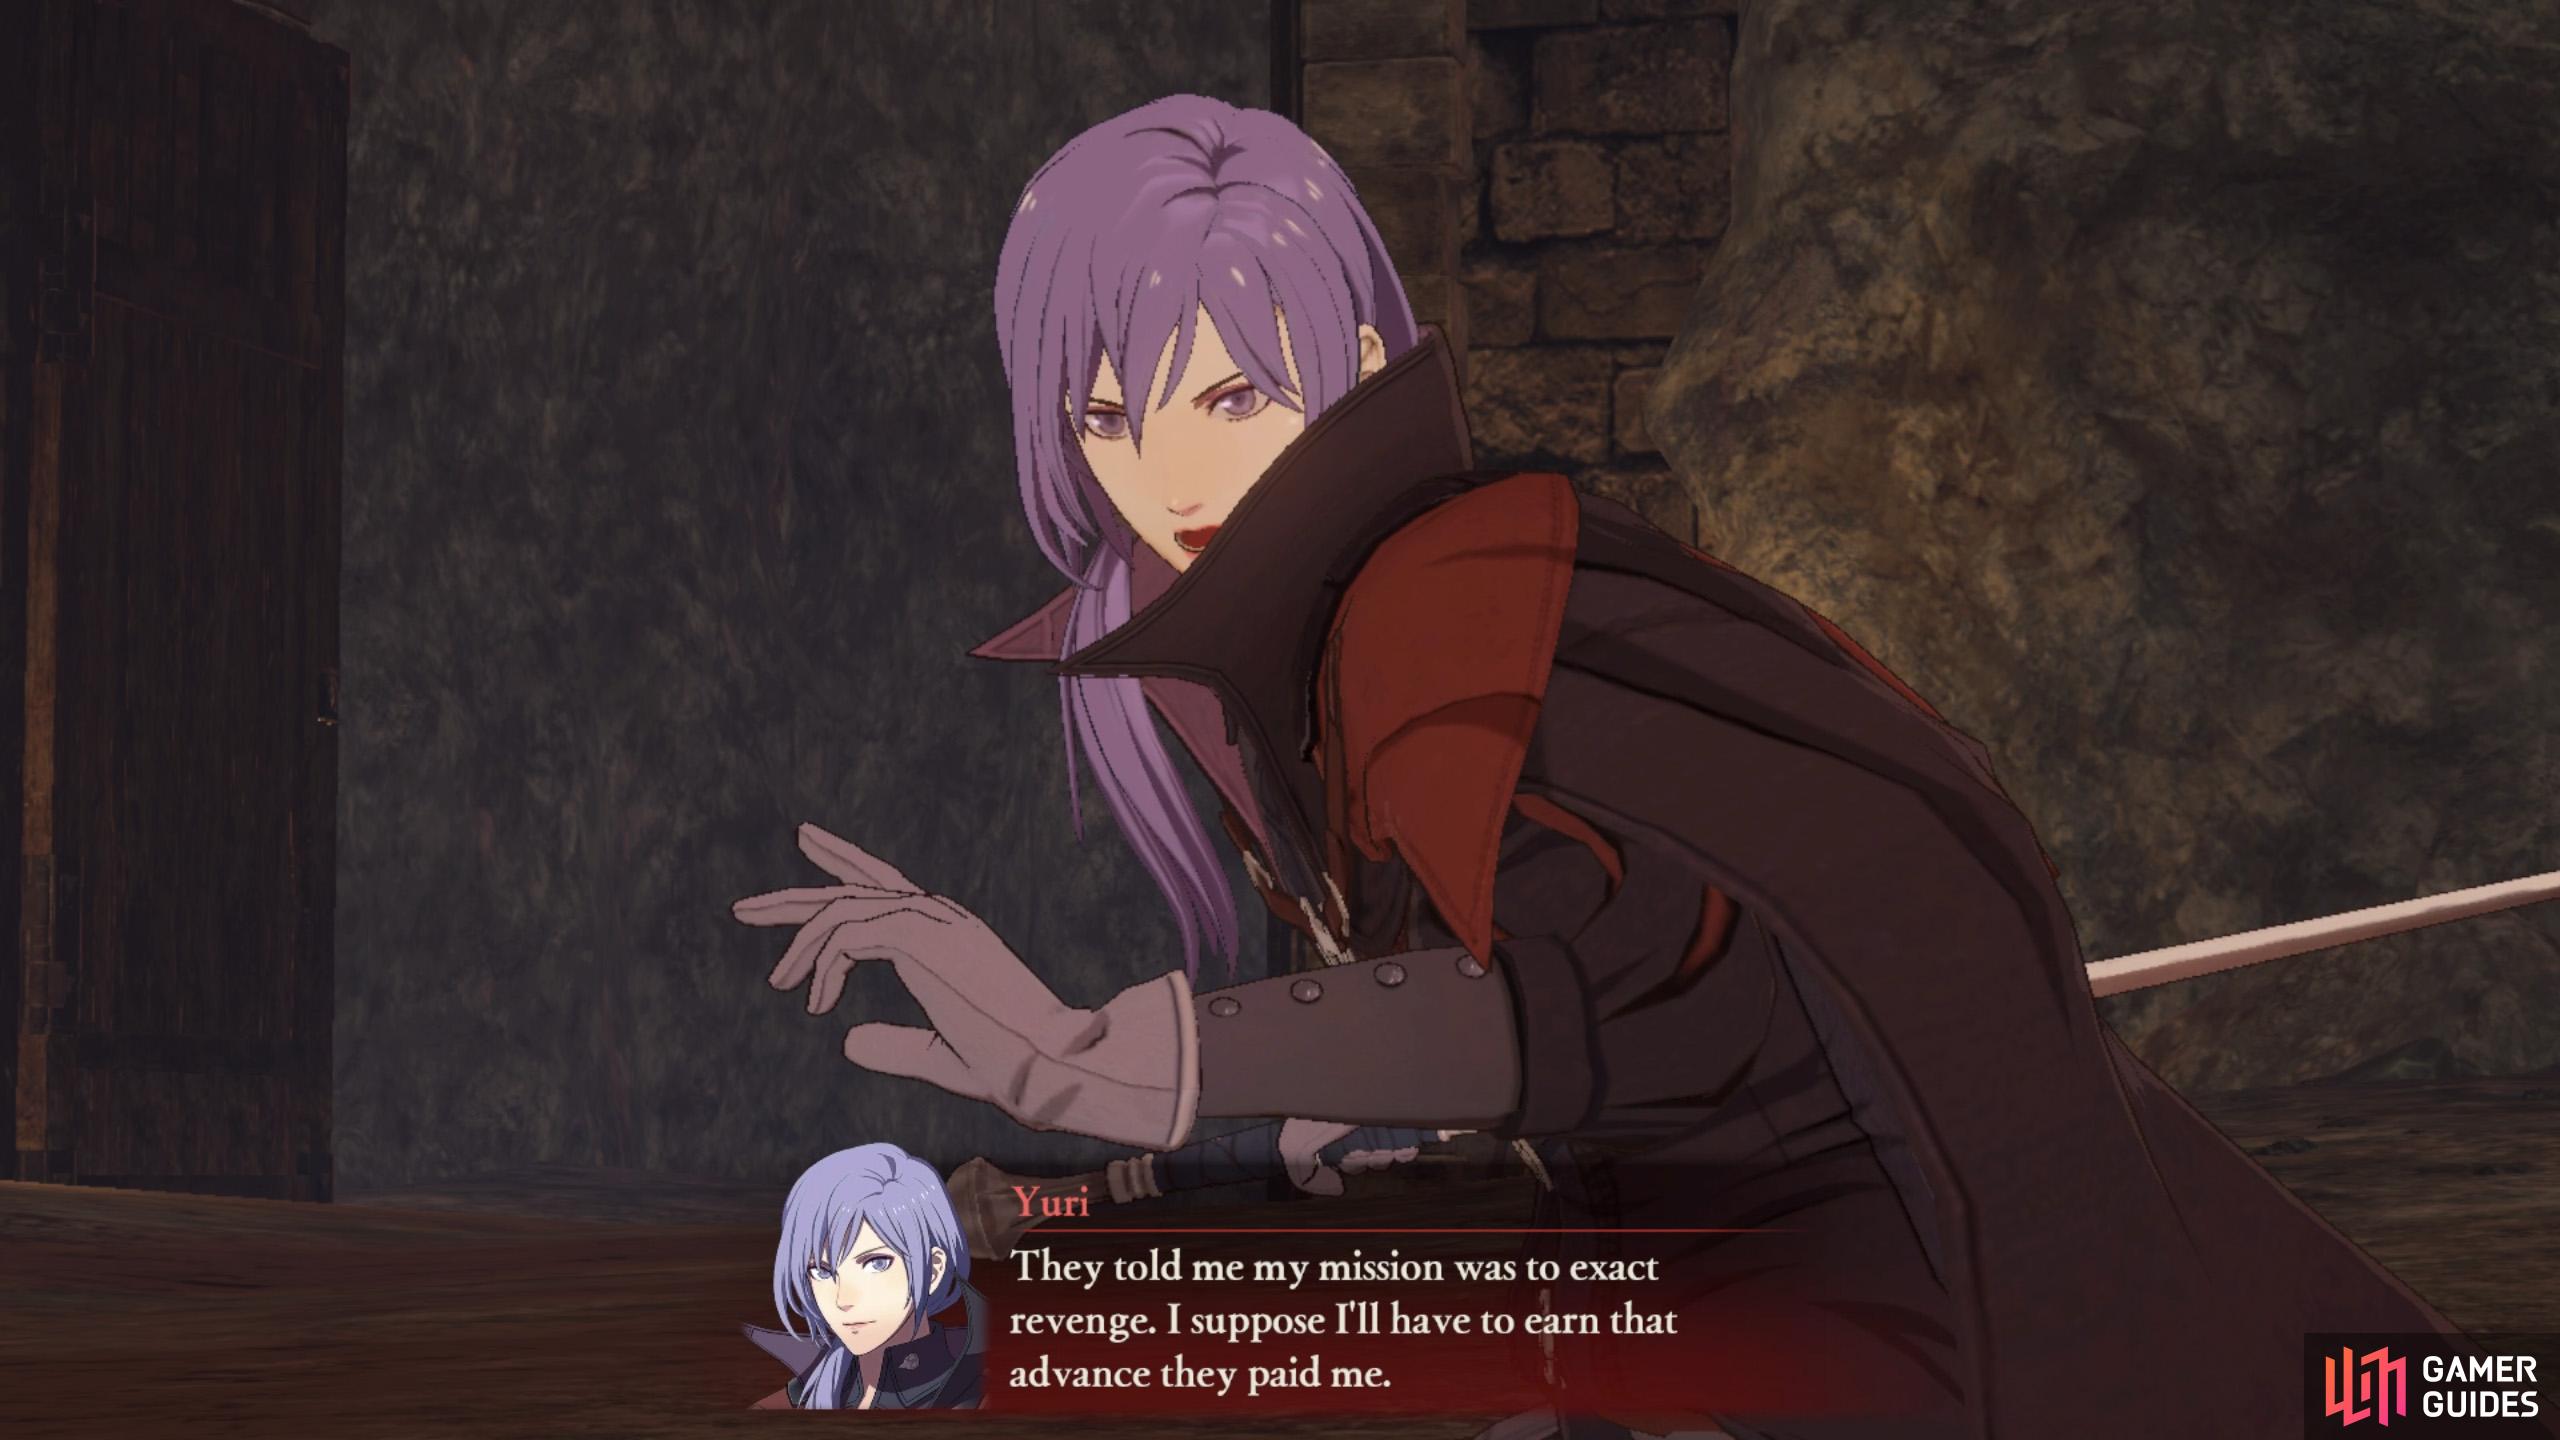
Um, we’re kinda busy here… (left), Be sure to trigger Persuade Yuri. (right)
Once Yuri appears, trigger the Persuade Yuri Strategy if you enabled it earlier. This will let you recruit the Ashen Wolves’s leader after defeating him. He’s a sword-wielding Trickster, so lances will deplete his HP faster.
After Yuri is out of the picture, the gate to the west will open.
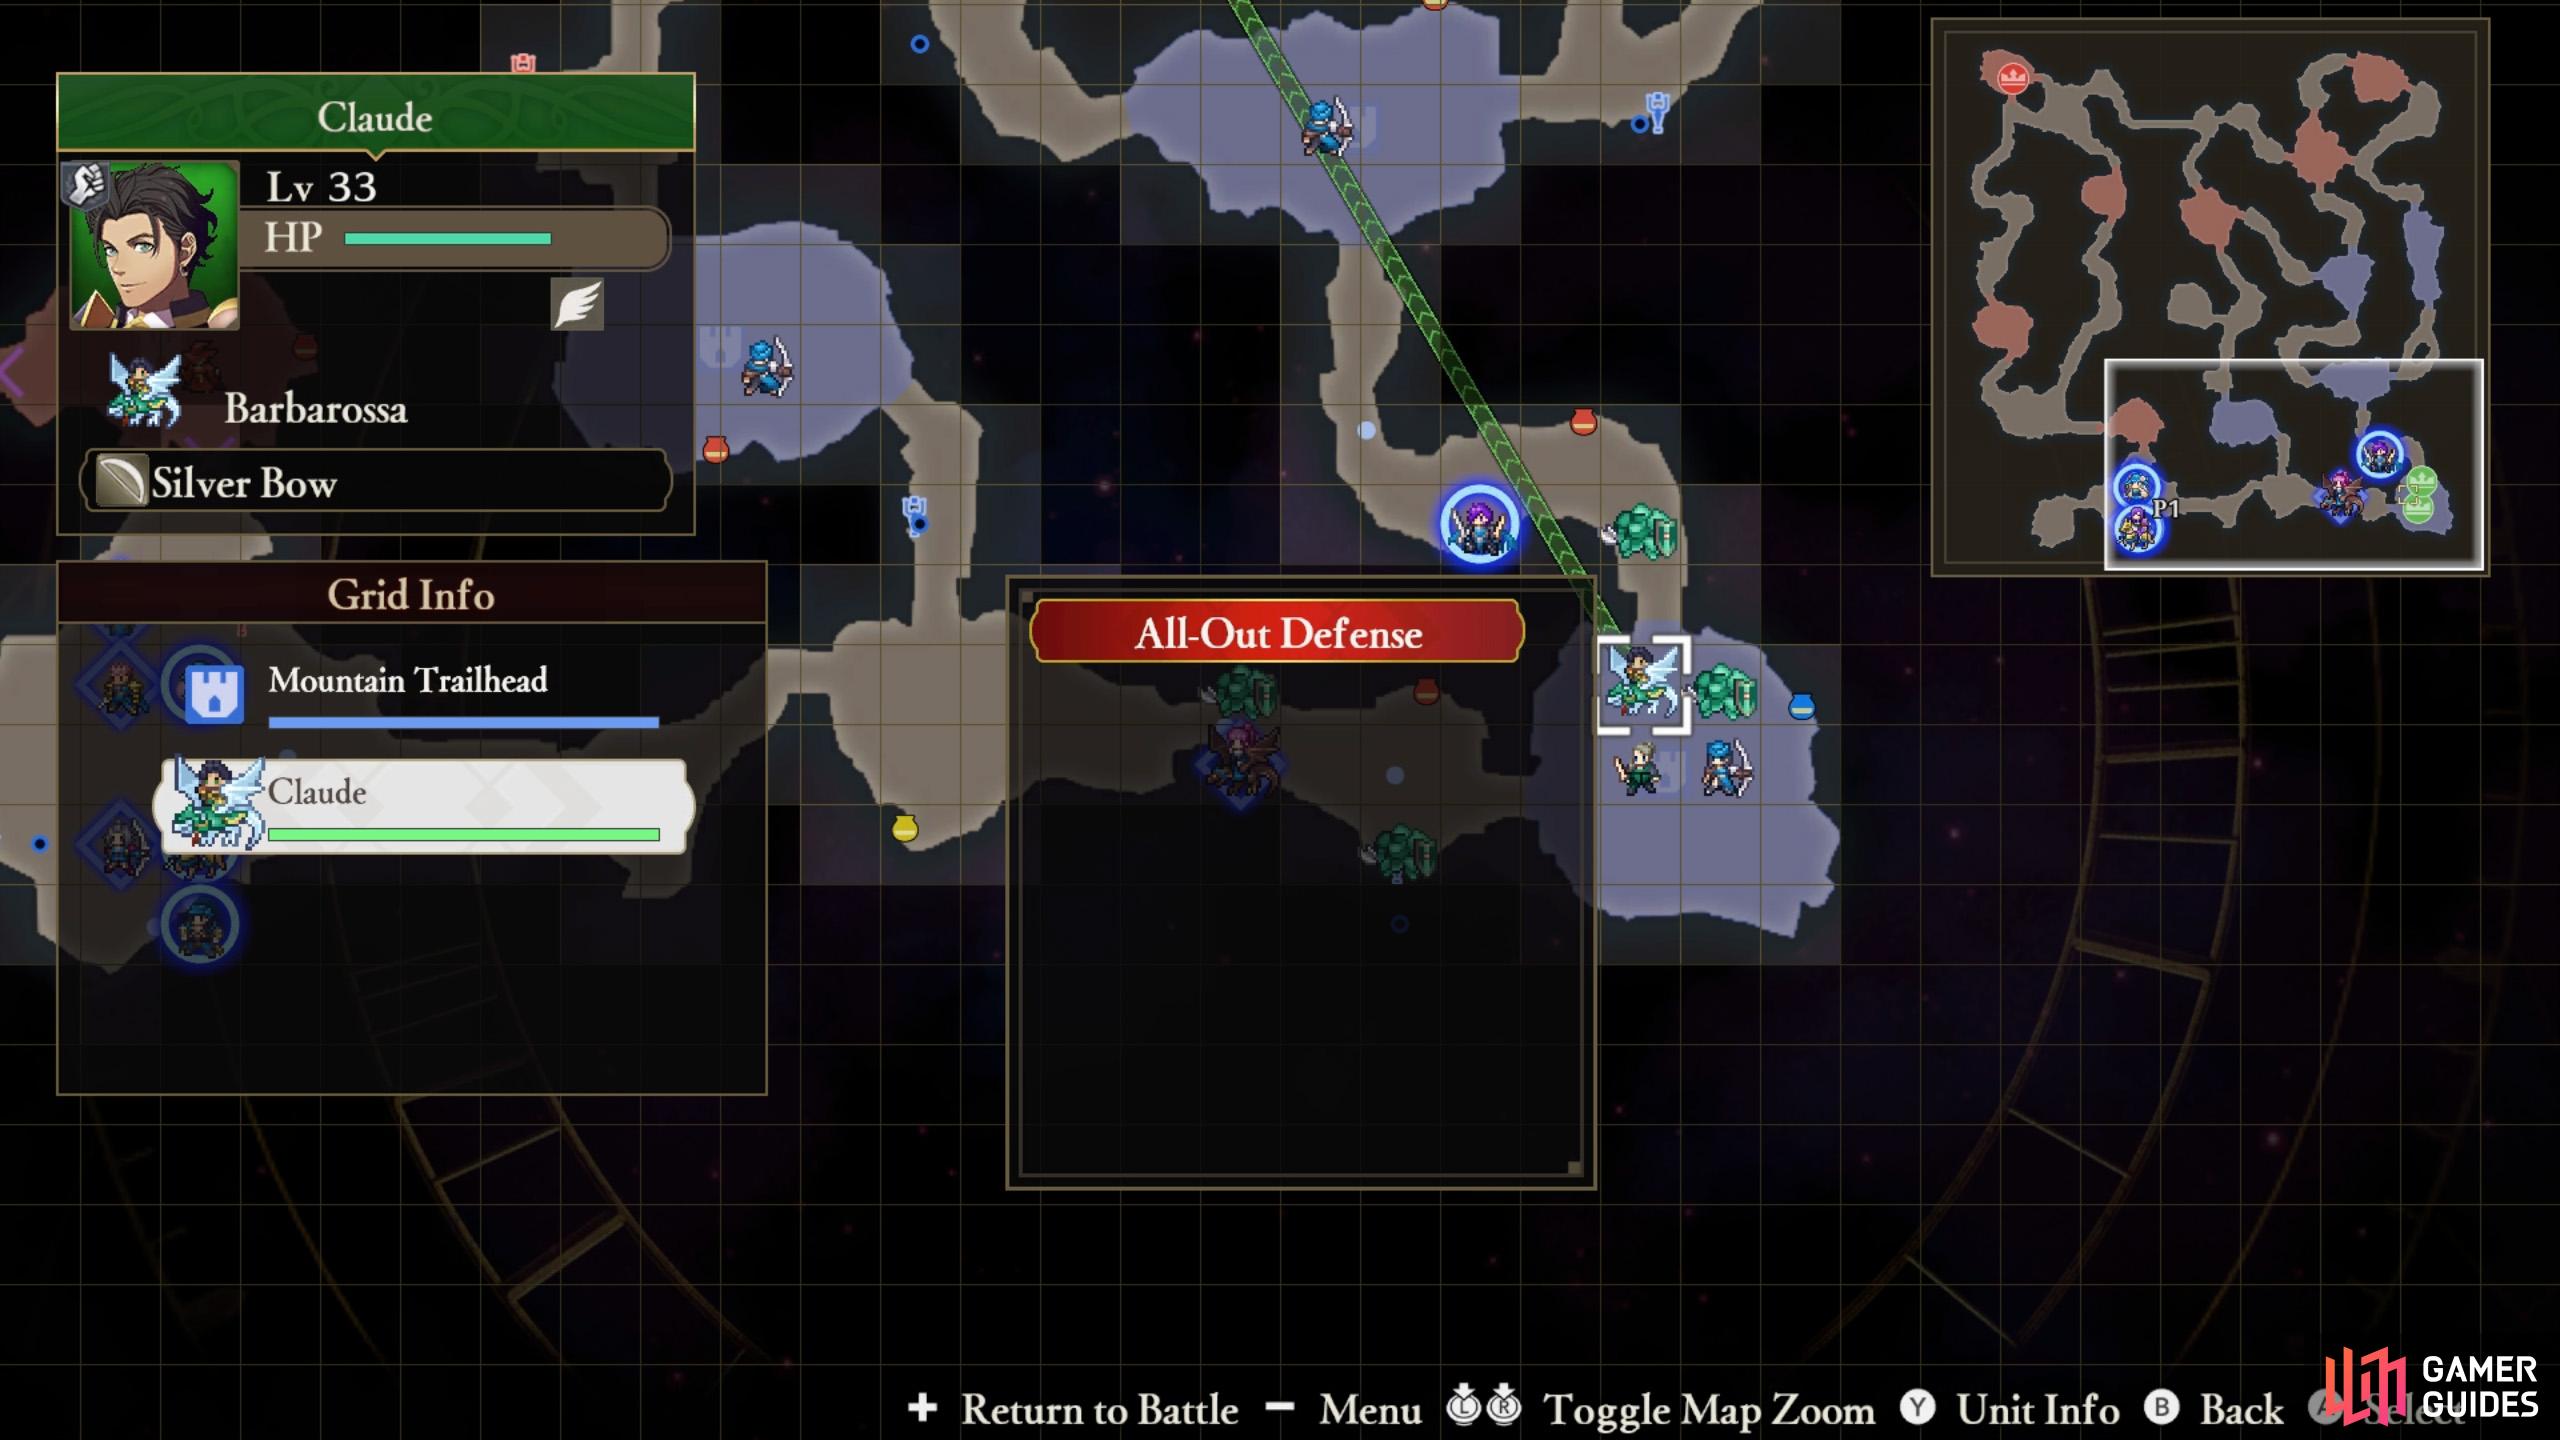
Mission 8 (Byleth): Avoid engaging Byleth and help Claude retreat safely
Upon reaching his destination, Claude will grab Byleth’s attention. Byleth will spawn near the north-west corner and most of the stronghold gates will open. Byleth will then slowly begin moving towards Claude’s position. If you want to recruit the Ashen Demon, you must not let him/her reach Claude!

(1 of 2) Although Byleth begins close to Claude, he/she will periodically lose sight of him.
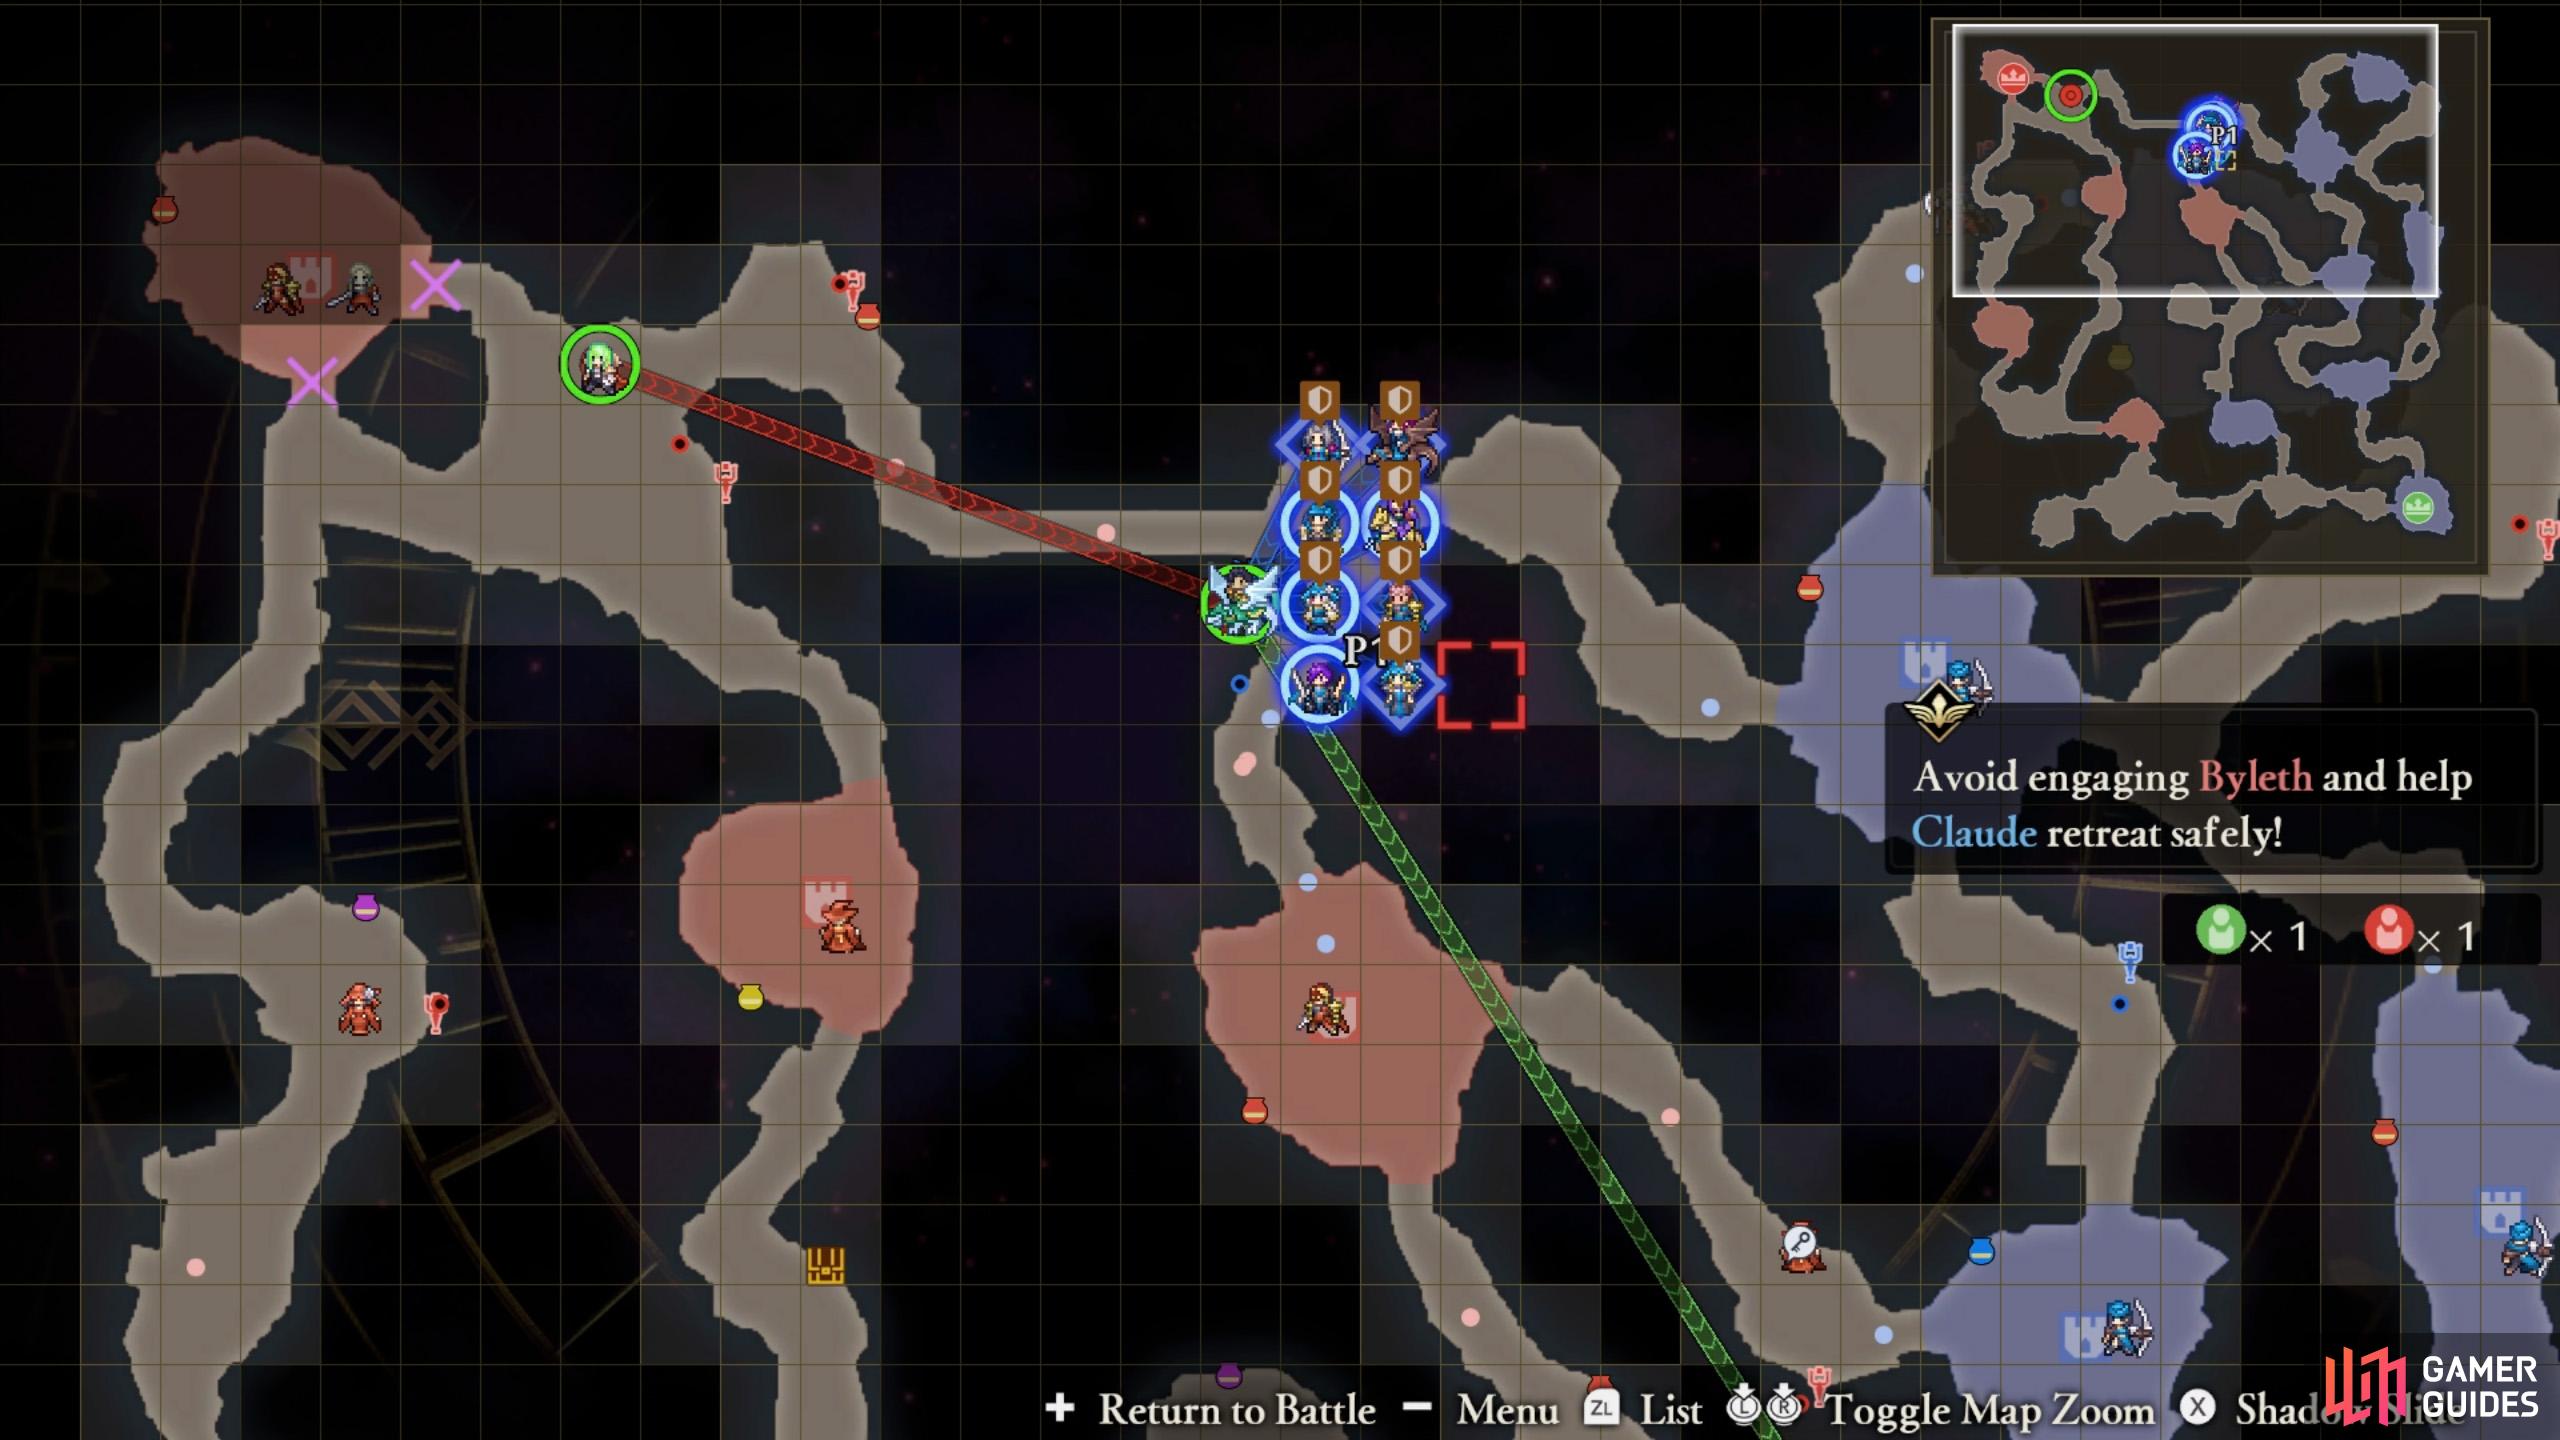

Although Byleth begins close to Claude, he/she will periodically lose sight of him. (left), That said, you should act fast, unless you want your effort thus far to go to waste. (right)
Claude will travel back through the route he came. At the Cavern Crossroads where you fought Yuri, a Swordmaster will spawn to disrupt him. Lance the heck out of him. Then at the next stronghold south, the Forked Cavern Road, another Swordmaster will try to beset Claude. Stubborn pests.
Just as Claude is about to leave the Forked Cavern Road stronghold, Myson will spawn in by the south exit, triggering Mission 9 to defeat him.
Once Myson’s gone, there’s only one more roadblock: a Warrior at the final stronghold before the allied camp. Send them packing with a sword user.
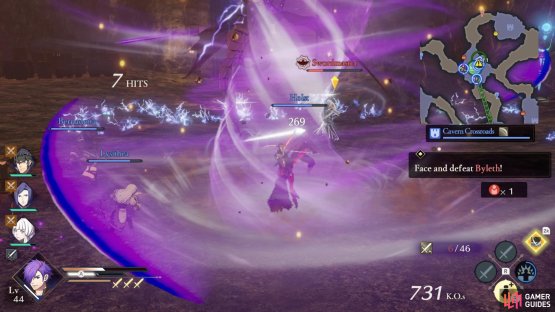
Side Mission 1 (Byleth): Face and defeat Byleth


(1 of 2) Ignore Arval, unless…
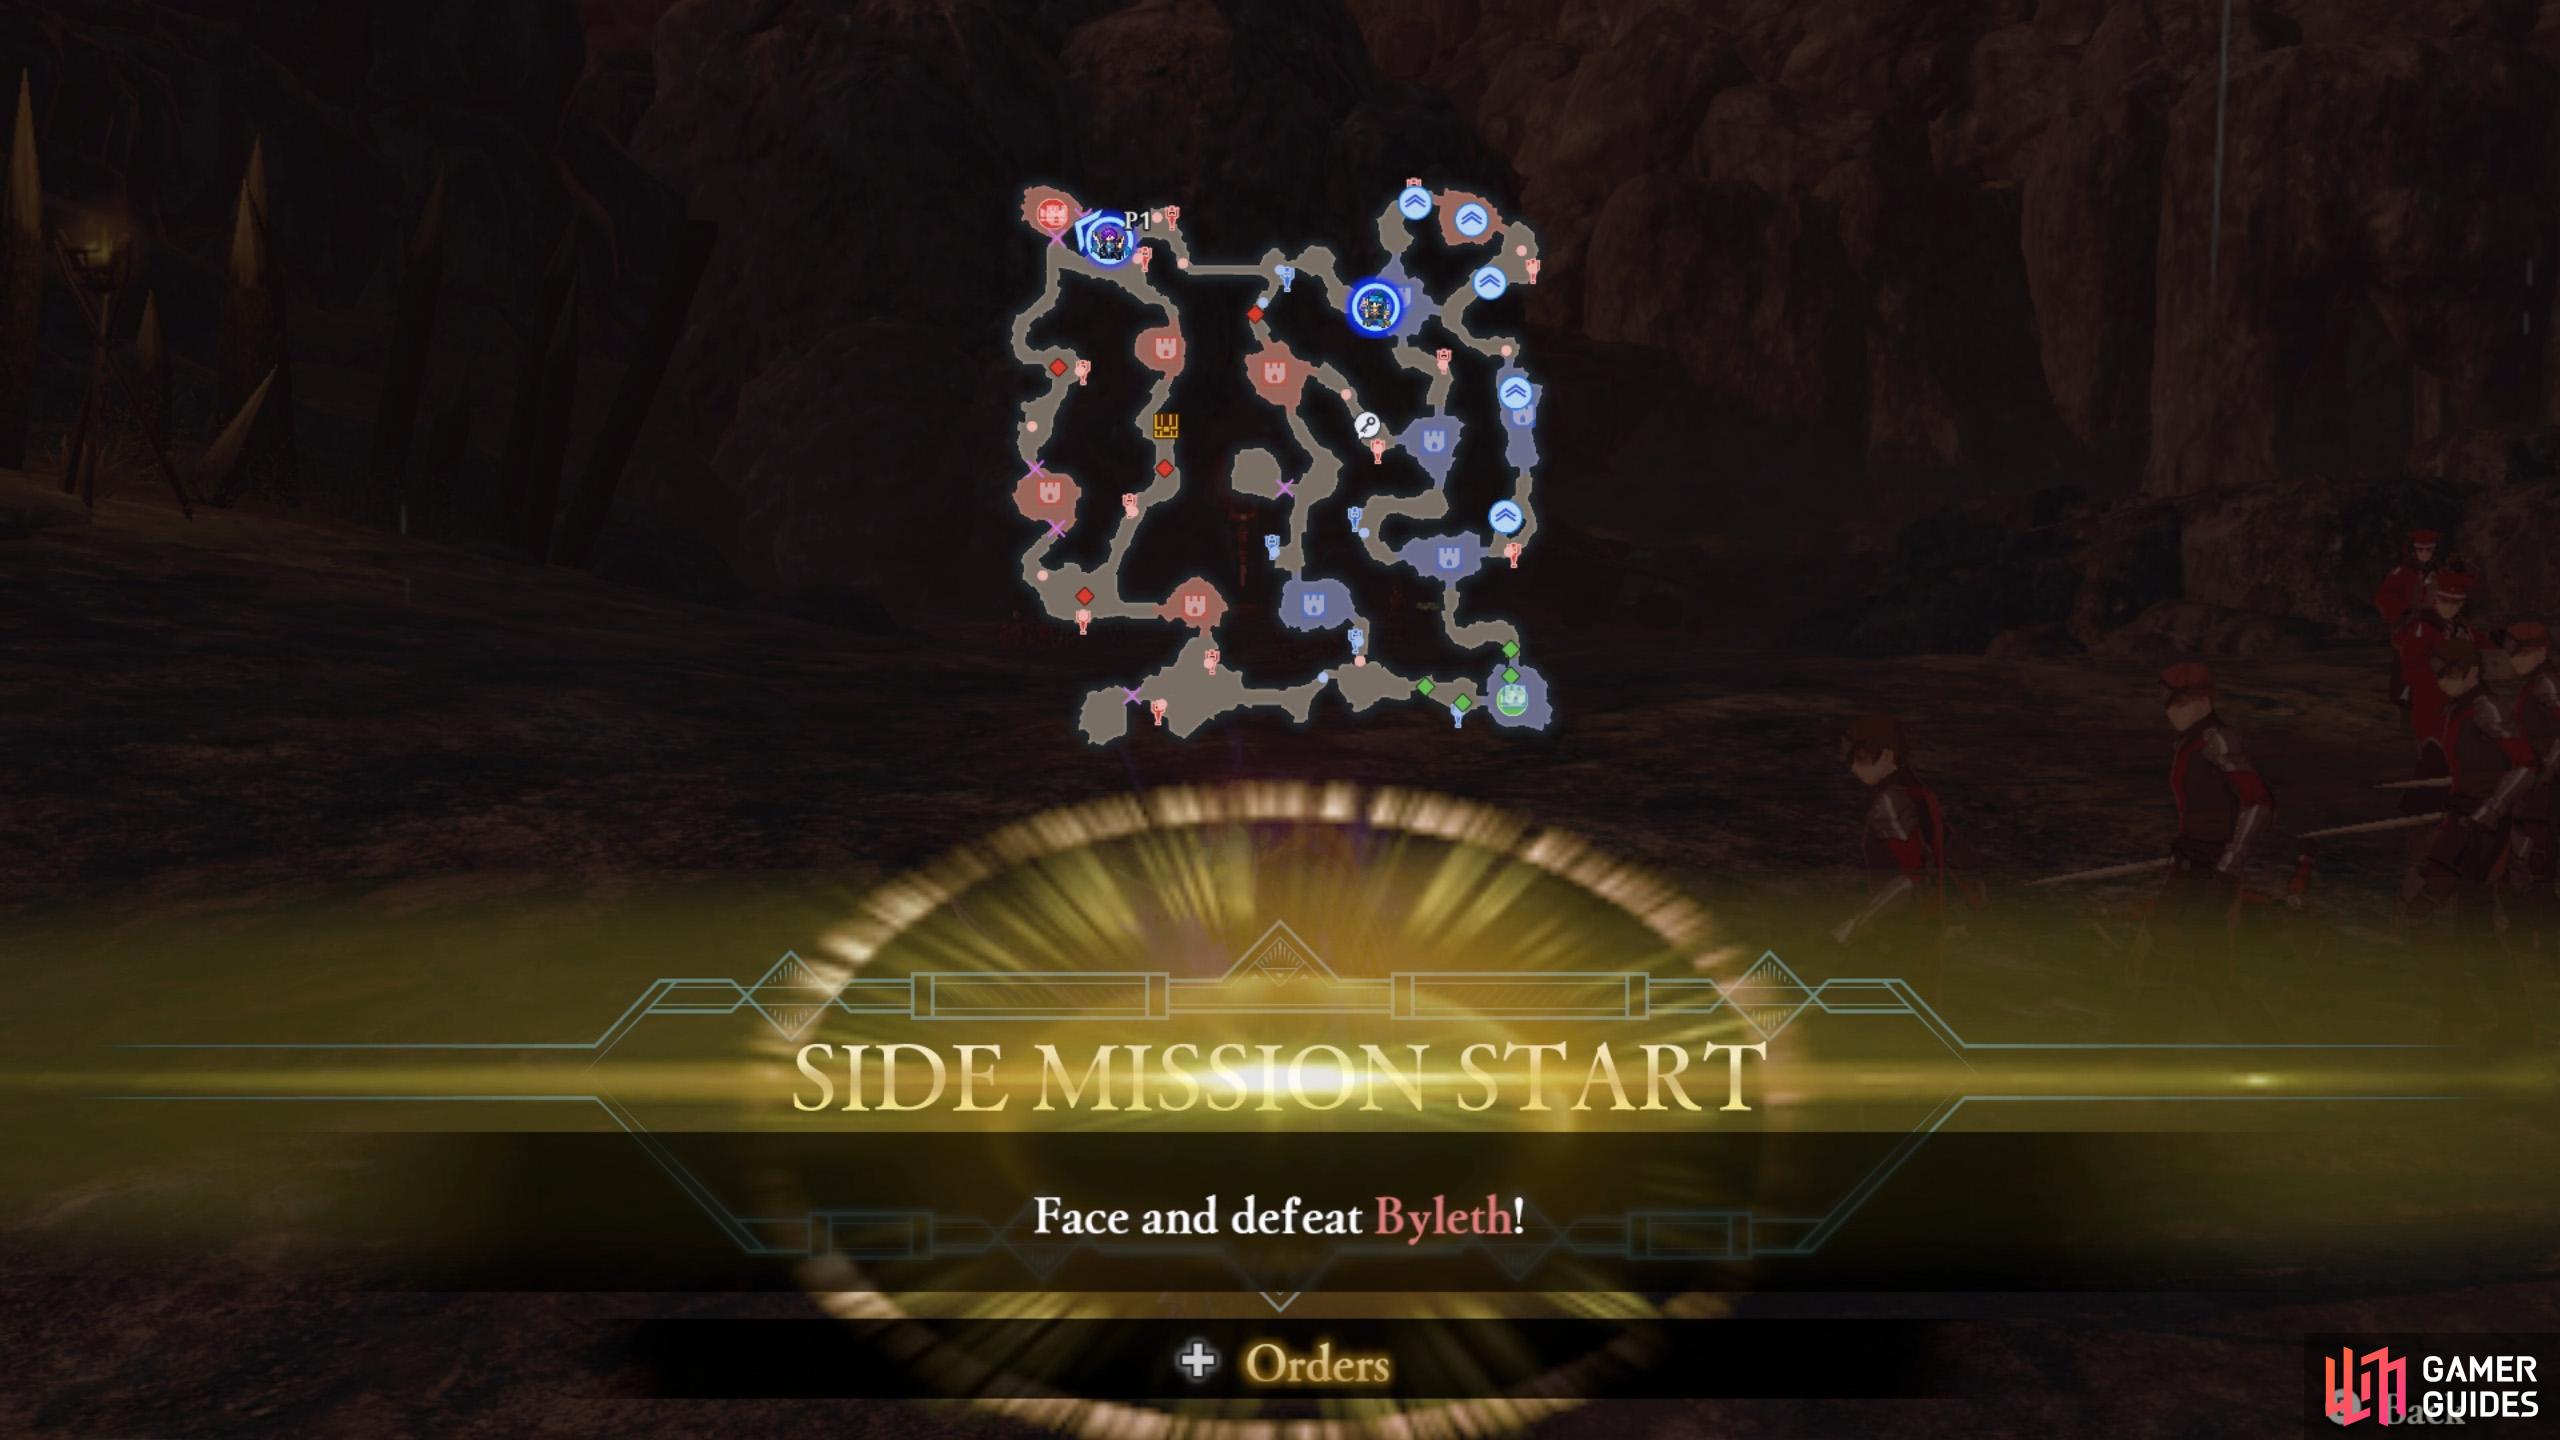
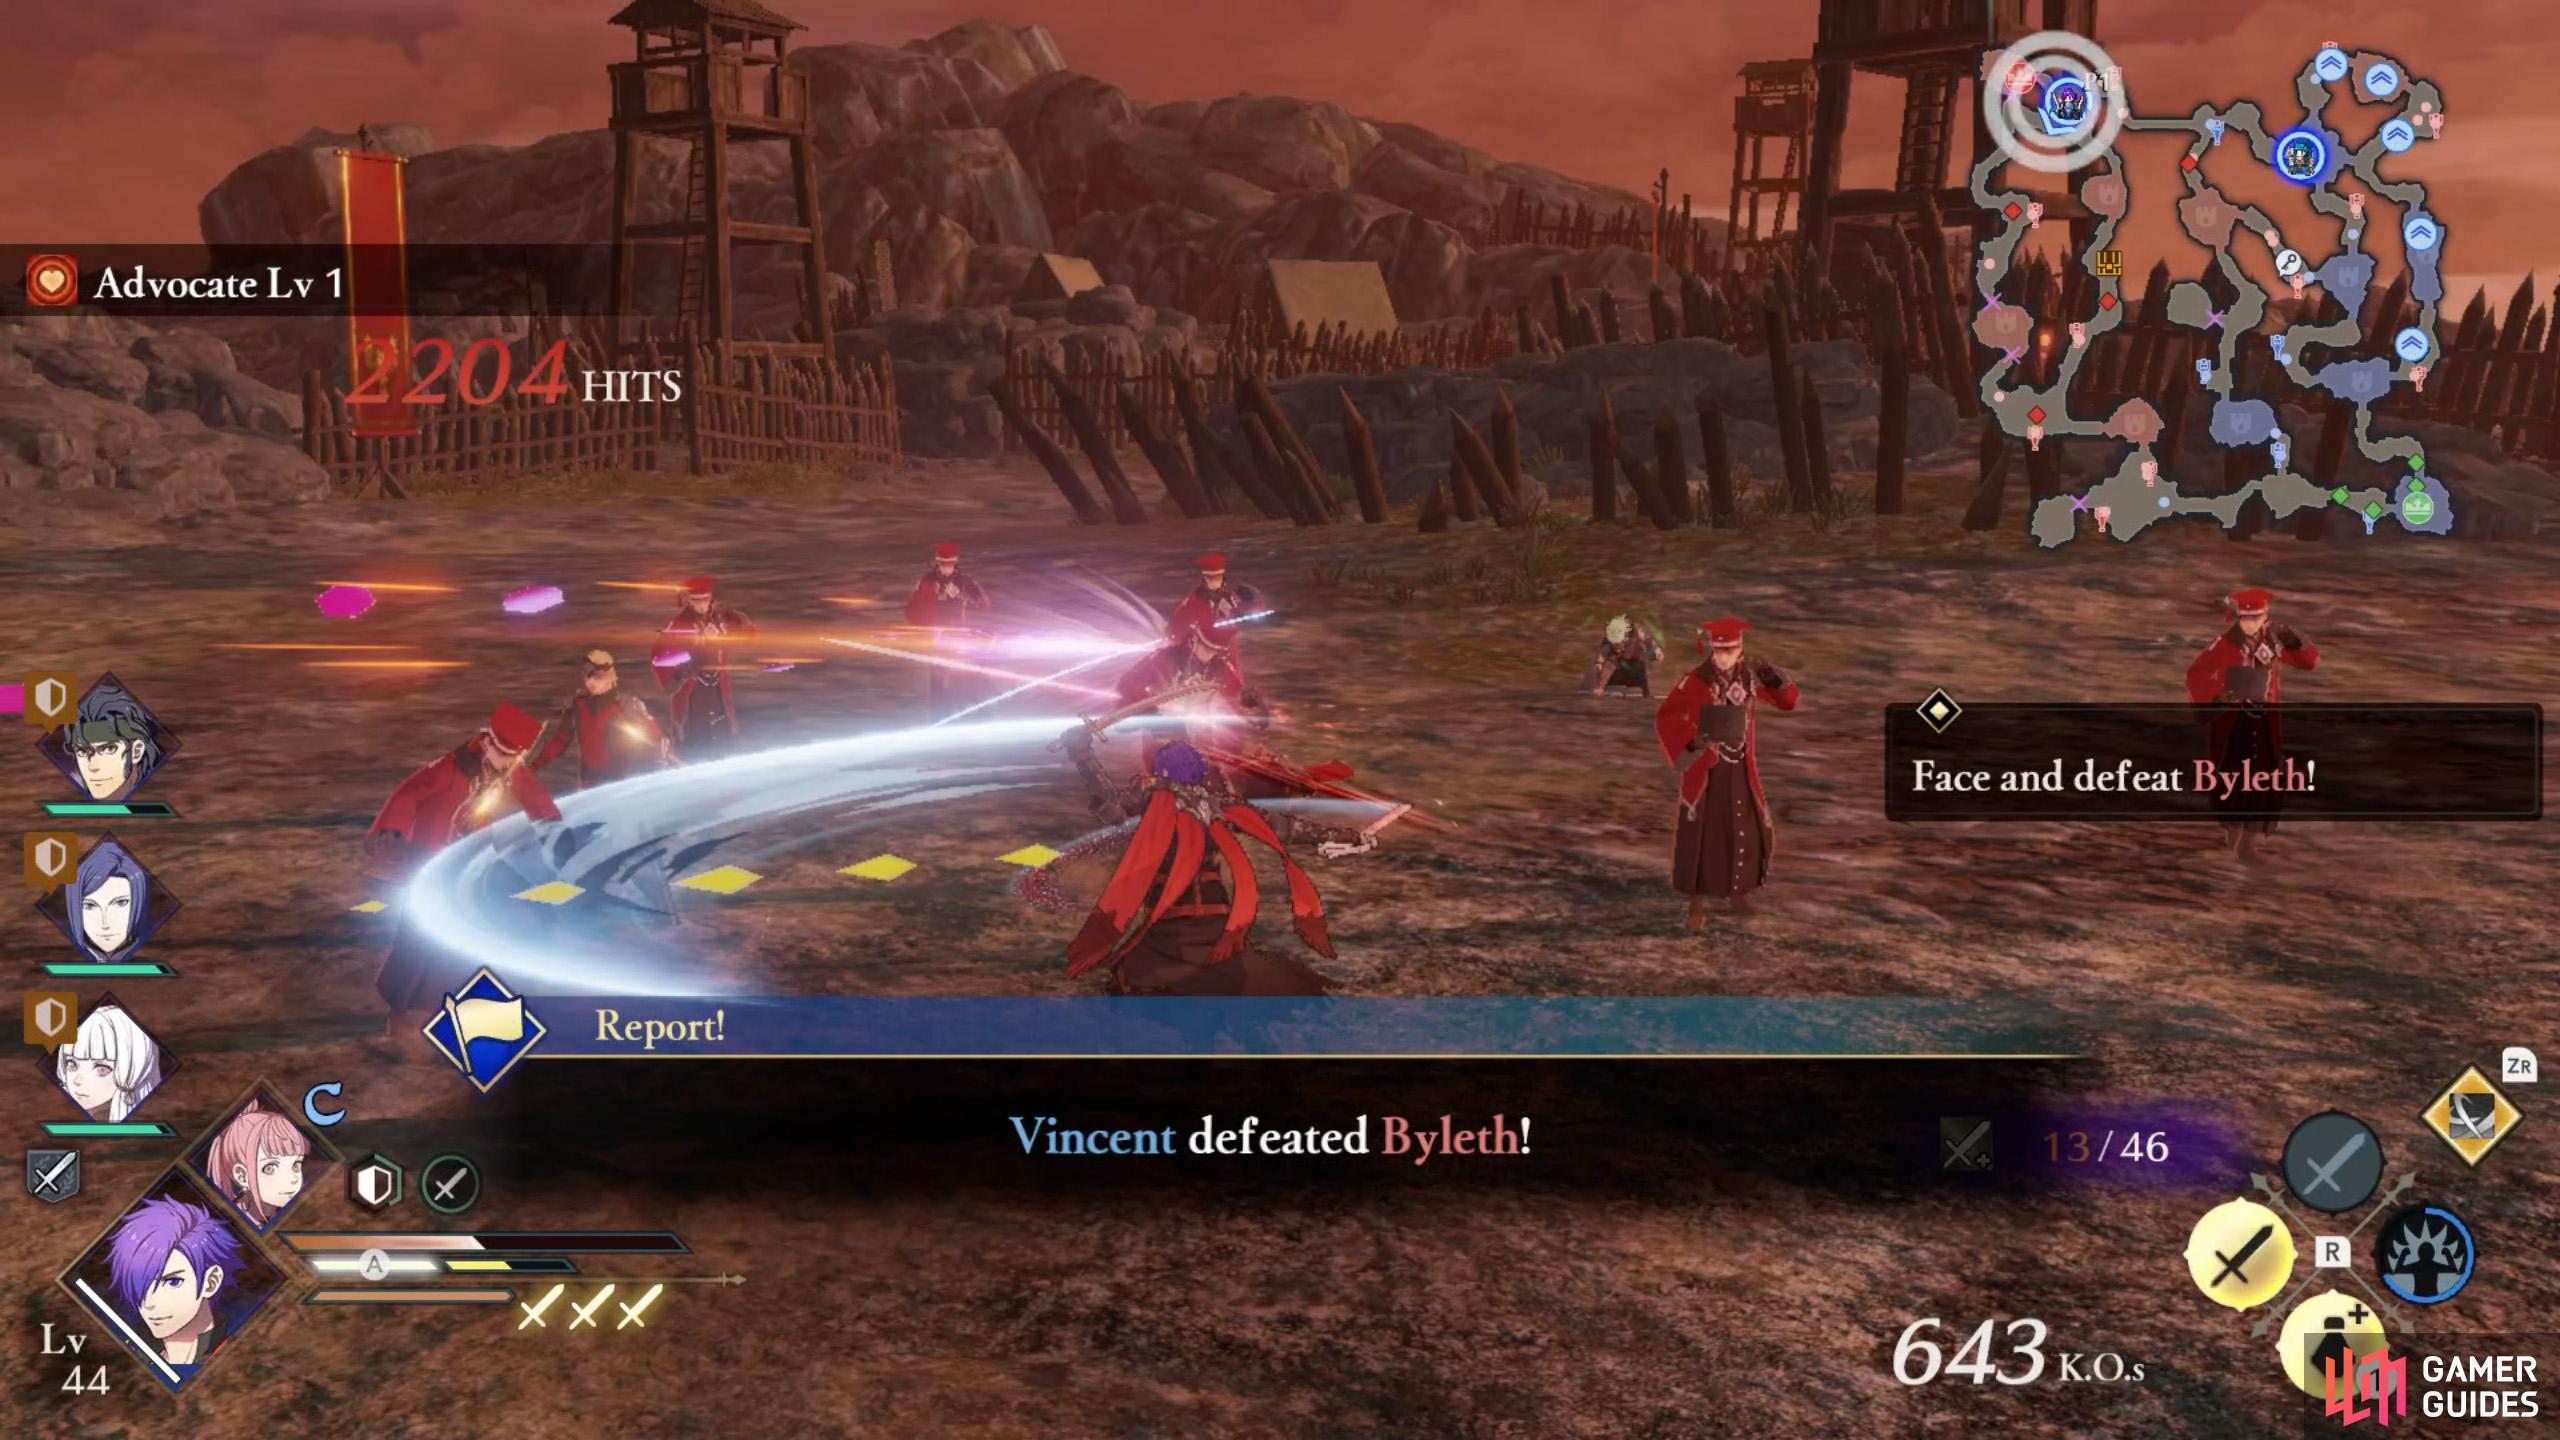
Ignore Arval, unless… (left), Well, sometimes there are things you just want to do. (right)
While Claude is luring Byleth, Arval will suggest this side mission. Obviously, this goes against Claude’s plan. Do not do this side mission if you want to recruit Byleth!
If, for some reason, you decide to go ahead with this side mission, control a lance user or someone strong to combat Byleth. You could also assign somebody as your adjutant to boost your firepower.
Mission 9: Defeat Myson
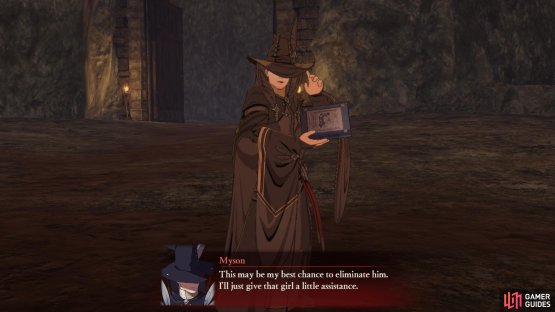

(1 of 2) Uh, who are you supposed to be again?

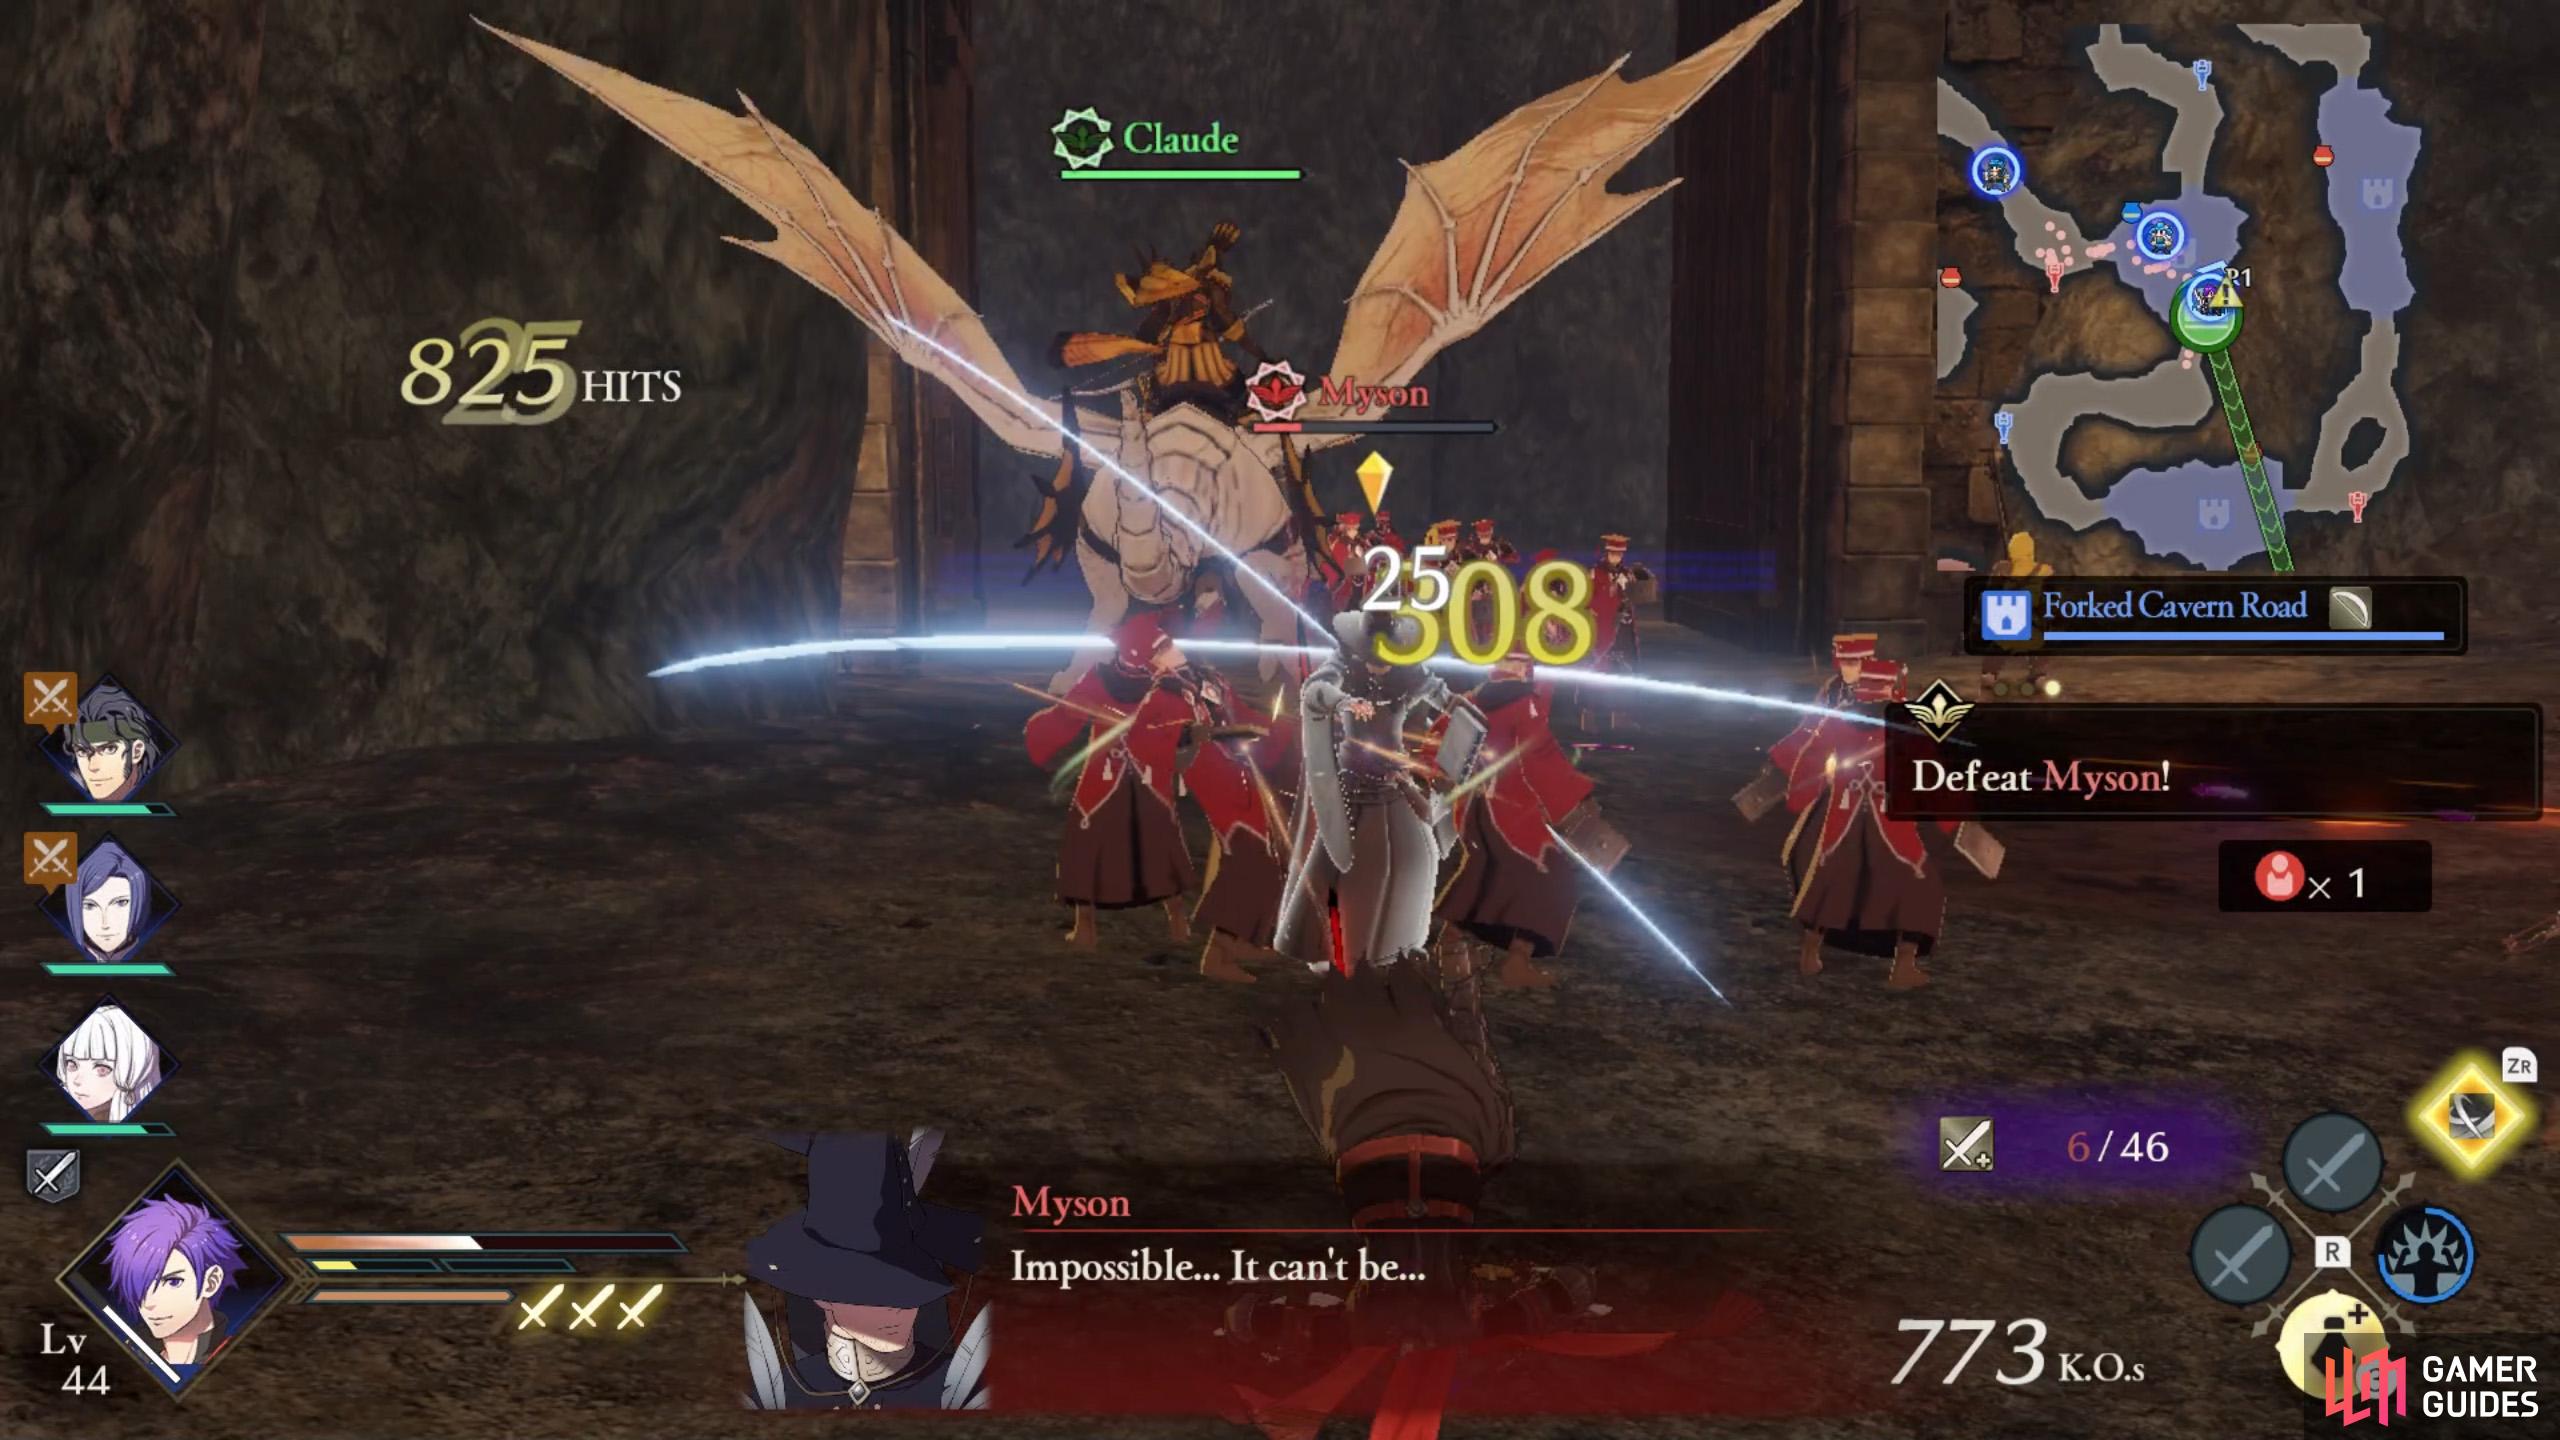
Uh, who are you supposed to be again? (left), Nevermind, we don’t have time to figure it out. (right)
When Myson, the mysterious mage, gets in your way, control a Gauntlet user or a strong character to bash his skull in. Easy.
Mission 10 (Byleth): Defeat Fleche before they rendezvous with Byleth
Succeed in bringing Claude back to the allied camp without Byleth catching up and the Master Tactician will reveal his plot. A boulder will roll in, blocking the north entrance of the allied camp, completely blocking Byleth off.


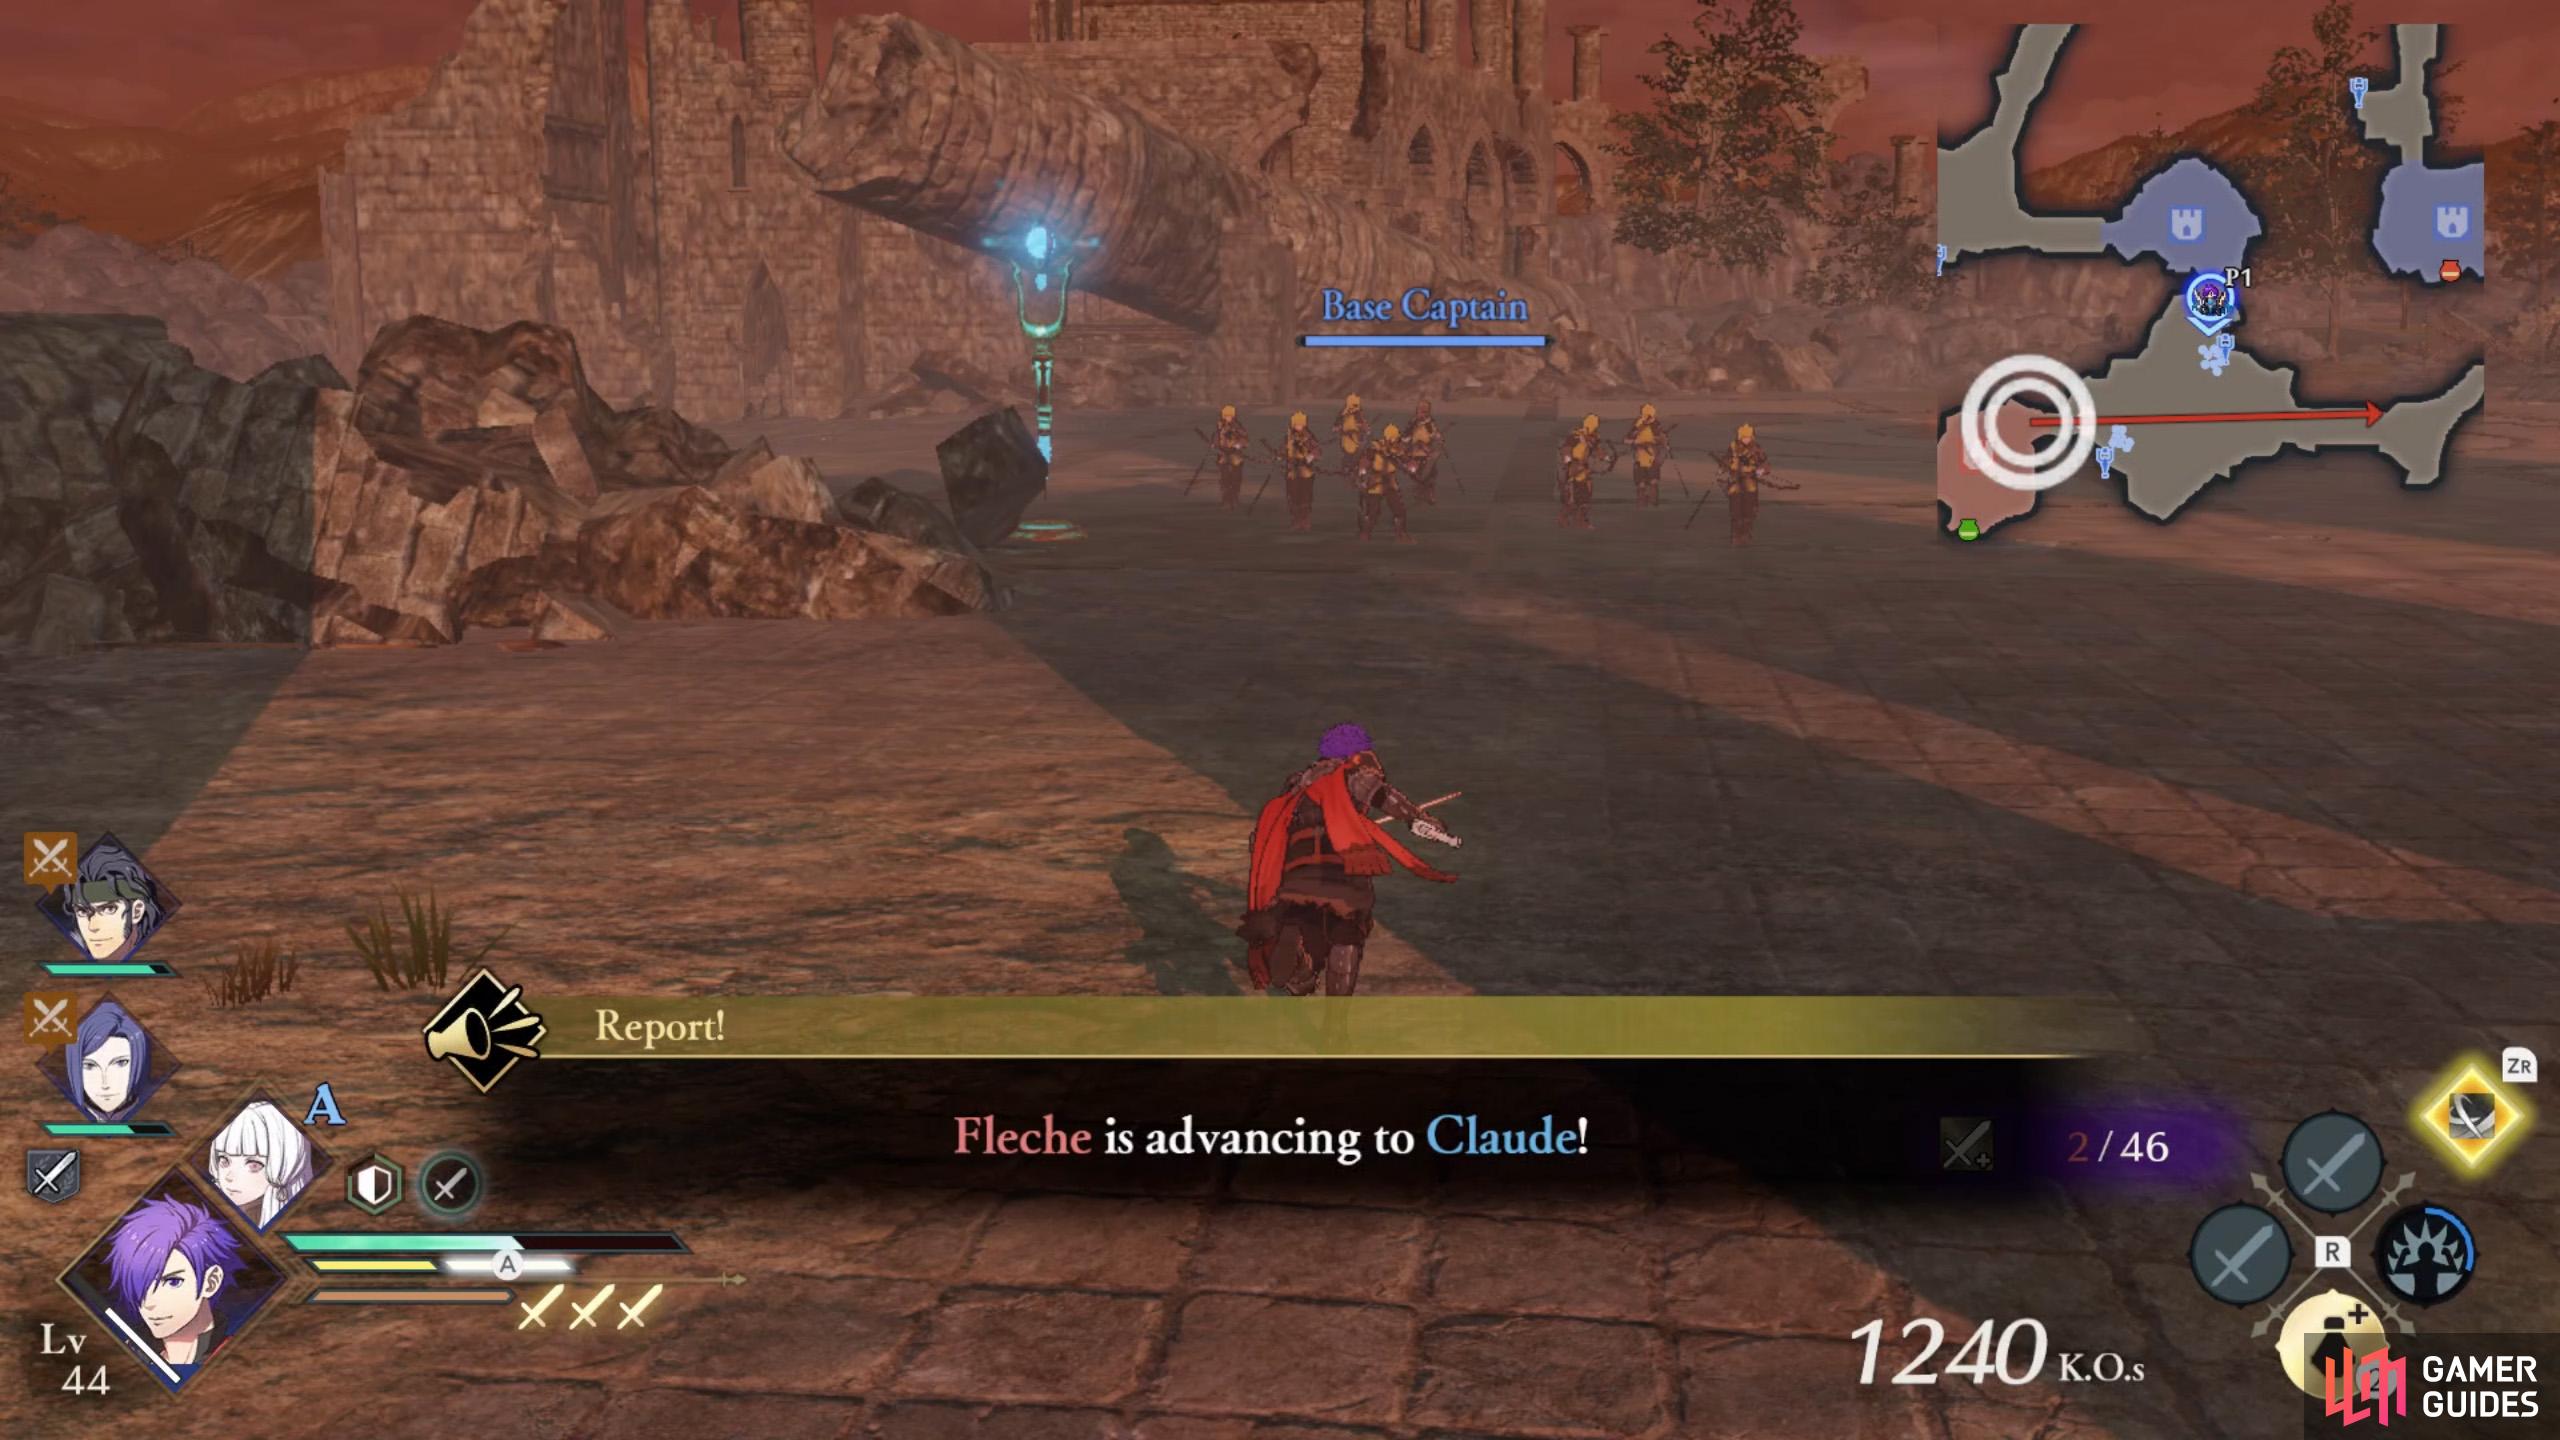
(1 of 2) Realizing they’ve been duped, Byleth will try to return to Fleche.
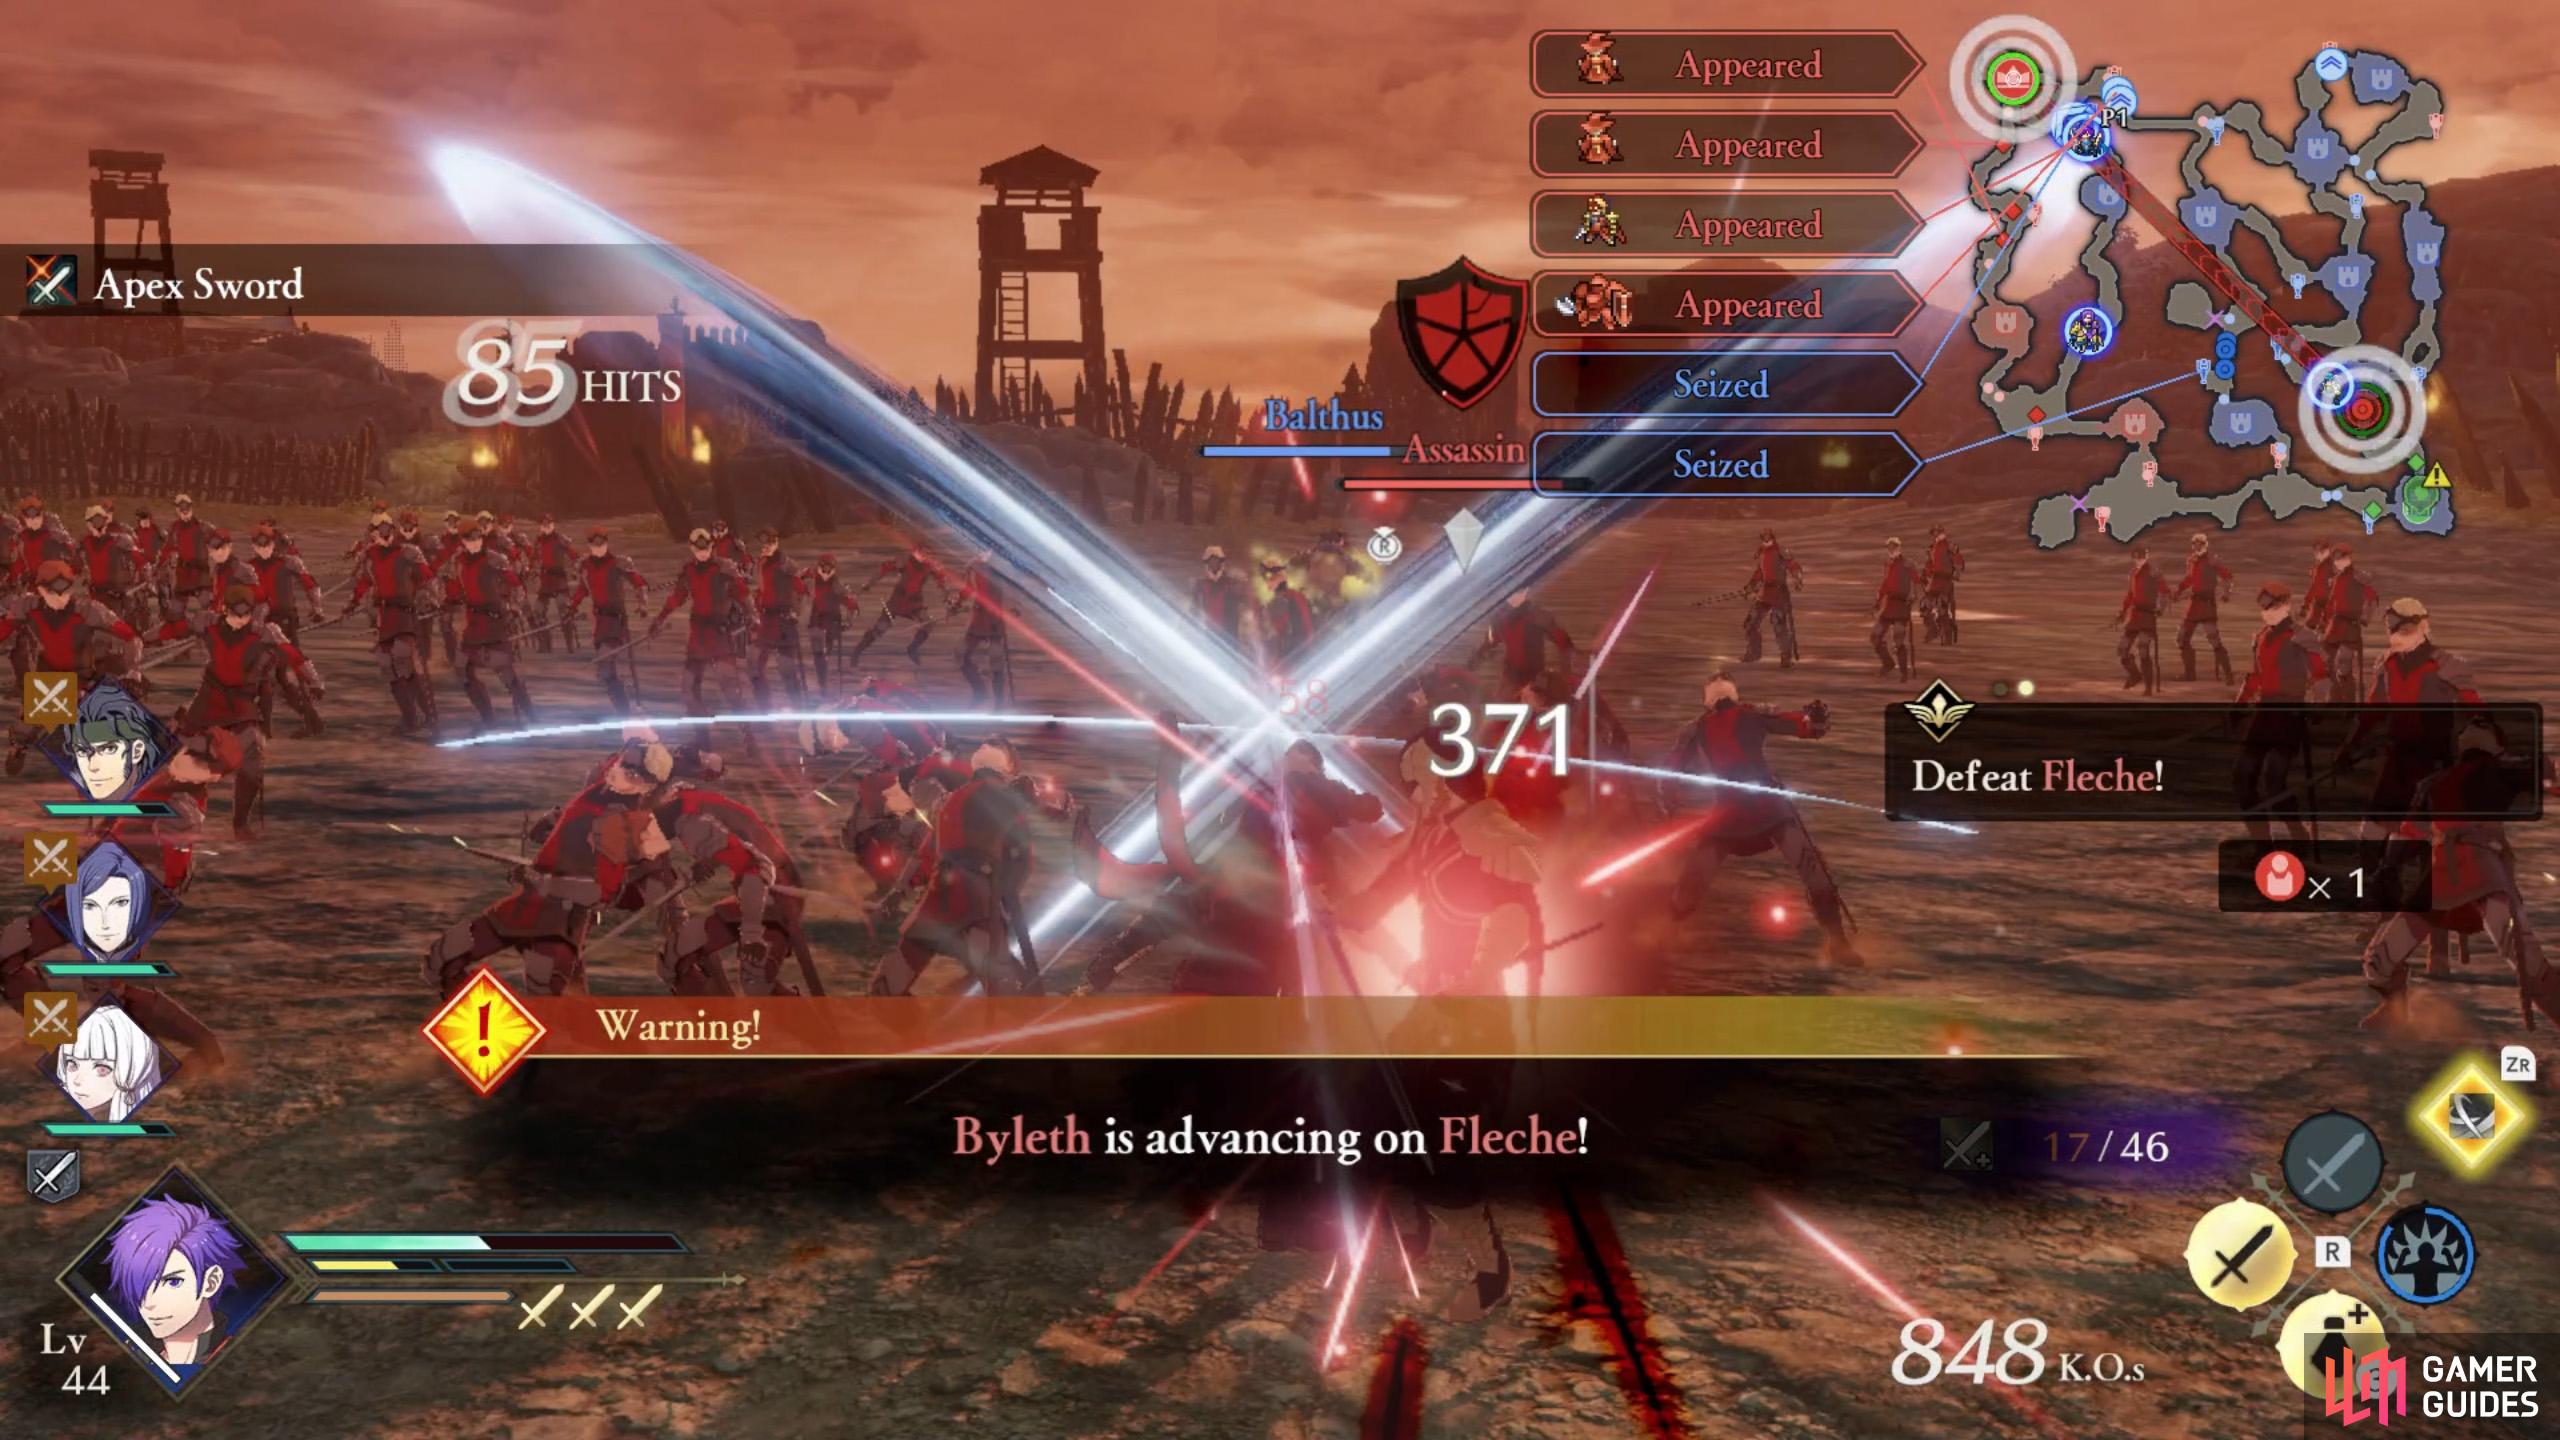
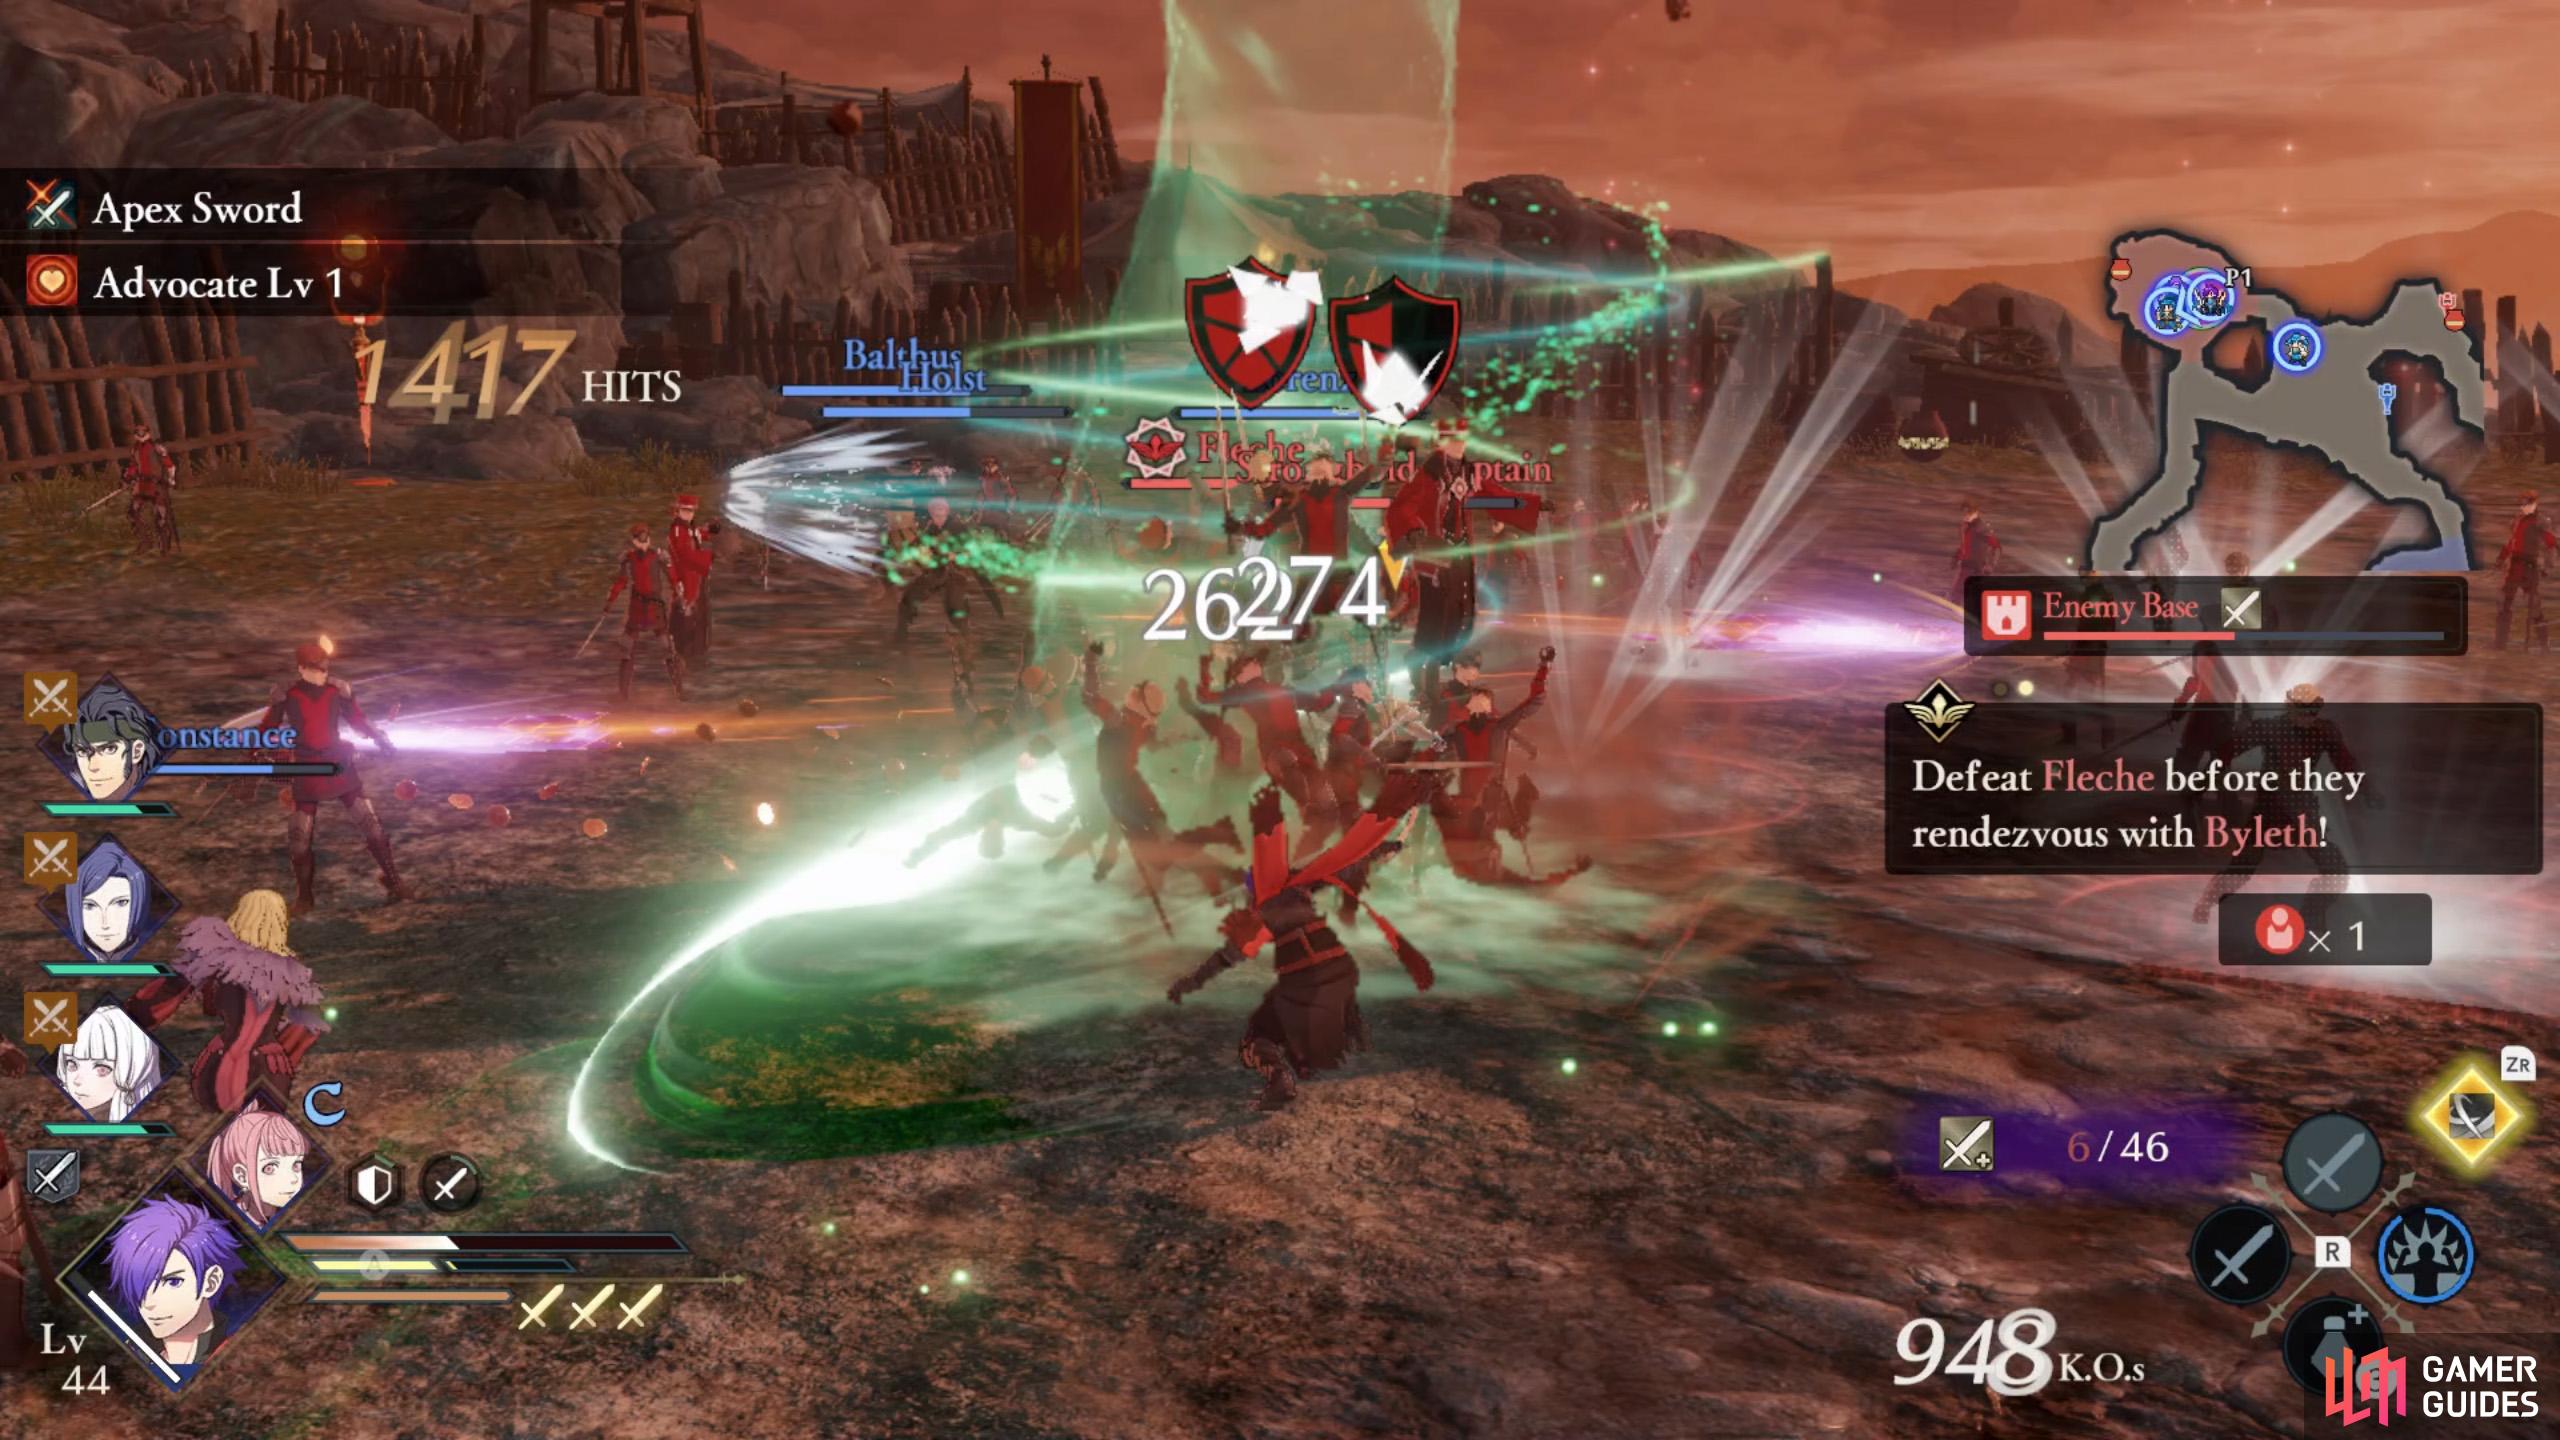
Realizing they’ve been duped, Byleth will try to return to Fleche. (left), Hurry and finish off Fleche before Byleth makes it back! (right)
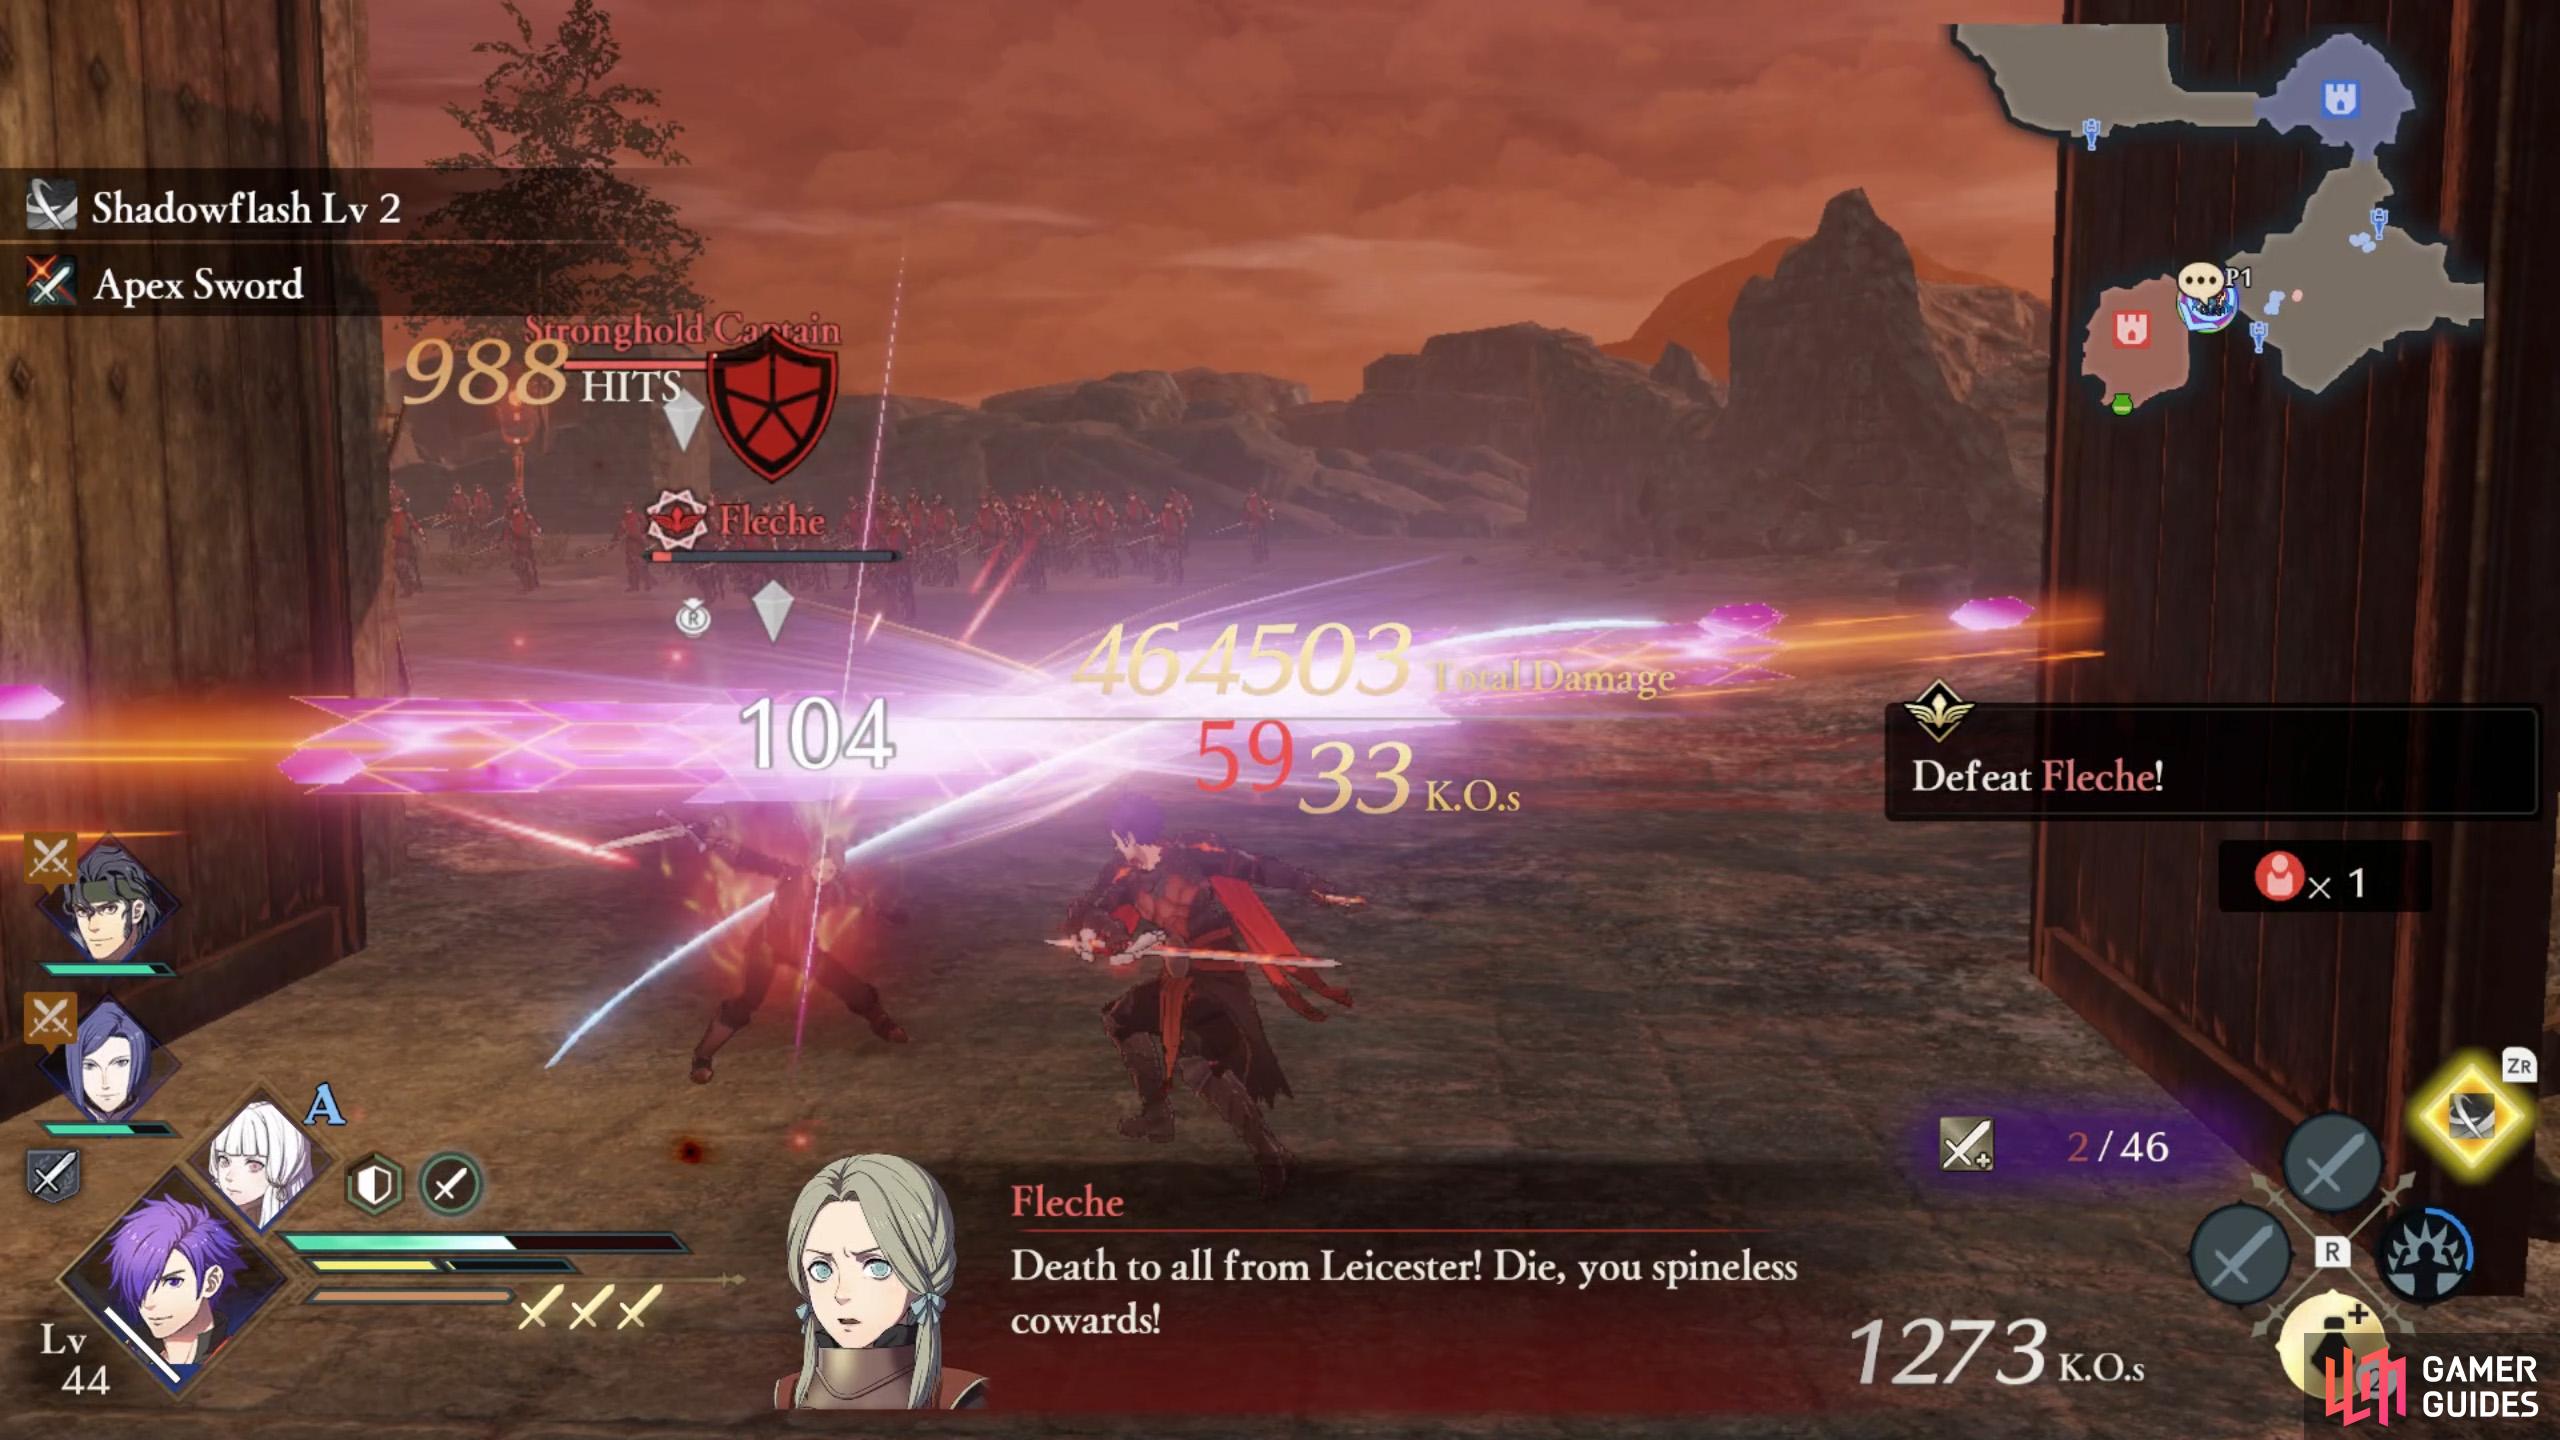
Meanwhile, getting impatient, Fleche will open up her stronghold at the far north-west corner. Your final task is to defeat Fleche before Byleth can make it back to her.
Byleth will go through the same path Claude did, but if he/she passes through any allied strongholds, they will slow him/her down for a while, before being captured.
If you want to get Byleth on your side, you should rush straight to Fleche, while ordering an all-out offense against her. Shez using the dash from Shadowflash can get to Fleche pretty quickly. You could also Shadow Slide to any faraway strongholds you’ve captured.
Since Fleche wields swords, you can defeat her quicker with lance-wielding characters.
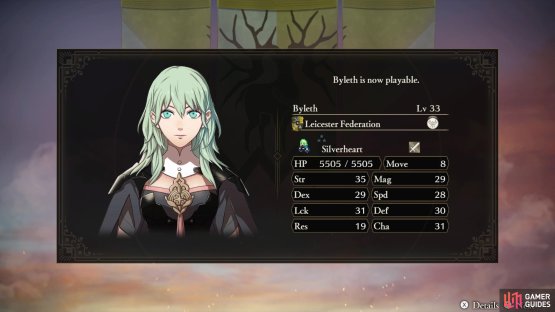

(1 of 2) Do everything properly and the Ashen Demon…

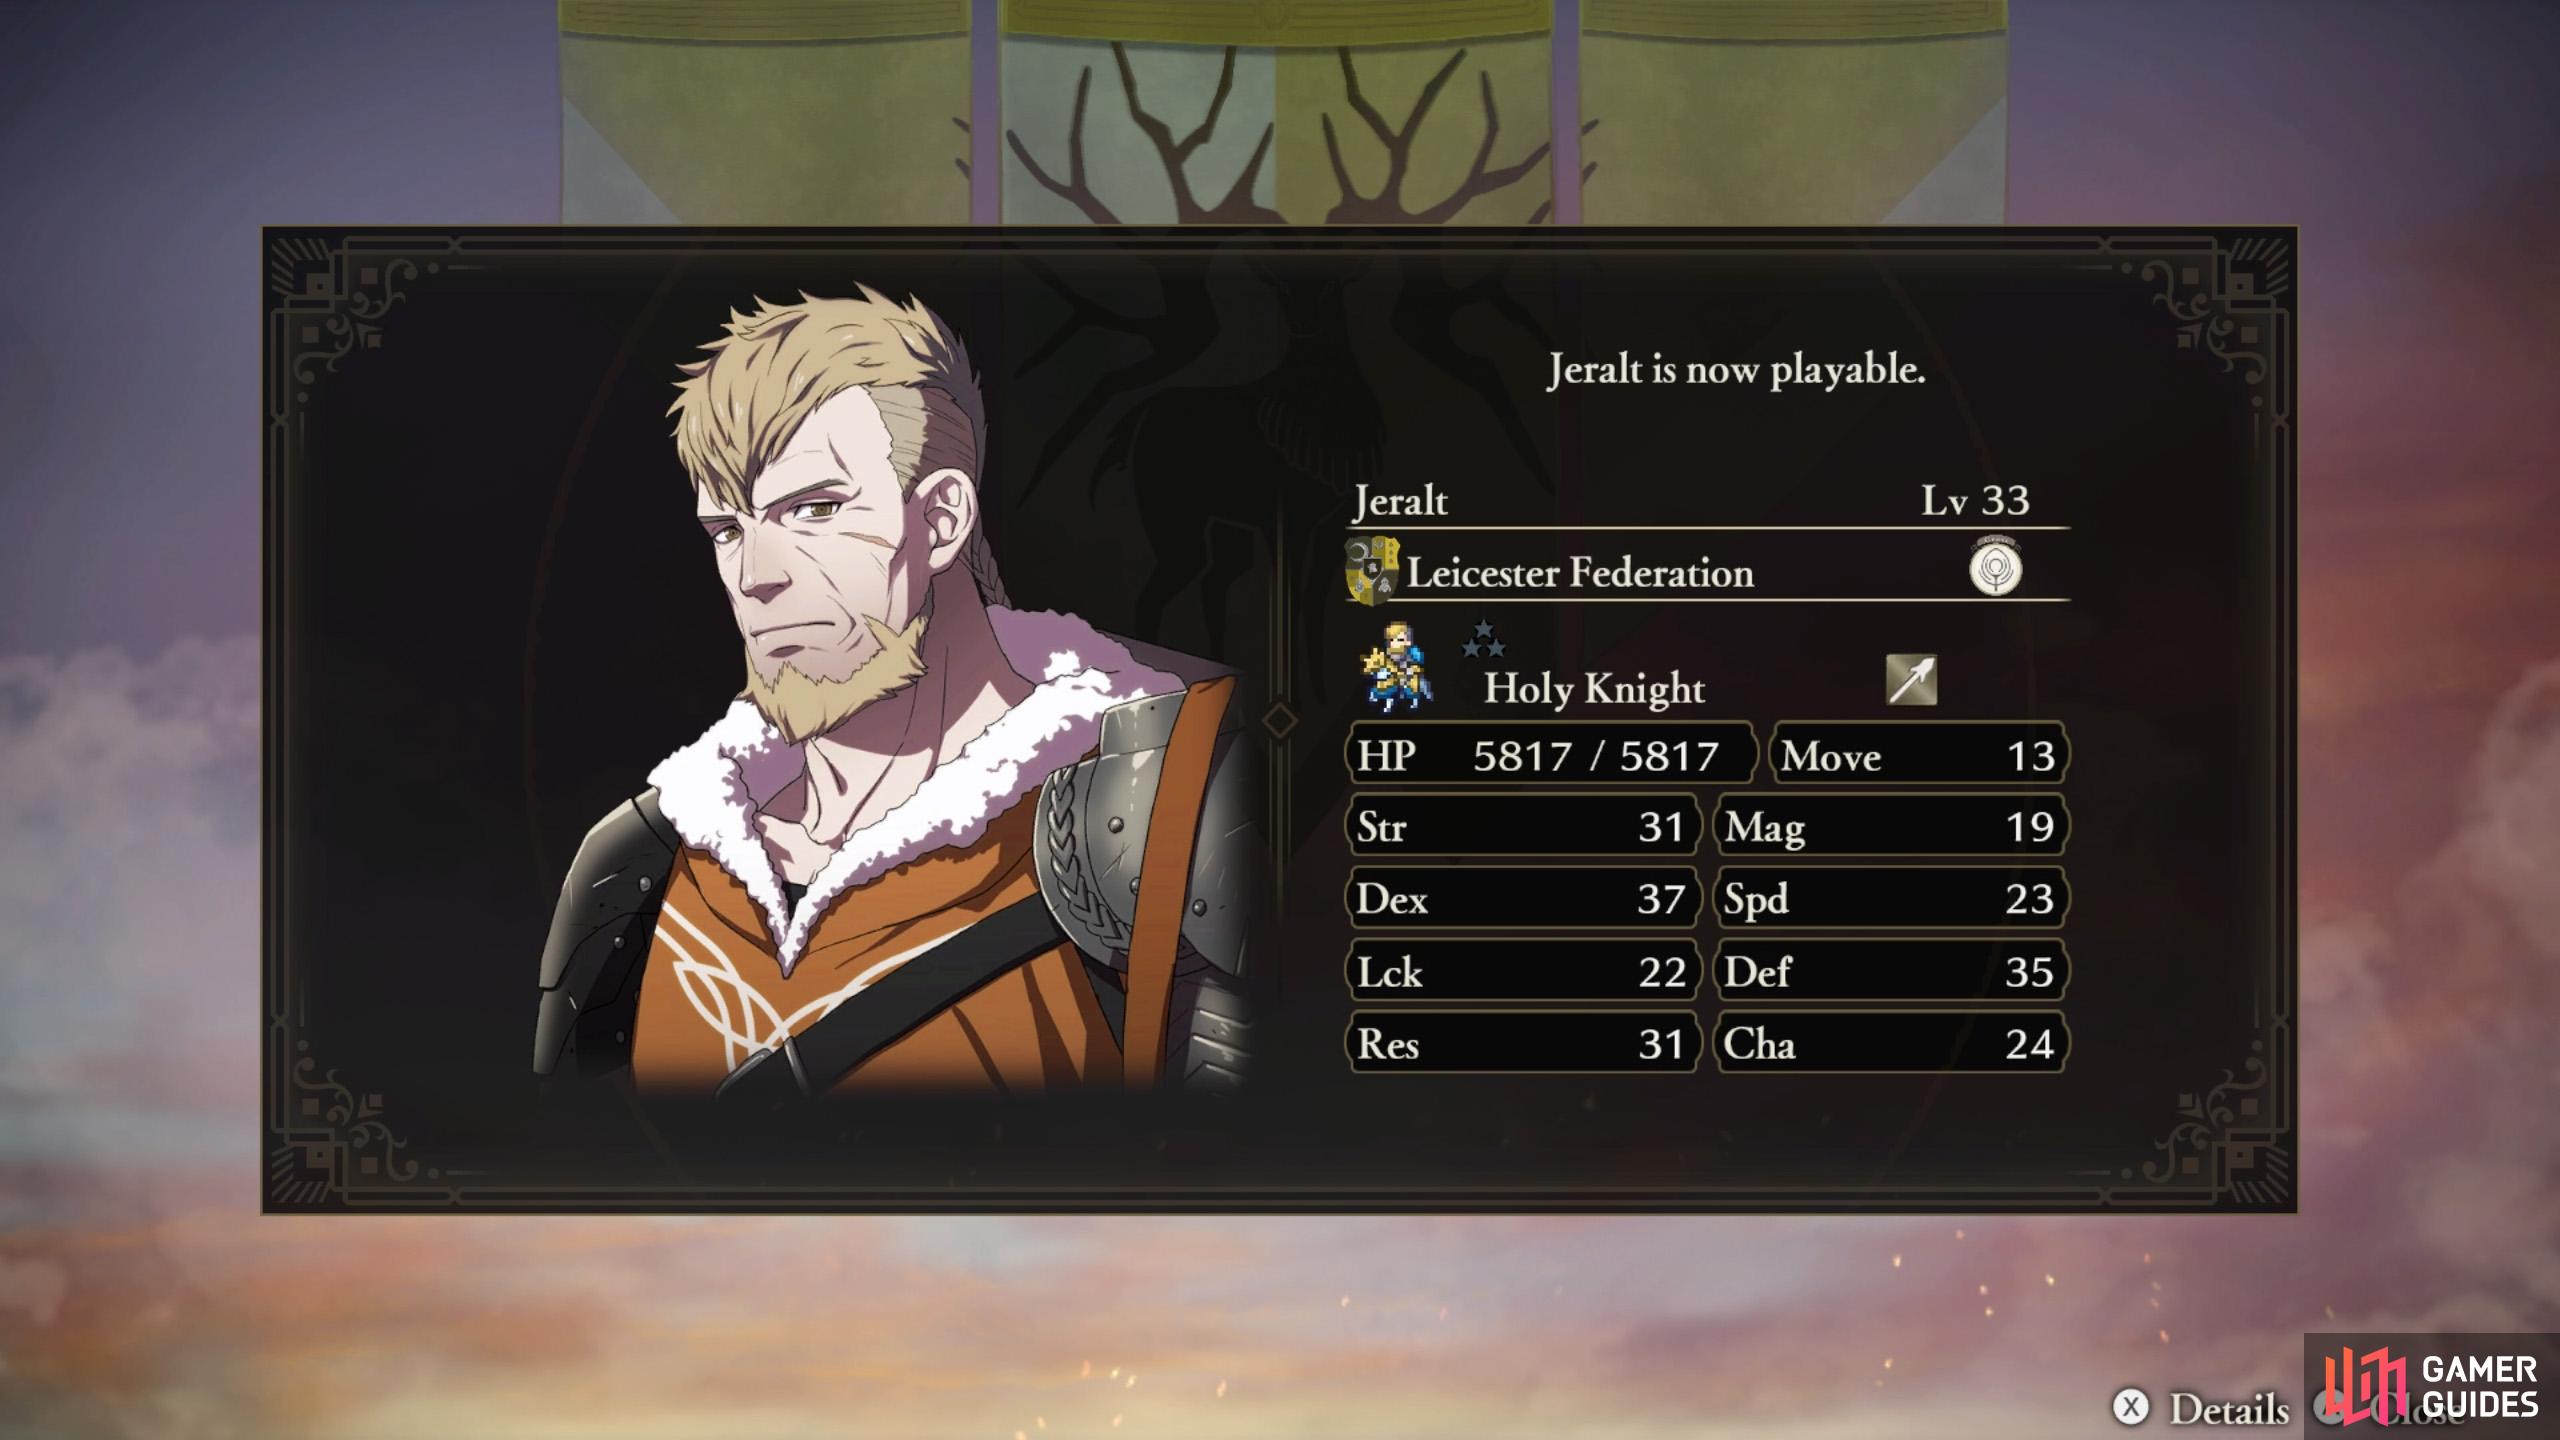
Do everything properly and the Ashen Demon… (left), …as well as the Blade Breaker will join your party! (right)
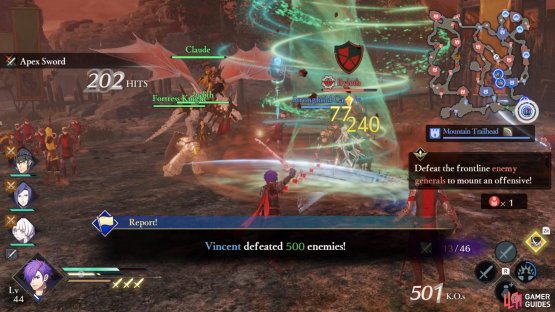
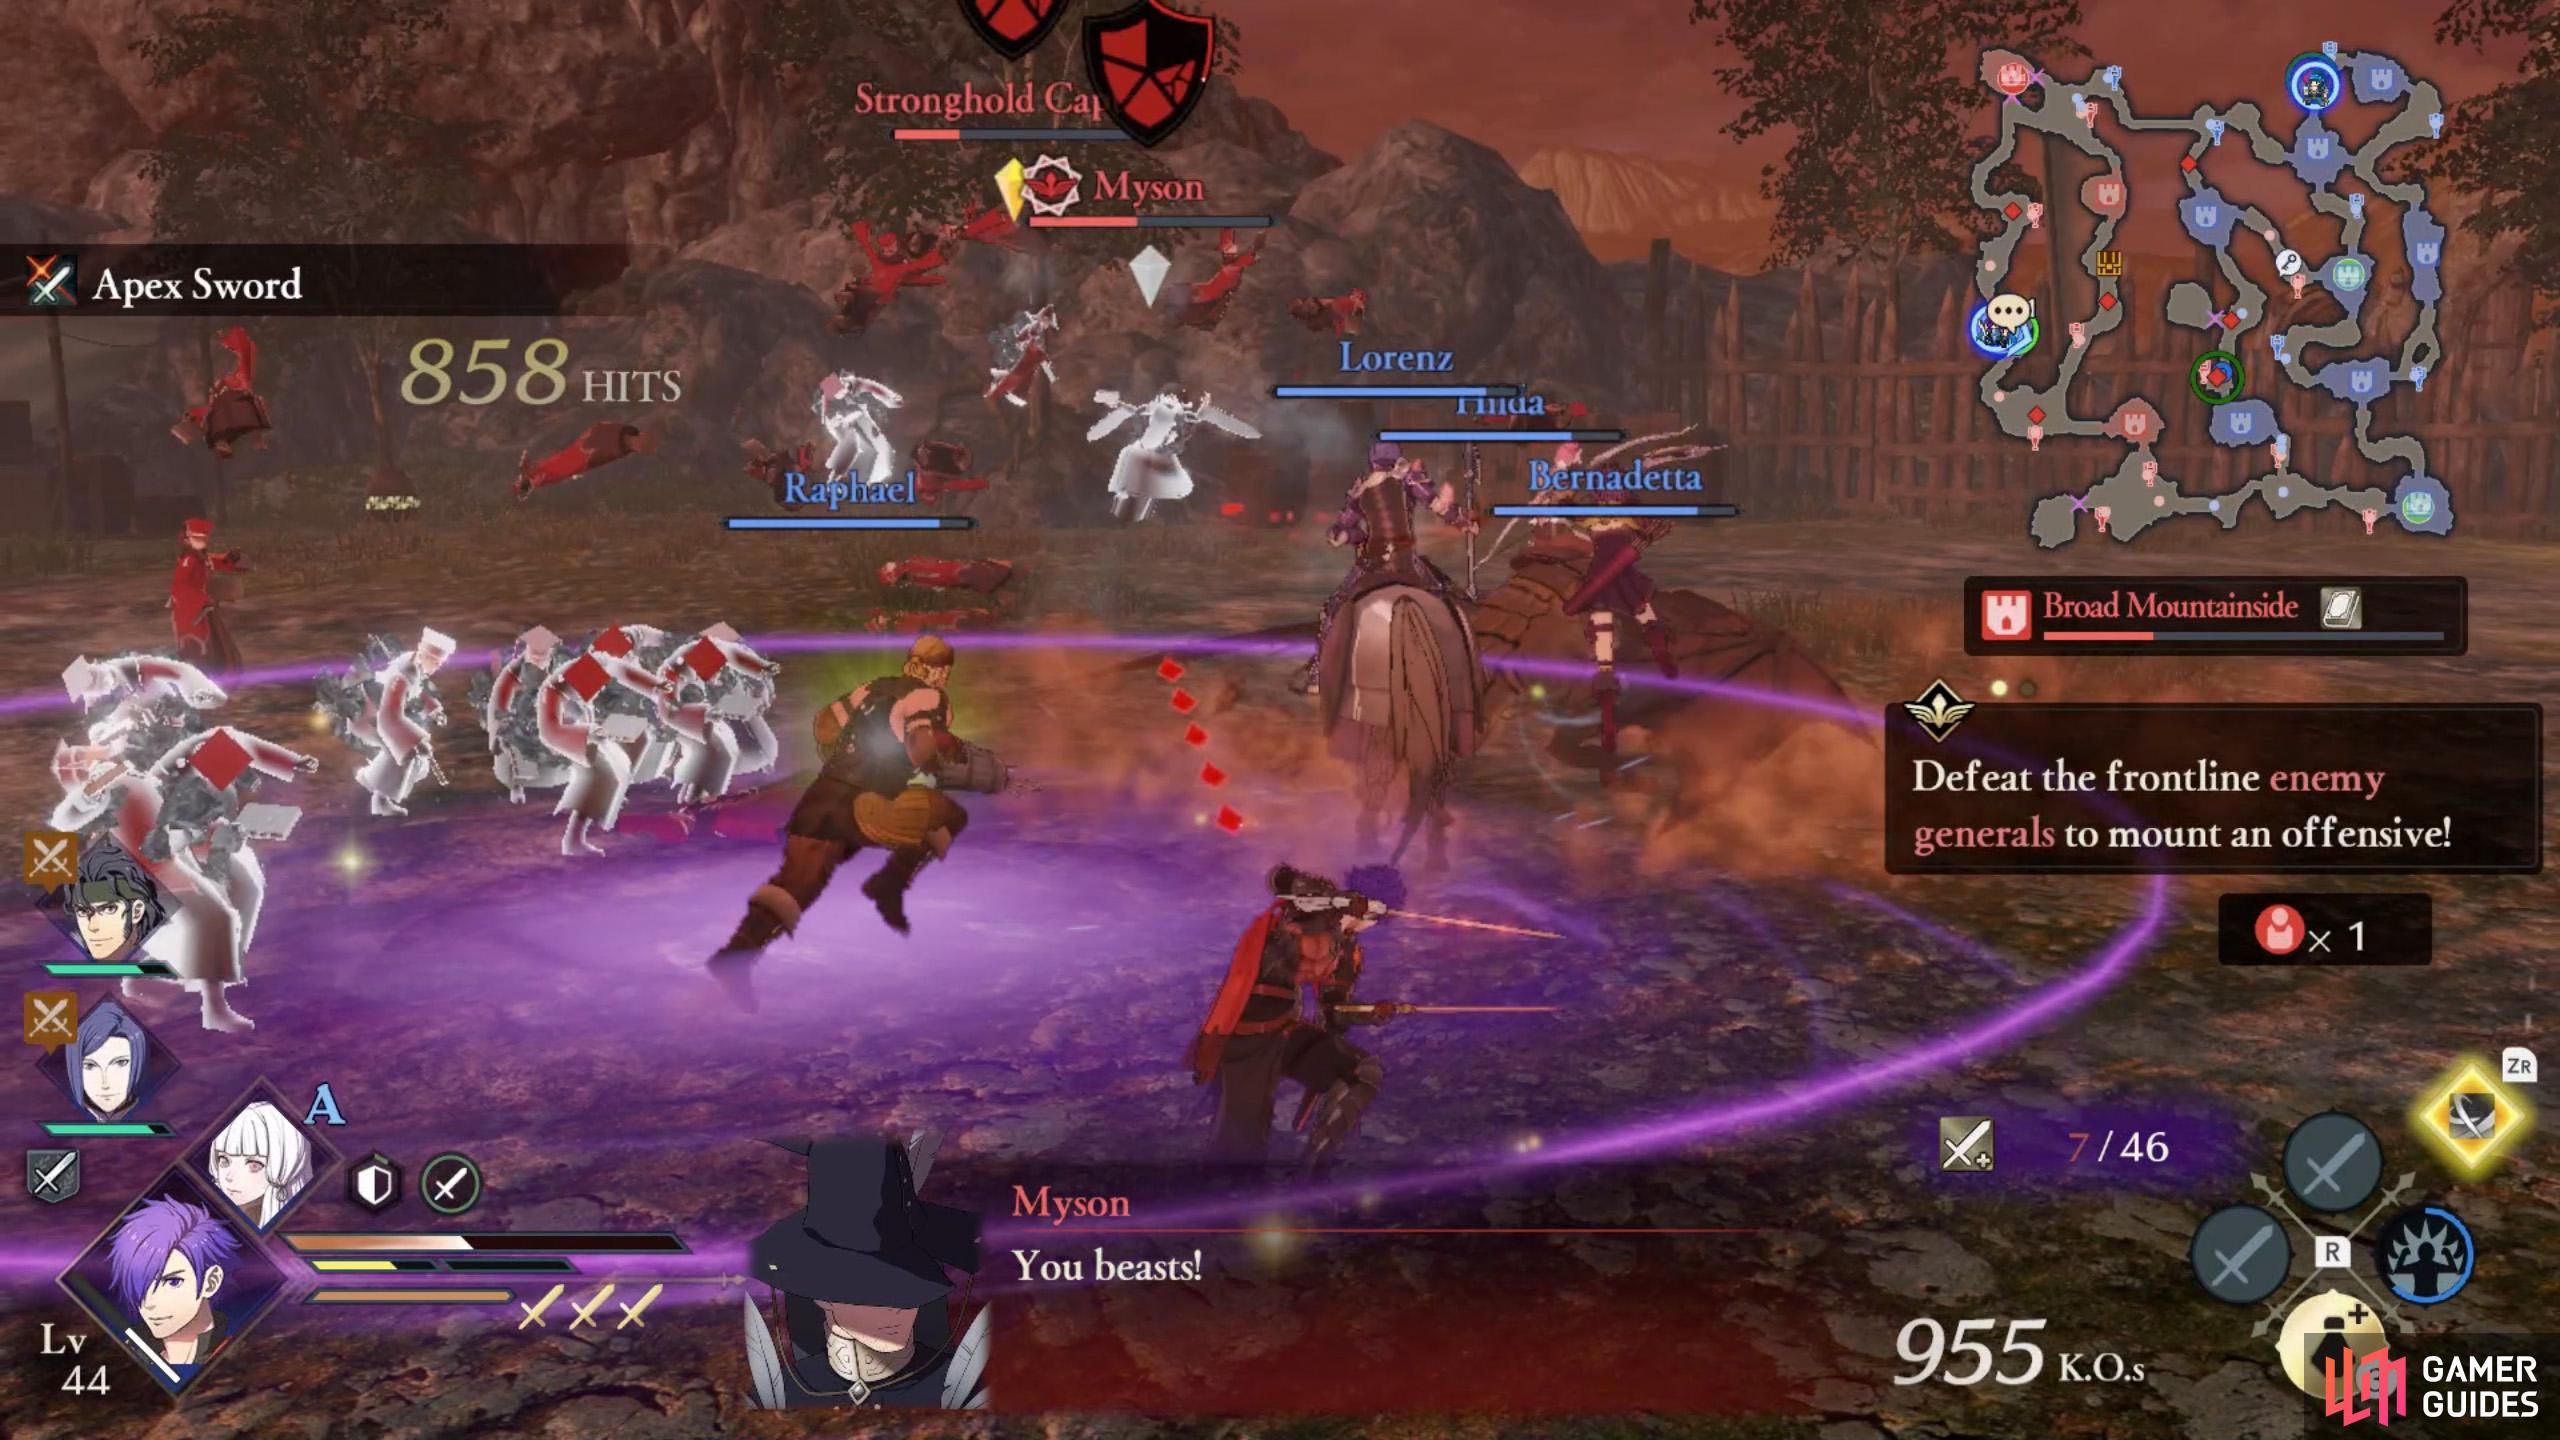
Mission 6 (no Byleth): Defeat the frontline enemy generals to mount an offensive
This mission will trigger if any of these happen:
- You fail to gather enough info on the enemy for Mission 2
- You clear Side Mission 1 (Byleth) by defeating Byleth, against Claude’s wishes.
- You let Byleth reach Claude when he’s the decoy.
At this point, most of the stronghold gates will open.
If you failed to gather enough info for Mission 2, you need to do some catch-up homework.

(1 of 2) Deal with the stronghold and Yuri first.

Deal with the stronghold and Yuri first. (left), Then focus your attention on the Ashen Demon. (right)
First, you should capture the highlighted stronghold near the north-east corner, the Cavern Crossroads. We suggest heading there personally. It’s guarded by an Assassin, so lance users would be useful here.
When you reach the stronghold itself, Yuri will spawn there, triggering Mission 7 to defeat him
In addition, Byleth will now spawn at the stronghold slightly north from the center. Again, you should rely on lance users. Order some characters to play with the Ashen Demon for a bit, then switch to them after capturing the required stronghold.
By the way, Byleth can travel as far as the allied camp. Now, they shouldn’t pose any immediate danger, especially if you don’t drag your tail. That said, if you’re wary, you can opt to deal with Byleth first.

(1 of 2) If you need something done, you should do it yourself.
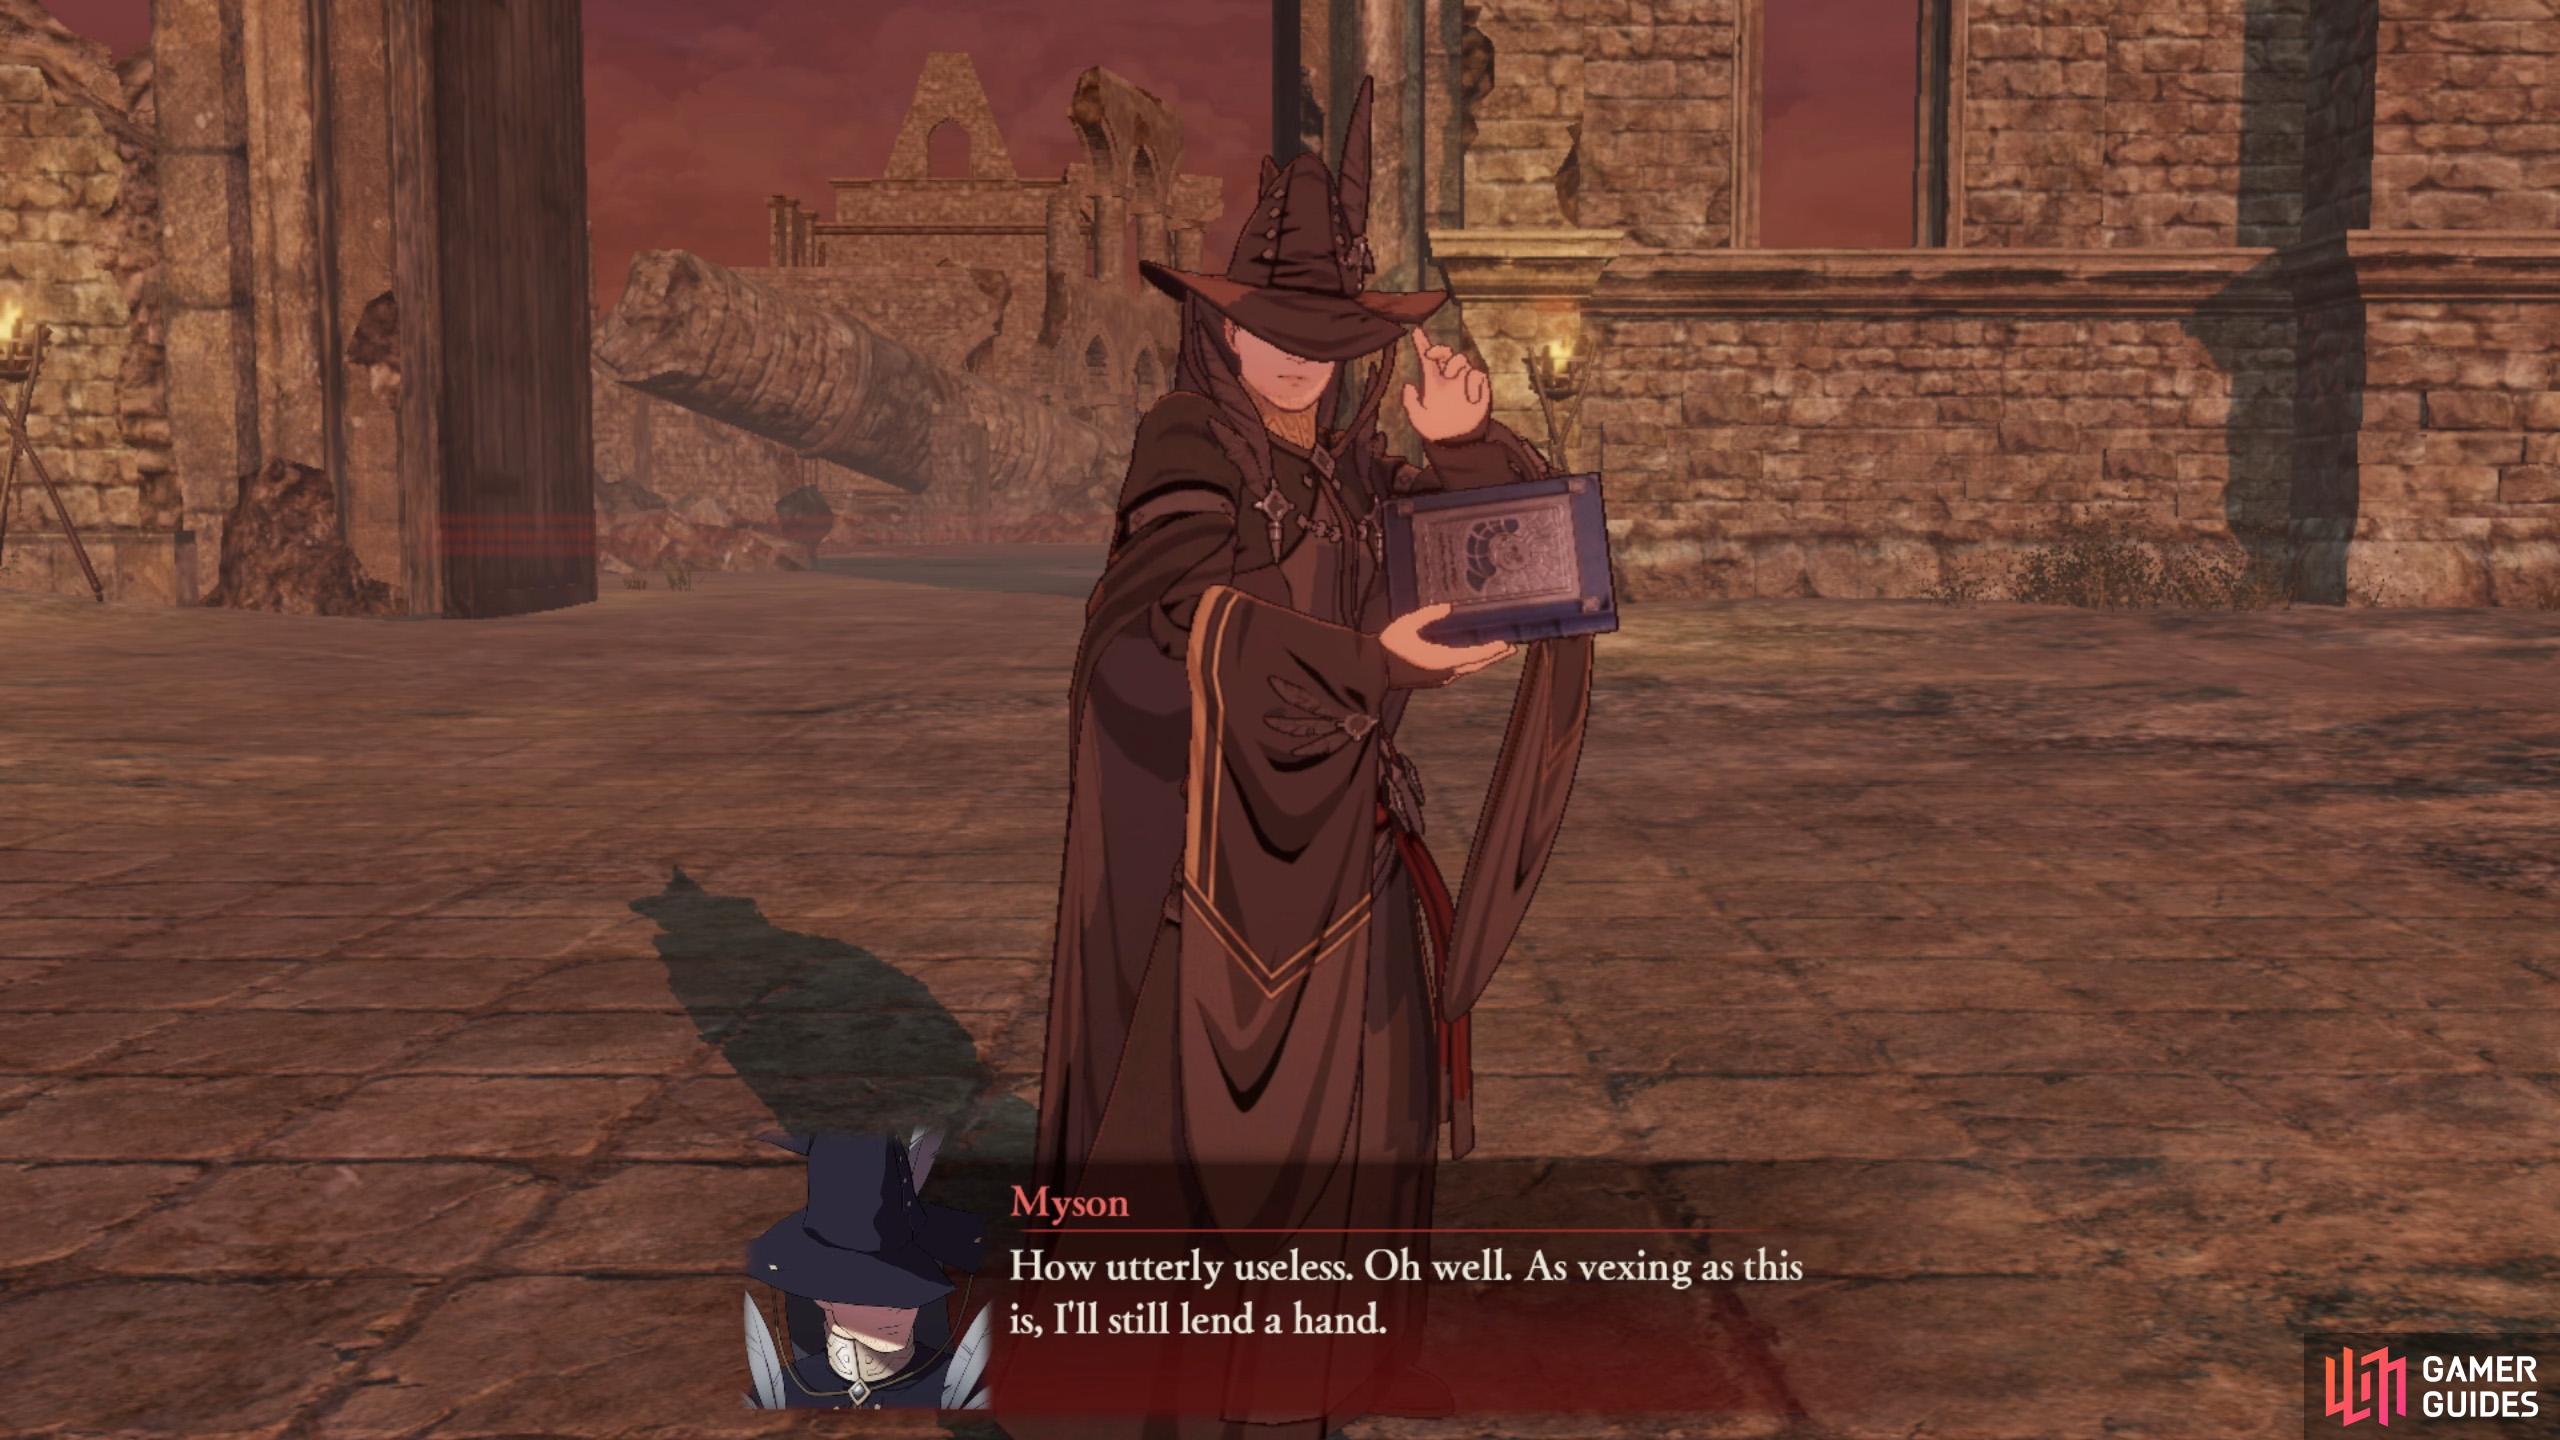
If you need something done, you should do it yourself. (left), Hey, mind the name-calling. (right)
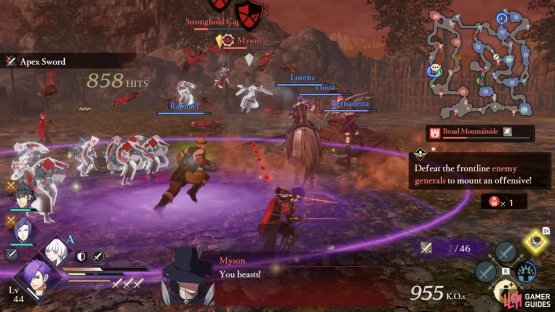
Once you’ve dealt with all of the above or you triggered this mission by defeating Byleth (and Myson didn’t already spawn) or you defeated Byleth after letting Byleth reach Claude, Myson will spawn at a stronghold towards the far west, the Broad Mountainside. Smack him silly with a Gauntlet user, if available.
Around this time, Alois will spawn (or re-spawn, if you fought him earlier) near the north-west corner. Defeat him with a sword user or somebody with armor/cavalry effectivness.
Side Mission 1 (no Byleth): Defeat the Dark Mages to stop the magic attacks


(1 of 2) There’s probably a lot going on at this point.
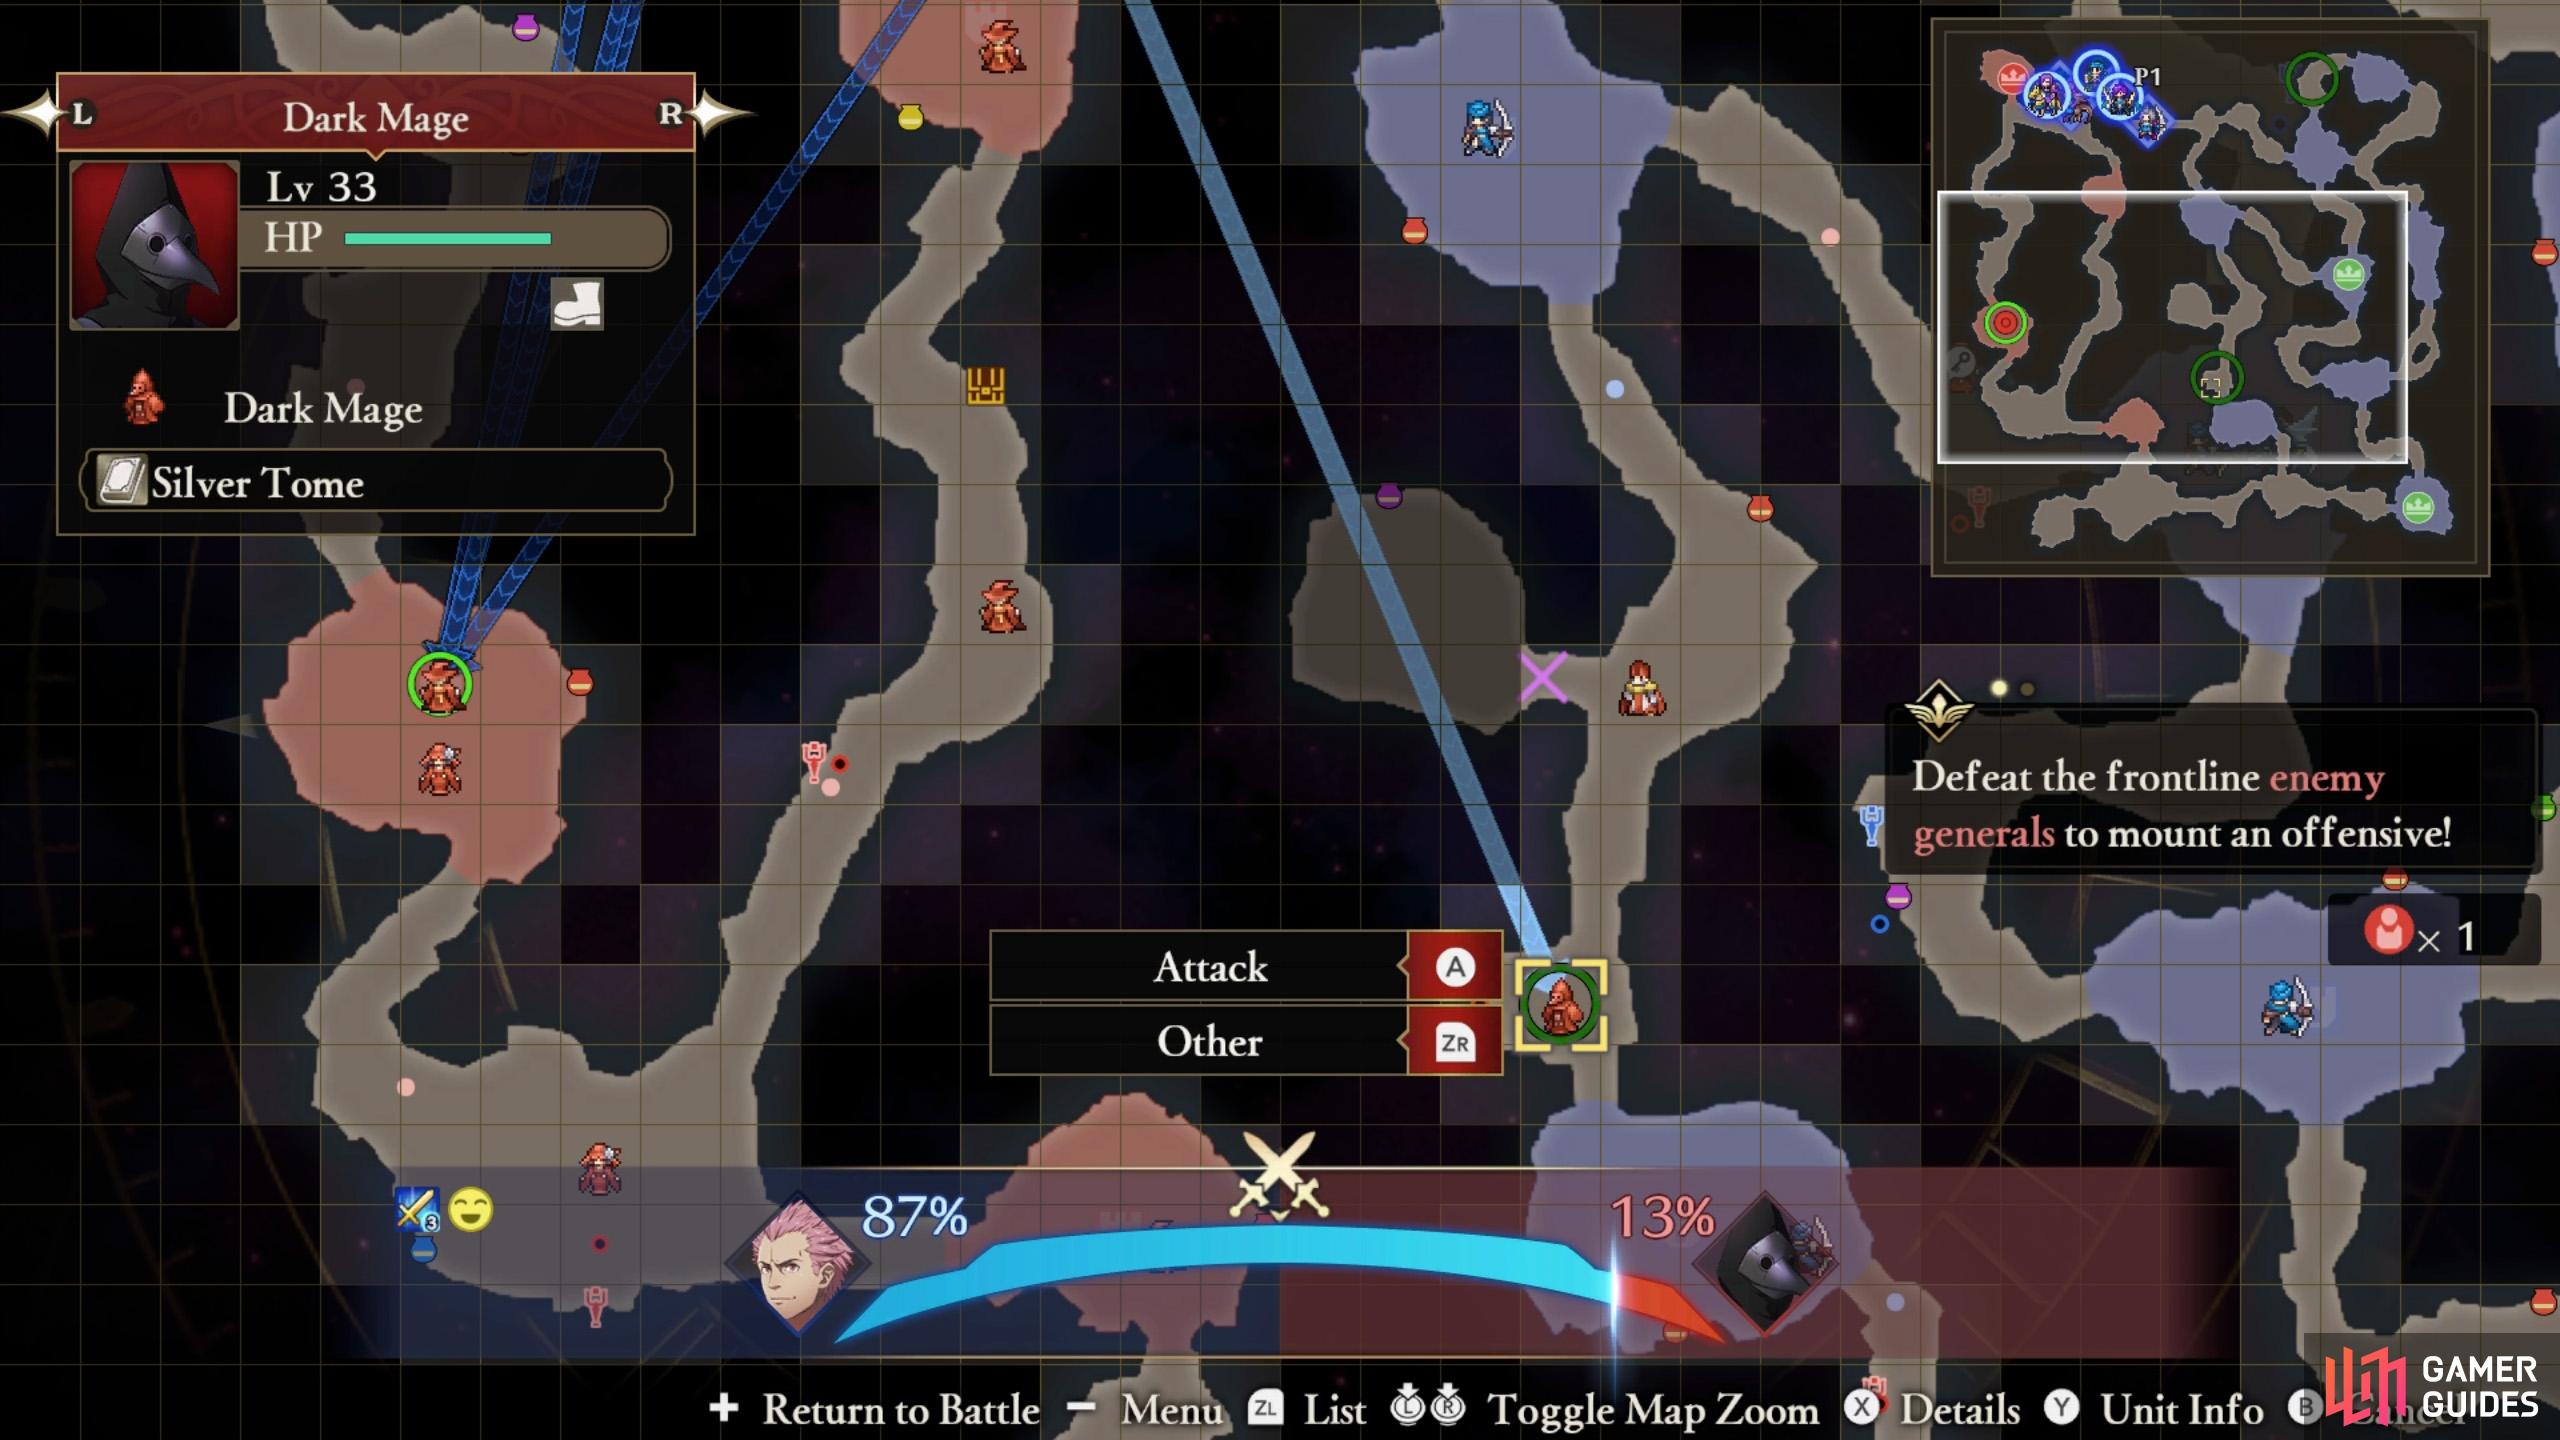
There’s probably a lot going on at this point. (left), Still, you can probably spare a few characters to handle these crooks. (right)
Shortly after Myson spawns, two Dark Mages will also spawn, one south from the center and another near the north-east corner. They will periodically perform long-ranged magic attacks, which can be a nuisance.
Order two characters to shut each of them up. Gauntlet users would be ideal.
Mission 8 (no Byleth): Defeat Fleche

(1 of 2) Everyone, attack!
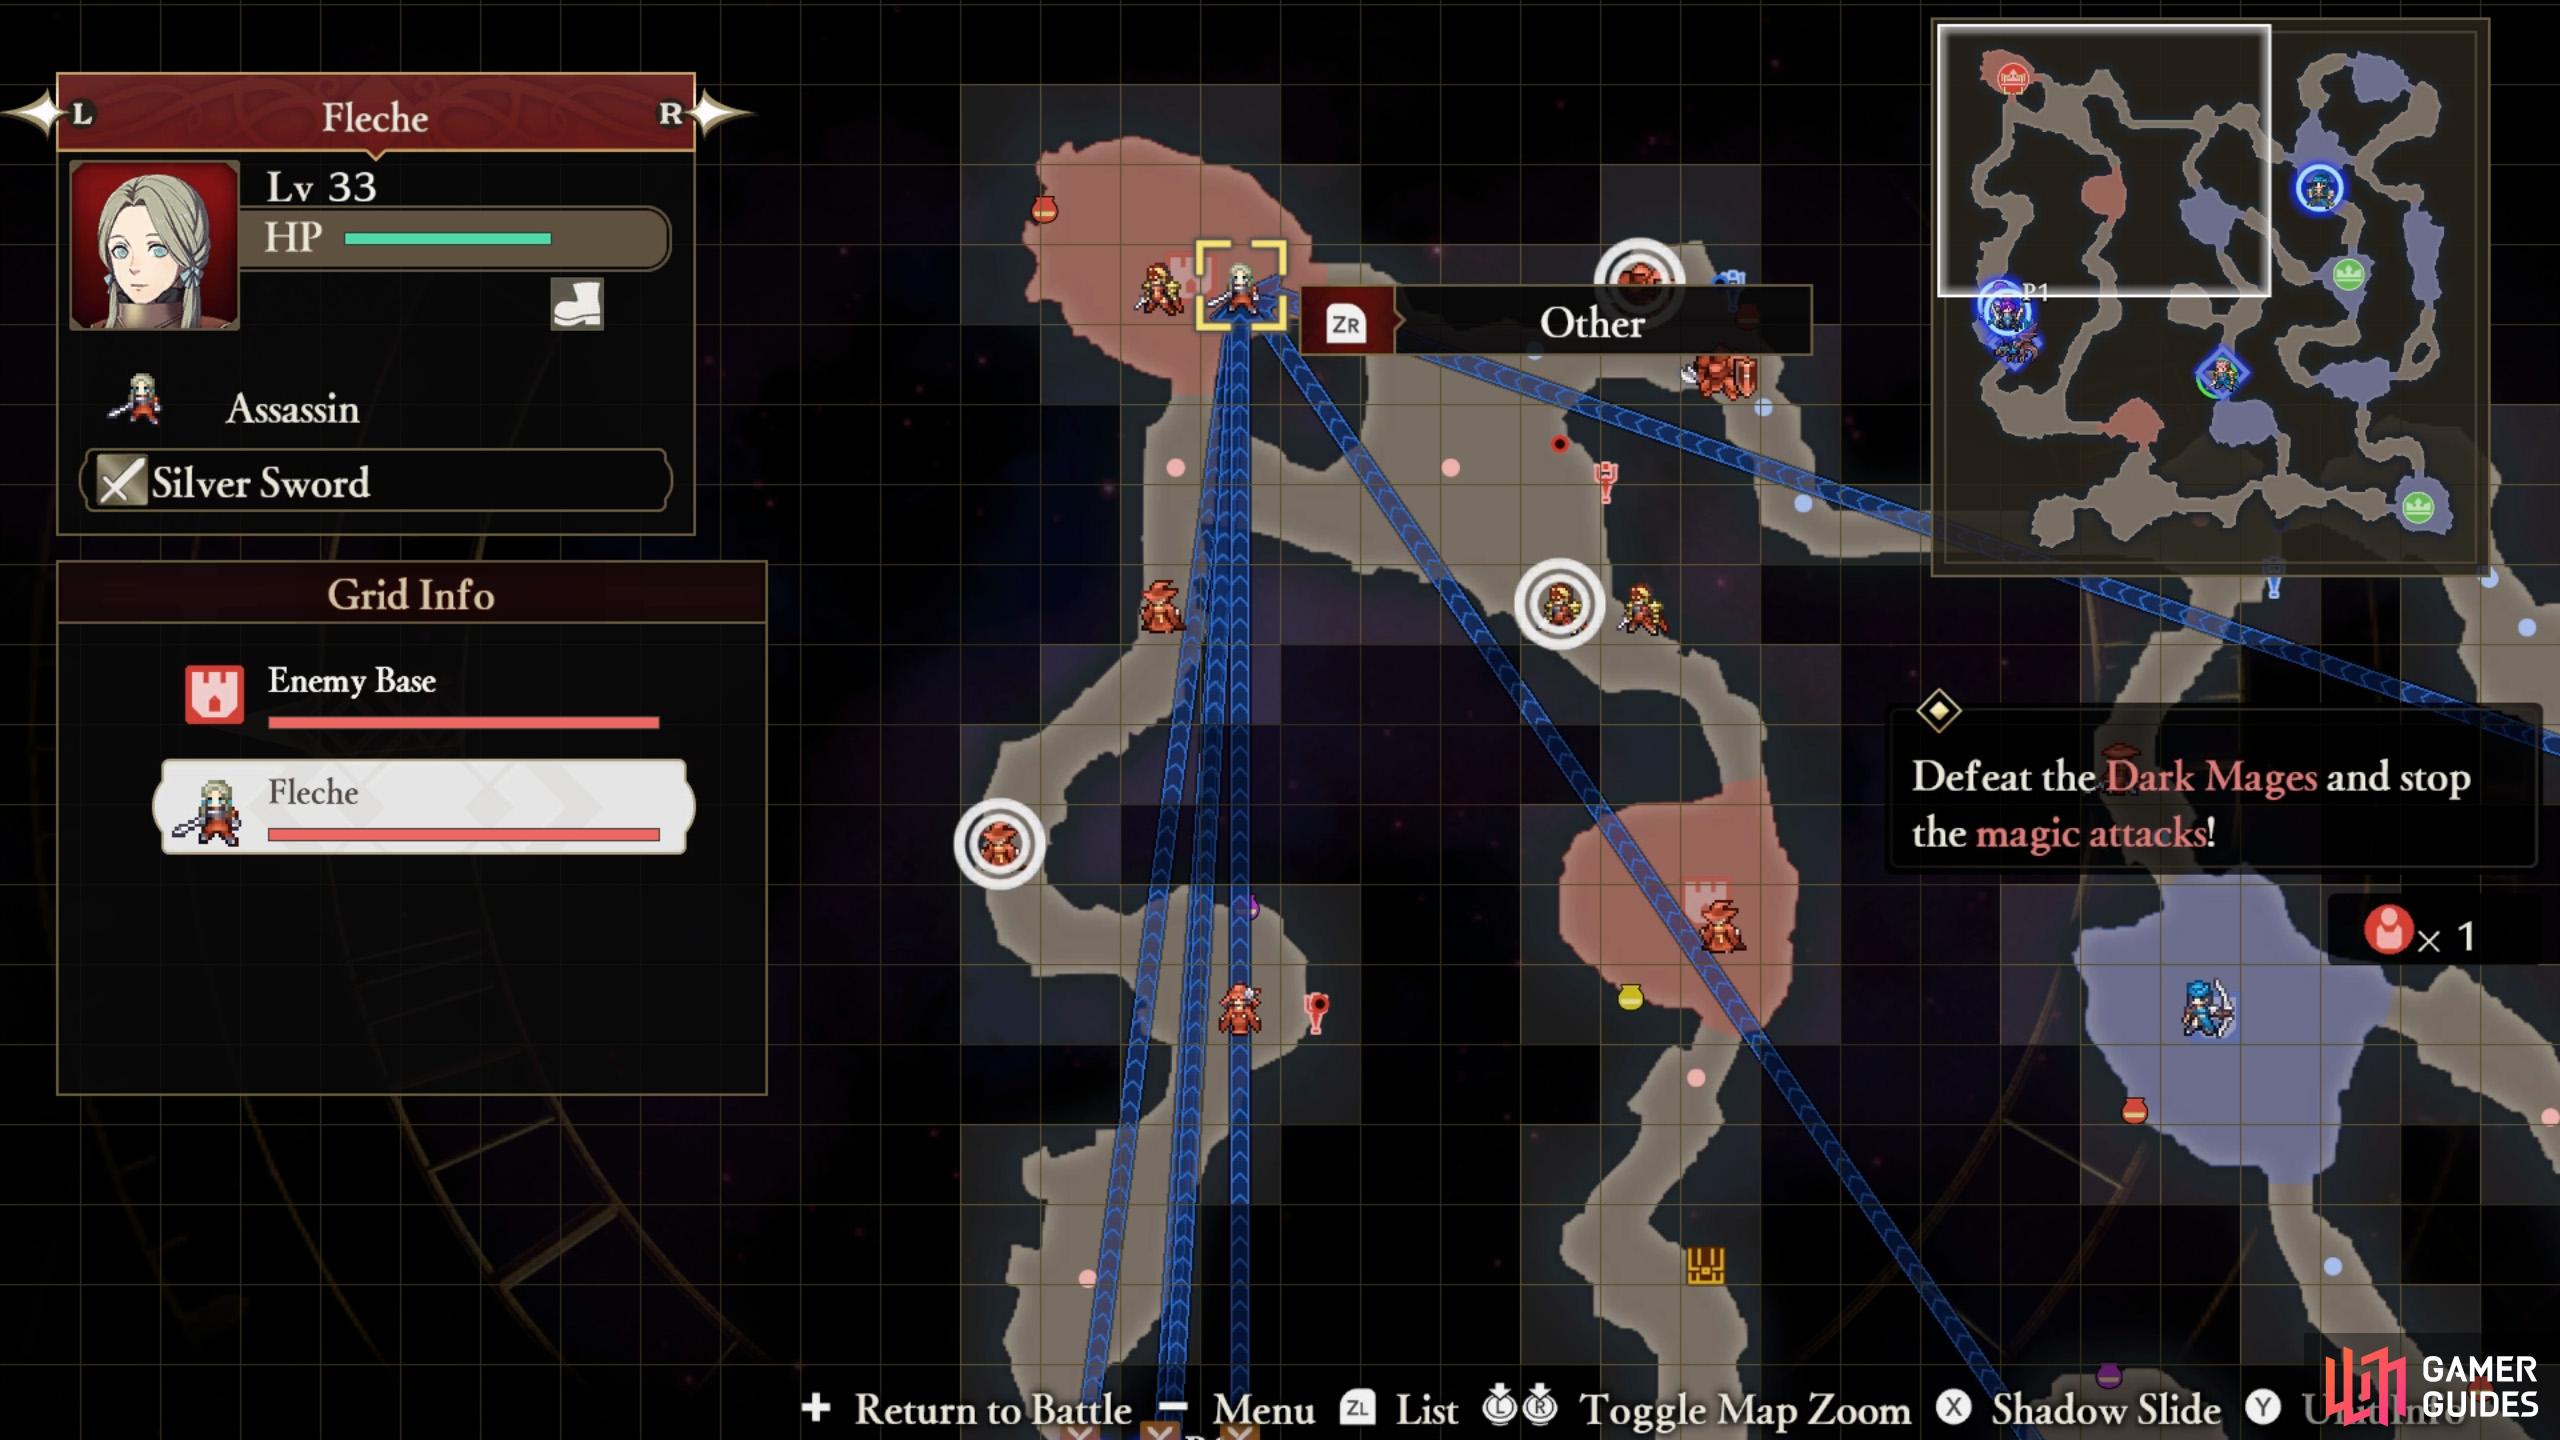

Everyone, attack! (left), There’s a real party going on, over here. (right)
Seeing everyone failing miserably around her, Fleche will open the gates to her stronghold in the far north-west corner and get ready to fight. Multiple enemies will also spawn near that corner.
We suggest controlling a lance user to fight Fleche, while ordering an all-out offense on her.
Mission 10 (no Byleth): Defeat Byleth blocking your way
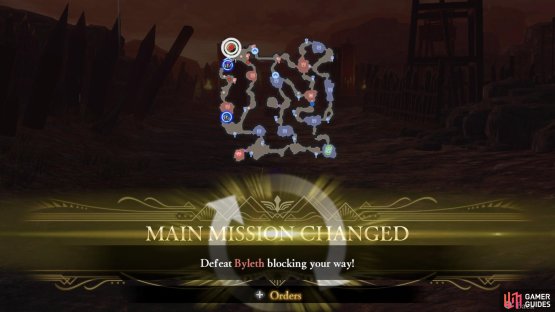
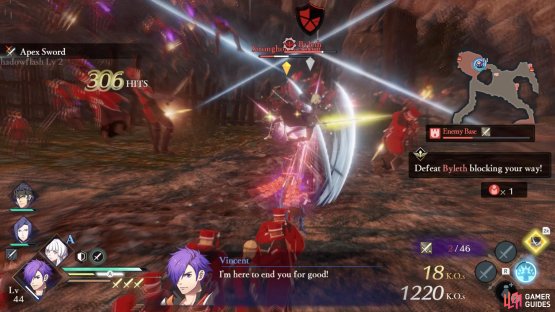
(1 of 2) At this point, you’ve got no choice but to fight Byleth.

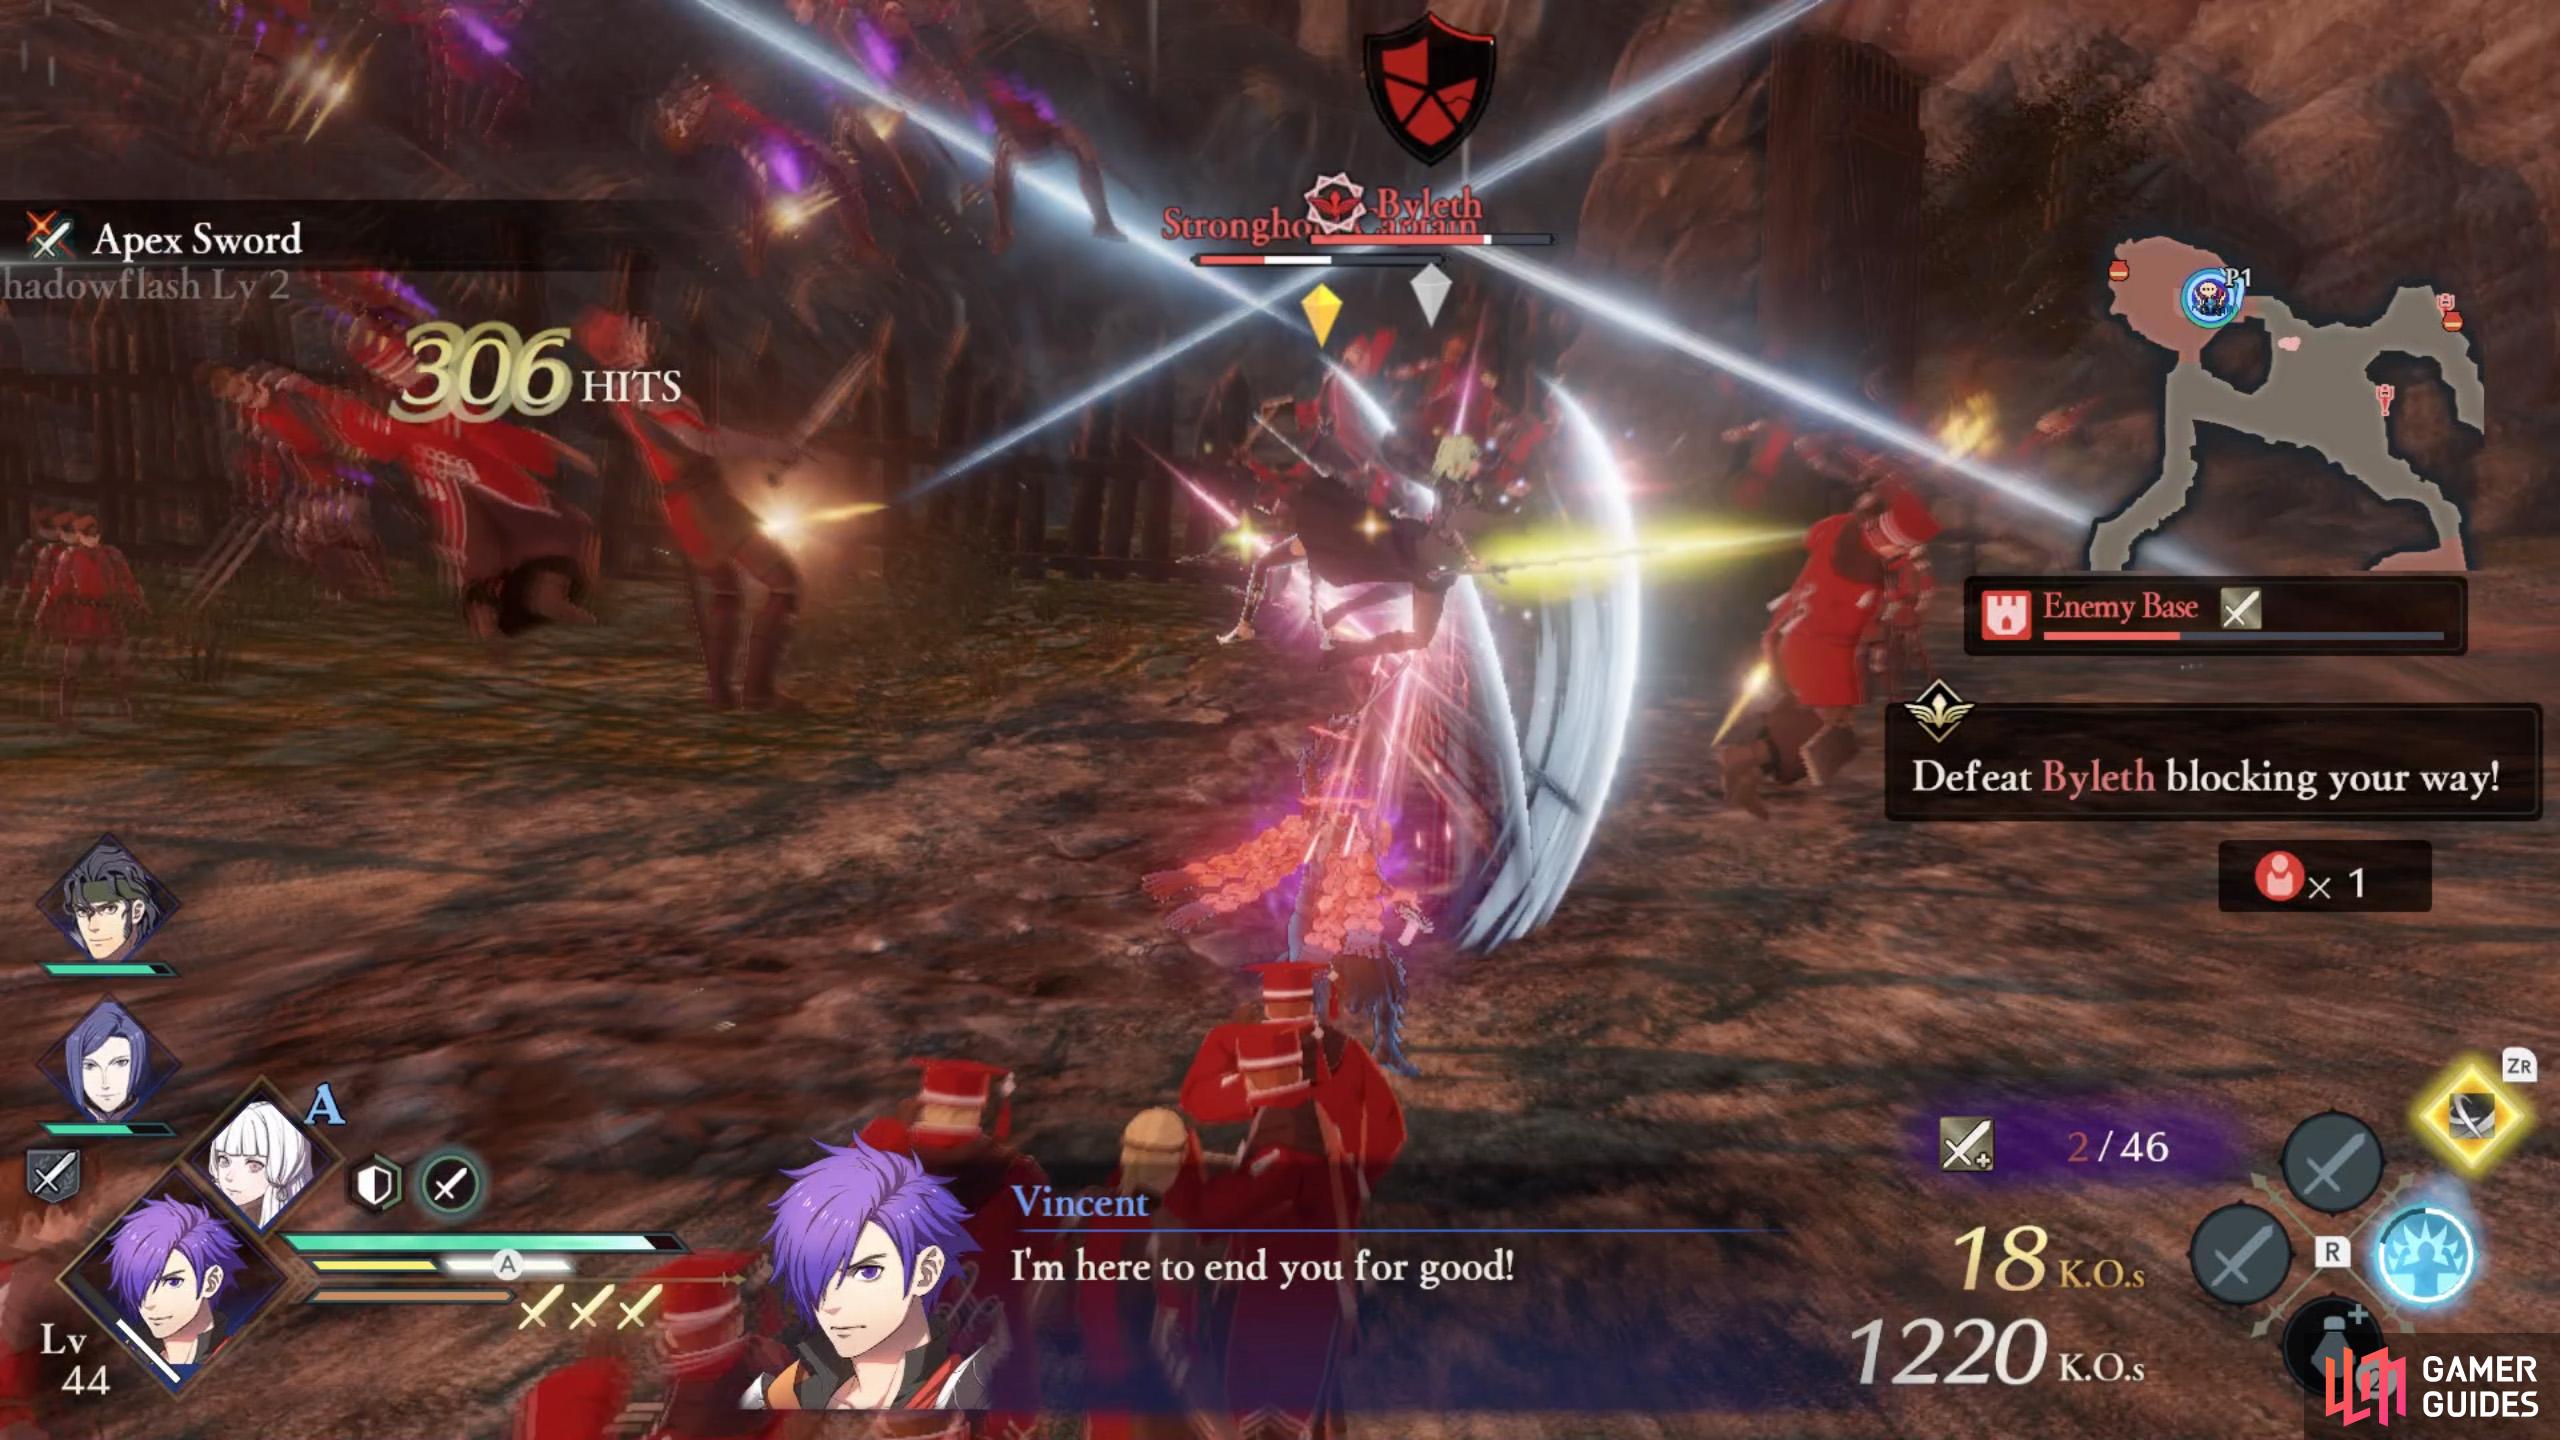
At this point, you’ve got no choice but to fight Byleth. (left), Don’t hold back; use everything at your disposal, be it Partner Specials, Awakening, etc. (right)
You’ll receive this mission if you stumble at the final hurdle and allow one of these to happen:
- Byleth reaches Claude
- Byleth reaches Fleche
This will cause Byleth to become your foe, while Fleche momentarily exits the battlefield (if she appeared).
To defeat Byleth, we recommend controlling a lance wielder. Otherwise, make sure they’re strong and not an axe user, unless you like punishing yourself. Assigning a spare character to be your adjutant would also be helpful.
Once Byleth is defeated, he/she will retreat.
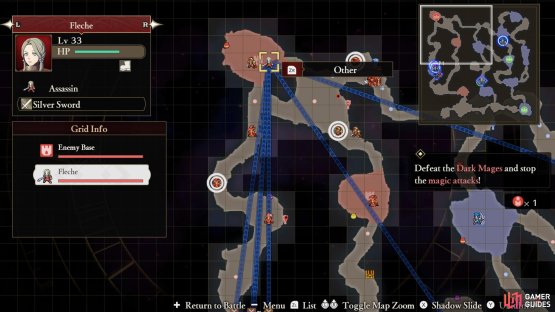
Mission 11 (no Byleth): Defeat Fleche
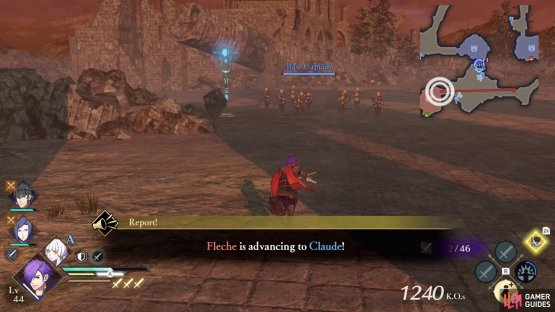

(1 of 2) Fleche will charge towards where Claude is.
Fleche will charge towards where Claude is. (left), Stop her before things get nasty. (right)
Fleche will re-appear at the stronghold at the far south-west corner and begin marching towards Claude. Head that way, preferably with a lance wielder.
If there are captured strongholds nearby and you have spare Shadow Slide charges, you could teleport to one of those strongholds to save some time.
Leave a few characters by the north-west corner, especially axe wielders or those with anti-cavalry weapons.
Mission 12 (no Byleth): Defeat Jeralt
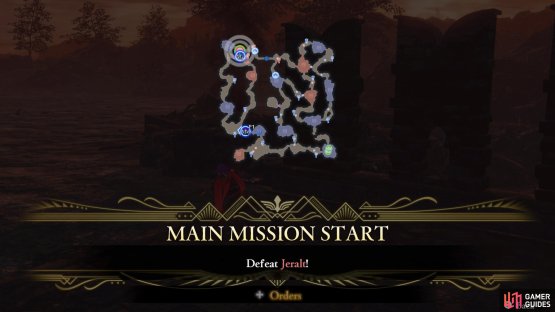

(1 of 2) If you fail to recruit Byleth, Jeralt will be the last enemy you fight.
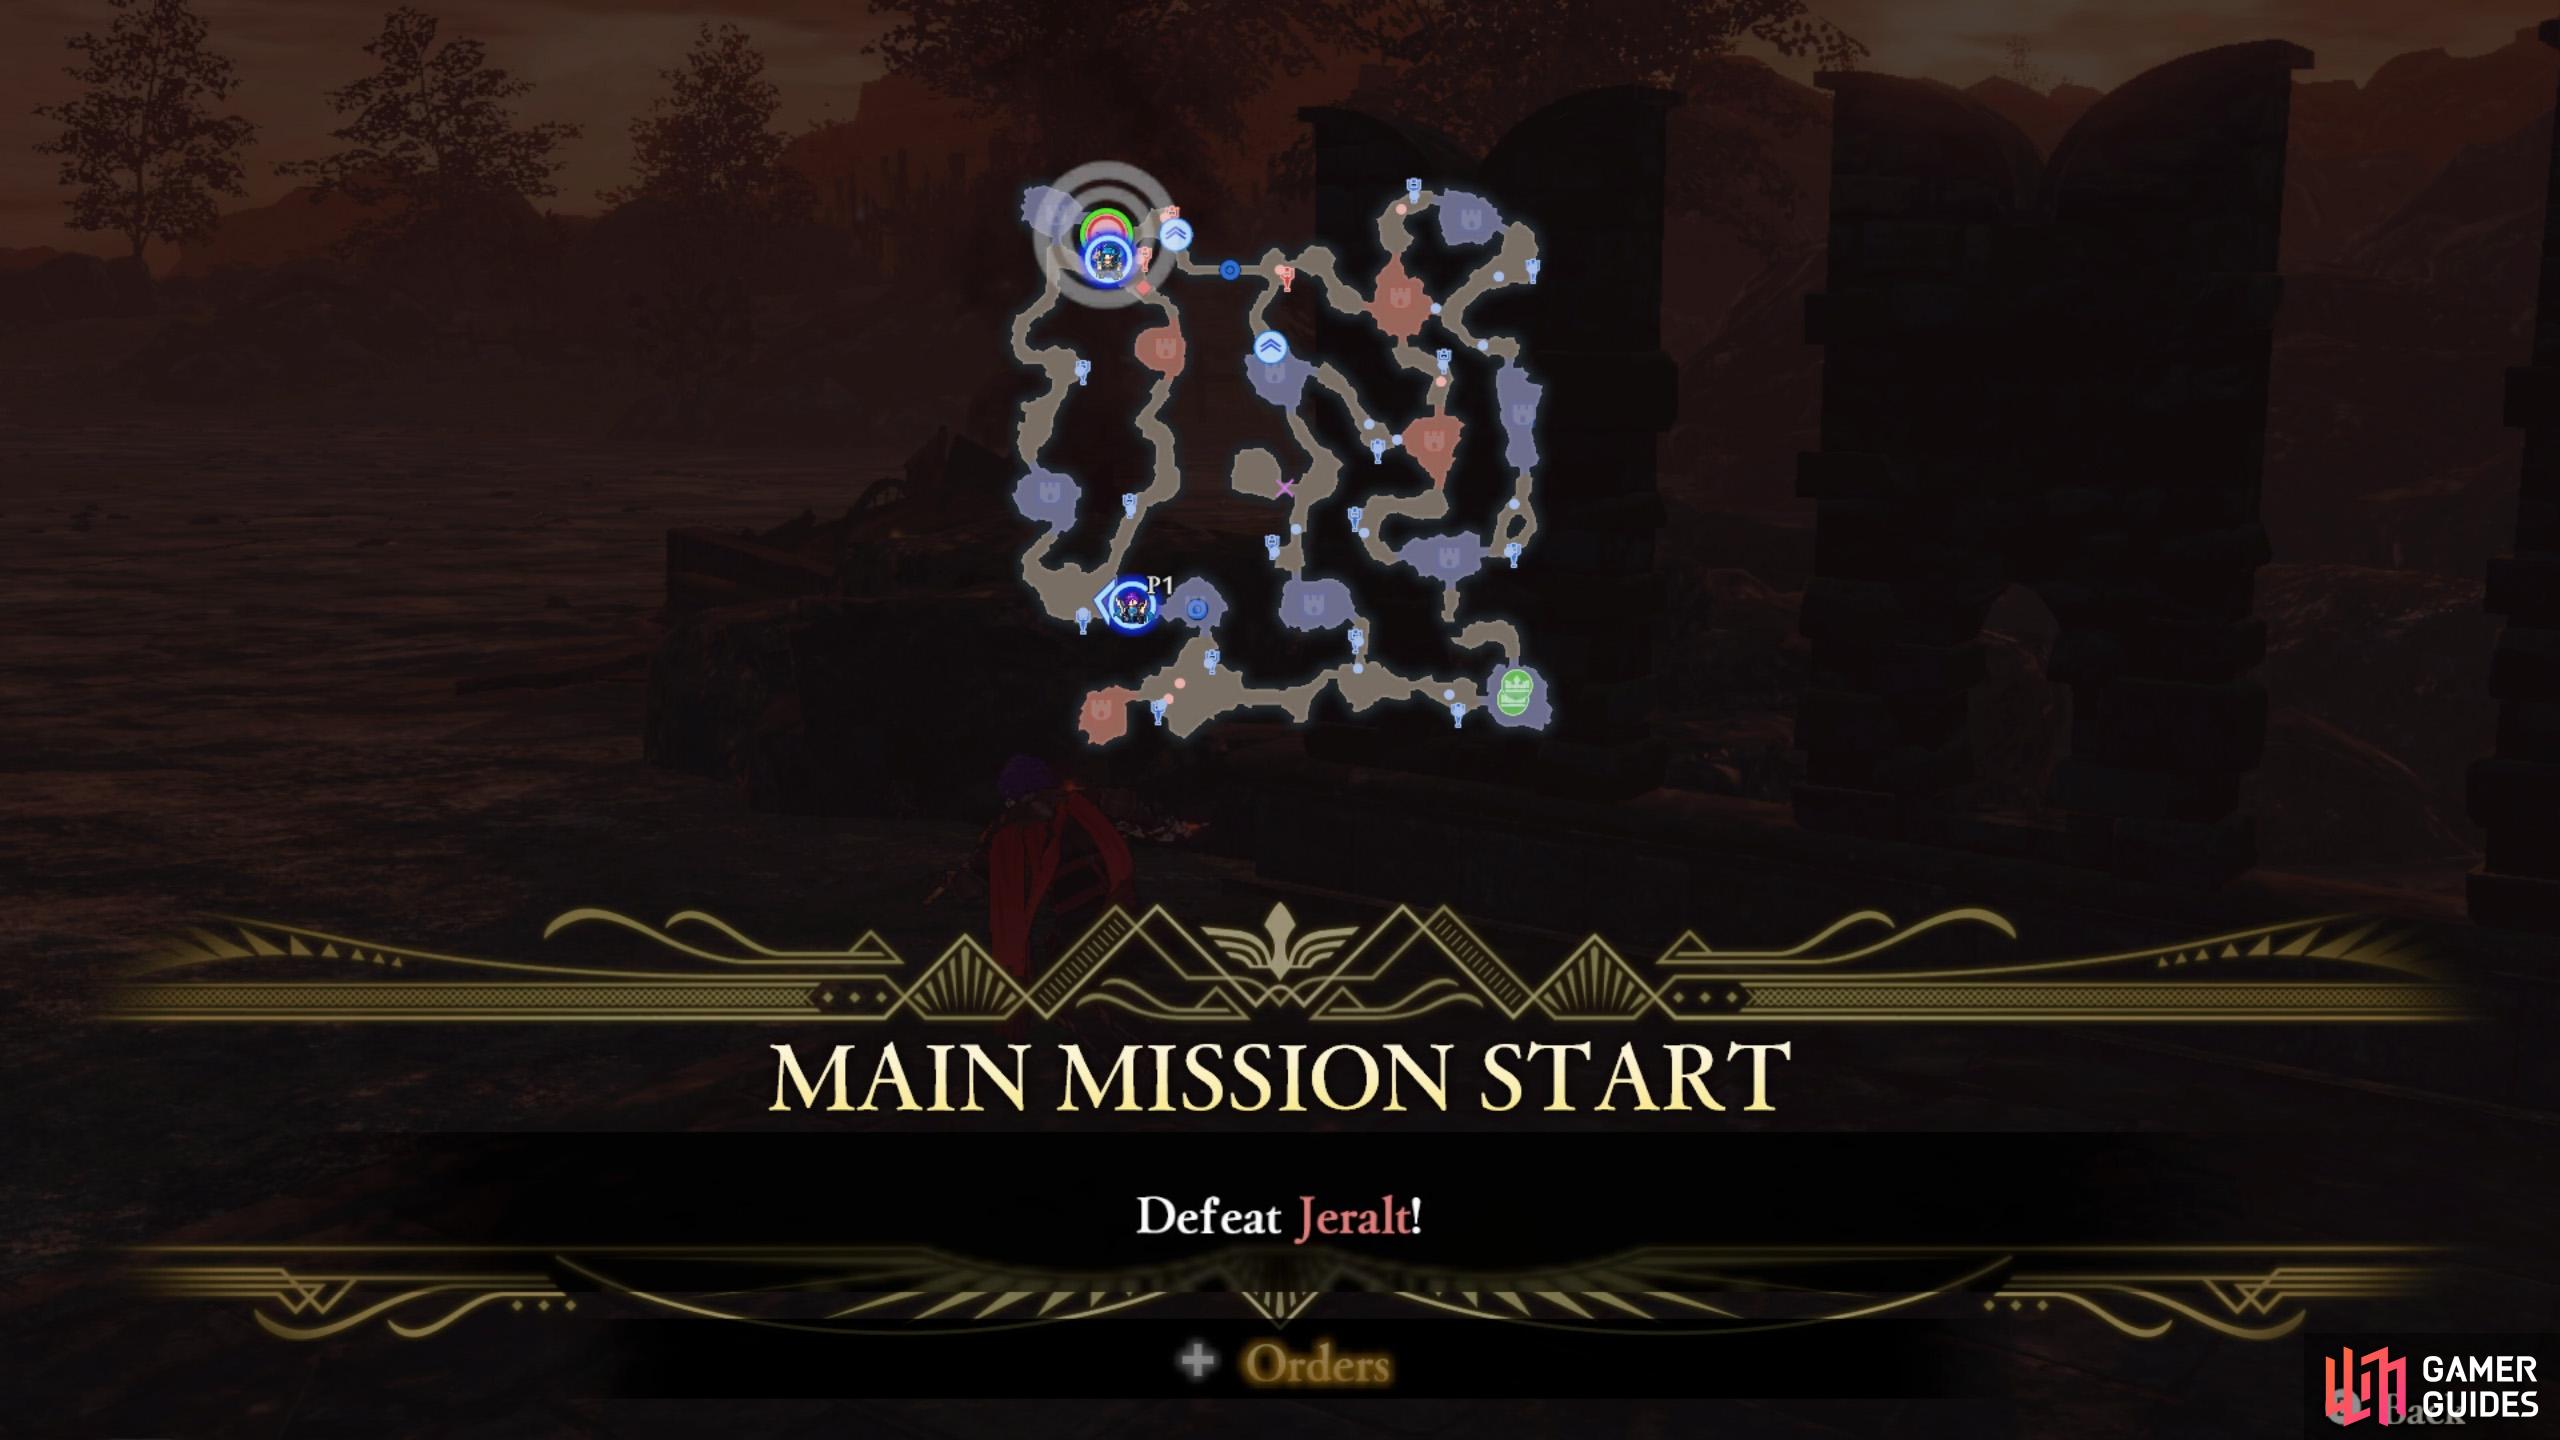
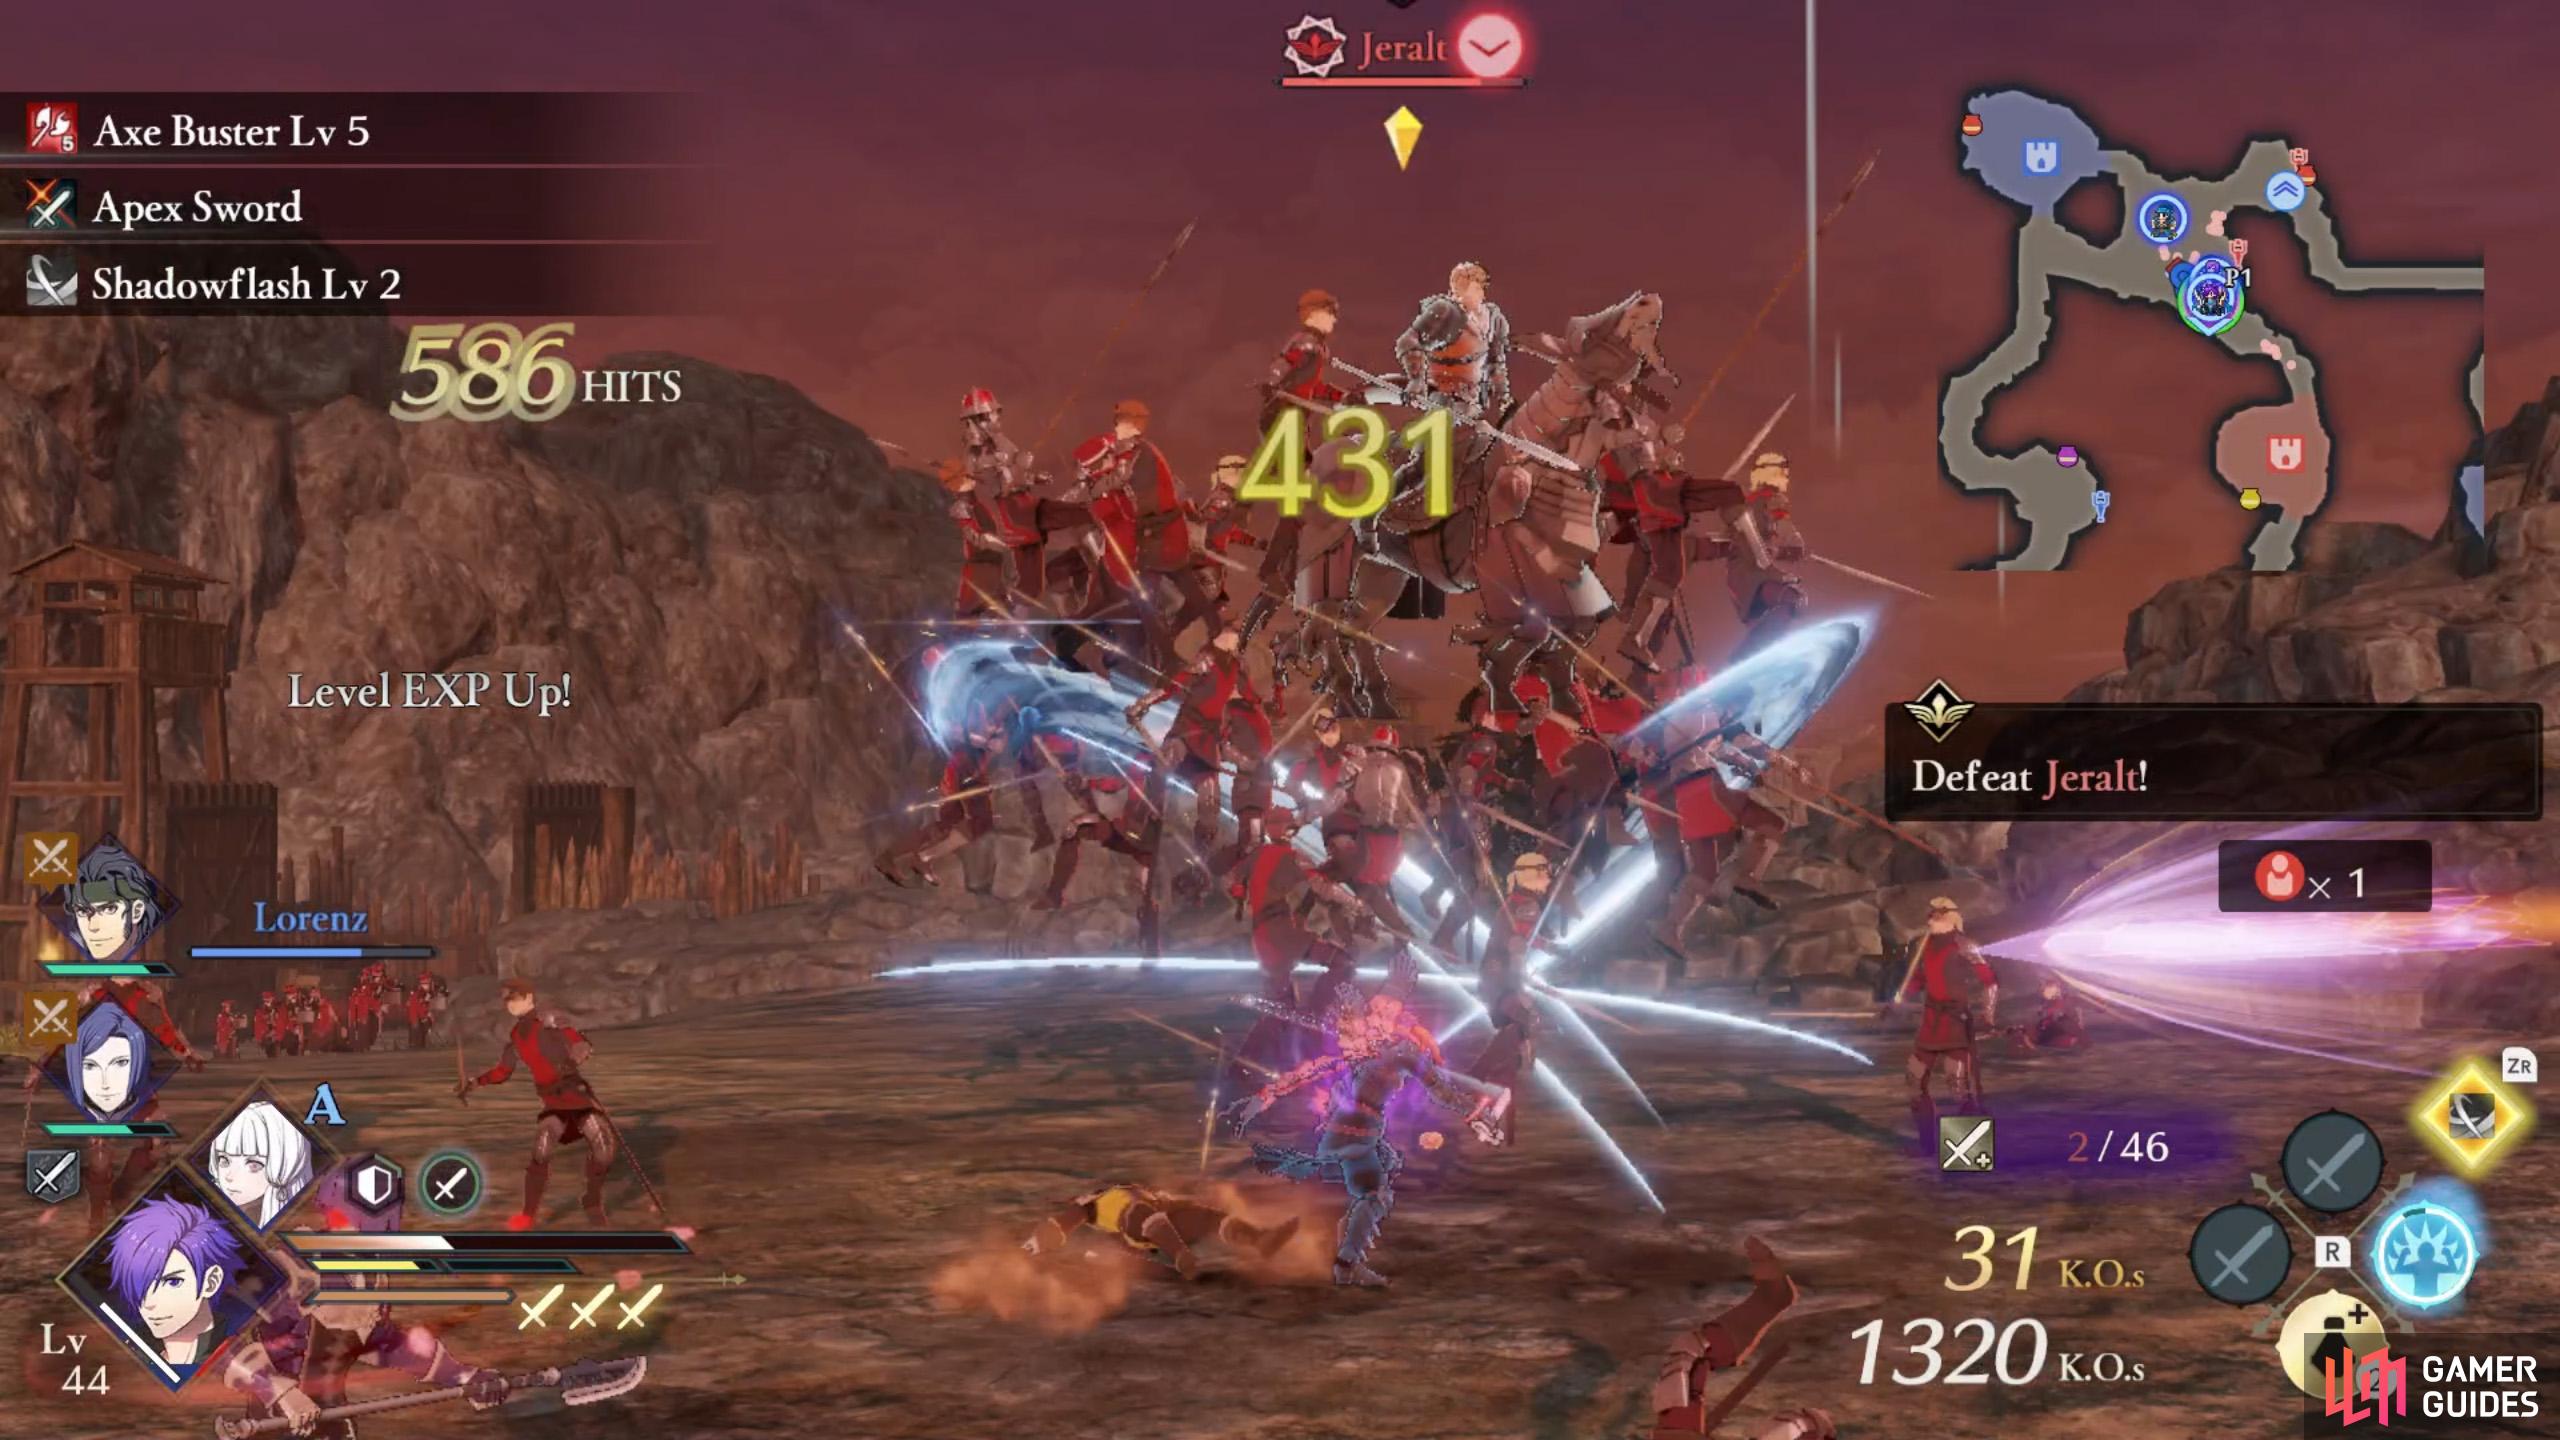
If you fail to recruit Byleth, Jeralt will be the last enemy you fight. (left), Hit him with axe or anti-cavalry weapons. Or outmuscle him with Warrior/Partner Specials and/or Awakening. (right)
Oh boy, this battle is really starting to drag. Seeing Fleche face down in the mud, Jeralt will spawn near the north-west corner. Control an axe user or somebody with cavalry effectiveness to take down the legendary Blade Breaker.
Succeed and this mission will finally be over, but at what cost?
No Comments