
This is a guide for Chapter 7: The Triumph of Valor in Fire Emblem Warriors: Three Hopes, this page focusing on the Main Quest, Midwestern Riegan Territory.

The main quest of Chapter 7
A quick reminder that this is the main quest for Chapter 7 of Scarlet Blaze, so make sure you have done everything else you wanted to do before starting this battle. That includes the side battles, spending all of your Activity/Training Points in the camp, and checking out all of the Surveying Spots. You will be unable to do these and get the rewards for them later. Note that you will be able to replay battles for S Ranks, so don’t worry too much about that right now.
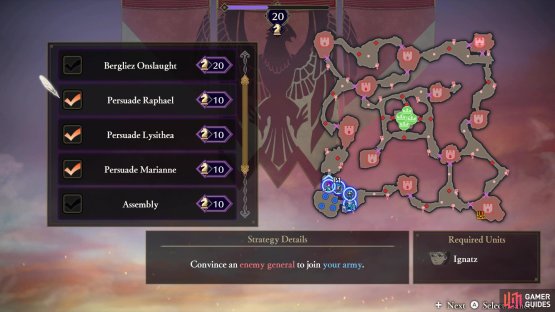
Which Strategies to Choose for Midwestern Riegan Territory
If you’re going to recruit all of the characters, then 30 of the 50 available points will be decided to those Strategies, leaving only 20 points left. The Imperial Holy Blessing will come in at a time when Bergliez’s troops will need pretty big support, so that should probably be a choice here. If you wish to speed up the battle a little bit, Bergliez Onslaught will do that. Assembly only moves two enemy units closer to your initial starting point, while Poison Tactic just reduces the HP of a few enemy units down a little bit. So, if you’re picking the three Persuade options, then you can either do the Holy Blessing and Anti-Axe Training, or just simply do the Onslaught one.
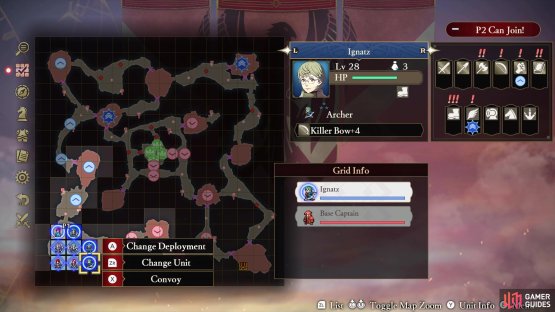
(1 of 2) As always, you will probably want to recruit everyone


As always, you will probably want to recruit everyone (left), Ignatz will need to be present to recruit Raphael (right)
| Strategy | Cost | Strategy Details |
|---|---|---|
| Imperial Holy Blessing | 10 | Have the Empire Holy Magic Users use white magic to heal the Bergliez Generals. |
| Bergliez Onslaught | 20 | Have the Bergliez Squadron cut loose and break through the enemy’s siege. |
| Persuade Raphael | 10 | Convince an enemy general to join your army. (Requires Ignatz) |
| Persuade Lysithea | 10 | Convince an enemy general to join your army. |
| Persuade Marianne | 10 | Convince an enemy general to join your army. |
| Assembly | 10 | Begin the battle with the enemy formation drawn in towards your army. |
| Poison Tactic | 10 | Begin the battle with the enemy’s HP slightly decreased. |
| Anti-Axe Training | 10 | Grant the Axebreaker ability to Stronghold Captains in allied strongholds. |
How to S Rank Midwestern Riegan Territory
| Completion Time | Enemies Defeated | Damage Taken |
|---|---|---|
| 17:00 | 1800 | 50% |
There are a lot of moving parts in this battle, which means time can be a little tight, making that S Rank a little more challenging. The fact you’re going to be facing a lot of important characters doesn’t help, since they tend to be a little tougher to fight. Splitting your army up at the beginning is ideal, since you can direct them to continue on their respective sides throughout the battle, then meeting in the center to help with the rescue. Stopping the side mission with the catapults is something you want to do, since you want to minimize the damage.
There’s no need to worry about the other side missions, since they’re not going to cause too many problems. If you send someone to stop the pursuit of Alois/Jeralt when they come after you, then you should be more than well enough. Once you get the Bergliez Generals to escape, avoid Byleth and head straight for Claude in the northeast. When he has been brought down, you will have one more task, to defeat Byleth, who won’t be as strong as they usually have been in other battles.
Mission 1: Seize the Strongholds and Defeat Intercepting Forces
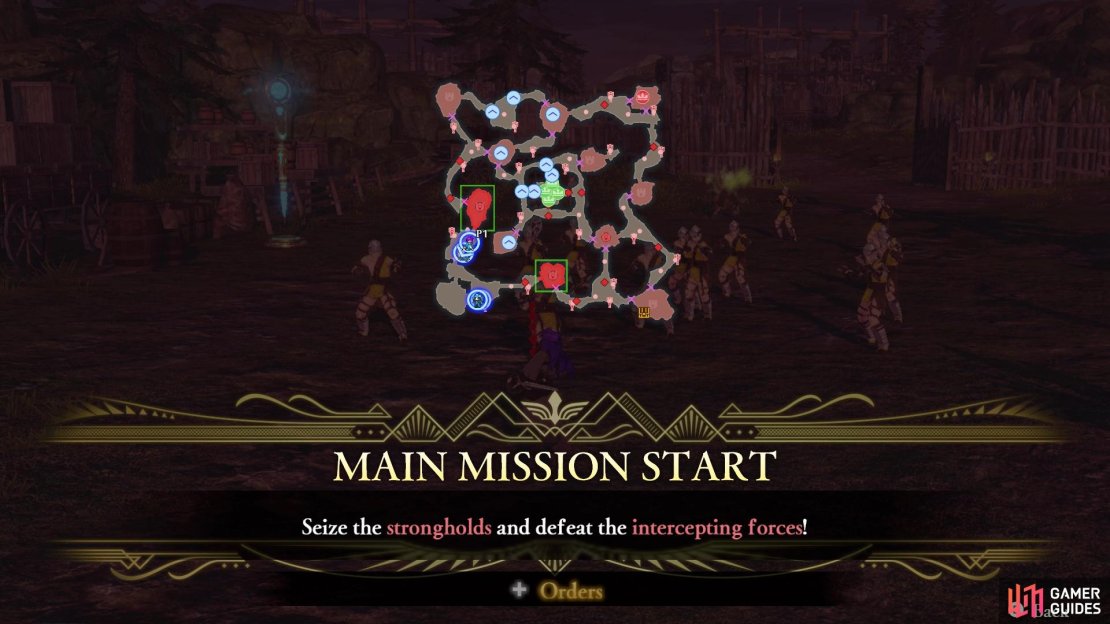
(1 of 3) Your first goal is to take the following strongholds
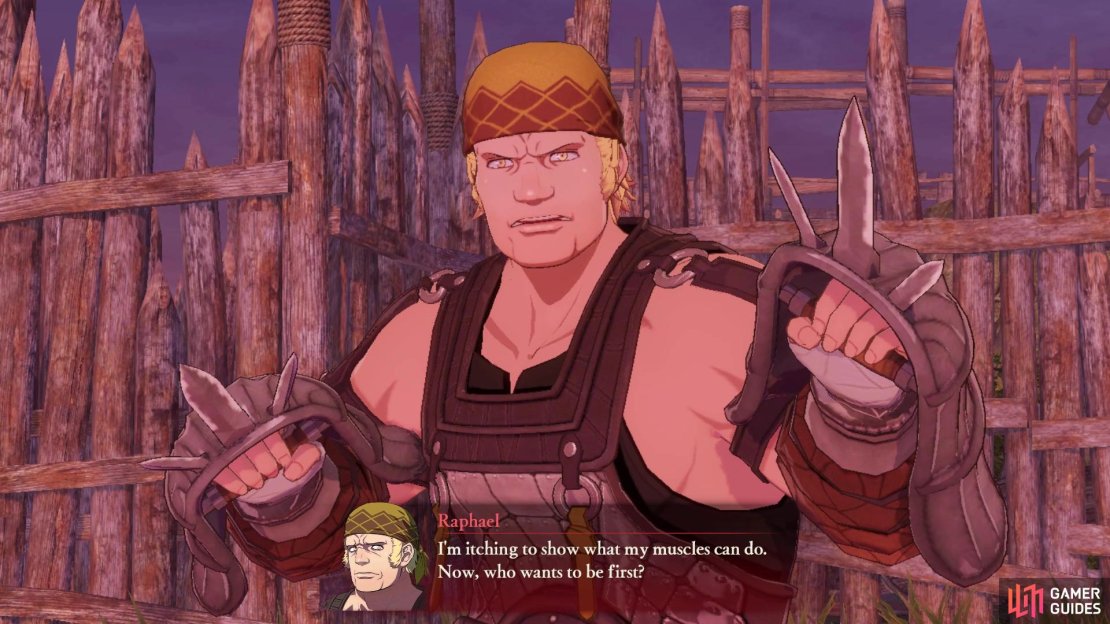
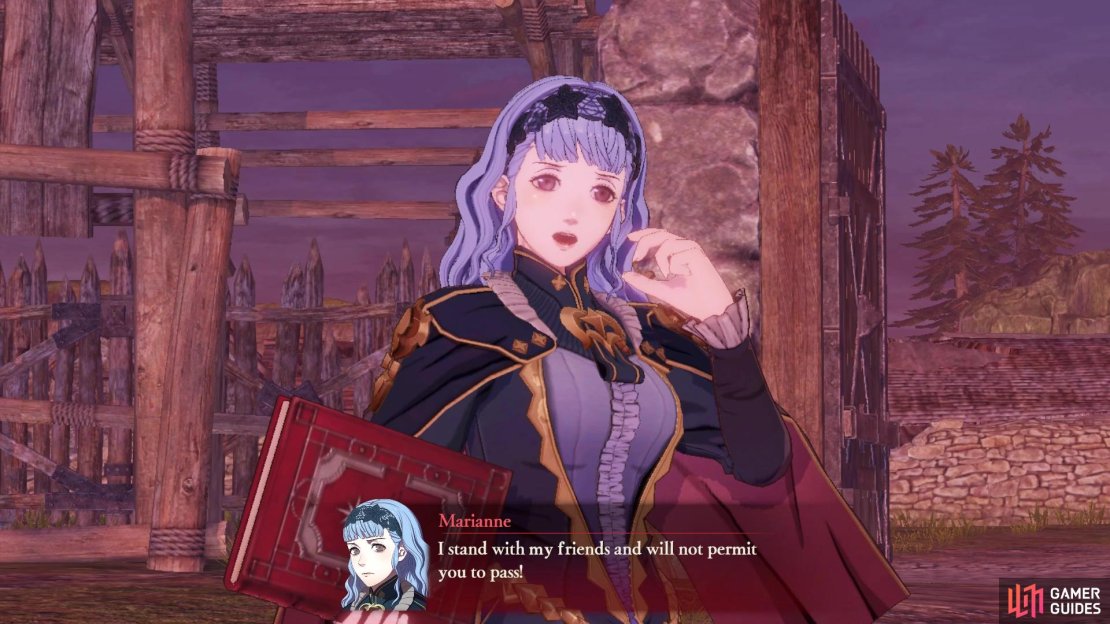
Your goal in this battle is to make sure that Bergliez’s forces do not get routed, which means a game over, so there is a bit of urgency at the beginning of the skirmish. The first mission will have you taking over two specific strongholds, one to the north of your initial position, and another to the east. Of course, both of these strongholds will have potential recruits for your army, provided you selected the appropriate Strategies prior to the battle’s start. In particular, the northern stronghold will have Raphael and the eastern stronghold will have Marianne.
If you have the appropriate Strategies, then make sure you initiate them before defeating the enemy units, as they will simply die without doing that. Raphael will be using Gauntlets as his weapon, while Marianne is using a Tome, so use the counters against them. When all is said and done, you should have recruited two more allies for your army. While you don’t have to personally use Ignatz, he does need to be on the battlefield in order to recruit Raphael.
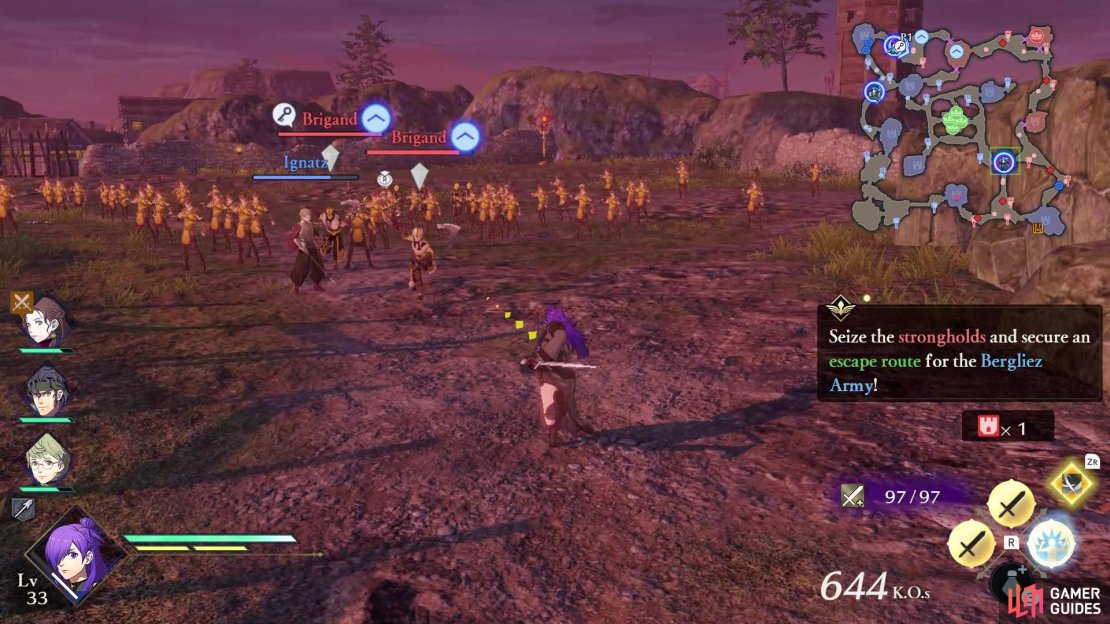
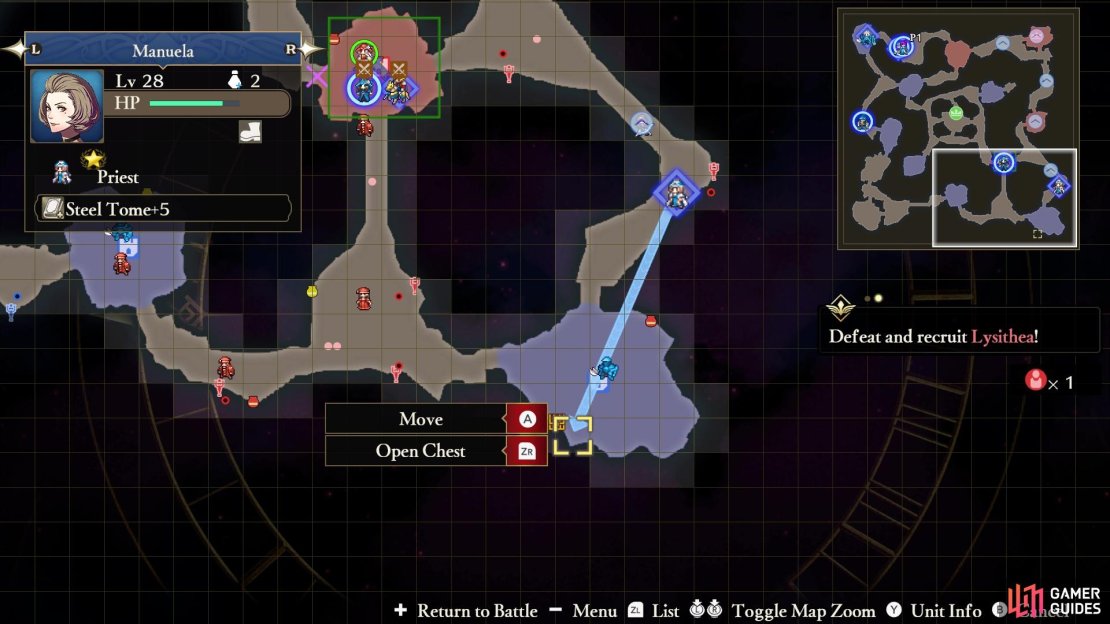
Mission 2: Seize the Strongholds and Secure an Escape Route

(1 of 3) The next set of strongholds will be similar
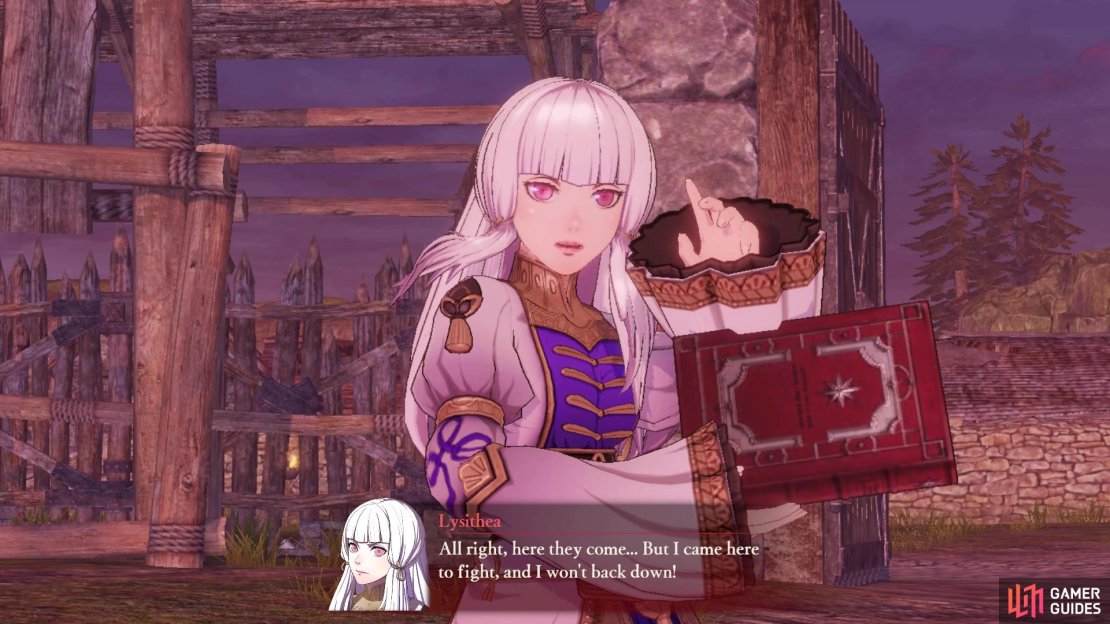
The second main mission is similar to the first, as you need to take control of two more strongholds. These ones, though, will help establish an escape route for Bergliez and his men. There will be one to the north, and another a little northeast of the previous eastern one. As before, both will be controlled by named enemy units. The northern will have you facing Hilda, who is riding a wyvern and wielding an axe. The eastern one will pit you against Lysithea, who is another Tome-wielding magic user. Note that Lysithea is recruitable, so make sure you initiate the Strategy before defeating her.
Once you make it into the central part of the map, by either defeating Lysithea or Hilda, you will be able to activate another Strategy, should you have chosen it. That is the Imperial Holy Blessing Strategy, which will heal up the Bergliez Generals (they could probably use it, too).
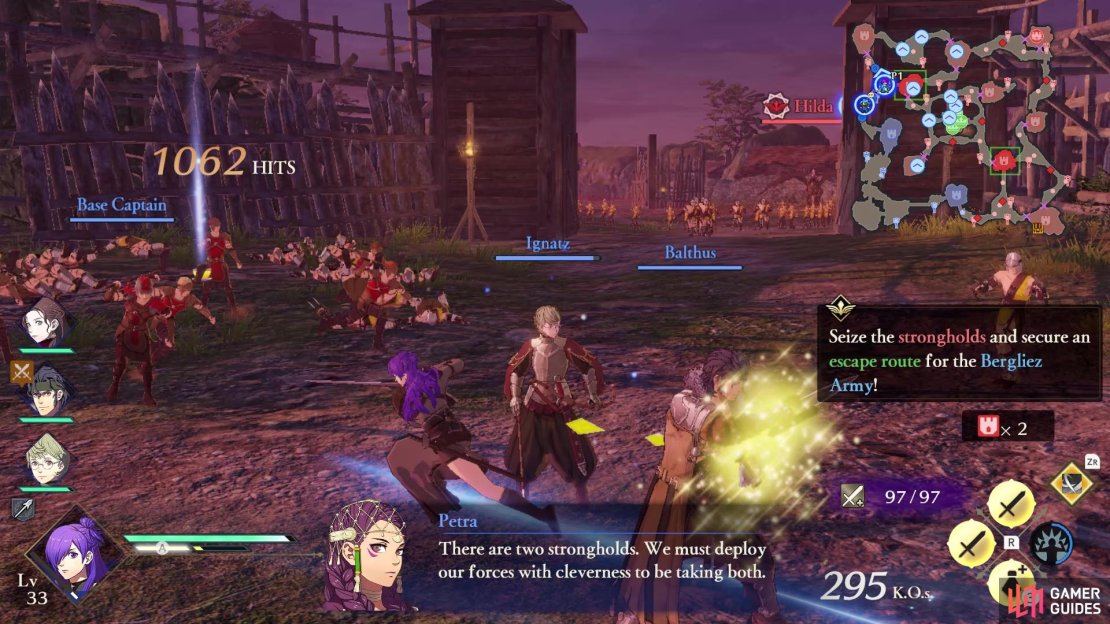
Side Mission: Stop the Catapults
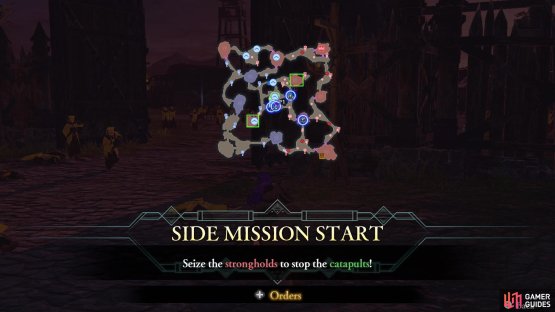
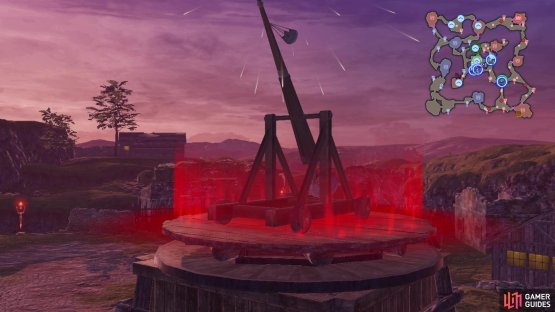
(1 of 2) The location of the two strongholds with catapults


The location of the two strongholds with catapults (left), Take them out quickly to avoid taking too much damage (right)
As you take out the enemy units that are surrounding Bergliez, a side mission will pop up, with some enemy strongholds unleashing catapults. These are located in the central area, so you should already be in the vicinity. Head to each one and defeat the Stronghold Captain to capture the stronghold and put a stop to the catapults.
Side Mission: Prevent the Enemy Reinforcements
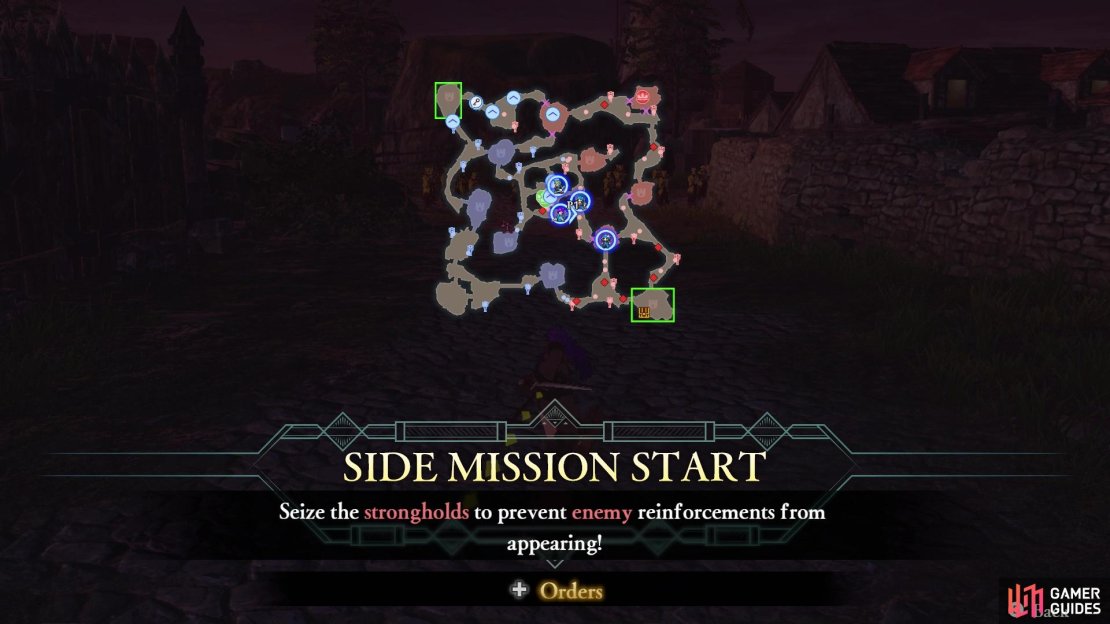
(1 of 3) Some reinforcements will come out of the corner strongholds
After defeating all of the enemies surrounding the Bergliez troops, the siege will finally have been broken. Claude, seeing this, plans on deploying some reinforcements to fill the gaps. The reinforcements will come out of the northwestern and southeastern strongholds, but to prevent more from coming, you will be told to capture them. To make things easier on yourself, it’s best to issue orders to some allies to go after those strongholds. If you take a closer look, though, one of the enemy units that appeared from the northwestern stronghold will have a key.
If you don’t have someone that can open the chest on the map, then you should make it a priority to send a unit to defeat that person, then issue an order to go after the stronghold there, too. When you’ve gotten the key, you can actually order someone to open the chest, which is located in the southeastern stronghold. Of course, you can kill two birds with one stone by lumping both of these things together with capturing the strongholds.
Mission 3: Determine an Escape Route
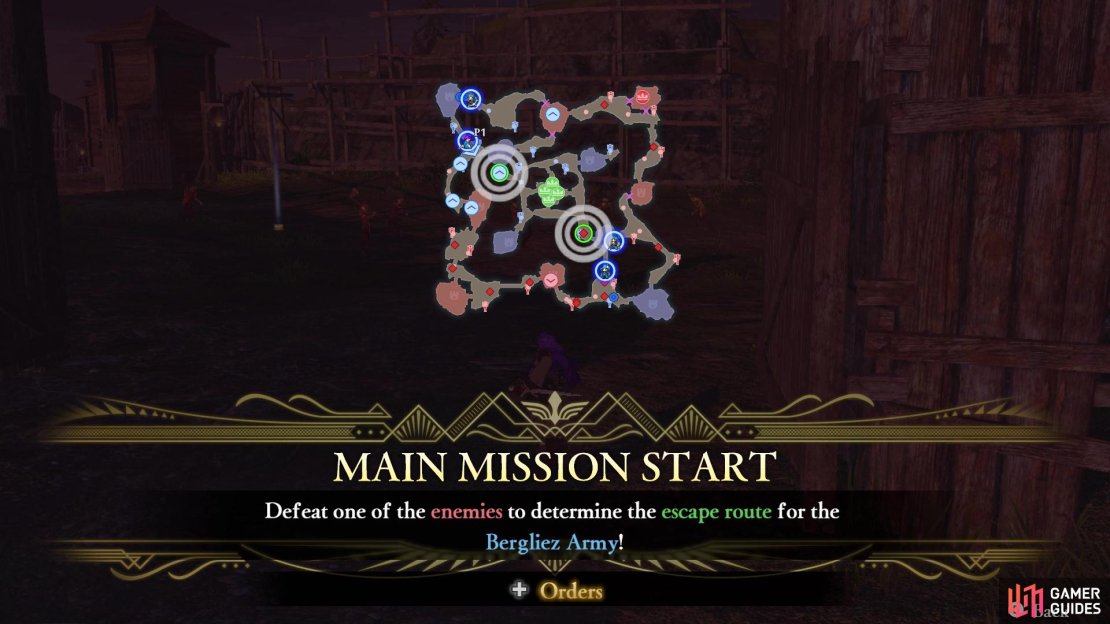
(1 of 3) You will need to pick one of the two paths here
Once you have secured an escape route and cleared the area surrounding the Bergliez Generals, Jeralt’s forces will appear along the southern end of the map, essentially cutting off your retreat. Shez suggests heading straight for Claude instead of worrying about the mercenaries, but you don’t know whether to go right or left. Note that you can skip this bit if you decided to take the Bergliez Onslaught Strategy at the beginning of the battle. Instead of staying in place, Bergliez and his troops will smash through the enemy formation, then they will head to the area just south of Claude, before retreating.
If you don’t have that Strategy, then you will need to make a choice. This choice will determine where Bergliez will go to, as well as who comes after you and what enemy units will appear. Going after the western route will cause Brigands to appear, and Alois will come after you in pursuit. The eastern route will cause Archers to ambush you, as well as send Jeralt in pursuit. All you have to do to make sure the Bergliez Generals escape is capture the designated stronghold.
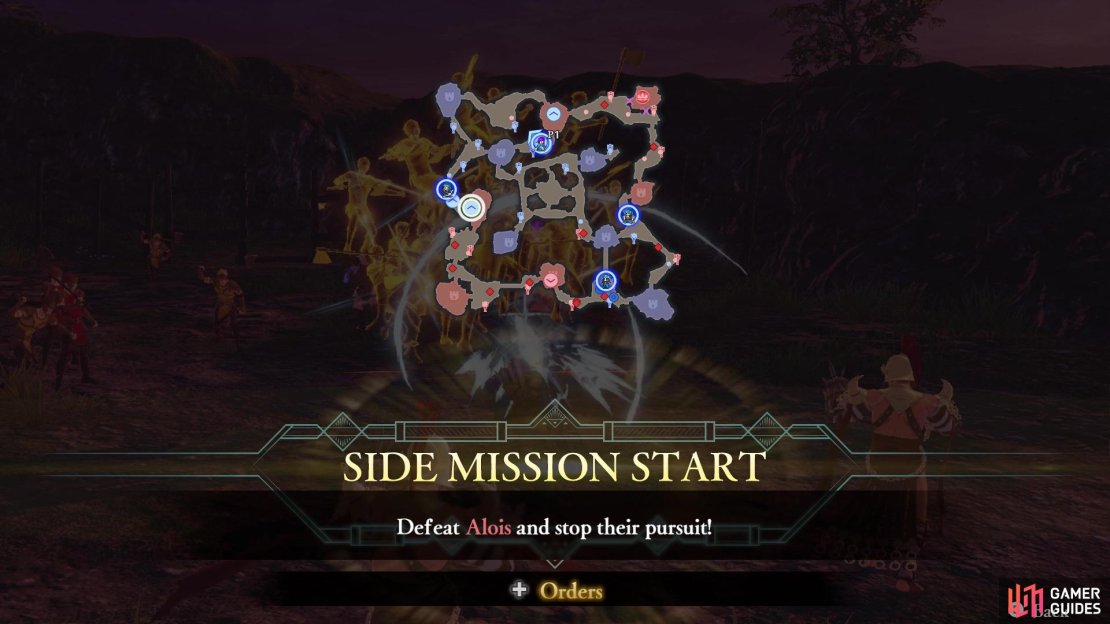
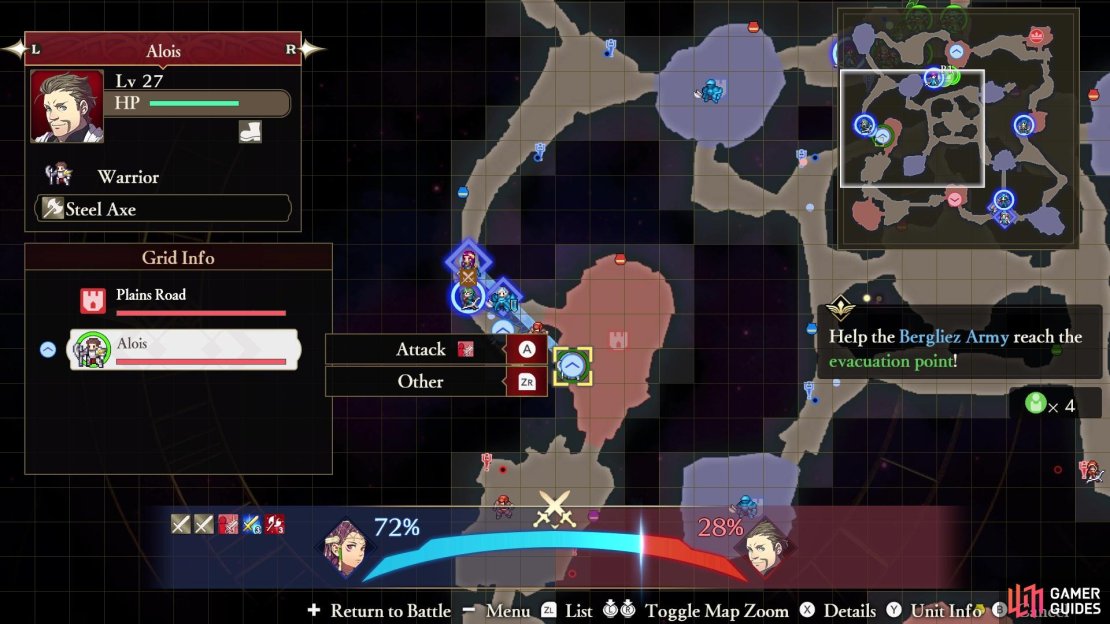
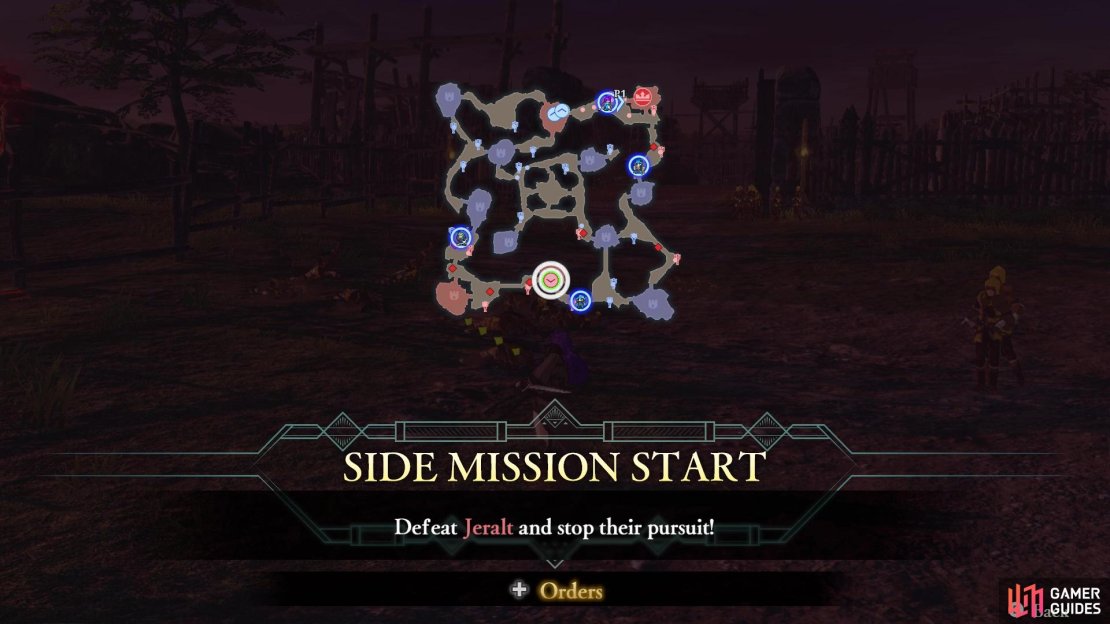
Side Mission: Defeat Alois/Jeralt to Stop Pursuit
Look above to see who you will have to defeat for this side mission. Alois will be on the western side of the map, while Jeralt will be on the southern side. They will be coming straight to where Bergliez and his men are located, so your goal is to simply stop them before they reach the Generals.
Defeat Claude

(1 of 3) Claude will be in the northeastern stronghold
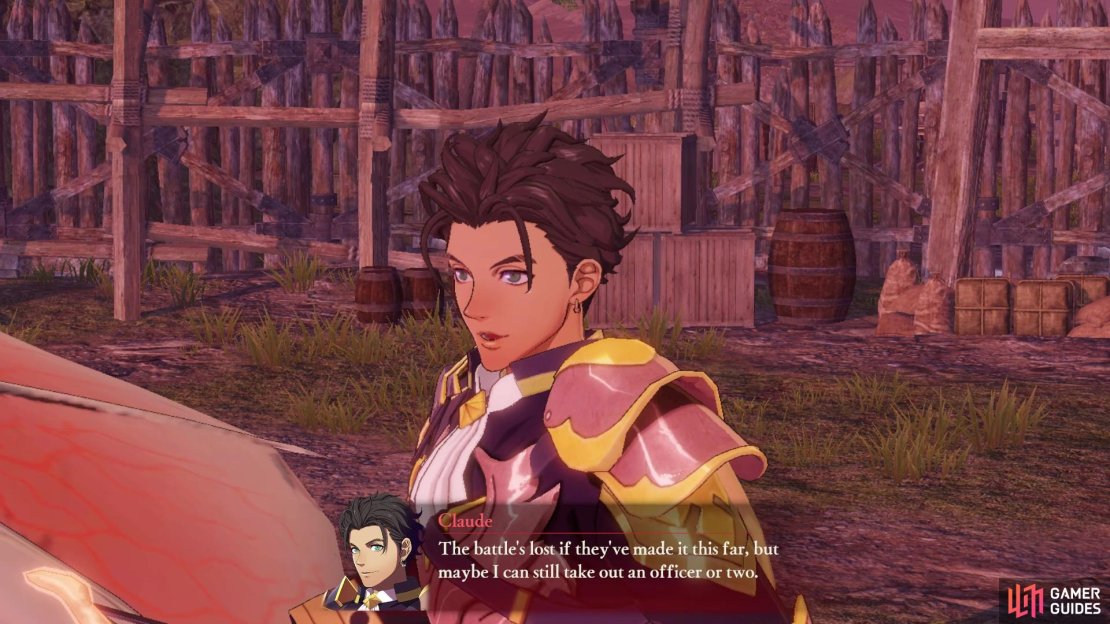
Upon the Bergliez Generals retreating, Byleth will decide to make an appearance to put a wrench into your escape plans. It’s best to avoid Byleth at this time, as they will still be in their very powered up state, so they can put a hurting on your very easily. Instead, you should be focusing your attention on Claude, who’s in the northeastern stronghold, as he will be your main objective right now. It should be noted that if you defeated Alois/Jeralt in the previous side mission, then another will trigger at this point, causing the other one will try and reach the enemy main camp with Claude.
So, send someone after Alois/Jeralt to halt their pursuit, while you concentrate on Claude. He is riding a wyvern and will be wielding a Bow. Note that if you have your own Bow-wielder, then using them on Claude will give you a big advantage, as he is a flying unit.
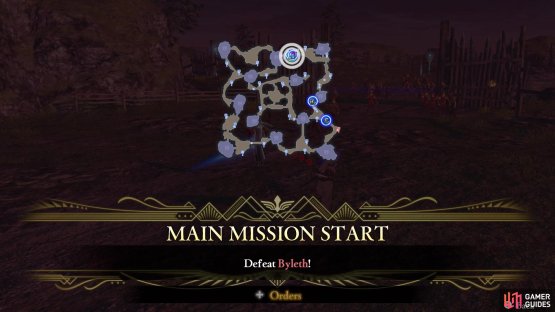
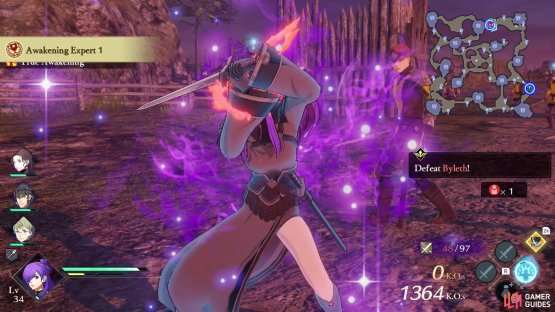
Defeat Byleth
(1 of 2) Byleth will be the final encounter in this battle


Byleth will be the final encounter in this battle (left), The Awakening will help out a lot in defeating Byleth (right)
When you’ve defeated Claude, there is just one more thing to do for this battle, which is to finish off Byleth. Thankfully, they will be a little easier to deal with here, as they won’t be in their powered up state, so they won’t be taking off chunks of your health with each swing. However, Byleth is still no slouch, and has quite a bit of health and defense, so try to play a little defensively. If you have your Awakening gauge full, don’t forget to use it here, as it helps tremendously.
With Byleth defeated, watch the following scenes, as Chapter 7 comes to a close.
No Comments