
This is a guide for the Great Bridge of Myrddin battle in Chapter 4: To War! (Golden Wildfire) of Fire Emblem Warriors: Three Hopes.
Which Strategies to Choose for the Great Bridge of Myrddin
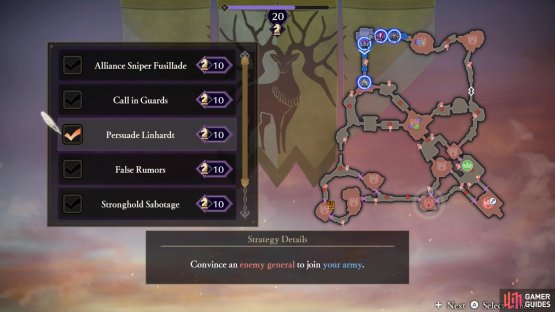

(1 of 2) If you want to recruit Linhardt, this is a necessity.
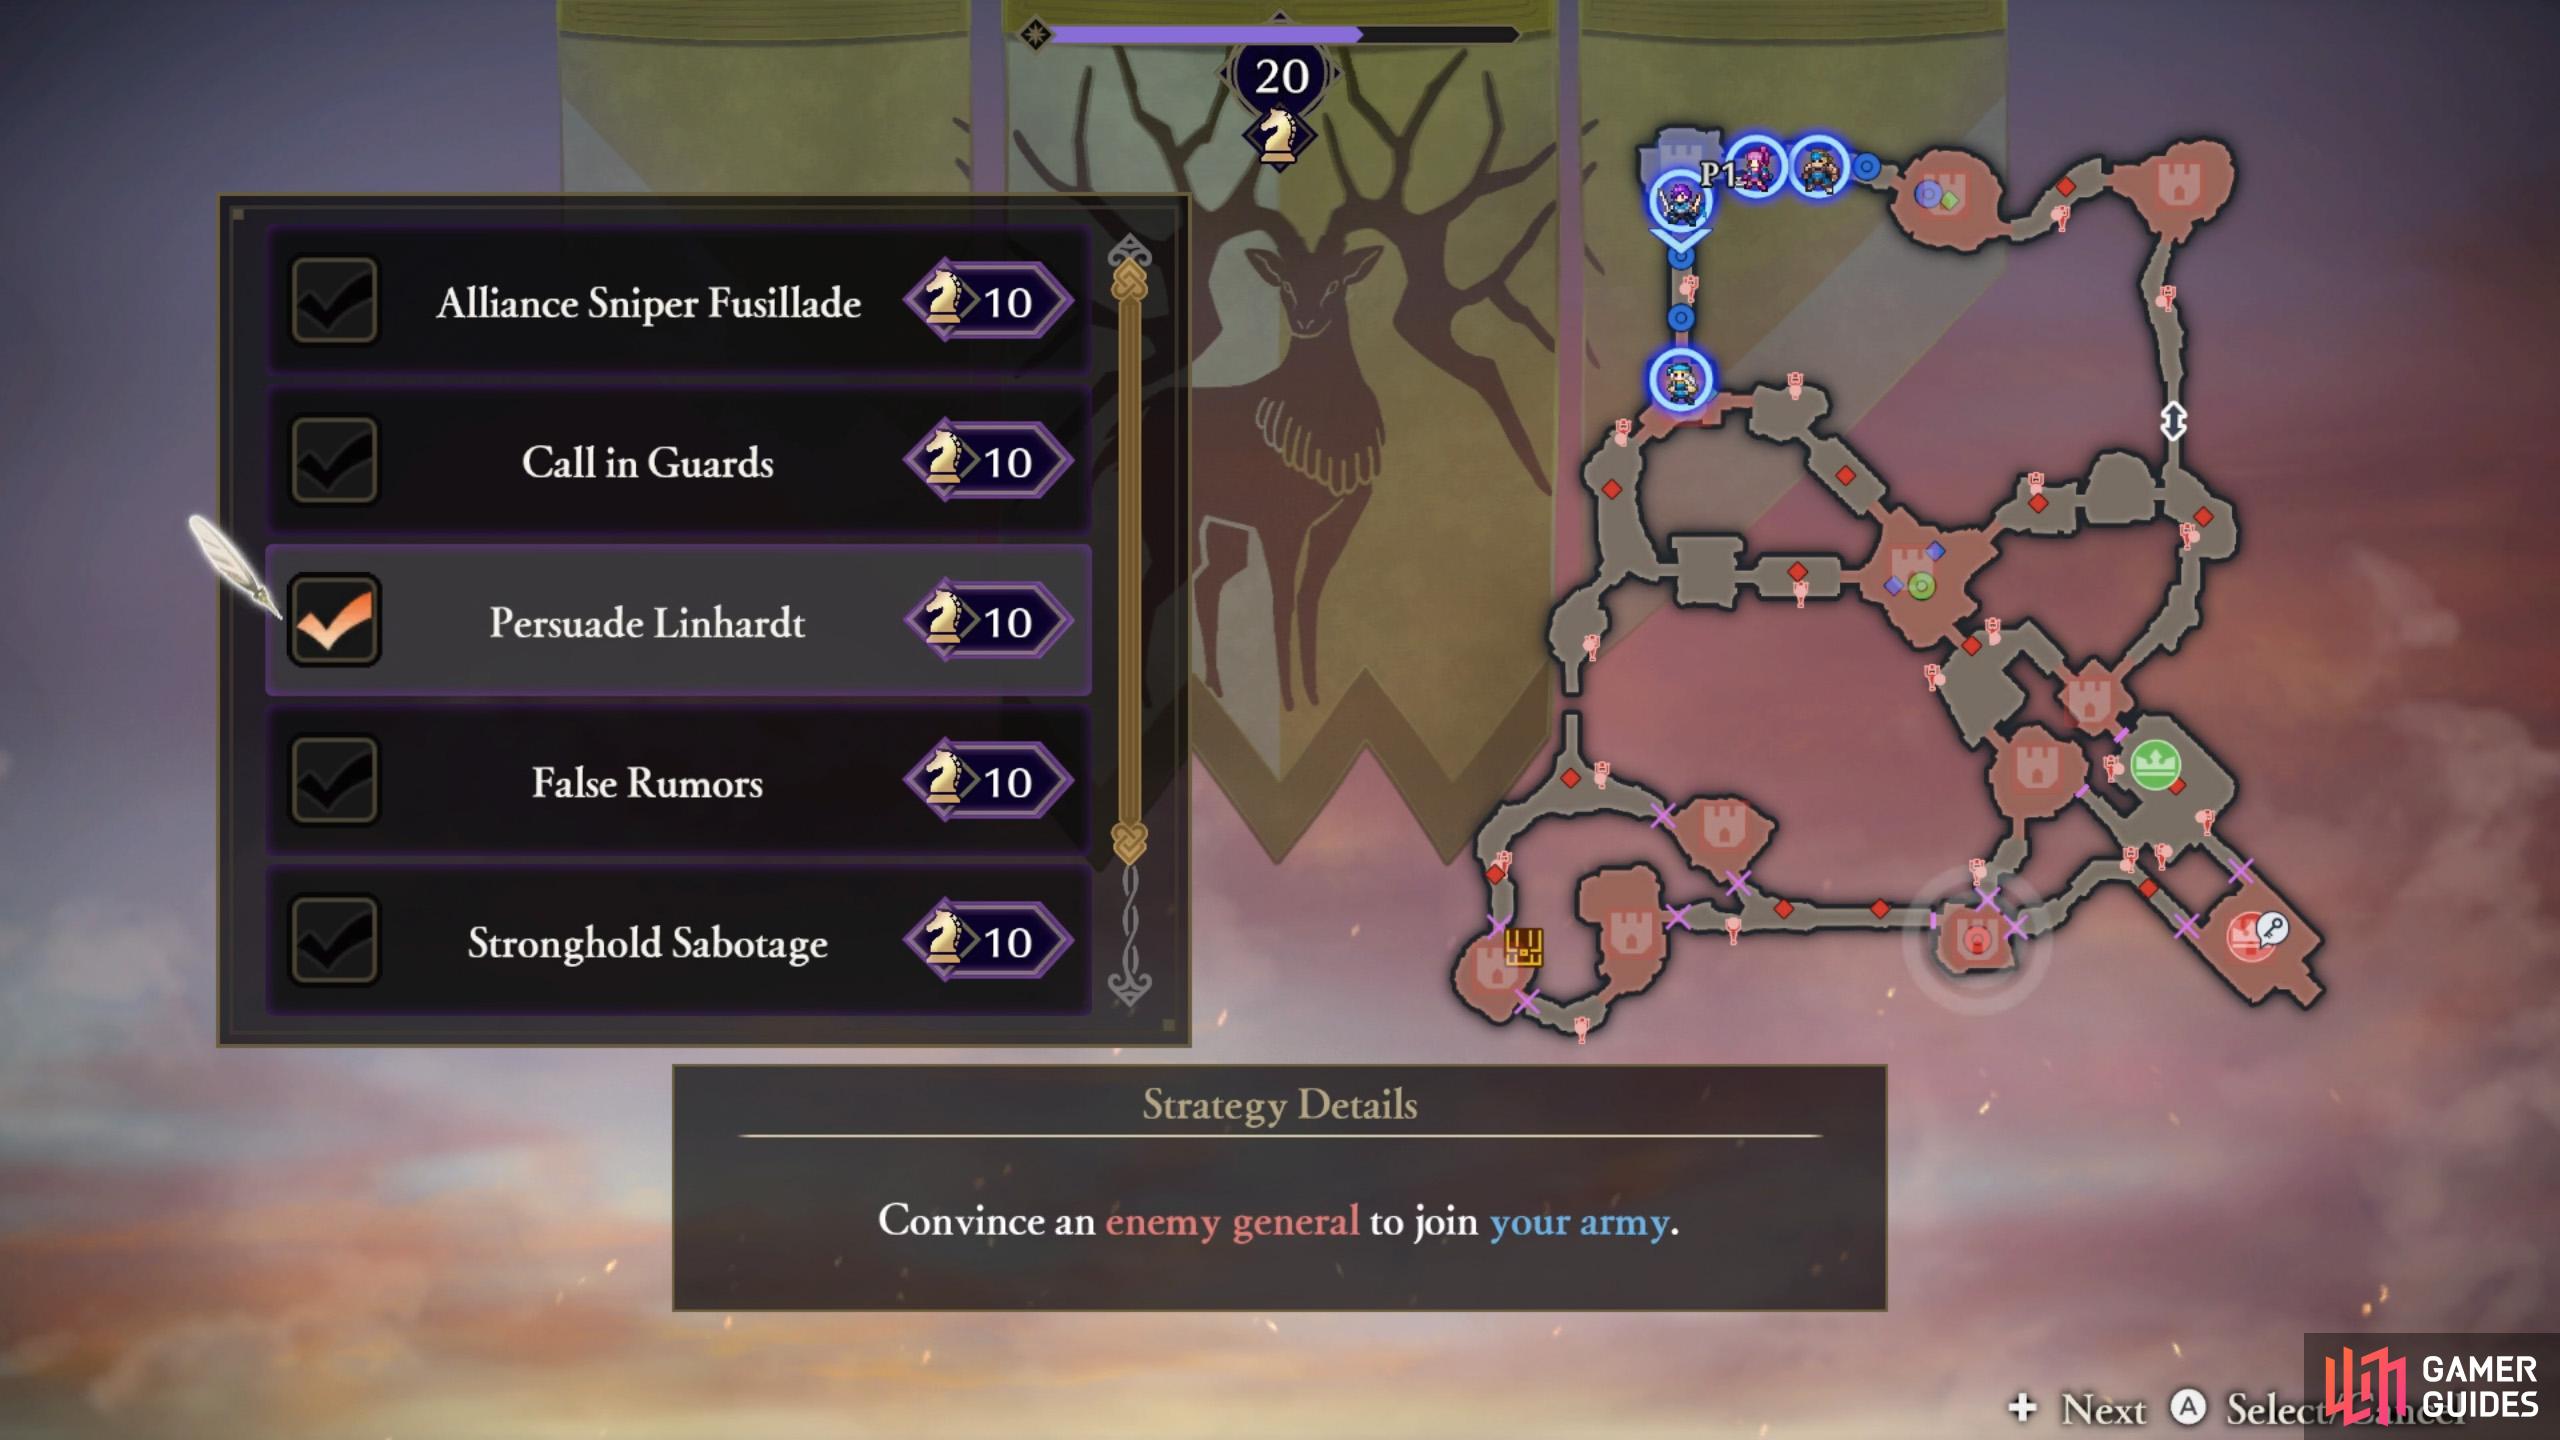
If you want to recruit Linhardt, this is a necessity. (left), Reversal will send you straight to the heart of enemy territory. (right)
| Strategy | Cost | Strategy Details |
|---|---|---|
| Alliance Sniper Fusillade | 10 | Have the Alliance Snipers loose a fusillade of arrows. |
| Call in Guards | 10 | Summon a support unit to cover the Alliance general’s retreat. |
| Persuade Linhardt | 10 | Convince an enemy general to join your army. |
| False Rumors | 10 | Slightly weaken the enemy for a period of time by demoralizing them at the start of battle. |
| Stronghold Sabotage | 10 | Decrease the durability of all enemy strongholds at the beginning of battle. |
| Reversal | 10 | Begin the battle with some enemy and ally positions switched. |
First of all, you’ll want to enable Persuade Linhardt for sure, unless you’re going for a no-recruit run or something. This will allow you to recruit Linhardt partway through the fight.
Besides that, Reversal is good because it lets you skip across half of the map, at the cost of placing an enemy in your allied camp. This single enemy shouldn’t do that much damage though.
As for the rest, they don’t really change that much. If you’re worried about protecting NPCs, you could pick Call in Guards to summon some bait for the enemy troops to attack, instead of them.
How to S Rank the Great Bridge of Myrddin
| Completion Time | Enemies Defeated | Damage Taken |
|---|---|---|
| 17:00 | 1200 | 50% |
With 17 minutes on the clock, you should have ample time to complete this mission. Choosing the Reversal strategy will save you some time near the start. Also, focus on ordering your allies to take strongholds, while you deal with the bosses.
1200 foes should be doable too; that’s around 70 foes per minute. If you need foes to defeat, don’t hesitate to switch to different characters who are located elsewhere and/or use Shadow Slide to jump around a bit.
Finally, unless you’re really sloppy, you shouldn’t be taking 50% damage. Although this can happen on higher difficulties, especially Maddening. If you’re struggling, don’t force yourself to S Rank this battle on the first attempt; try again when you’re stronger.
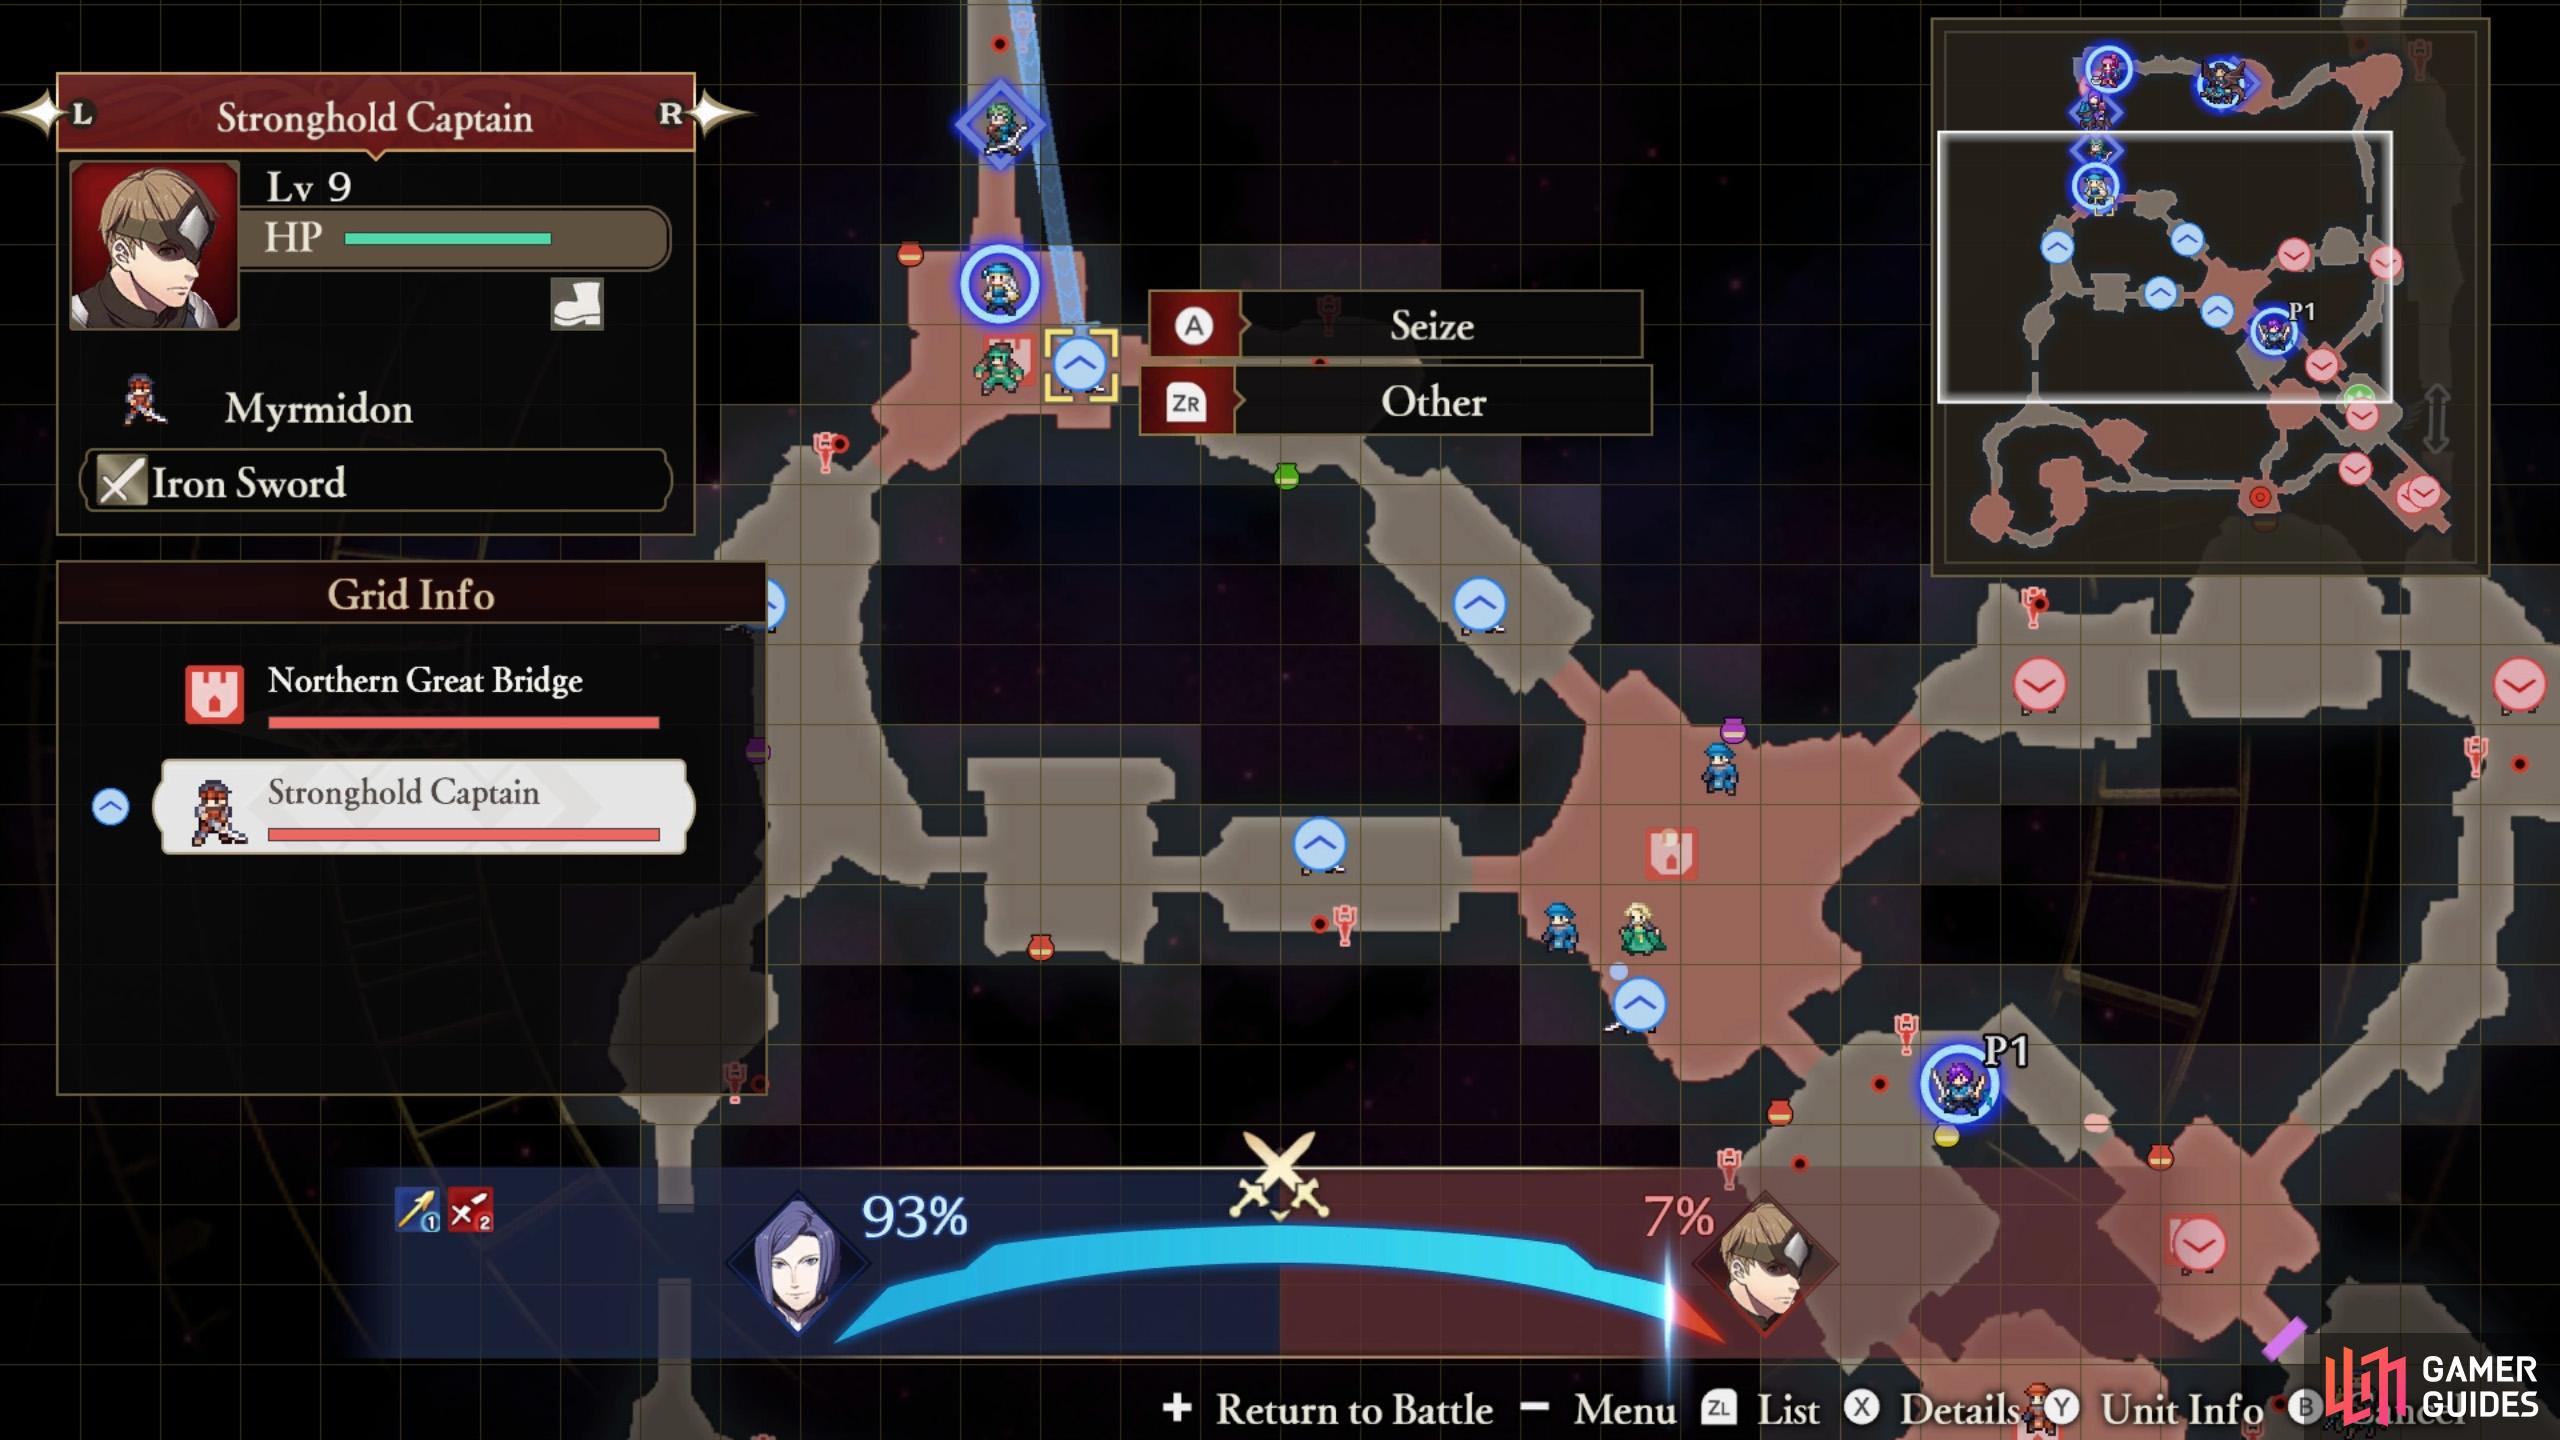
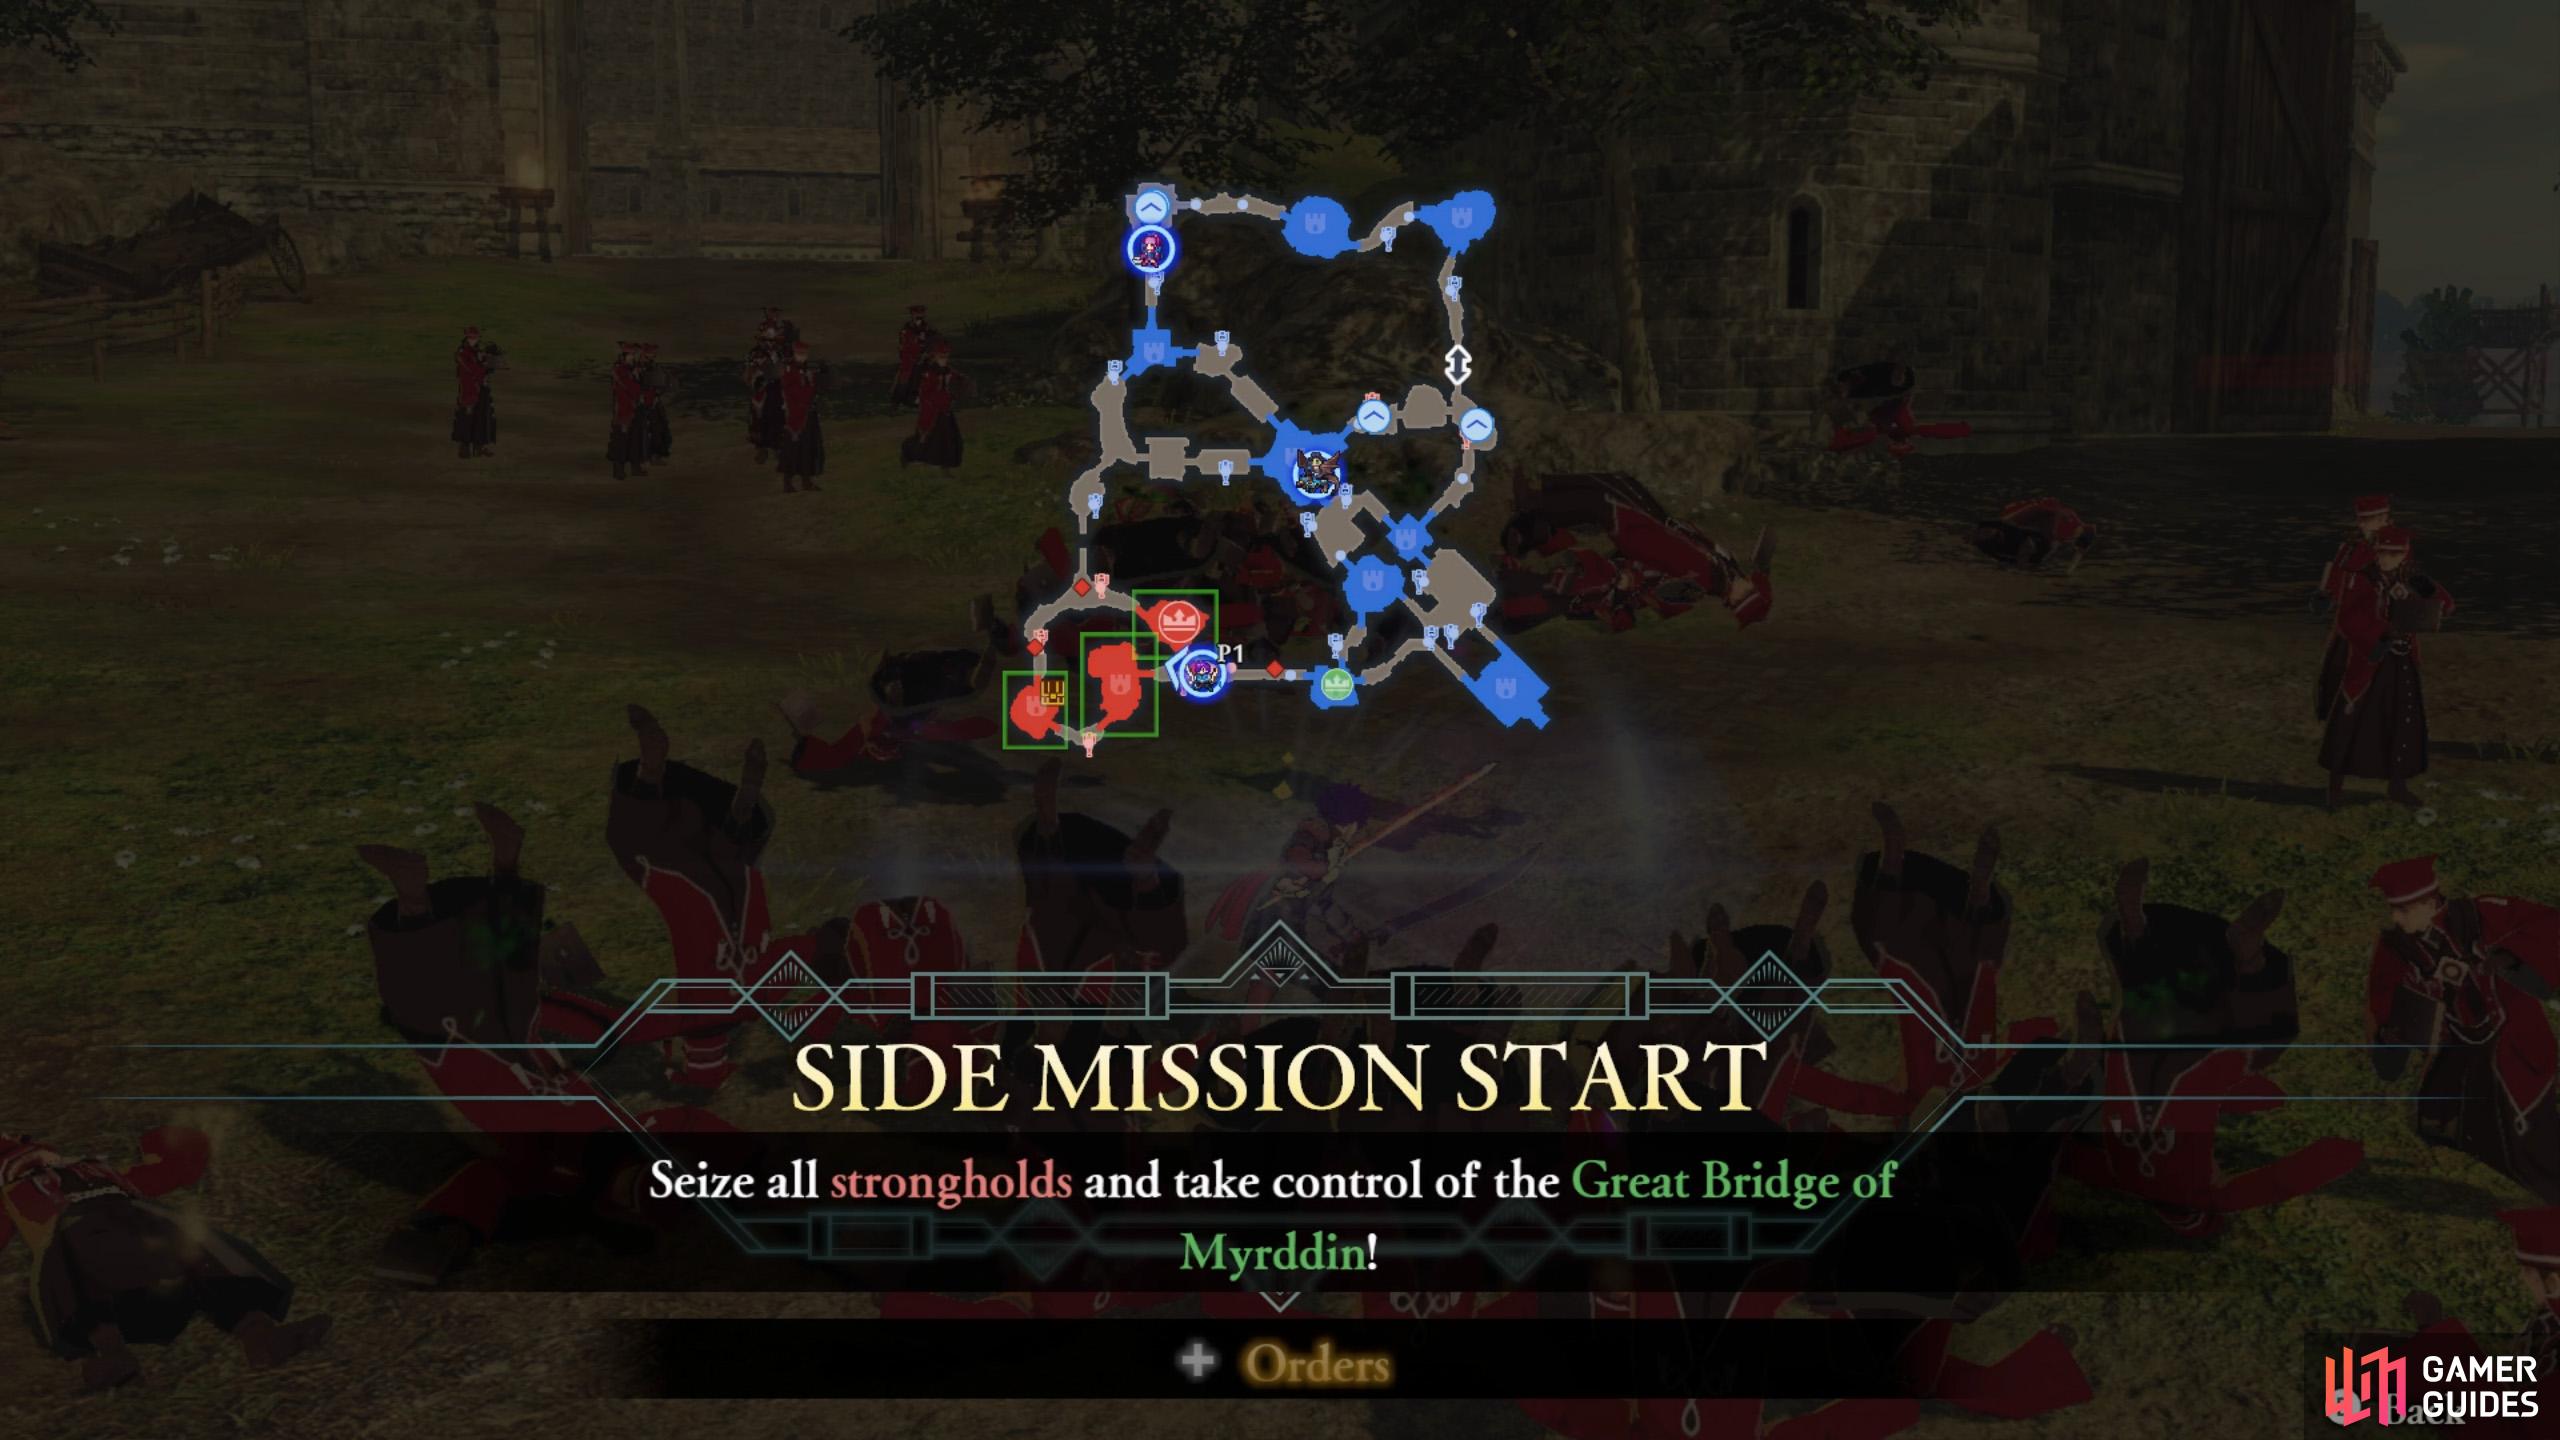
Mission 1: Seize the strongholds to secure the escape route

(1 of 2) Order allies to capture 3 or 4 of the strongholds.
Order allies to capture 3 or 4 of the strongholds. (left), This gives you freedom to focus on one stronghold yourself or the next mission. (right)
The main task is to save Count Gloucester, Lorenz’s father, who’s stuck deep in enemy territory. For this purpose, you’ll need to capture the four strongholds in the north part of the map and the very center.
With 4 controllable characters and 4 non-controllable characters, you don’t need to take on every stronghold by yourself. Instead, open the Orders menu with  and send at least four characters to a different stronghold each.
The stronghold south of the allied camp is guarded by a sword wielder, so combat them with lances. Same with the stronghold near the center, where a bunch of NPCs, including Acheron are. Meanwhile the two strongholds to the north and north-east are protected by lance users, who are weak to axes. If you don’t have two axe users, send non-Sword units.
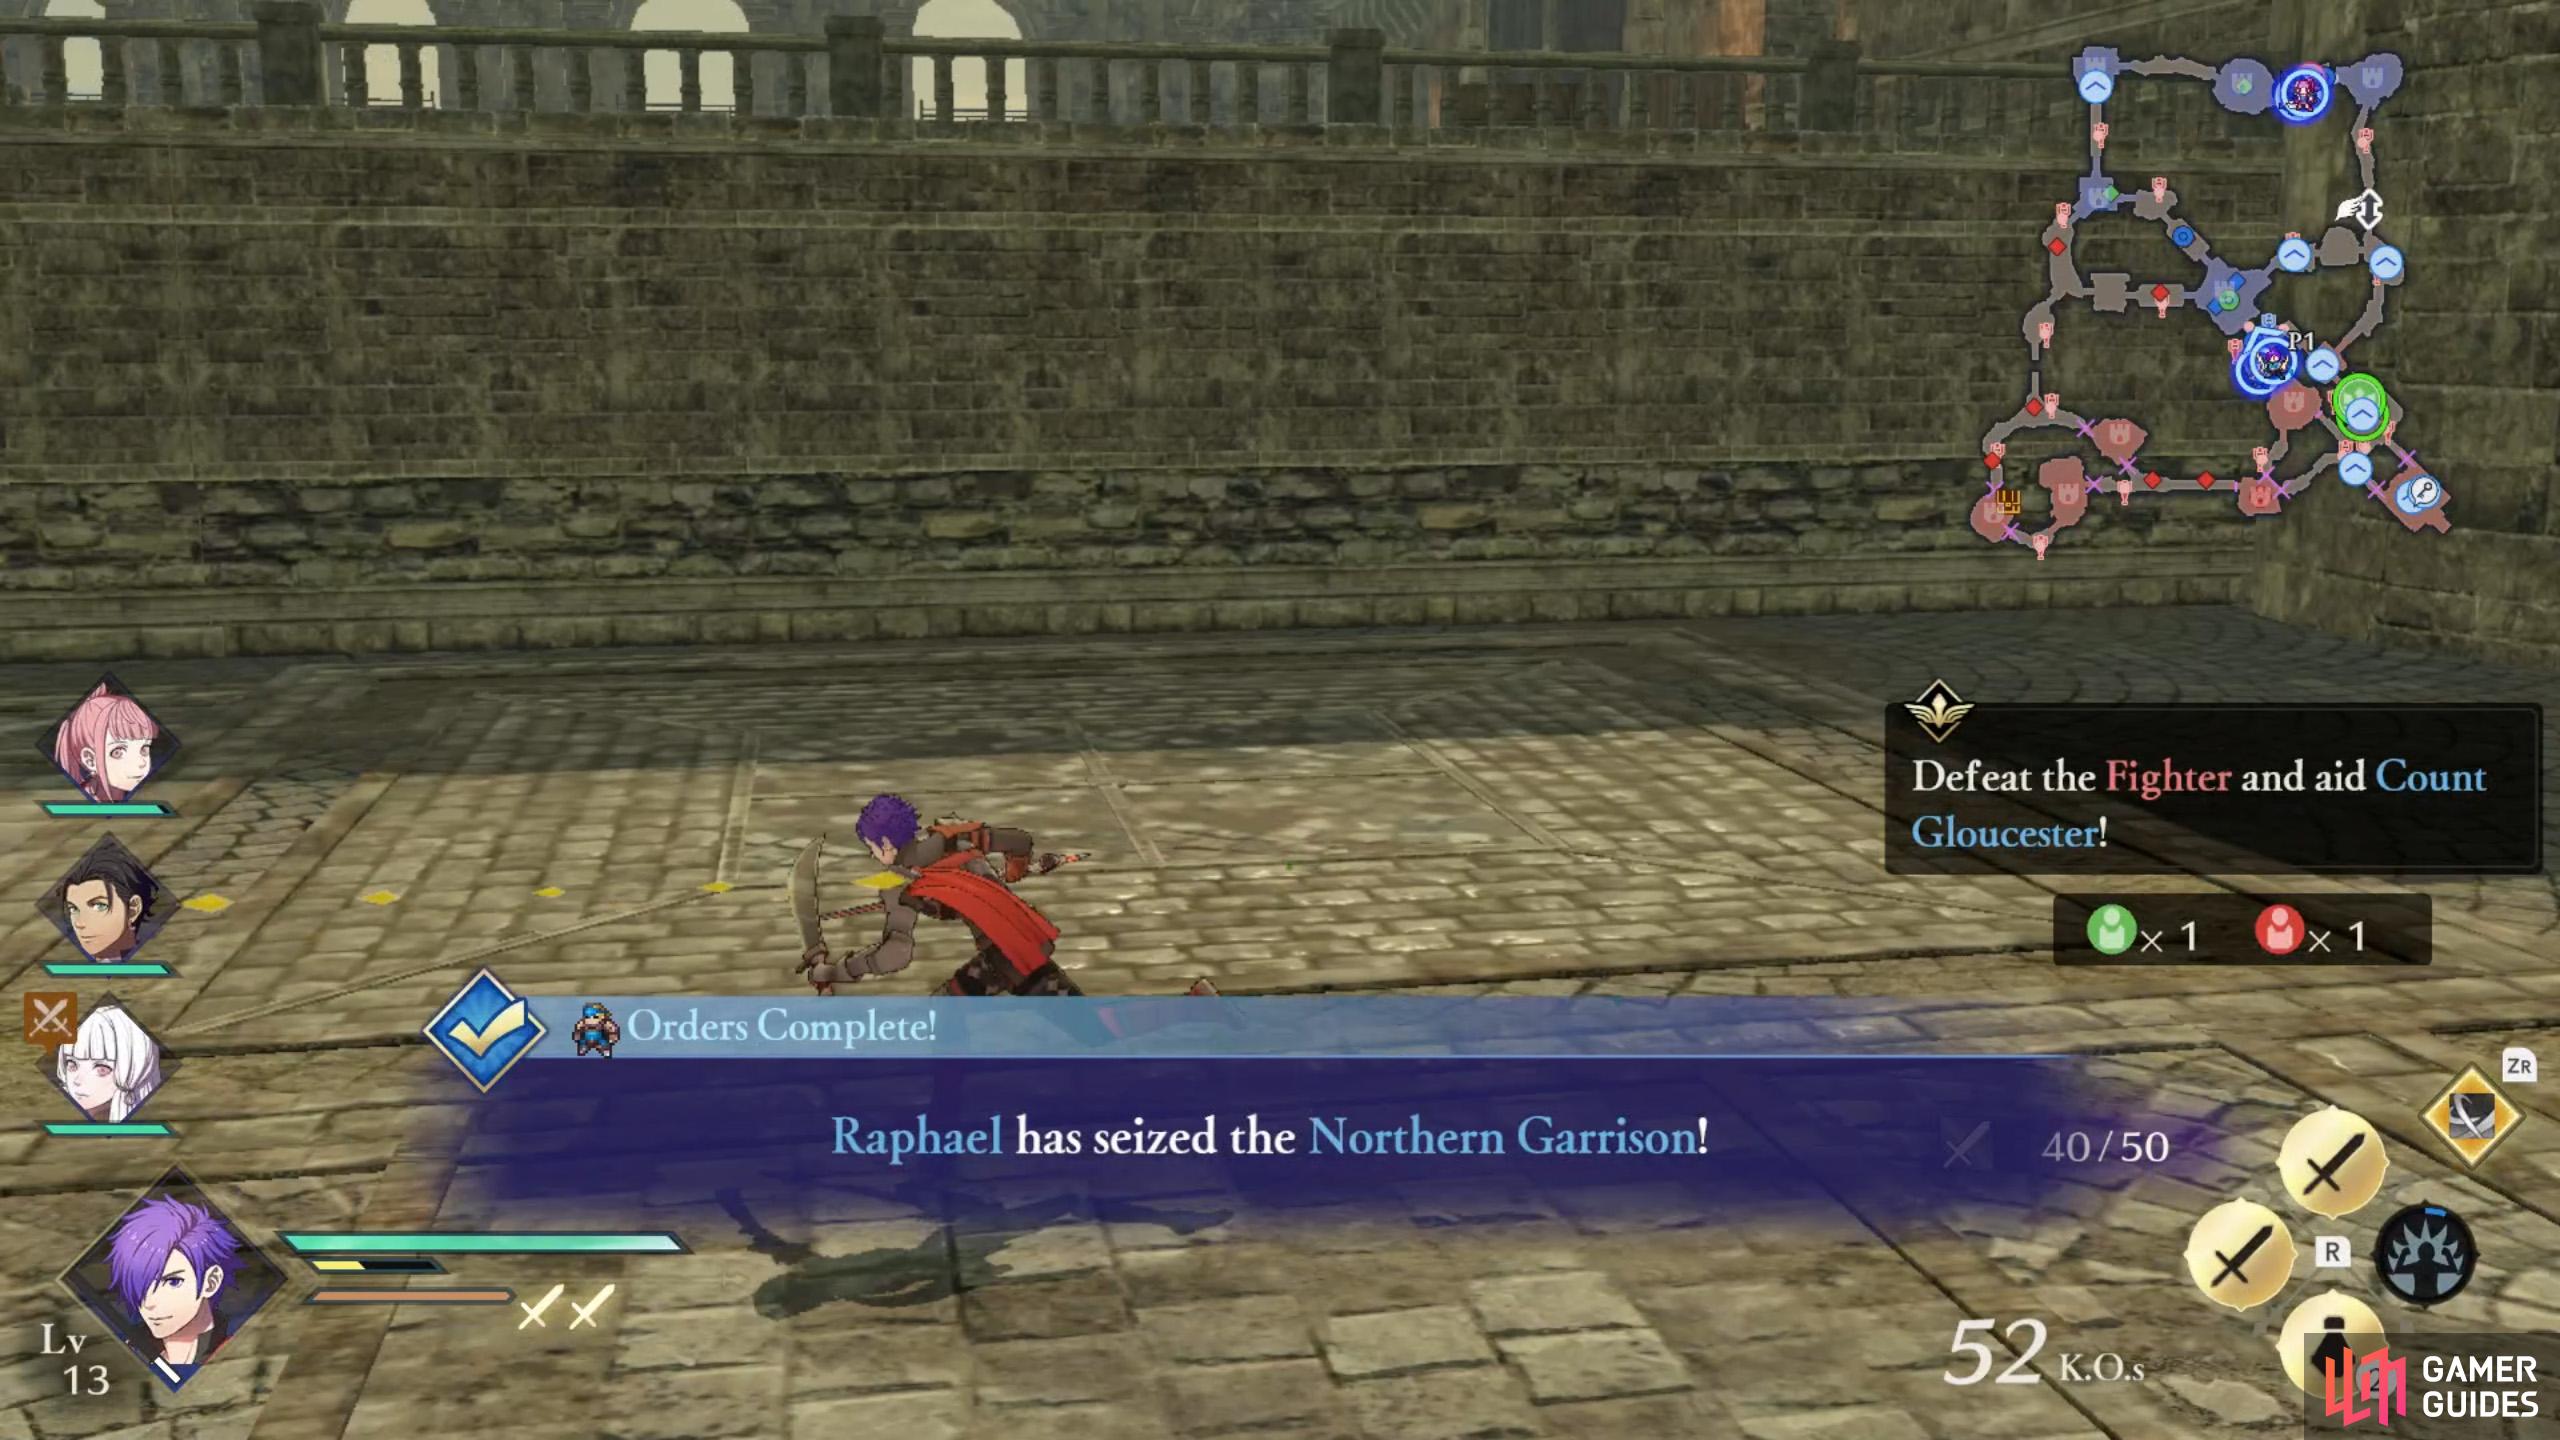
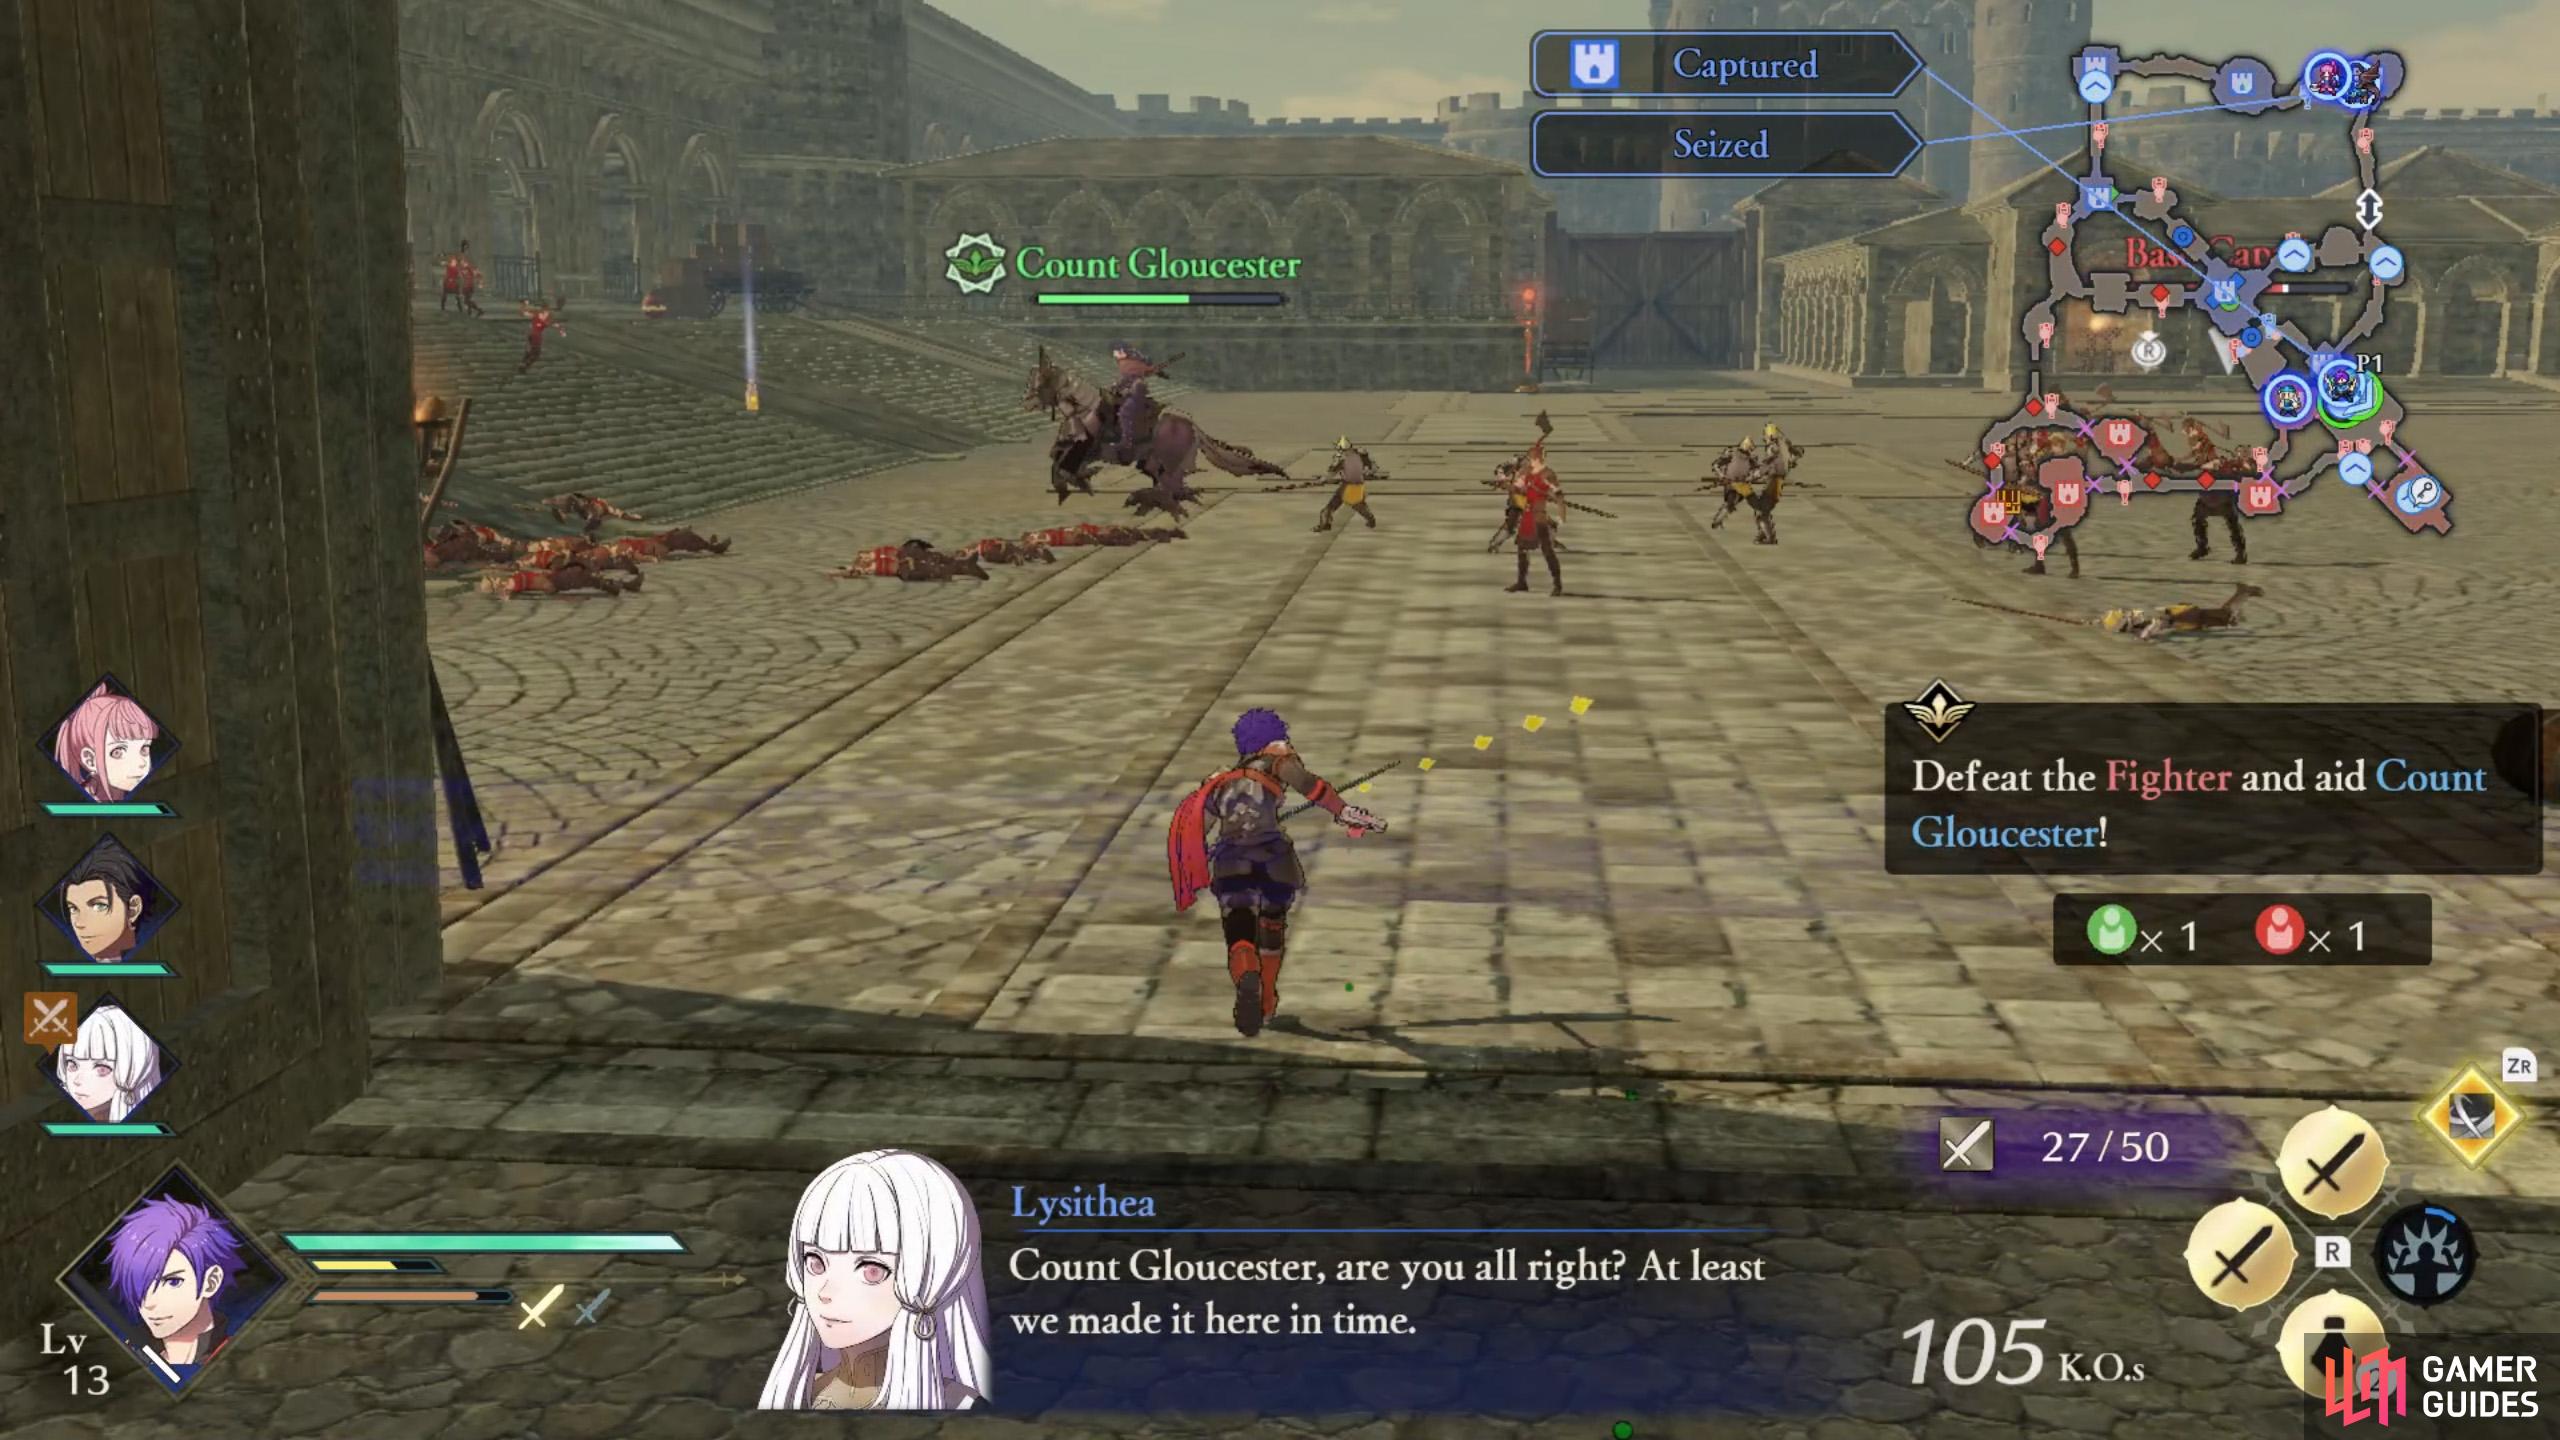
Mission 2: Defeat the Fighter and save Count Gloucester

(1 of 2) Lorenz’s papa needs your help.

Lorenz’s papa needs your help. (left), Slay the nearby Stronghold Captain to open the gate to Count Gloucester. (right)
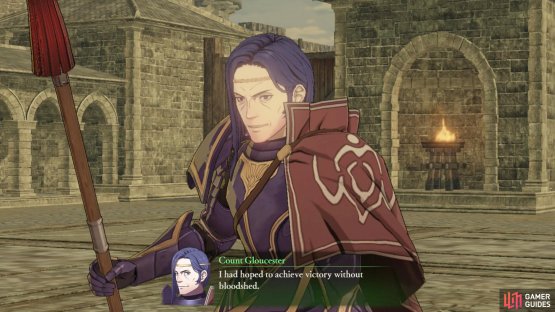
As the battle unfolds, an enemy Fighter will start engaging Count Gloucester, near the south-east corner. The count is weak to the axe-wielding Fighter, so time is of the essence.
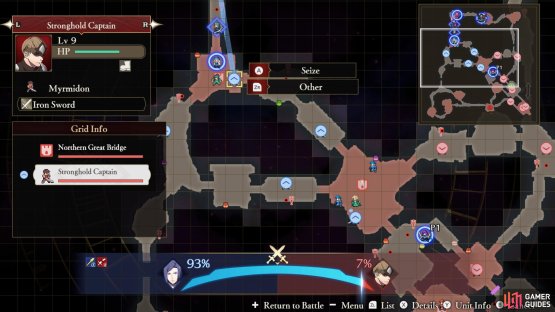
To open the gates, defeat the nearby stronghold captain. They’re also axe wielders, so a sword user is recommended. Sword-wielding Shez would be ideal.
Mission 3: Defeat Acheron and his minions
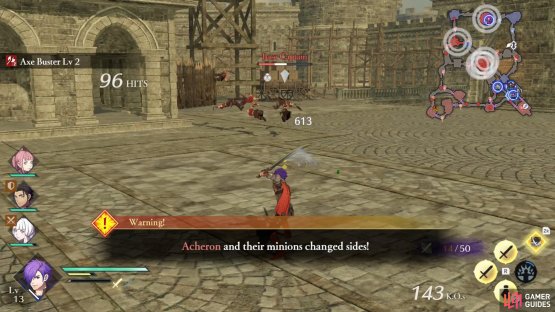
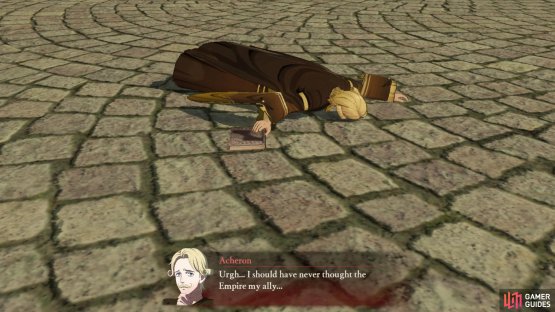
(1 of 2) Acheron, you son of a…
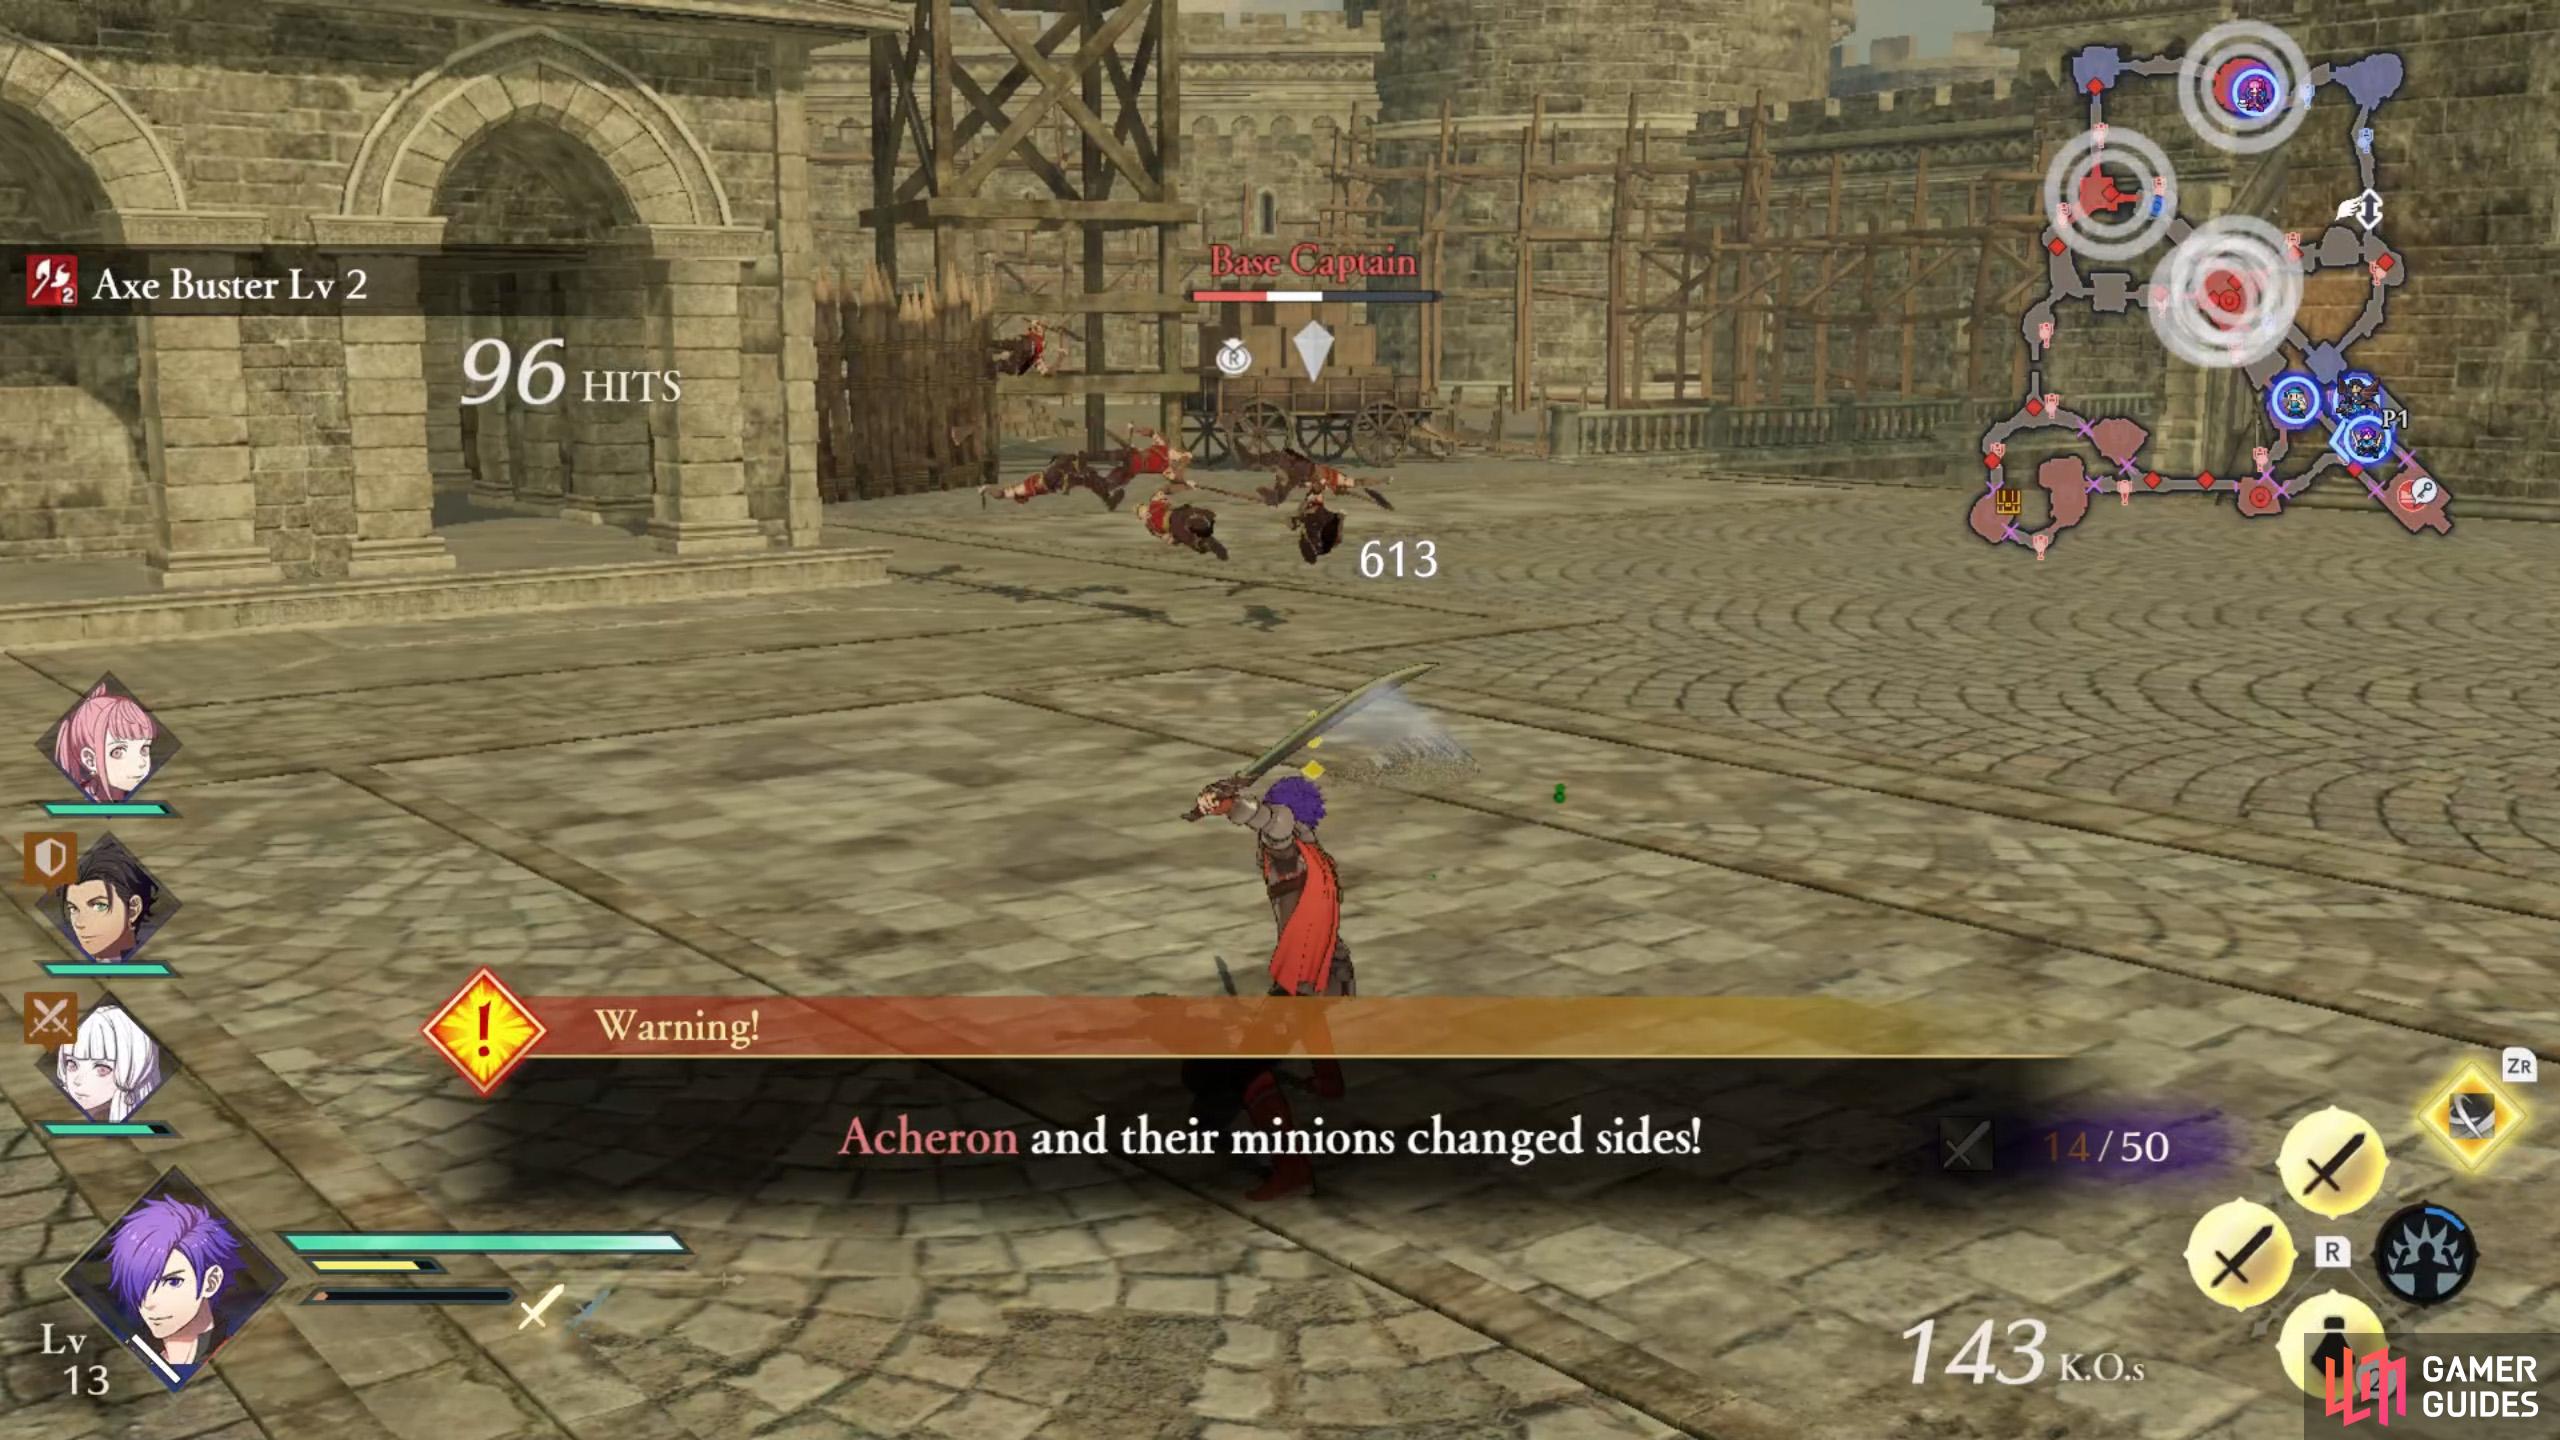
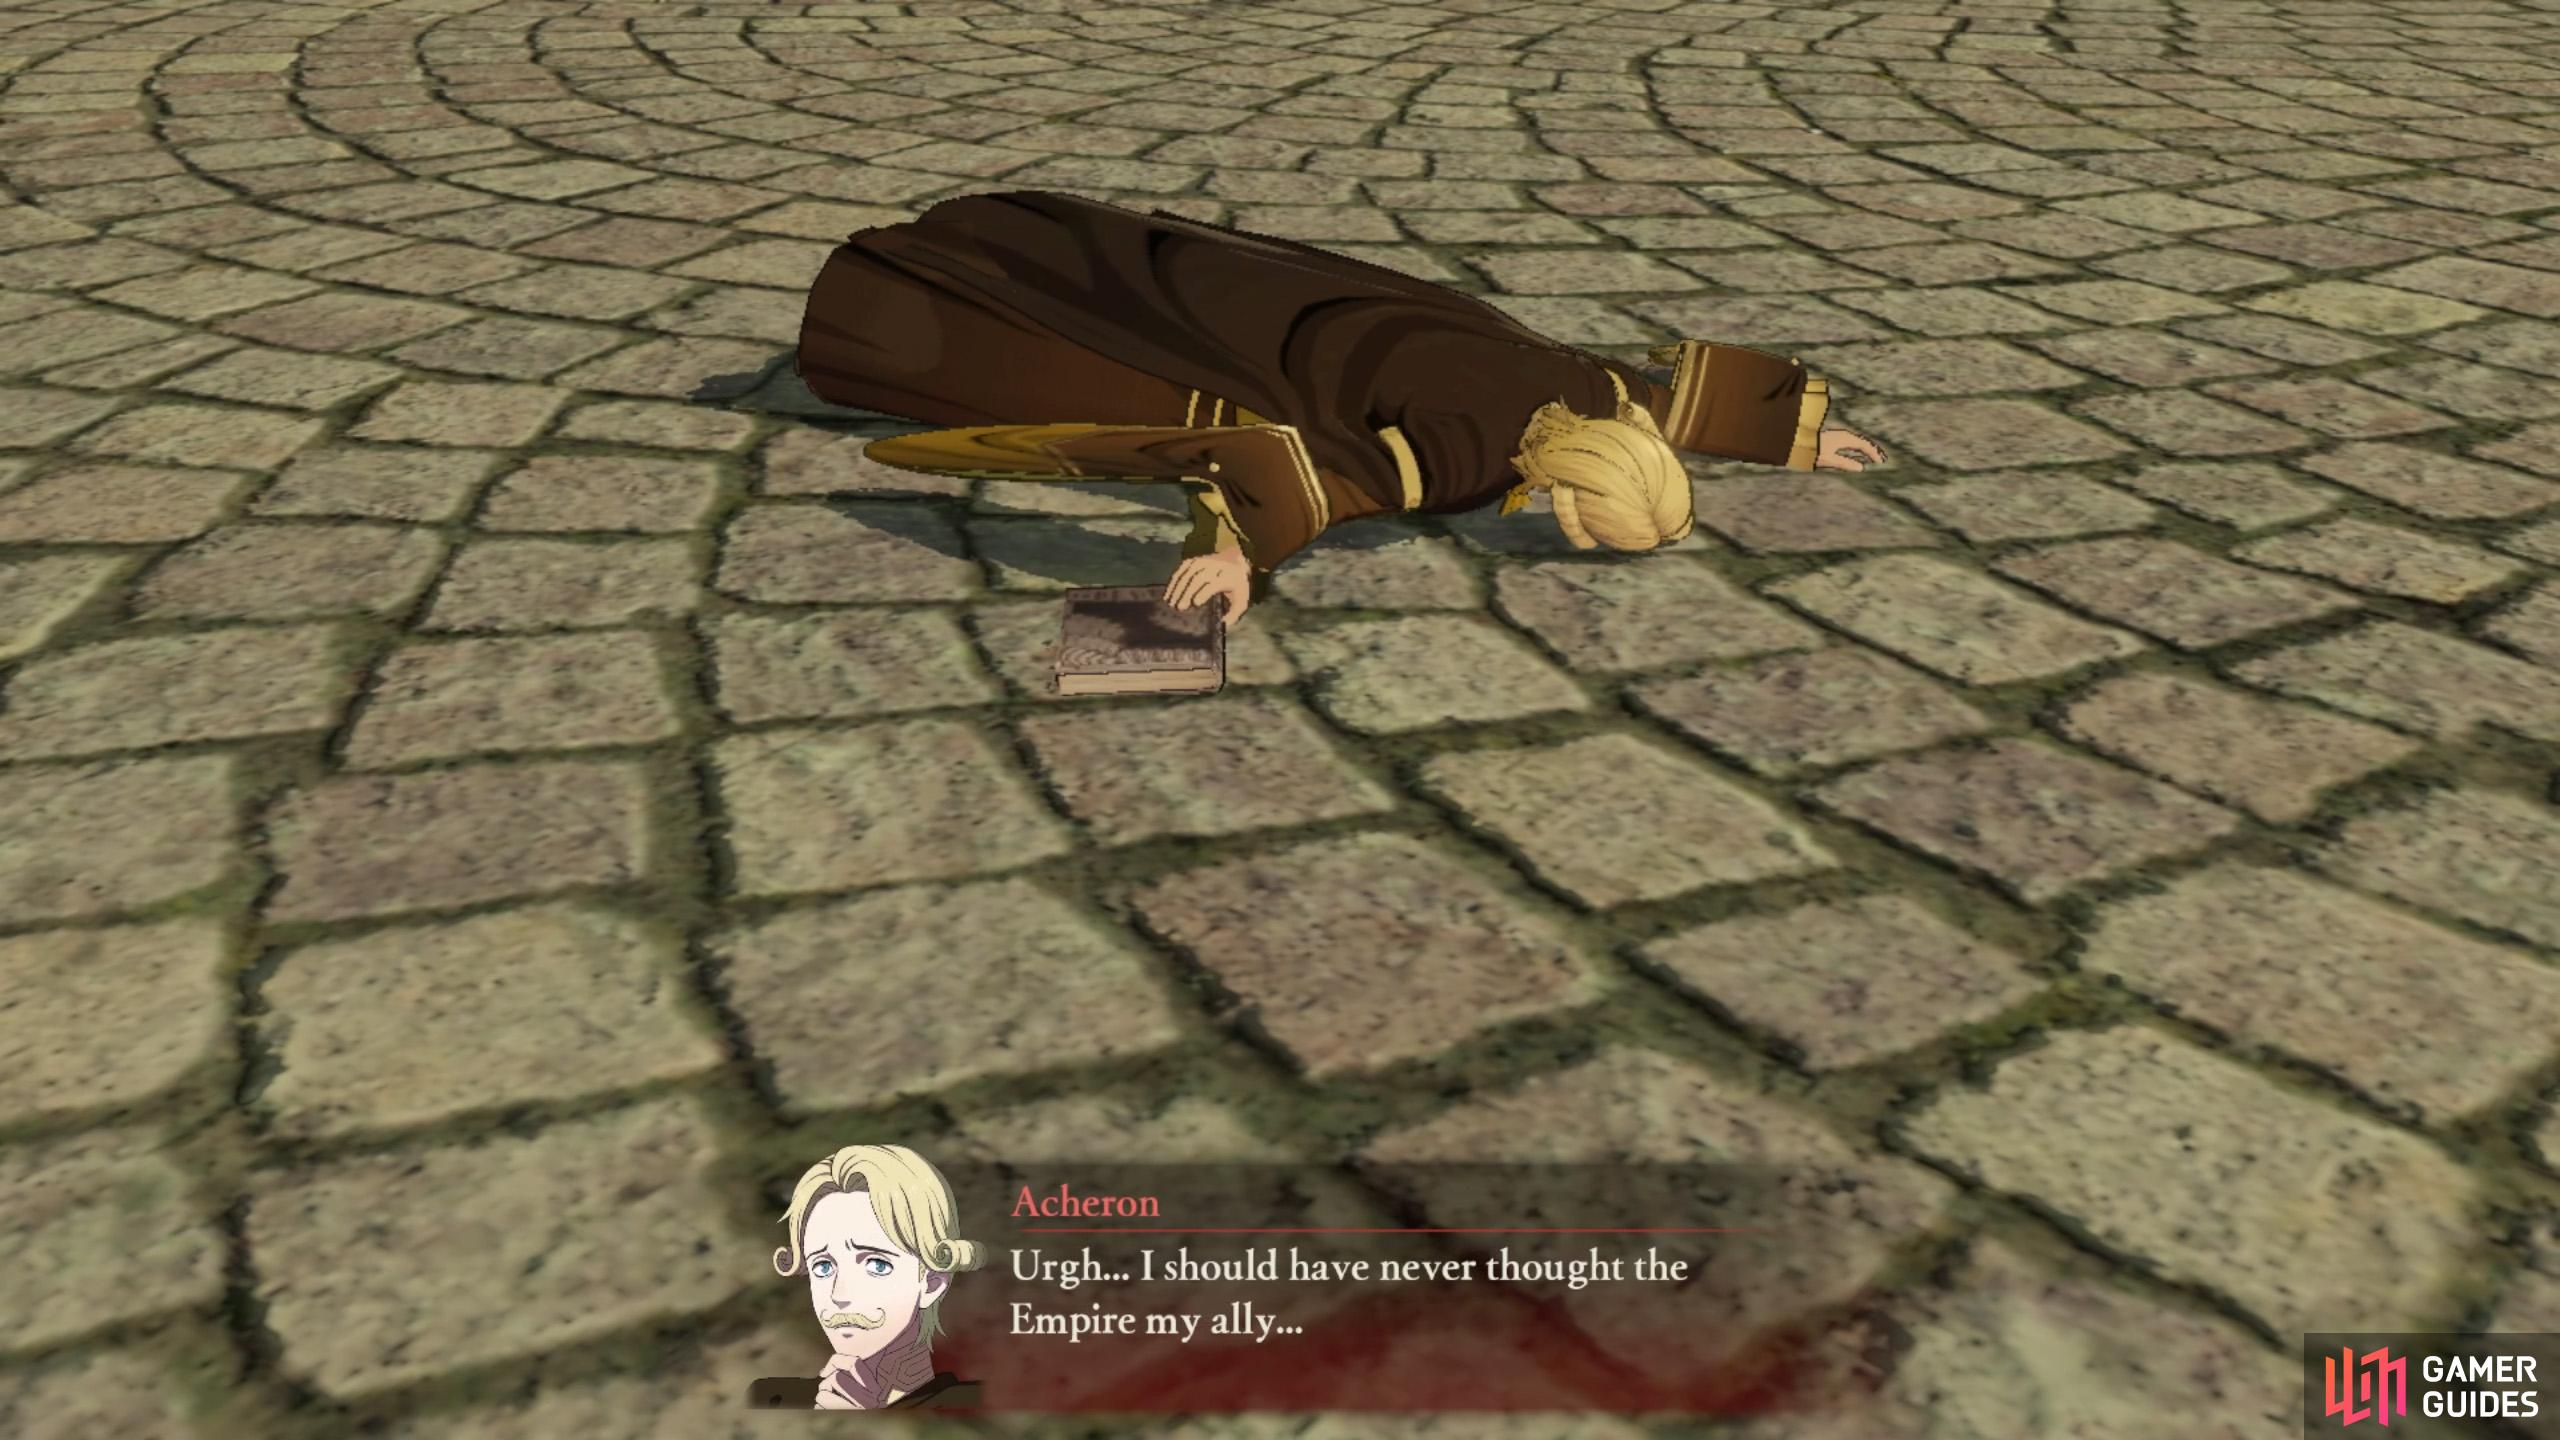
Acheron, you son of a… (left), That’s what you get for being a traitor. (right)
If you played Three Houses, you probably saw this coming. After rescuing Count Gloucester, Acheron will defect to the empire. The central stronghold, plus the two strongholds near the allied camp will return to enemy control. Now you have to go back and retake them.
Without further ado, order some characters to retake the non-central stronghold. Meanwhile, you should control somebody (ideally with Gauntlets) to whack Acheron around a bit.
Mission 4: Protect the Alliance Soldiers as they retreat
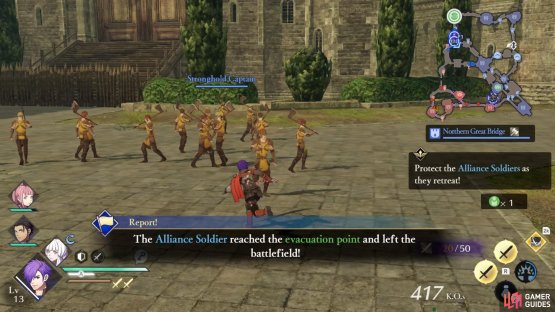
(1 of 2) The Alliance Soldiers aren’t in immediate danger, so order allies to assist them instead of going yourself.

The Alliance Soldiers aren’t in immediate danger, so order allies to assist them instead of going yourself. (left), Keep clearing the way for them and the Alliance Soldiers should eventually reach the allied camp. (right)
While the betrayal is still fresh, three Alliance Soldiers will spawn towards the west, south and north-east and begin heading to the allied camp in the north-west corner. The soldiers to the west and north-east will be attacked by enemies, so you’ll need to help them.
Order some spare hands to dispatch the enemies harrassing the Alliance Soldiers.
This mission also ties with Mission 3, as the southern Alliance Soldier will end up passing through the stronghold occupied by Acheron.
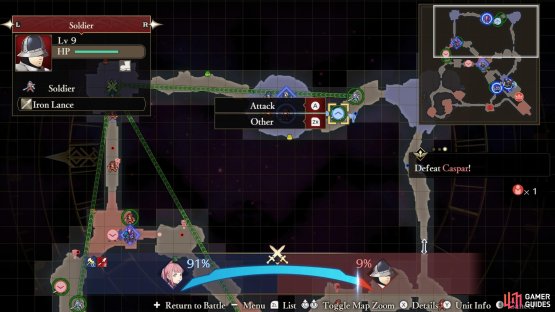
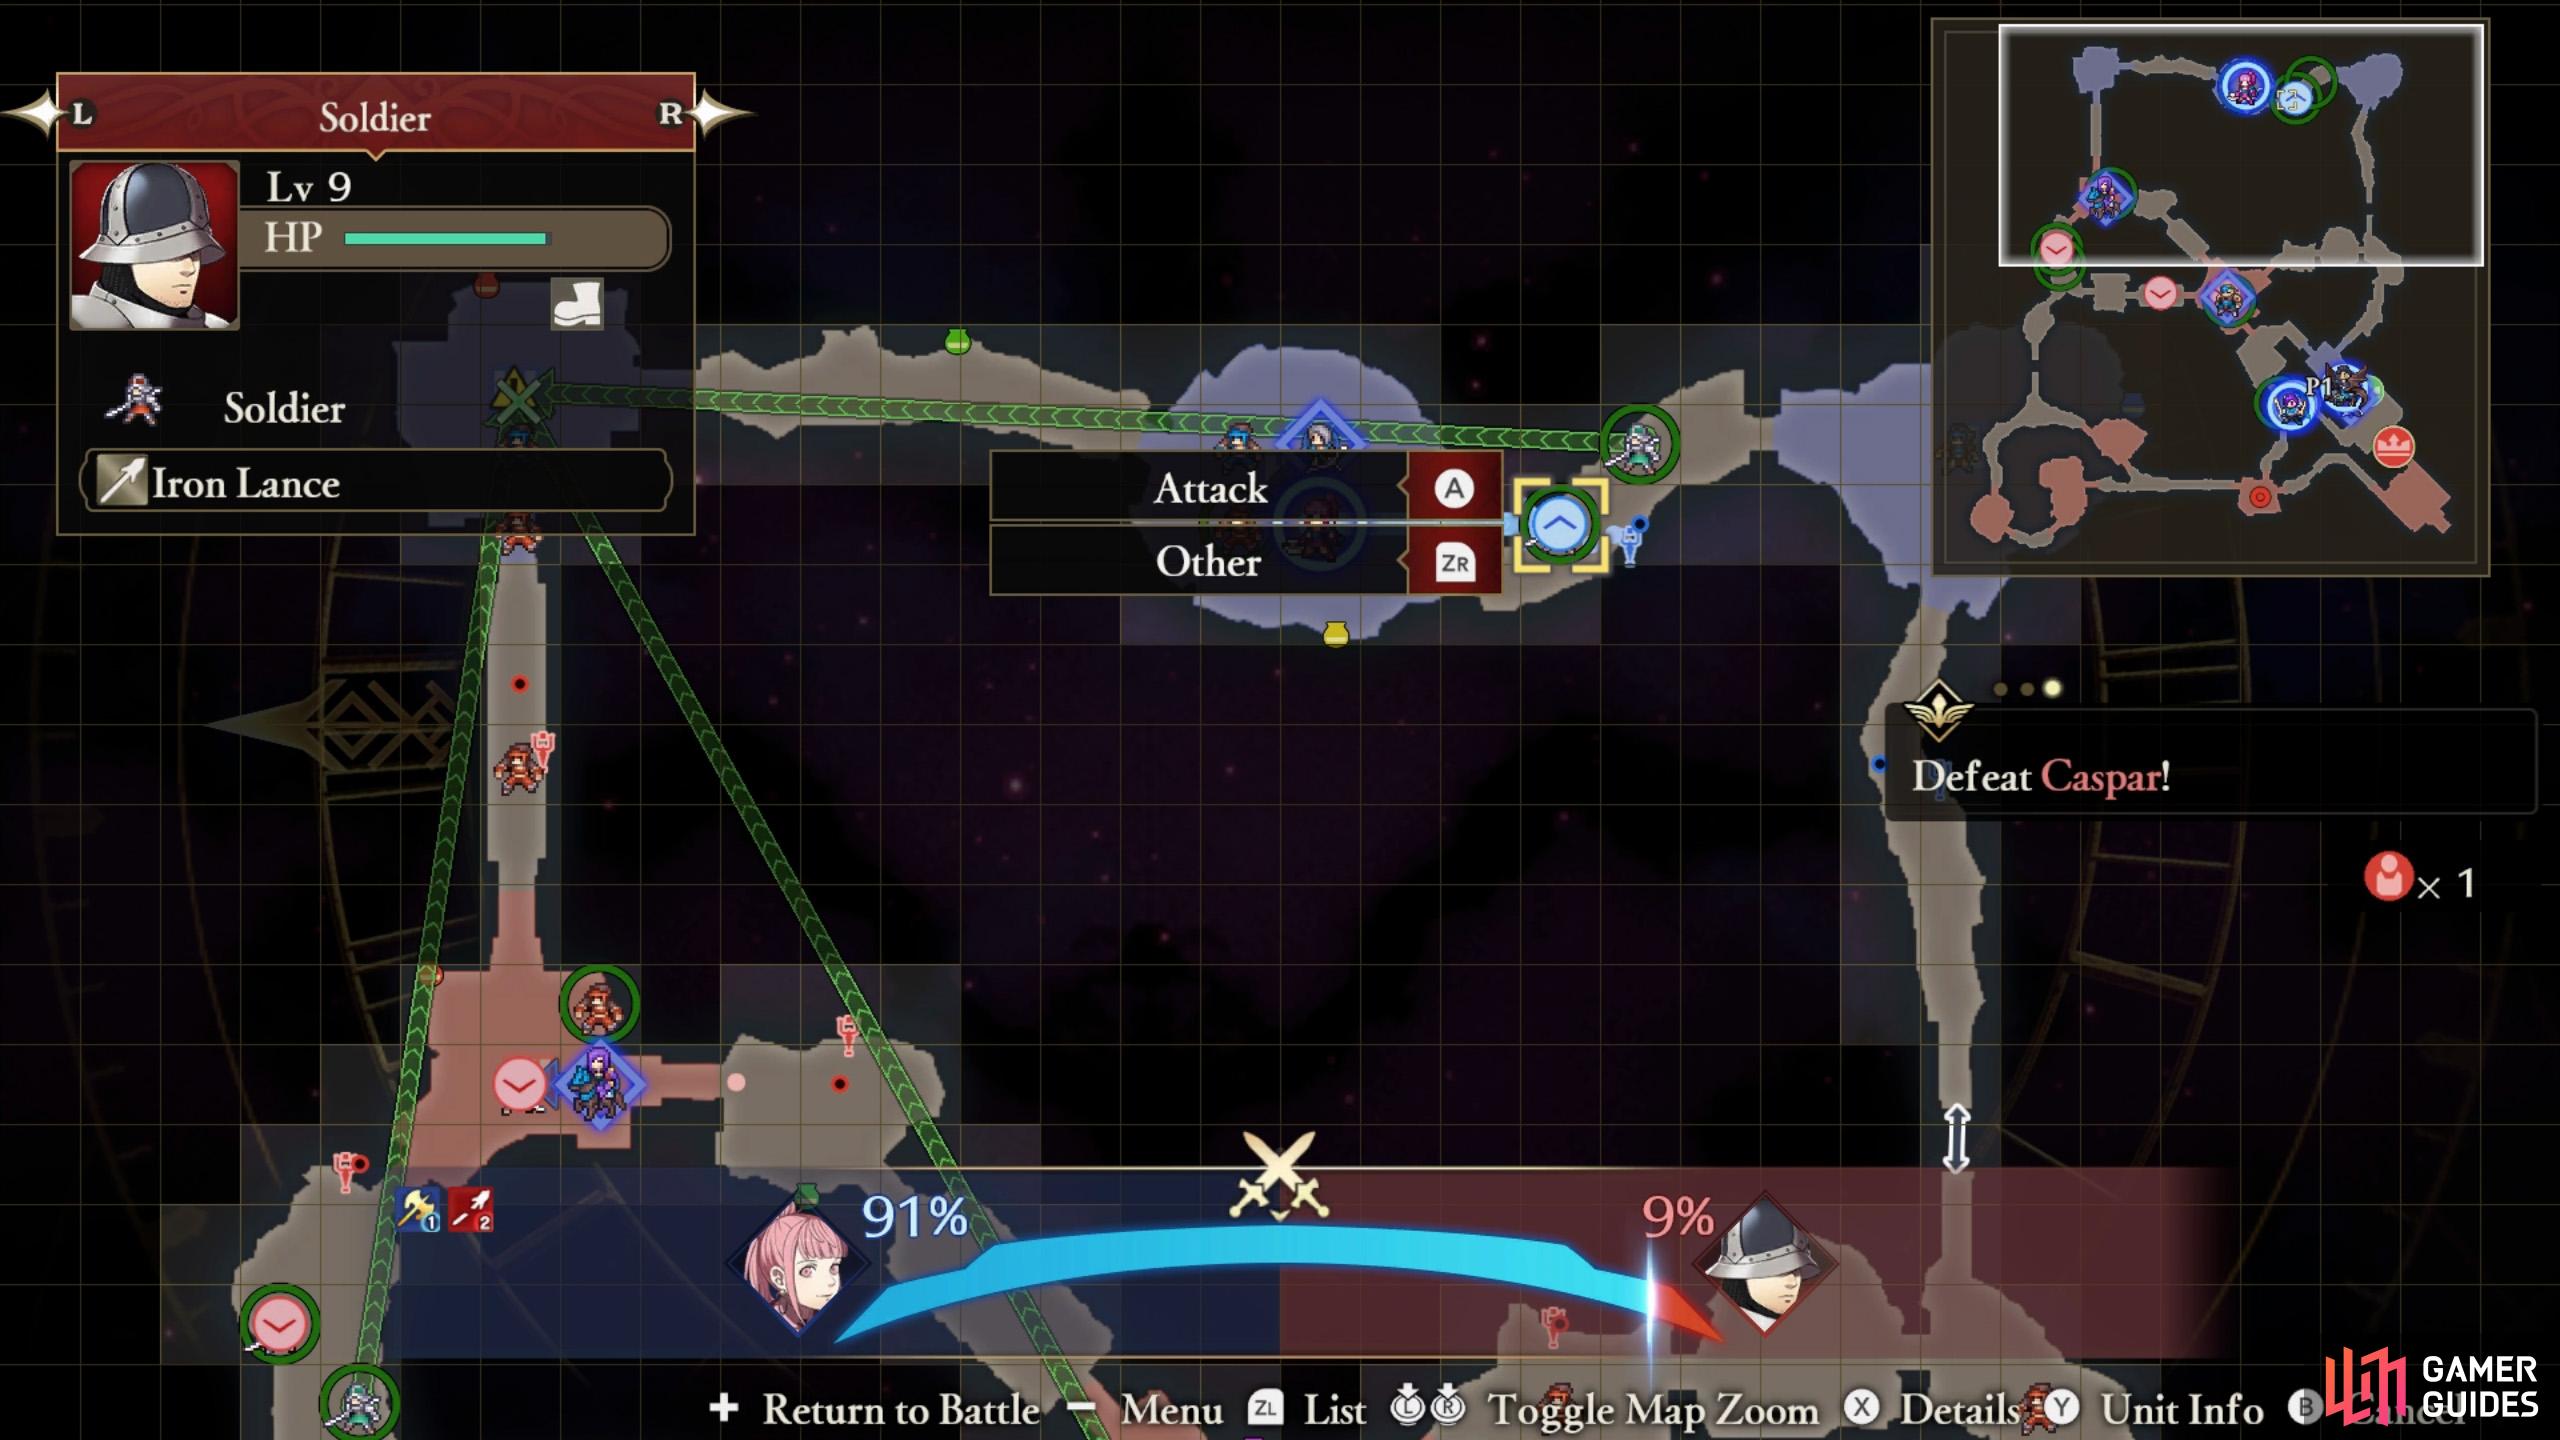
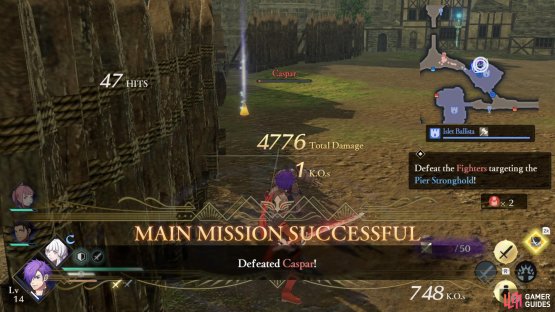
Mission 5: Defeat Caspar
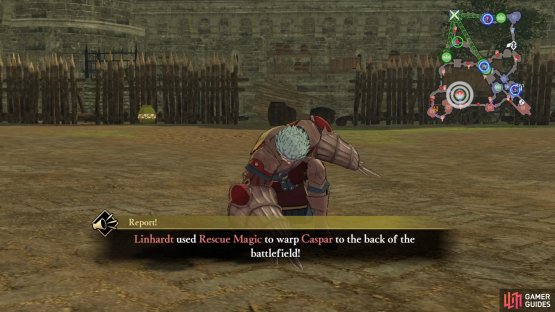
(1 of 2) Caspar will emerge from the south-east corner.


Caspar will emerge from the south-east corner. (left), You don’t need to defeat him; he’ll retreat at 50% HP. (right)
You know what? Have another mission! Caspar will appear near the south-east corner, ready to cause some chaos. We suggest handling him yourself. Control Claude or another bow user to speed things up. If Acheron is still alive, switch your focus to Caspar.
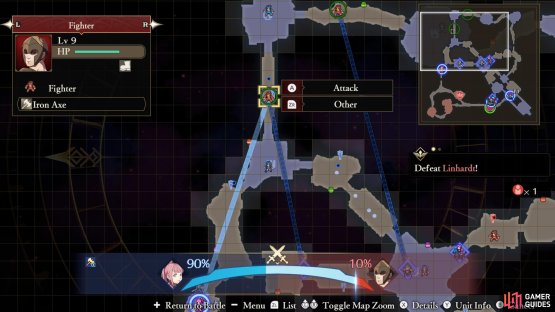
Mission 6: Defeat Linhardt
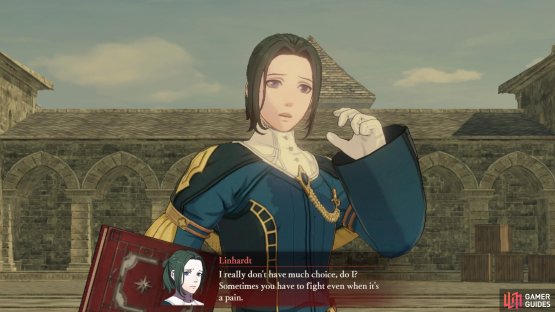
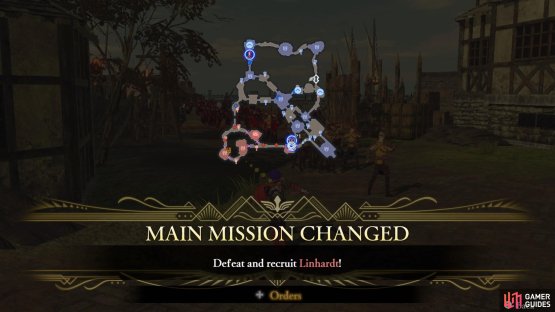
(1 of 2) Linhardt isn’t very invested in the war.
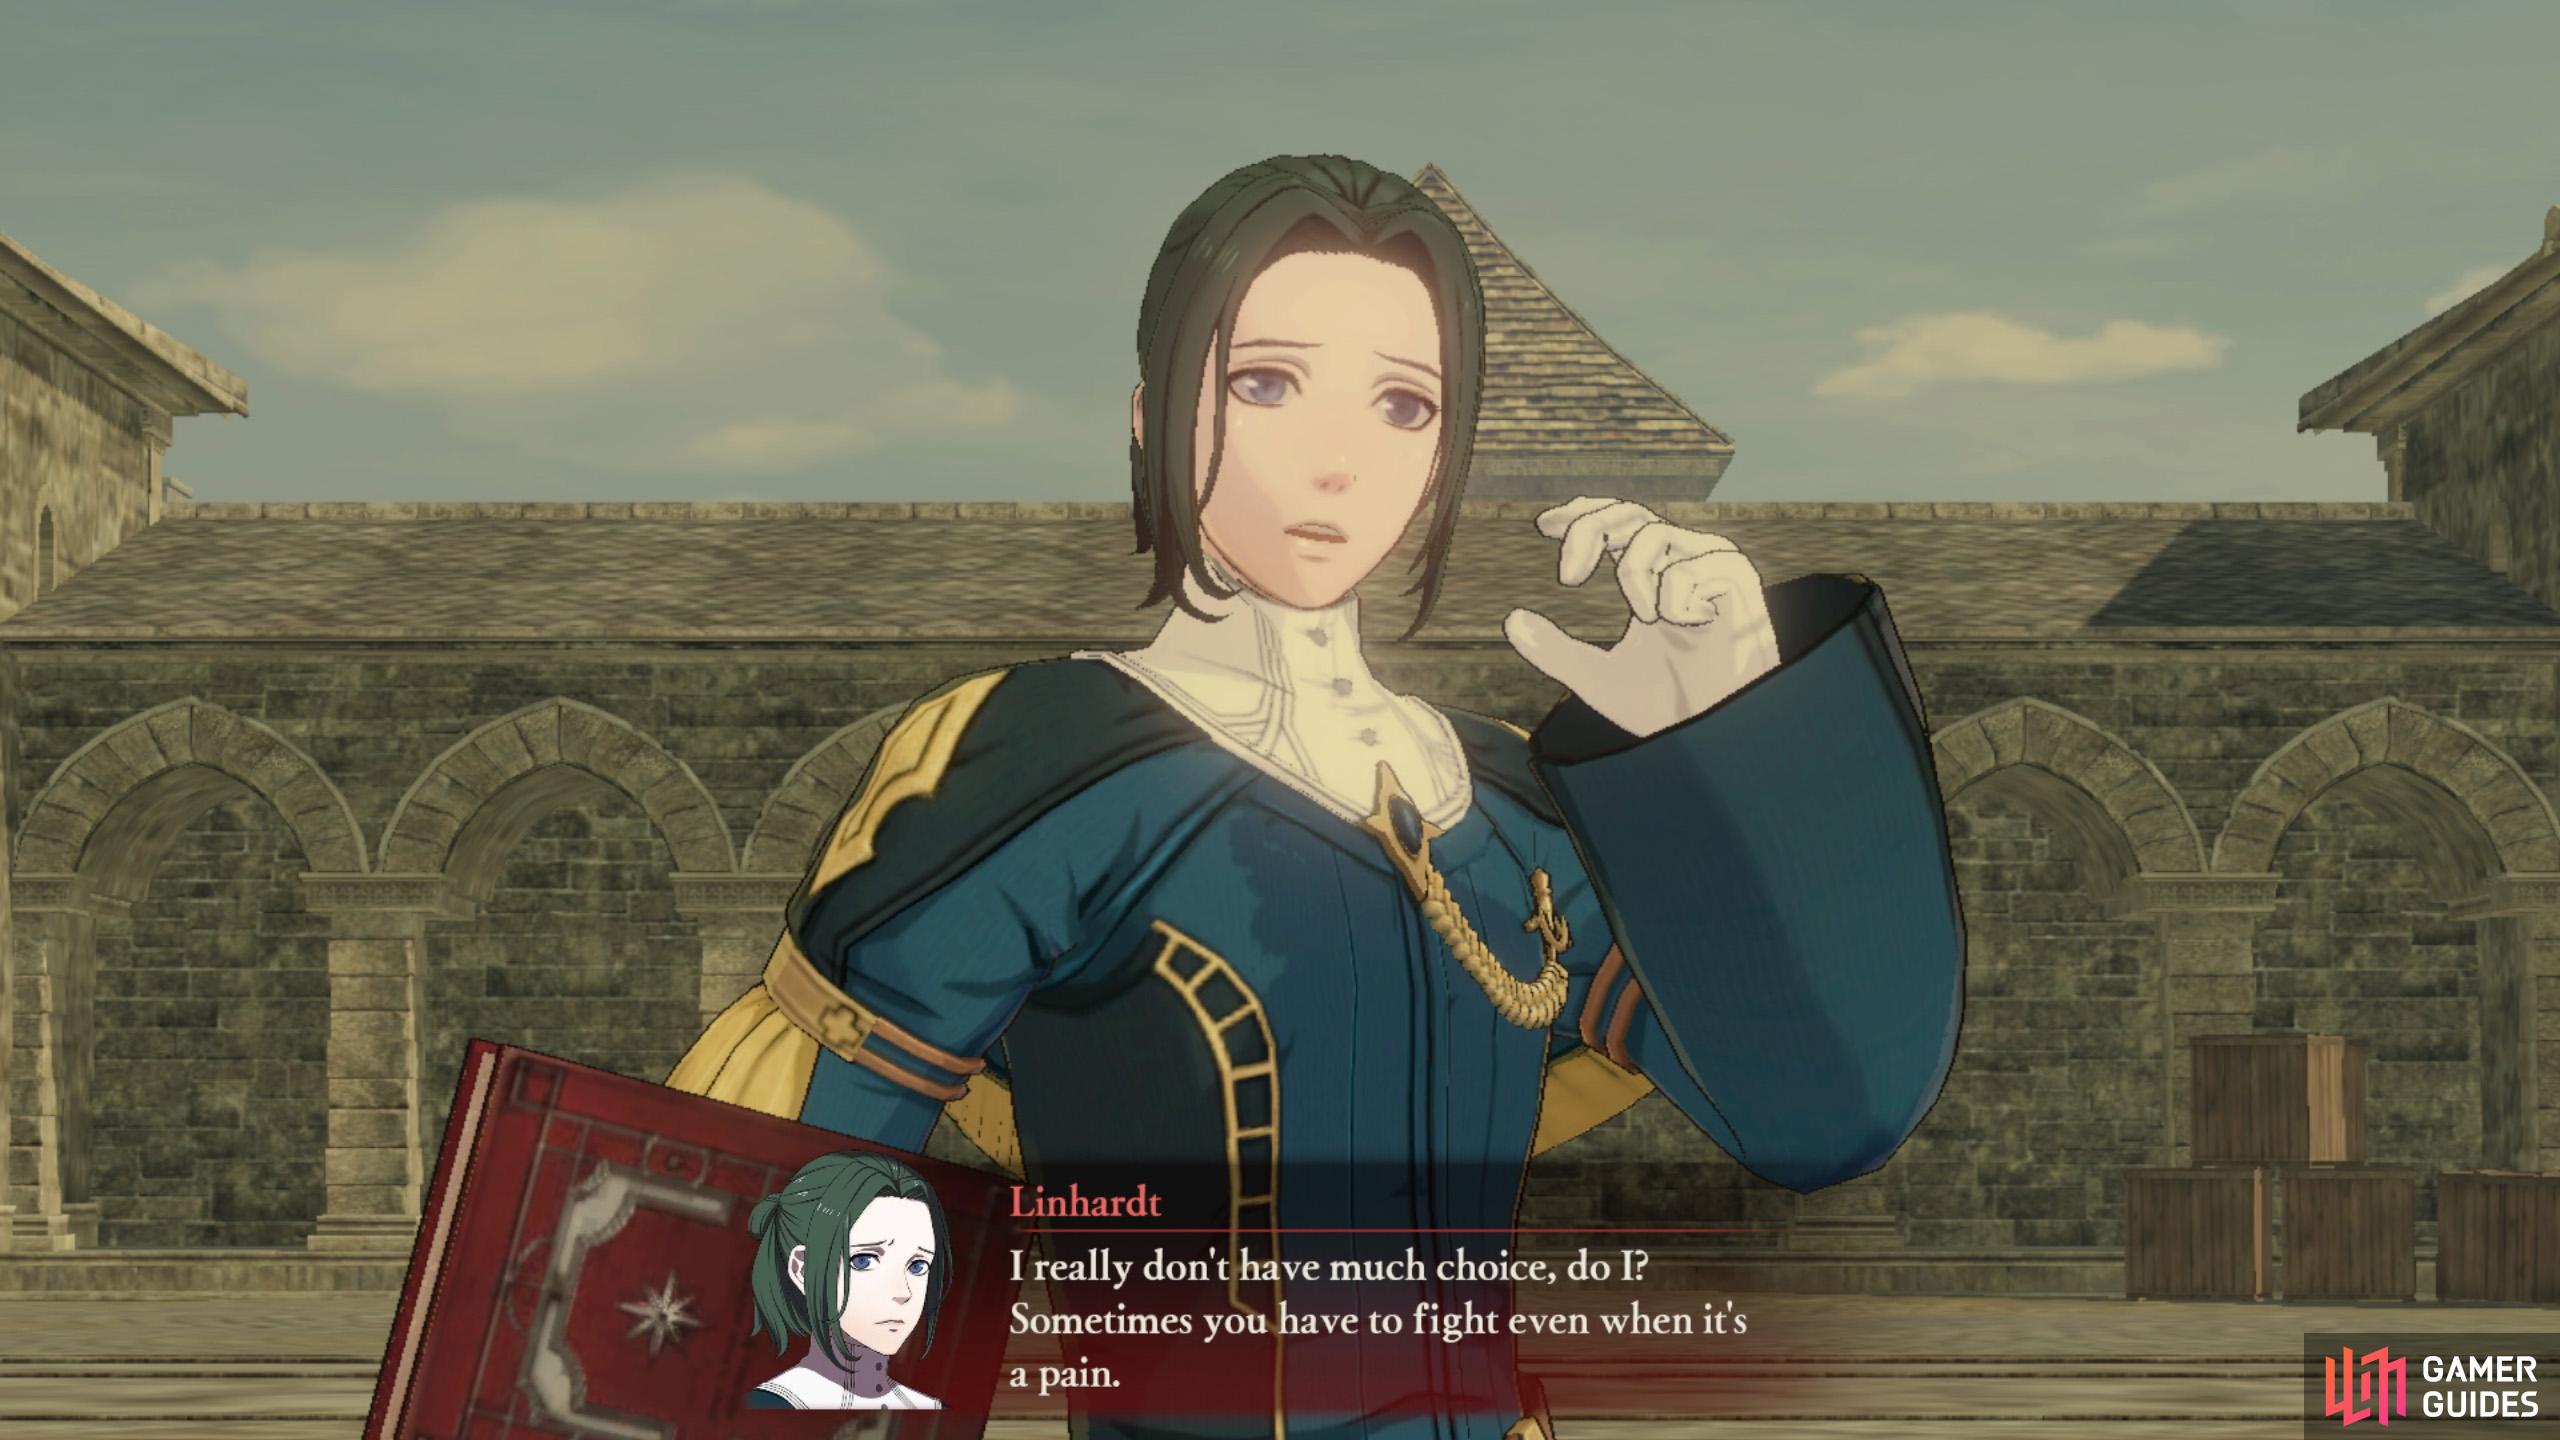
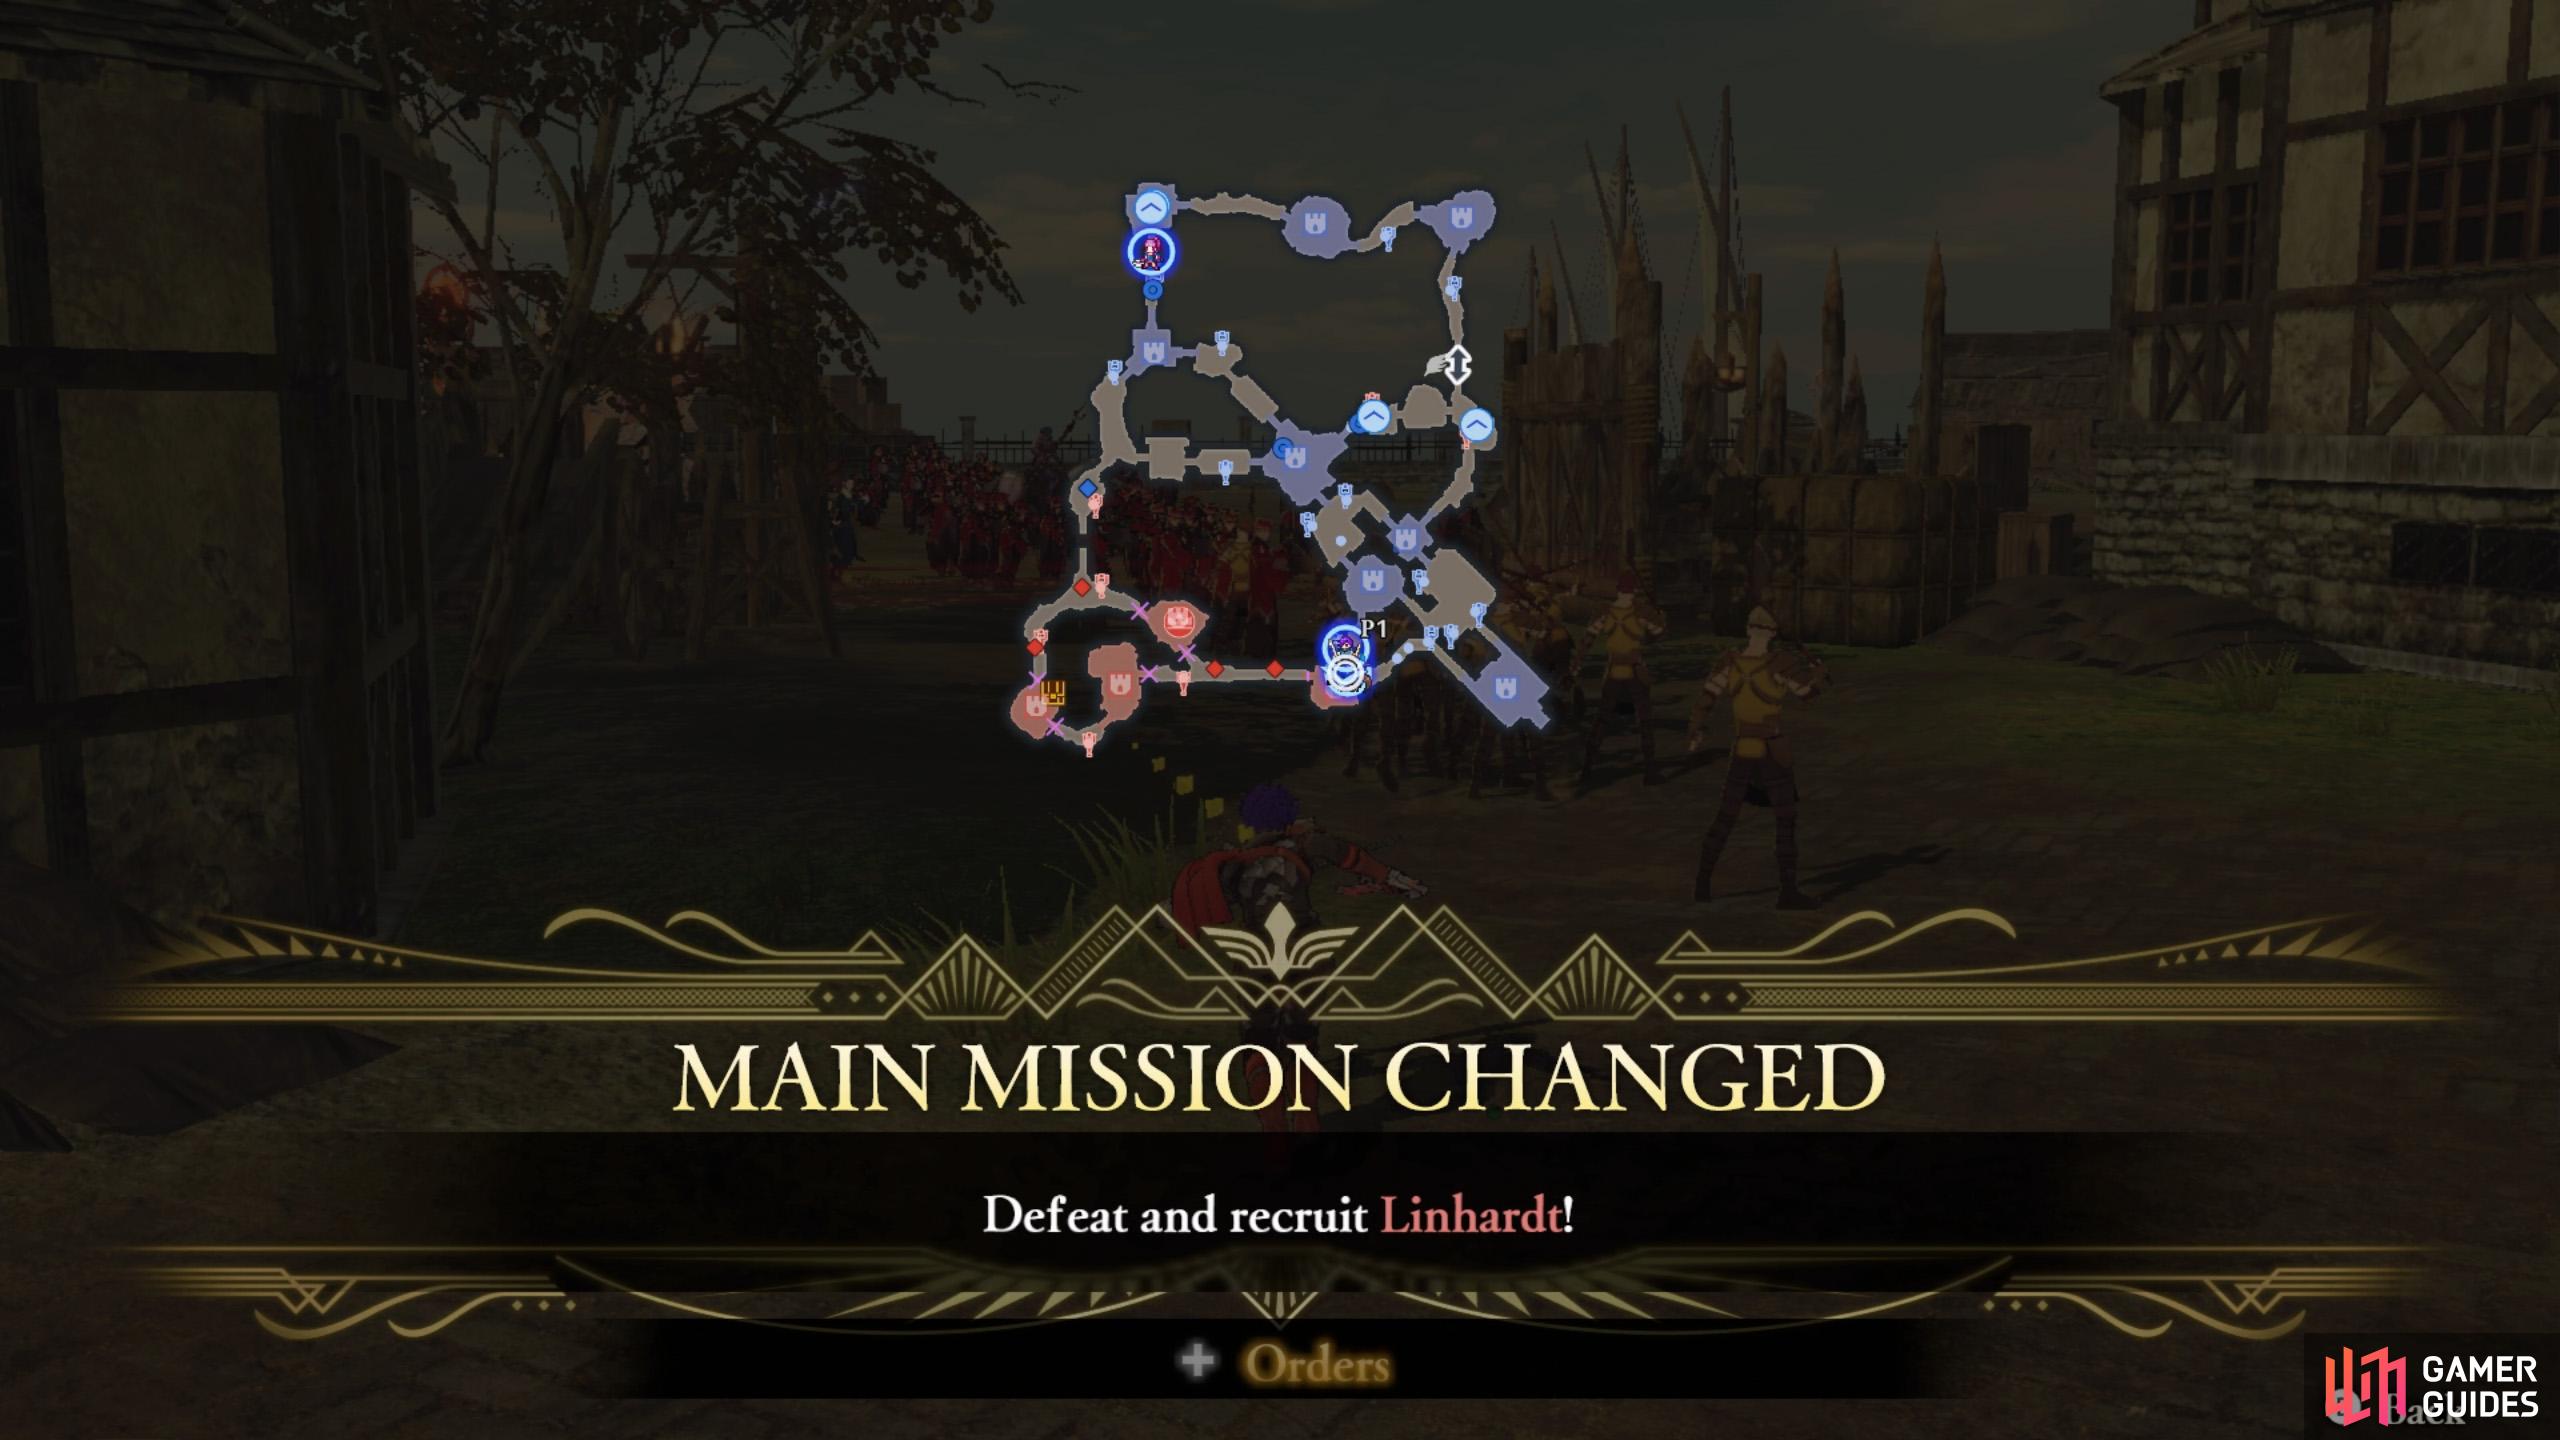
Linhardt isn’t very invested in the war. (left), Use the Persuade Linhardt Strategy and the mission will change. (right)
After completing the previous missions, the gates west from the south-east corner will open up. From here, things become far less hectic. If you enabled the Persuade Linhardt strategy, trigger it now by holding  . Now you can safely defeat Linhardt and force him to join your party. Since he’s a magic user, we suggest slapping him silly with Gauntlets.
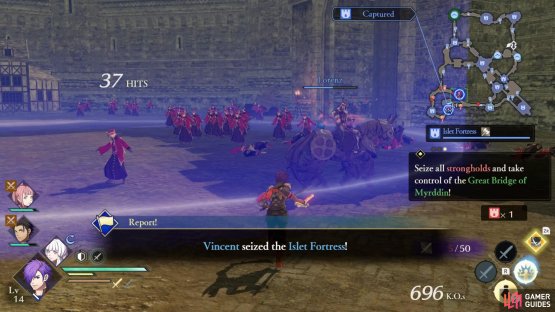
Side Mission 1: Defeat the Fighters targeting the Pier Stronghold
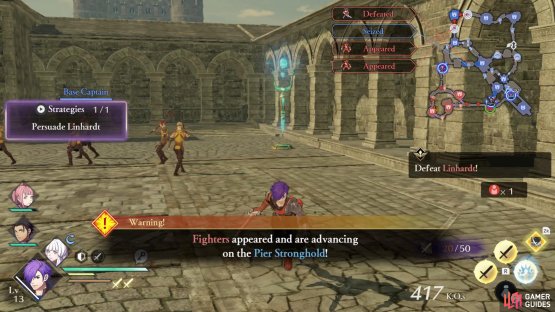
(1 of 2) Uh oh, the allied camp is being targeted.


Uh oh, the allied camp is being targeted. (left), Call some allies to fend off the attackers. (right)
Before charging ahead to face Linhardt and the remaining enemies, leave some characters back at the allied camp. After a short while, two enemy Fighters will spawn a short distance south and east and try to attack the allied camp.
You shouldn’t need to, but you can use Shadow Slide to teleport back to the allied camp if desperate. However, these foes aren’t particularly threatening.
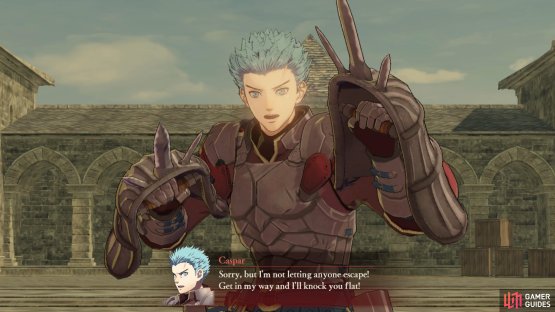
Mission 7: Defeat Caspar (Take 2)
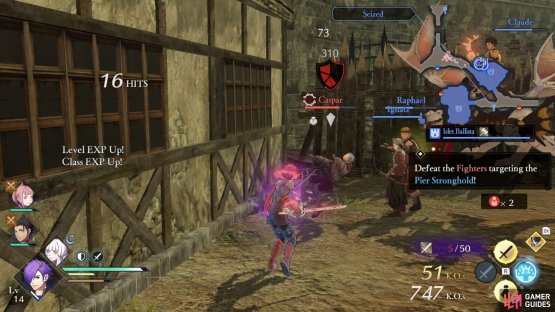
(1 of 2) No need to hold back against Caspar.


No need to hold back against Caspar. (left), Bring Caspar to 1 HP and the battle will end. (right)
Once Linhardt’s on the floor, Caspar will return to the battlefield. Continue west from Linhardt’s stronghold to confront him. Also, the remaining strongholds will open up, including one with a treasure chest at the south-west corner.
The chest key to open it can be obtained from a Fighter near the south-east corner, near where you first fought Caspar.
Side Mission 2: Seize all the strongholds

(1 of 2) Might as well go the full mile.

Might as well go the full mile. (left), Order allies to capture the remaining strongholds, or tackle them yourself if there’s time to spare. (right)
If you have spare time, go and capture all the remaining strongholds on the map. If you were resourceful, there should only be 3 left: the ones near the south-west corner.
They’re all guarded by magic users, so characters wielding Gauntlets would be ideal. Otherwise, anybody not using bows is fair play. However, you’ll probably want a bow user to deal with Caspar, of course.
No Comments