

This page offers a guide on how to access and complete Mission 2: The Galaxy Team’s Entry Trial in Pokémon Legends: ARCEUS.
How to Start Mission 2
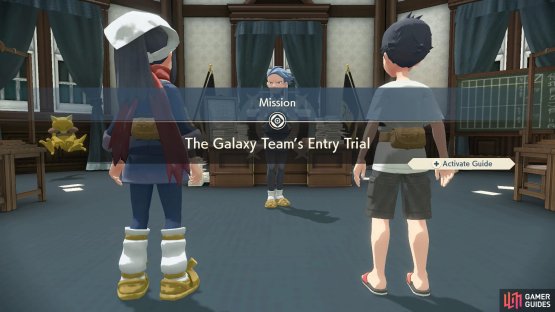

(1 of 2) Captain Cyllene will give you this tutorial mission.
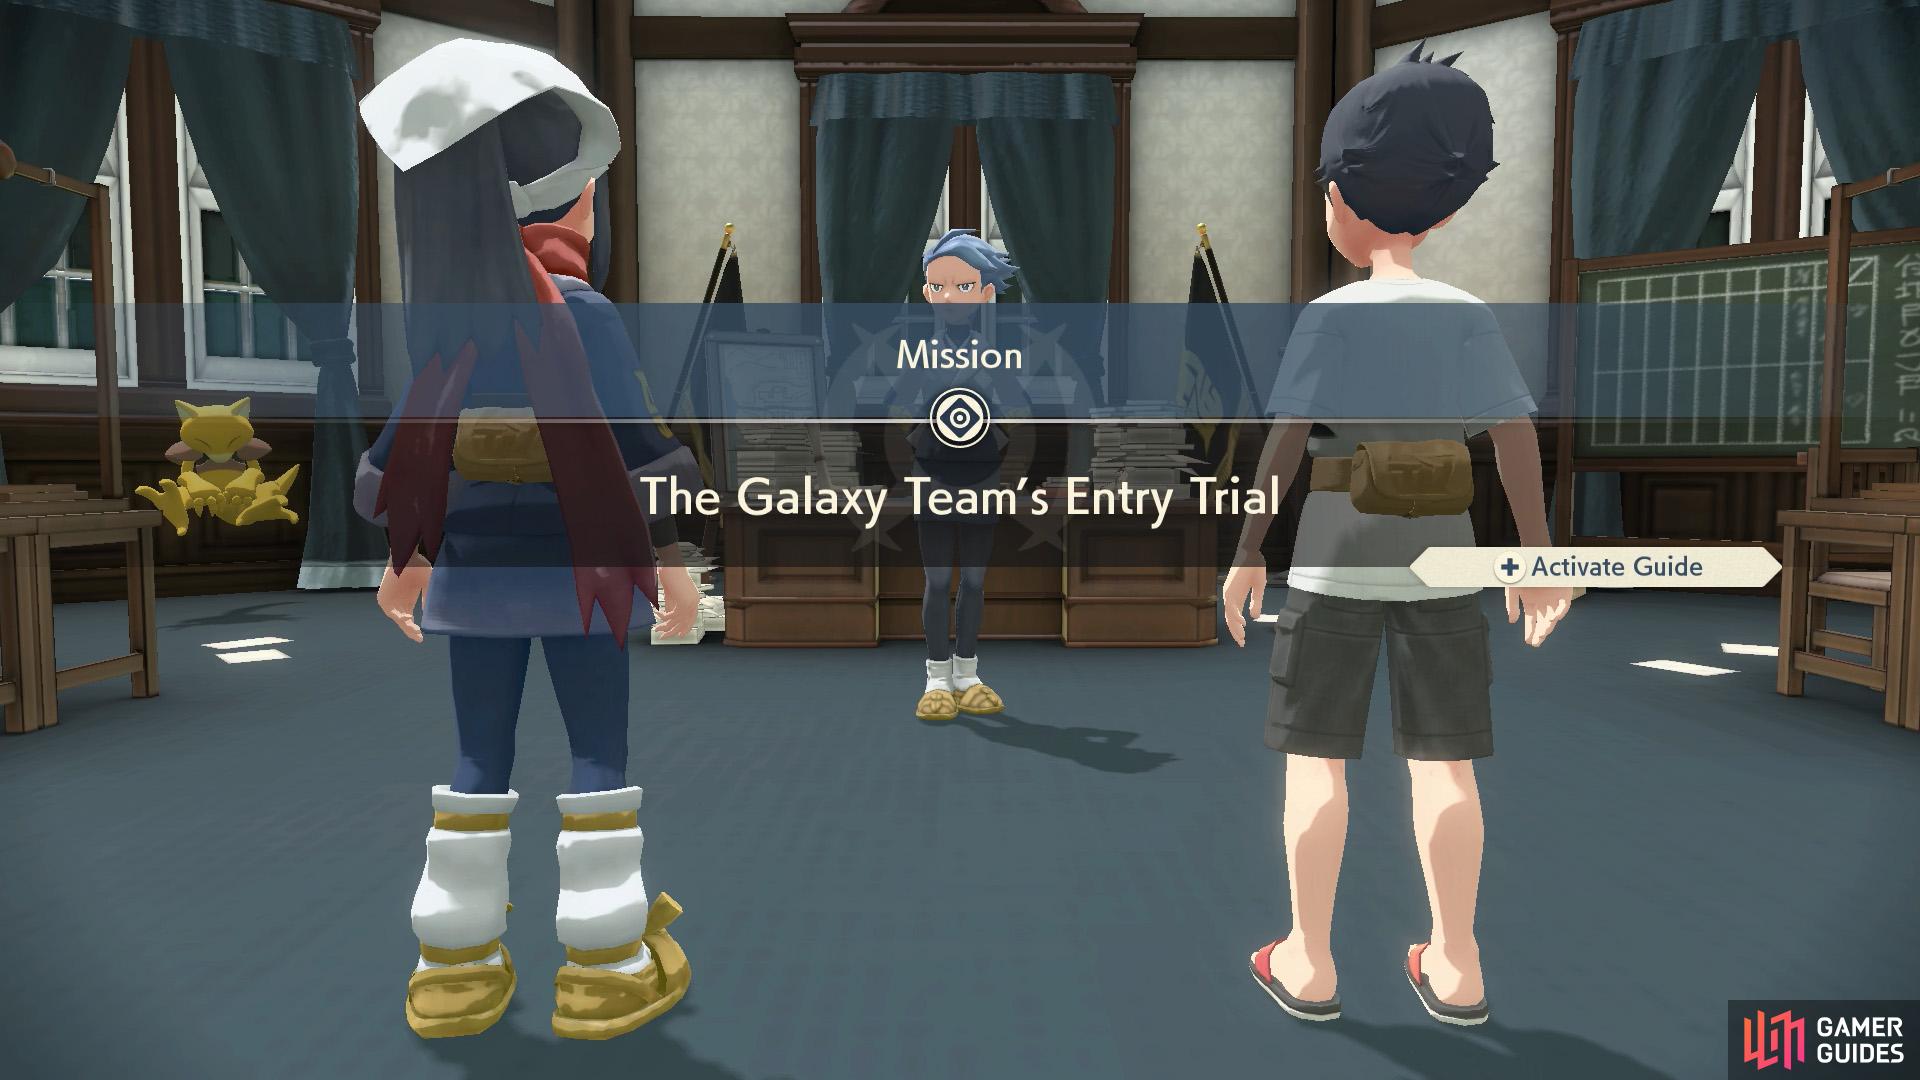
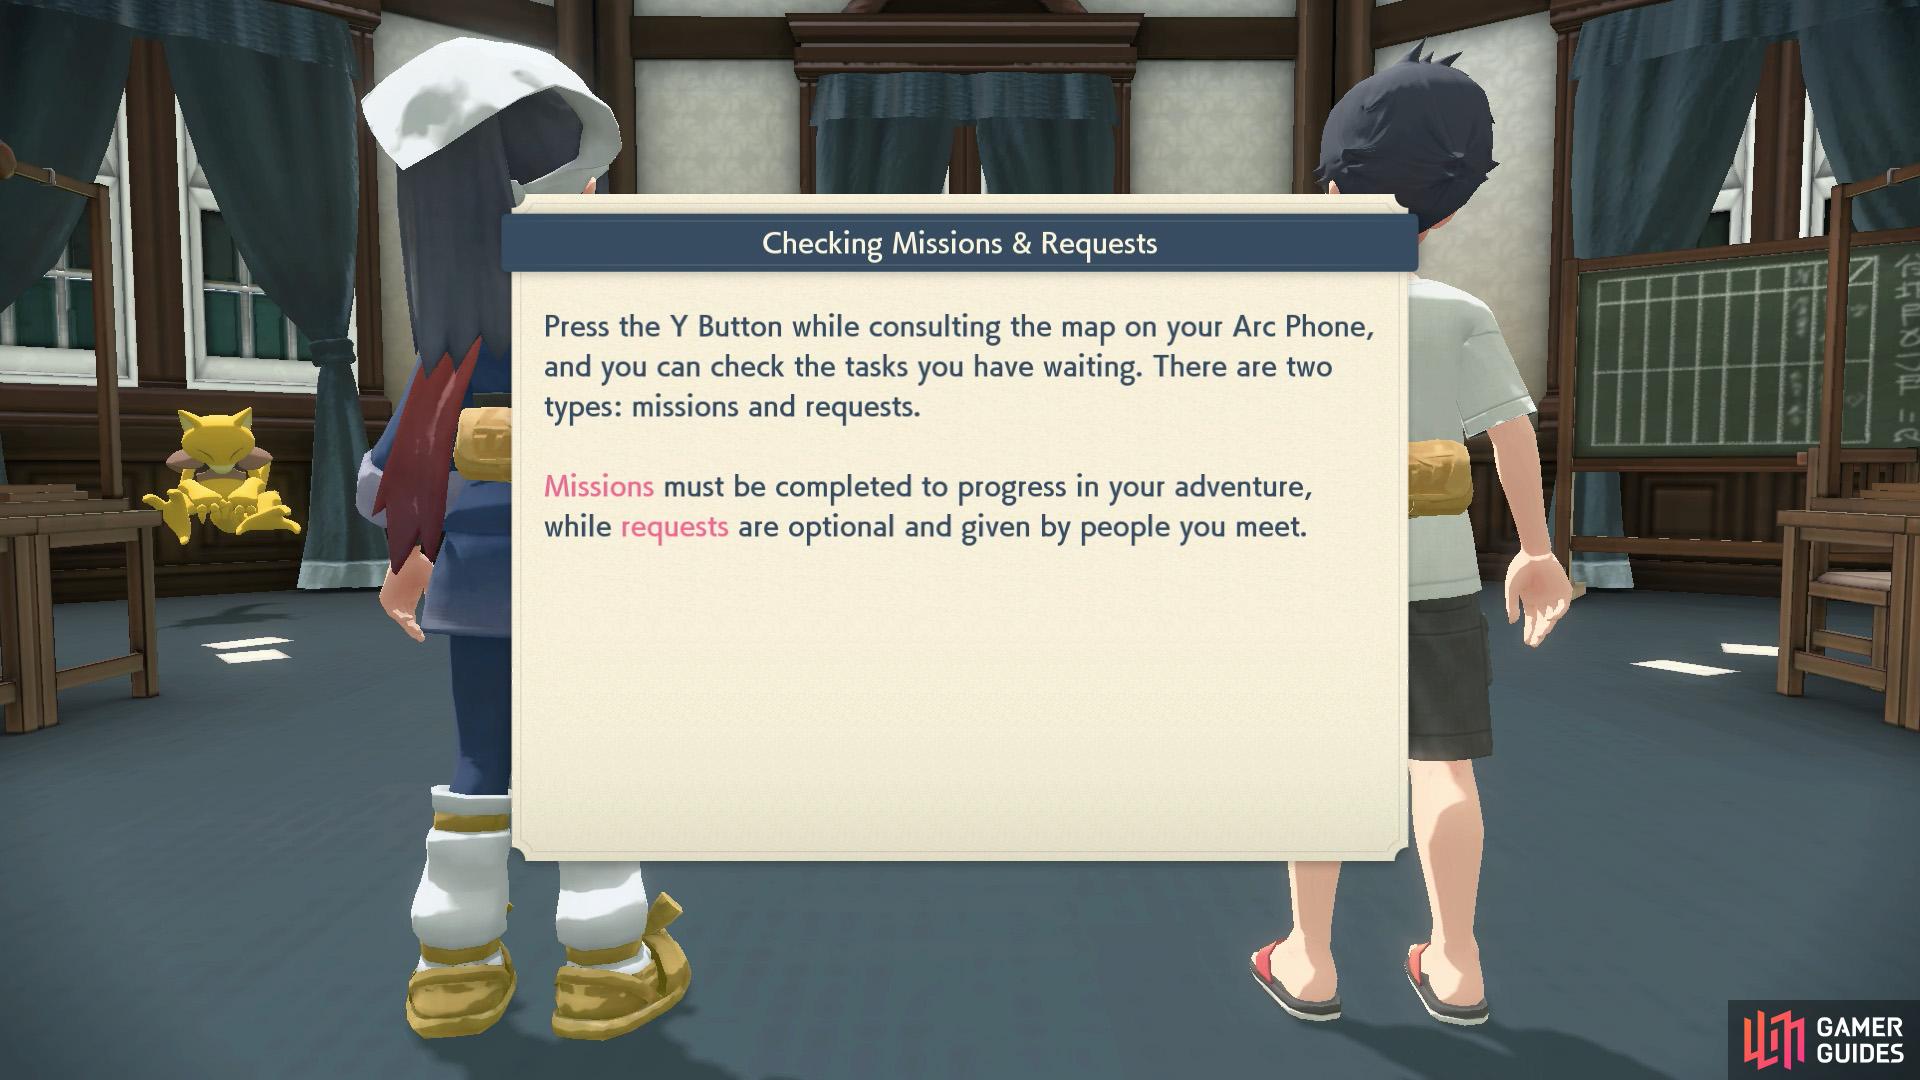
Captain Cyllene will give you this tutorial mission. (left), You can check your mission and request progress from your Arc Phone. (right)
To start Mission 2, you’ll first need to complete Mission 1: In an Unfamiliar Land and have slept through the night in your newly assigned home. After that, you’ll be able to report to Cyllene in Galaxy Hall, who will give you an Entry Trial - an initiation trial for becoming a member of the Galaxy Team!
Your goal during this trial is to head out to Obsidian Fieldlands and catch a  Bidoof,
  Starly and
  Shinx.
1. Choose Your Starter Pokémon
Before you can head out to catch some Pokémon, Professor Laventon will ask you to pick your starter Pokémon (though in this game, they’re referred to as partner Pokémon). You can choose from the following three adorable creatures:
Rowlet, the Grass Quill Pokémon

Rowlet.
First appearing the Alola region,  Rowlet is a
 ![]() and
and ![]() type; it’s the only starter Pokémon with two types. Having more types can be a good thing, as it lets you target more weaknesses, but it can give your Pokémon more weaknesses too. In this case, keep Rowlet far away from Ice-types!
type; it’s the only starter Pokémon with two types. Having more types can be a good thing, as it lets you target more weaknesses, but it can give your Pokémon more weaknesses too. In this case, keep Rowlet far away from Ice-types!
Its fully evolved form replaces its ![]() type with
type with ![]() . Stat-wise, it excels in Attack. Its unique move, Triple Arrows, boosts its critical hit ratio and lowers the foe’s defensive stats.
. Stat-wise, it excels in Attack. Its unique move, Triple Arrows, boosts its critical hit ratio and lowers the foe’s defensive stats.
Cyndaquil, the Fire Mouse Pokémon

Cyndaquil.
Debuting in the Johto region,  Cyndaquil is a
 ![]() type Pokémon. Its fully evolved form gains the
type Pokémon. Its fully evolved form gains the ![]() type. Stat-wise, it excels in Special Attack. Its unique move, Infernal Parade, may inflict a burn and deals increased damage for foes inflicted with an ailment.
type. Stat-wise, it excels in Special Attack. Its unique move, Infernal Parade, may inflict a burn and deals increased damage for foes inflicted with an ailment.
Oshawott, the Sea Otter Pokémon

pokemon_pla_mission2_galaxy_entry_trial5.jpg
Last, but not least,  Oshawott first made its mark in the Unova region. It’s a
 ![]() type that gains the
type that gains the ![]() type in its fully evolved form. Stat-wise, it has great Attack and Special Attack; each lower than the other two starters, but still respectable. Its unique move, Ceaseless Edge, has a high critical hit ratio and inflicts damage over time.
type in its fully evolved form. Stat-wise, it has great Attack and Special Attack; each lower than the other two starters, but still respectable. Its unique move, Ceaseless Edge, has a high critical hit ratio and inflicts damage over time.
Which Starter Should You Choose?
There is no right or wrong answer. We suggest choosing your favorite, or whichever looks most appealing.
For one, you can easily acquire Grass, Fire and Water-type Pokémon in the first area. Also, after completing the game, you can obtain the other two starter Pokémon that you didn’t choose.
If you can’t decide though, Oshawott has a type advantage against the first Noble Pokémon boss. It also has access to False Swipe (alongside Rowlet) so you can safely weaken Pokémon and more easily catch them.
After picking your starter, you’ll receive 20 Poké Balls.
2. Head for the Front Gate
With your newfound partner Pokémon in tow, exit Galaxy Hall and turn left, towards the Front Gate. Before you reach the Front Gate, you’ll bump into Akari/Rei and a new face: Volo from the Ginkgo Guild Merchants. Volo will request a battle.
Ginkgo Guild Member Volo
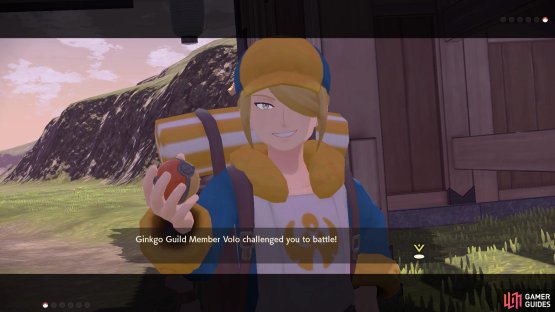
(1 of 2) Volo has a curious smile.
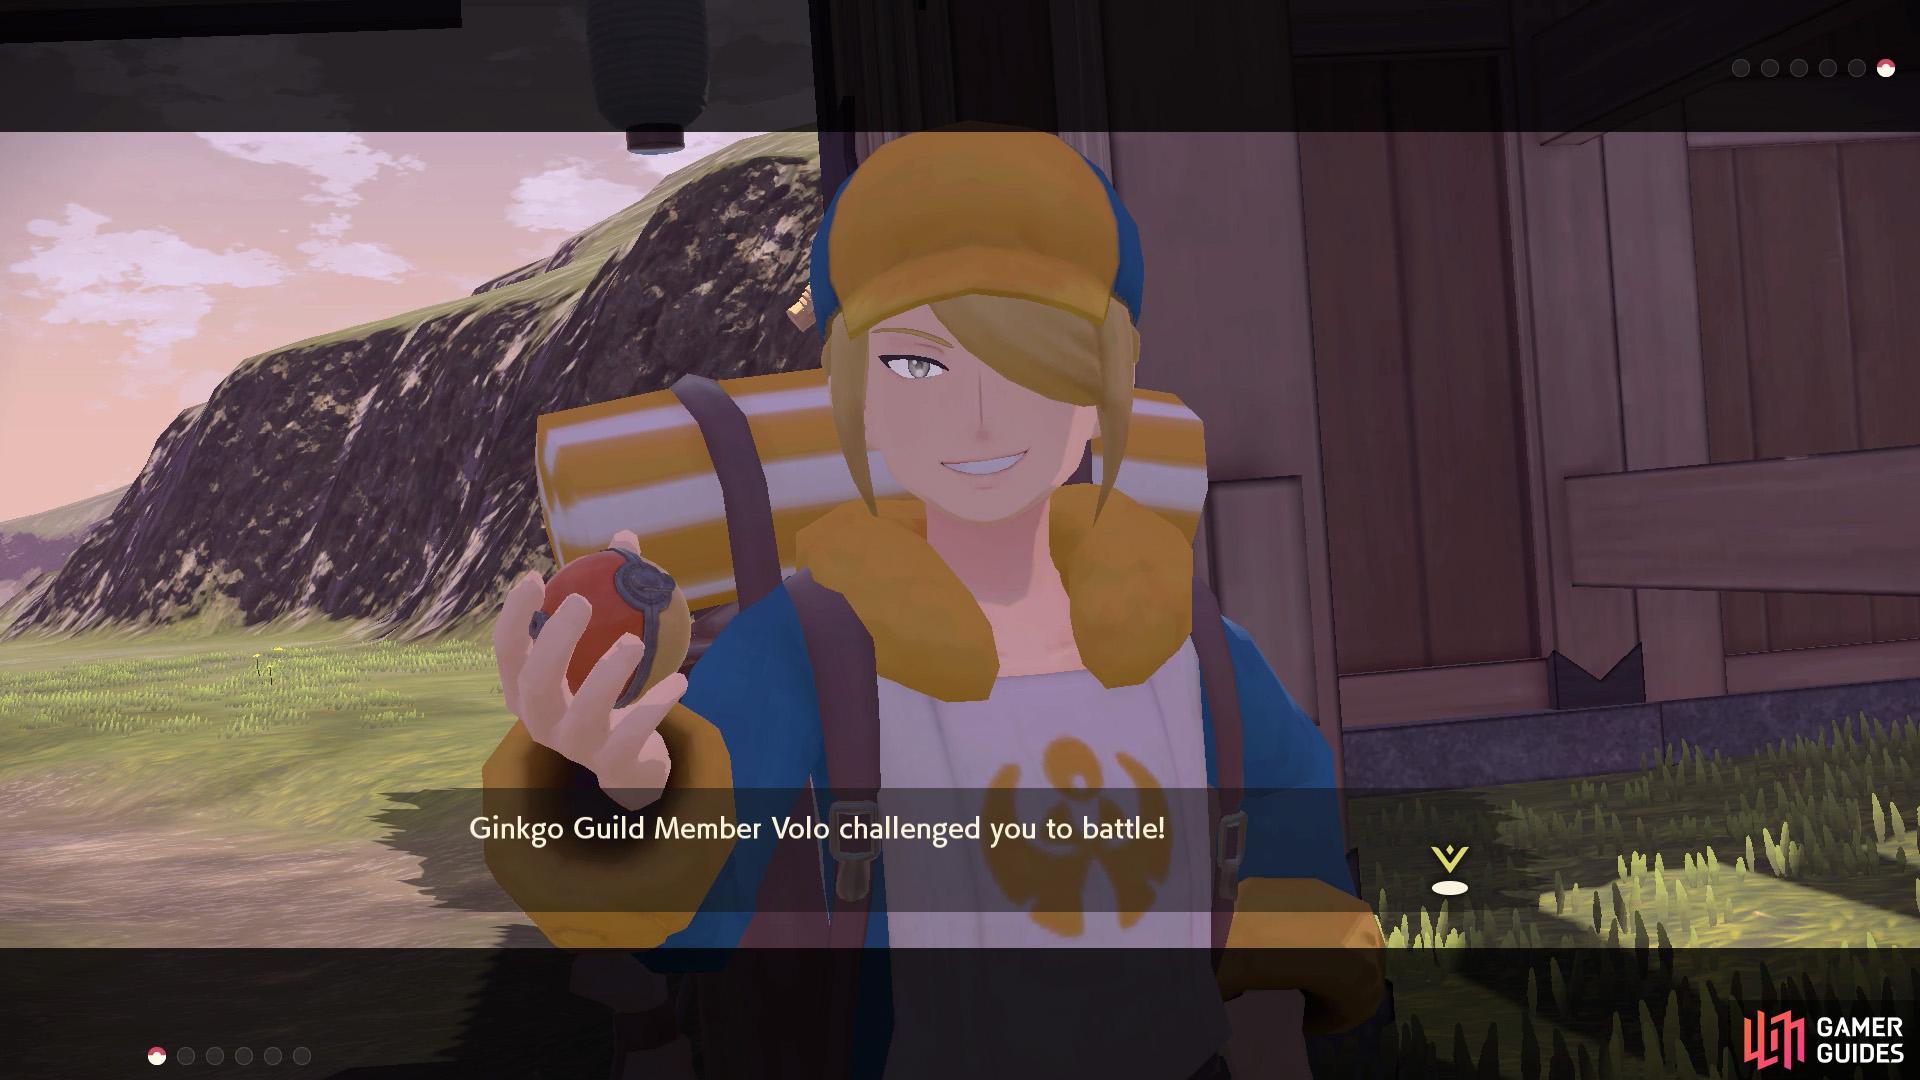
Volo has a curious smile. (left), Battles are still turn-based, but there’s more nuance involved (which you won’t see yet). (right)
| Pokémon | Level | Type |
|---|---|---|
 Togepi Togepi |
5 |
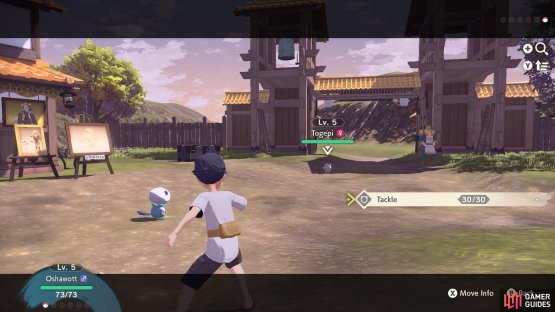
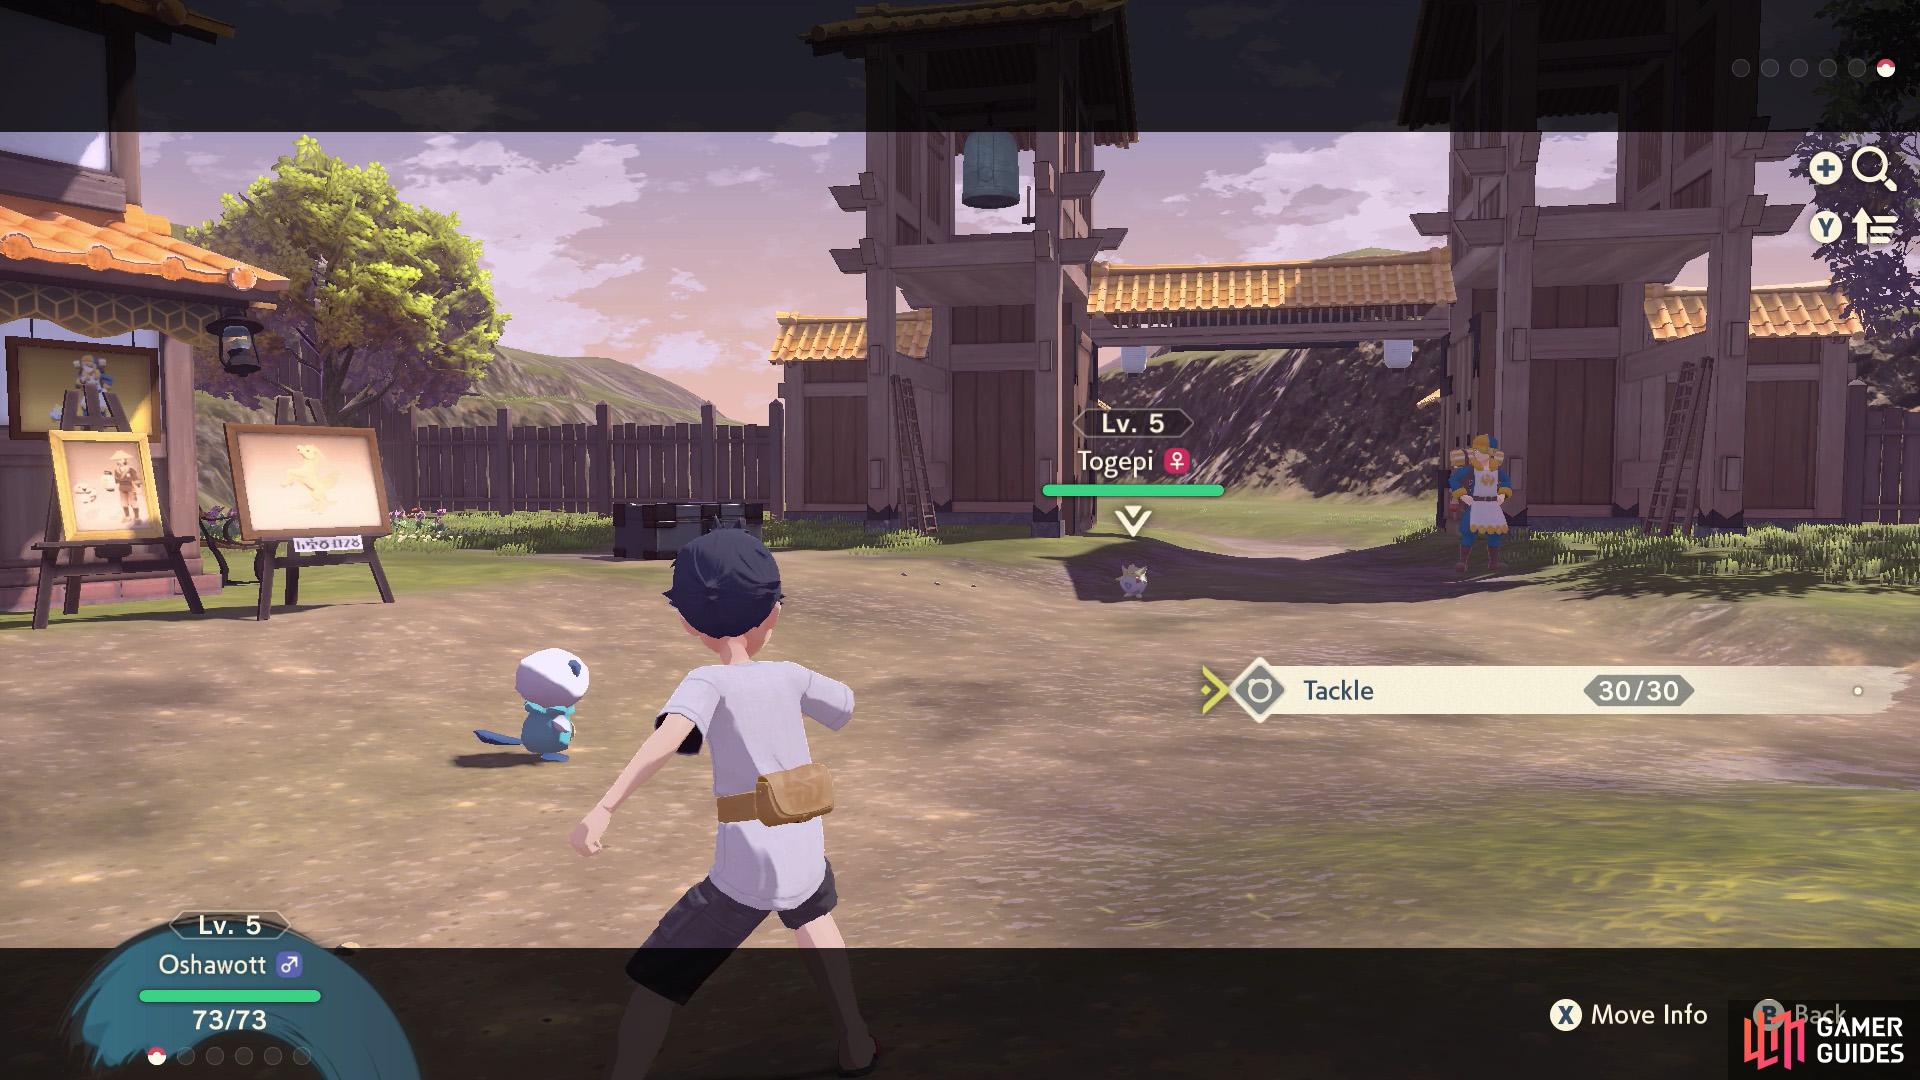
This is a super basic battle to get you accustomed to the new battle system. All you have to do is pick “Fight” and select your only attacking move. This will be Gust, Quick Attack or Tackle. Meanwhile, Togepi will retaliate with Tackle.

(1 of 2) When a Pokémon learns a new move, it’ll be added to its move list, which you can access via “Change Moves”.
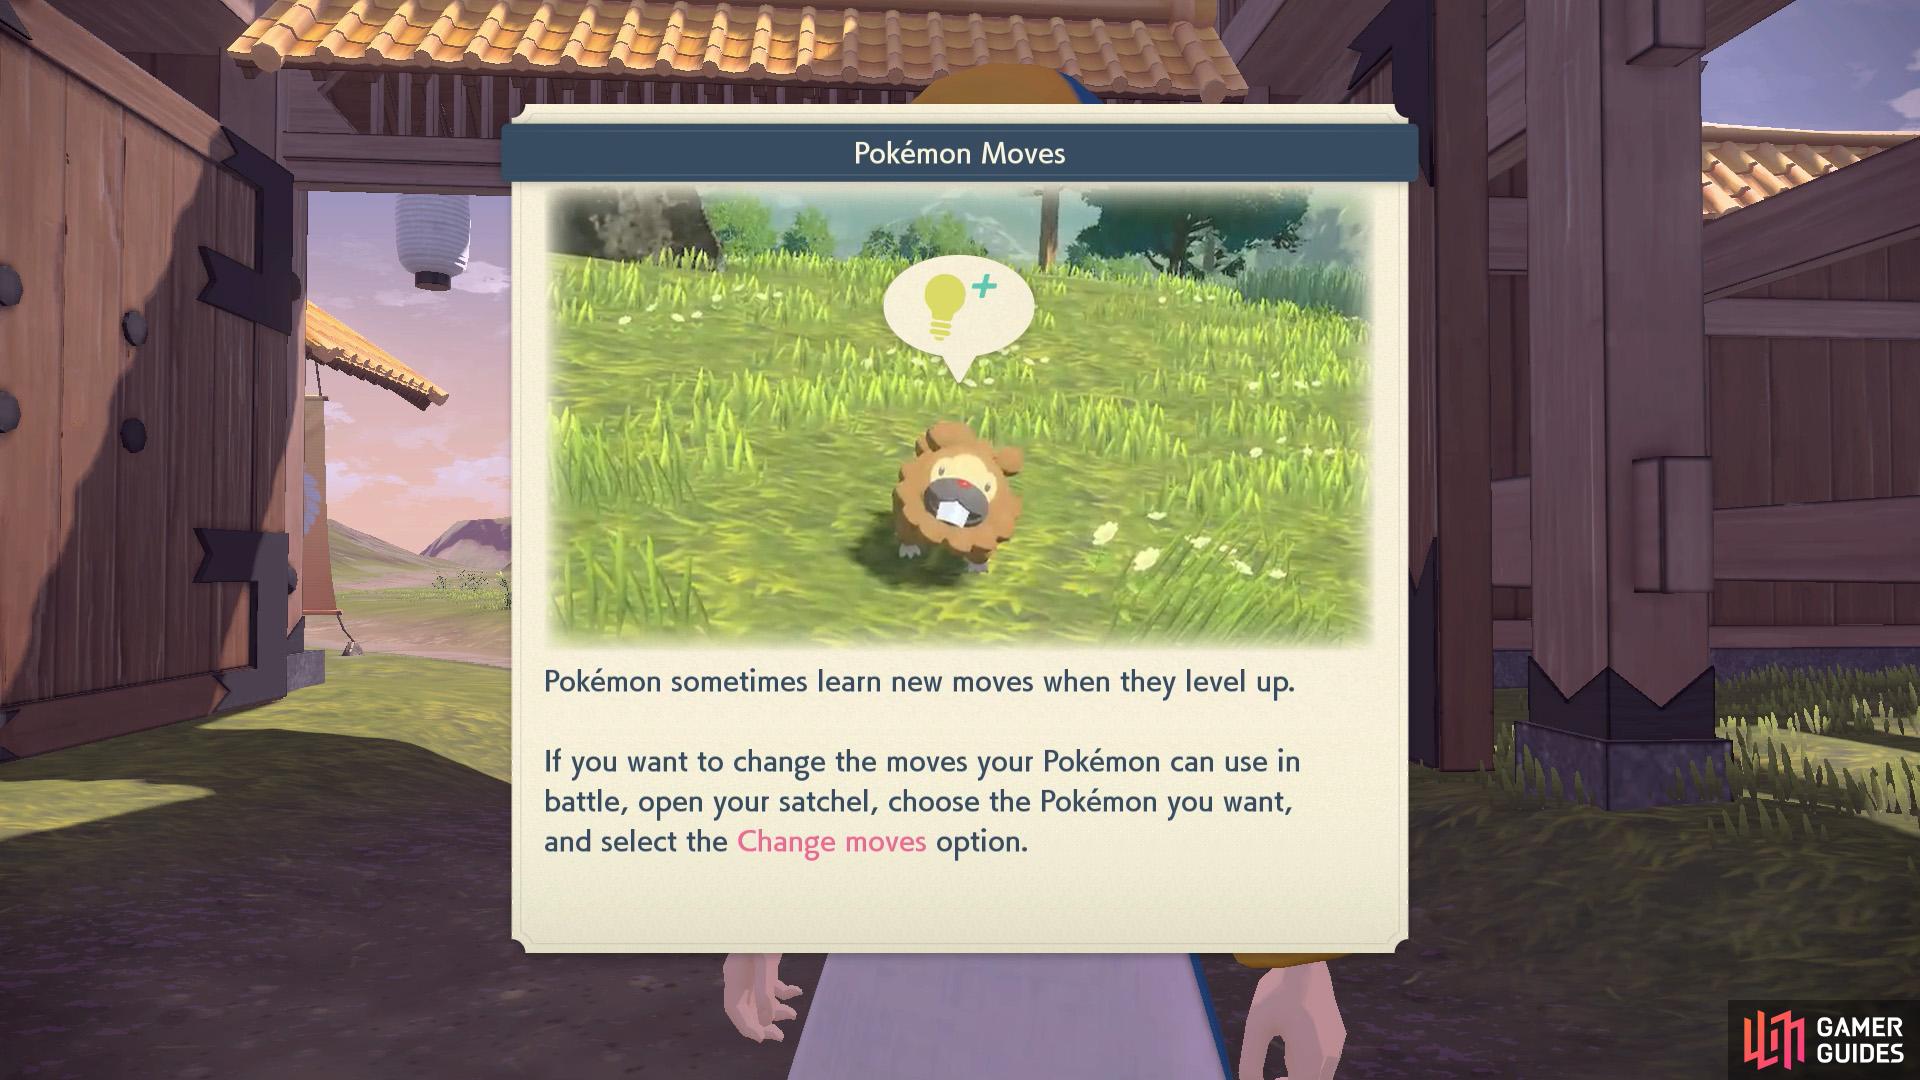
When a Pokémon learns a new move, it’ll be added to its move list, which you can access via “Change Moves”. (left), Use these to heal your Pokémon. (right)
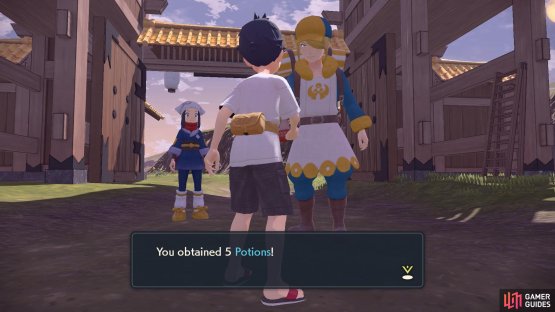
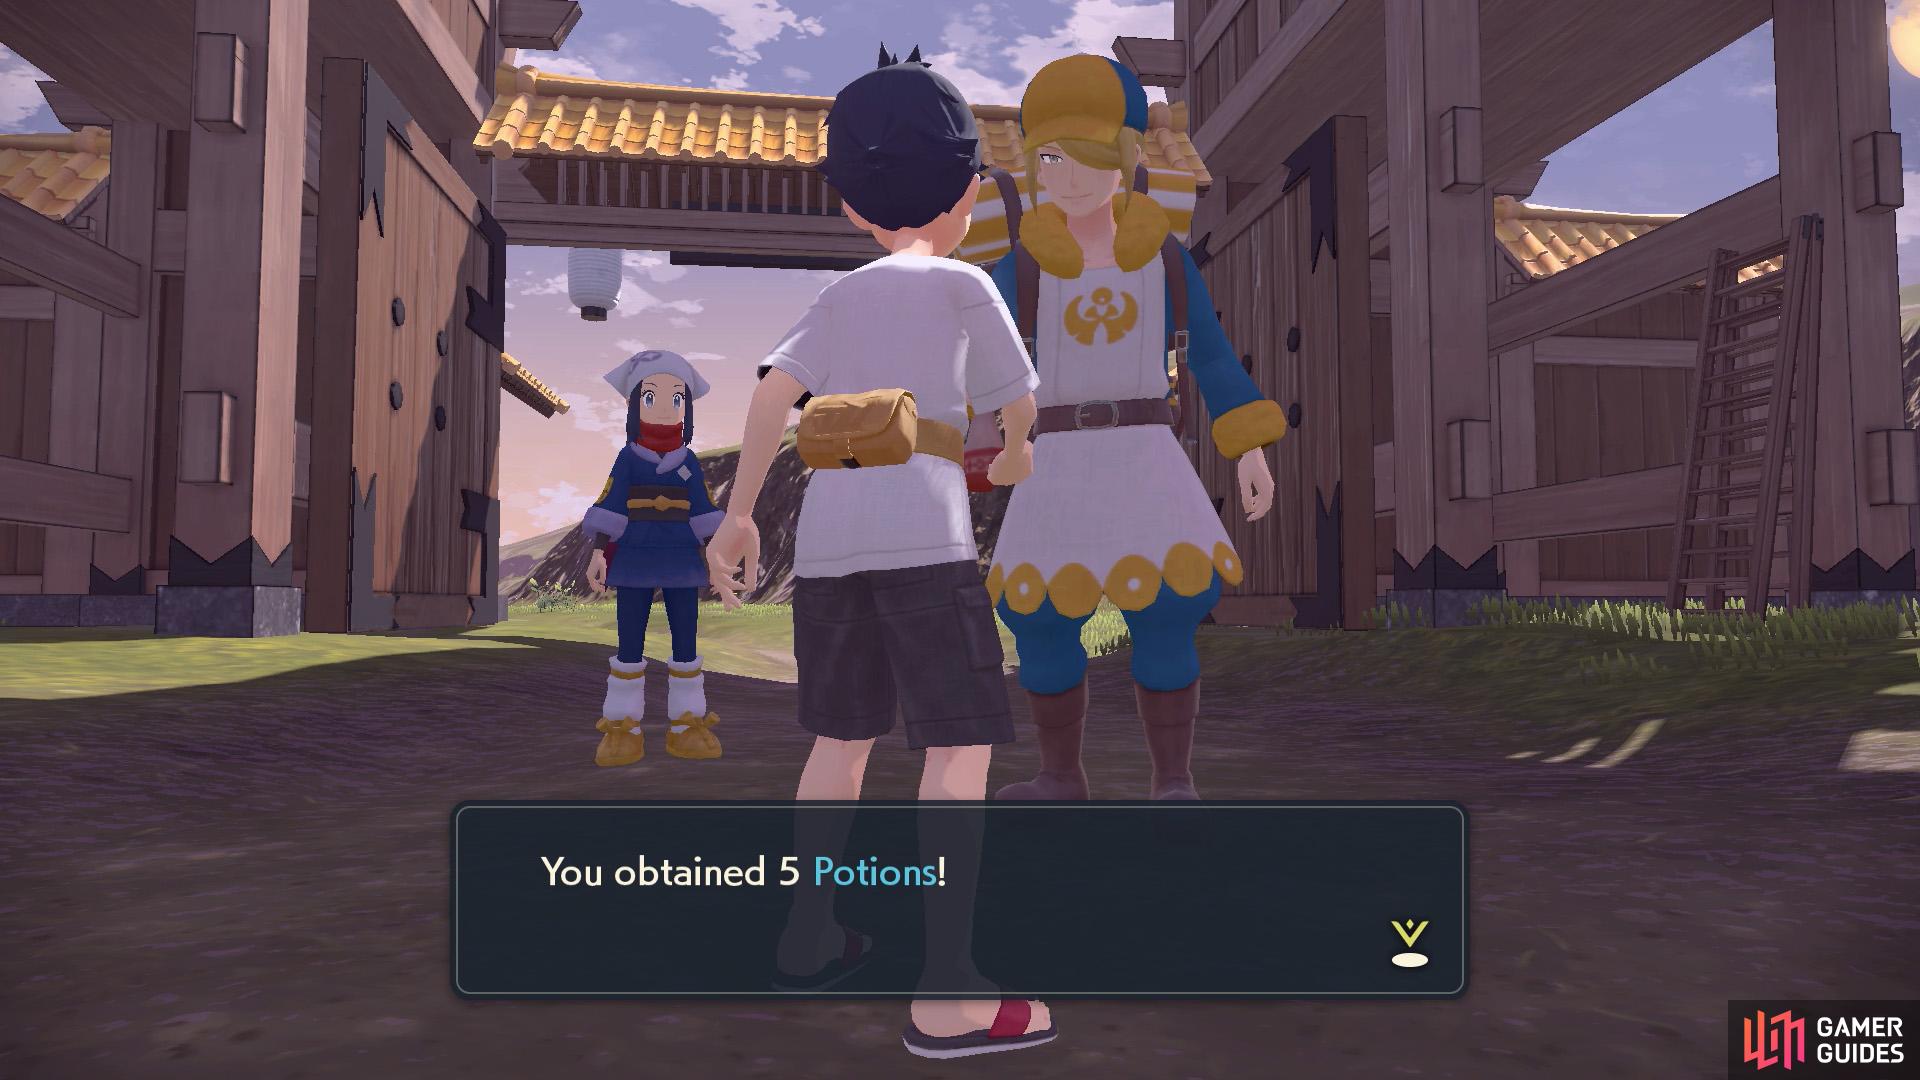
After wiping the floor with Volo, he’ll give you 5 Potions. Now leave Jubilife Village via the Front Gate. This will bring up a world map. Move the cursor using  and select the adjacent region to the south-east, where the “next mission” marker is. Then choose to enter the “Fieldlands Camp”.
3. Catch a Bidoof
Everyone has to start somewhere–and for you, that means catching a Bidoof of all things.


(1 of 2) You can focus before throwing a Poké Ball or aim manually.
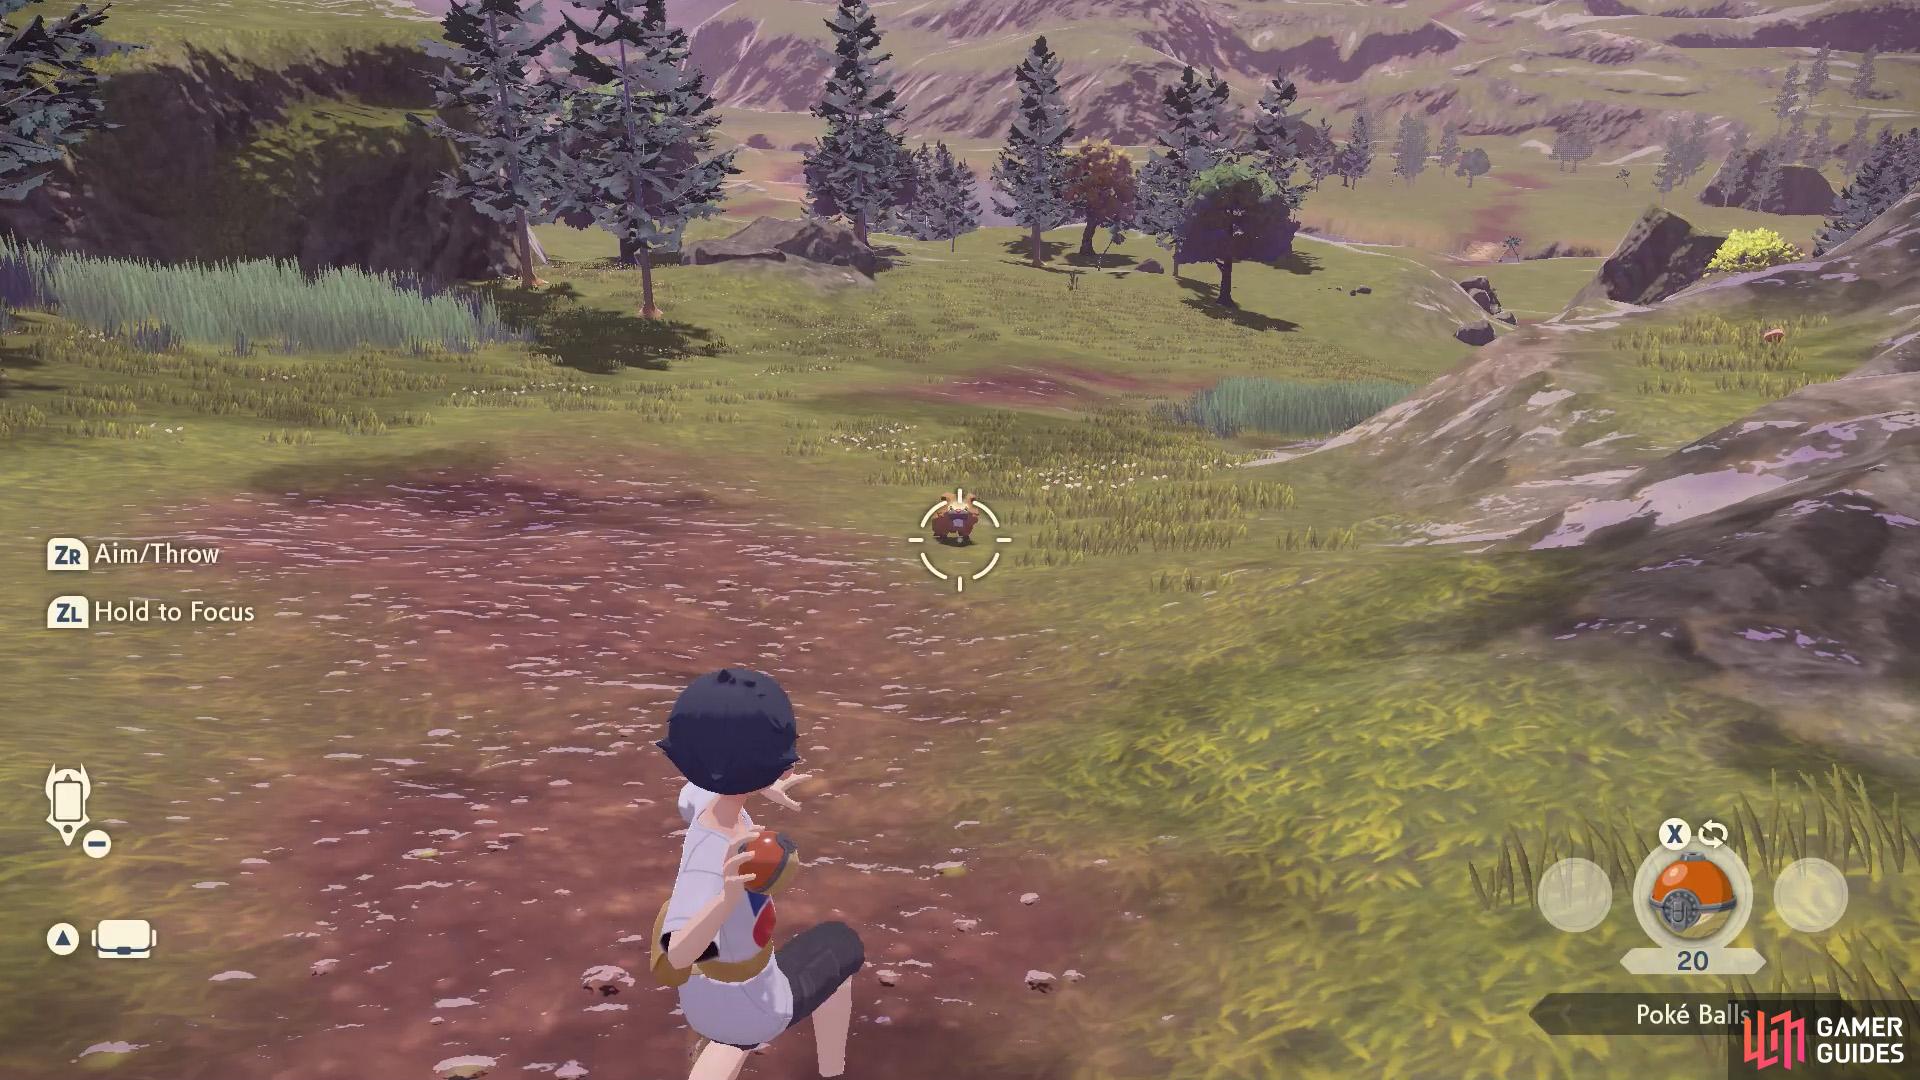
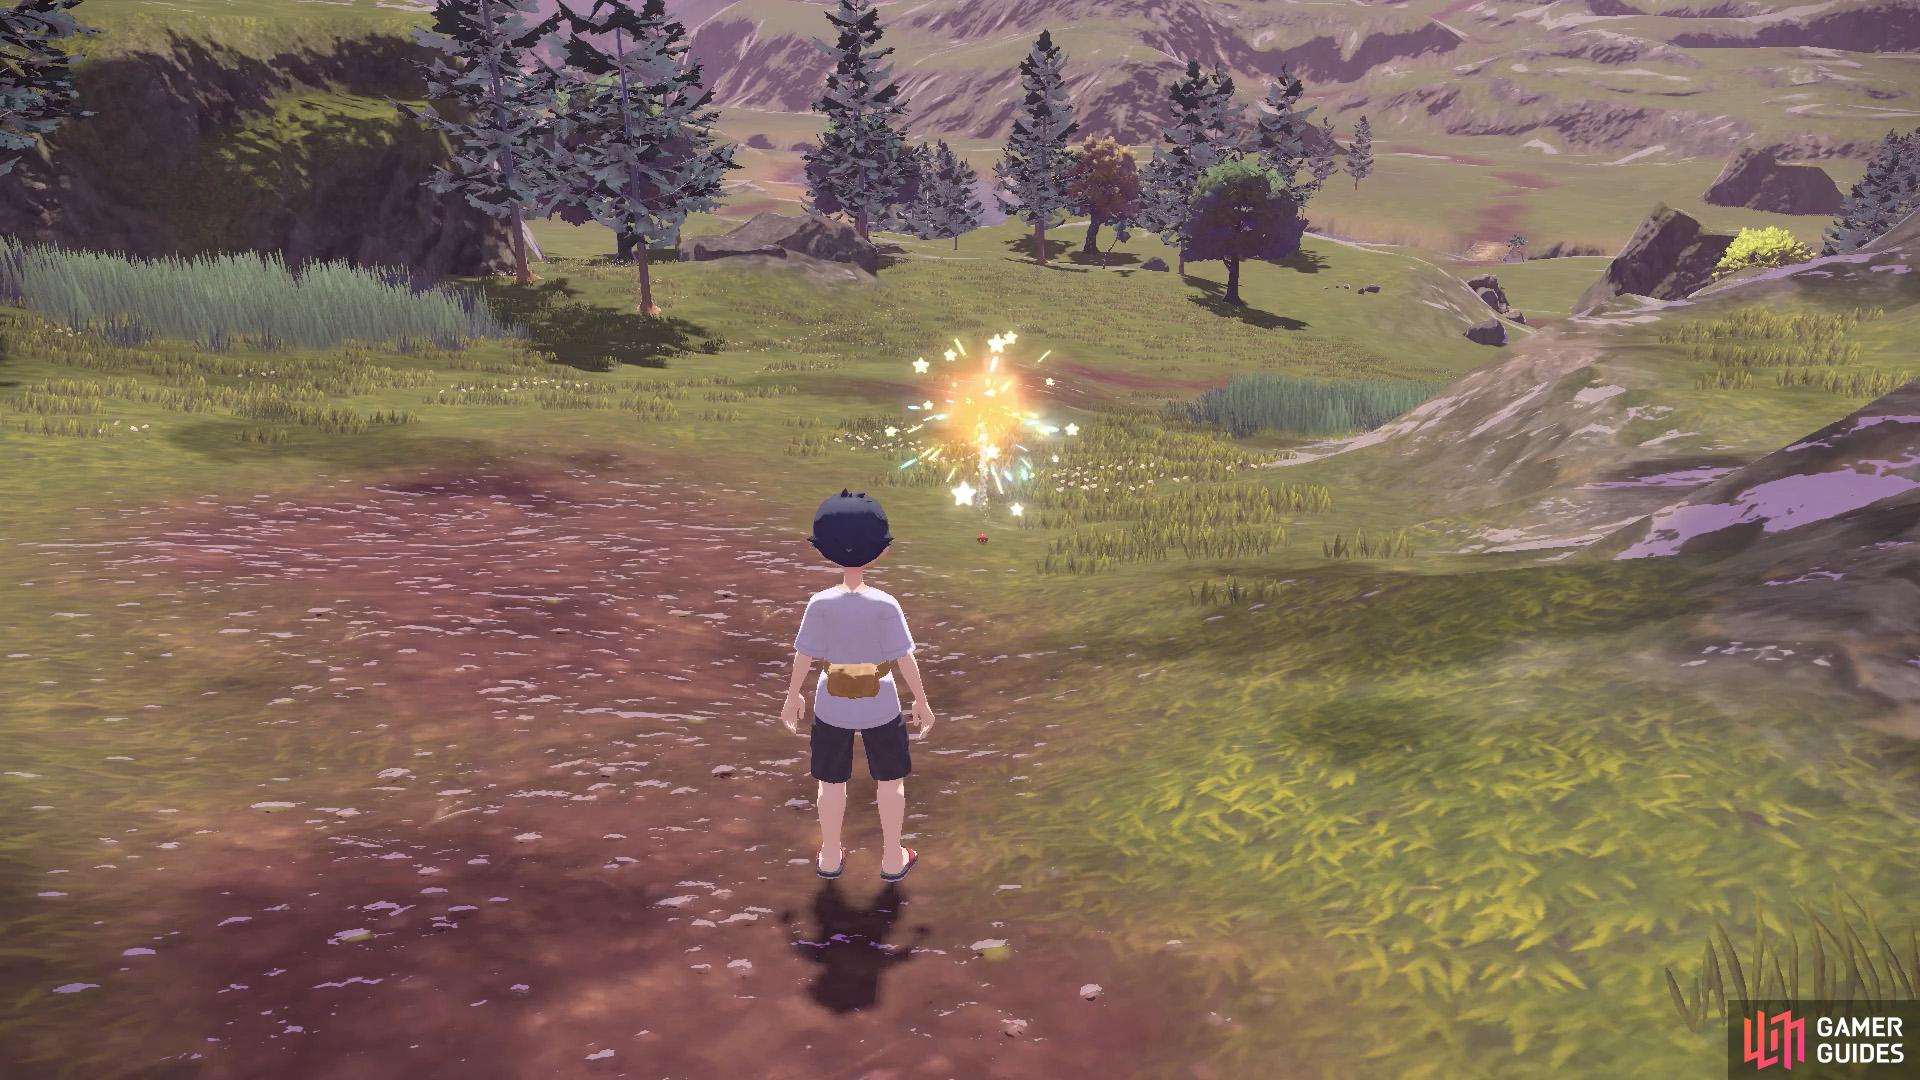
You can focus before throwing a Poké Ball or aim manually. (left), Either way, the Bidoof won’t put up much resistance. (right)
Make your way forward towards where the aimless Bidoof is. Then catch it, like you did with the starter Pokémon, when you first met Professor Laventon. By that, we mean you can throw a Poké Ball right at Bidoof’s face with  .
.
4. Catch a Starly
Your next target is a Starly, which you’re told is a more timid creature. If one of these spots you, it’ll try and run away.


(1 of 2) Crouching enables you to get closer to Pokémon that are skittish.
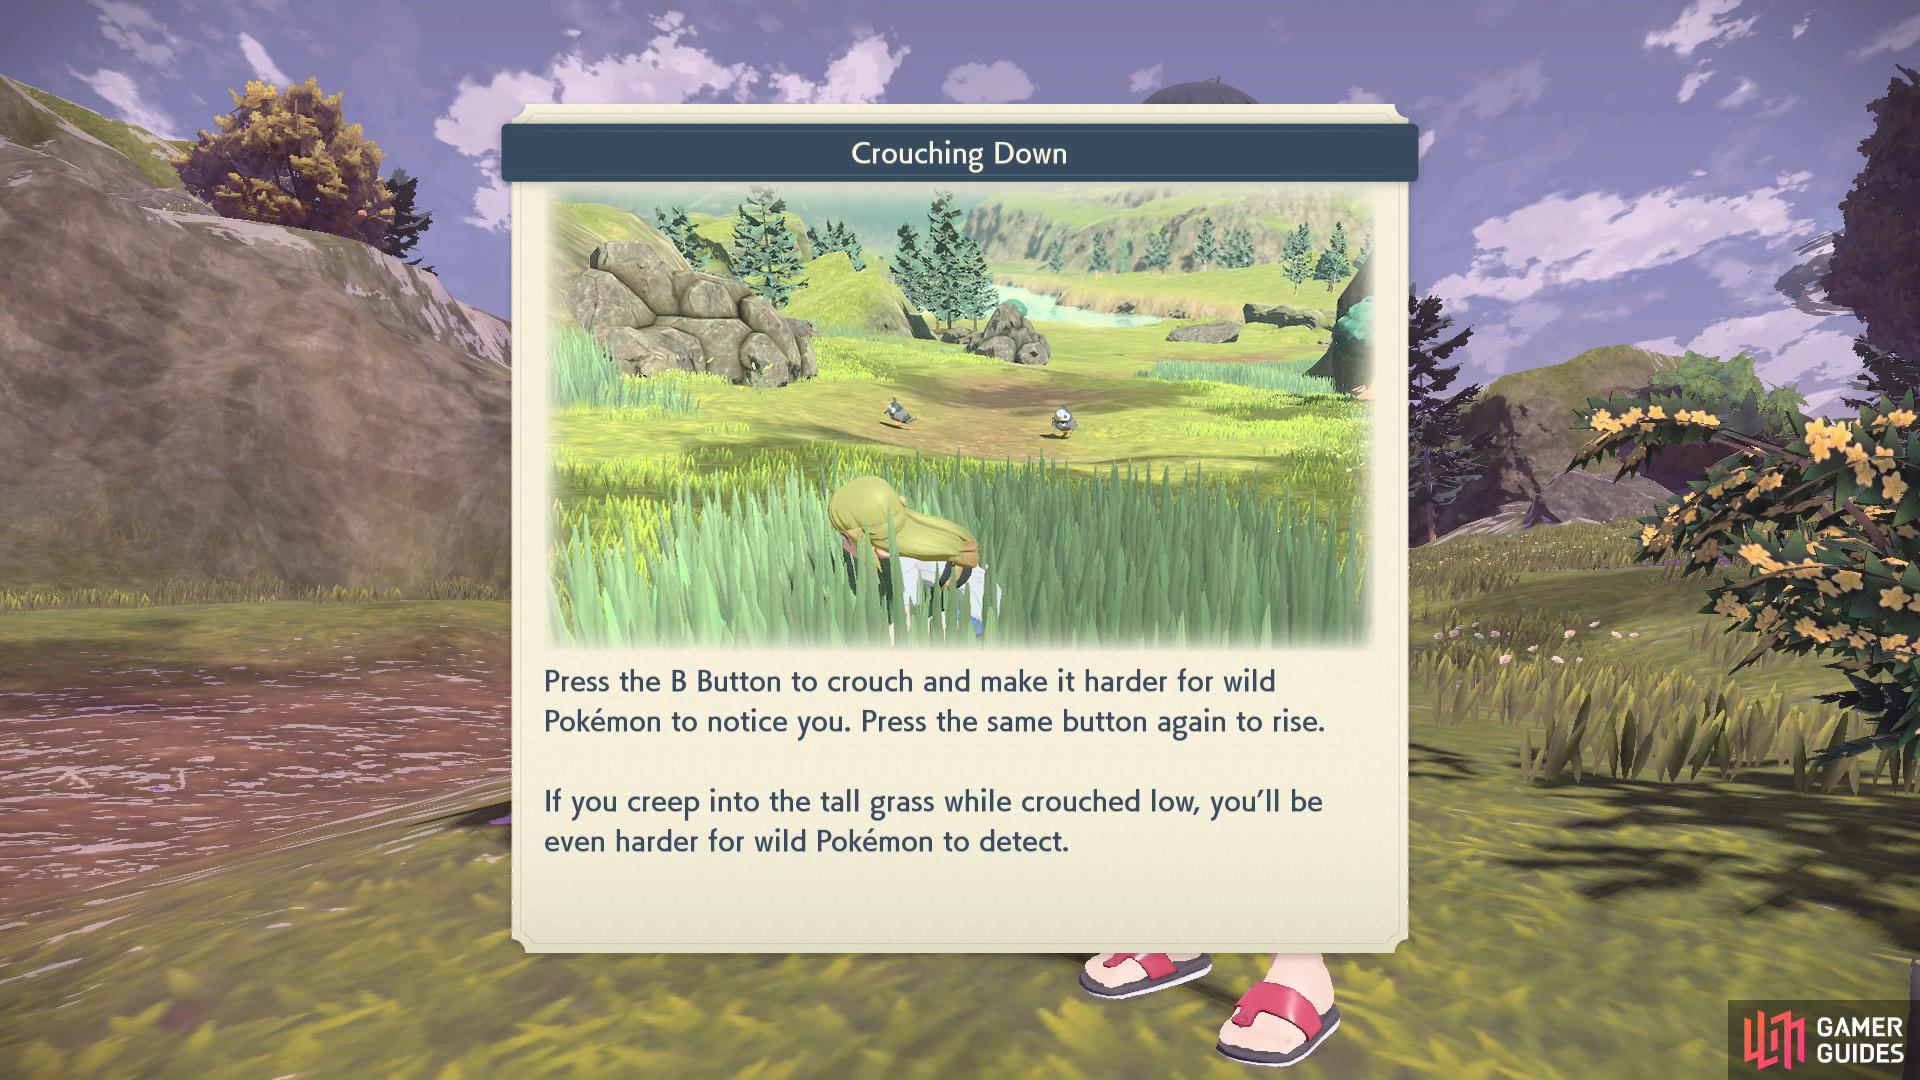
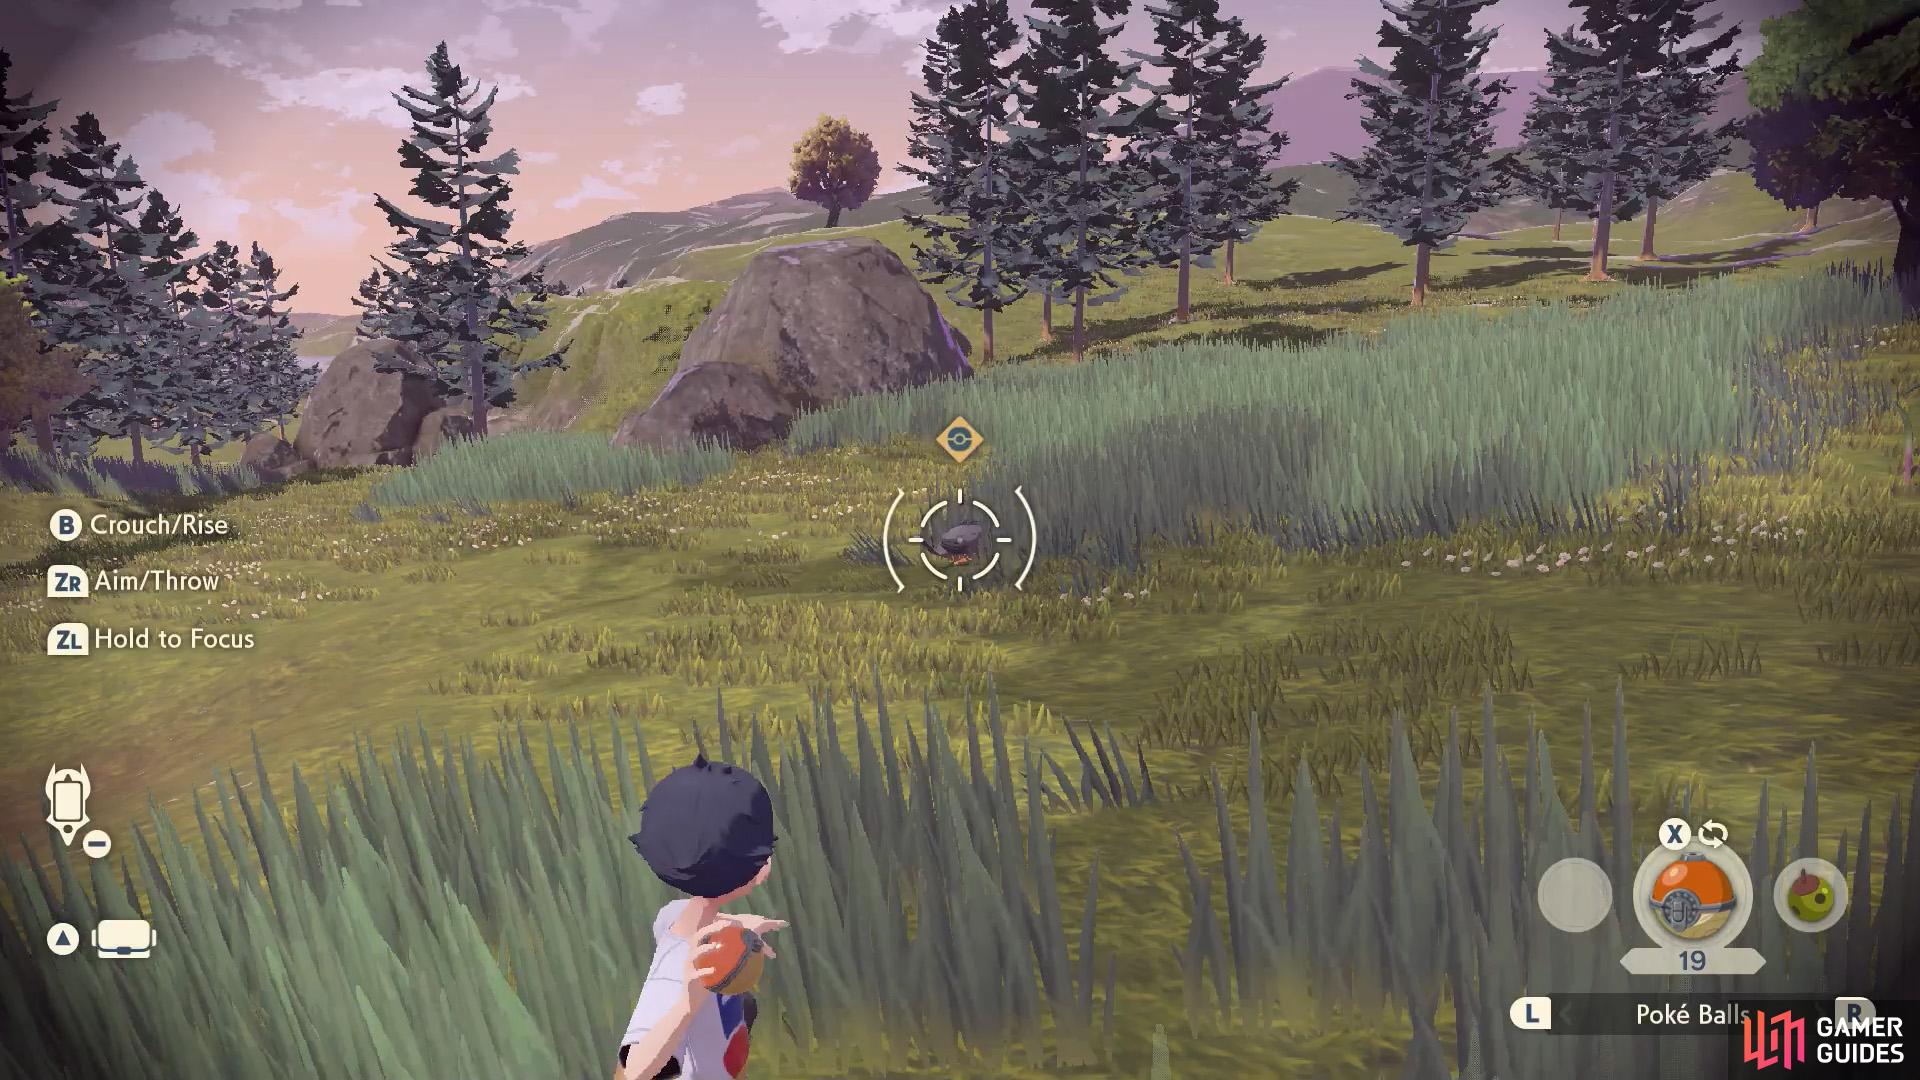
Crouching enables you to get closer to Pokémon that are skittish. (left), If you crouch inside tall grass, your chances of being seen will plummet. (right)
Using that advice, continue ahead, then crouch down before getting too close to a Starly. Slowly crawl towards the tall grass along the left or right side. Then when you’re close enough to a Starly, lock on with  and throw a Poké Ball with . Of course, you could also aim a ball manually without .
5. Catch a Shinx
Before reaching your final target, Akari/Rei will point that you can throw your own Pokémon at certain trees and other objects (like ore deposits) to obtain items. Try it at the tree they highlighted.
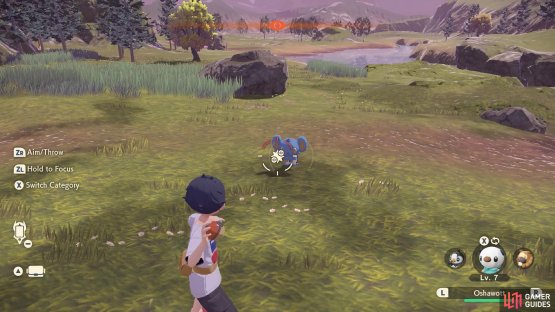

(1 of 2) Throw a Pokémon at Shinx to battle it.
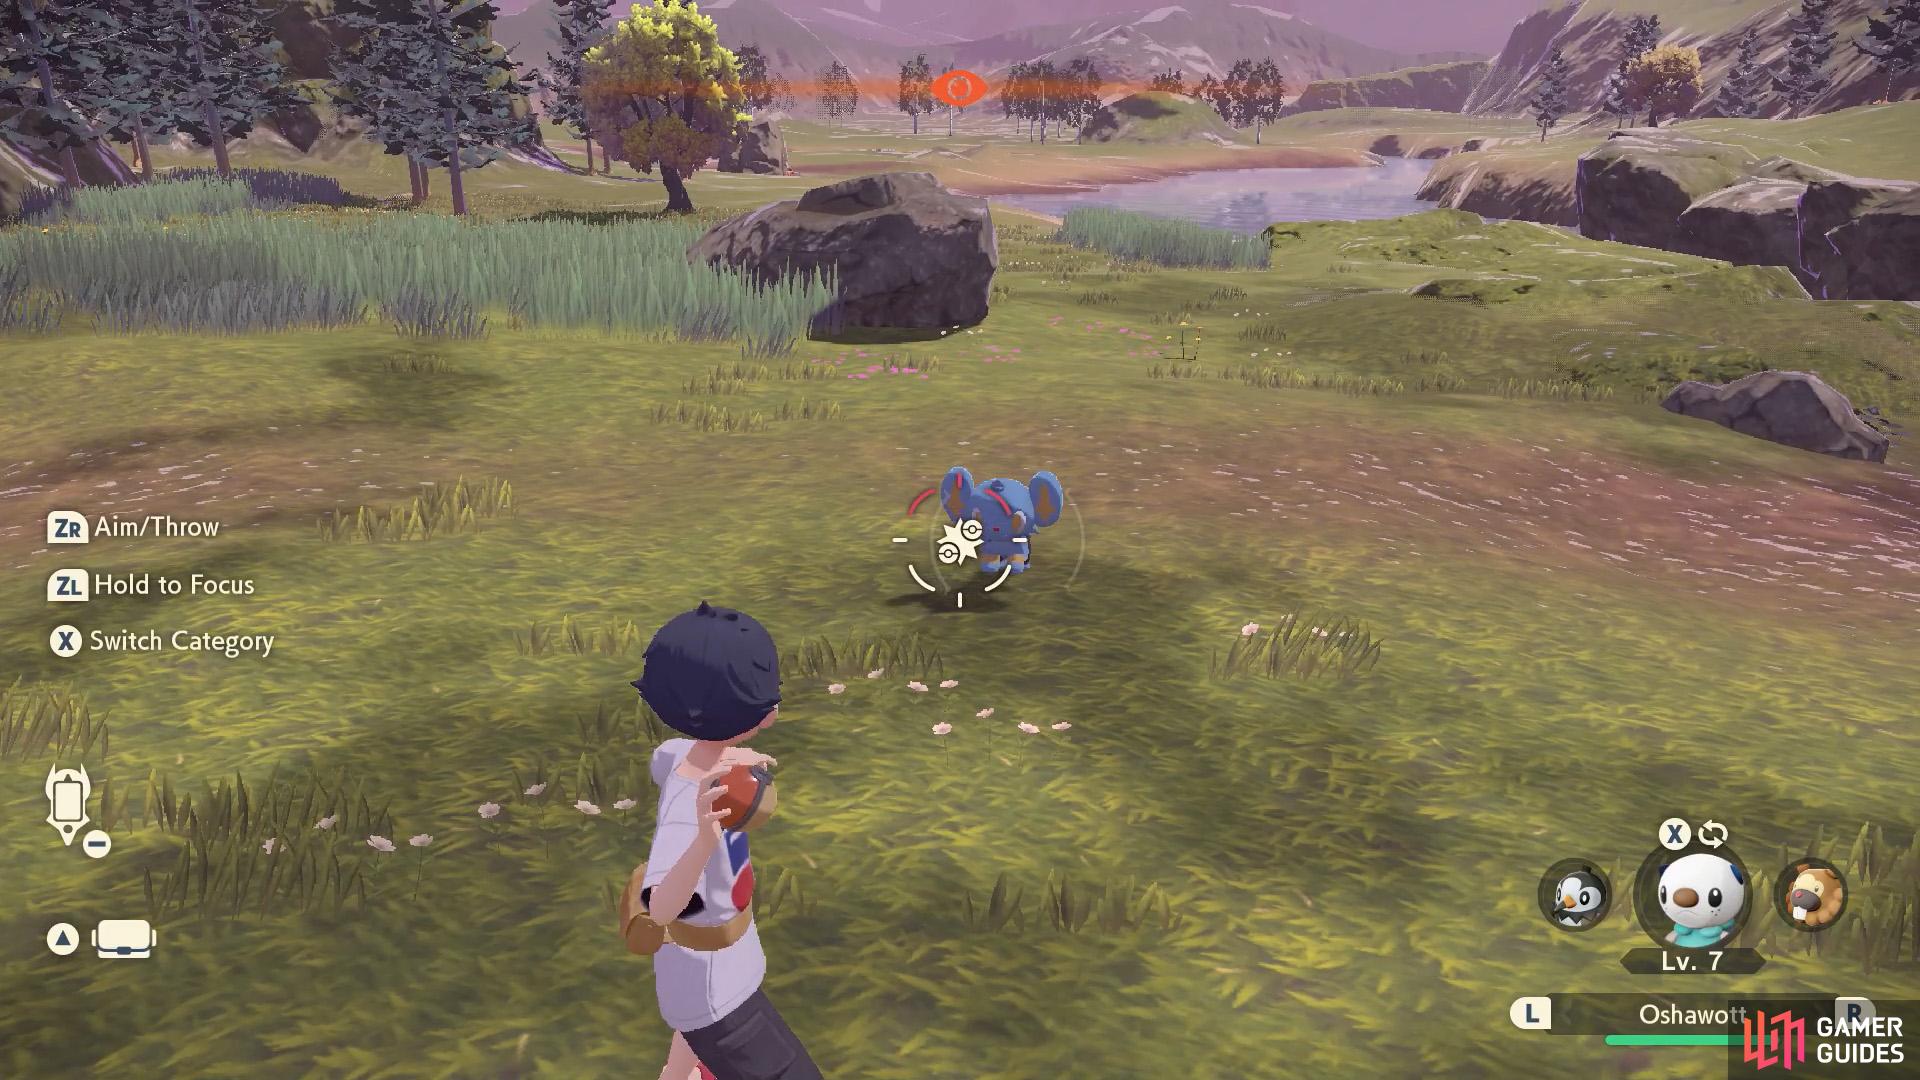
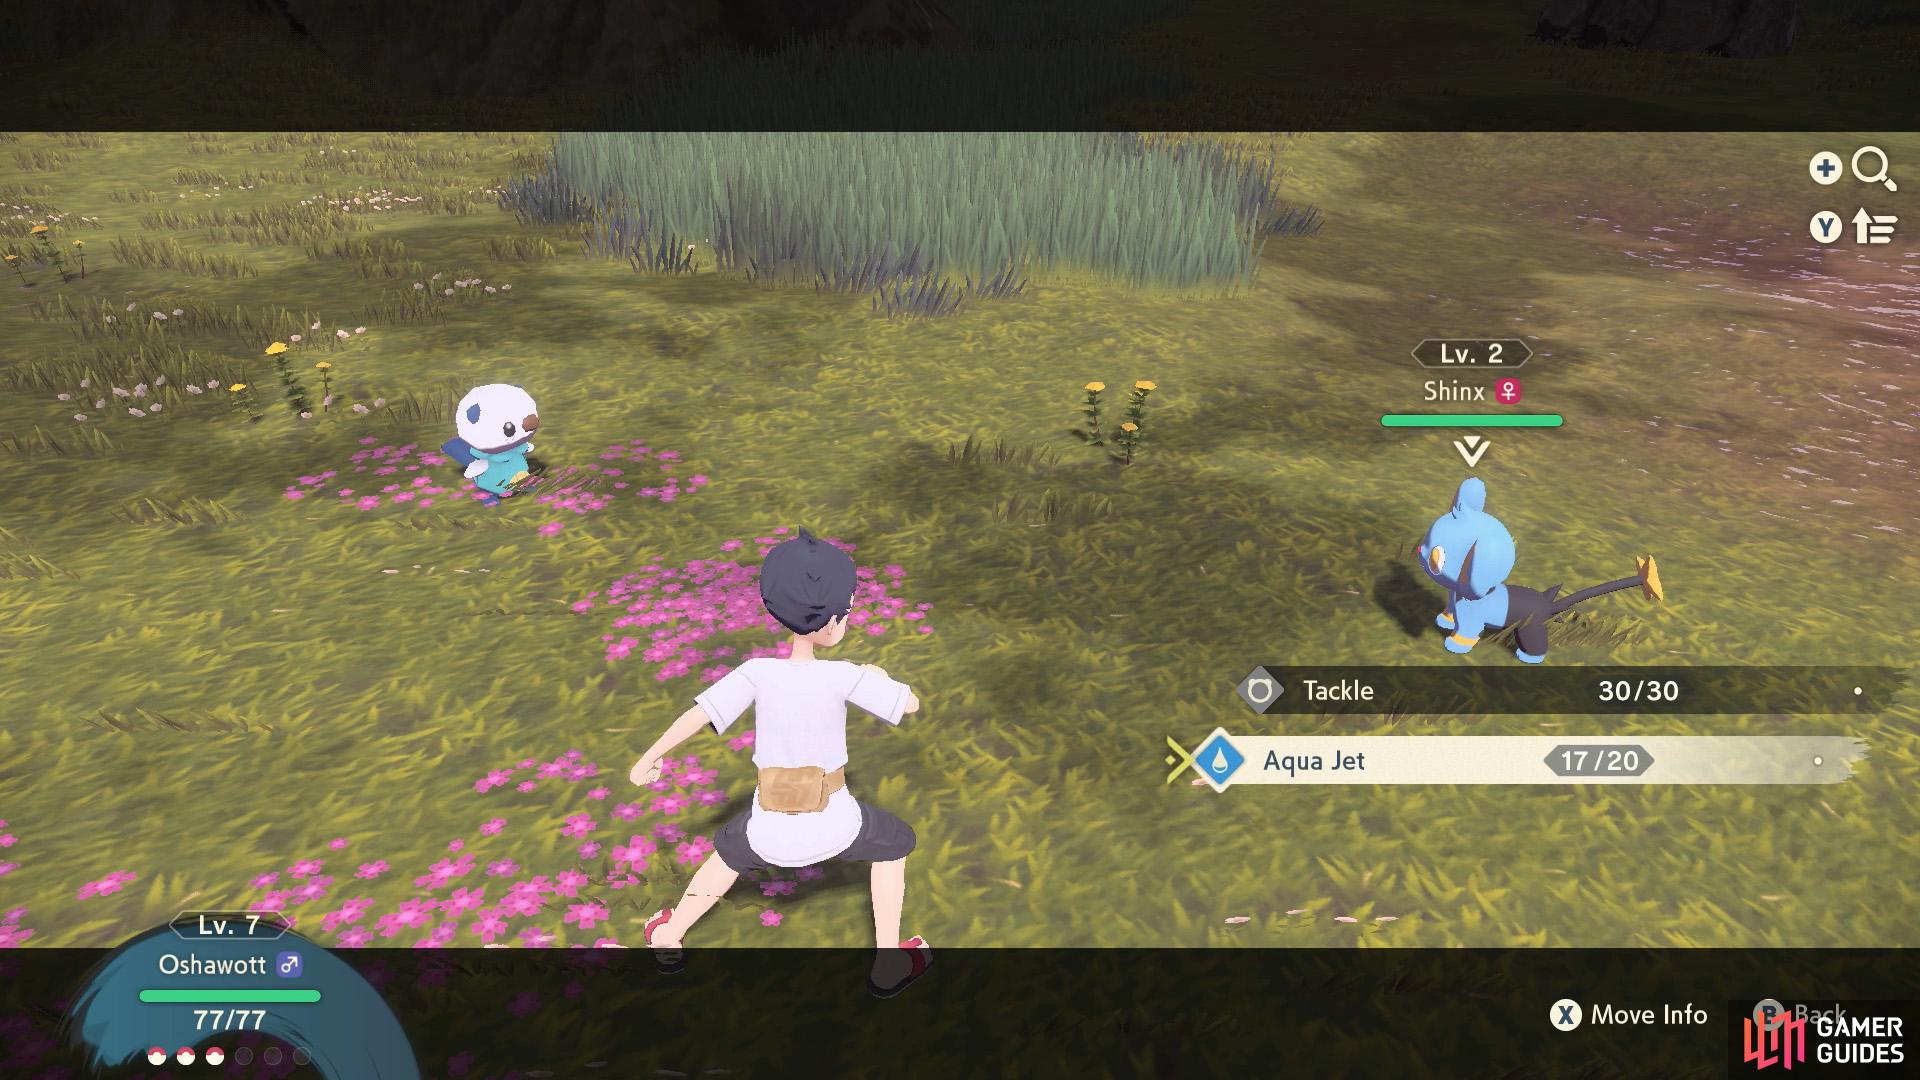
Throw a Pokémon at Shinx to battle it. (left), You’ll want to lower Shinx’s HP a little before throwing a Poké Ball. (right)
Further ahead, you’ll find out that Shinx are aggressive Pokémon and you won’t be able to catch them off the bat. Instead, you’ll need to take what you’ve just learned and throw a Pokémon at Shinx to fight it. You can throw your Pokémon directly at Shinx or near it to begin a battle.
Once the battle has started, use your Pokémon’s attacking move to lower Shinx’s HP, but do not take its HP to 0. Otherwise it’ll faint, disappear and you’ll have to try again. When you think Shinx’s HP is low enough, throw a Poké Ball by pressing  to switch to your balls, then press to toss a ball. Or press
  to access the Items menu, then select the Poké Ball from there.
6. Report to Cyllene


(1 of 2) Time to report back to the Captain at Galaxy Hall!
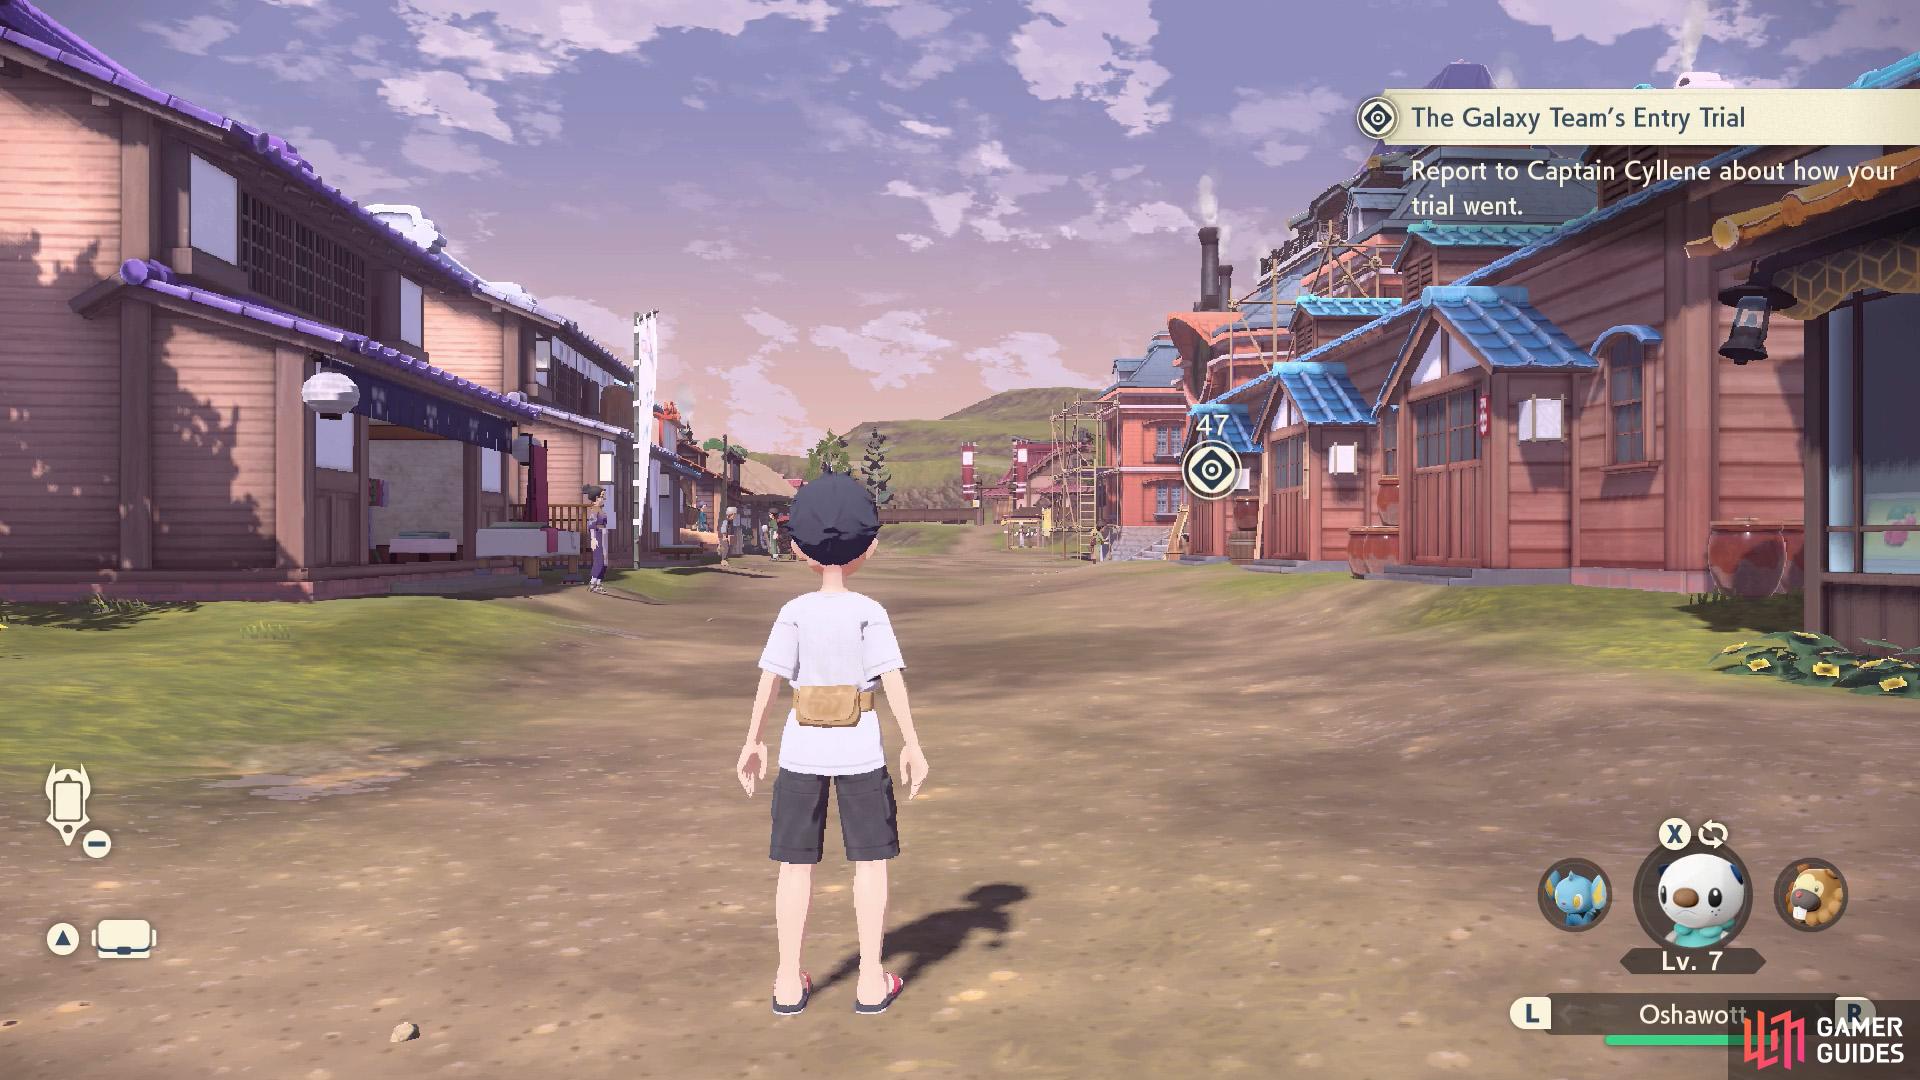
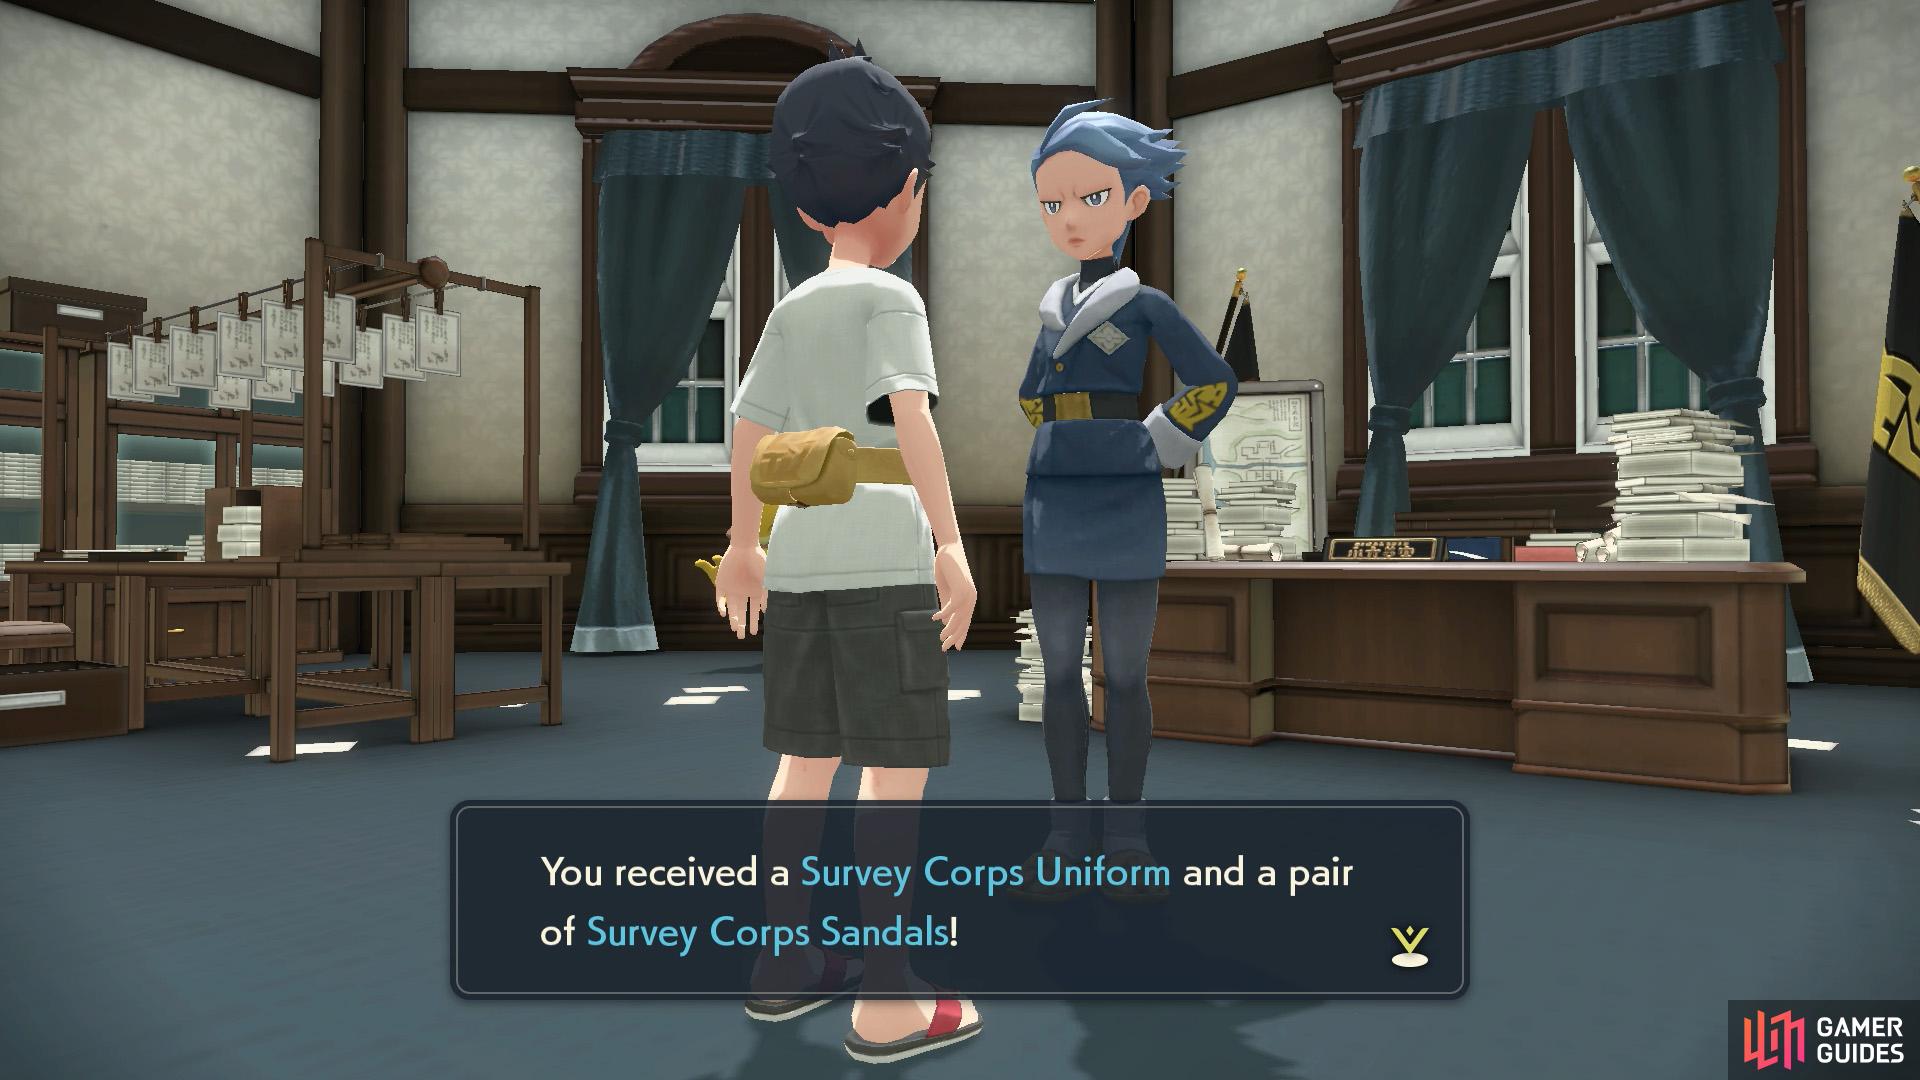
Time to report back to the Captain at Galaxy Hall! (left), She’ll give you the uniform of the Survey Corps. (right)
Having caught the three Pokémon that Cyllene requested, you’ll be taken back to Jubilife Village. Head over to Galaxy Hall, which is straight ahead and on the right. Inside, go forward and step inside Cyllene’s office. She’ll congratulate you for not dying and hand you a Survey Corps Uniform and Survey Corps Sandals.
7. Go Home and Get Dressed
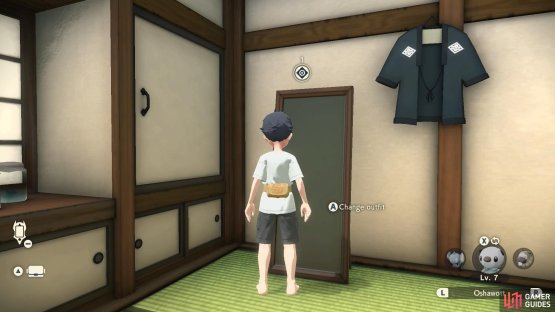
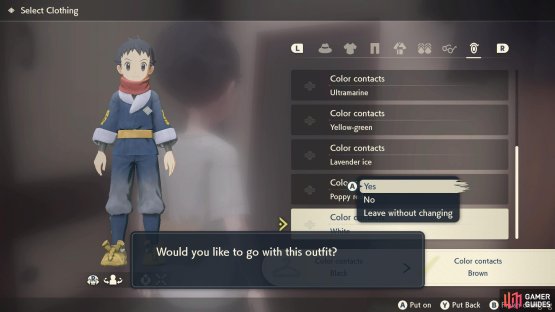
(1 of 2) Check out the mirror at the back of your room.


Check out the mirror at the back of your room. (left), Next, don the Survey Corps Uniform and Sandals. (right)
Leave Galaxy Hall and return to your accomodations. If you’ve forgotten where it is, you turn left from Galaxy Hall and it’s the first house on the left. Inside, go to the back of the room and inspect the mirror on the right. Select the Survey Corps Uniform and Sandals with  , then–when you’re happy–press
  to finish changing.
8. Report to Commander Kamado


(1 of 2) The Commander of the Galaxy Expedition Team awaits upstairs.
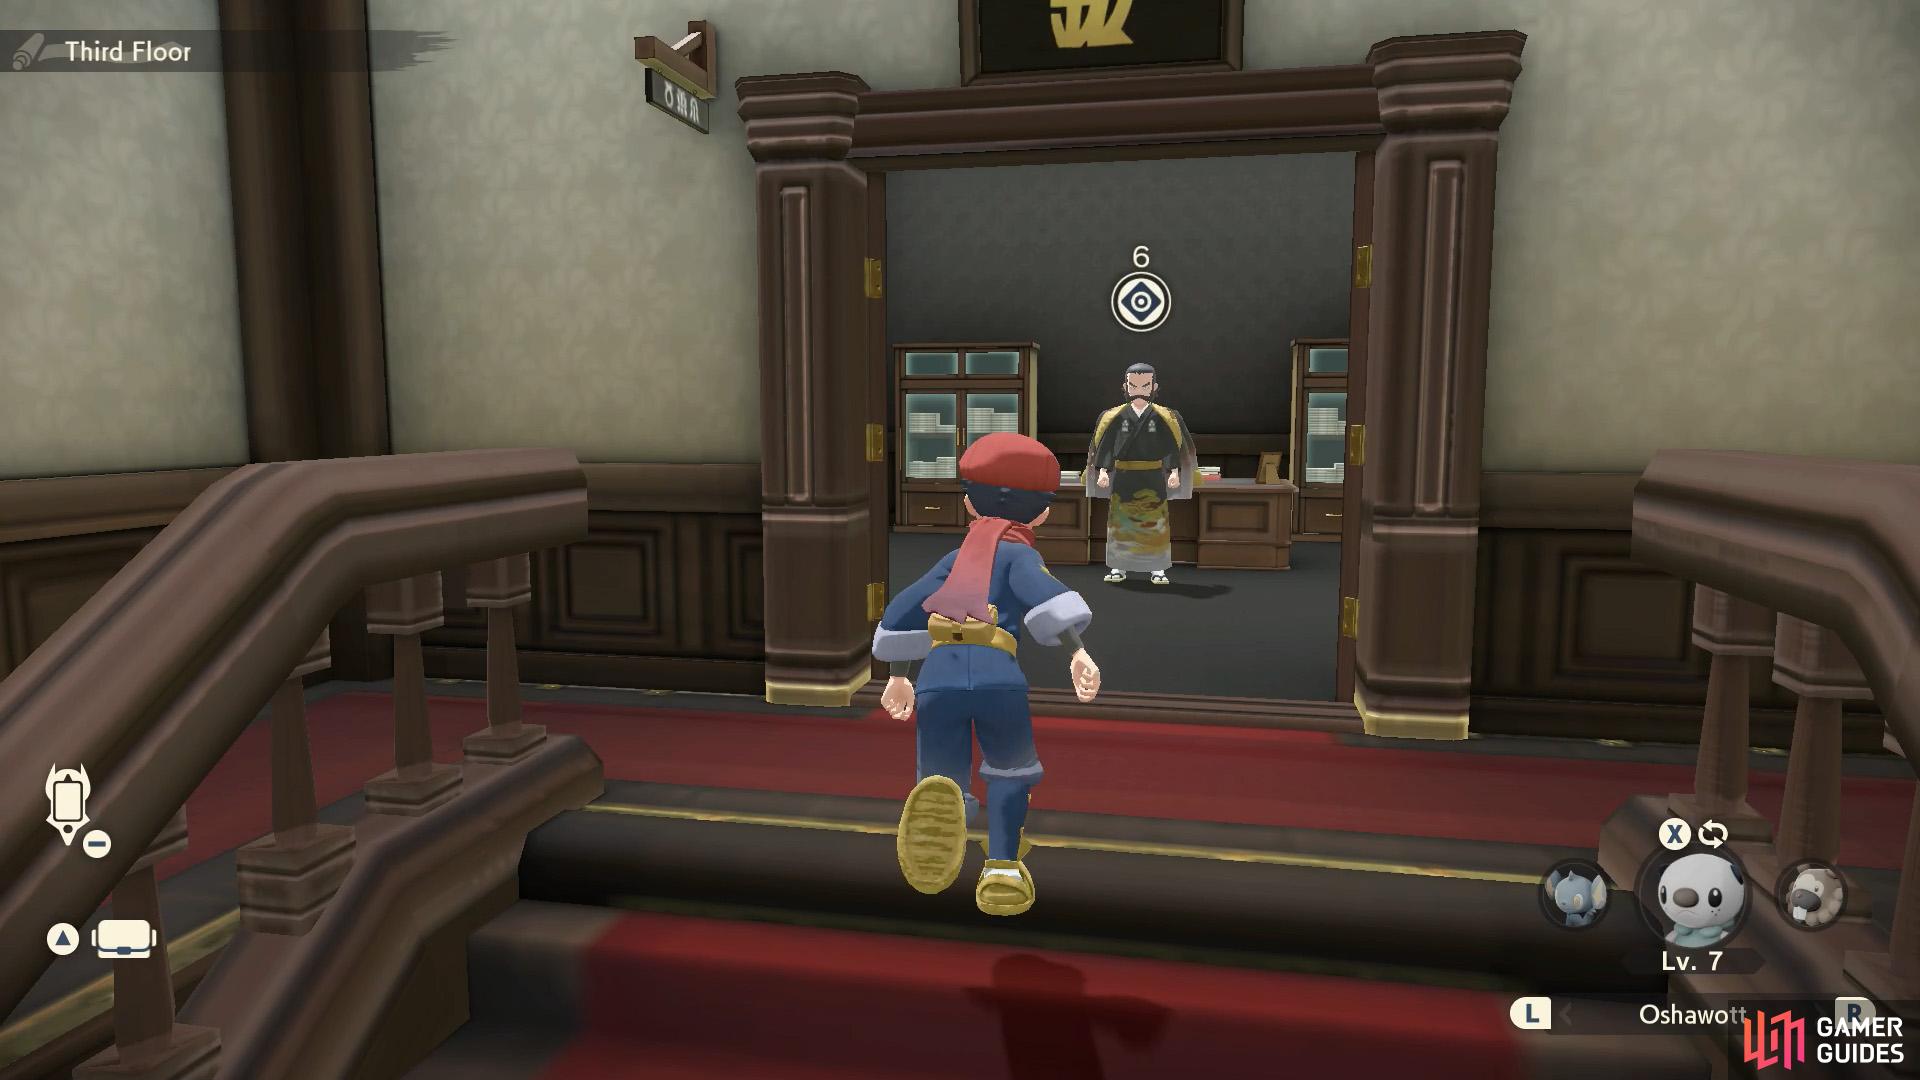
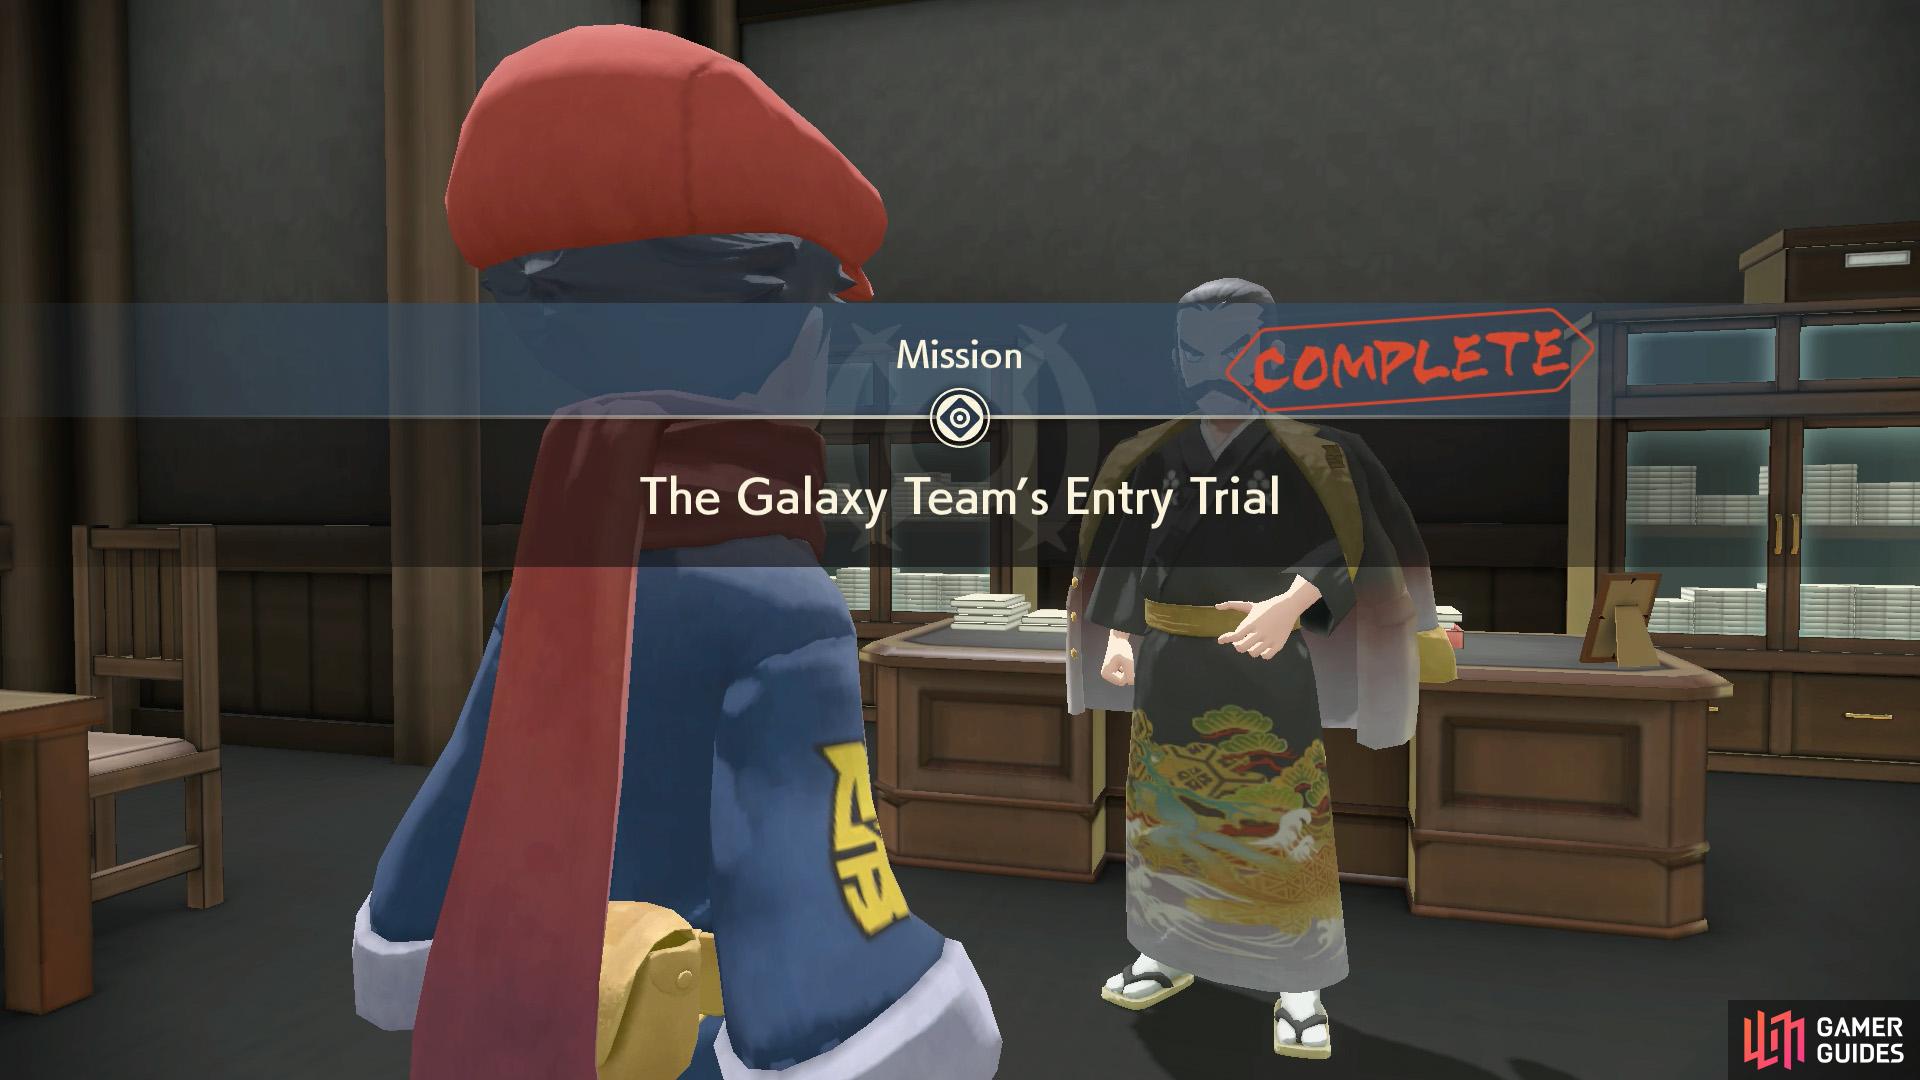
The Commander of the Galaxy Expedition Team awaits upstairs. (left), Mission 2 is a success! (right)
Back at Galaxy Hall, you’ll be ordered to speak to Commander Kamado, who’s waiting on the top floor of Galaxy Hall. Head up one of the nearby staircases, then go up the staircase along the middle. Kamado will give you a welcome to remember–and thus your second mission comes to a close.
No Comments