This is a guide for Mission 1, “In an Unfamiliar Land”, in Pokémon Legends  Arceus (PLA).
How to Start the Mission
(1 of 2) You’ll awaken to find yourself surrounded by a Cyndaquil, Oshawott and Rowlet.
You’ll awaken to find yourself surrounded by a Cyndaquil, Oshawott and Rowlet. (left), GamerGuides on yet another Pokémon adventure! (right)
You’ll automatically receive this mission the moment you enter the Hisui region. At first, you’ll be greeted by Professor Laventon and the Hisui region’s three starter Pokémon:  Rowlet,
  Cyndaquil and
  Oshawott. However, the three Pokémon will run away.
1. Obtain the Arc Phone
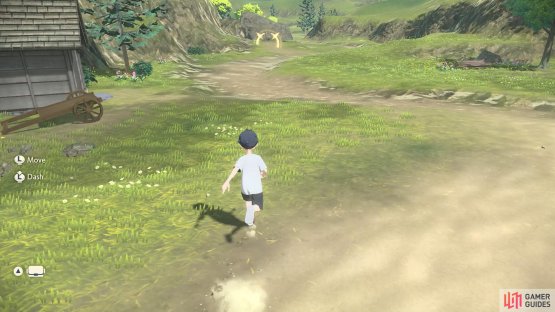
(1 of 2) Go over and check out that obvious, glowing object ahead.
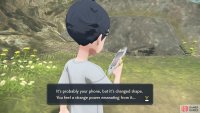
Go over and check out that obvious, glowing object ahead. (left), Your phone has been transformed into an Arc Phone. (right)
When you’re in control, there’s a glowing target straight ahead. Use 
Upon reaching the target, you’ll obtain the Arc Phone, plus a message from the One Above. Afterwards, follow the path around towards a wide, open clearing. You can use 
2. Round up the Runaway Pokémon
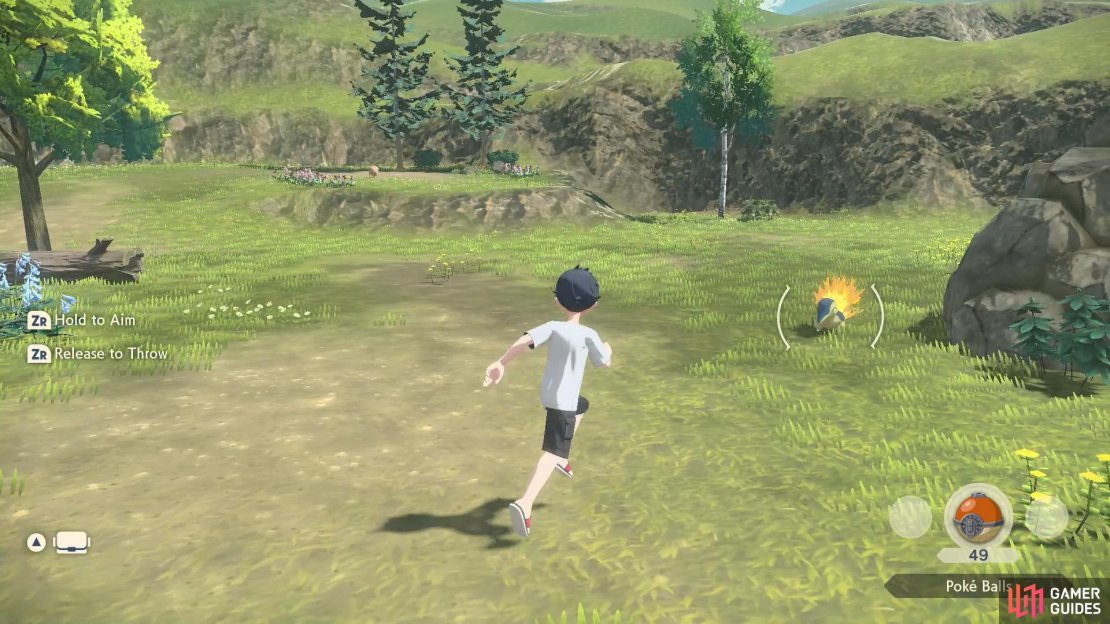
Professor Laventon will highlight the three runaway Pokémon and temporarily give you 50 Poké Balls to catch them with.
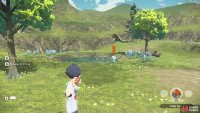
(1 of 3) First you’ll be able to spot Cyndaquil by the rocks.
Cyndaquil can be found in the middle of the boulders towards the right. Meanwhile Oshawott is chilling in the pool towards the left. Finally, Rowlet is at the top of the slight incline straight ahead.
All three Pokémon are extremely passive and easy targets for your Poké Balls. But, just to keep you on your toes, the third Pokémon will always break out of the first Poké Ball. So simply throw another.
3. Enter Jubilife Village
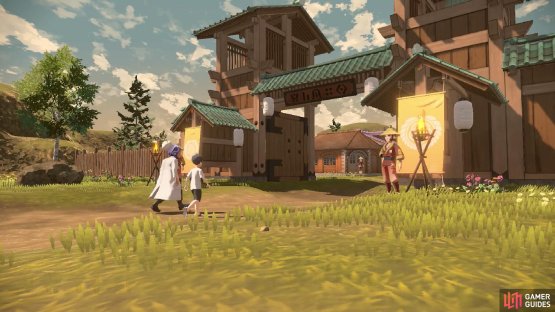
(1 of 2) Jubilife Village is the only village, although there are smaller settlements out there.
Jubilife Village is the only village, although there are smaller settlements out there. (left), Naturally, the villagers are wary of you. (right)
Afterwards, Laventon will lead you towards the main settlement in the Hisui region: Jubilife Village. He’ll slowly walk in the direction of the main street, while you slowly follow behind him. At this point, you can vaguely explore, but if you stray too far, the Prof will hurry you up.
Eventually, he’ll stop in front of Galaxy Hall, before remembering an errand he forgot to do. He’ll ask you to head to the Wallflower, the village canteen, ahead of him.
4. Head to the Wallflower
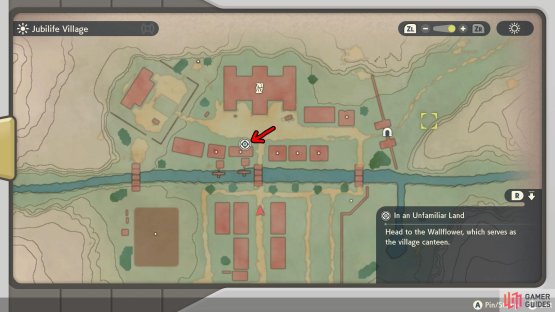
(1 of 2) You probably don’t need to use the map this time, but it’s useful to have a glance.
You probably don’t need to use the map this time, but it’s useful to have a glance. (left), The Wallflower is straight ahead after turning left. (right)
Anyway, you should notice the guidance marker directly ahead and slightly left. Head across the bridge, towards the front of the Galaxy Hall–the biggest building in the village. Then take a left and the Wallflower is just around the corner. Easy!
The owner of the Wallflower will give you the hard shoulder at first, but then a friendly face appears. You’ll meet Akari or Rei, who becomes your new friend. If you haven’t clocked, they’re the opposite gender version of your character (so Rei if you’ve chosen a female character, or Akari if you’ve chosen a male). Soon afterwards, the Professor will return, with another new face in tow.
Cyllene is the captain of the Galaxy Team’s Survey Corps, who operate from Galaxy Hall. She’s naturally suspicious of you–and wishes to test your abilities before you can be accepted into the community. After she leaves, you’ll dine with the Professor and Akari/Rei at the Wallpaper.
5. Go Home
(1 of 2) The Galaxy Team will provide you with some temporary lodgings for the night.
The Galaxy Team will provide you with some temporary lodgings for the night. (left), Here’s your humble accommodation. (right)
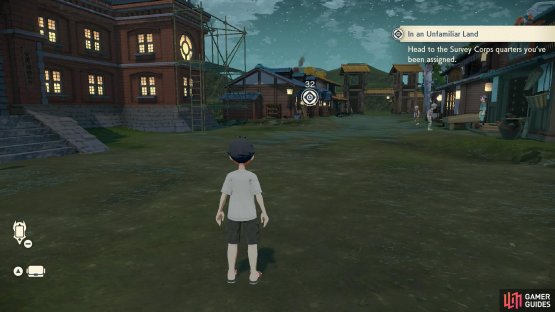
To wrap up the day, you need to visit your quarters–your new home in this mysterious world. It’s the small house to the right of the Galaxy Hall, straight ahead from where the game leaves you. Approach the door and press 
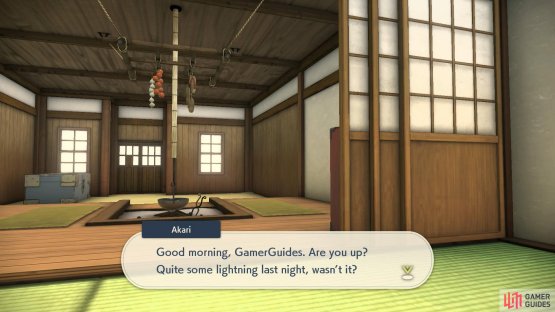
After saving your game or otherwise, go over to your bed at the back the room and tuck yourself in for the night.
6. Report to the Galaxy Team Headquarters
(1 of 2) Rise and shine!
Rise and shine! (left), Time to visit Galaxy Hall. (right)
The next day, leave your house to meet up with your new friend. He/she will point you towards Galaxy Hall, to meet with the Galaxy Team. Inside, you’ll be briefly shown around, before being sent to Captain Cyllene’s office. Thus ends your very first mission.















No Comments