
The Modern Warfare 2 Recon by Fire mission is a stealth-sniper mission, taking Gaz and Price through an estate in Galicia, Spain. The mission involves navigating a large field area, sneaking their way through the sniper fields, cartel towns, and doing some snipping of their own. This is one of the longer and more hard work missions in the MW2 campaign. Here is an MW2 Recon by Fire walkthrough, offering you some great tips and tricks to beat this mission.
Note, doing this mission stealthy up to completing the second sniper area awards the player with an achievement, nobody was there. This requires you to complete up to the second sniper section without raising the alarm. Players can reload to the checkpoint if they mess up, and you can also go a little louder during the first compound section when you need to check the two buildings.
Here is aMW2 walkthrough for the Recon by Fire level. Here you will get a guide on the sniping challenges, how to get the level trophy, and how to avoid the patrols.
MW2 Recon by Fire Walkthrough
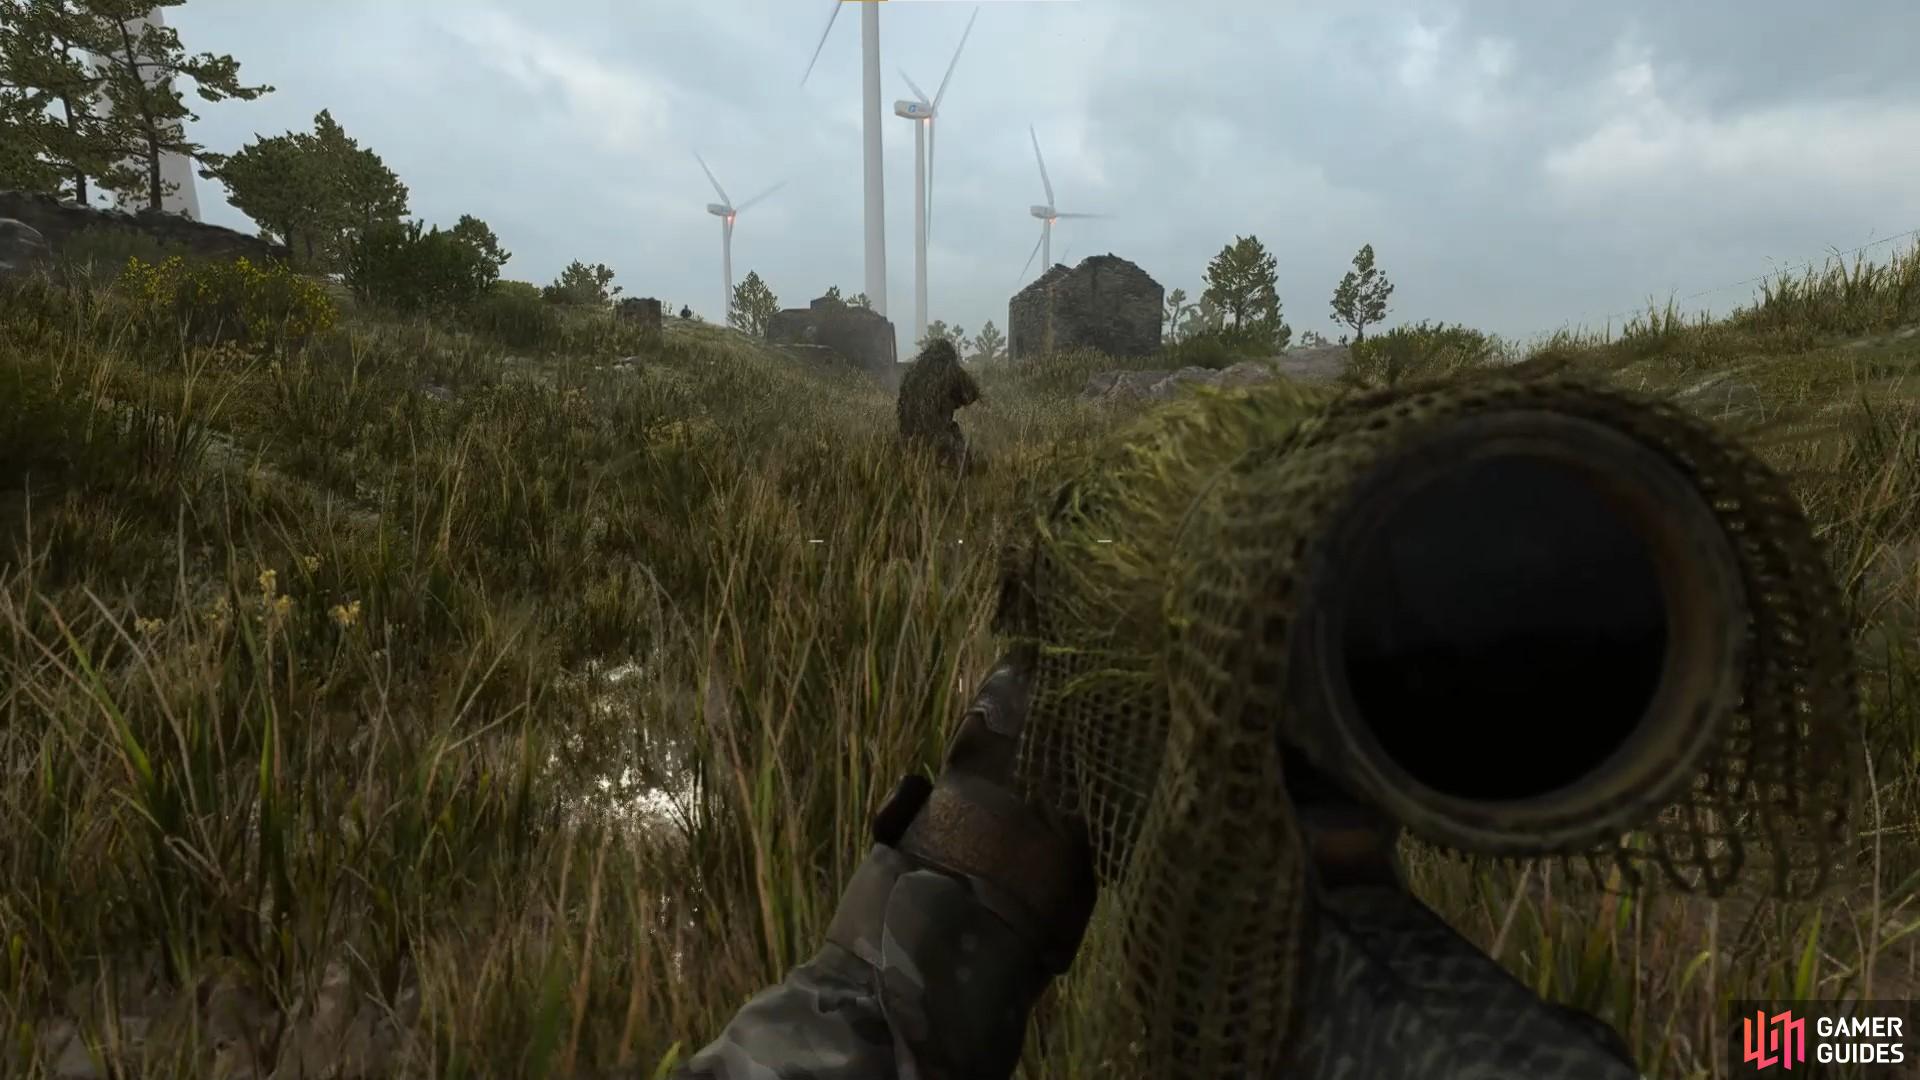
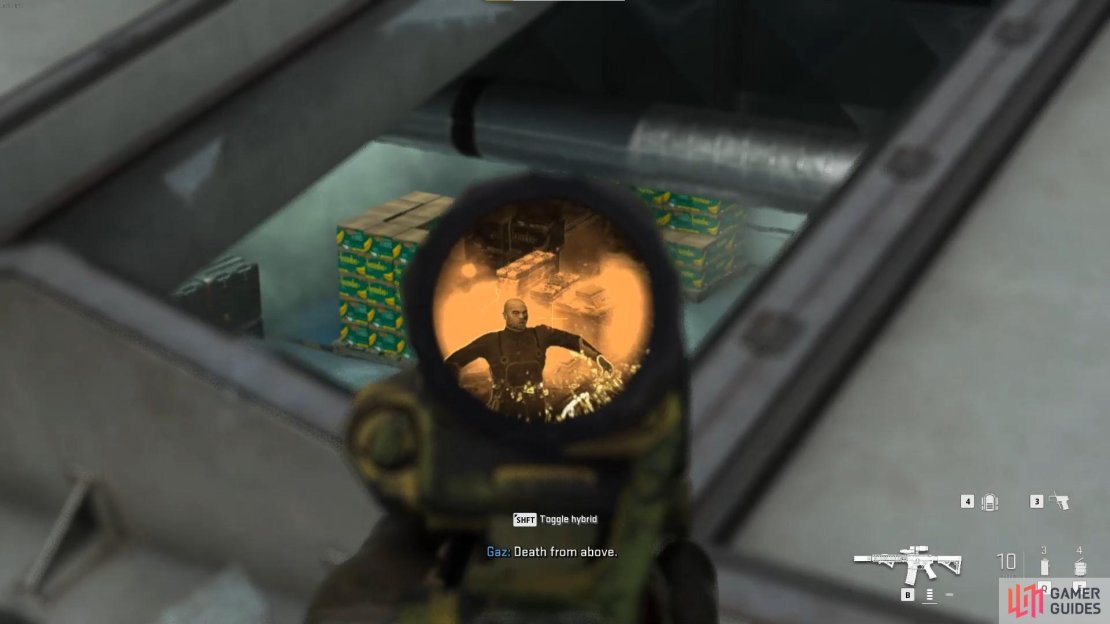
As the mission starts, you and Price are all ghillied up, ready to sneak through the cartel field. Follow Price’s instructions, and monitor the first set of cartel members near the truck. After that, follow him again, and then you will learn how the sync sniping works during this mission by taking out two other ghillie recon units.
Now you will prone through a tunnel under a road. You will come out the other side, and encounter a walking cartel patrol. Price will prompt you to hide your weapon to reduce your visibility.
We recommend moving slightly right near some yellow flowers in the grass near the stone wall. You will avoid most of the guards and occasionally have to move slightly and slowly for when a few more walk down towards the end. Don’t move too much when the patrol gets really close to you, as they will spot you. S anticapte their path and plan ahead.
Lie down in the grass, and move somewhat near the wall to the right to avoid the first set of enemies, but you will need to move slowly to avoid the second batch of enemies.
Once the cartel patrol passes, there are two left, which you and Price will take out. Once they are dealt with, you will walk quite a distance, with some role-play speech options ahead of you to fill the time.
First Sniping challenge on Recon by Fire
Once you get your way through the field, there is a sniper challenge you overlook near the windmills. Your task is to remove all of the area’s armed guards. Some are solo snipes, some are duo snipes, and others will require you to reposition and take two enemies out with one round.
You will need to move near the Windfarm for one collateral challenge and then move right of Price to do another.
The locations of the targets are in no particular order. it’s just the way we did it, and it worked for us:
- One alone bottom right near a smoking shed.
- Another alone to the very far right of the compound.
- One more alone at the very top right of the compound, north from where you shot the previous guy.
- Two together near the far right of the compound beside a forklift.
- Three playing cards towards the centre-right area of the compound. You will need to position somewhat to the right of Price to hit the two targets.
- The next target is slightly south of the three card players, with his back rested against one of the round fish hatcheries.
- There’s another alone target slightly to the bottom left of the previous target near some other hatcheries.
- Two more targets are standing near a building near the bottom left of the camp. You will need to wait for the third person to pass before it’s safe to shoot.
- Now you can take out the one person walking by themselves.
- The final target in that area is to the south of the civilian compound workers congregating around one of the hatcheries.
- Now you will need to relocate to kill the next set of guards. You want to move to the next set of rocks and grass to the right of where Price is lying down. You can now take out two guards near the garage area towards the back-center of the compound.
- To the south are a few more guards near a truck. One of them walks alone, which you can pick off when he is behind the object between him and the truck.
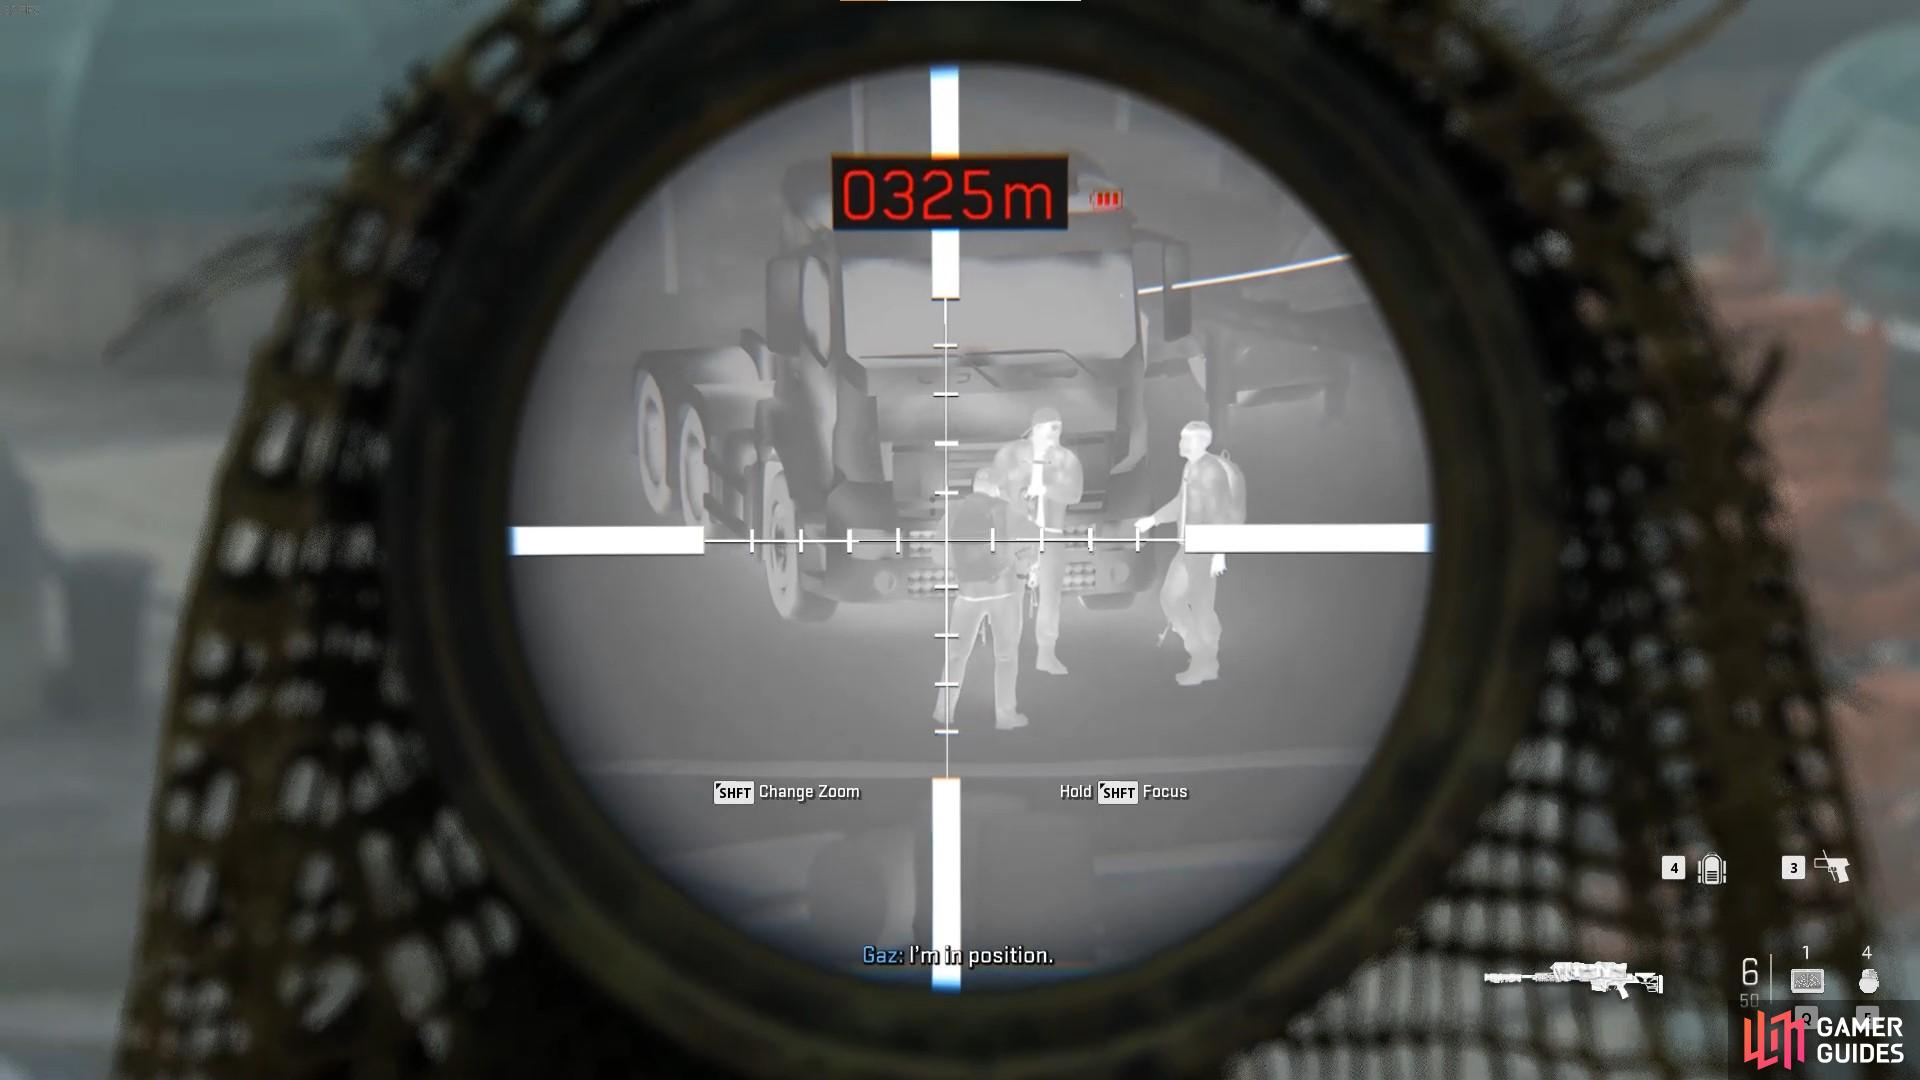
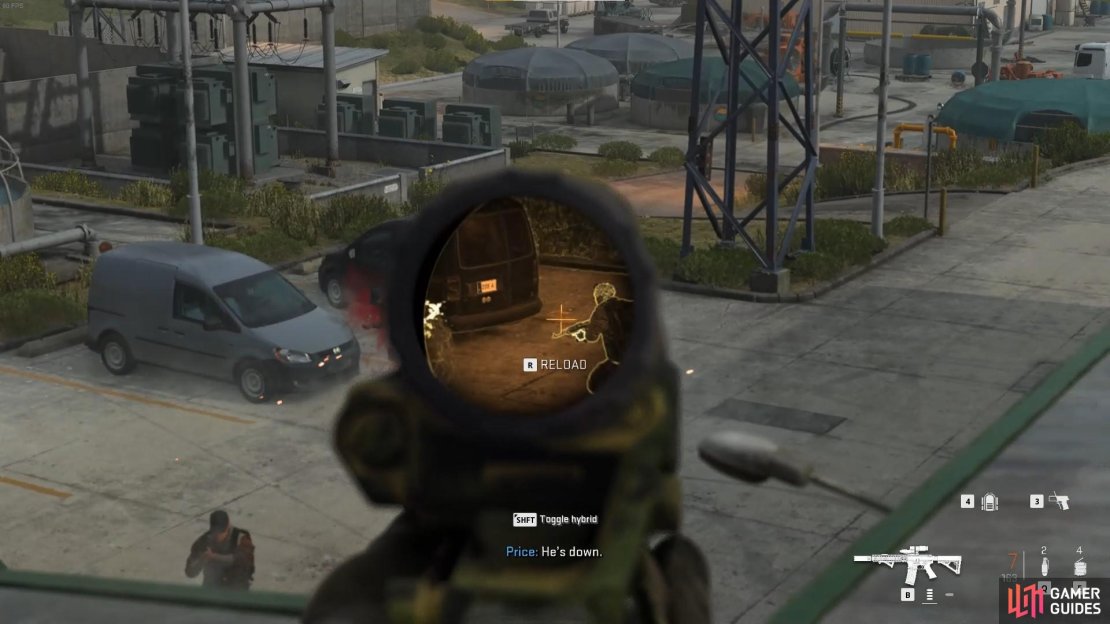
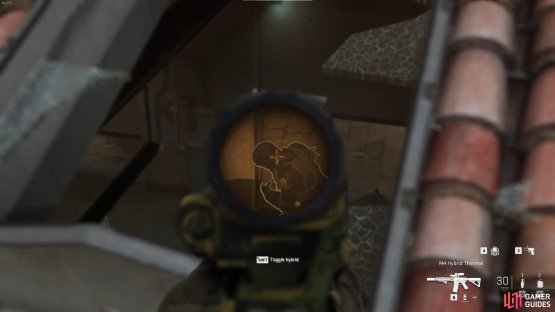
- The final set of guards requires you to aim from some rocks on the left side of the wind turbine along the road below you and Price. This will allow you to line up your final shot. See the above image as an example.
- From that shot, drag your aim towards the pickup trucks at the front of the compound to spot one guy under the truck, and one guy by the car door. You and Price will take both of them out.
- Now move to the left side of the car park for two more guys hanging out by a car. It is another coop shot for you and Price.
Second Patrol On Recon by Fire
Lay down near some rocks and yellow flowers to avoid the second patrol easily.
Now it’s time to make your way down the hill to the compound. A car full of Al Quds soldiers will leave a few trucks and do a quick patrol. We recommend staying behind, dropping into prone and hiding your weapon. After that, try to put yourself near the rocks on the hill. The guards will not try to walk across the rocks, and you will be rather safe throughout the second patrol.
Clearing the First Compound in Recon by Fire
(1 of 3) Head to the roof of the first building in the compound. You can then flash, tear gas and smoke to take care of the enemies easily, an tehn drop in when it’s safe.
Now you will go down to the site and clear out two buildings. We recommend going to the building on the left first. As for your approach, we recommend throwing a smoke grenade into the top left corner of the skylight as that seems to keep the few enemies in the other room and the back corner put. You can then easily spray the guys down on the right side of the room with your AR. You can then reposition yourself to the right side of the skylight, shooting the feet of the guy covering the long angle below the light. You may then drop down, which will cause the remaining hostiles in the other room of the buildings and back corner to come out. There’s plenty of cover for you to use, but if you’re on harder difficulties, you can pop smoke below you and use that as cover, and then your thermal from your sniper rifle.
Once all the enemies are dealt with, go to the container in the room and look for clues. After that is done, the game then spawns five very armored cartel members nearby. Two will come through the door in the second room. We recommend getting your Heartbeat sensor for this and then going through the left door with your sniper out. You can then pop one in the head, and Price will snipe the other for you. One other guard is further down the road you popped those two guards, which can easily snipe in the head. The final two enemies patrol the hatcheries. Use your heartbeat sensor to track them, and pop them in the head. Price will provide overwatch for you if one of the armored guards is about to spot a body. Take all five out, then move to the next building.
The next building has a few ways you can do this. We recommend placing come C4 in front of the main garage area on the car park floor. You can then climb to the roof of the building and open one of the vents and throw tear gas into the building. The enemies inside will open the garage doors and run out. A few will get through solo for you to shoot with your AR, and then you can detonate your C4 once more smarm out into the car park. Take the rest out, and even Price will take a pop at one or two for you. Be aware that some do run back inside. You may have to chase them down. Once they are dead, head to the table on the right of the warehouse to take notes.
Second Sniping Challenge on Recon by Fire
The next compound area also requires you to snipe enemies with Price. These enemies are armored, so you will need to hit them in the head to succeed.

One of the best spots to snipe is near the dirt road further down the hill.
- One target is stood alone, overlooking the sea from the left side of the compound, behind the buildings. It is the easiest of the targets to take out first.
- There’s another target alone behind the first building overlooking the sea.
- There are two enemies along the main road to the front of the compound you and Price can sync your shots to eliminate. Be careful here, as Price says two notches, but he lies and its very easy to whiff. However Price can rapidly take care of them since he has an aim hack or something.
- There’s another easy solo kill by a window up against the building at the back of the compound.
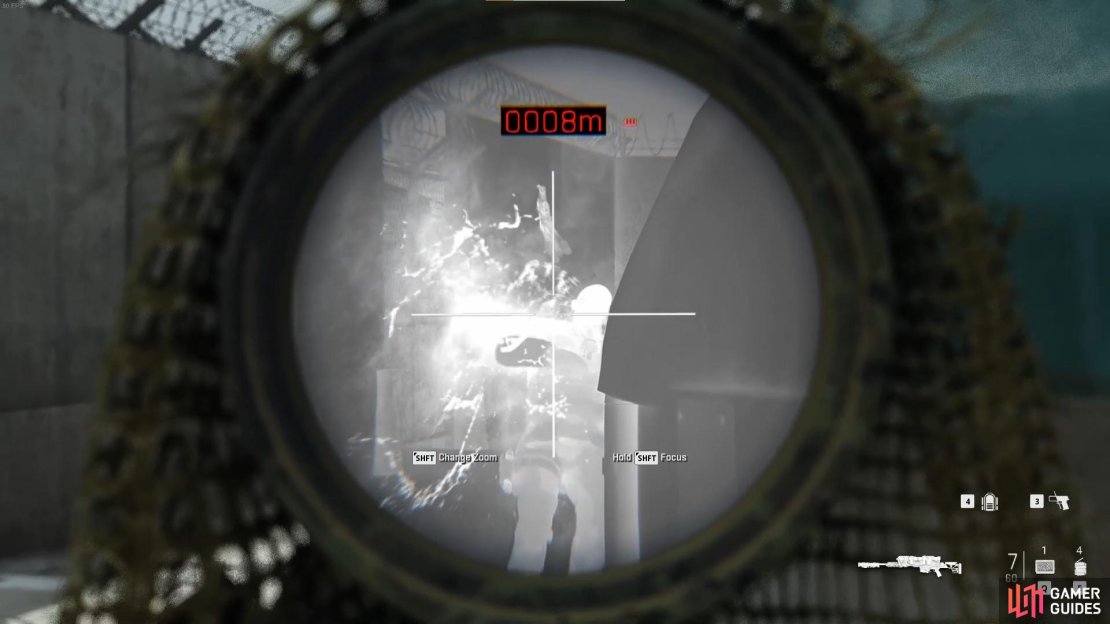
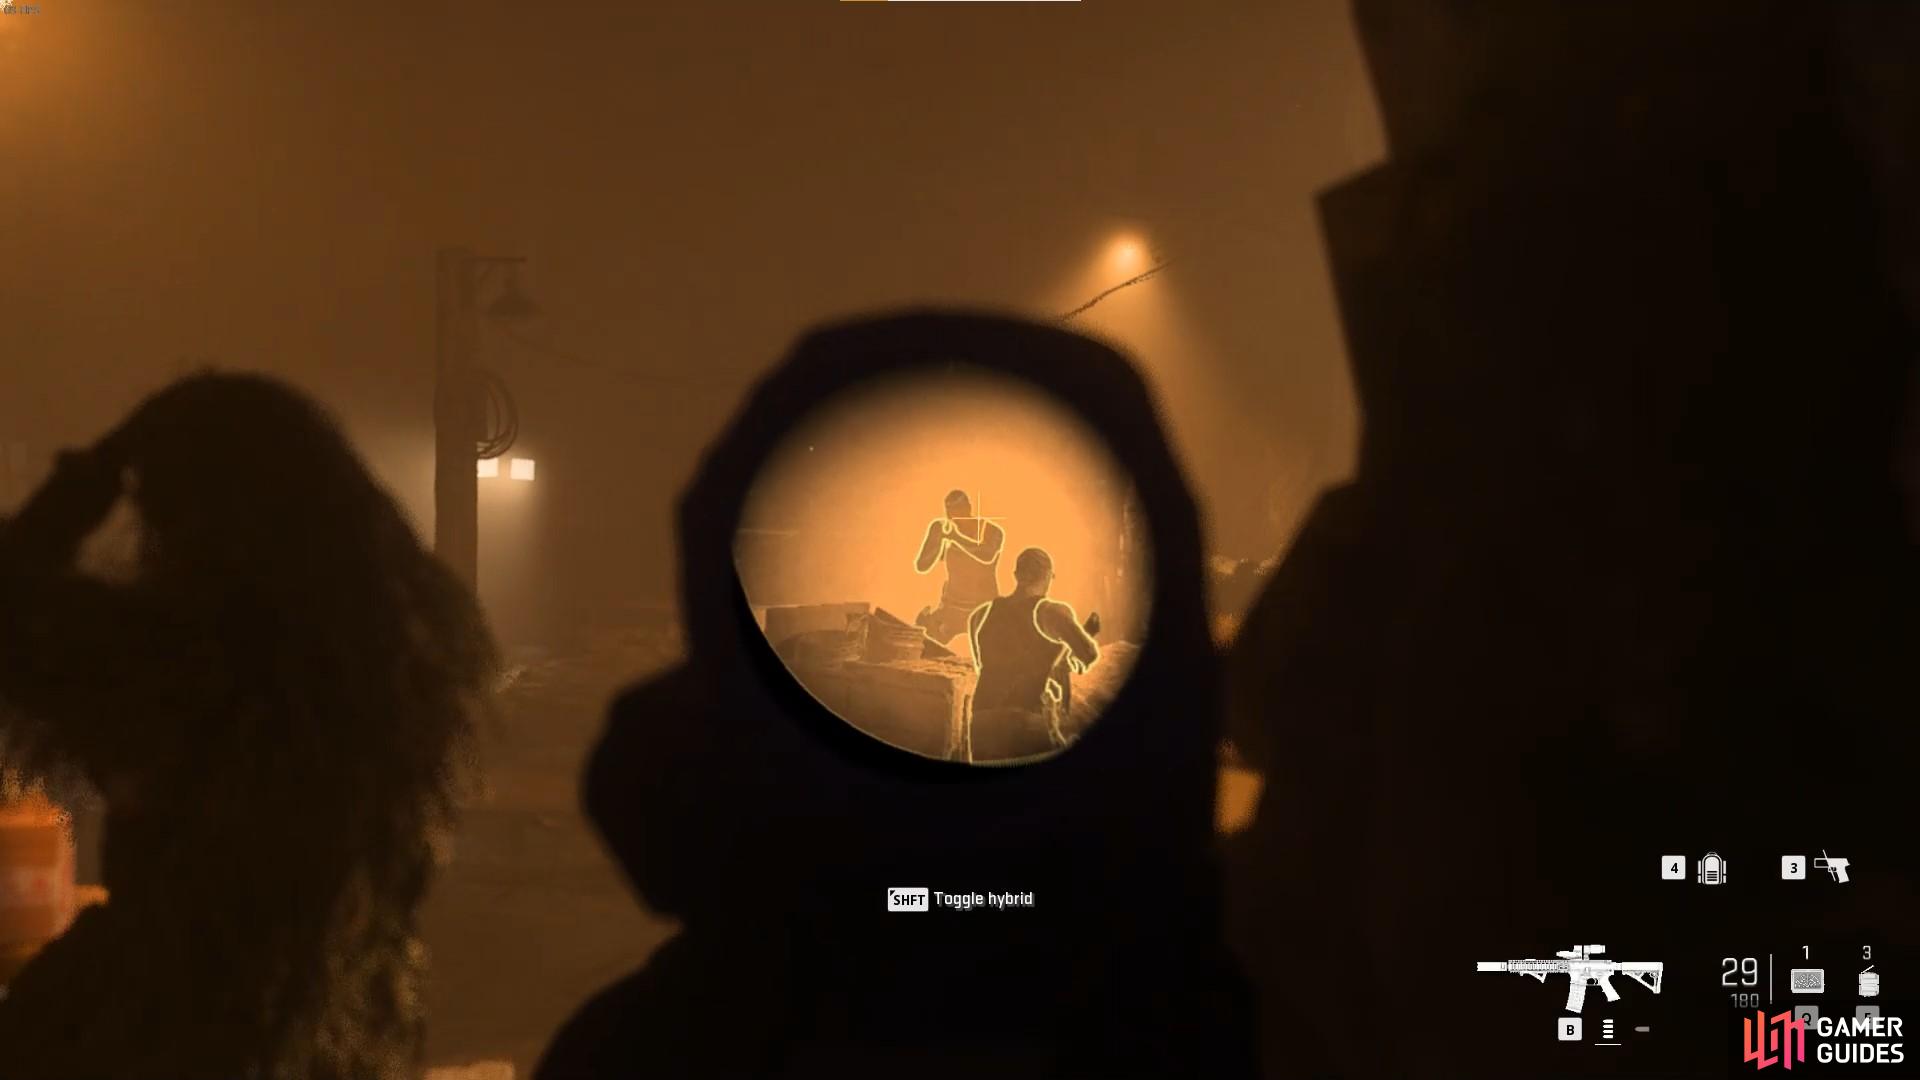
- There are three enemies near the garage door towards the building at the back. You will need to move closer to the dirt road to the right of Price to take the shot against these two clean. See the image as an example.
- There’s a pack of three near the garage doors to the building at the front of the compound. One of them walks away at some point, allowing you and Price to take the pair out.
- You can take out the one that walks away.
- Now you need to aim for the three guys near a very small building towards the bottom of the compound. Head leftwards towards a line of rocks on the hill. You can then snipe from the rocks to get the collateral kill, while Price takes the third guy out.
- The final pack is near the gate at the back of the compound. Wait for the third man to walk down the road, and then you and Price can sync and kill the two guards by the gate. Once they are dead, take out the final guy.
If you have managed to do the sniper challenges silently without detection, you will get the Nobody Was There achievement.
Third Patrol
Get in-between the circle rock formation near the road to avoid the final patrol.
Once you have sniped the guards at the second compound, there is one final patrol truck. You can once again go prone near the clump of rocks and hide your gun. You should not get spotted and not need to adjust yourself either.
Now that’s all done, head down to the compound.
Second Compound in Recon By Fire

(1 of 2) Head to the roof of the first building in the second compound, throw tear gas into the vent, then spray his head as he opens the garage door. You can then throw frags, c4 the side doors and try to blow the fleeing ones up, then pick off any survivors.

Head to the roof of the first building in the second compound, throw tear gas into the vent, then spray his head as he opens the garage door. You can then throw frags, c4 the side doors and try to blow the fleeing ones up, then pick off any survivors. (left), Throw a flash into the skylight, then snipe this blind man now the glass is shattered. Proceed to flash the rest of teh rooms to easily snipe the heavy armored heads. (right)
Now you’re inside the compound, start with the garage building on the left. There are a fair few heavy guards inside the garage, along with some lightly armored AK users. We recommend placing two C4 charges on the two side doors of the building and then throwing some tear gas in through the vent on the roof. One set of baddies will try to open the garage door, while others will go towards the side doors. Spray or snipe the enemy opening the garage door, then detonate the C4s on the door. You should be able to kill the rest with either of your weapons. Now it is clear, search the wooden box by the main crates for a note.
Now onto the bigger villa in the compound. The best way to tackle this is by going to the back of the building, climbing up, jumping along the air vent on the wall, and then hoisting yourself to the roof. You should then go to the skylight on the left of the roof you climbed, throw a flashbang to break the glass, and then scope in with your sniper and pop a dude’s head below it. Now you can drop in, go into the next room, and pre-aim the doorway as there will be an armoured dude near the garage. Pop him and then flash the room, and kill the remaining heavy in the room in teh open, and the no-armor man behind the counter. Two more heavy armored guards will come behind you. Flash the room as they enter, and pop them too. One final dude will lurk behind them for you to scope out with your sniper.
Now head into the secret cave and pick off the final few cartel members.
Now they are all done, search the building, then head towards a giant washing machine covering a secret hole. open it up, go down, and then there are a final few enemies in a secret cave you can spot on your heartbeat sensor. After that, the mission is done!


No Comments