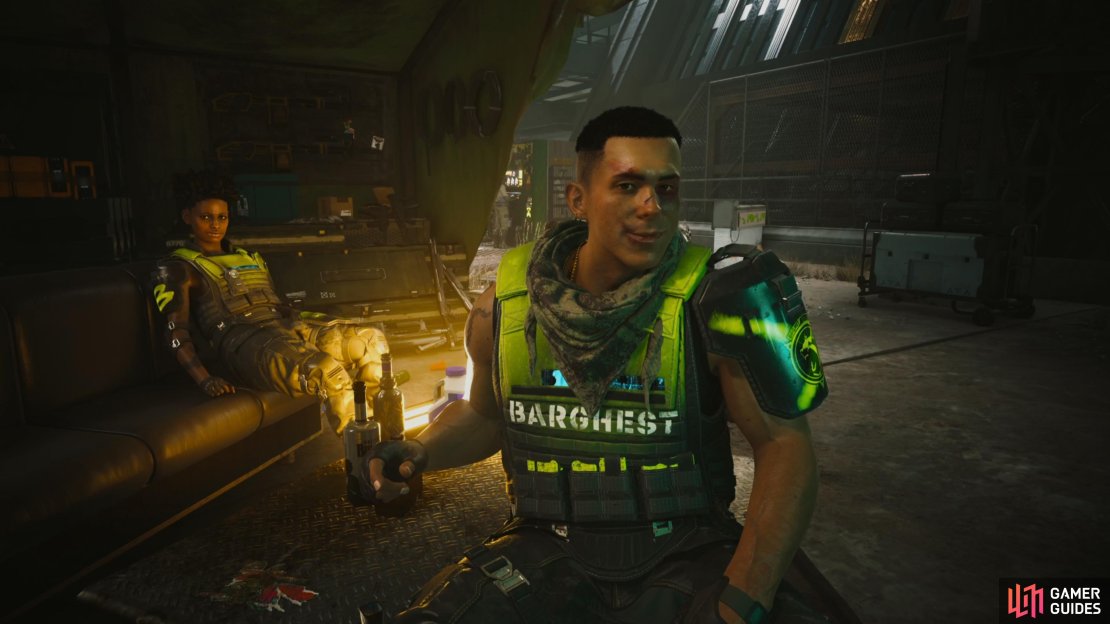
Balls To The Wall is one of the first gigs you can experience once you gain the ability to fully explore Dogtown without any restrictions. This mission will lead you to the Barghest Military Camp where you’ll meet someone named Paco and he needs your help getting out of a bad situation. Read below to find out the best way to help Paco.
Paco will require your help escaping his leader.
How to Start The Balls to The Wall Side Job in Cyberpunk 2077
Before you can start the Balls to The Wall Side Job you’ll need to progress through the main story until you’ve completed the mission Lucretia My Reflection which is the fourth mission in the expansion, so it should take you a couple of hours of gameplay to reach for most players. Upon completing the mission, you’ll want to go to Barghest camp which is located near the Golden Pacific Fast Travel. Alternatively, you can find the camp by entering Dogtown via the main gates and then heading down the first street on the left.
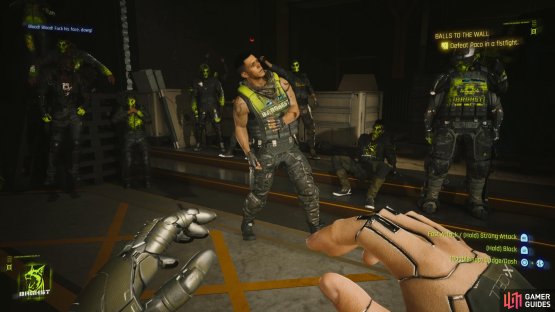
Once you’re inside the camp, look to the left of the entrance and speak with Paco, then eventually he’ll offer you the choice to take a hit of the Deep Dive and you’ll need to do so to progress the mission. You’ll now find yourself in control of Kurt Hansen who is the commander of Barghest, so speak with Yuri to discuss the plans of a future operation, then head down the stairs and talk to Paco to initiate a fistfight. Here you cannot die, so keep throwing jabs at Paco until he falls to his knees, and then you’ll come back to reality.
How to Defeat the Scavengers
(1 of 2) Defeat Paco in a fistfight
Defeat Paco in a fistfight (left), and clear out the scavs. (right)
Paco’s story isn’t concluded just yet, so take another hit of the Deep Dive, and then you’ll find yourself experiencing a past mission where you’re getting ambushed by several scavengers. Simply take them down until you approach the bridge, then you’ll want to take cover and make use of the flammable canisters to take them down as fast as possible. Approach the wounded soldier and you’ll return to the present day, discovering that Paco and Babs have stolen some generators from Hansen which means they will be in serious trouble if they don’t deal with the situation now.
Should You Frame Yuri or Run for the Hills in The Balls to The Wall Side Job
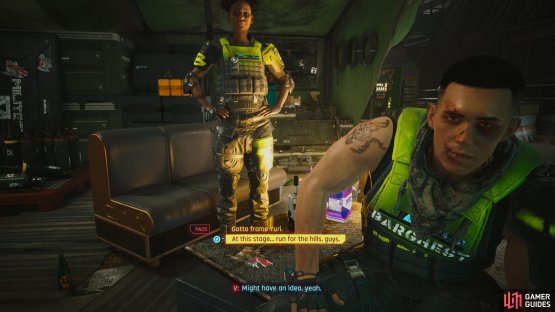
You’ll now be given two choices and they are “Gotta frame Yuri” or “At this stage… run for the hills guys.” If you choose to frame Yuri then you’ll need to head to an underpass to meet with Paco and Babs, but unfortunately, Yuri already knows about this plan and shows up in their place ready for a fight. Upon defeating him you’ll be able to obtain the M-10AF Lexington, M-76 Omaha as well as the Archived Conversation: Yuri Bychkov and Kurt Hansen Shard.
(1 of 2) Tell Paco to run for the hills
Tell Paco to run for the hills (left), and drive him out of Dogtown. (right)
Reading the conversation you’ll quickly learn that they knew about the robbery and you’ll find Paco dead. Alternatively, you can tell Paco and Babs to run for the hills, so you’ll need to drive him to the Grand Imperial Mall which is located outside of Dogtown. Here you’ll need to wait a couple of in-game days until you receive a text, then meet him in the Afterlife Club to bring the quest to a close and you’ll obtain the Carmen Power Assault Rifle and 8k Eddies.





No Comments