You’ll find yourself in some aberrative cyber version of the area you just fought through as Johnny Silverhand. Chase after “the stranger” repeatedly and he’ll keep vanishing when you get close until you finally manage to make contact.
Defend yourself from the Arasaka cyborgs.
The Prognosis
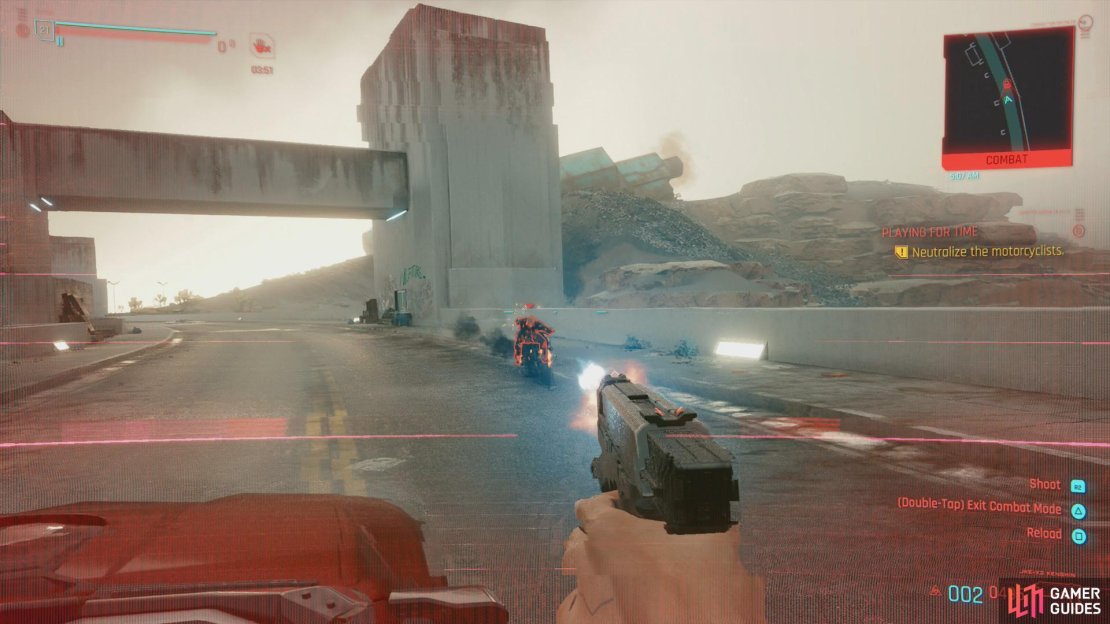
Press the buttons when prompted to dig yourself out of the trash heap you find yourself in, then crawl until you spot some familiar faces. Respond how you wish, but make sure you pick the option [Use airhypo] when it appears - failure to do so will result in a loading screen. Afterwards you’ll once again find yourself needing to defend yourself from within a moving vehicle. This is more scripted than skill-based, but if you’re too apathetic you can end up failing this - just don’t take your own health bar as any sort of guide, as it doesn’t seem to determine the outcome of this at all.
After you fend off the enemies there will be a lot of chatter - Vik will fix you up and give you a dire prognosis before you’re sent home. After a chat with Misty and some sleep you’ll have another encounter with Johnny Silverhand that proves what Vik was saying, and demonstrates the usefulness of Misty’s drugs.
Picking up the Pieces
One good shower later and you’ll finally be back in control of V with a laundry list of menial chores to do in your apartment:
-
Stock up on ammo: Enter your stash room and loot an ammo box.
-
Open your inventory and put on some clothes: Pretty self explanatory, just open your menu and get out of your birthday suit. For the first time you can actually equip the ill-gotten gains you made in Konpeki Plaza.
-
Check your email: Interact with your computer and check your “Messages” to find the “Rent Past Due” notice.
Clear those tasks off - or just leave your apartment - and you’ll get a call from Takemura, who wants to meet up with you. That’s the next task on this job, but it’s worth noting that the side jobs Human Nature, Beat on the Brat: The Glen, Beat on the Brat: Rancho Coronado and Beat on the Brat: Arroyo, will have also started. You can also finally progress The Gig.
The entirety of Night City is now open to you, in fact, which will allow you to start numerous other side jobs and gigs (just get close to their location on the map) as well as indulge in various “Assault in Progress”, “Reported Crime” and “Suspected Organized Crime Activity” events. Most of these are in the new regions of Night City you now have access to - Westbrook, City Center, Heywood, Santo Domingo, Pacifica and the Badlands - but there’s a few new things to see and do in Watson, too. Just be wary about meandering about the map, as the level ranges of enemies in other districts varies more than in Watson. Before you go pick a fight, perhaps you should scan your foes and watch out for any skulls.
(1 of 2) The start of Act 2 heralds an onslaught of new quests, including Heroes,
The start of Act 2 heralds an onslaught of new quests, including Heroes, (left), and Happy Together, among many, many others. (right)
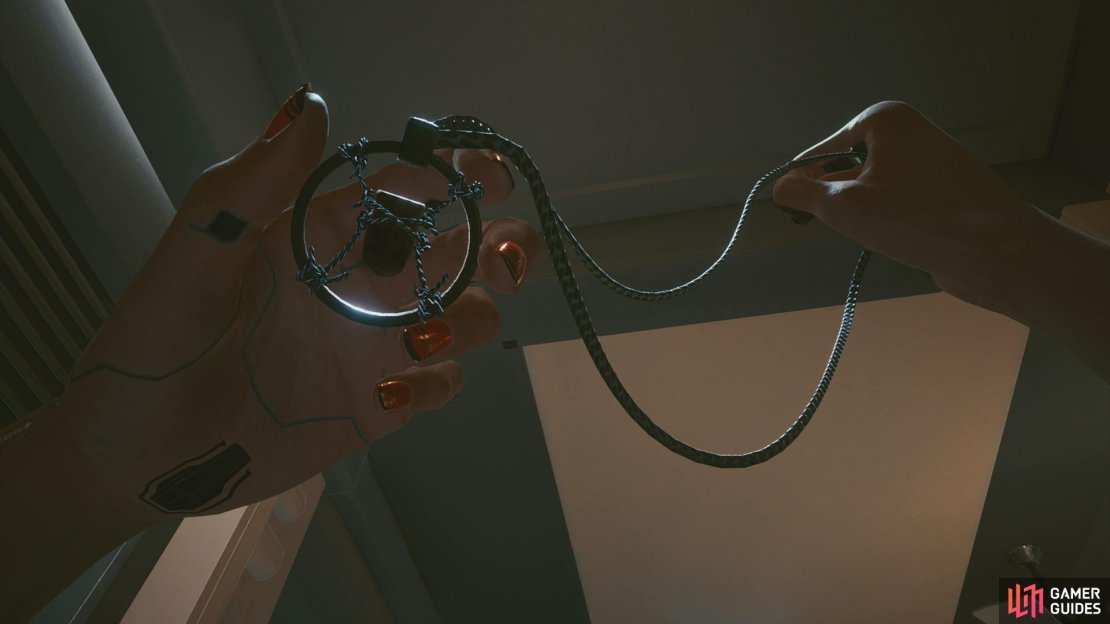
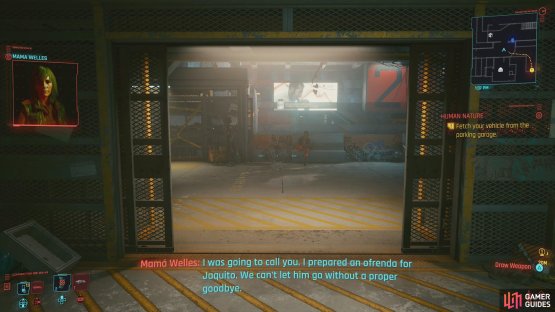
You’ll be hit with more jobs when you leave the apartment, although this will vary somewhat depending on what decision you made regarding Jackie at the end of The Heist. You should get a message from Mama Welles, and she’ll either be dropping off the key to Jackie’s bike, or she’ll be setting up the side job Heroes, ideally the latter. You should really consider dealing with that job and Human Nature before continuing on with the main story, to set your affairs in order and secure your transportation situation.
You’ll also likely stumble across the side job [Happy Together] while exploring your apartment complex, and given the sensitive nature of this job, you might want to see to it before you get too involved with your own business in Night City.
Not quite last but honestly least, you’ll get numerous offers to buy vehicles from various Fixers you know. At first this means Regina, but every time you enter a district you’ll be contacted by a new Fixer, who will then flood your inbox with offers to buy more vehicles. You’ll need to buy them all eventually for a trophy/achievement, but right now, when funds are limited, you probably want to be frugal, although if you need some wheels while yours are out of commission (see the Human Nature questline for details), buying the junky Galena G240 Regina sells might not be the worst idea. Or you can just GTA yourself a temporary vehicle. Your call.
Finally, now that you have access to all of Night City, you can go hunting for legendary gear (mostly armor) scattered throughout Night City. If you want to hunt down this armor to get as many mod slots as possible, you can craft mods to break the game, which is covered in greater detail in the linked page. The locations of legendary armor can be found in the Legendary Armor Locations section of the guide.
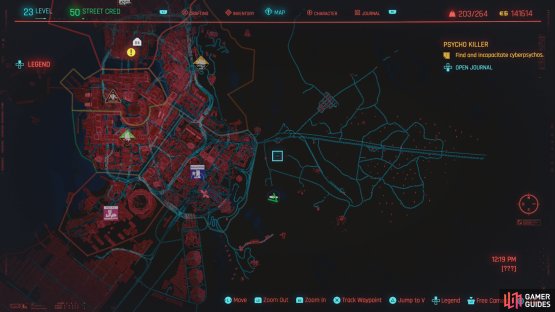
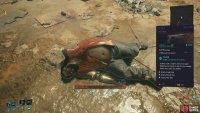
(1 of 2) Head to the junkyard east of Santo Domingo,
Head to the junkyard east of Santo Domingo, (left), and search Dex for the iconic pistol “Plan B”. (right)
If you want to engage in a little unfinished business, you can also return to the junkyard east of Santo Domingo and search for Dex, who is where Takemura left him. Not much to this, find Dex and loot him to obtain the iconic pistol Plan B. It’s a bit of a drive, but aside from getting there, nothing else is really required of you.
Meeting Takemura
When you’re done exploring Night City for now, track down Takemura, who can be found in Tom’s Diner southwest of your apartment building. Track the quest and follow the yellow quest trail to Takemura and sit down for a chat with him. He’ll tell you about his plan for revenge and how you might benefit from it. Not dying is great incentive, after all. At the end of your chat you’ll have two leads: Johnny Silverhand’s old acquaintance, Rogue and your old co-conspirator, Evelyn Parker. This starts the quests Ghost Town and Automatic Love, respectively.
After Takemura leaves you’ll get a visit from everybody’s favorite dead terrorist, who announces a change of perspective. V isn’t terribly receptive, but if it means he’s not trying to kill us anymore… it’s a step in the right direction.
In addition to the two quests above, Takemura will message you again at some point in the near future, starting another main job, Down on the Street. If that’s not enough, the side job [Fool on the Hill] is also now available, technically starting when you scan the first of numerous tarot card glitches scattered throughout the map. The side job is little more than a scavenger hunt, one you can complete at your leisure. As for the main jobs, we encourage you to skip Takemura’s questline for now, as it’ll lead into Act 3… and you need to finish Rogue’s questline first, anyways. Our suggested route (and the one you’ll find chronologically in this guide) is to complete Automatic Love and its subsequent quests, then move onto M’ap Tann Pelen (a questline that follows the Automatic Love questline) and its subsequent quests before finishing up with Ghost Town and Down on the Street and their respective questlines.
A list of the upcoming Main Jobs and the character whose questline they’re part of can be found below, listed in the order we intend to complete them:
| Main Job | Questline |
|---|---|
| Automatic Love | Judy I |
| The Space in Between | Judy II |
| Disasterpiece | Judy III |
| Double Life | Judy IV |
| M’ap Tann Pelen | Voodoo Boys I |
| I Walk the Line | Voodoo Boys II |
| Transmission - Part 1 | Voodoo Boys III |
| Never Fade Away | Voodoo Boys IV |
| Transmission - Part 2 | Voodoo Boys V |
| Ghost Town | Panam I |
| Lightning Breaks | Panam II |
| Life During Wartime | Panam III |
| Down on the Street | Takemura I |
| Gimme Danger | Takemura II |
| Play it Safe | Takemura III |
| Search and Destroy | Takemura IV |




No Comments