To start this job, you’ll need to choose to accept Hanako’s offer at the end of Nocturne Op55N1. Call Hanako and she’ll tell you about a complication, then ride down the elevator, talk to Misty, follow her into her shop and talk to Misty again, who will offer you another reading. Do what you will to pass the time, and after that cheerful bit of business, accompany your favored Arasaka goons outside. After a suspicious exchange, time will skip forward. It’s only at this point that Nocturne Op55N1 truly end, and the first Main Job of Hanako’s ending route, Last Caress, begins.
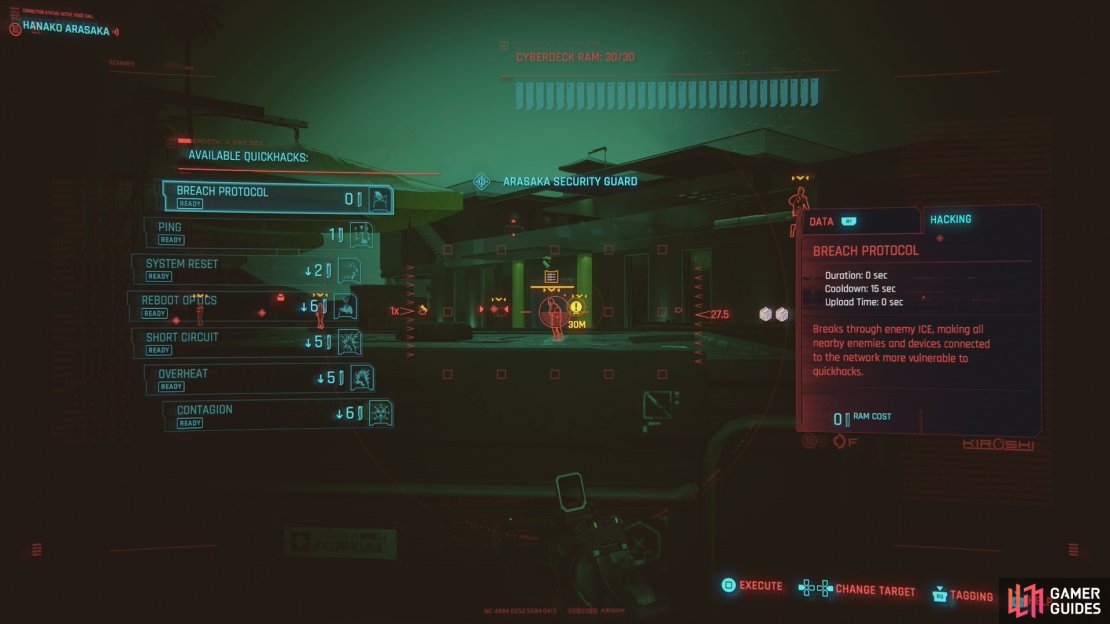
(1 of 4) Scan and tag enemies to make your infiltration easier.
Rescuing Hanako
When you come to, put up with some chatter and you’ll shortly find yourself at the estate where Hanako is being kept. When accosted by a guard, either seize the initiative [Body 12] or wait for one of your allies to do it for you. Either way you’ll get a call from Hanako, who delegates responsibilities, and Takemura will suggest going through the garden.
Make your way right, look for an opening, and scan and tag an Arasaka Mech, which patrols the front of the garden. Just wait for it to go to the left side of the garden and sneak along the right-most wall to reach the estate, whereupon Hanako will tell you about more guards and a Netrunner in the garage to the left. Despite this, it’s easier to get past the wall atop the hill by crossing the pond on the right, so that’s what we’ll do.
Scan and tag guards if you can (some patience and Legendary Ping go a long way here!) and watch their movements. Some of the guards on the right should clear out, allowing you to waltz upstairs, where you’ll want to continue slinking along the right-most wall until you spot two guards. Dispatch them - quietly if possible - and don’t worry about disposing of the bodies. If one of the enemies on the roof sees a body, great. Maybe they’ll come down and investigate, making it easy to dispose of them, too. If not, you can always go up the nearby stairs and kill them yourself.
Going up the aforementioned stairs on the right side of the house will allow you to pick off the enemies in the front. They’ve got a little defense against a silenced weapon, provided you can kill them in one hit. It’s also a great vantage from which to spot enemies and hit them with quickhacks, too, if you’re so inclined. You can also force a door near the stairs [Body 5] to get into the rear of the house, then go through some double doors to reach the main hall.
Either way, in the main hall is where you’ll find one of the few enemies of note - an “Arasaka Guard Special Agent”. There are four “elite guards” you have to eliminate, but this one stands above the rest, wielding a katana and possessing the Combat Stim, Break Hold, Sandevistan, Charge Jump and Kerenzikov abilities, making him a dangerous foe… albeit one who is content to meditate until you do something blatant to get his attention. It’s awfully easy to put a bullet in his head from the roof or back door, after which the only foe is the Netrunner in a room along the left-hand side of the house.
Clear out the estate, then, if you want to indulge in some “why are they giving me this loot at the end of the game?” looting, you can jack into an Access Point [Intelligence 3] in the same room the Netrunner inhabited, and you can search a room on the right-hand side of the house to find another Genjiroh - an iconic pistol - on a desk. Under the counter of the bar on the roof you can also find a container which may yield a legendary drop.
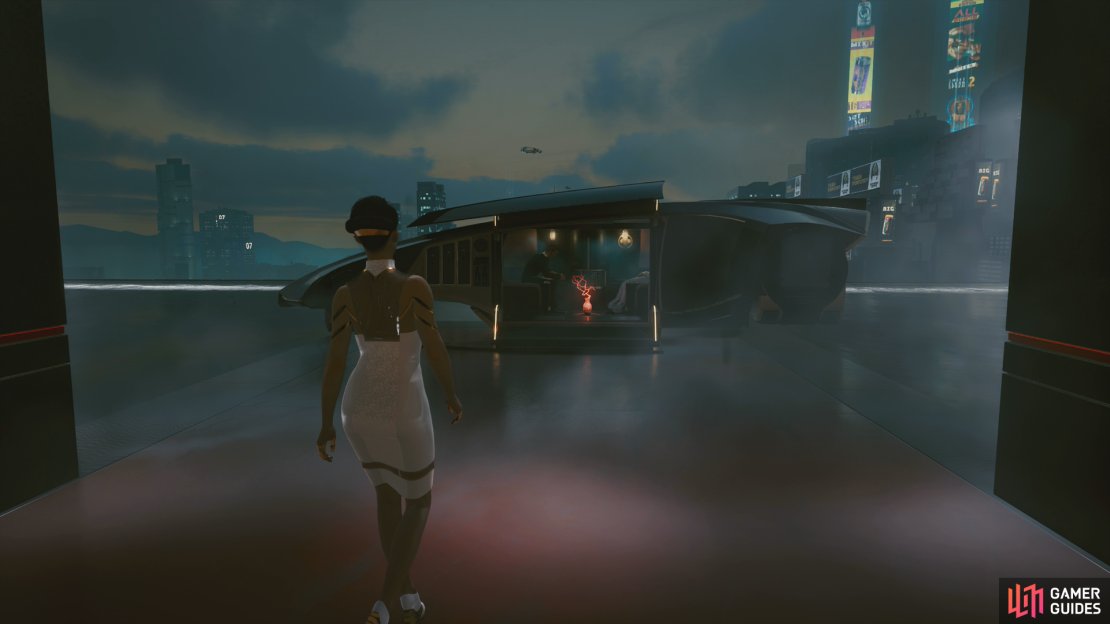
When you’re ready to complete your objective, head up to the second floor of the estate and go through some double doors to reach a room in the back, where you’ll find Hanako. She’ll feign sorrow at the carnage she was party to, after which you’ll need to follow her to the AV out back by the pool.
Hop aboard and you’ll fly over to Arasaka Tower, Endure some chatter, and when you hop out this job will end and TotalImmortal will begin.


No Comments