You’ve made it through Torment Peak and defeated the Dweller of Torment, so it’s finally time to move to Mesa Island in Sea of Stars. There are many dungeons here, so expect to be here for a while. This particular page will focus on the Autumn Hills area, as well as introduce you to the island with the Mesa Hike section.
You’ll meet a new golem for fast travel right before you get to Autumn Hills.
Mesa Hike Walkthrough - Sea of Stars
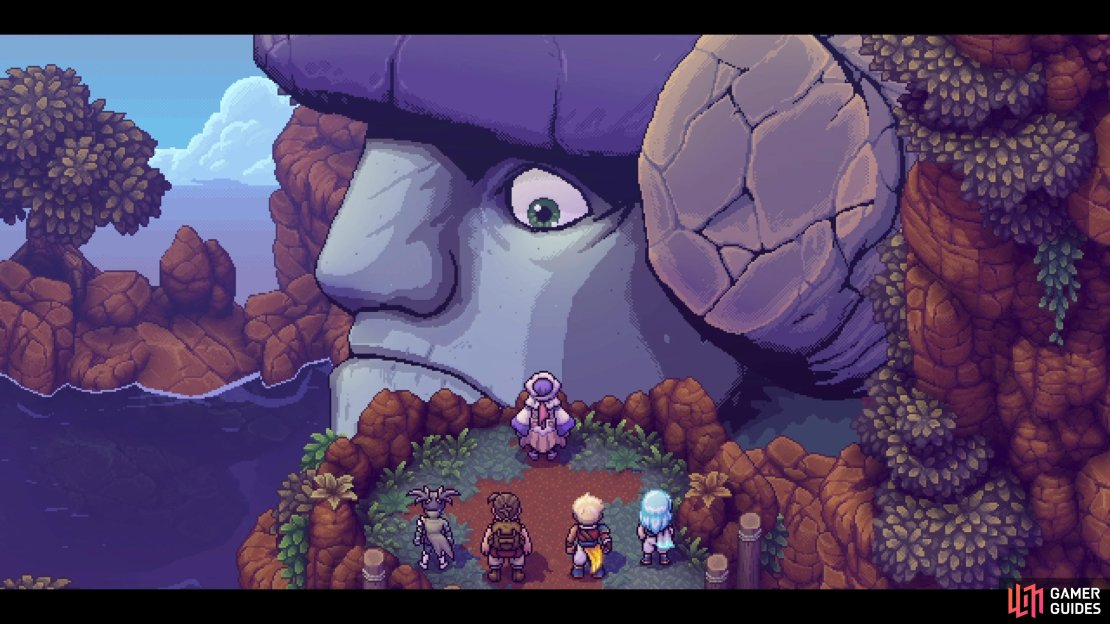
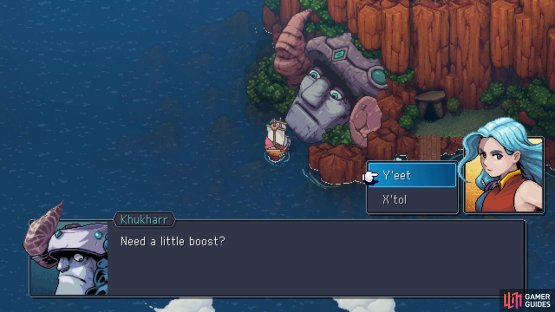
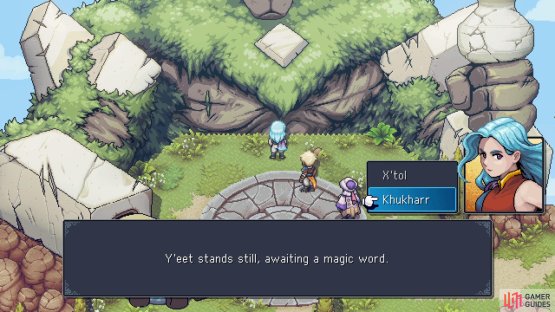
Upon first landing on Mesa Island, go to the little gateway there to see an area called Mesa Hike. Go up the short flight of stairs on the left for a scene, where you will be introduced to Khukharr, one of the golems in this world, who is similar to both X’tol and Y’eet. After the conversation is over, he will remove the barrier on the island and allow you to visit its many locations. Note that like his brothers, Khukharr also functions as a fast travel spot. Unlike the others, you will need to board your boat and sail into his mouth, where you’ll be able to choose either of the other two options. This will also hold true when traveling from one of the others, as you can now choose Khukharr.
Once you’re done with that little bit, climb the wall on the right side and exit to the world map, where you can travel to Autumn Hills now.
(1 of 2) You can use Khukharr to travel to either of the other two golems
You can use Khukharr to travel to either of the other two golems (left), as well as use the other two to get back to Khukharr. (right)
Enemies in Autumn Hills in Sea of Stars
| Enemies |
|---|
| Tock |
| Grassassin |
| Rochecrossidere |
All Treasures in Autumn Hills in Sea of Stars
| Treasure |
|---|
| Oaken Armor |
| Maple Cork |
| Rainbow Conch |
| Recipe: Parfait |
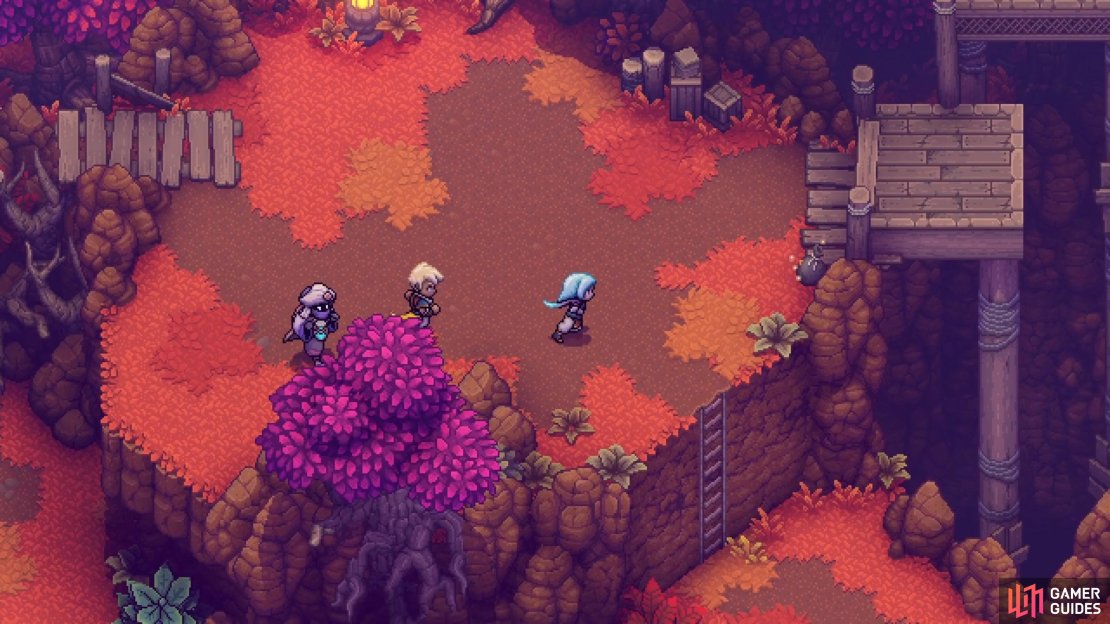
If you’ve played The Messenger, another game by the same devs as this one, then you might recognize this area, along with the music. There will be a save point at the entrance, so use it if needed, then continue to the right. Ignore the tree stump real quick and look past it to find a new food ingredient, Maple Syrup. You loot it like all the others, so grab it, as well as the Red Berry in the bottom corner. Return to the stump and climb on top of it, then grapple to the other side, where you’ll find your first enemies, the Tock.
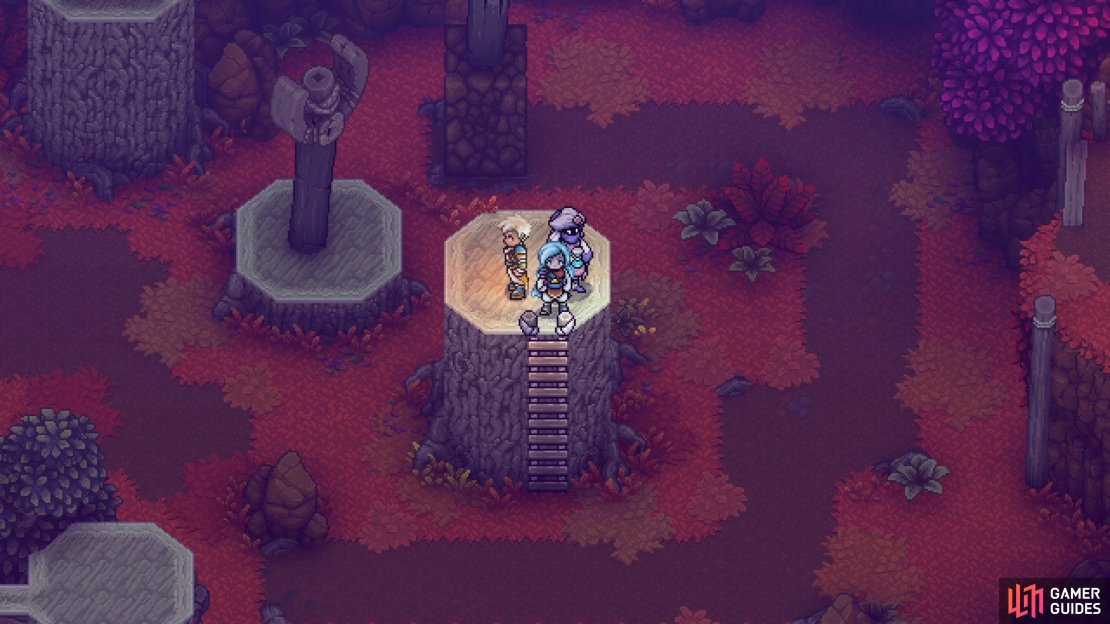
(1 of 3) Go down this ladder whenever you see it.
Defeat them, then climb down the ladder to the southeast. At the end of this path down here is a chest that contains an Oaken Armor, so equip it to either Zale or Valere and climb back up that same ladder. Use the wooden platforms to progress further into the area, until you reach some more enemies and another new one, the Grassassin. Their special attack is Mirror Image, where they’ll create doubles to attack the entire party (same timing as their normal attack). Climb the stump after the battle, then use your Graplou on the next trunk to pass over the gap.
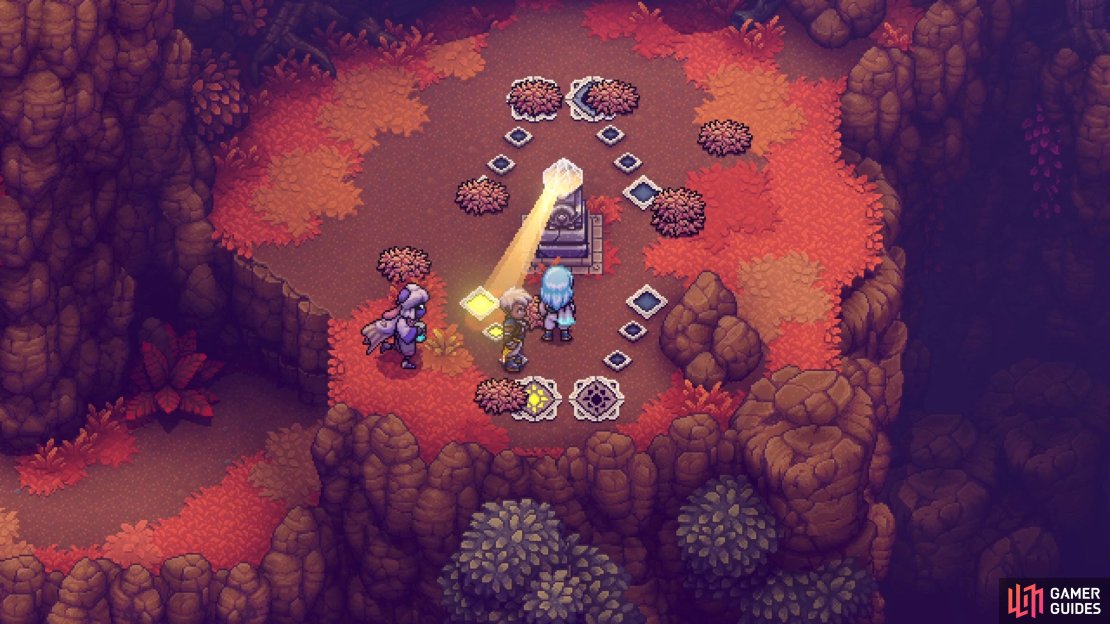
Drop off this second one to loot some Maple Syrup, then grapple to the first stump afterwards to get back on them. Continue grappling across the stumps, then drop down the ledges and you’ll find a Solstice Puzzle to your right. There will be a bunch of leaves in the way, so use your Mistral Bracelet to clear them away from the puzzle. Light the two sun runes on the southern end first, as this will cause a lever to appear. Pull the lever to make a wooden platform move into range, which has another lever on it.
(1 of 3) You will need to clear the leaves away from the Solstice Puzzle.
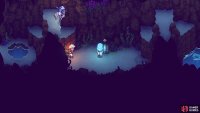
Ignore that for now and light the two moon runes on the northern side. Doing this will cause a scroll to appear, giving Valere and Resh’an the combo skill, Arcane Moons. Hop onto that wooden platform now and pull the lever to be sent across the chasm, where you’ll find a battle waiting for you (two Grassassins and a Tock). Head inside the cave to the right and drop down to the bottom, where you’ll find a NPC that is actually a merchant. If you have the gold, purchase the Ornate Bo, as it’s an upgrade for Valere. You can also get a second Oaken Armor here, as well as Music Sheet #4.
There’s nothing else in this cave, so climb the walls to the right, then exit. Drop down to the right back outside and loot the Maple Syrup, then fight the enemies there (two Grassassins and a Tock). This is a big area, where you will be using the grappling hook a bunch, so head back to the start and begin doing just that. However, at some point, you are stopped, as the gap is too big and there’s nothing to help you get across. Note that there is a ladder you can kick down on this stump, so do just that to create a quick shortcut. Just north of that stump with the ladder is a block you can move, which also has a grapple point on it.
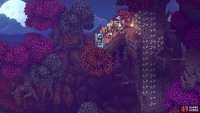
Move this block all the way to the very end of its track, then grapple to the southwest to reach the chest there (Maple Cork); it’ll be a new weapon for Resh’an. Return to the block and move it right, up and right, which will allow you to cross over the gap and continue through this area. The next part looks like a treehouse and you can find some Maple Syrup in the one corner, near the base. Climb the ledges on the right portion, then use your Graplou to reach the climbable walls. On the second wall, go all the way to the top, then go left to find a slightly hidden chest, which contains a Rainbow Conch.
Double back slightly, then walk the rope to the right, following the only way you can, until you reach the cave entrance. Inside, you will encounter another set of enemies, which will be three Grassassins and two Rochecrossideres. The latter are new here, but you fought them previously on Glacial Peak. This could be a challenging battle, only because there’s five enemies. If you got Arcane Moons earlier, that’s a great combo skill here, since it hits all enemies. Resh’an also has a party heal, too, so don’t be afraid to use it (despite the high MP cost).
After the battle is over, continue right and use the whirlpool to go underwater. There will be a clam here that nets you some Seafood. Take the next whirlpool you see, then climb over the ledges and open the chest for a Recipe: Parfait. There is another whirlpool to the right, which will eventually lead you out of the underwater section (more Seafood along the way from clams). Climb the ladder once you’re back to the surface, then kick down the ladder on the left. Return to the right and head in that direction for another battle (two Tocks and a Grassassin). There’s nothing in the water here, so just keep going right and loot some Red Berries, before climbing the tree.
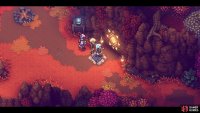
Grapple over to the right and enter the next cave, where there’s nothing exciting inside, except for a singular battle (three Tocks). Emerge on the other side to find another battle waiting for you (two Rochecrossideres and a Tock), then continue until you reach another climbable wall. Enjoy the view on the way up, where you’ll see a campfire and save point. There will be some more Maple Syrup here, as well as some Red Berries to the right. Make sure to rest, cook some food if needed, and save your game.
(1 of 4) You’ll find a chest along the way in the underwater section.
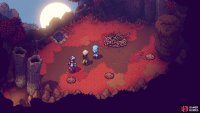
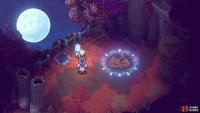
To continue, approach the broken Celestial Rune on the ground and change the time until all of the outer markers on the wall are lit. Interact with the wall when they are, which will open the path forward. You will meet a NPC here, named Strolling Minstrel, who tells you a little “riddle.” Use your Mistral Bracelet to push all the leaves onto the main pile, then change the time until night, with a full view of the moon. You’ll know you’re doing it right, as the ground around the leaf pile will be marked. Once it’s all in place, the leaves will come to life and it’s time to fight the Leaf Monster boss.







No Comments