You will come across a Solstice Shrine relatively early in your adventure in Sea of Stars, but you won’t be able to do anything about it until a little later. These shrines will contain a puzzle for you to solve, with the reward usually being a piece of equipment, accessory, or a skill for either of the two main characters. This page will focus on the fifth shrine, which is found in Serai’s World.
Where to Find the Solstic Shrine in Serai’s World
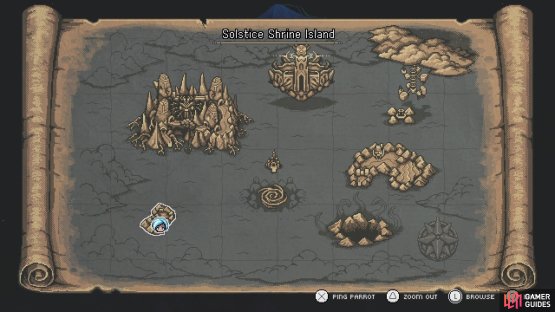
(1 of 2) You will find this shrine on a small island in Serai’s World.
You will find this shrine on a small island in Serai’s World. (left), You will the ability to fly in order to reach it. (right)
There is only a single Solstice Shrine found in Serai’s World, and it’s on an island in the southwestern corner of that map. Unfortunately, you won’t be able to do anything about it, until you have access to the final story dungeon. That’s because there is no dock on that island and you will need the ability to fly to reach it, which is gotten at that point in the main story.
How to Enter the Serai’s World Solstice Shrine
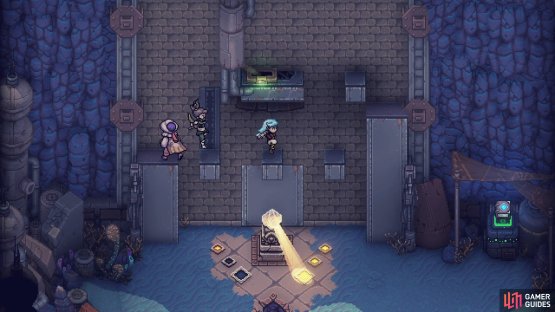
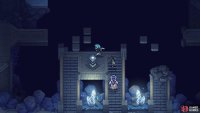
Getting into the actual shrine part will be a little more involved this time, as the puzzle is a little like the one inside the Northeast Solstice Shrine. To start off, shine the light on the right side to cause some block platforms to move around on the wall. They will stay in that place while the diamonds are still lit up on that side, but once they’re all out, they return to their normal position. Basically, you need to move very quickly here. Stand on the lower ledge on the left side, then move the light over to the left side.
(1 of 2) The left side will control the two larger platforms on the side
The left side will control the two larger platforms on the side (left), while the right side controls the smaller ones in the middle. (right)
This causes the platform to go up, allowing you to hop over to the third block, while you’re moving the light back over to the right to keep those blocks in place. The platform on the right side should now go back to its original position in this whole process. Jump on it, then move the light back over to the left, to make it rise. From there, you can simply hop over to the lever and pull it to open the door to the actual shrine now.
How to Solve the Serai’s World Solstice Shrine Puzzle
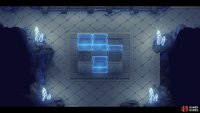
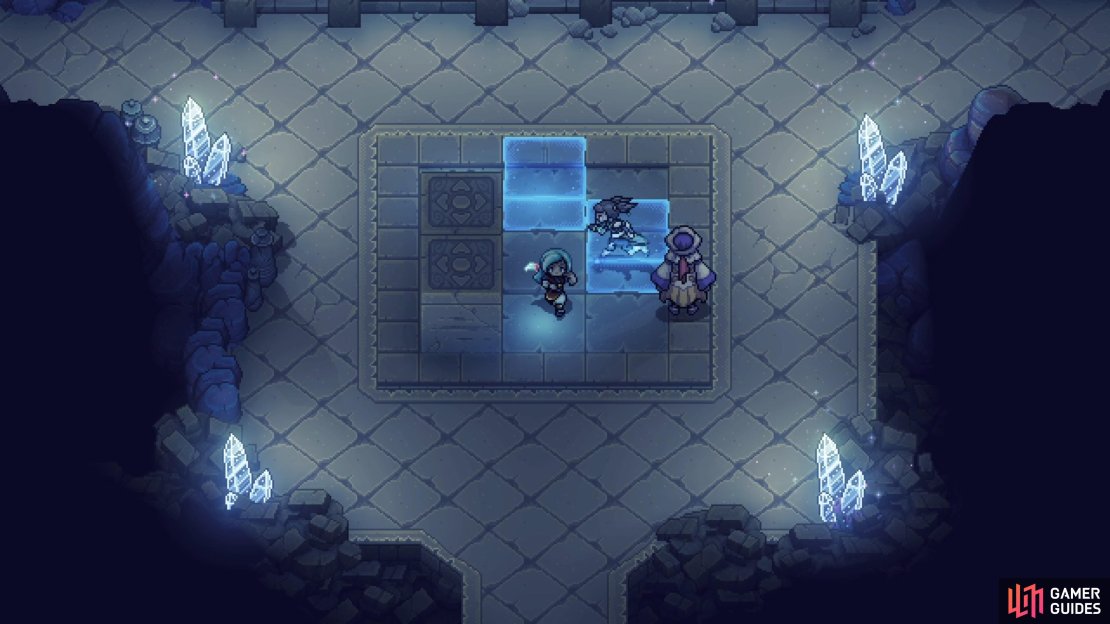
Upon entering the shrine, go up the stairs and hit the button, which will lower the wall around the area with the blocks. The blue blocks are something you can walk through, but are barriers for the stone blocks. By the button you just pushed, you can see some platforms that appear upon getting close. What you may not realize is that the positioning of the stone blocks determine where those platforms show up. Essentially, the platforms are on a 3x3 square, which is the same for those stone blocks.
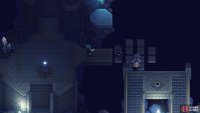
To start, leave the stone blocks alone and take the left set of platforms to the first area on the left. Hit the button there to despawn one of the blue blocks, allowing you to move the stone block on the right; a climbable wall will also appear on the left side, right below that button. Go back to the blocks and move the left one over to the right, which will let you get to the first button on the right side. Another blue block will disappear, and another climbable wall will appear.
Position the stone blocks so they are in the lower left corner, and the left middle. Use the platforms, and the ledges, to reach the second button on the left side now. Two climbable walls will now appear, one right below you and another on the right side. You’ll get to that second wall in a little bit, but return to the blocks and get one to the upper left corner, then another just below it, on the left side. Climb the first wall on the left, and use the platforms to get to the top button on that side. Hitting this button will spawn a third stone block that you move, although it’s trapped right now.
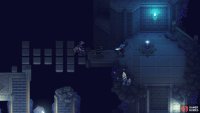
Remember that second climbable wall on the right side? Well, place a block in the lower right corner, then get on the platform it creates. Face that climbable wall and grapple to it. The button there will remove one of the remaining blue blocks, which is the final thing that prevents you from reaching the chest. You may think you need to place the stone blocks in the center column to reach the chest, but that is wrong. Place one block in the top left corner, another in the top middle, and one in the left middle.
Climb the two walls on the left side, drop down the ledges, then use the platforms to get to the large chest and open it. Your rewards is the Celestial Ray accessory, which increases Magic Attack and makes it so normal attacks regenerate 1 MP.










No Comments