
Upon defeating Spectral Keeper, an elevator will appear that will take you down deeper into the Zanarkand Dome area. There will be a Save Sphere right in front of you, so make sure you save your game. You will be fighting another boss pretty soon, so you might want to make some preparations. Having Darkproof on melee attackers, as well as Silenceproof on magic users, is a good idea, as is Confuse Ward/Confuseproof. The latter one takes Musks to customize, which can be stolen from the Ahriman in the first section of Zanarkand.
If you can’t get Silence/Darkness protection, Reflect will also work, but that strategy requires a healthy supply of Al Bhed Potions and someone with the Use command. Enter through the opening next to the Save Sphere and prepare for a lengthy scene. Once that’s over, you’re free to move and can leave to do some more leveling, if you want. However, to continue, head forward in that large room and into the next area, where Yunalesca awaits. After some more dialog, you will be thrust into a boss battle.
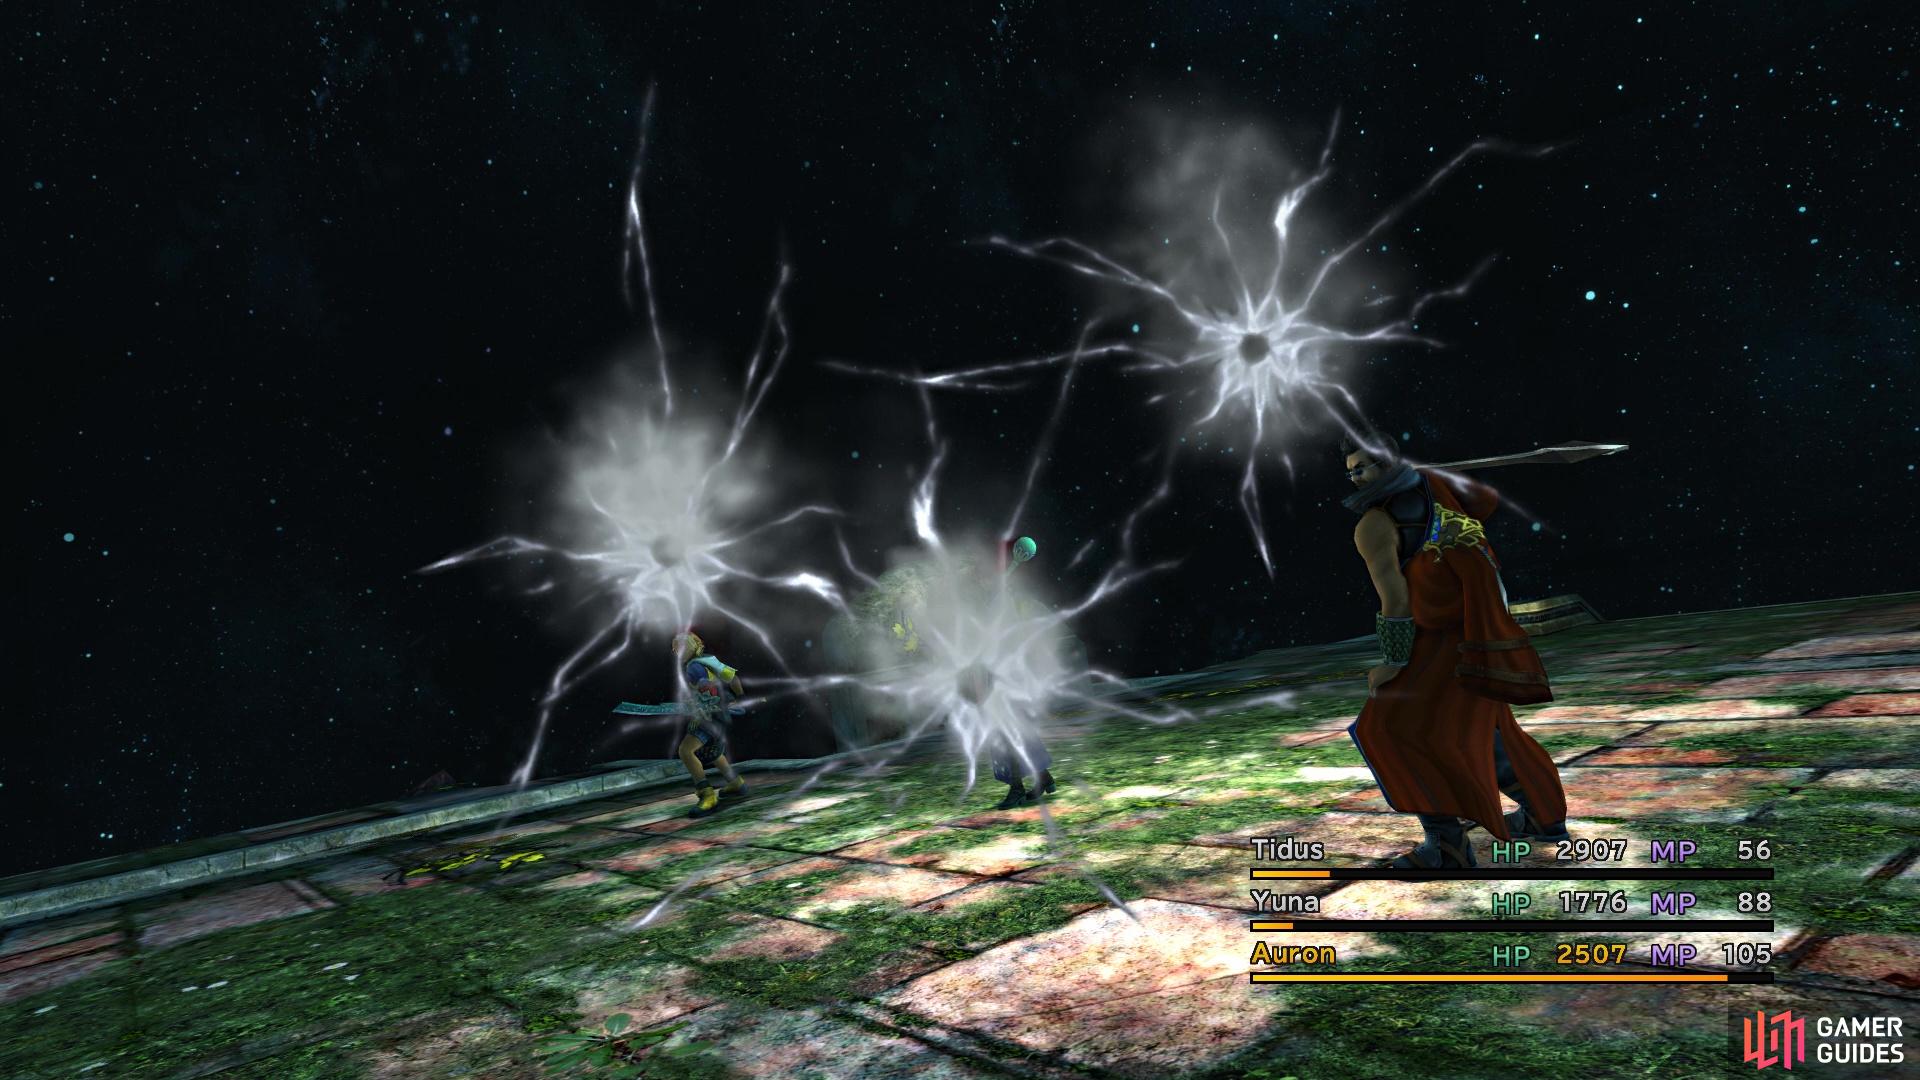
BOSS - Yunalesca
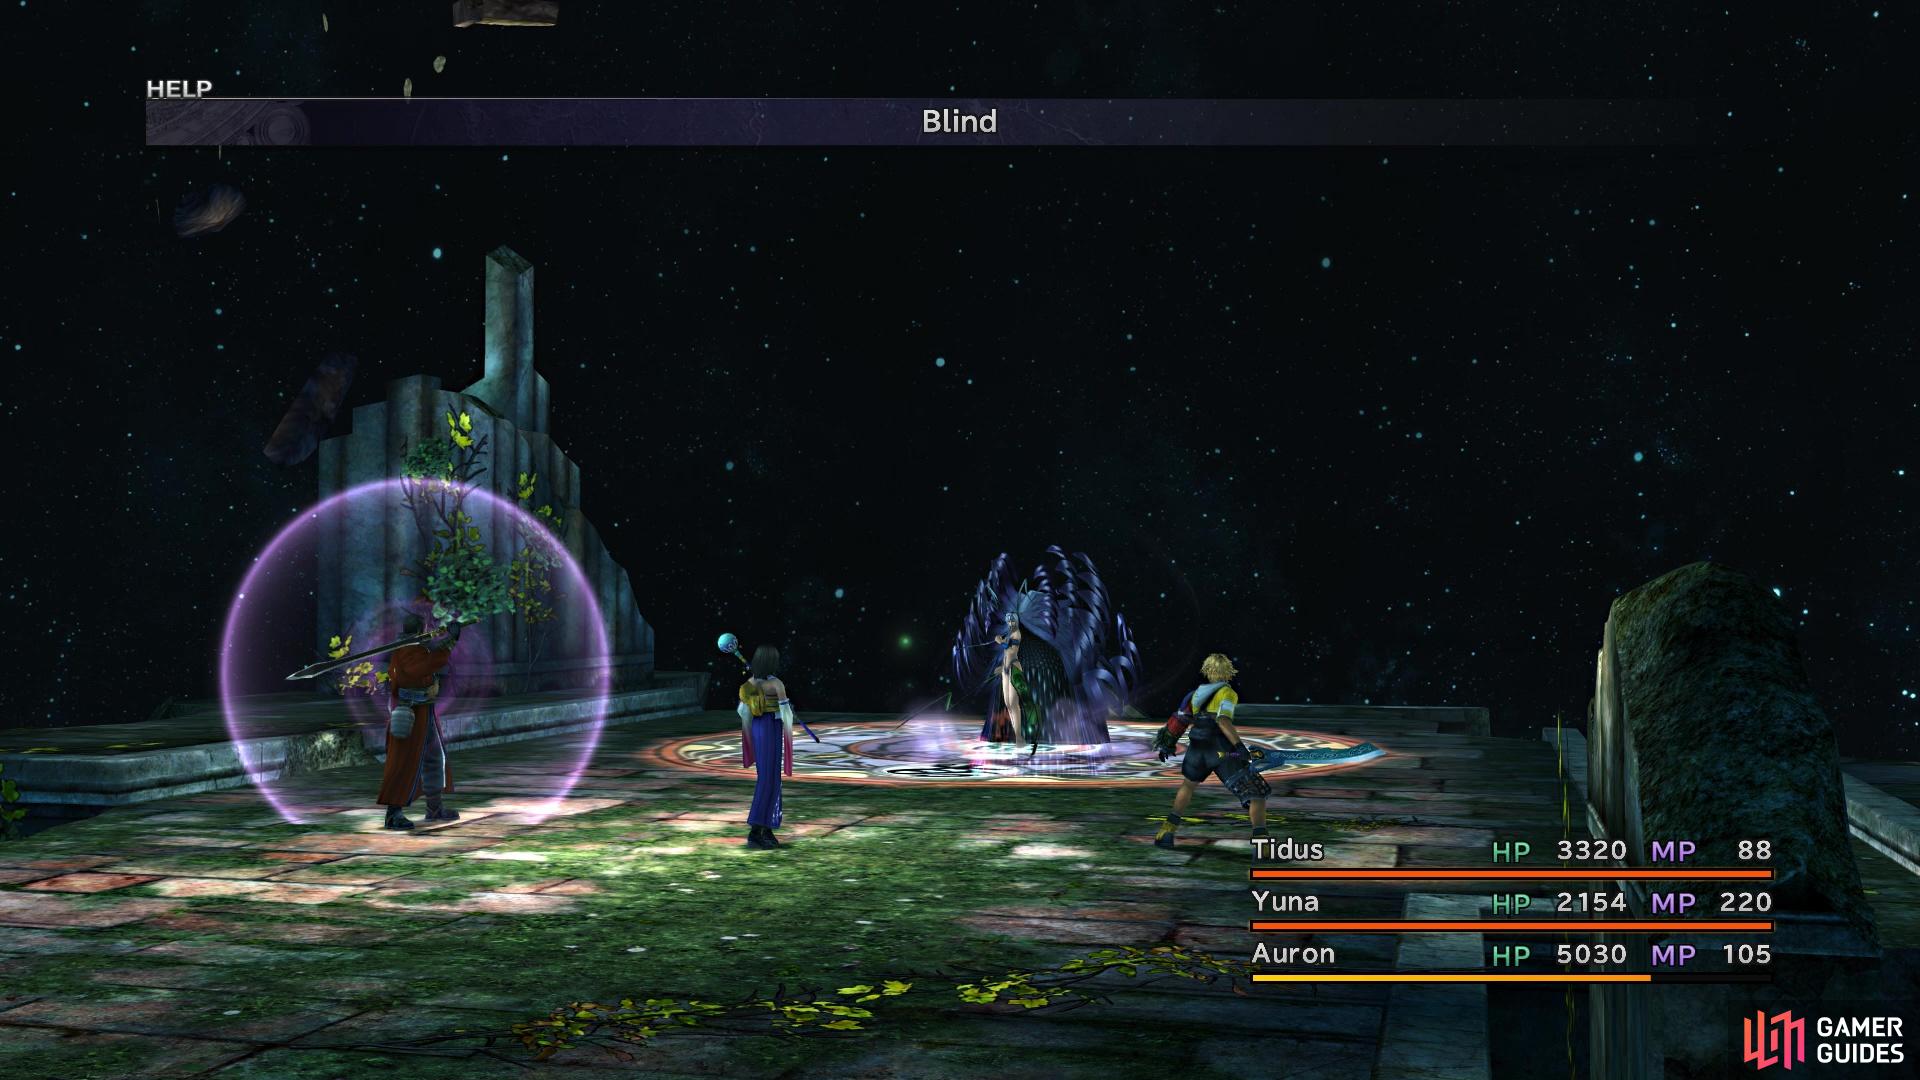
Yunalesca will counter attacks with a spell that hinders the type used
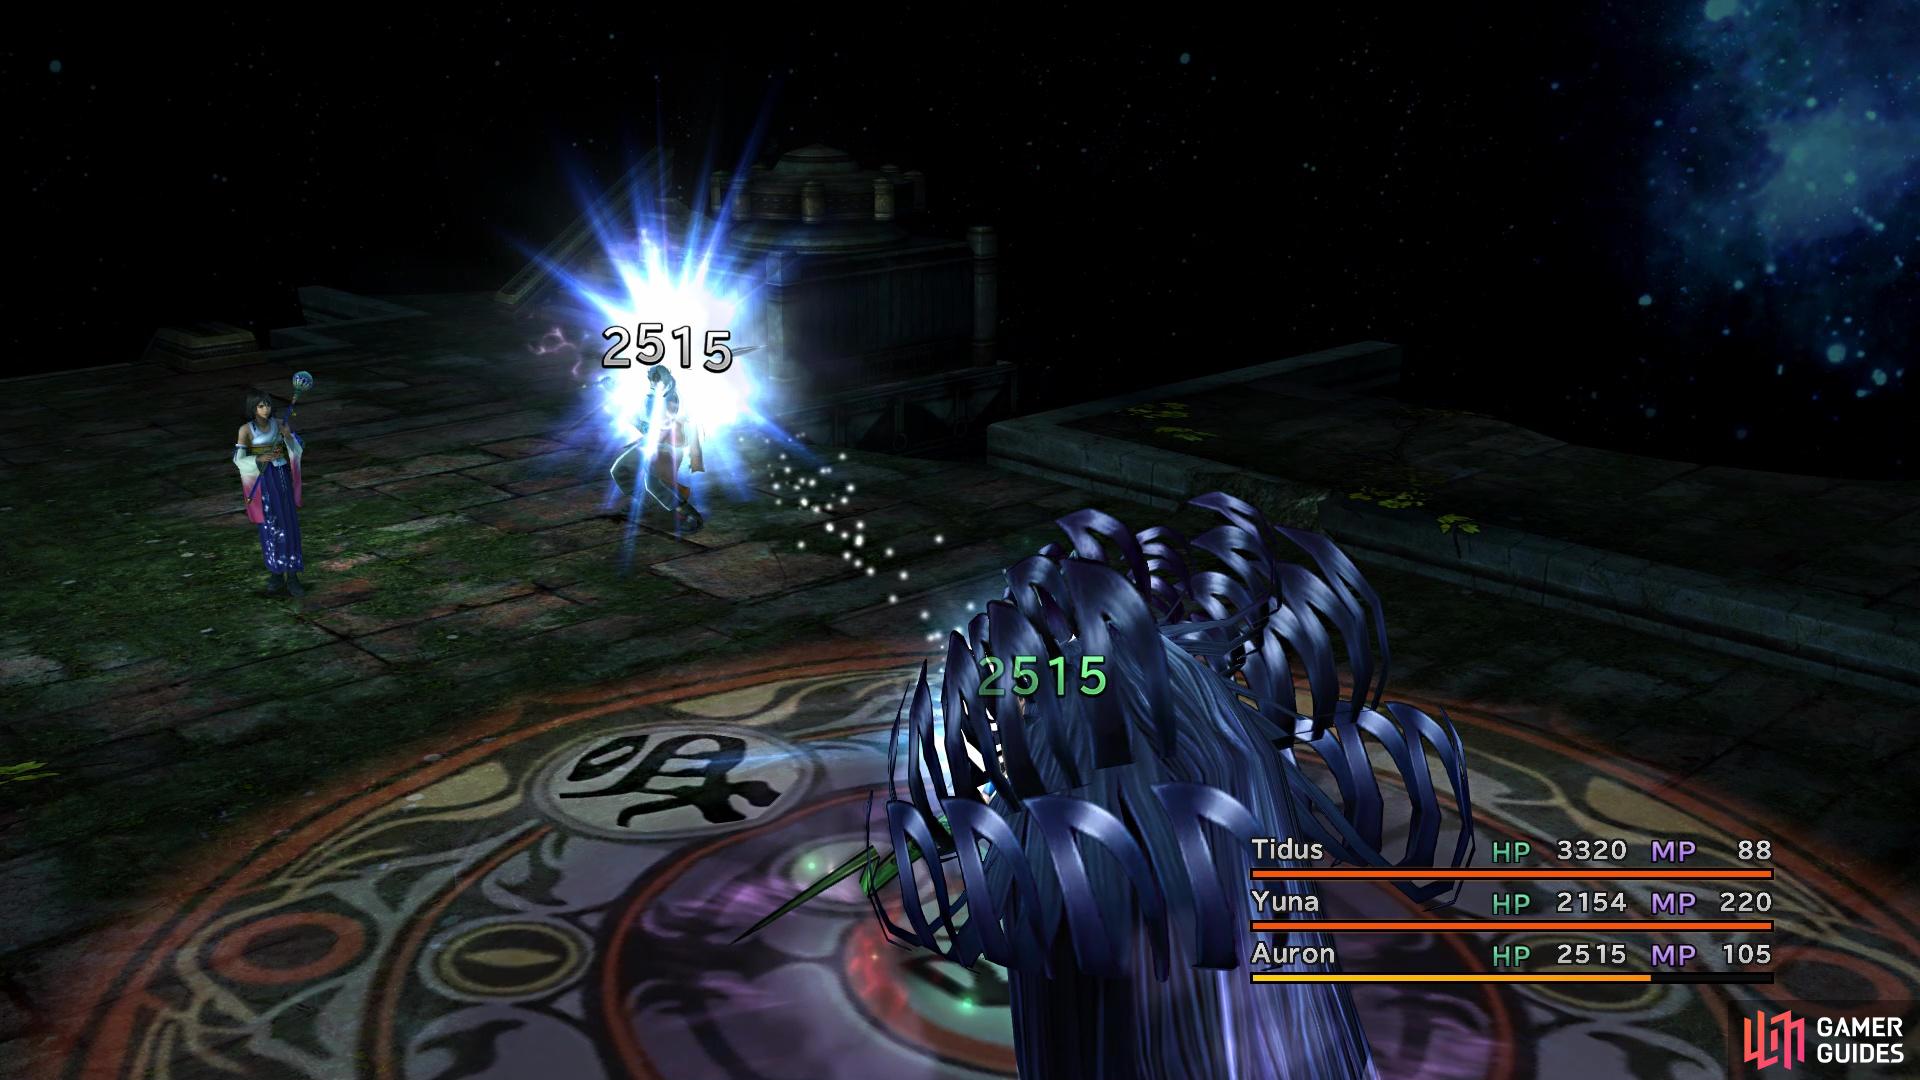
Absorb will always take half of a character’s max HP
The fight against Yunalesca takes part across three forms and it’s definitely one of the tougher battles in the game. The first form is pretty easy, as Yunalesca will only have two moves in her arsenal. Her normal attack is quite weak, but the catch is that it removes buffs from the character it hits, except for Reflect, Regen and Auto-Life. The other attack she does is Absorb, siphoning health from one of your characters and healing herself. Note that Absorb always targets the character with the highest current HP and deals damage equal to half of the character’s maximum HP.
So, the first form seems easy enough, but Yunalesca can counter all of your attacks. If struck physically, she will counter with Blind, while magical attacks are countered with Silence. Other attacks that don’t fall in with the above are countered with Sleep. It’s noteworthy that these counters are actually spells, so it’s possible to reflect them back, although they won’t do anything to her. So, it’s possible to start the fight by casting Reflect on everyone, to avoid not only the counters, but also some stuff with the later forms. Also, the Sensor description says she is vulnerable to holy magic and while it damages her, she is not weak to Holy.
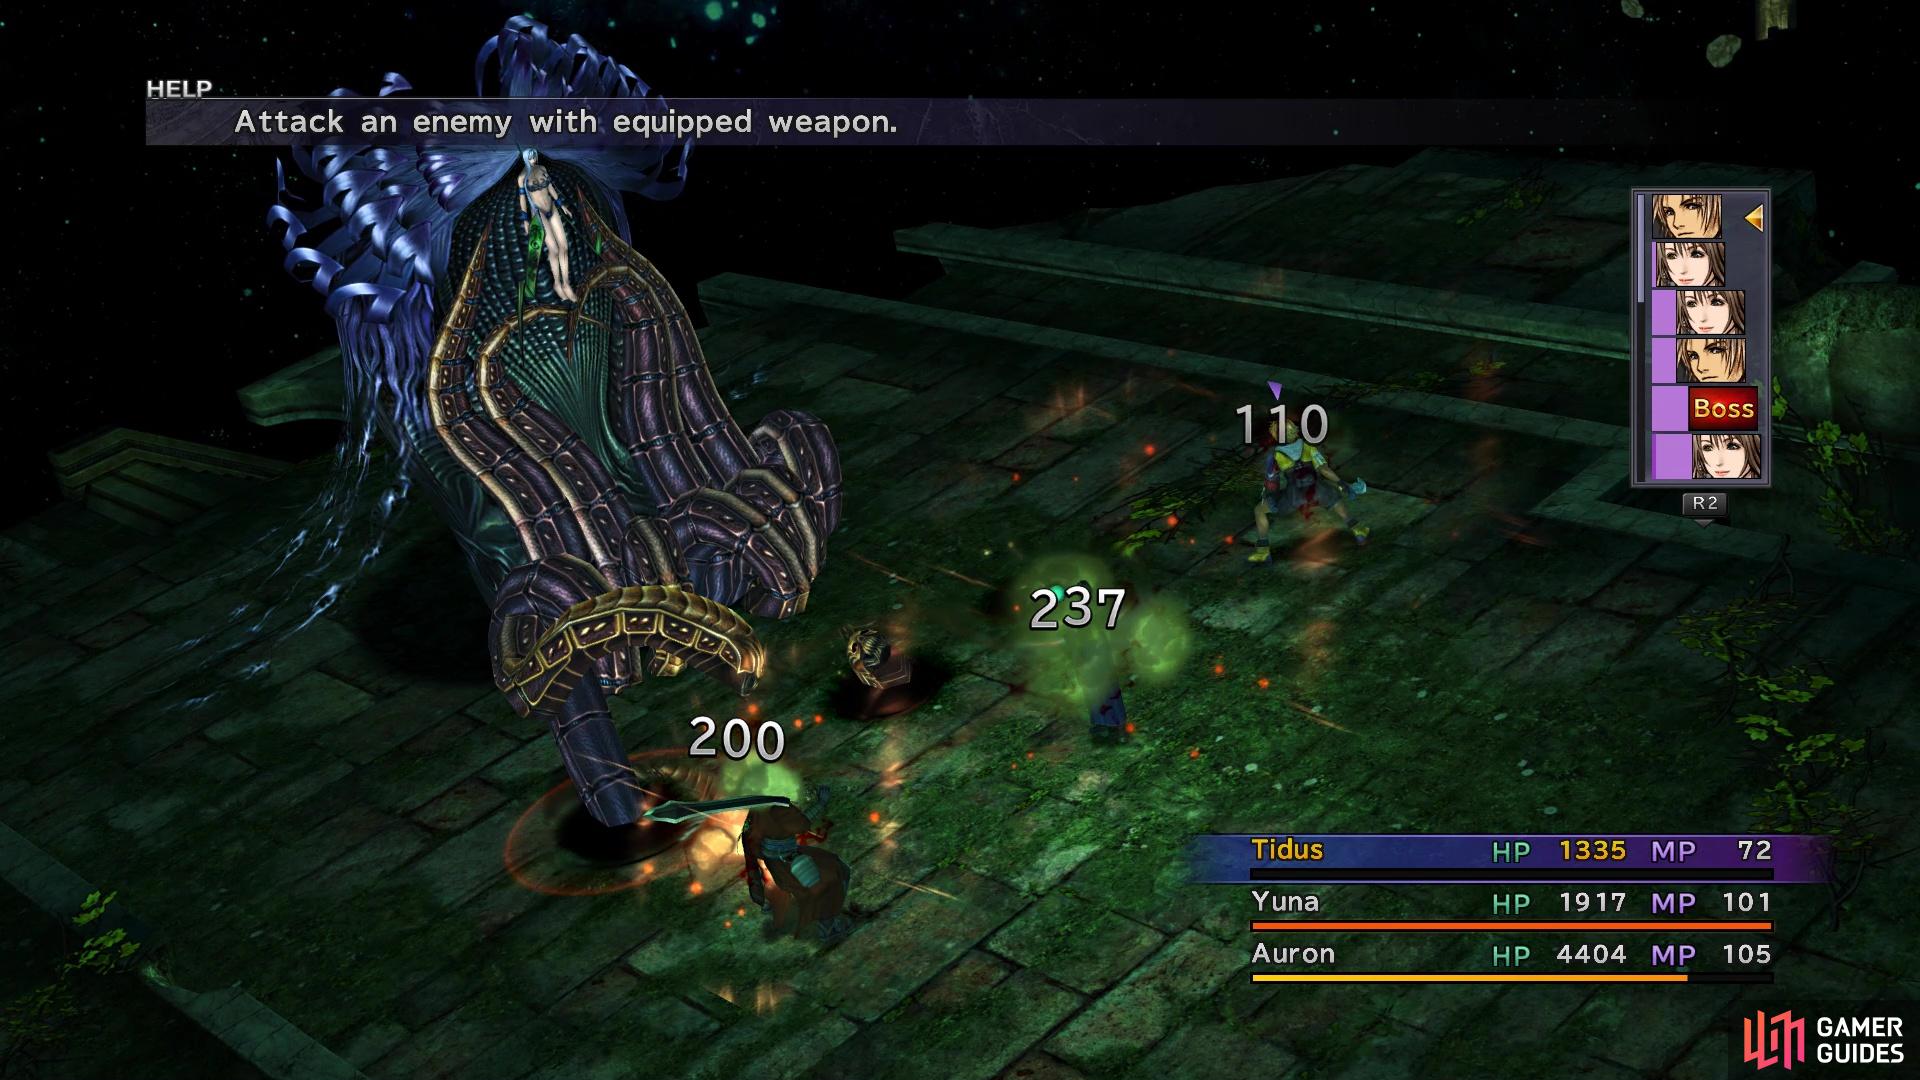
Upon reaching the second form, which includes a transformation, Yunalesca will use her first turn on Hellbiter. This does some damage to your characters, but it will inflict Zombie on the entire party. You should leave this alone, as it will be a help with the third form, so don’t remove it. Should you actually remove Zombie, there is a chance that she will use Hellbiter again. While your characters are Zombified, Yunalesca will cast Regen and Cura on them, causing damage because of the Zombie ailment. Once again, these are spells and if you kept Reflect up from the previous form, they will bounce back at Yunalesca.
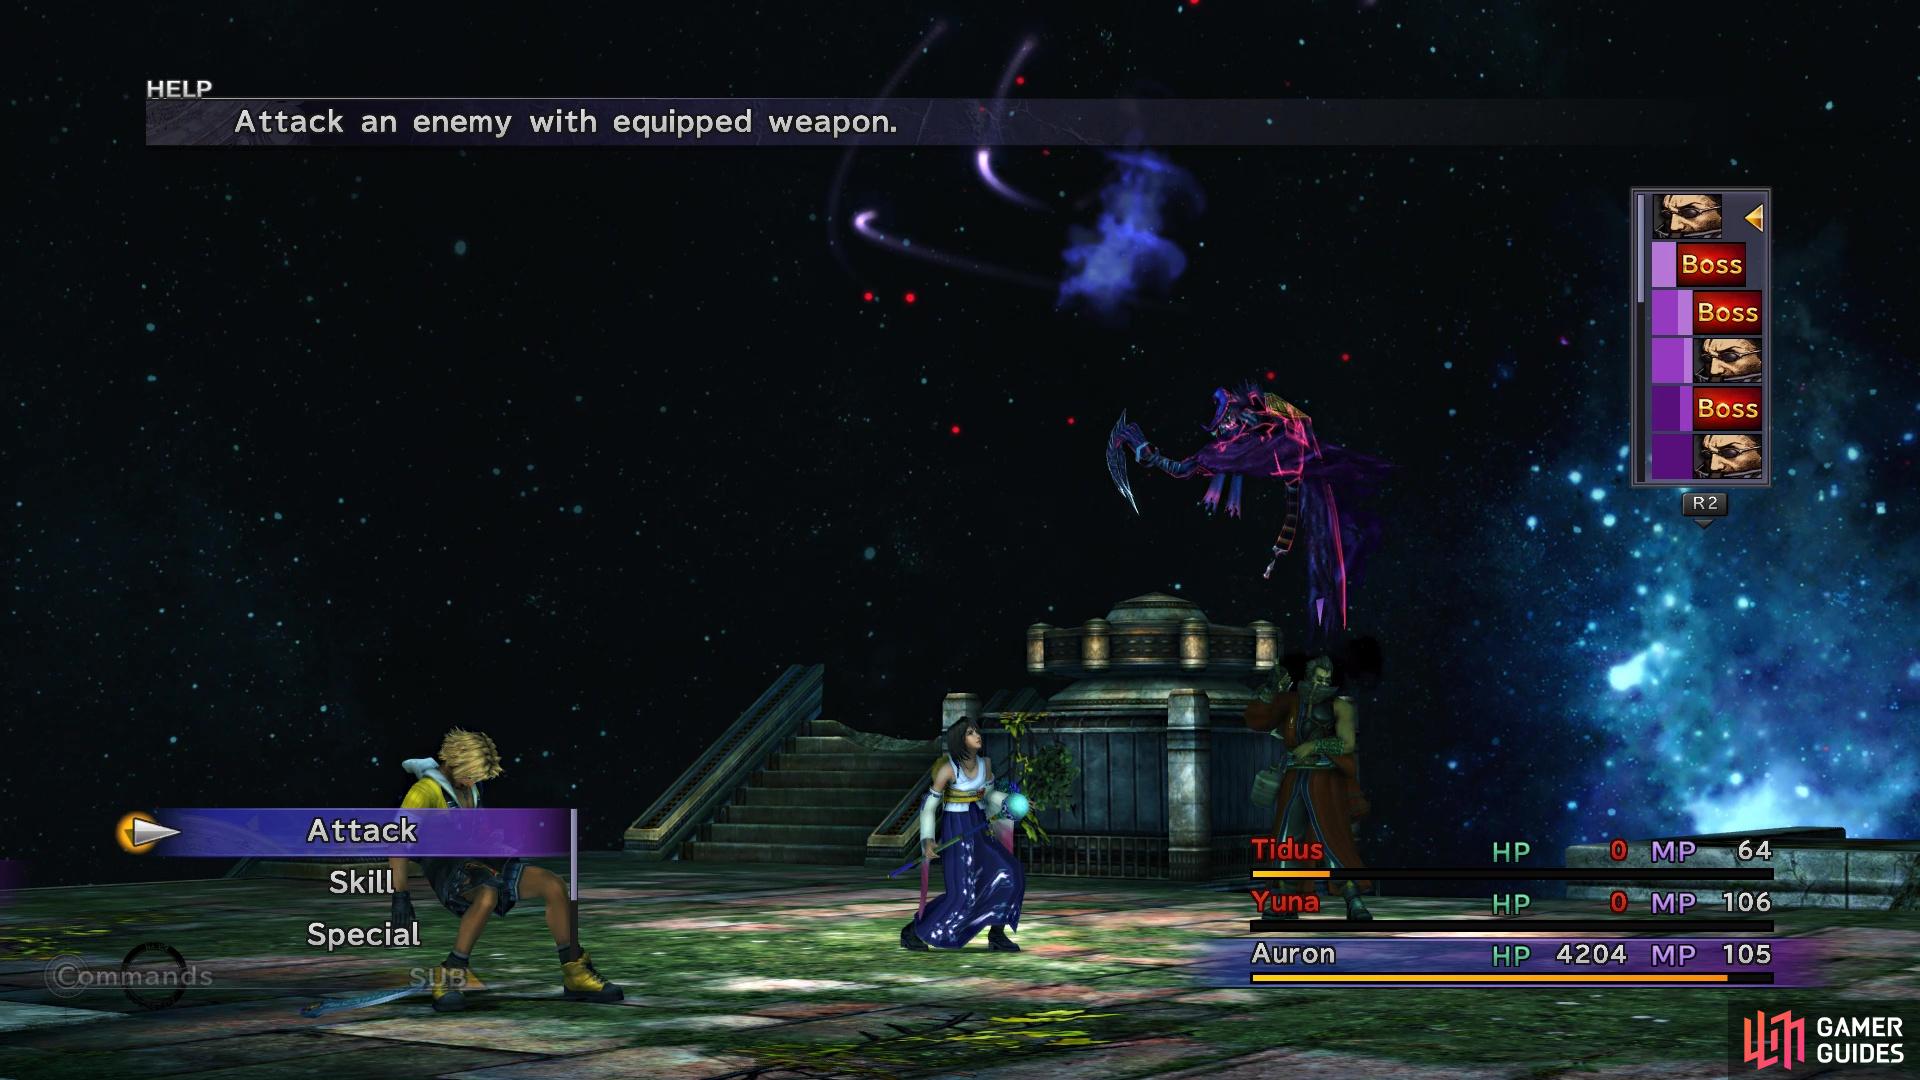
Of course, you don’t want Regen on her if you reflected it back, so make sure to Dispel it. Note that she doesn’t use her normal attack now, besides as a counter, which still have the dispelling property. Also, Absorb will only be used against Aeons. Upon reaching the third form, Yunalesca will use her first turn to cast Mega Death, a skill that instantly KOs any characters not afflicted with Zombie or have Deathproof on their armor. Mega Death is the sole reason you will want to keep Zombie on your characters from the previous form. Besides the above, she will retain Hellbiter, as well as Regen and her normal attack counter.
Yunalesca will upgrade Cura to Curaga and start doing a new move, Mind Blast. This will have a chance to inflict Confusion on characters, plus it also inflicts Curse on Aeons. Speaking of Aeons, Yunalesca can now use Osmose on them, in addition to the Absorb from before. She can also just use Hellbiter whenever she wants now, instead of waiting for one of your characters to be cured of it. As you can see, the three forms of Yunalesca kind of compliment each other, especially the second and third forms. You will want to keep Zombie on your characters because of Mega Death and possibly put Reflect on everyone to bounce back the healing spells.
Mega Death will kill anyone not under Zombie or with Death protection
Mind Blast has the potential to inflict Confusion on characters
Also, despite not actually being weak to Holy, one of those thrown at Yunalesca will likely do the full 9,999 damage, especially coming from Yuna or Lulu, who should have a high magic stat. If you have Rikku’s Overdrive full at the beginning of the battle, have her steal a Stamina Tablet from Yunalesca (the common steal) and mix it with a Potion. This will net you Mega Vitality, a mix that doubles all active party members’ HP. Having the extra HP will definitely help in the second and third forms, as healing will be an issue with Zombie. Keeping buffs on your characters is also problematic, because of her normal attack dispelling buffs.
Upon finally defeating Yunalesca, earning you the Overcoming the Past trophy/achievement, there will be a cutscene. You will be able to leave afterwards, but don’t do that just yet. Instead, look for the stairs at the far end of the room and go down them, causing you to come out from the stairs in the front of the room. However, doing this causes a chest to appear next to the far stairs and it will contain the Sun Crest for Tidus’ Celestial Weapon. If you do not get this now, coming back here upon leaving Zanarkand for good will spawn Dark Bahamut, a very tough optional boss, making it very difficult to get the item. Leave the room where you fought Yunalesca for a scene, then backtrack all the way out of Zanarkand. Once you leave the Dome area, you will witness one more scene, then you will be on the airship.
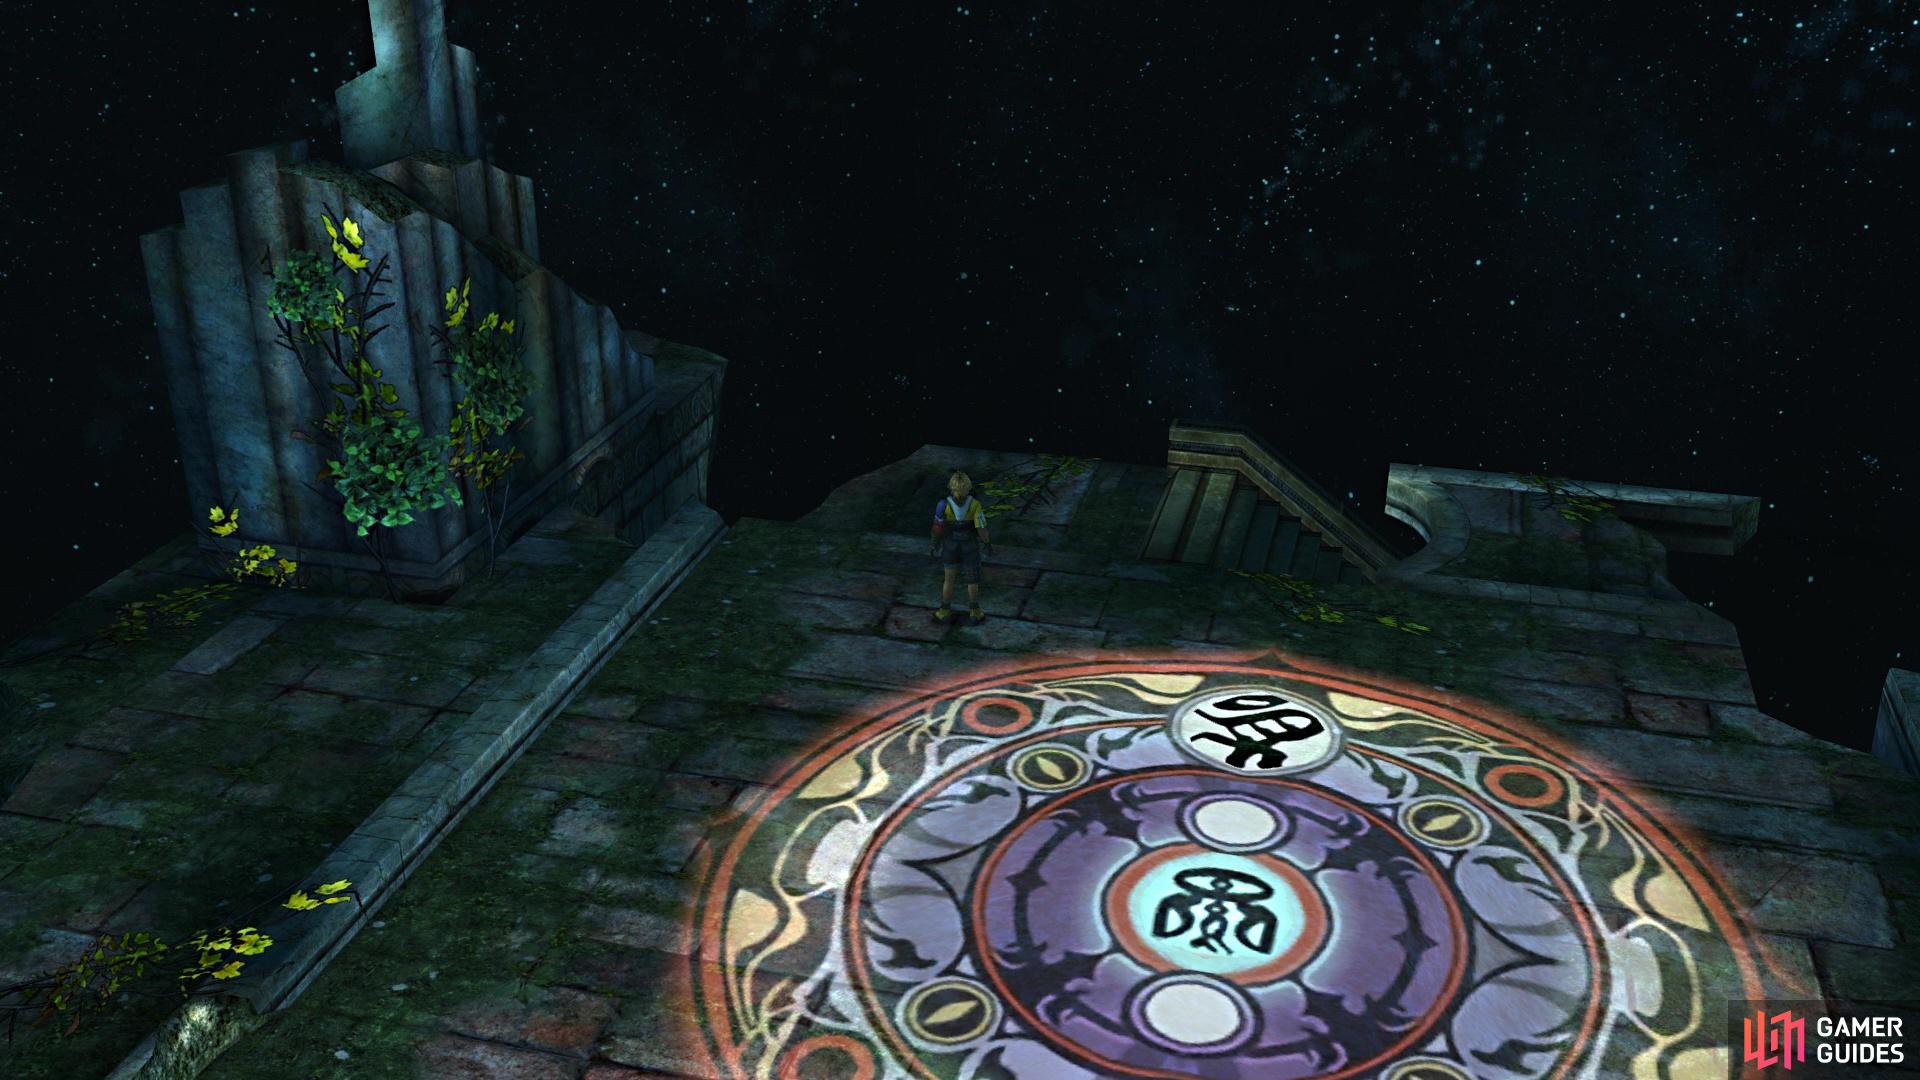
Go down these stairs in the back after the boss fight
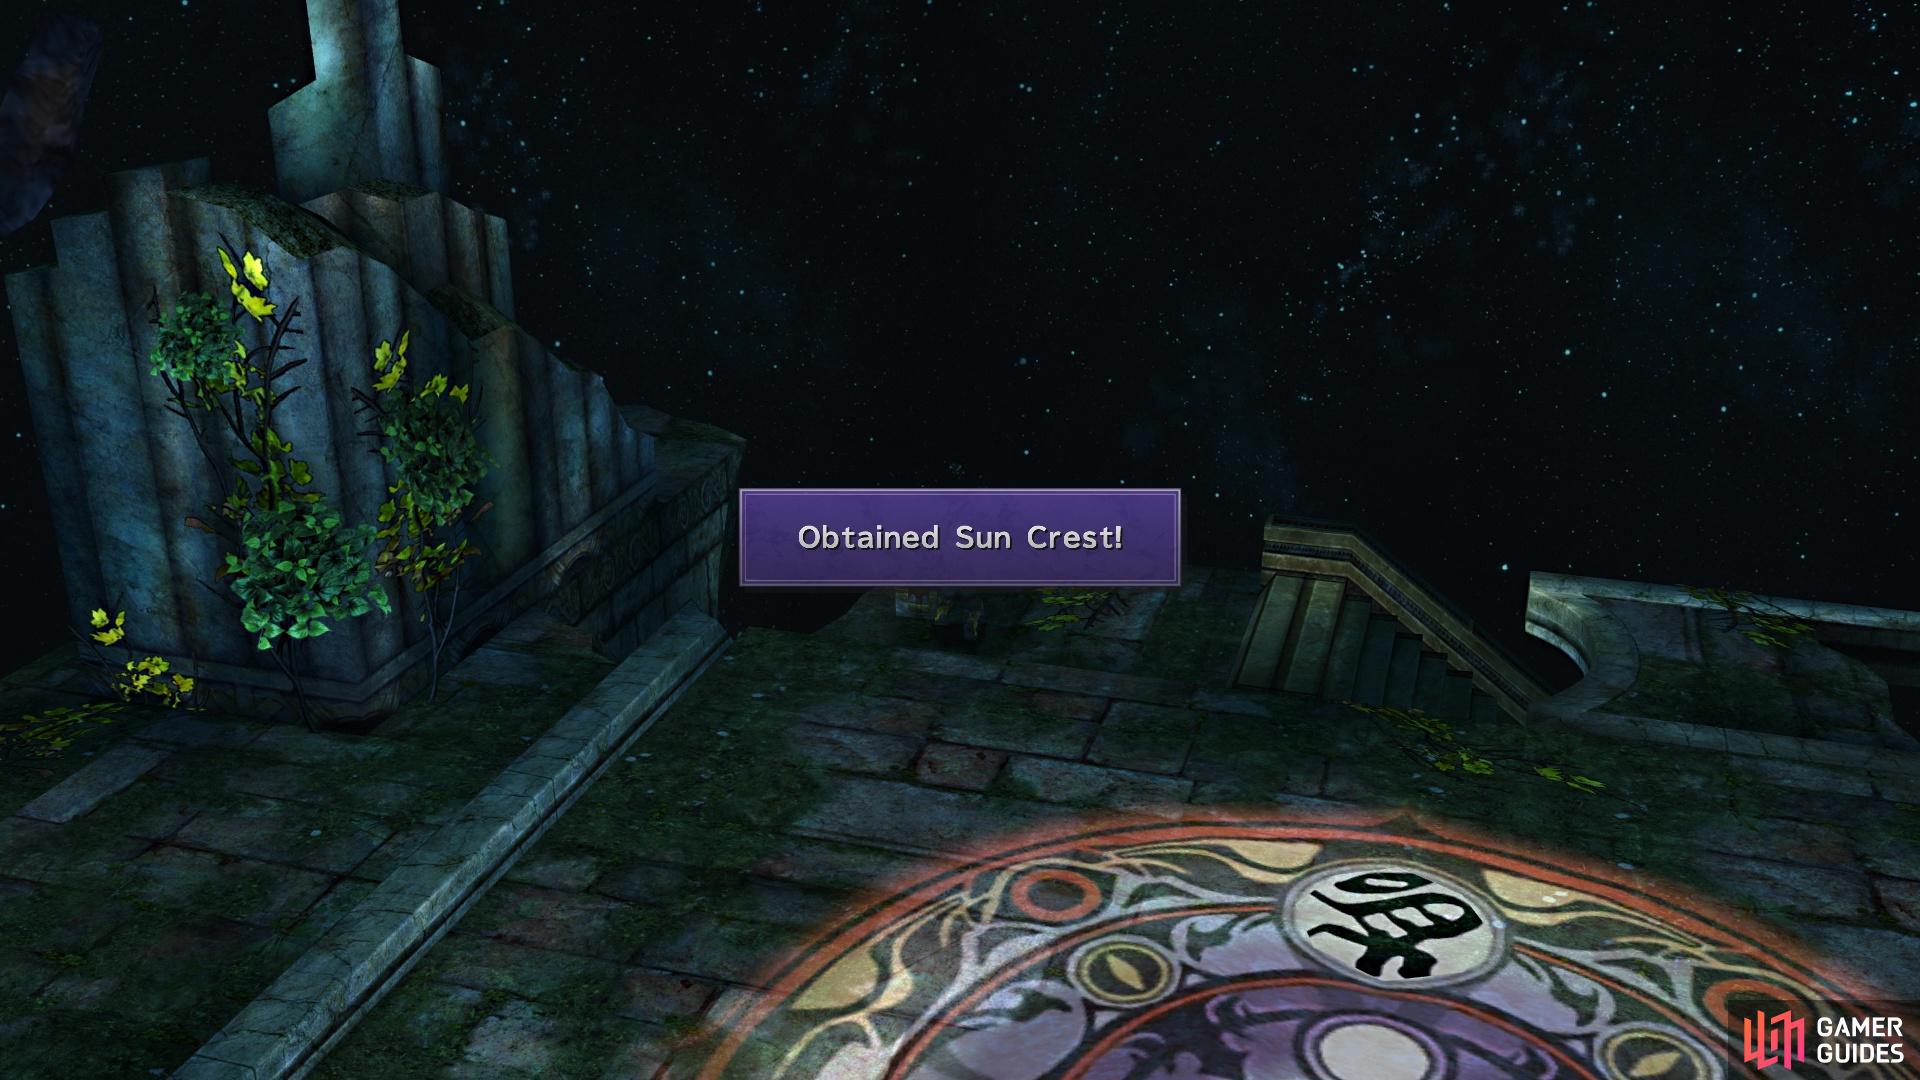
to make this chest with the Sun Crest appear
Airship and Bevelle
When you have control, go to the upper portion of the airship to find Yuna and Kimahri staring out the window. Speak to Yuna, then return to the bridge for another scene. With this done, you now have full control of the airship, meaning you can go to most of the previously visited locations in the game. To do that, speak to Cid and it will open a list of locations you’ve been to, with the option to enter a password or do a manual search. Before venturing out to explore or do some capturing for the Monster Arena, pick the Highbridge option on the list to go to Bevelle. Approach the guards for a lengthy cutscene and push the story forward. Back on the airship, a new location opens up, called Sin, which will pit you against some more fights if you pick it.
No Comments