| Enemies | HP | Notes |
|---|---|---|
| Dinonix | 140 | Weak to Ice |
| Killer Bee | 110 | Weak to Ice |
| Ragora | 780 | Weak to Fire |
| Yellow Element | 300 | Weak to Water |
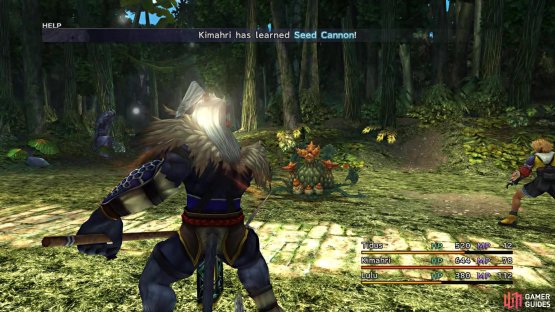
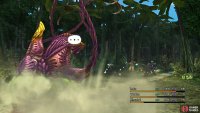
In order to get to the next temple, you will have to go through Kilika Woods. Not long after you enter, you will be forced into a battle with a Ragora fiend. This will be a tutorial on Kimahri’s Overdrive, Ronso Rage. He basically functions like a Blue Mage in this game, where he must learn his Ronso Rages by using Lancet on specific enemies. If an enemy has a new skill for him to learn, then using Lancet will get him that new Overdrive, as well as make his Overdrive full at the same time. The Ronso Rage that Kimahri learns from the Ragora is called Seed Cannon.
(1 of 2) Use Lancet with Kimahri to learn a new Ronso Rage
Use Lancet with Kimahri to learn a new Ronso Rage (left), then feel free to turn around and use it on the Ragora (right)
Back to the forest, go east at first, of the entrance, to find two Mana Spheres. Return to the entrance and head west this time, looking at the minimap to find a narrow path venturing to the north. Take this path and you will run across another chest, with this one containing a new weapon for Wakka, the Scout. Continue north until you get to crossroads, then keep going north until you get back to the main path. Once you’re on that trail, venture north and west to come across another chest that has a Luck Sphere in it. This is a sphere you can use on a blank spot on the Sphere Grid, turning it into a Luck +4 node. The only problem is that you need a Fortune Sphere to activate it, and you won’t see one of those for a little bit.
You might have seen some Crusaders around the area, some of which will run off and some that will stay behind. Speak with some of the guards who stay behind to get some items, such as a Hi-Potion and a Remedy. North of the Save Sphere at the beginning of the area is Luzzu and if you speak with him twice (after the little scene), then you can get four Antidotes. He is talking about the monster in the middle of the area, called Lord Ochu, who is a completely optional boss. If you wish to fight it, though, you will probably want NulTide on Yuna, as well as Silence Attack on Wakka. So, if you don’t have either one of those, then fight some battles by the Save Sphere (remember that it completely heals you) until you get the necessary Sphere Levels. Run into Lord Ochu to begin the battle.
BOSS - Lord Ochu
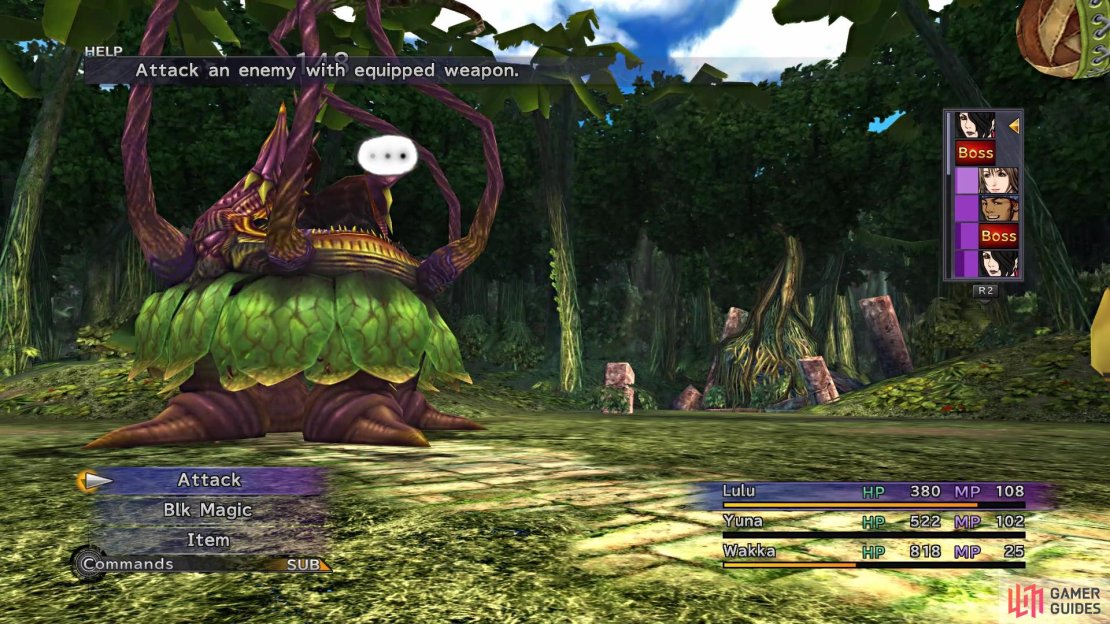
The fight against Lord Ochu can be a bit troublesome, especially if you didn’t take the tip to grind a little bit at the beginning of Kilika Woods. Water is one of its attacks, which can deal quite a bit of damage to a single character, but you have two ways to completely remove this spell from its arsenal. If you have Silence Attack on Wakka, then that will make it so Ochu can’t use the spell. Should you have NulTide on Yuna (party-wide spell), using that will make Water do zero damage. However, it will only negate a single Water spell, so if you don’t cast it again on the character hit, then they will take damage the second time.
(1 of 4) Silencing Lord Ochu will completely remove Water from being used
Another skill that Lord Ochu has include Poison Claw, which doesn’t deal much damage by itself, but it can poison your character. If you didn’t notice the poison from the Killer Bee earlier, then you will want to get rid of it as soon as possible. Poison in Final Fantasy X will tick off 25% of a characters max HP every turn they get, so either toss an Antidote or use Yuna’s Esuna spell. At some point during the battle, around when the boss loses 2,500 HP, Lord Ochu will fall asleep and gain Regen. The boss has 4,649 HP, so it can potentially get Regen ticks upwards of 464 each time, although it is completely random.
Magic attacks will not wake up Lord Ochu while it is sleeping, but physical attacks will. Should you happen to wake it up, though, then it will counter with Earthquake, a skill that will reduce your health by half of your max HP. After using Earthquake, it will fall asleep again at the same threshold as above, if it has regained enough HP from the Regen. Otherwise, it will resort to using both Water and Poison Claw once more. Lord Ochu is weak to fire, so Lulu should be in the fight the entire time, pelting it with magic. Also, if you are having trouble with the battle, you can always use Flee to leave, grind some and come back to try again.
Upon vanquishing the Lord Ochu, speak with Luzzu to obtain an Elixir. If you return to the one Crusader who gave you a Remedy earlier, she will hand over a NulBlaze Shield. At one of the crossroads on the main path, you can head right and follow the trail to reach the next area. These will be stone stairs that will eventually take you to the Kilika Temple. After the quick scene when you first arrive, run up the stairs and save your game, then continue along for another scene that brings you straight to the next boss.
BOSS - Sinspawn Geneaux
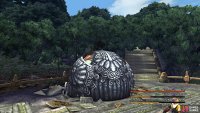
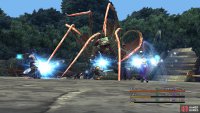
This Sinspawn has a main body, but it’s inside of a shell and won’t come out until you’ve done enough damage to it. Unfortunately, the shell protecting the main body is strong against physical attacks and you won’t be able to use magic on it, either. The reason for the latter is because of the two Tentacles will intercept any magic thrown at the main body, until they are defeated. The only thing the Tentacles will do is attack a character physically. They have 450 HP, takes half damage from thunder and ice, and absorb water.
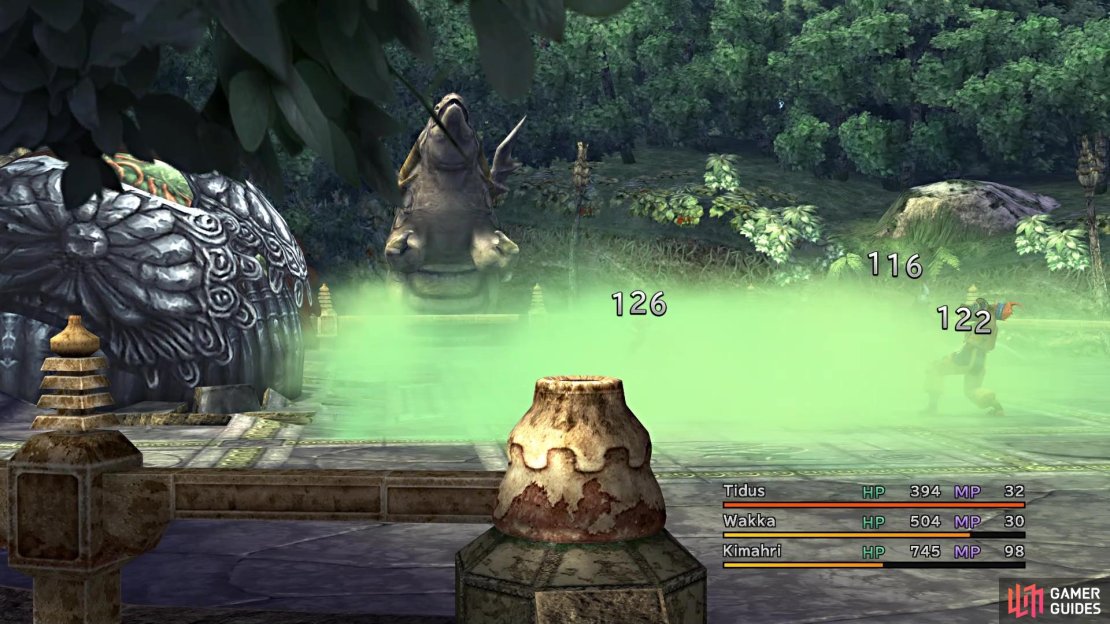
Every two turns, the main body will attack with Sigh while the shell is still around it, dealing around 125 damage to the entire party. Once the Tentacles are gone, bring in Lulu (if she’s not in) and begin use Fire on the main body. Whenever you bring its HP under 2,400 or so, the shell will open and reveal the true body of Sinspawn Geneaux, meaning it will be vulnerable to physical attacks now. It also stops using Sigh and will begin using other skills. Venom will be used against the party member with the highest HP, dealing around 110 damage and also poisoning the character.
(1 of 4) Sigh is some decent damage to your entire party
Geneaux also has access to Water, which will always target the party member with the lowest HP. As with the previous fight, you can use NulTide with Yuna to block one casting of Water, but you know that the boss will always target the character with the lowest HP. One final attack that Geneaux can do is called Staccato, a skill that hits all characters for around 110 damage or so. This is a physical attack, so you can reduce its damage by having Tidus use Cheer. The boss’ main body is weak to fire, so you can use Lulu’s Black Magic to deal some good damage to it. As long as you keep up on healing, you shouldn’t have any real trouble with this boss.
Once the Sinspawn Geneaux has been defeated, continue into the next area to trigger a cutscene, then you will be at the temple. There will be another scene as you approach the entrance, then you’ll be able to go inside (the two side doors have nothing in them). Go up to Wakka and choose to pray, then save your game and head to the Cloister. There will be another scene here, then you will want to wait for the elevator. Step on it to initiate one final scene, then you will be in the Cloister yourself.






No Comments