
You finally have an airship, although it’s not really yours and you don’t have full control of it just yet. Once you gain control, speak to Cid, then exit the bridge past Auron, then re-enter for another scene. Exit back into the hallway, speak with Isaaru, then go south from him to find Rin. He has some goods to sell, although it’s nothing new. The next boss, which is coming up soon, has the ability to both petrify and poison your characters. You can help protect them, somewhat, by buying Softs and Antidotes, then customizing Stone Ward and Poison Ward to some of the characters’ armors. It takes 30 Softs for Stone Ward and 40 Antidotes for Poison Ward. You really only need it on three characters, since you can just swap the others out once they take an action.
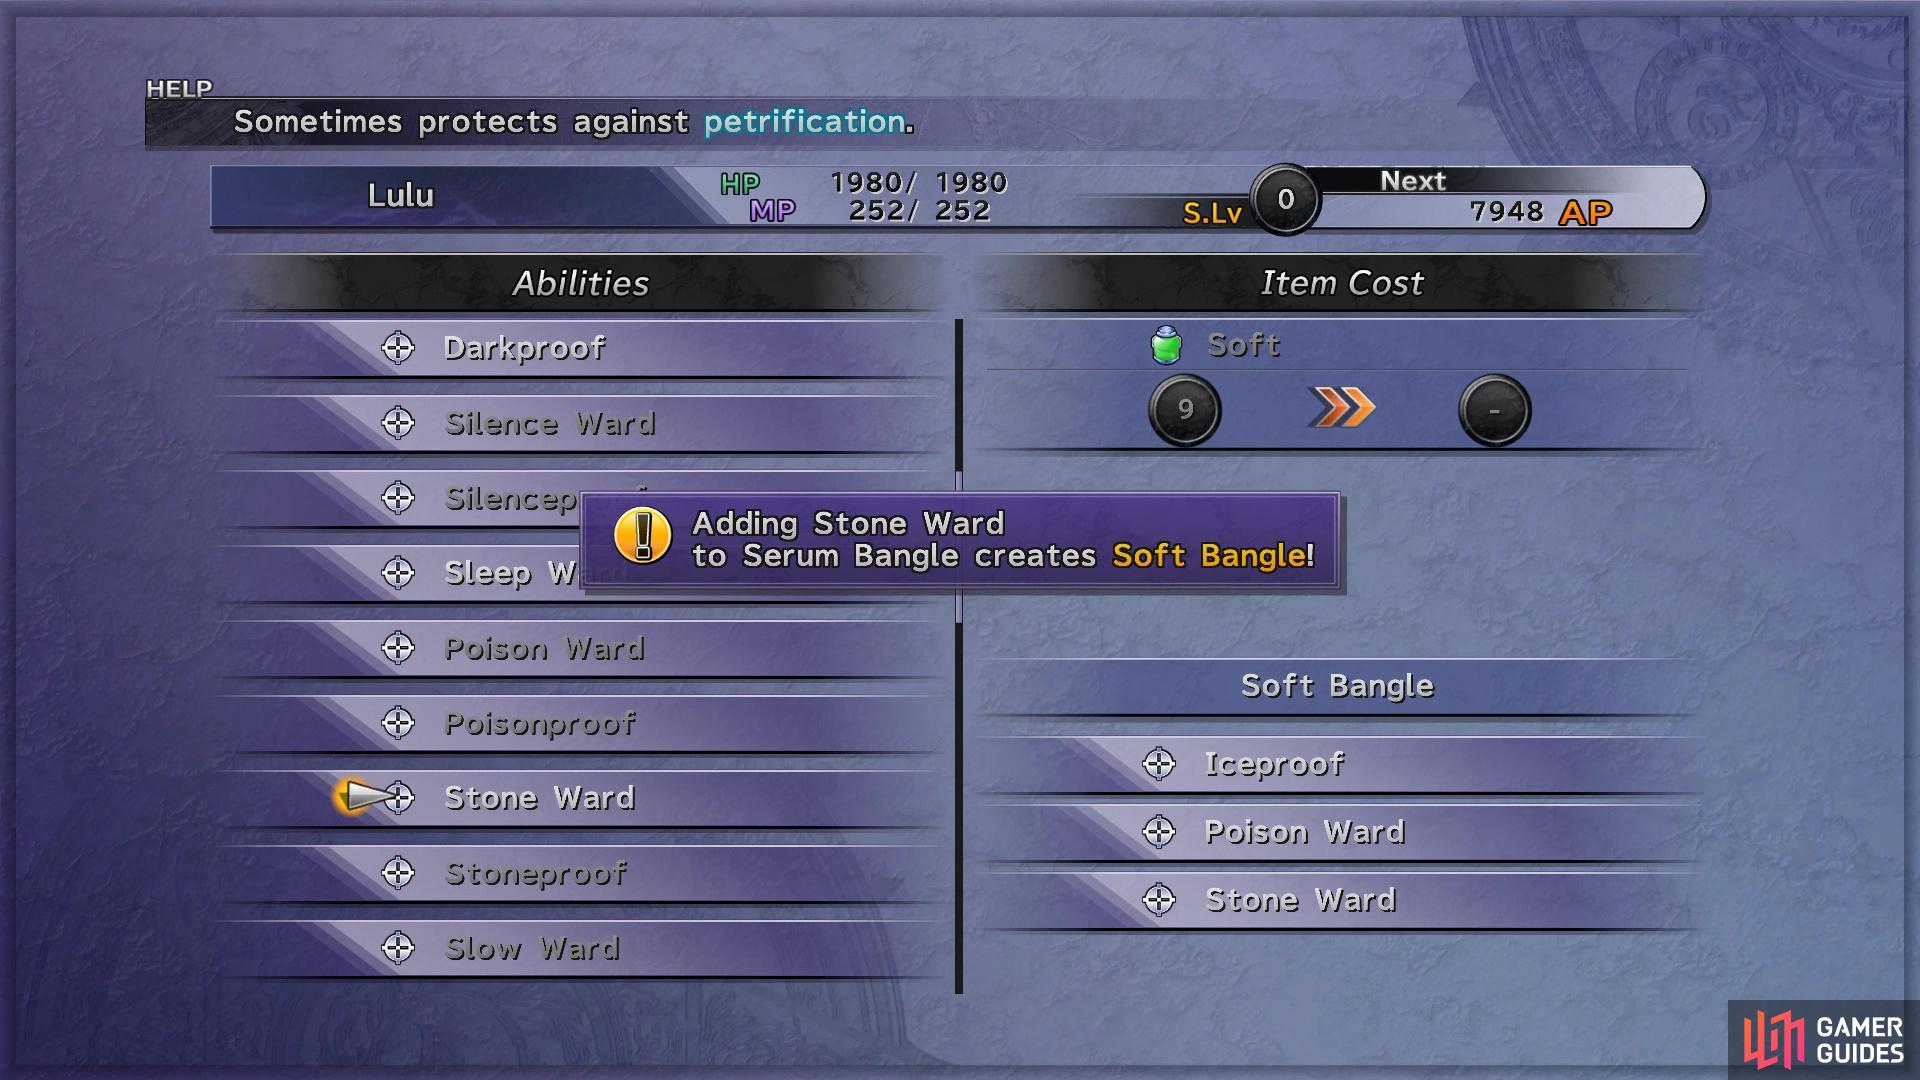
Make sure you put some proper customizations on armor for the upcoming boss
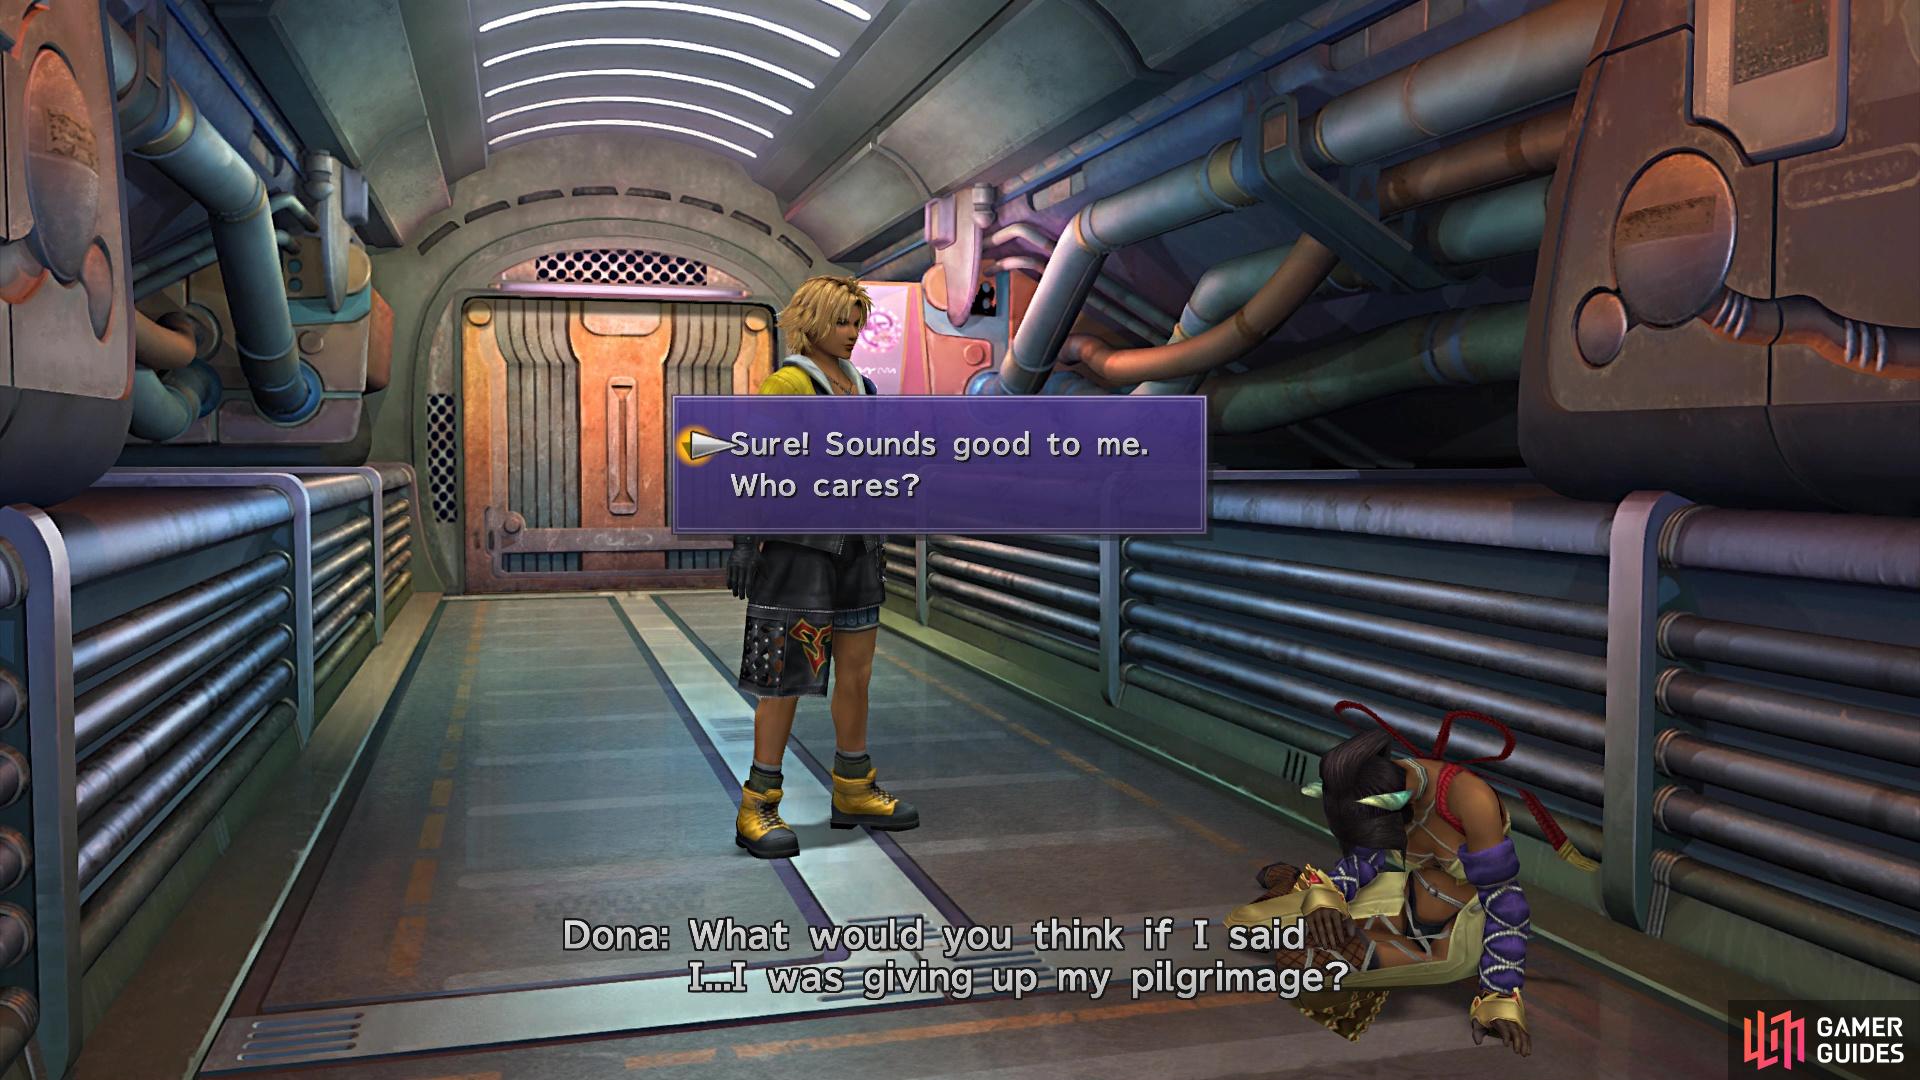
It doesn’t really matter what you say to Dona
Once you’re finished, move past Rin and enter the room on the left to find Dona on the ground. She will ask you if she should give up on the pilgrimage, which you can answer yes or no. This has no effect on anything and you get nothing from it, but if you chose “yes,” then she will be found outside of Djose Temple. If you chose “no,” then you will find her in Zanarkand later on in the game. That’s all of the little bits on the airship, so return to the bridge and speak with Brother at the helm, only to find out that Yuna is at Bevelle.
After the scene following the location of Yuna, exit the bridge and keep following the hallways, until you reach some stairs. Note that you might run into some fiends along the way, but they are nothing different than what you’ve fought before. There will be a Save Sphere here, so save your game and head to the upper area, where you are treated to a quick glimpse of your next boss, Evrae, the guardian of Bevelle. Go to the far end of the room and use the elevator to reach the deck, where the battle will begin.
BOSS - Evrae
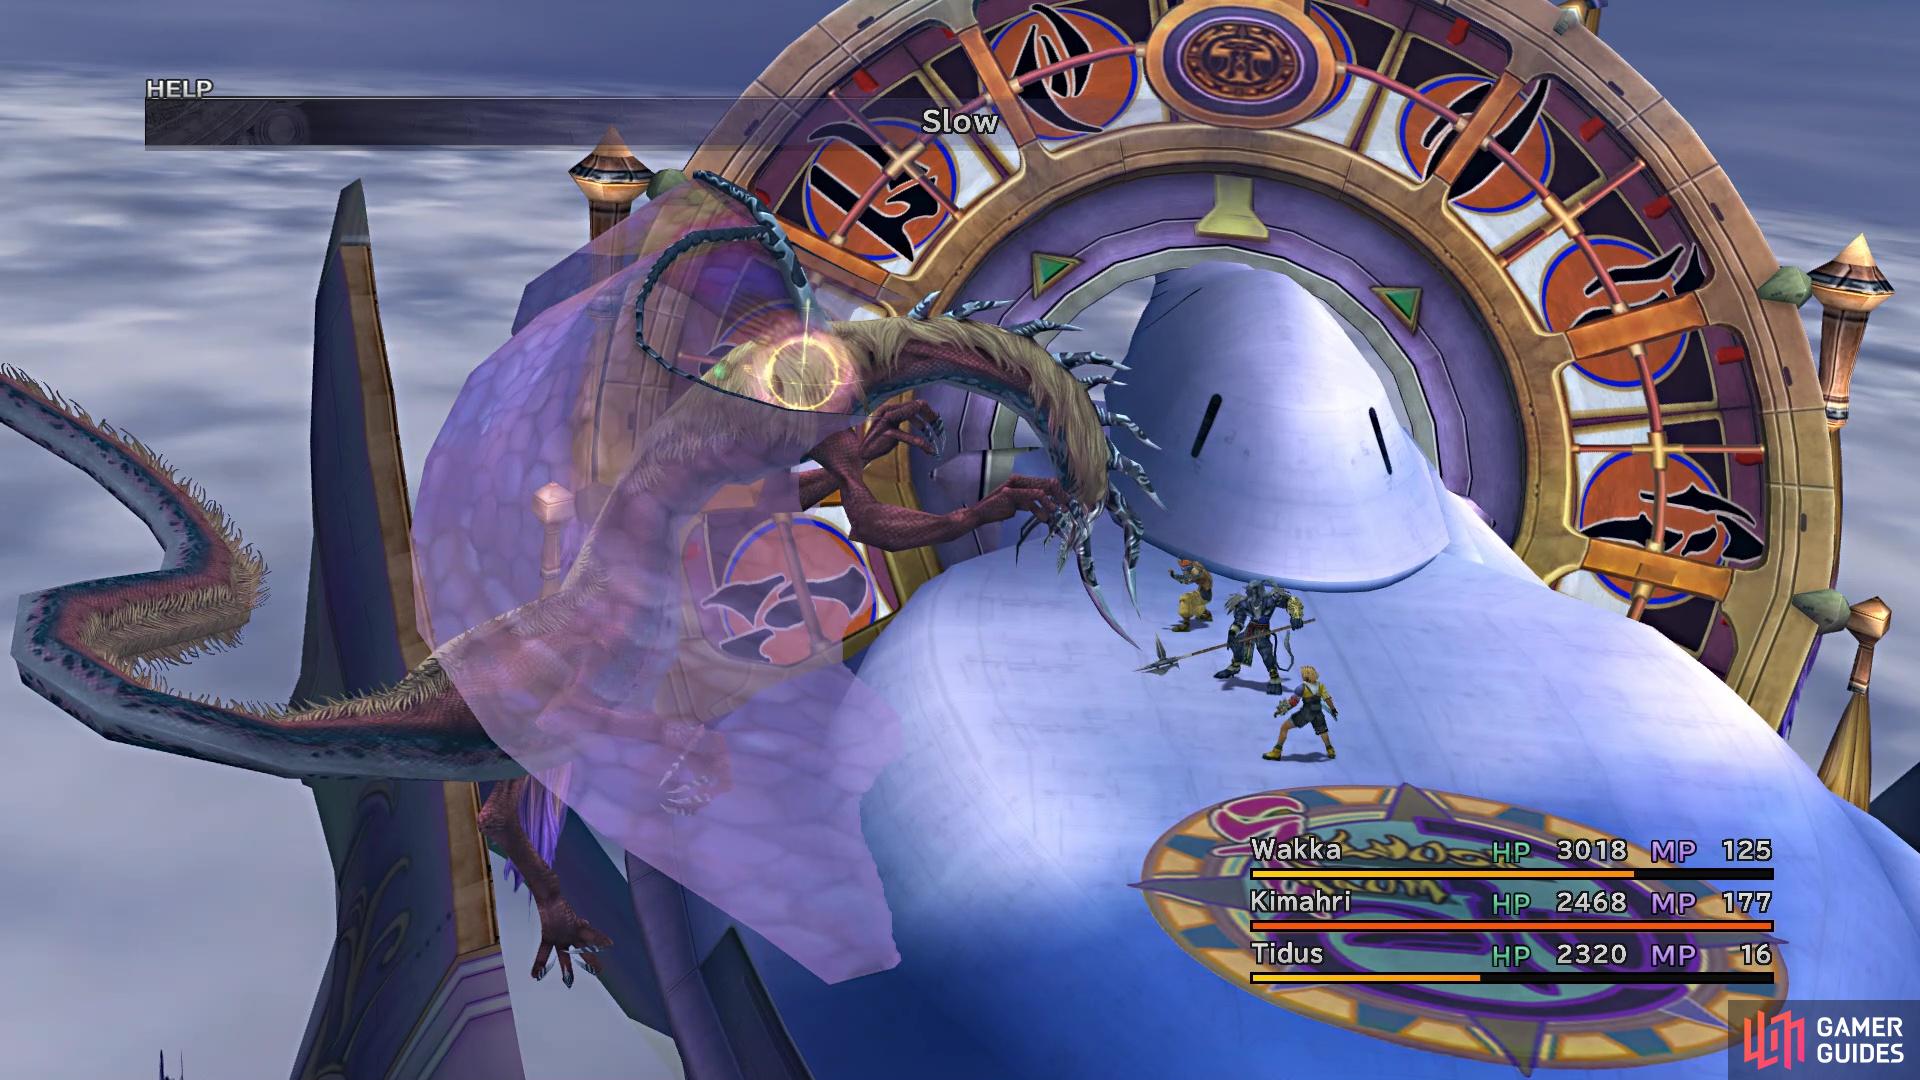
This can be a challenging boss fight, depending on how you tackle it, as Evrae has the ability to petrify your characters. Hopefully you did some customizing with Softs to add Stone Ward to your armors and although Poison isn’t as bad, Poison Ward can also help. The fight takes place on the deck of the airship, which adds a bit of complexity to the entire fight. Tidus and Rikku have Trigger Commands during this battle to issue orders to Cid, who appears on the turn order. You can issue Cid to either Move in or Pull back, which will be done on Cid’s turn, so you won’t necessarily be able to escape the brunt of Evrae’s attacks. While far away from the creature, you can only hit it with long-distance attacks, like Black Magic, Wakka’s attacks and Lancet.
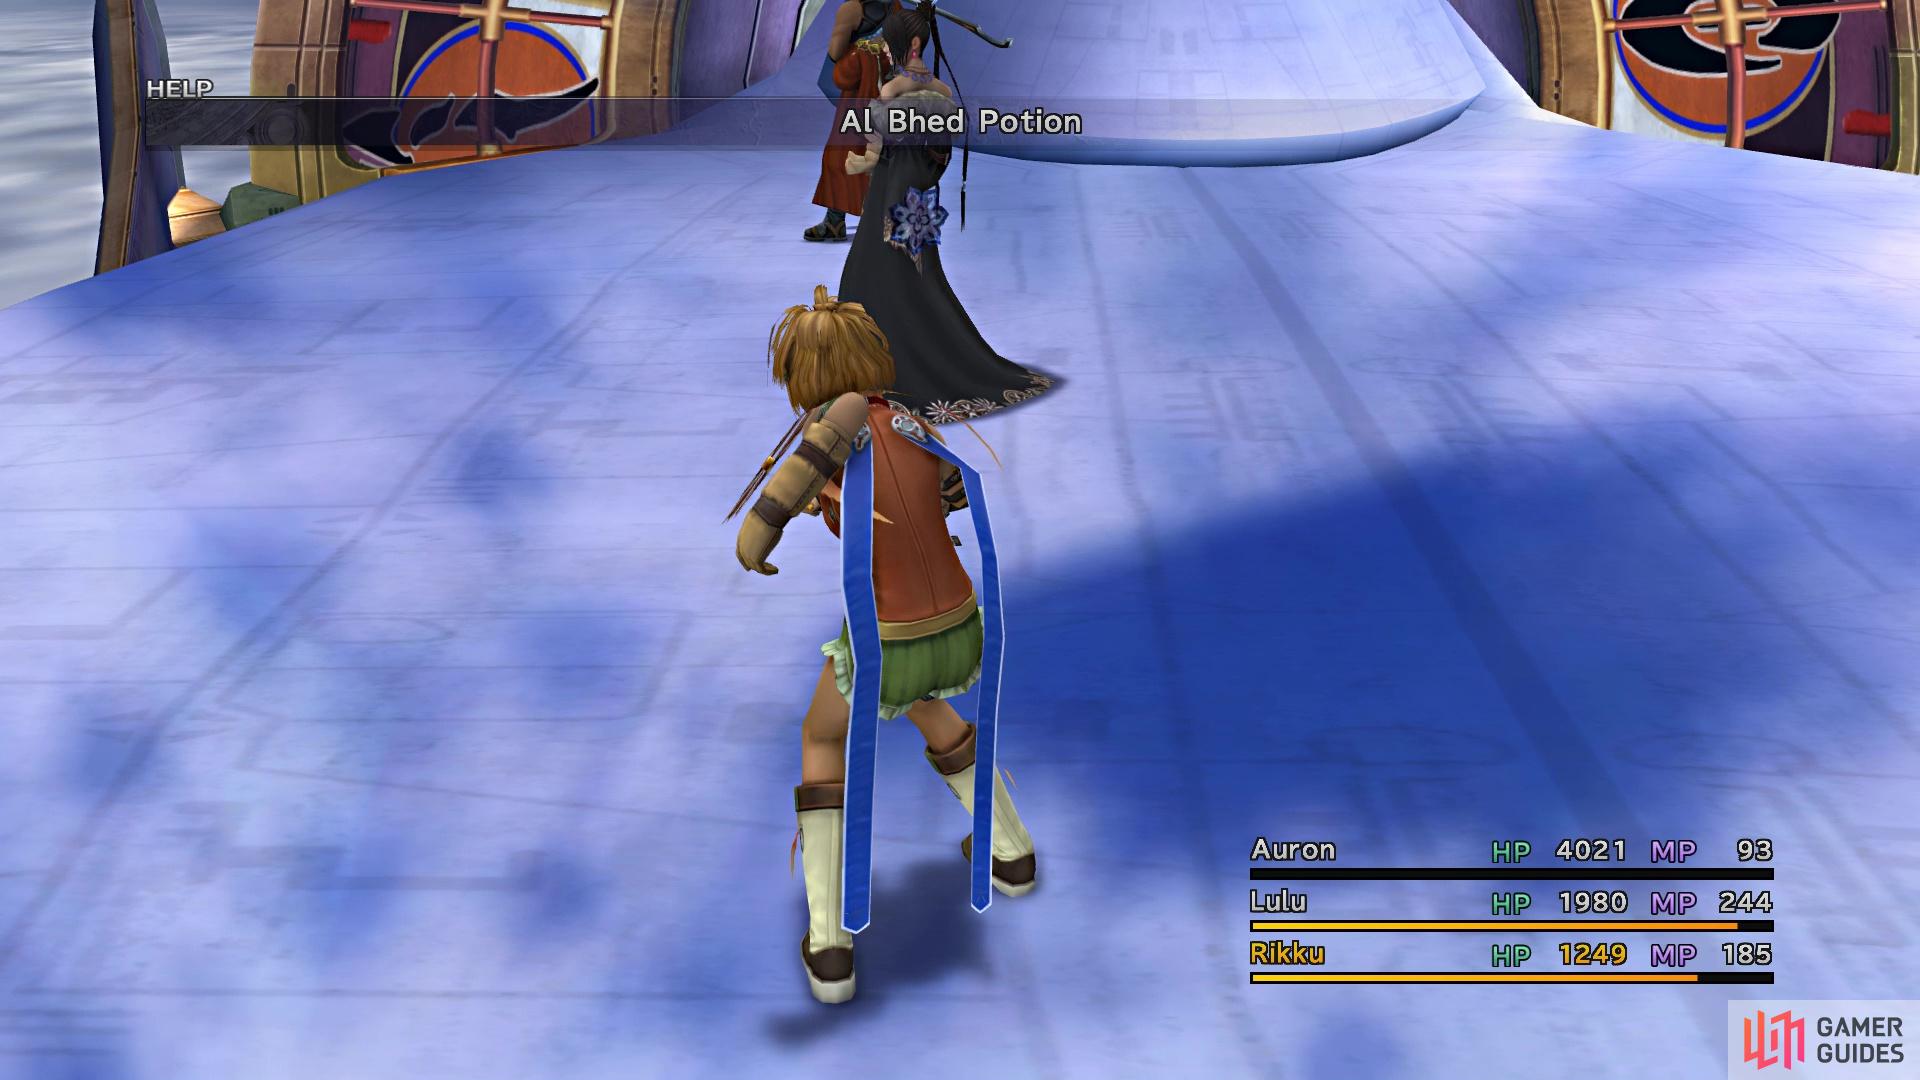
You can use Al Bhed Potions to heal your party against Evrae
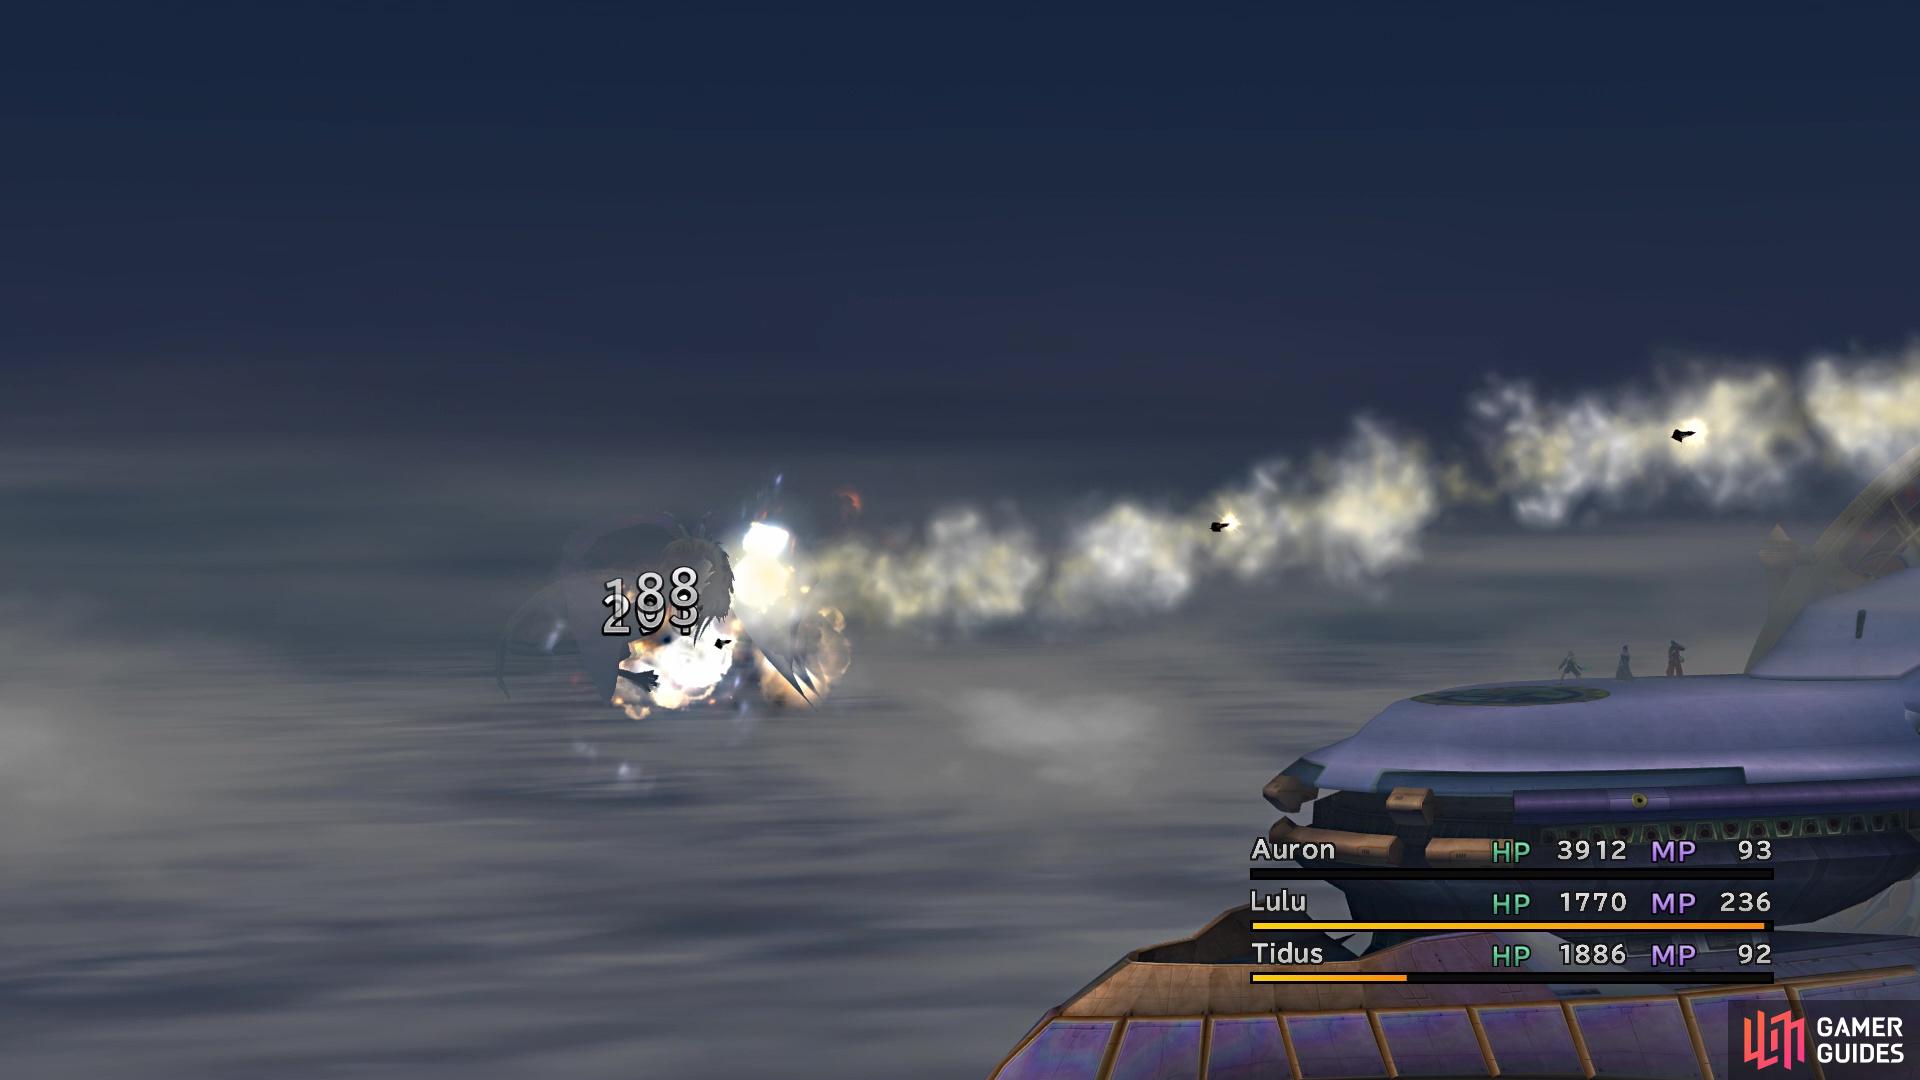
Cid will fire a volley of missiles up to three times if far away
Also, Evrae will use Photo Spray when far away from your party, an attack that hits 8 times to random targets, although the damage isn’t too big on it. Another thing that will happen if you’re far away involves Cid, who will launch a volley of missiles at Evrae on his turn. Note that he can only do this three times, so you can’t just sit back the entire fight and let Cid deal with the boss. Note that there is a chance that Evrae will counter attacks while far away with Swooping Scythe, which will place it up close and personal, after unleashing it. Note that if you go far away at the very beginning of the battle, you can use that time to buff up your party.
Up close, Evrae can use Stone Gaze to inflict Petrify on a single character, which is a dangerous ailment. If they get hit with a physical attack while petrified, they will shatter and be ejected from the battle until it is over. Thankfully, Stone Gaze is only on a single character, but it should be noted that this one also inflicts Slow. The other move in Evrae’s arsenal, when it’s up close, is Poison Breath. The good thing about this is that it needs a turn to charge, so it won’t be immediate. If you can time it so you order Cid to pull back while it’s charging (and he does), the Poison Breath will actually miss your party.
Evrae is susceptible to Slow, but once you drop its HP to below 10,000 or so, it will cast Haste on itself. Even if you try to counter the Haste with Slow, it will immediately use Haste again (as a counter), so there’s nothing you can really do about that. There is a tricky way you can keep it from doing Haste, though, but that requires some manipulation of the Sphere Grid, as Rikku can gain access to Reflect via a Lv. 2 Key Sphere lock. Since Yuna isn’t a part of this battle, this is really the only way to gain access to Reflect, unless you use the Friend Sphere from Home, but those are kind of rare in the main story and might have better uses later.
You can try countering Evrae’s Haste with Slow
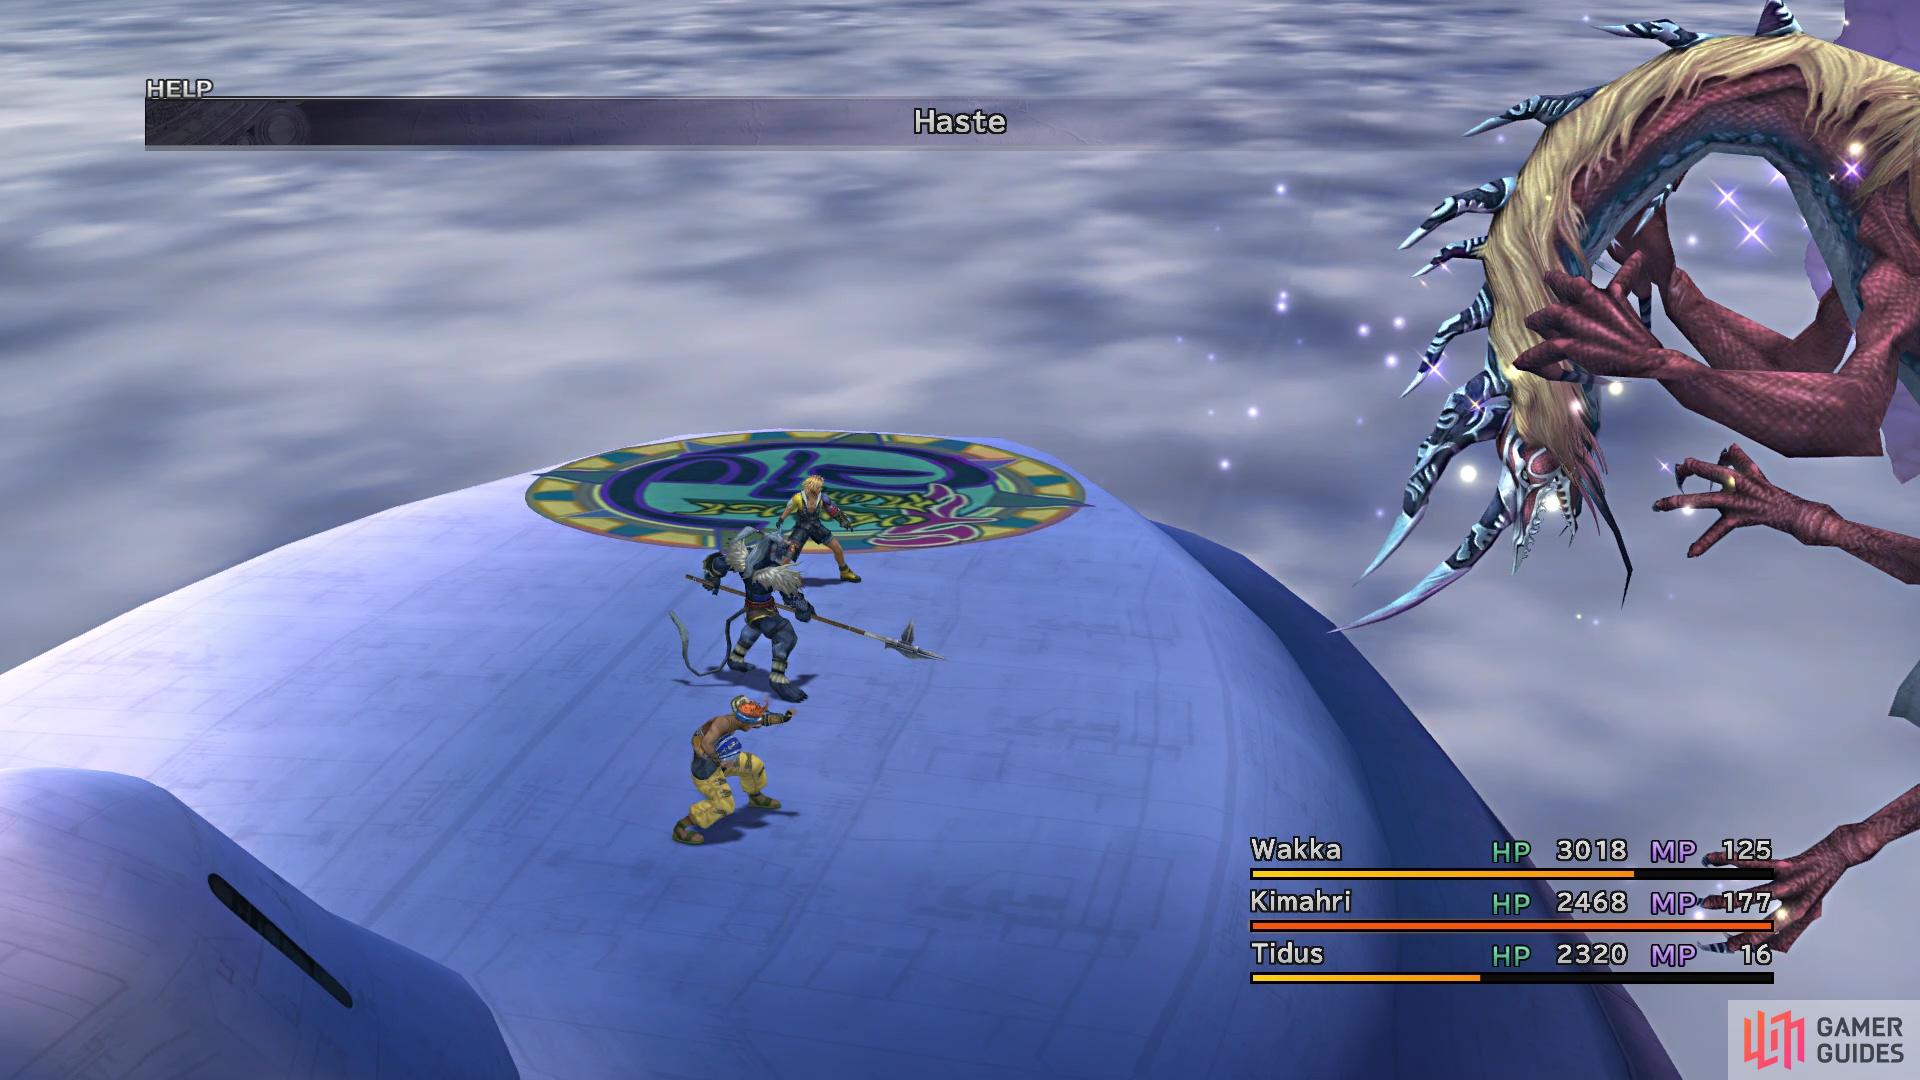
but it will counter right back with Haste again
If you’ve been stealing a lot of Light Curtains from Iron Giants in the Thunder Plains, then you can have whoever has Use to put Protect on your characters. Likewise, if you have Rikku’s Overdrive full and heeded the advice earlier on this page, you can do the Mighty G Mix, which will net you Haste, Protect, and Shell. Evrae is not immune to Power Break (it is immune to Armor Break), so you can cut back on some of its damage that way. Also, it is not immune to Delay either, but using Delay Attack might lead to Evrae using Haste earlier than usual.
Wedding Crasher
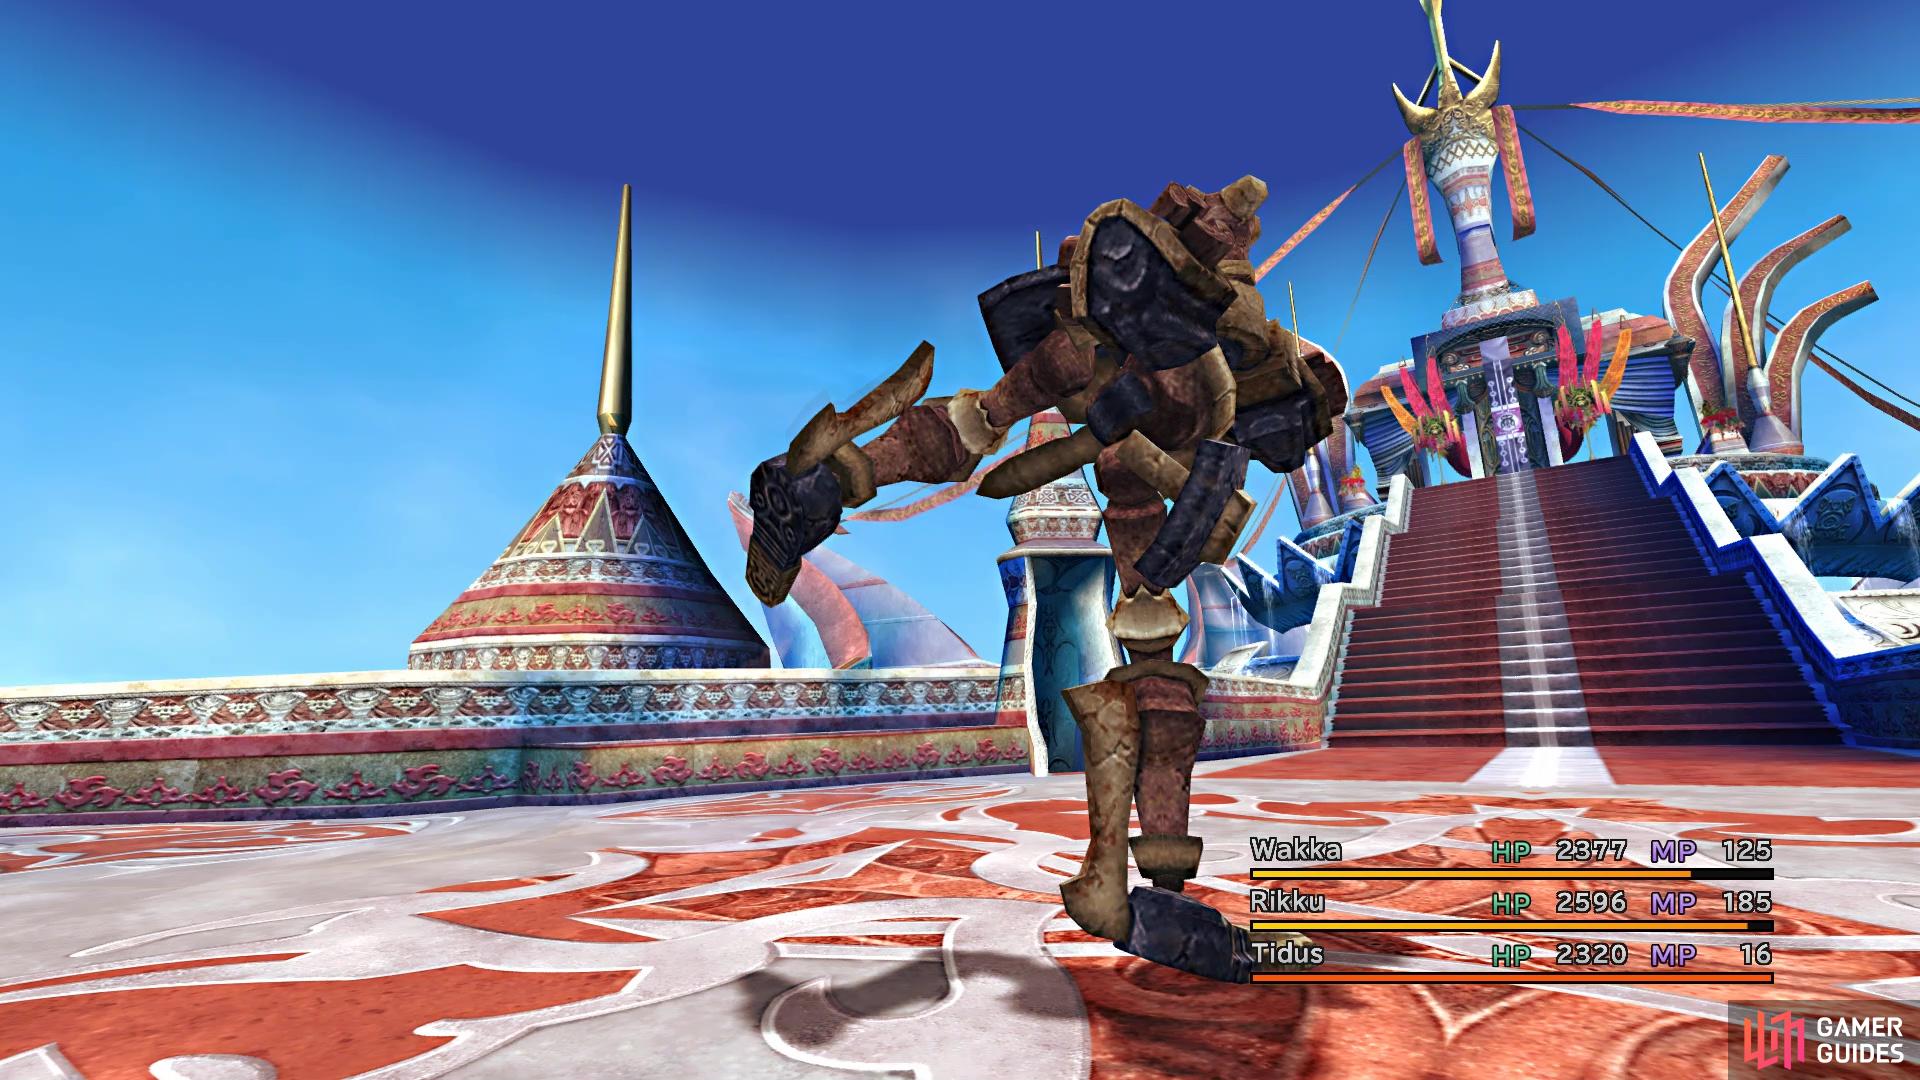
After the battle with Evrae is done, there will be some scenes and you will arrive at Bevelle, although it looks like you’re interrupting the wedding between Seymour and Yuna. As soon as you gain control, move forward and you will be forced to battle some enemies. The first battle will be against some Warrior Monks, two with normal guns and one with a flamethrower. The normal guns can only hit a single target during their attack, while the flamethrower will hit the entire party. The second battle will be against two Flamethrower Monks and a YKT-63. The latter enemy should be defeated first, as it will use Thrust Kick if it’s the last enemy alive. This will eject the character it hits, meaning they will not gain any AP after the battle.
Thrust Kick will eject the character it hits from the battle
The Warrior Monk with the Flamethrower can hit your entire party
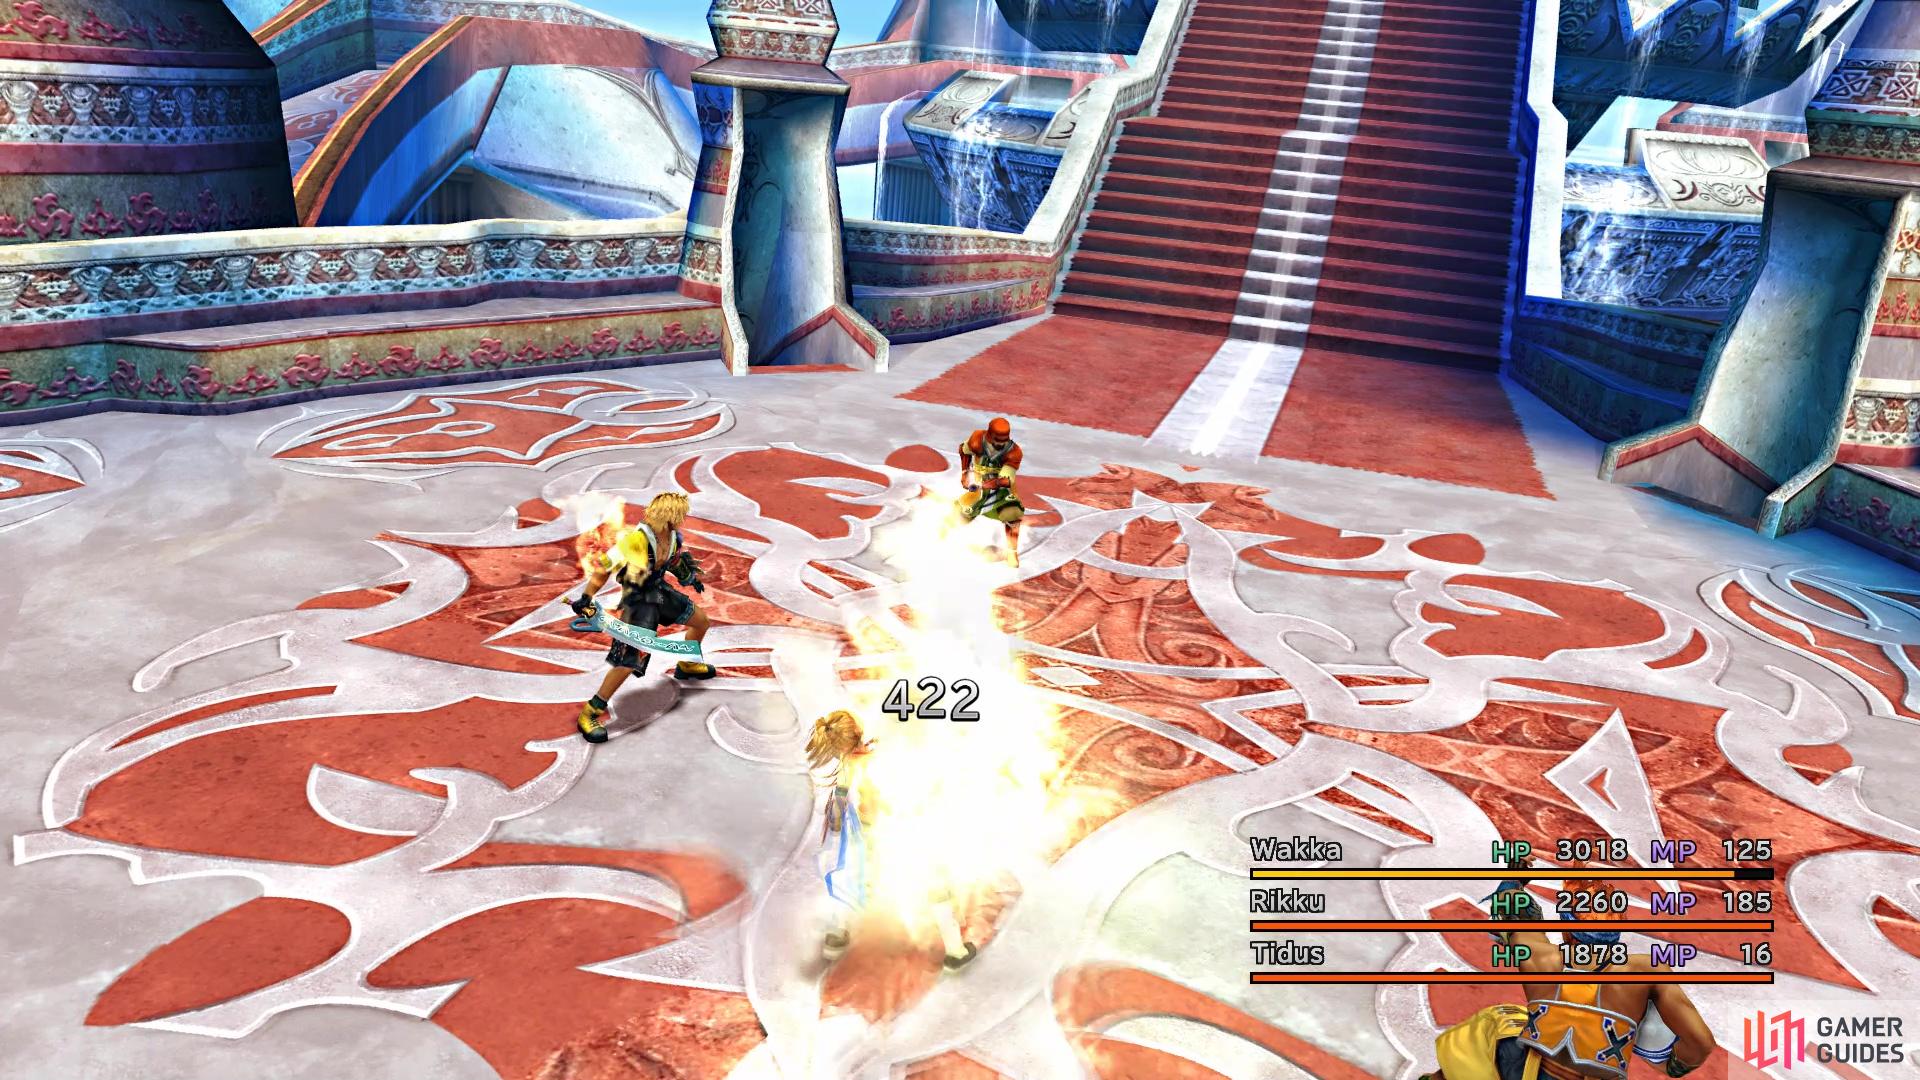
You will have three more battles after the first two, with the only new enemy being the YAT-99 in the final one. This enemy is in a second row, behind the two Warrior Monks, where you can’t target it with melee attacks. While in the back row, it can target a single character or your entire party. Defeating the two Warrior Monks will cause your party to move up, eliminating the back row benefit the YAT-99 was receiving. Once this happens, the YAT-99 will only be able to target a single character. There will be some scenes after this fifth battle, with your party pretty much escaping Bevelle now.
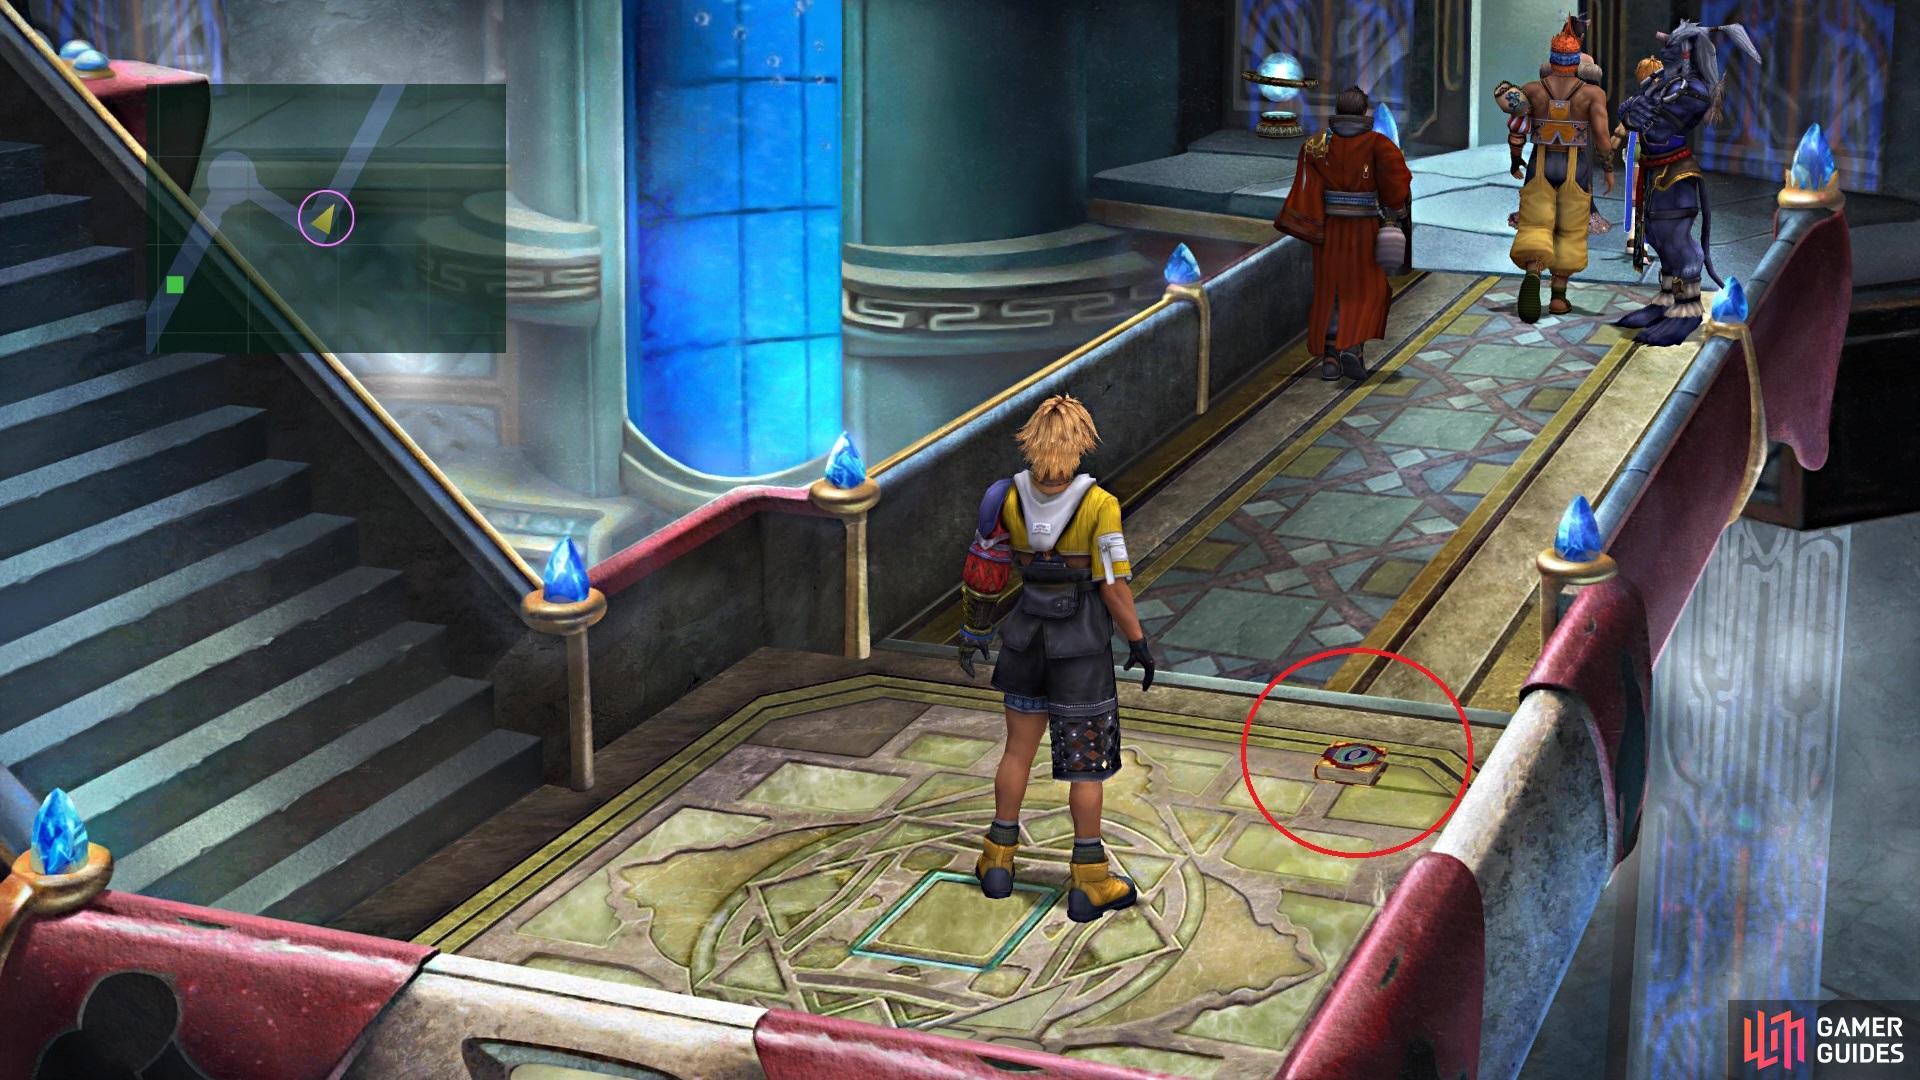
Make sure you pick up the Primer here, or else you will miss it completely
Once you regain control, touch the panel at the top of the stairs to take an elevator of sorts. Follow the trail to your party, making sure you pick up the Al Bhed Primer Vol. XXII on the ground before entering the next area. If you do not pick this up, then it will be lost to you until another playthrough of the game. Head on over to the Save Sphere, save your game, then walk through the doorway to enter the Cloister of Trials in Bevelle.
No Comments