
From the previous area and taking the one elevator up, step forward into the new section of the map, then move forward some to initiate a cutscene. Move to the next screen and here, you will be treated to yet another scene. When you regain control, run over to where the Save Sphere and in the corner behind it will be O’aka. Unlike the last time you encountered him, he actually has some decent wares for sale. Of particular note are the weapons for Tidus (Counterattack), Wakka (Stonetouch), and Auron (Initiative). The Wakka weapon is especially nice, since Stonetouch can one-hit KO enemies with no resistance to Petrify, and you still get AP for them.
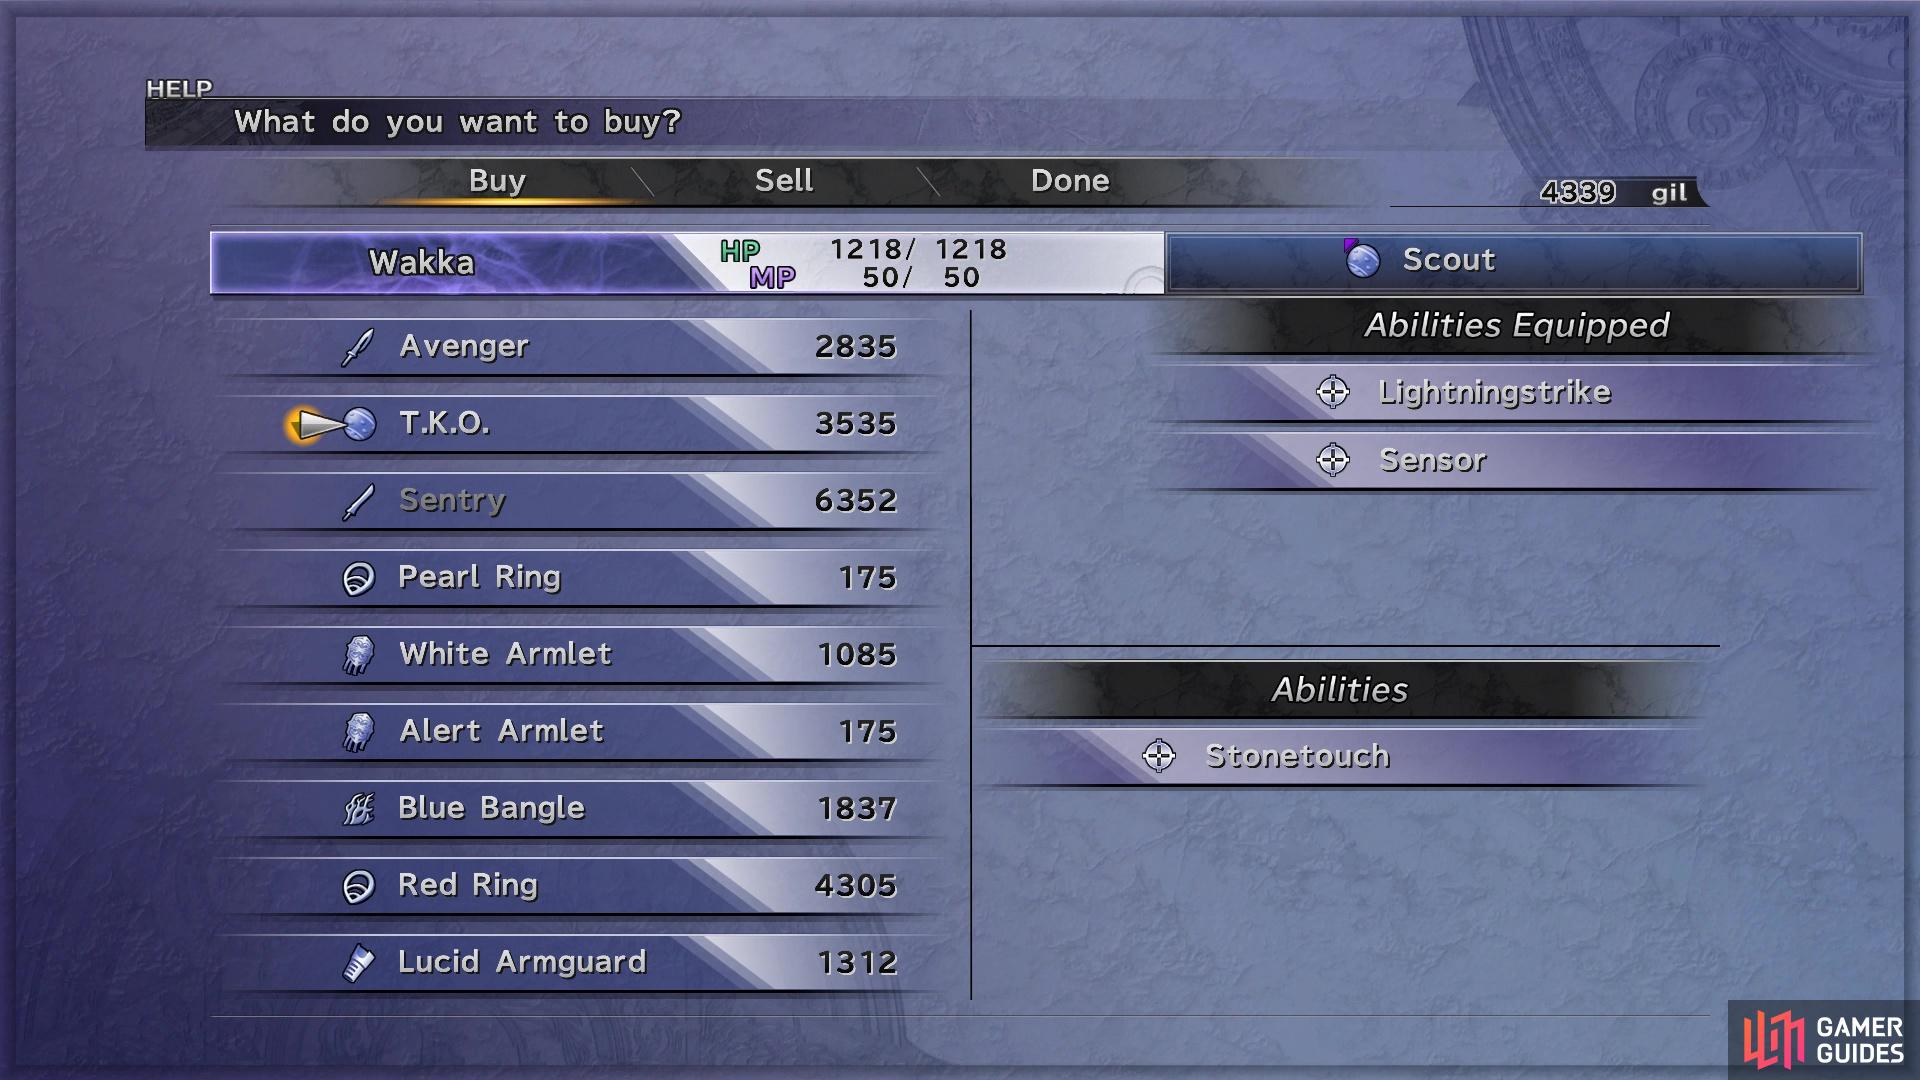
O’aka does have a few nice weapons in his inventory this time
As you approach the entrance to the command center itself, there will be a scene with Gatta. Should you speak with him after that and encourage him to join the front lines, then he will join the upcoming battle. If you ignore him, then he won’t join the operation on the front lines. You’ll meet with Maester Kinoc inside the command center and after that scene, you will regain control. Head east of where you take control and by both Yuna and Lulu will be two chests, one with a Mega-Potion and the other a Serene Bracer. Speak with the one guard to the south to officially begin Operation Mi’ihen and not long into it, you’ll be forced to fight a boss.
BOSS - Sinspawn Gui
Before doing anything, it’s a good idea to go over this boss real quick. It is comprised of four parts: two arms, the head, and the main body. The main body is the actual boss and bringing its HP down to zero will complete the battle. The problem comes with the arms deflecting physical attacks to the main body, so you will have to take care of those before anything else. Of course, the arms don’t stay away permanently, as they will come back and there’s nothing you can do about that. The arms don’t attack at all, thankfully, but they are armored, so you will have to use either Auron, Kimahri or Lulu’s magic to defeat them.
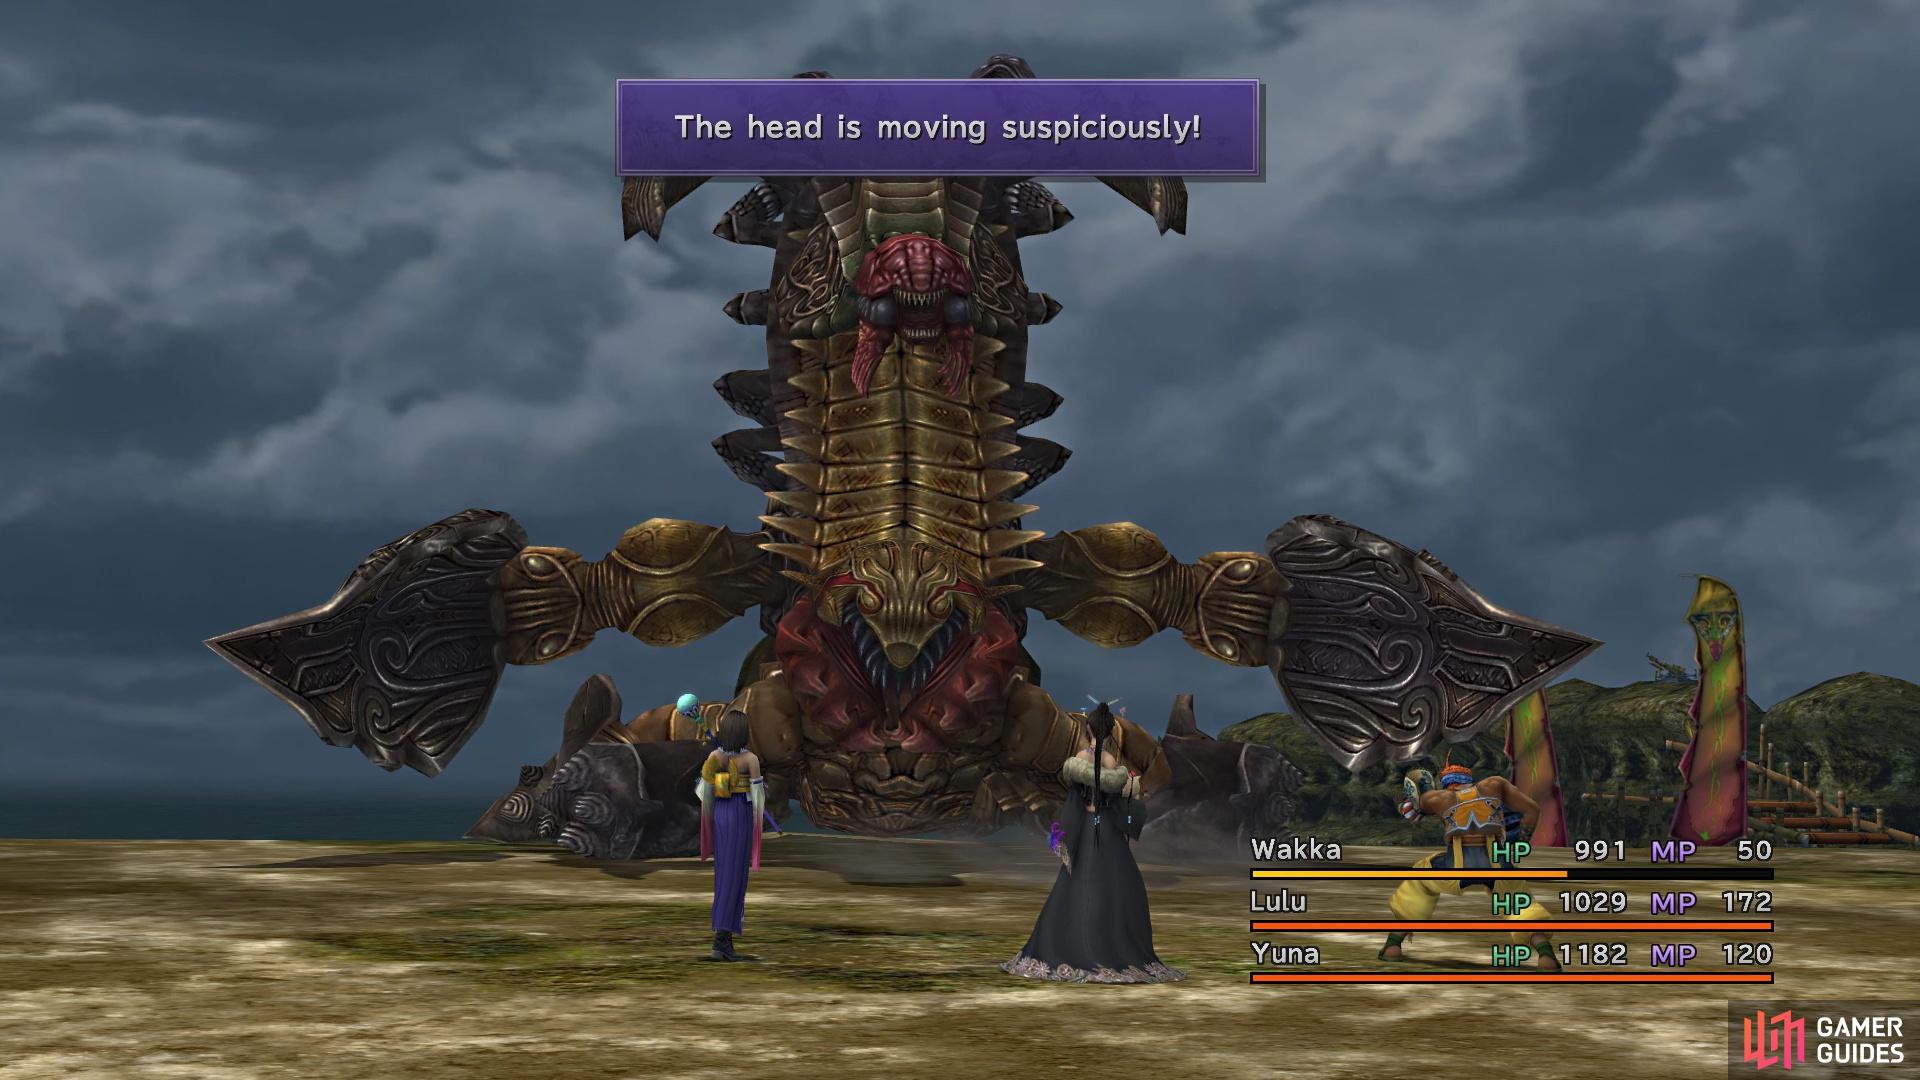
Bringing the attention to the head, it can use Thunder on a single character, which isn’t that big of a deal, but you can use NulShock to protect against it if you want. The bigger problem with the head comes when it starts moving suspiciously. That means on its next turn, it will use Venom, which does physical damage to a single character, as well as inflict Poison. However, you can stop this by attacking the head, but it’s only reachable with ranged attacks, like Wakka’s normal strike, Lulu’s magic or Kimahri’s Lancet. Just a single hit is more than enough to make the head stop shaking.
The head should be your first target and when you’ve depleted its health, the head will turn gray in color. Your next target will be the arms, but it’s best to either let Auron/Kimahri handle those, or blast them with Lulu’s magic. That will leave the body alone for a little bit, but it will attack you. The body can either do a physical attack that hurts quite a bit (600 or so damage), or Demi. You might remember the Demi from Sinspawn Ammes, which doesn’t actually kill you, but the danger of the normal attack means you should heal. The body should alternate between the two, but might skip the physical when it’s lower on health. When the arms show up again, take them out, then continue eating away at the body’s HP.
There will be a cutscene after the boss battle, then you will have to face Sinspawn Gui for a second time.
BOSS - Sinspawn Gui (2)
The second battle is a lot easier, despite you only having Yuna and Auron from your party, since you also have Seymour. He has access to the second tier of Black Magic, as well as Cura, should you ever need it. The battle’s less challenging, too, since Sinspawn Gui has less health than the first version. The head, as before, should be the first thing taken out, with one spell from Seymour likely taking it down, since it only has 1,000 HP. From there, take out the arms as usual, then begin working on the main body. It’s essentially the same fight, but much easier due to Seymour. You should have a much easier time for an Overkill if you use Seymour to finish it off for good.
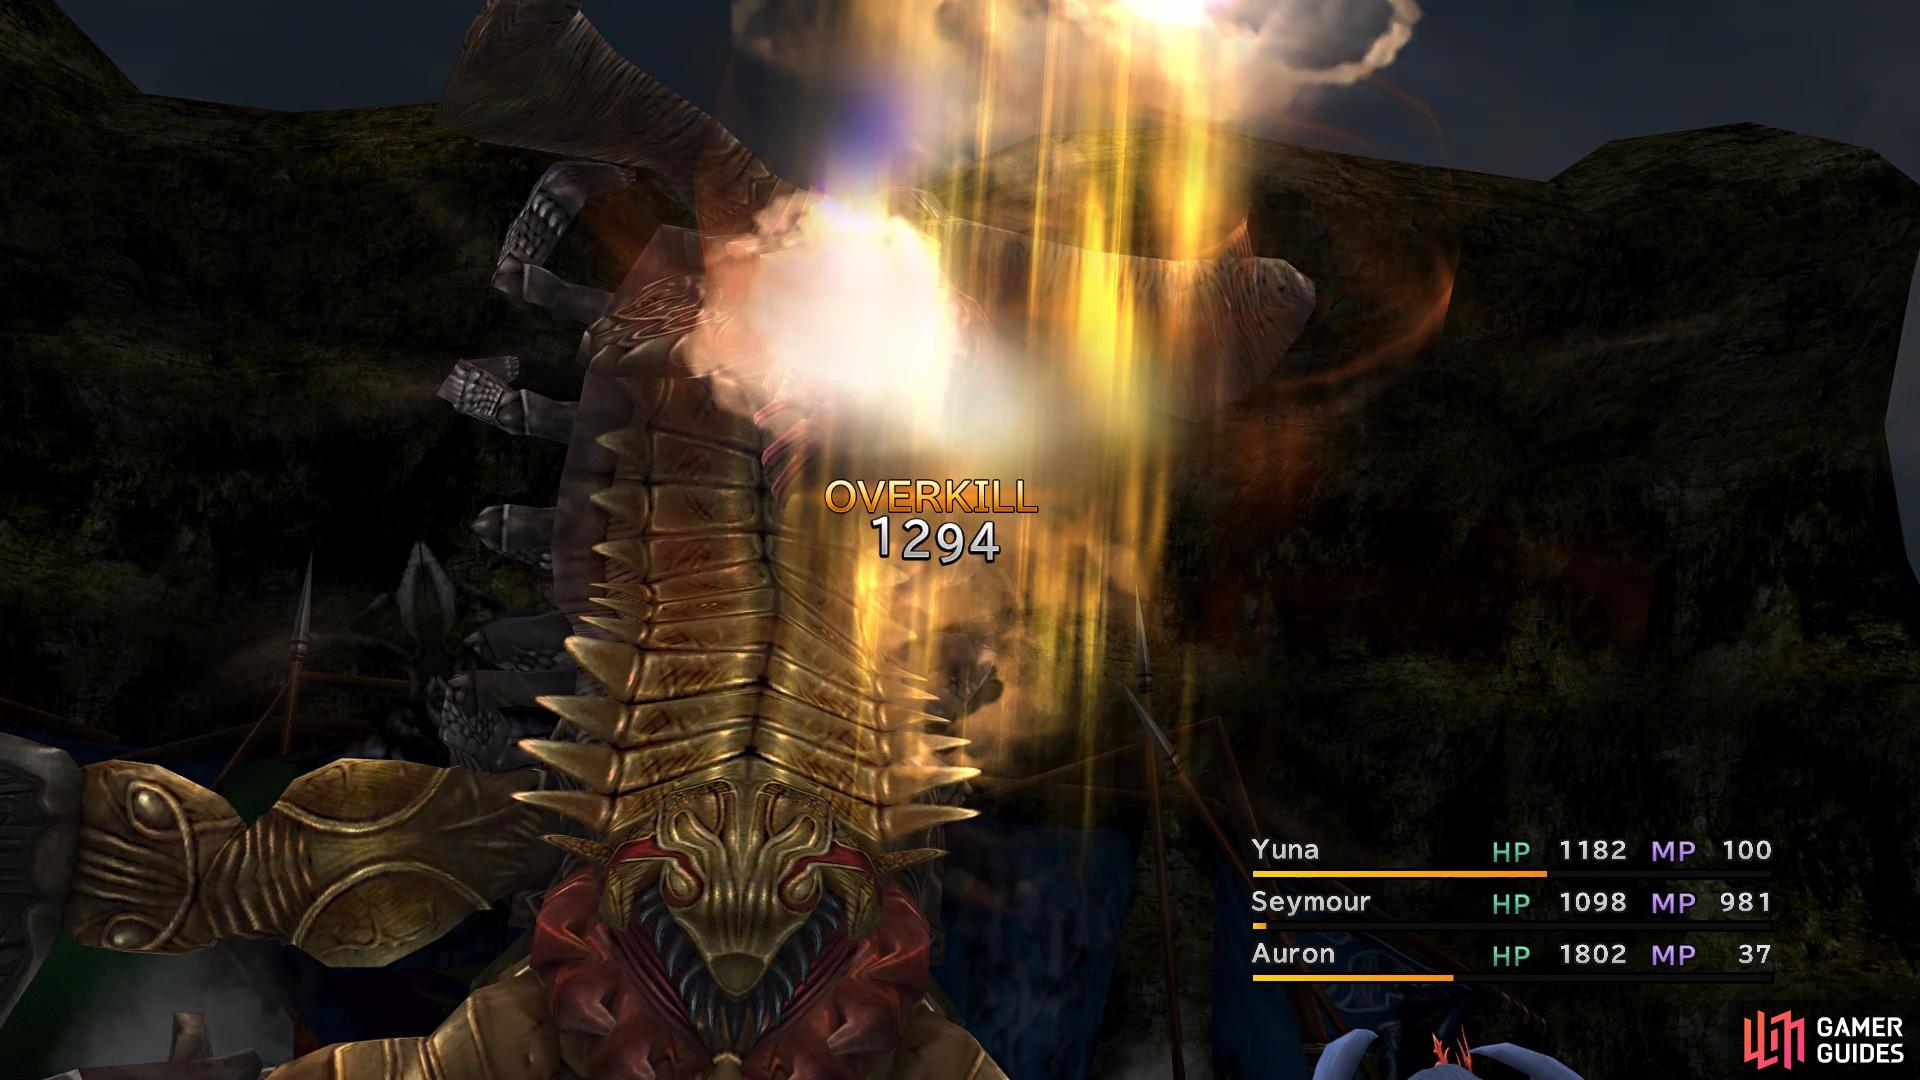
Seymour’s magic is pretty strong, although Gui is weaker too
When the attack has been over with and you regain control of Tidus, head to the northern section and speak to either Gatta or Luzzu. This leads to a series of scenes, including one where you can control Tidus in a flashback. Just run around here until the scene ends, then you’ll be back in the present. Move past the Save Sphere for a scene, then keep going in that direction, where you will find a chest behind Lulu containing a Hi-Potion. Approach Auron for some more dialog, then follow the trail up the hill and to the end to continue to the Djose Highroad.
No Comments