Entering Djose Temple will trigger a cutscene, introducing a fellow summoner, Isaaru. Once the scene is over, enter the room to the left of the main stairs to find a chest with a Remedy, then enter the room to the right to find a chest with a Mega Phoenix. As you attempt to enter the Cloister of Trials, you will be stopped by Isaaru and told that summoners have been disappearing. Speak with the NPC at the top of the stairs and tell him you’re ready to enter.
Cloister of Trials
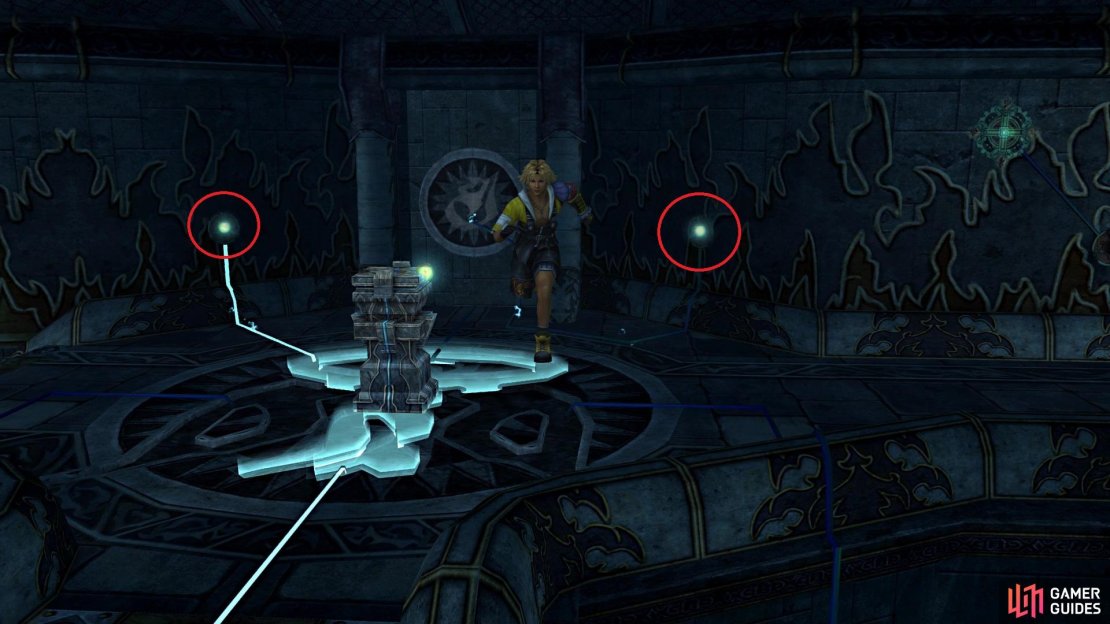
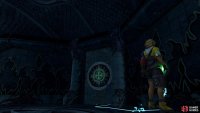
The third Cloister of Trials will be a little more involved than the previous two, so get ready to do a lot of moving with the spheres. In the very first room, there are two Djose Spheres to the left and right. Take out each one and place them in the slots on the door. This will let you access the main room, where there is a pedestal in the middle, a thing you can step on to reset on the left, and a few other things. The goal here is to light up all of the pieces of the Yevon symbol underneath the pedestal. There is a sphere on the pedestal, as well as two more on either side of the wall by the pedestal.
(1 of 4) Take these two Djose Spheres
To begin, grab the two Djose Spheres on the walls and place them in the holes to the right of the pedestal. Doing this will cause a pedestal that’s on the ceiling to get a charge. Push the pedestal on the ground to the right, underneath the one on the ceiling, causing the sphere on there to get a charge. Take the glowing Djose Sphere off of the pedestal and place it in the right hole in the center of the room, opening the door to the next section. Now, take the two out the two Djose Spheres from before and place them on the pedestal, then push it into the room with the electricity.
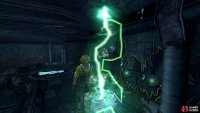
You are pushing the pedestal straight into the electricity, causing it to float and act as a platform for you. Thanks to this, you can hop over to the other side and push the pedestal there into the wall (press X/A/B), lighting up a section of the symbol in the previous room. Return to the other room and step on the glowing spot on the left side to reset the position of the pedestal acting as a platform. With that done, you can remove the two Djose Spheres and place them in the holes in the very first room. The last piece you need to do is take the sphere that opened the door earlier and place it on the left side, which should light up the last section of the Yevon symbol.
The pedestal in the middle of the room will now be replaced by a platform, which functions as an elevator. Step on it to head to the upper floor, where you will find a room full of pedestals along the wall. There’s five in total and you have to push them all in, opening a door to some stairs that will take you to the end, but don’t climb them just yet. Go back down the elevator and on the left side, by the reset “switch” will be a glyph that barely shows up every few seconds. Touch it to open up the wall, revealing the Destruction Sphere. Grab it, head back upstairs and place it on the pedestal there, revealing the chest that contains a Magic Sphere.
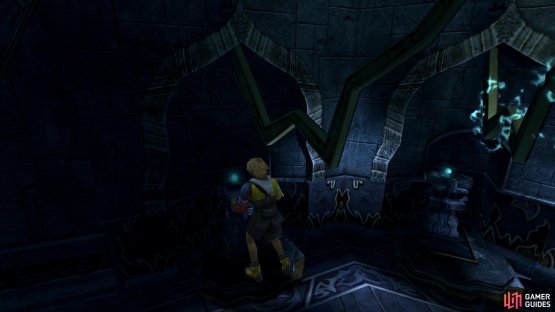
(1 of 2) There are five pedestals to push towards the wall upstairs
There are five pedestals to push towards the wall upstairs (left), You can see the glyph glow faintly on the wall here (right)
You’re finished with the Cloister of Trials now, so you can head up the stairs and to the inner chamber. Speak with your party members, then run around until Dona shows up to ridicule you all once more. After the scene ends, attempt to leave for another scene, with it ending by naming your new Aeon (default is Ixion).
Leaving Djose
The next morning, you will appear outside of the temple, so head inside the shop and loot the chest in the back for a Switch Hitter (there was a NPC standing in front of it before). Return to the inside of the temple and enter the room on the left to find Yuna sleeping. Speak to the NPC next to the bed, then exit the temple for another scene. That wraps up the temple, so it’s time to finally leave and head to the next area. On the bridge leading to the temple, you can speak to the NPCs for some free items, including a Halberd, two Hi-Potions, and ten Potions. Remember that fork in the road not too long ago? Head back there and venture to the left this time to start the journey to the Moonflow.

No Comments