
| Enemies | HP | Notes |
|---|---|---|
| Ahriman | 2,800 | Flying |
| Bashura | 17,000 | Be careful of counterattack state |
| Behemoth | 23,000 | Kimahri can learn Mighty Guard |
| Dark Flan | 12,800 | Use Armor Break; Kimahri can learn White Wind |
| Grendel | 9,500 | Armored |
| Mandragora | 31,000 | Be careful of Ochu Dance at low health; Absorbs Water |
The first portion of Zanarkand is a relatively short section, consisting of a straight line to the next area, with very few things in the way to distract you. All of the enemies found in the first portion are leftovers from the Mount Gagazet Cave. Follow the road and you will see a chest right on it not too far from the beginning; this chest contains a Fortune Sphere. Move along some more and there will be a very brief scene. Not too far from the scene will be another chest, but this one is on a little piece of ground jutting out from the main path (Spiritual Targe).
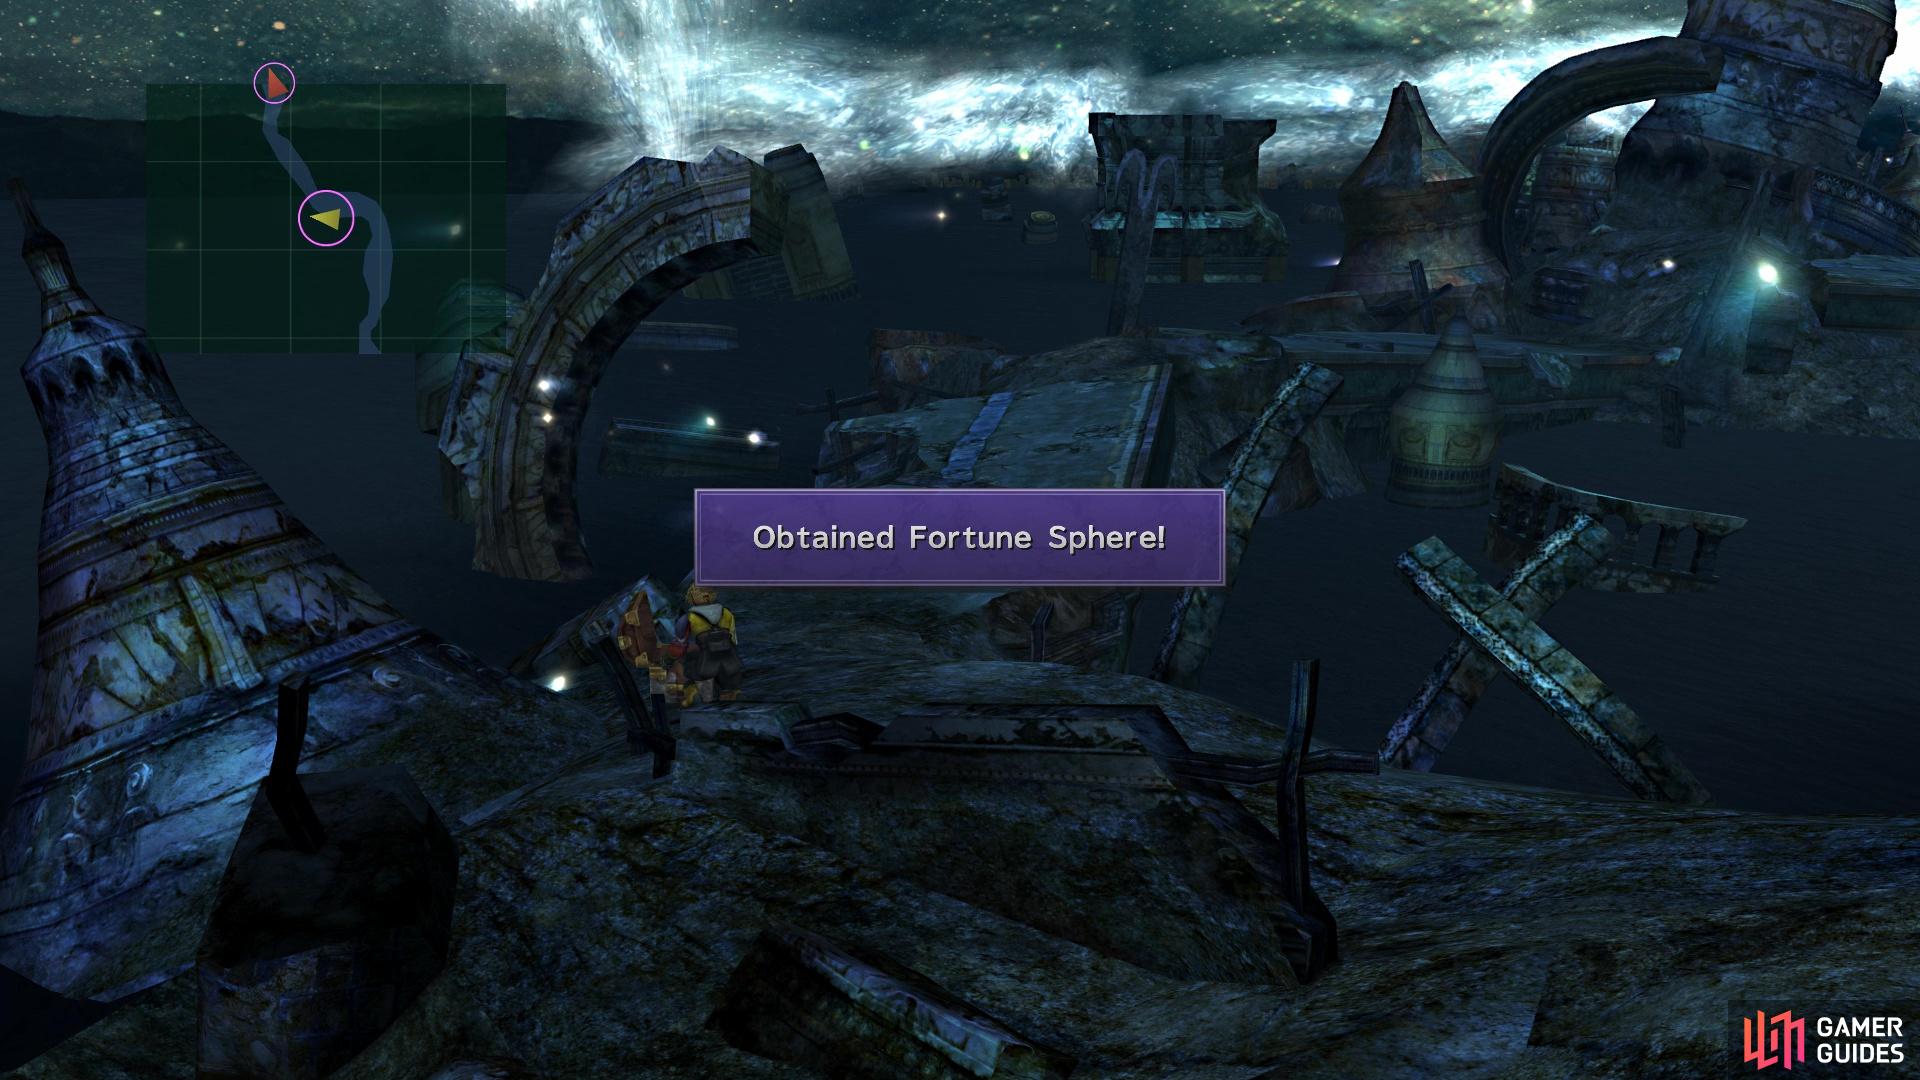
The first chest in the first portion is right in the open
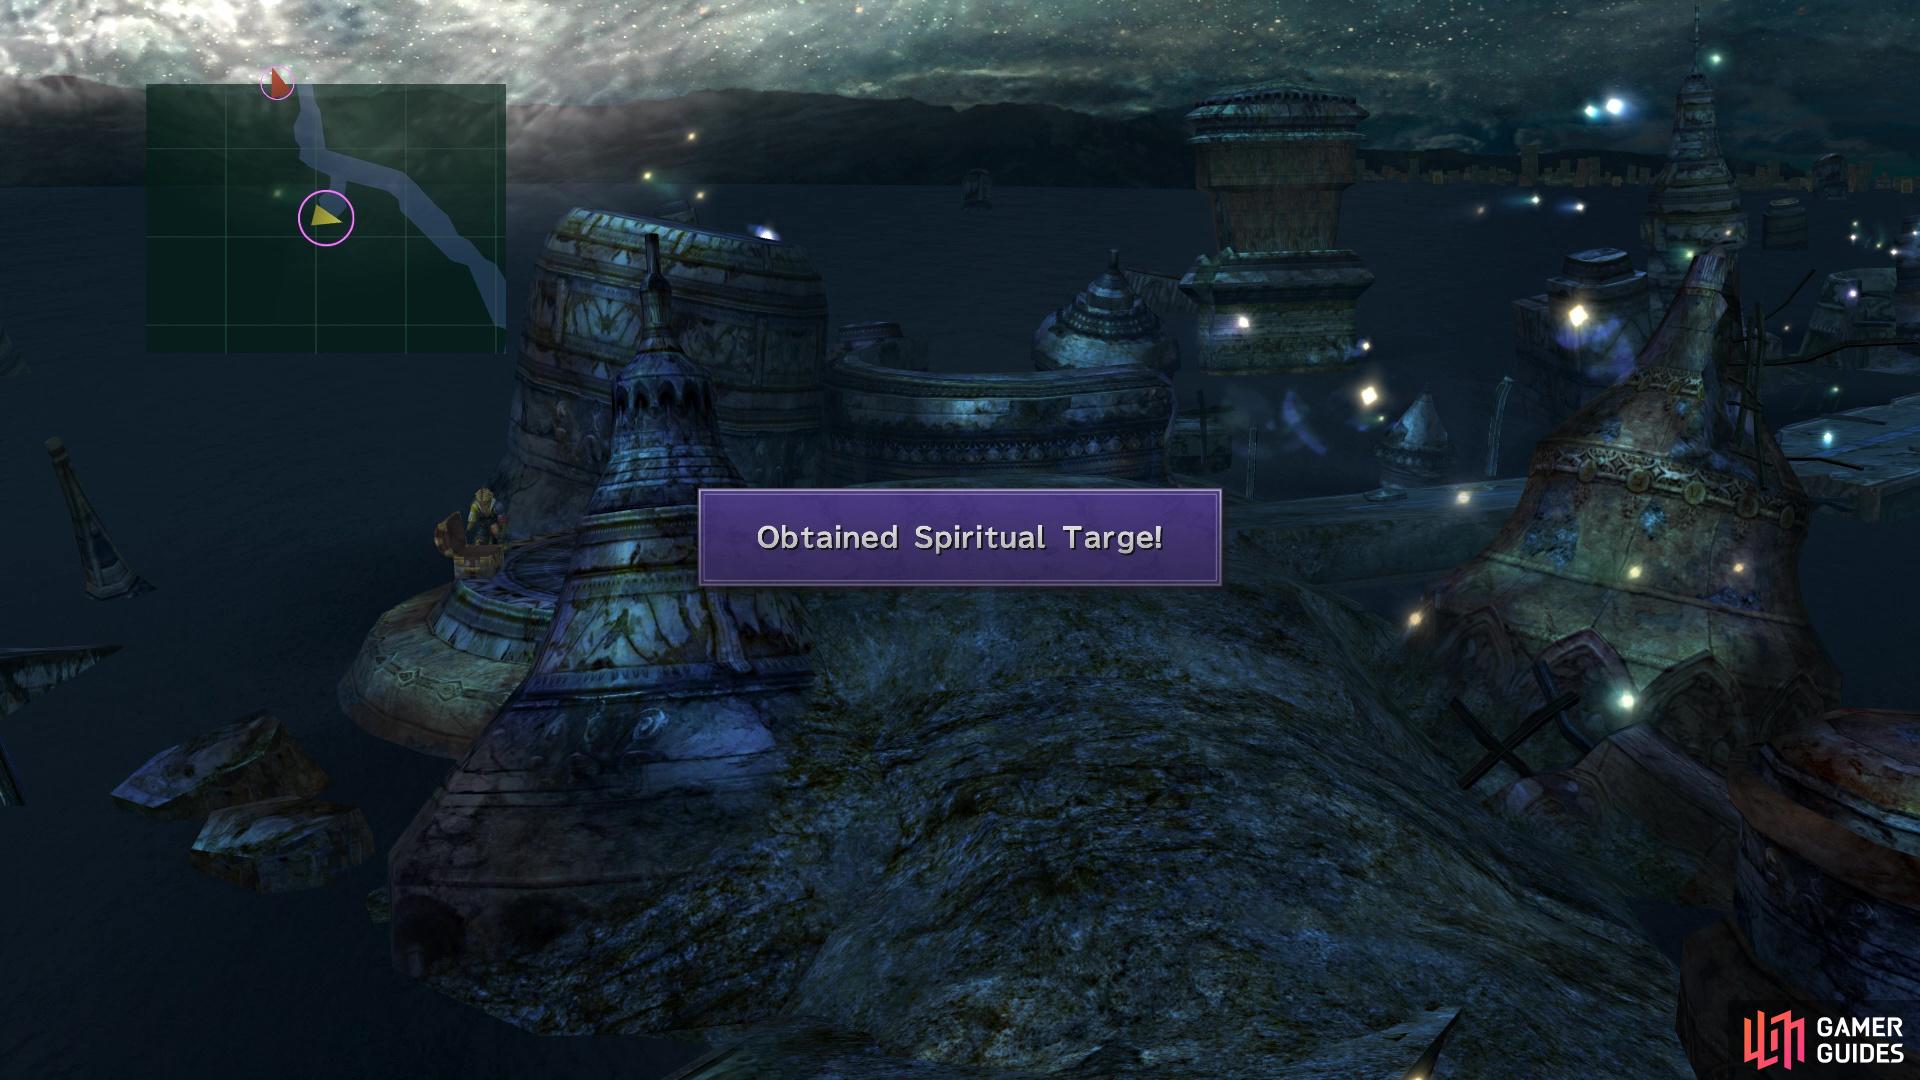
The second chest is off to the left side a little further ahead
Continue forward to the next screen, where you will find a Save Sphere. Before you enter the next section, you will see a short scene.
Zanarkand Dome
| Enemies | HP | Notes |
|---|---|---|
| Defender Z | 42,300 | Use Provoke; Use Armor Break to reduce defenses |
| Fallen Monk (Flamethrower) | 3,300 | Hits entire party with fire-based attack |
| Fallen Monk (Rifle) | 3,300 | Can inflict Zombie |
| YAT-97 | 3,700 | Can hit entire party when in back row |
| YKT-11 | 6,200 | Do not leave as last enemy |
This area will have different enemies, as you can see from the table above, which are pretty much a variation of the ones you fought in Bevelle. For now, move forward and you will pass through a tunnel of sorts, as there is a road above you and there’s a chest up there. On the other side, there is a bit of a ramp you can go up, allowing you to open that chest, which contains 10,000 Gil. Continue on and you will eventually reach a Save Sphere, where you can take a short opportunity to gain some Sphere Levels if you wish. When you reach the intersection right beyond the Save Sphere, you will see a cutscene with a familiar face.
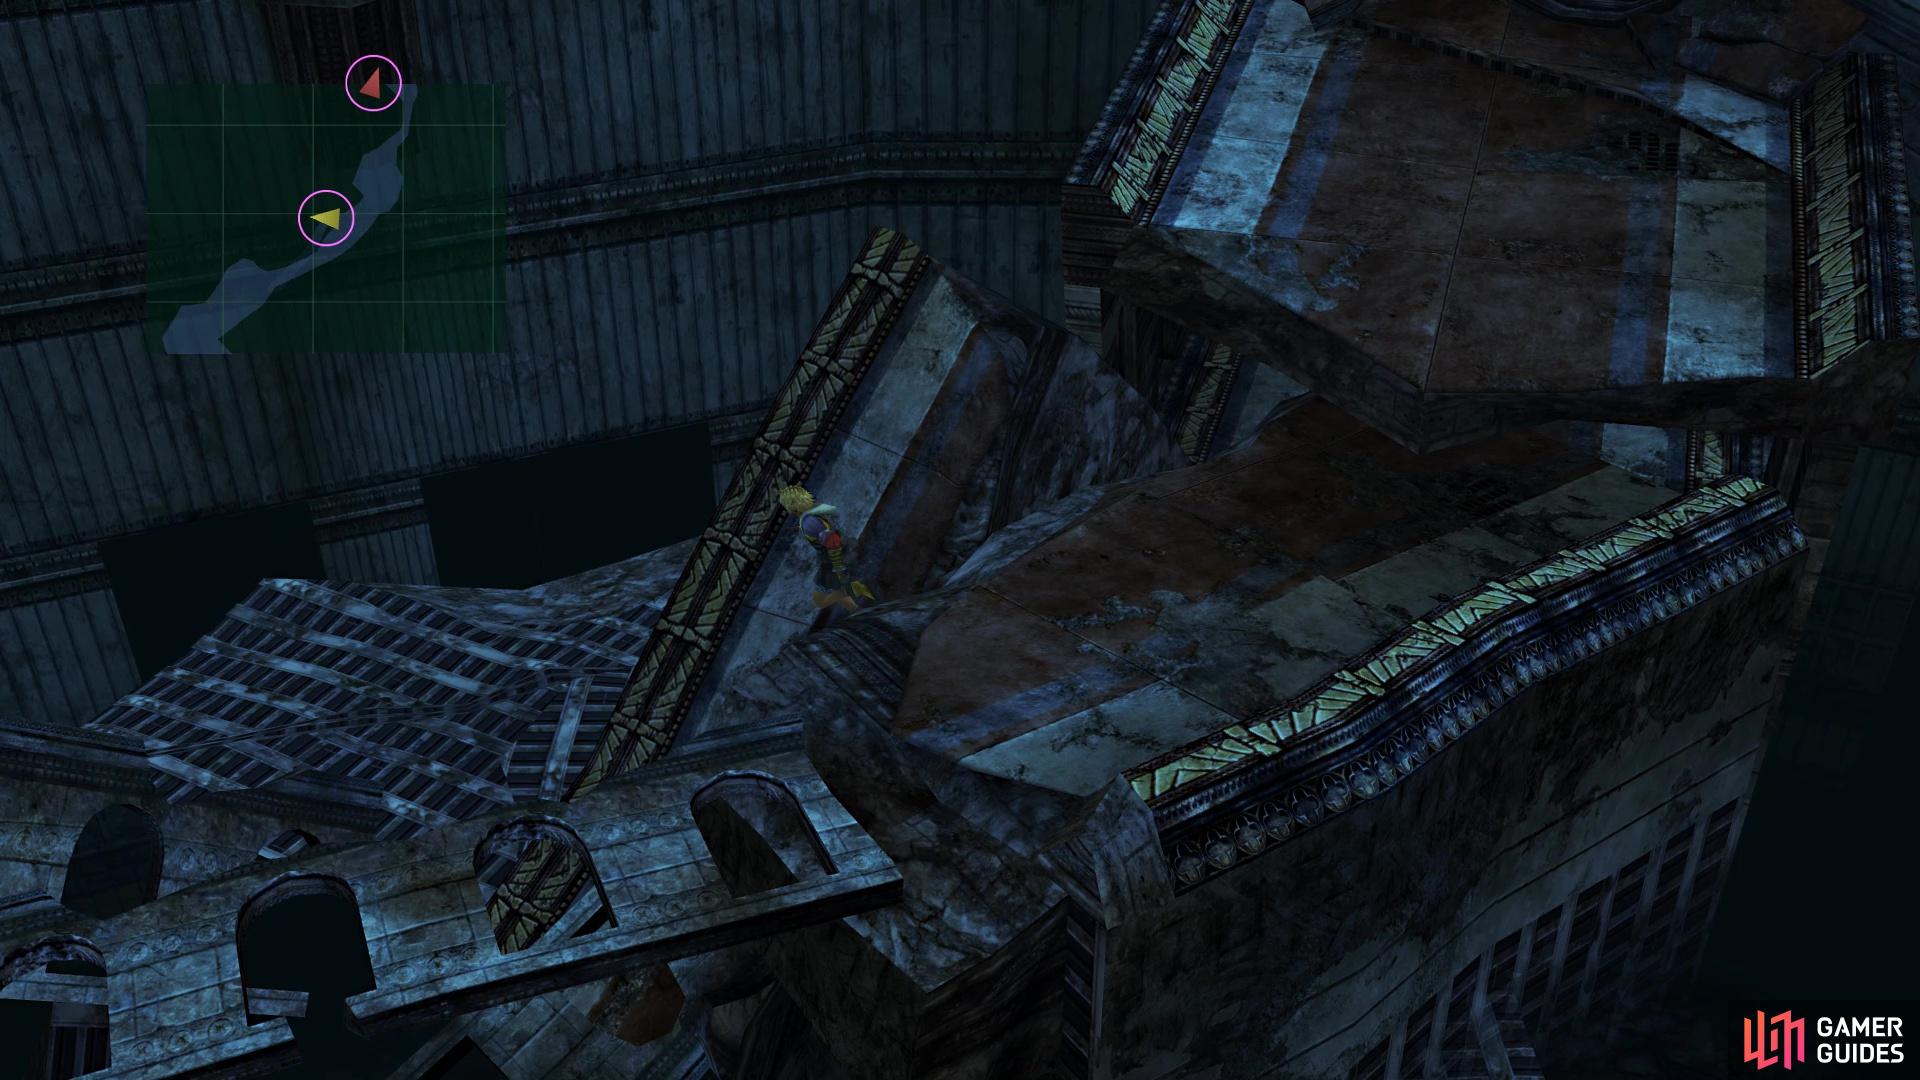
You can go down here near the end

where you will find a chest that is mostly hidden
There are a few paths at this little intersection, but the northernmost one has a chest at the end of it, so open it for a Friend Sphere. Near the end of this little area, you will see another scene with Yuna’s father, Braska. Right by where that scene started is a ramp leading downward, underneath the walkway and leading to a chest (Lv. 3 Key Sphere). In the next area, there will be one more chest off to the right, in plain view, which contains a Luck Sphere. Up the stairs will be one more scene with Braska, as well as a Save Sphere. The next bit is the Cloister of Trials in Zanarkand.
No Comments