
| Enemies | HP | Notes |
|---|---|---|
| Alcyone | 430 | Weak to Fire |
| Cactuar | 800 | Yields a lot of AP; Beware of 10,000 Needles |
| Mech Guard | 1,280 | Use Steal to instantly defeat |
| Mech Gunner | 2,800 | Use Steal to instantly defeat |
| Mushussu | 680 | Weak to Ice; Armored; High magic defense |
| Sand Wolf | 450 | Weak to Fire/Ice; High magic defense |
| Sand Worm | 45,000 | Weak to Ice/Water; Poison/Darkness it |
| Sandragora | 12,750 | Weak to Fire; Armored |
| Zu | 18,000 | Poison/Darkness it |
When you arrive after Sin carries you somewhere, you will find yourself in a desert, all alone. Get out of the water and use the Save Sphere to save your game, then go back in the water. In the bottom left corner of this pond will be a chest that contains 4 Remedies, although you may need to dive down the little bit you can to open it. Head to dry land and continue north, until you get into a battle with a Zu. Unfortunately, it’s just Tidus for now, so you might have to do a little bit of extra work here to survive. Thankfully, the Zu is susceptible to Slow, so putting that on the fiend and Hasting Tidus will net him a lot of turns before the enemy can get its own.
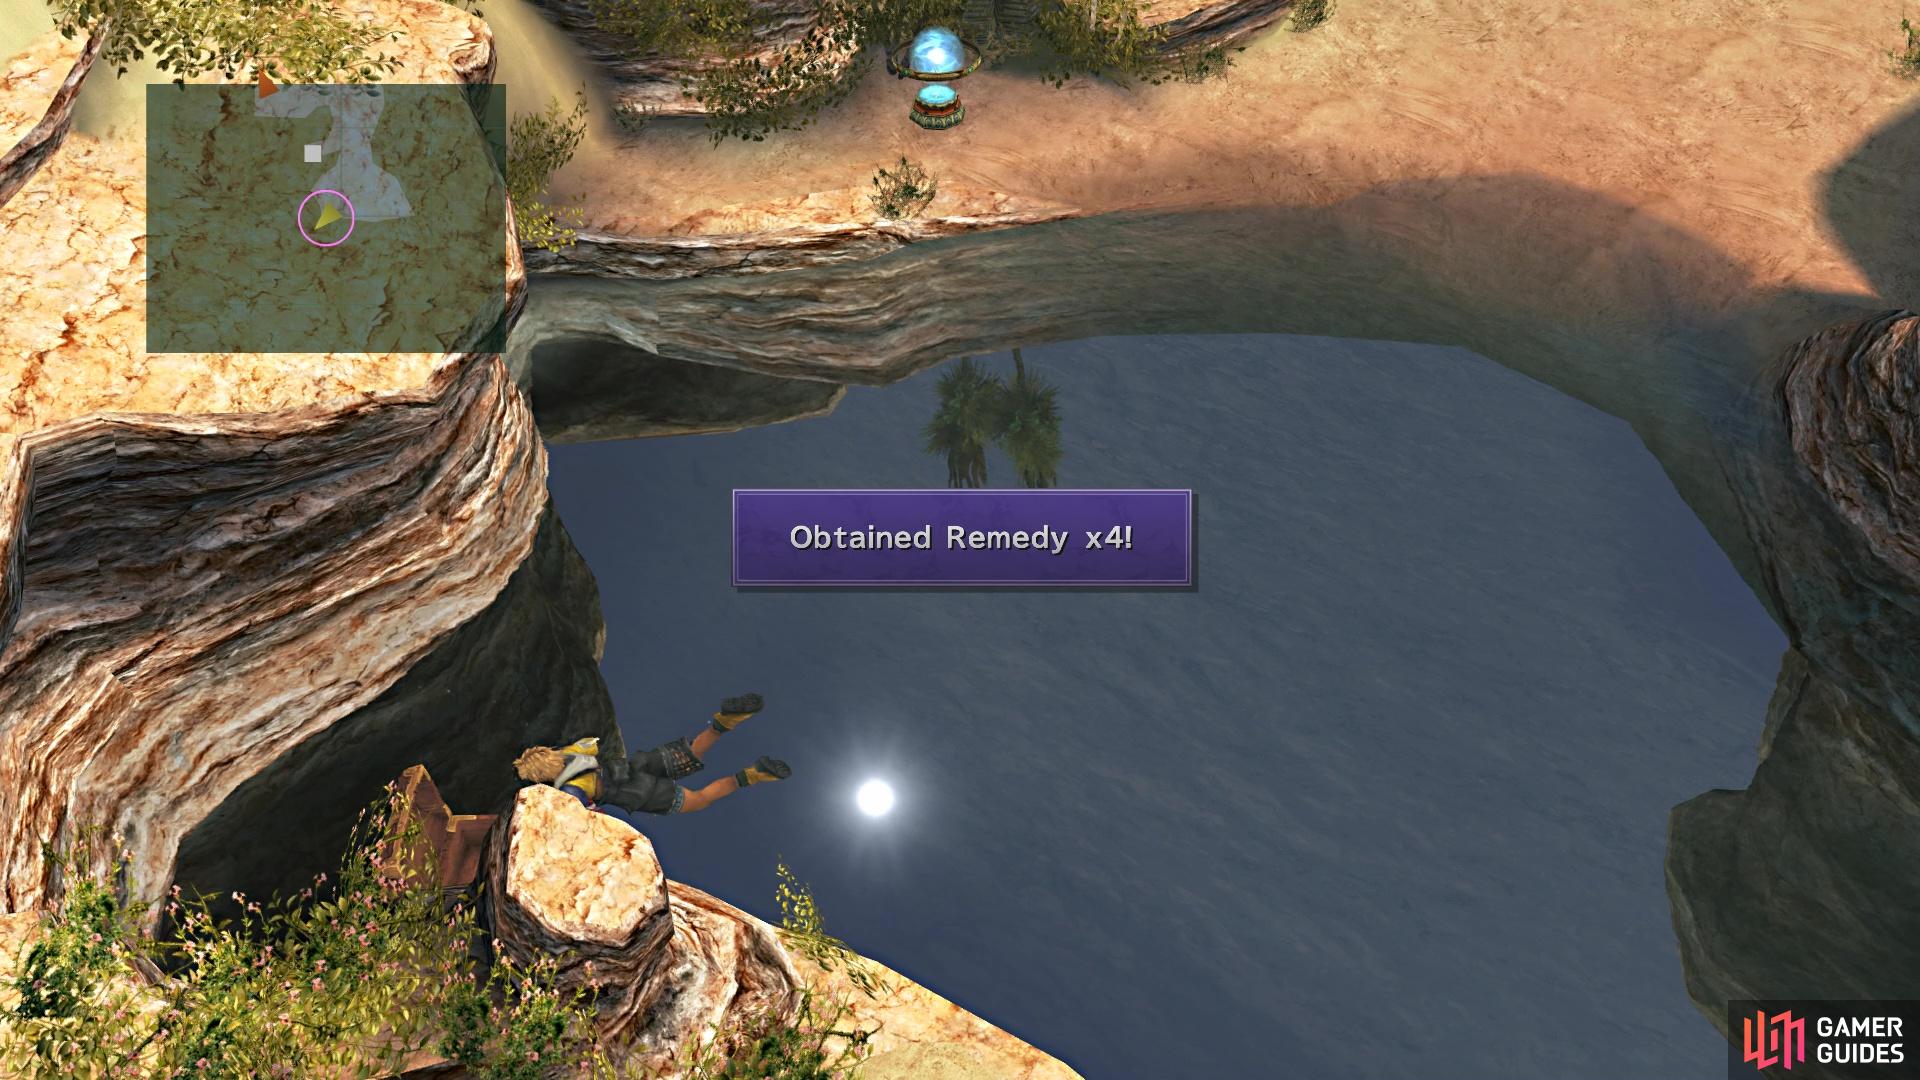
There is a chest in the water where you gain control
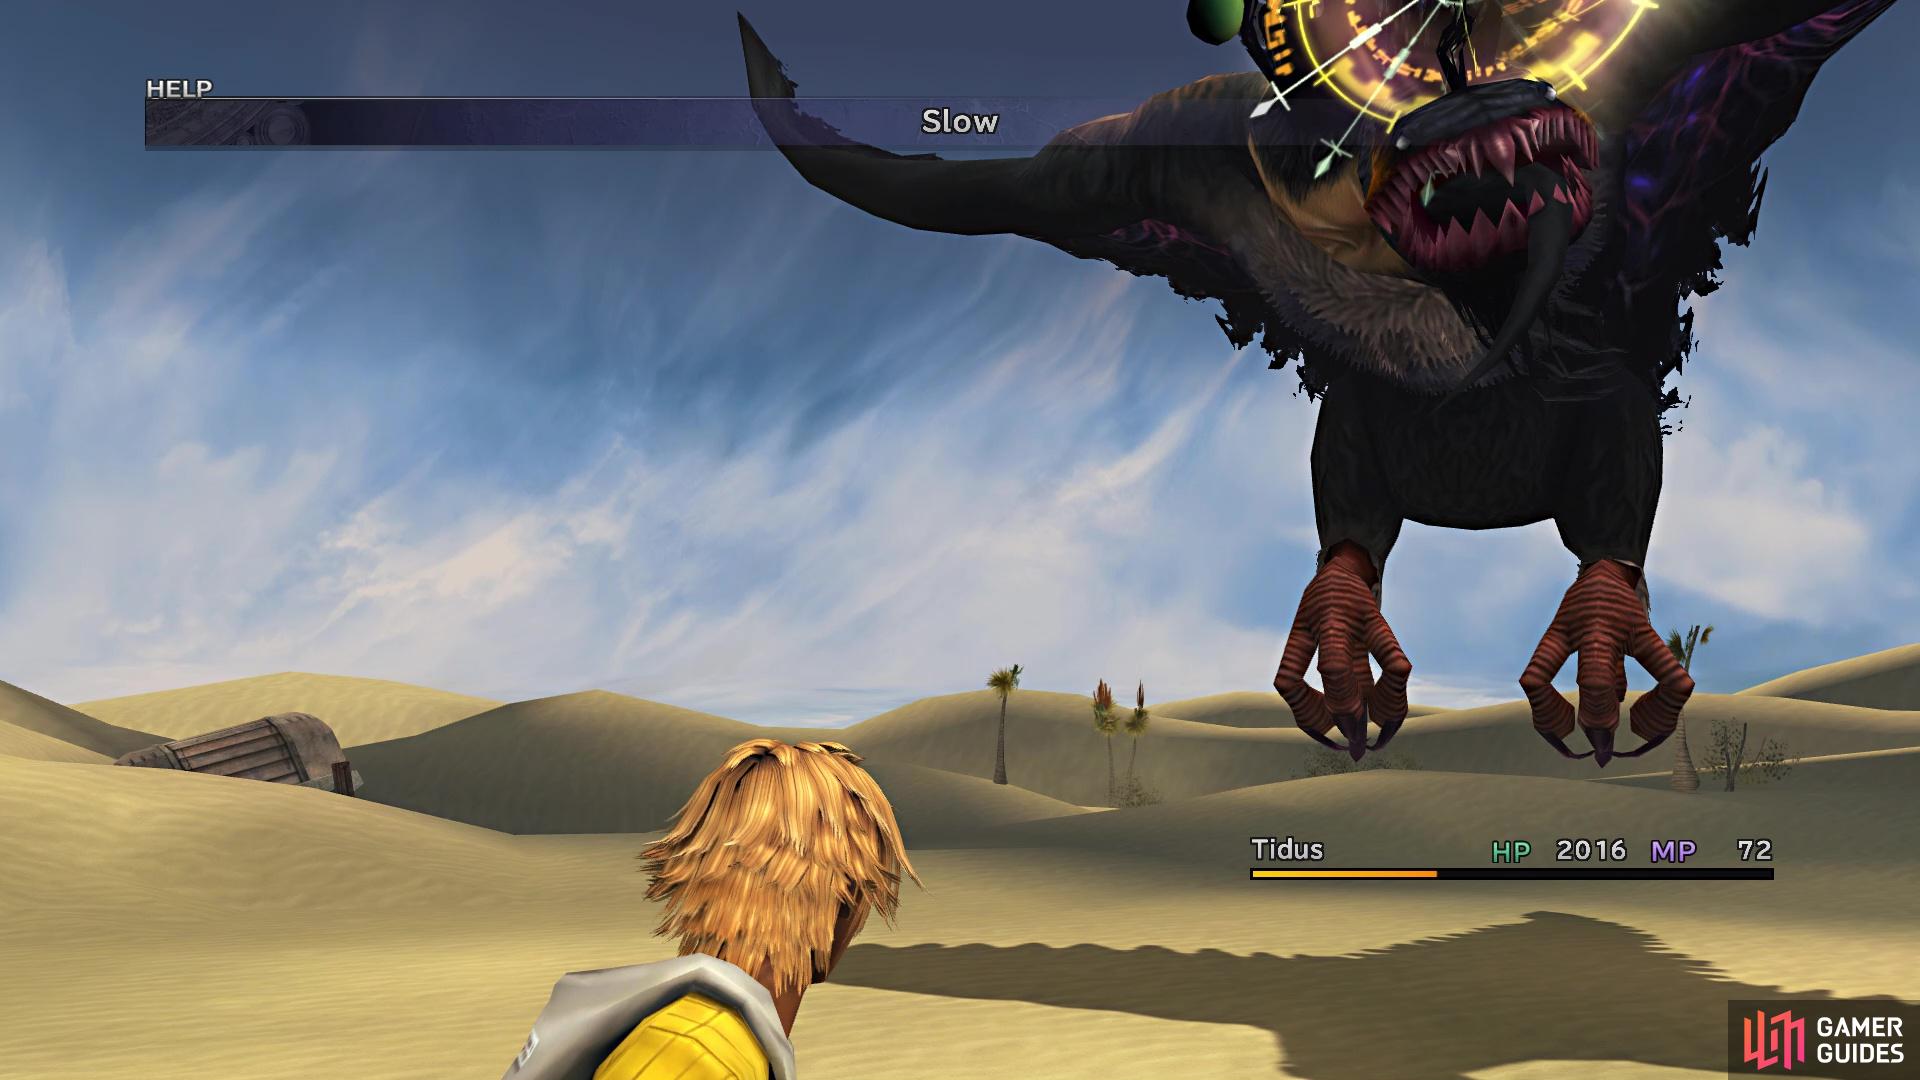
Using Slow on the Zu at the beginning makes the battle a lot easier
If the battle persists for longer than normal, then both Auron and Lulu will join in to help you. However, if you manage to defeat the Zu before they arrive, then they will show up at the end and rejoin you. The Zu will do nothing but normal attacks if Tidus is alone, so you don’t have to worry about anything else. Heal when necessary, using items if you don’t have access to White Magic spells right now. After the battle is over, you will run into Wakka a little further north, adding a fourth member back into your party. Next to the little tent Wakka was using is a chest, which contains eight Al Bhed Potions.
The Al Bhed Potions are a nice item to have right now, since you don’t have Yuna in your party. The exit to the next screen is right behind the tent Wakka was using as cover, so head there now. Off to the right, as soon as you enter, will be Kimahri, so go over there to get him back. Note that if you didn’t get any random encounters on the previous screen, you will get them now. Return to the main portion and continue following it, until you run into Rikku, who reveals that you’re on Bikanel Island, which is home to, well, Home for the Al Bheds. Once the conversation has ended, open the two chests nearby for two Ethers and eight Al Bhed Potions. There will also be a Save Sphere under the covering behind where Rikku was located.
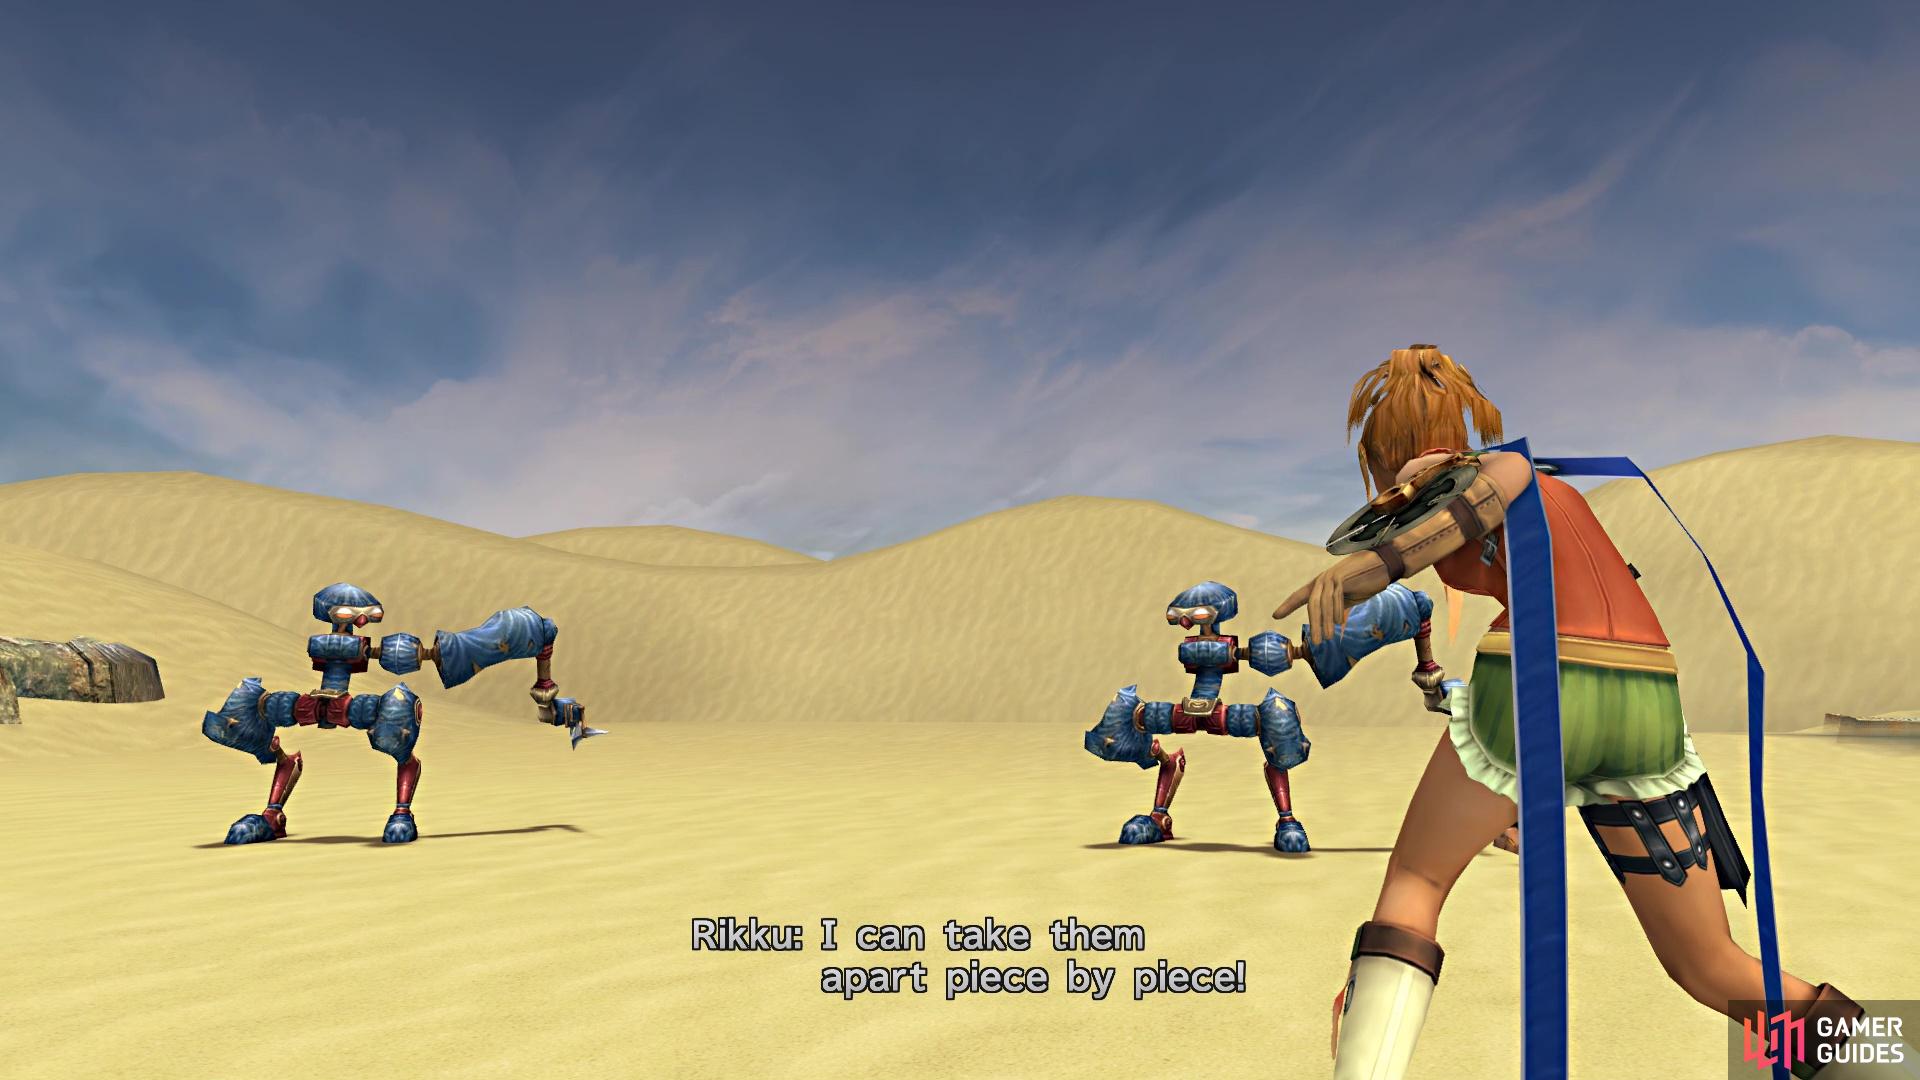
Listen to Rikku here
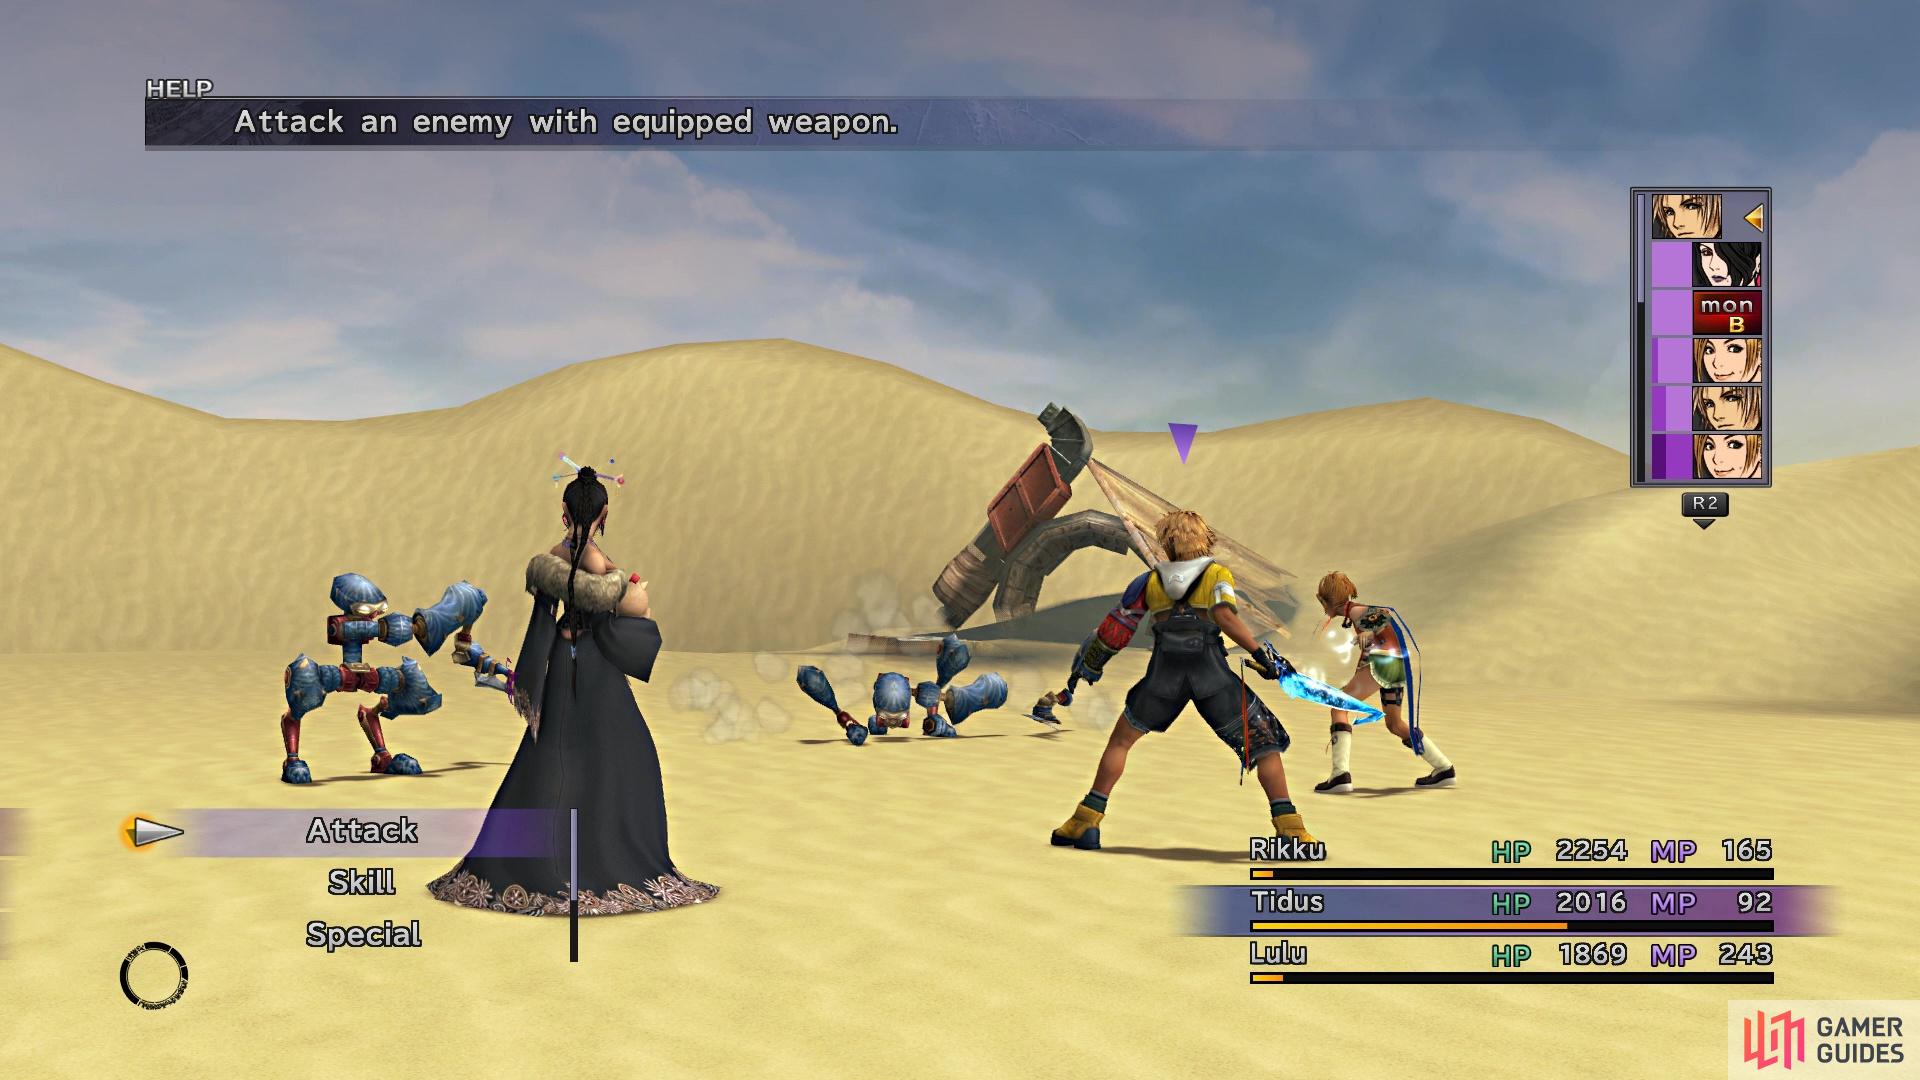
as you can instantly defeat Machina enemies by using Steal
The first battle after Rikku will introduce you to something special with Machina-type enemies. If you use Steal on them, not only will you get items, but you will pretty much one-hit KO them, as Steal dismantles the Machina. If you took Kimahri down Rikku’s path long enough to get Steal (and Use, of course), then you should have two characters capable of doing this (maybe more, depending on your Sphere Grid choice at the beginning of the game). Despite the game wanting you to follow Rikku here, the path is linear, keep moving until you see a path off to your left. There will be a chest at the end of this path that contains 4 Hi-Potions.
Enemies of the Desert
Most of the enemies in the Sanubia Desert are variations of those previously fought in the game, but there are a few that stand out as a bit annoying or troublesome. The first is the Zu, which you’ve already fought at the beginning. The normal version has a bit more HP, but you can essentially just inflict it with Darkness and Poison to bring it down quickly. The Sand Worm is similar, as it has a stupid amount of HP (45,000), but Darkness and Poison will also bring it down much quicker than with normal methods.
The last enemy on the short list here is the Cactuar, which is only problematic because they dodge a lot of physical attacks and can instantly KO a character, if they decide to use 10,000 Needles. They tend to run away quite often, but if you manage to defeat one, you will get 8,000 AP (12,000 with an Overkill). The best way to do this is with moves that can’t be dodged, like Overdrives, Aeons’ special moves, or items thrown with Use.
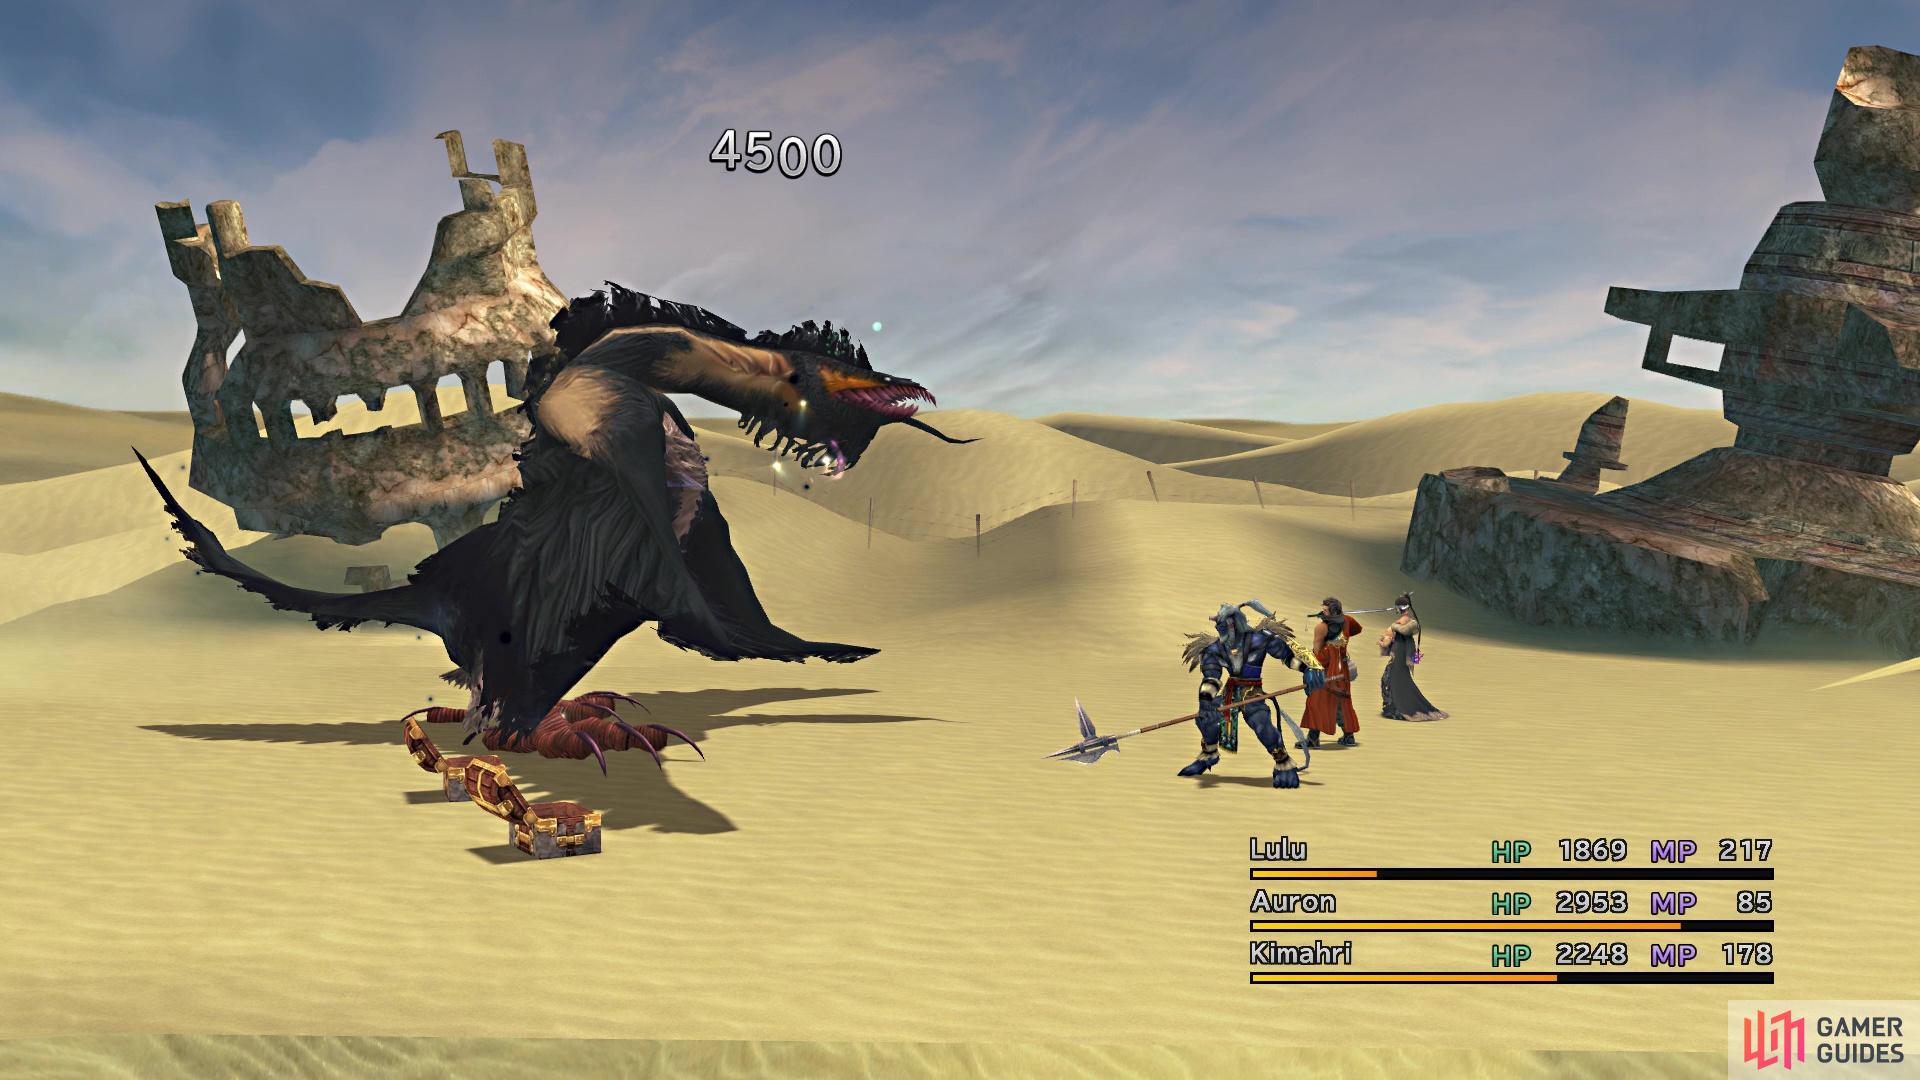
Poison is one of the easiest ways to take down Zus
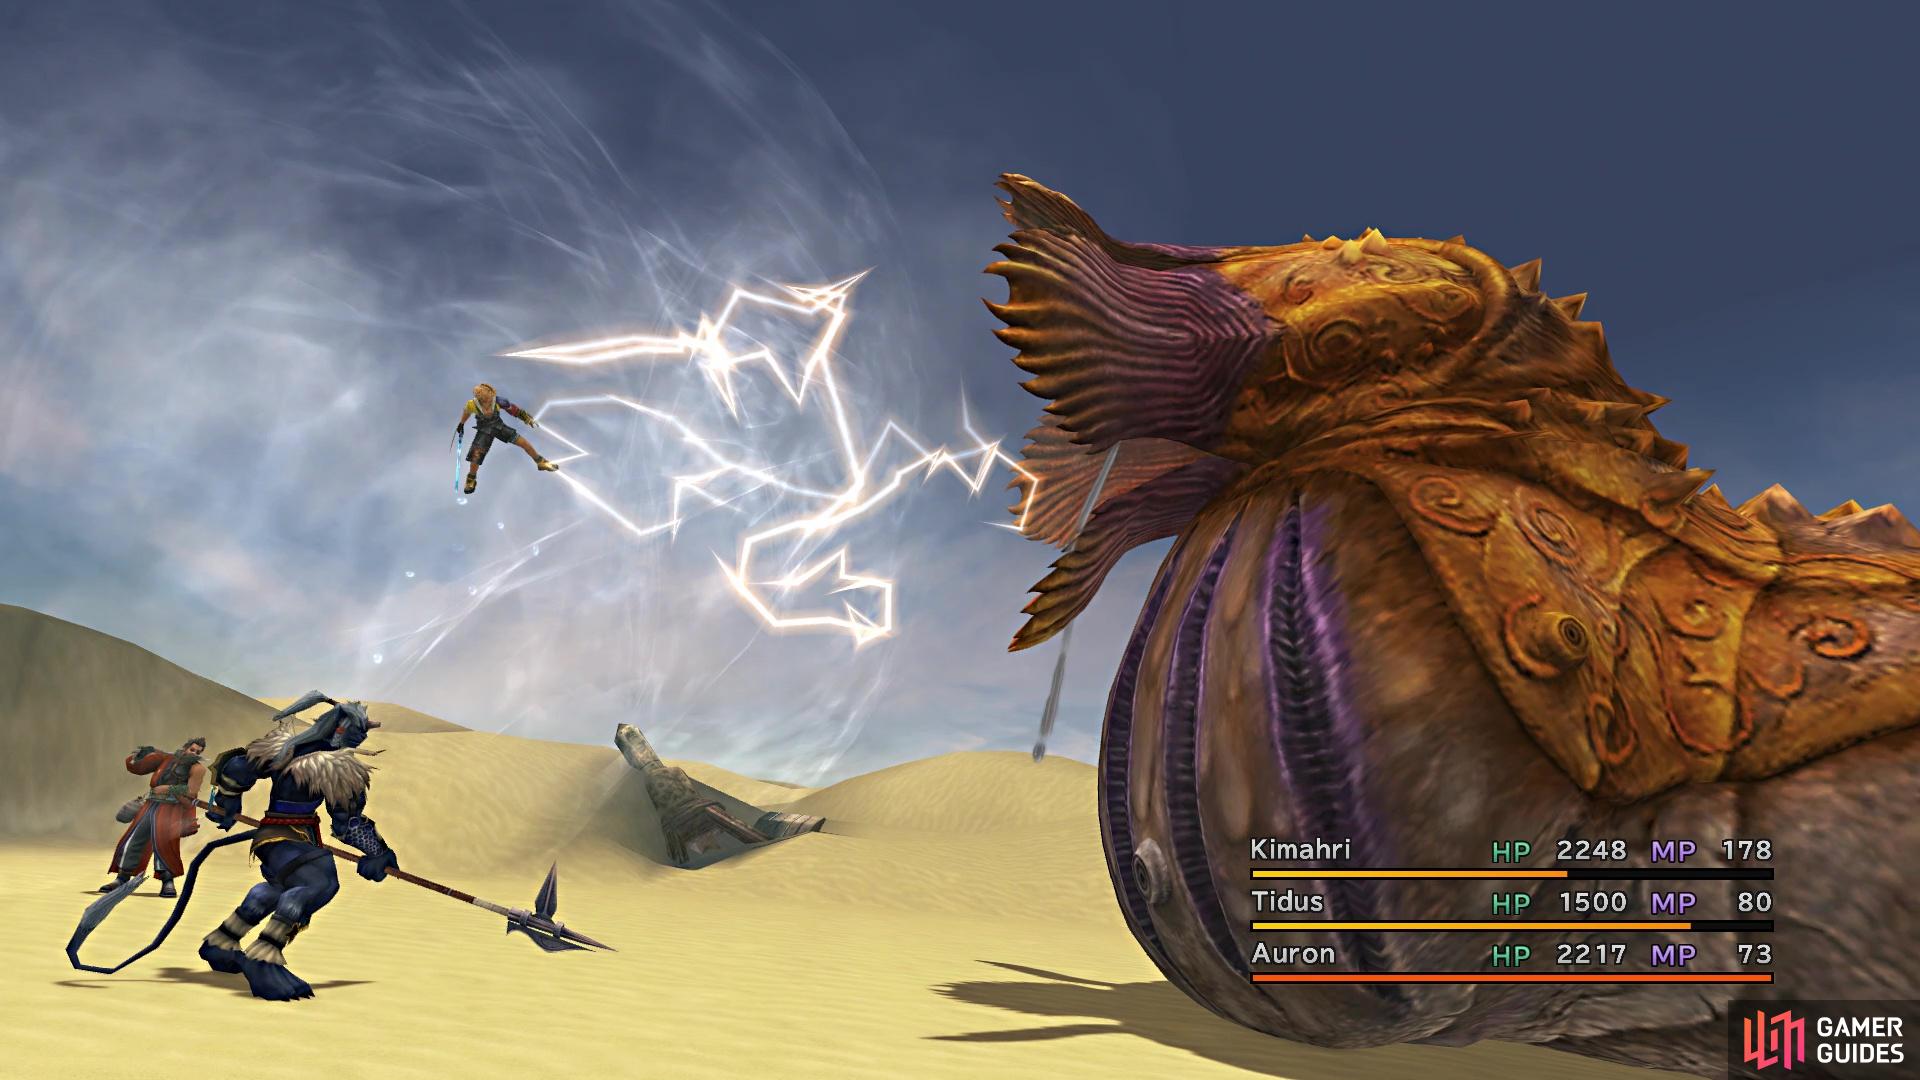
The Sand Worm can remove a party member from battle with Swallow
On the next screen, you will enter a large open area. Go straight north and open the chest next to some debris for four Hi-Potions. Go southwest from there, to a large rock formation, with a chest on the western side (2 X-Potions). Take the trek to the northwest corner of this large area, where you will find one more chest, this one holding 2 Mega-Potions. Journey east, follow the northern edge, and you will come across a Save Sphere, so use it to rest up and save your game. There will be a big area to the west of the Save Sphere, so head there first. On the southern end of the area is a chest that holds an Elixir.
In the northeastern corner of the area, underneath the debris, will be Al Bhed Primer Vol. XVII on the ground. Directly south of that, you can find some more goodies underneath the other huge piece of debris. The two chests there will have a Lv. 2 Key Sphere and 10,000 Gil. Return to the Save Sphere and you will find a chest right behind the sign, containing eight Al Bhed Potions. North of there is a smaller sign in the distance and right next to it is Al Bhed Primer Vol. XVIII. Take the exit nearby to the next screen.
Al Bhed Primer Vol. XVII is found here
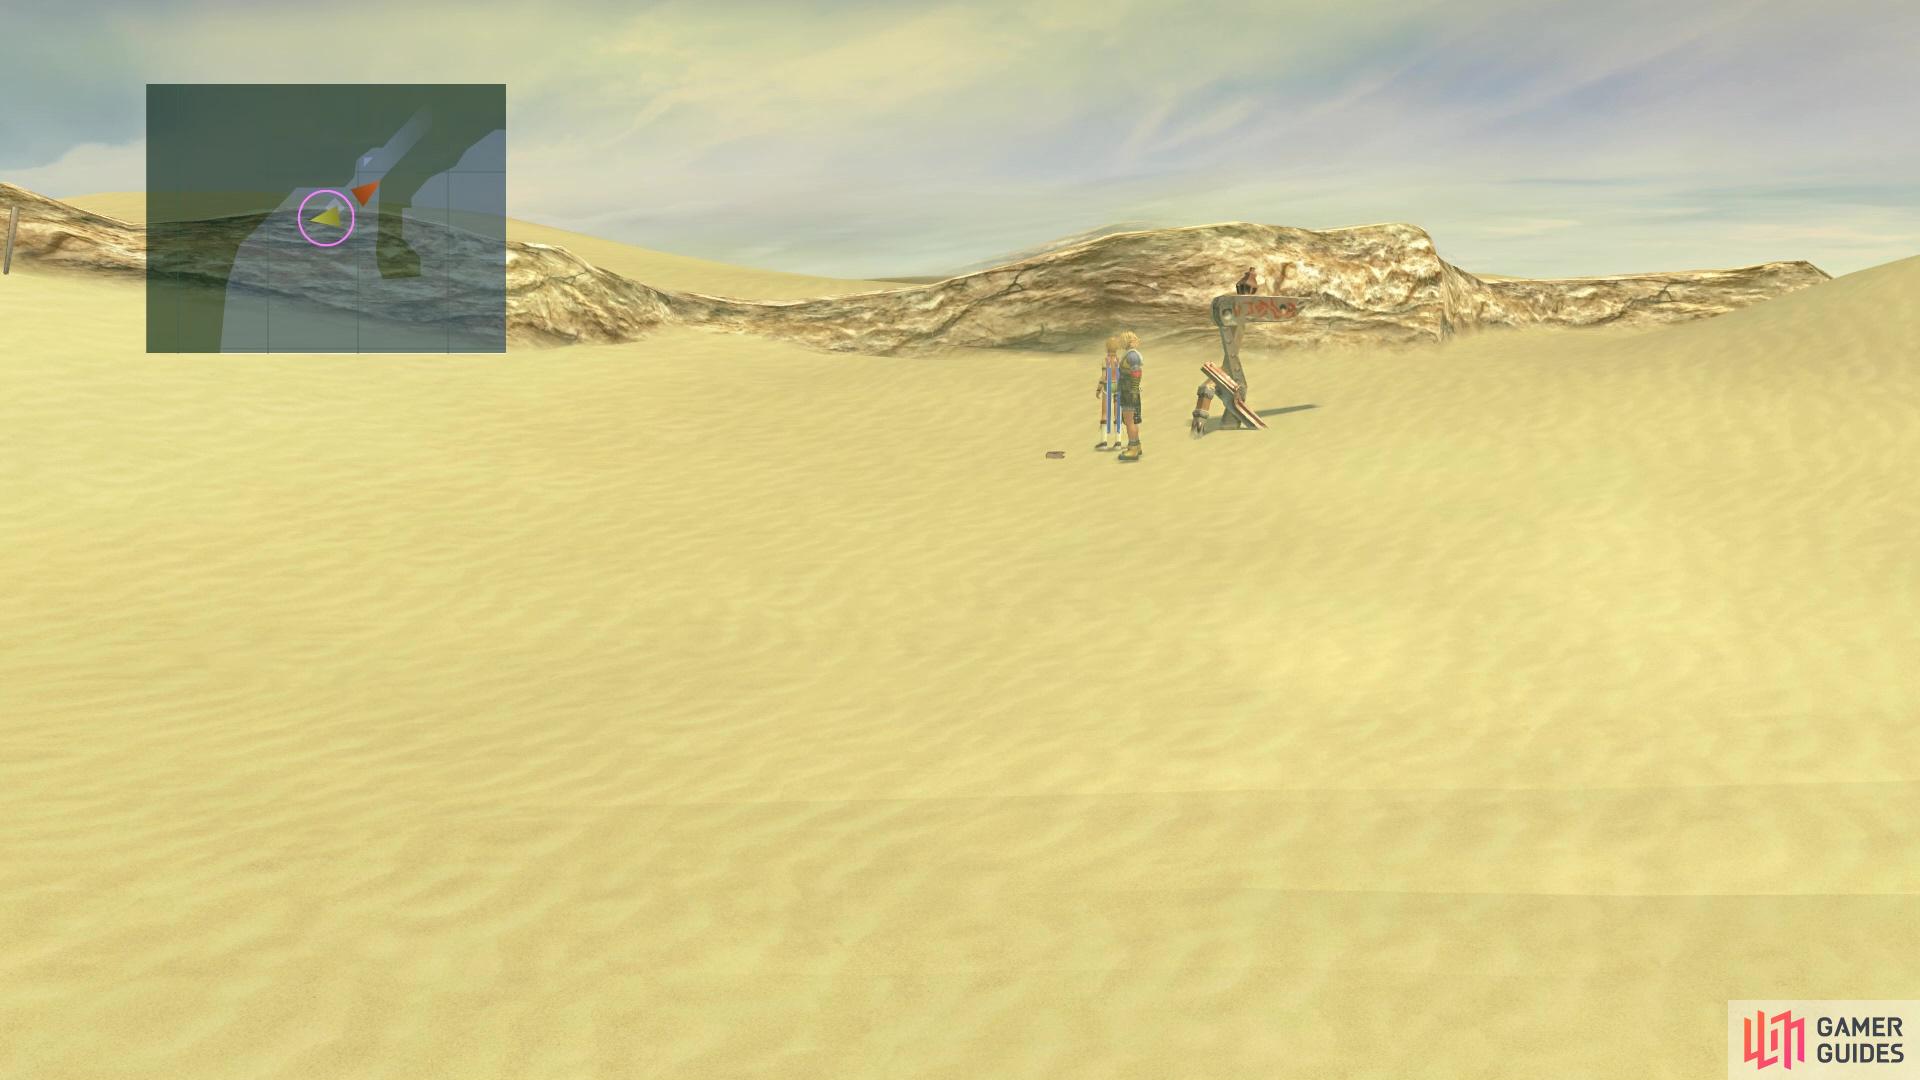
Al Bhed Primer Vol. XVIII is found here
Sand Pits
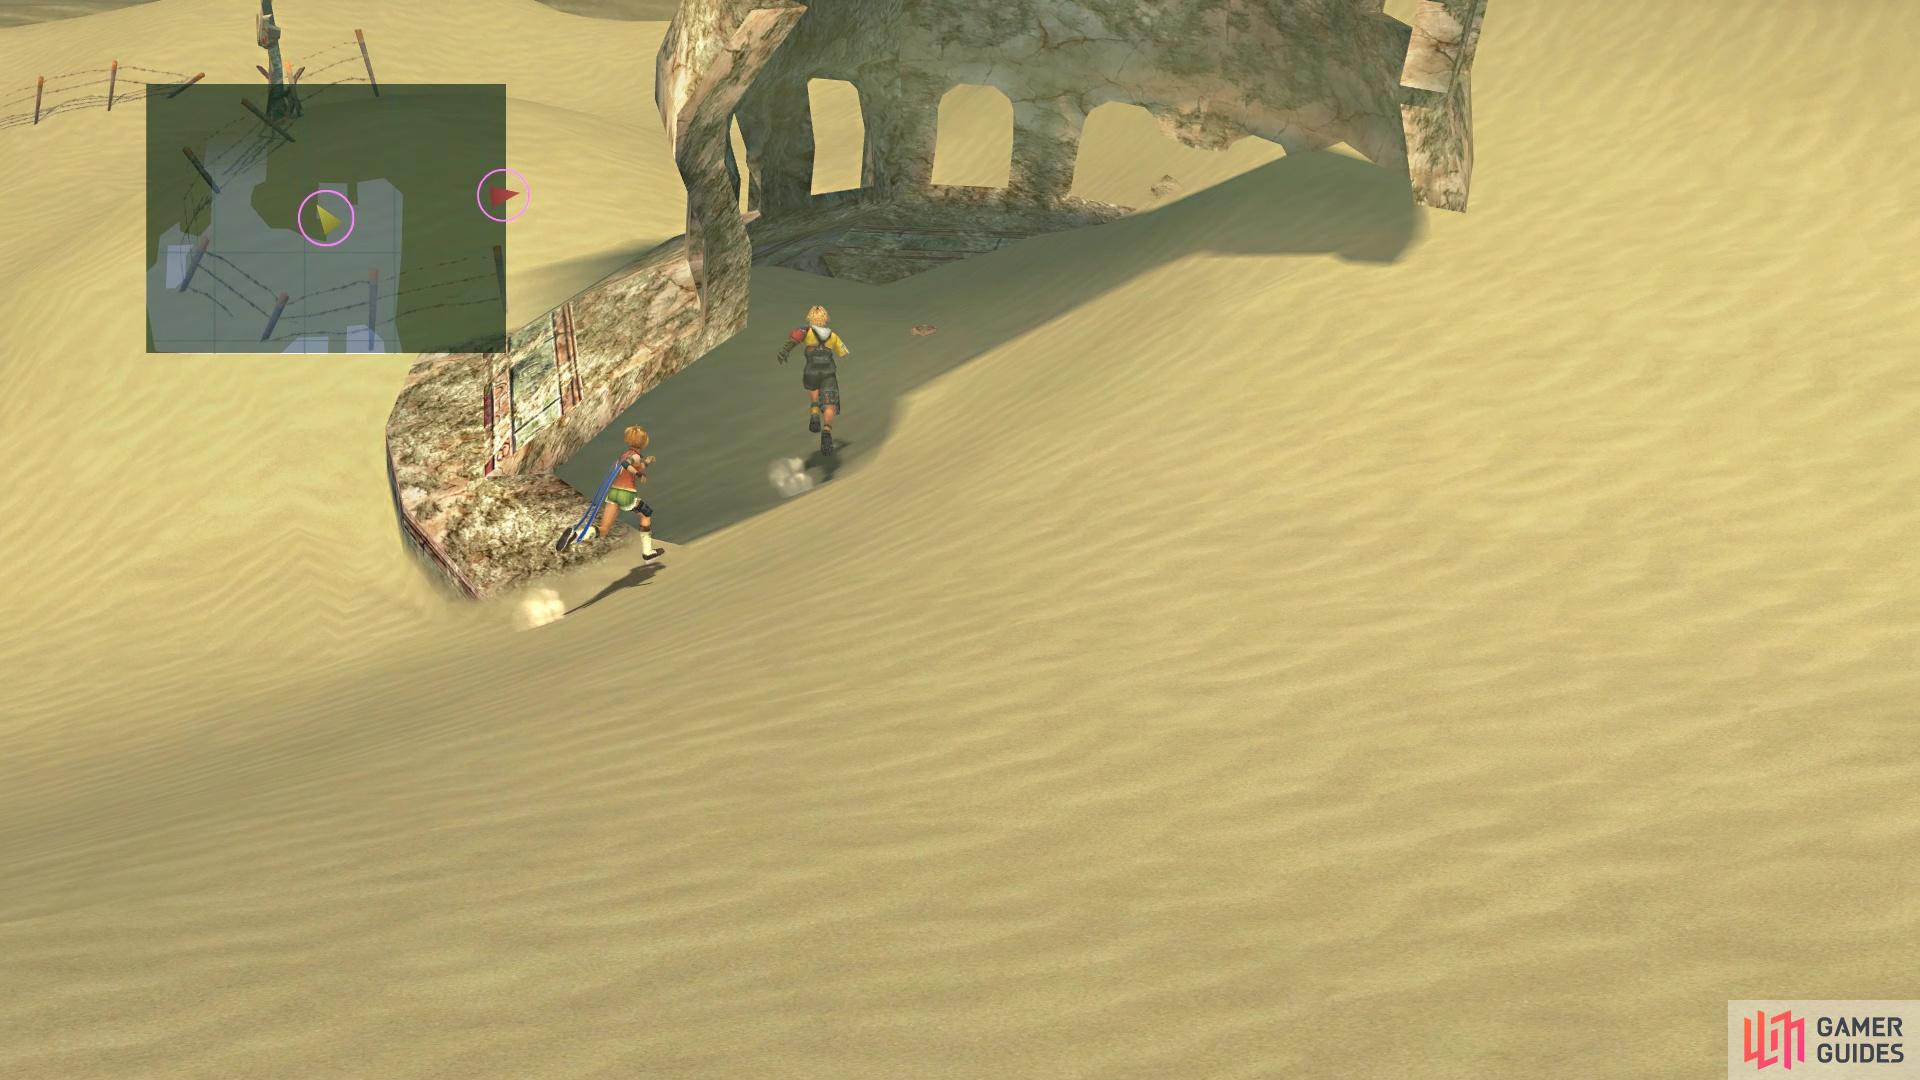
This screen will be another big, open area, so for now, follow the left edge on the minimap as you head north. The path leading southwest just leads back to that one area from before, so ignore it. Keep hugging the left wall on the minimap and you should see a little piece of land sticking out there. There will be a chest among some rubble (8 Hi-Potions) and directly west of that is a sand pit with another chest in it. This second chest contains the Mercury Crest, which is a piece for Rikku’s Celestial Weapon, the Godhand.
In the main area, just northeast of the little alcove, there will be another quicksand pit, with a chest sitting on the outer edge of it. As you approach it, the chest will get sucked into the pit and you might see something else. In order to open the chest, you will need to do battle with the enemy inside, a Sandragora. While not the most dangerous enemy, it does have a good bit of HP, absorbs Water, and its Seed Burst skill will always inflict Confusion. If you happen to have any Confuse Ward/Confuseproof armor, now’s a good time to equip it. Note that the Sandragora’s rare steal is 10 Musks, and these items can create the above auto-abilities. Since you can flee from them, you could potentially try to steal enough to get the ability on your armors (16 for Ward, 48 for Proof).
Open the chest after defeating the Sandragora for three Megalixirs, then venture a little northeast to find another pit, with another Sandragora. The chest it was guarding contains two Teleport Spheres, which are nice items for the Sphere Grid, as they allow a character to teleport to another character’s spot. The area to the east is blocked off by a sandstorm, relegated to a sidequest that should be done later in the game, simply because it’s long and better done with No Encounters on a character. North of the little alcove with the Mercury Crest is some more debris hiding another chest, this one holding 3 Mega-Potions. North of that is one more chest that has two X-Potions inside.
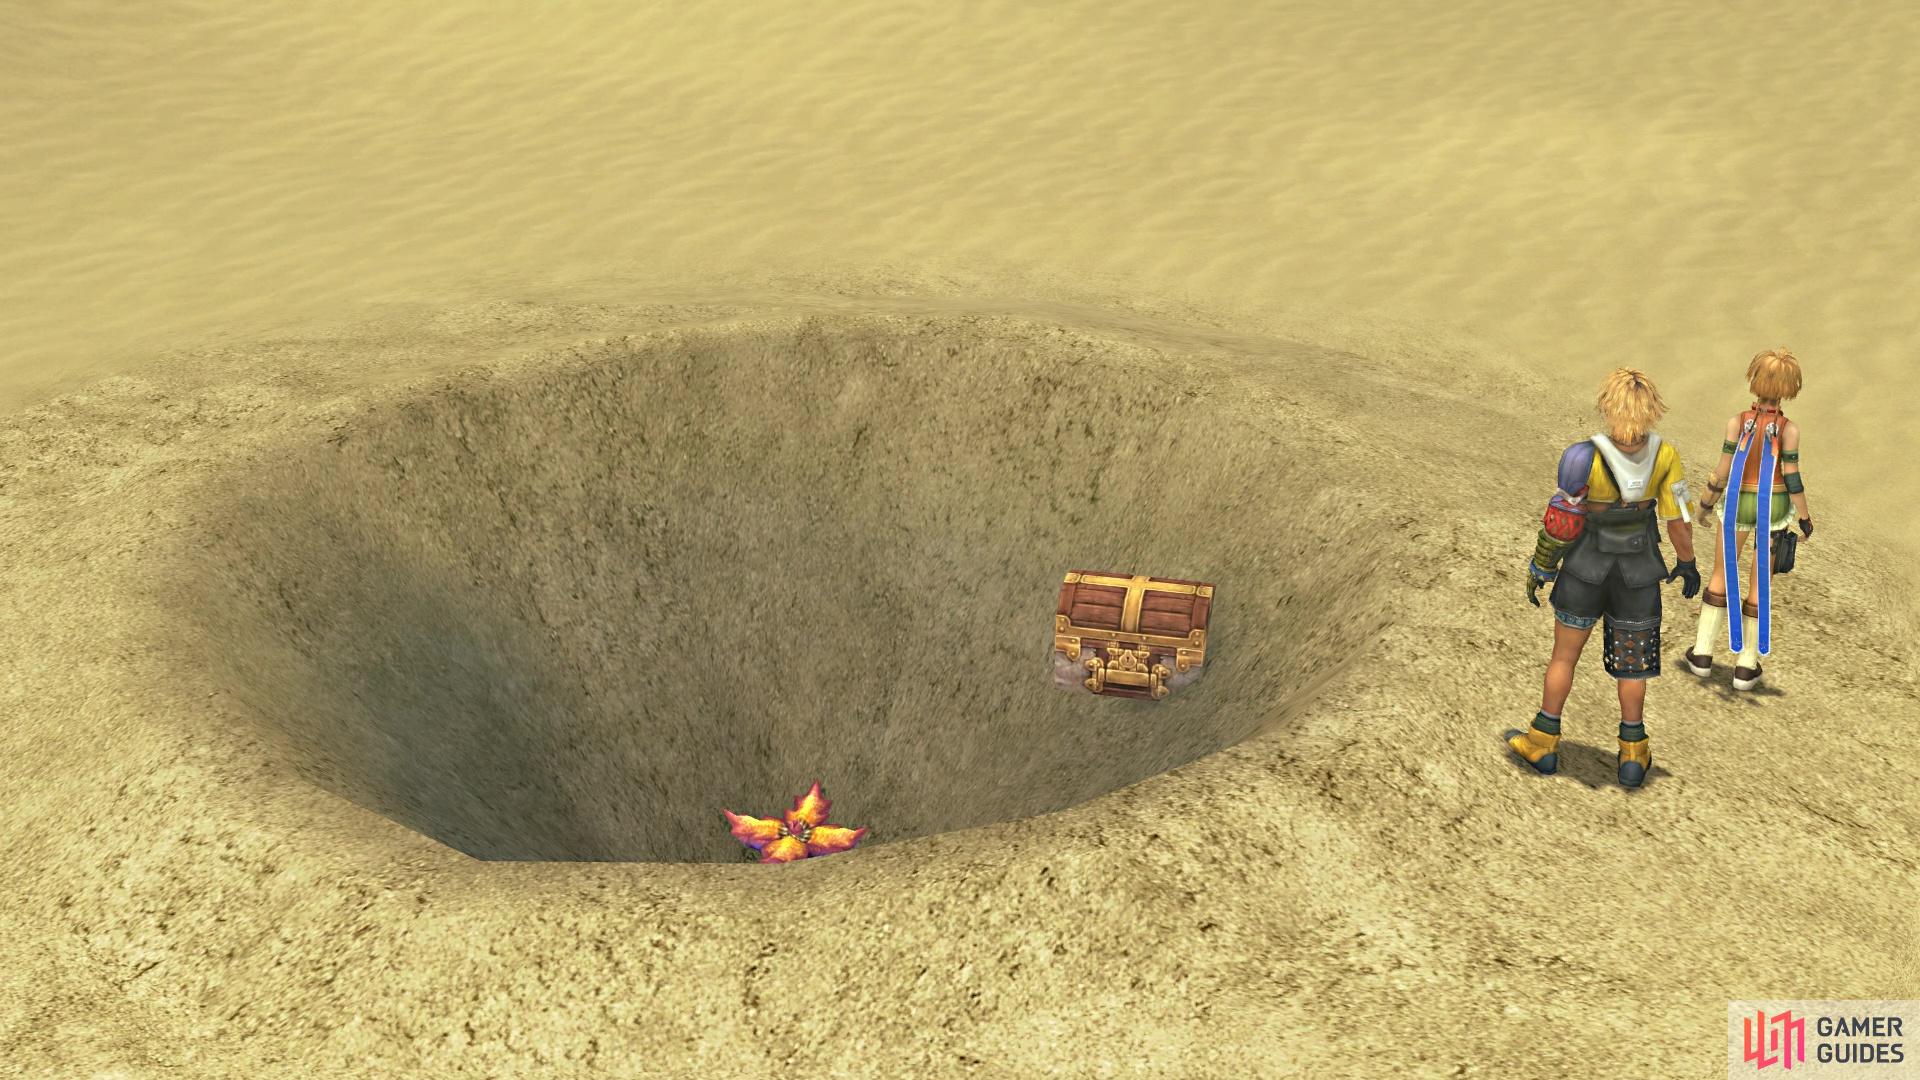
Three of the sand pits are homes to Sandragoras
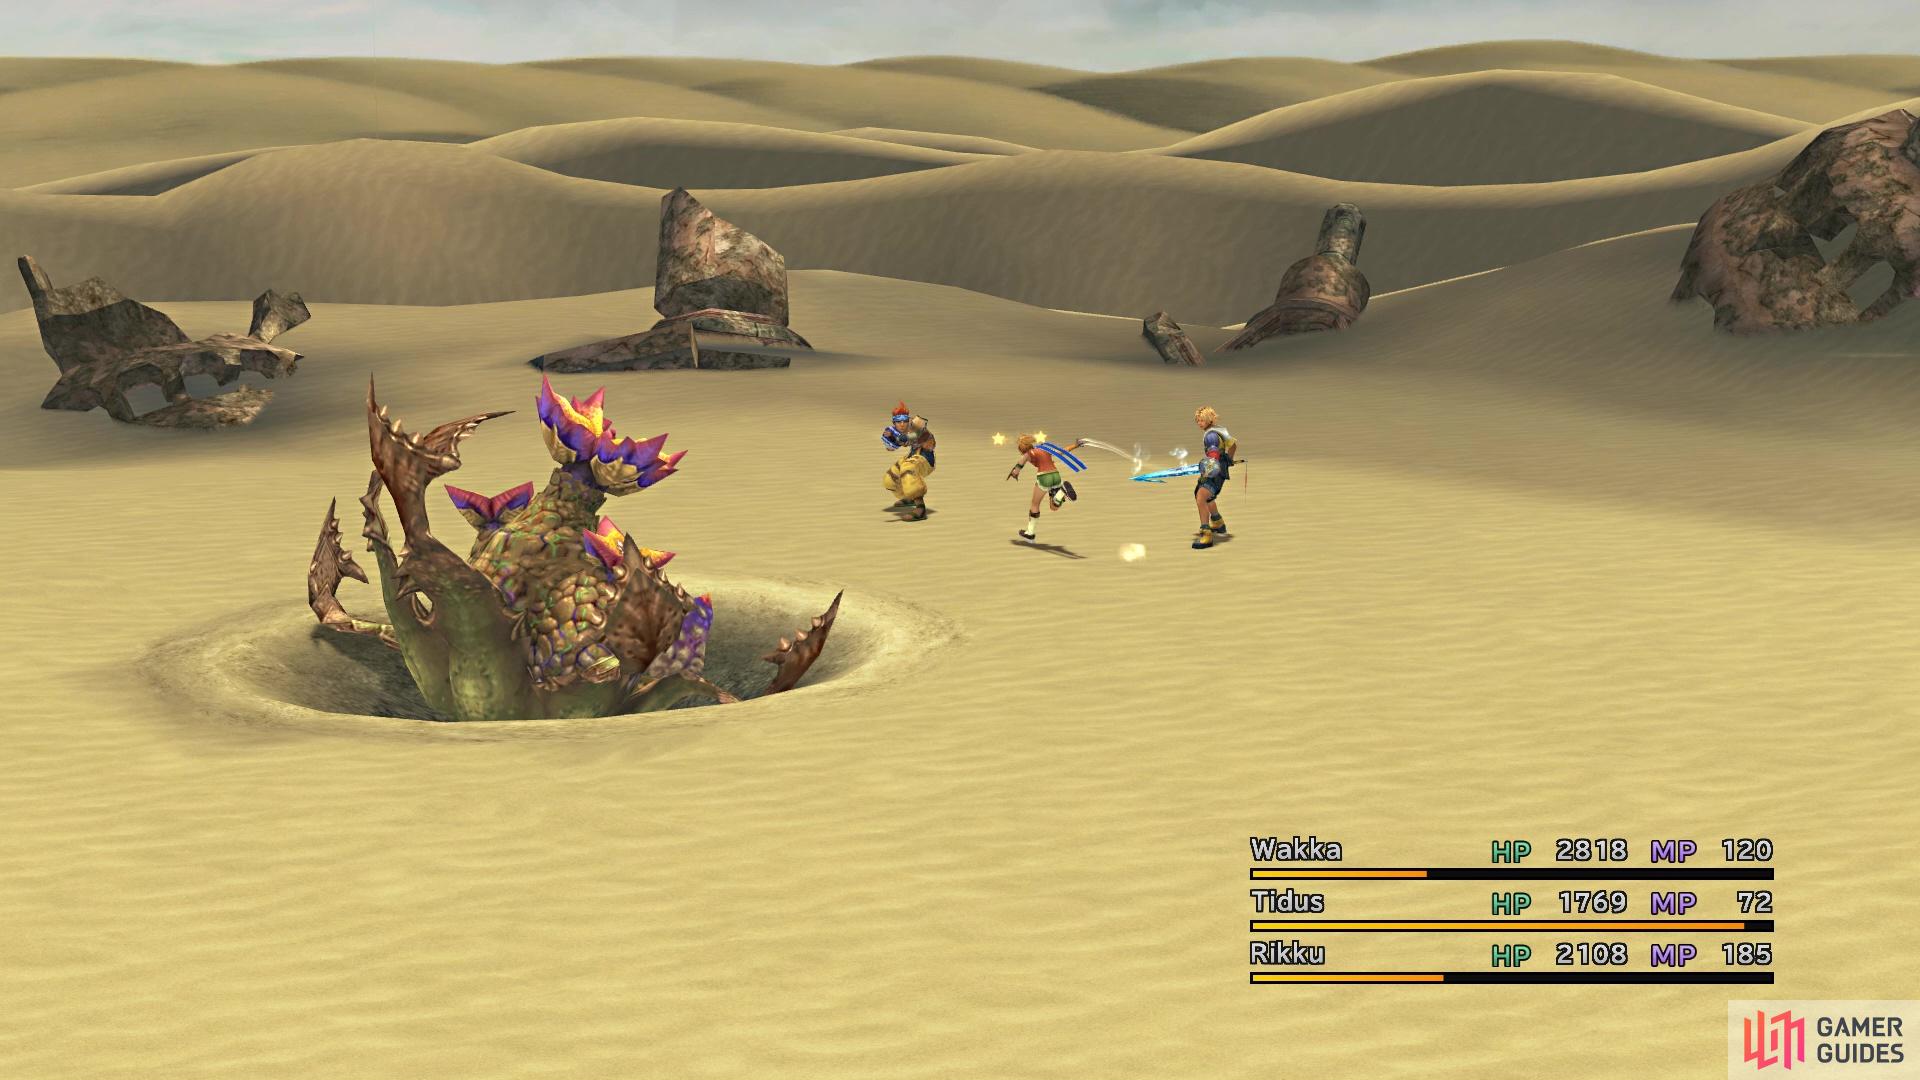
Their Seed Burst will always confuse a character
There is one final pit blocking your way north, so defeat the Sandragora, then continue on to the next portion of the story.
No Comments