
The Nucleus
The area you will enter is called the Nucleus, where a bunch of icicles will pop out of the ground. If you touch one of these at all, then you will be forced into a battle with some enemies. Note that the [Great Malboro] here will always ambush you, using its first turn to cast Bad Breath, so you will want someone in your active party with First Strike on a weapon. Also, there is a rare enemy here called the [Land Worm], which is not found anywhere else in the game. They are similar to the other Worm enemies in the game, as they can Swallow a character, then Regurgitate them. Also, they have the ability to use Earthquake, but requires an extra turn to charge it up.
You can also encounter the [Varuna] here, an enemy more commonly found in the Omega Ruins. It will always cast Haste before anyone else can take action, then use a bunch of magical attacks on the party. Note that it can use Pharaoh’s Curse on Tidus, which can inflict a few ailments. You can avoid these icicles, but the camera is constantly rotating, so it can be a little difficult. Besides the icicles, there are egg-like crystal things that will appear for a short while before disappearing. If you interact with these, you will receive an item and there’s quite a number of items to be had, including:
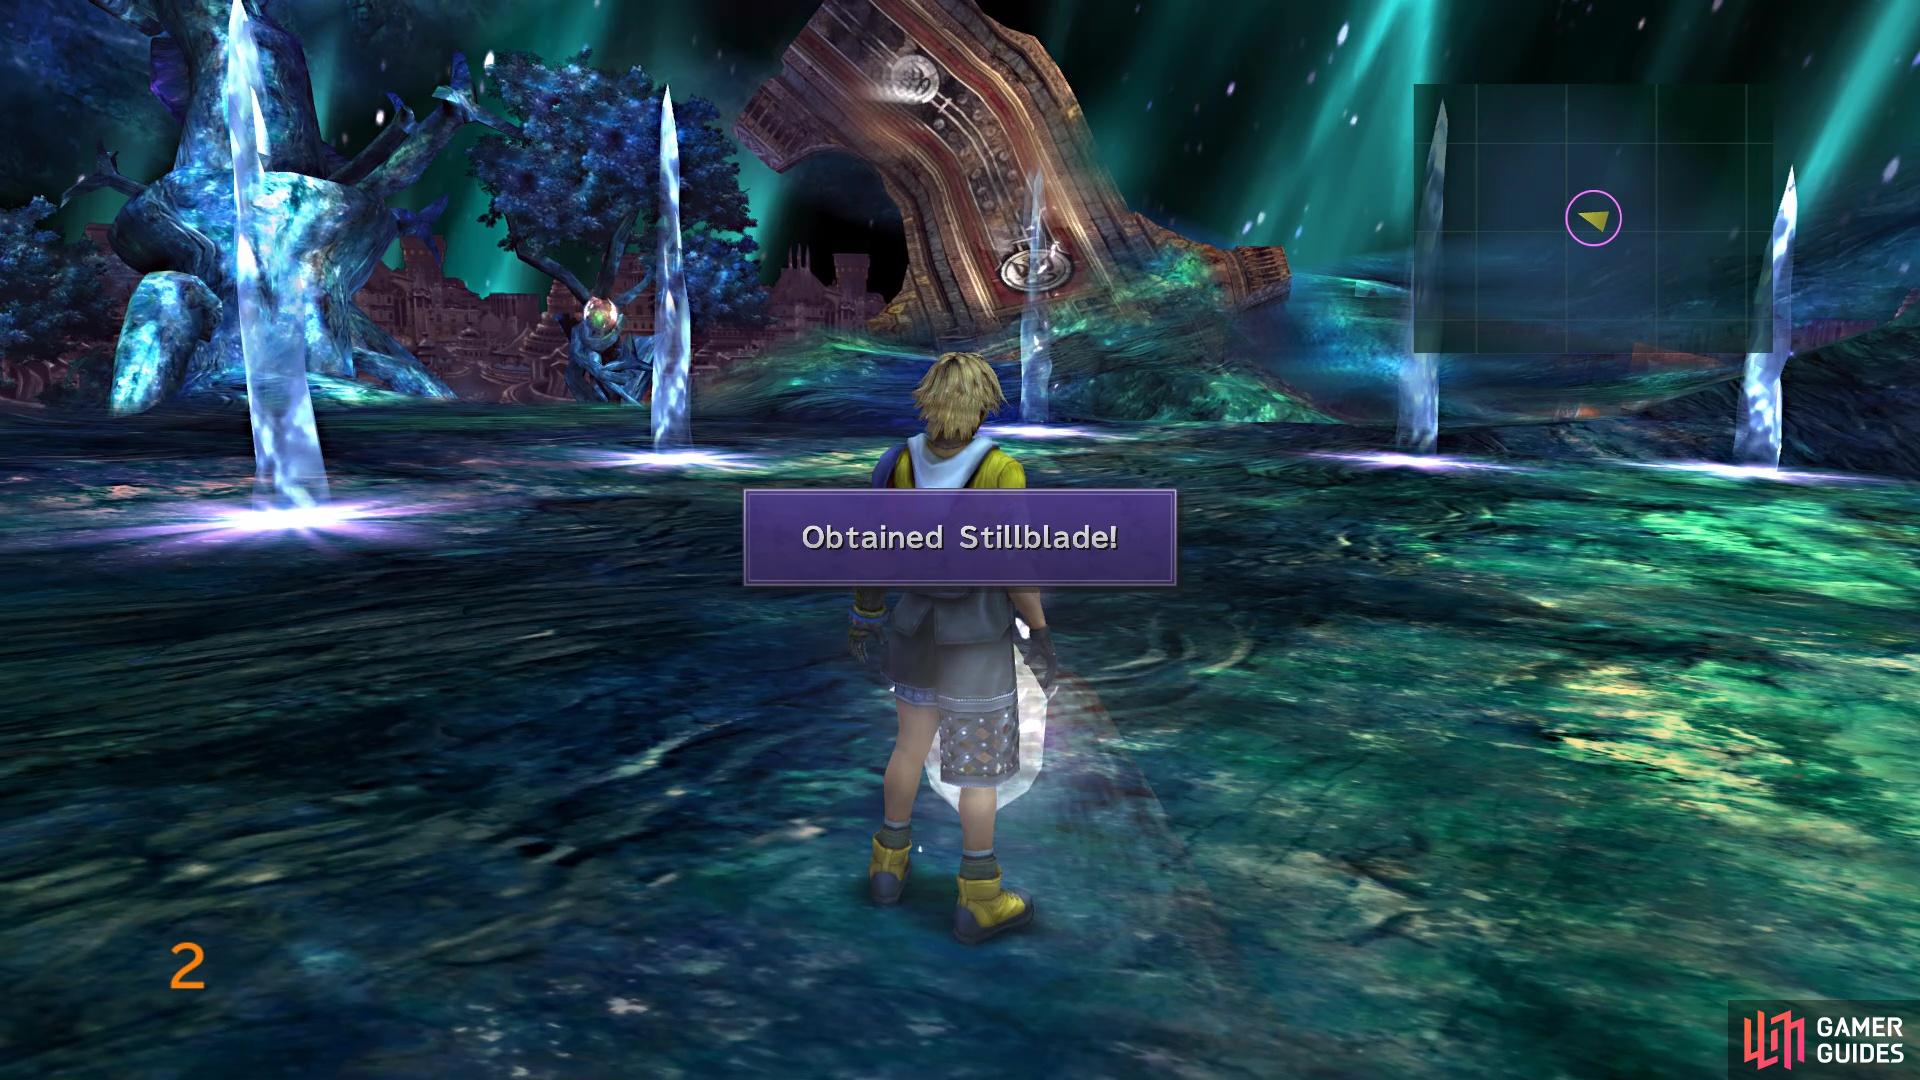
You’ll get some items from the little egg-like crystals
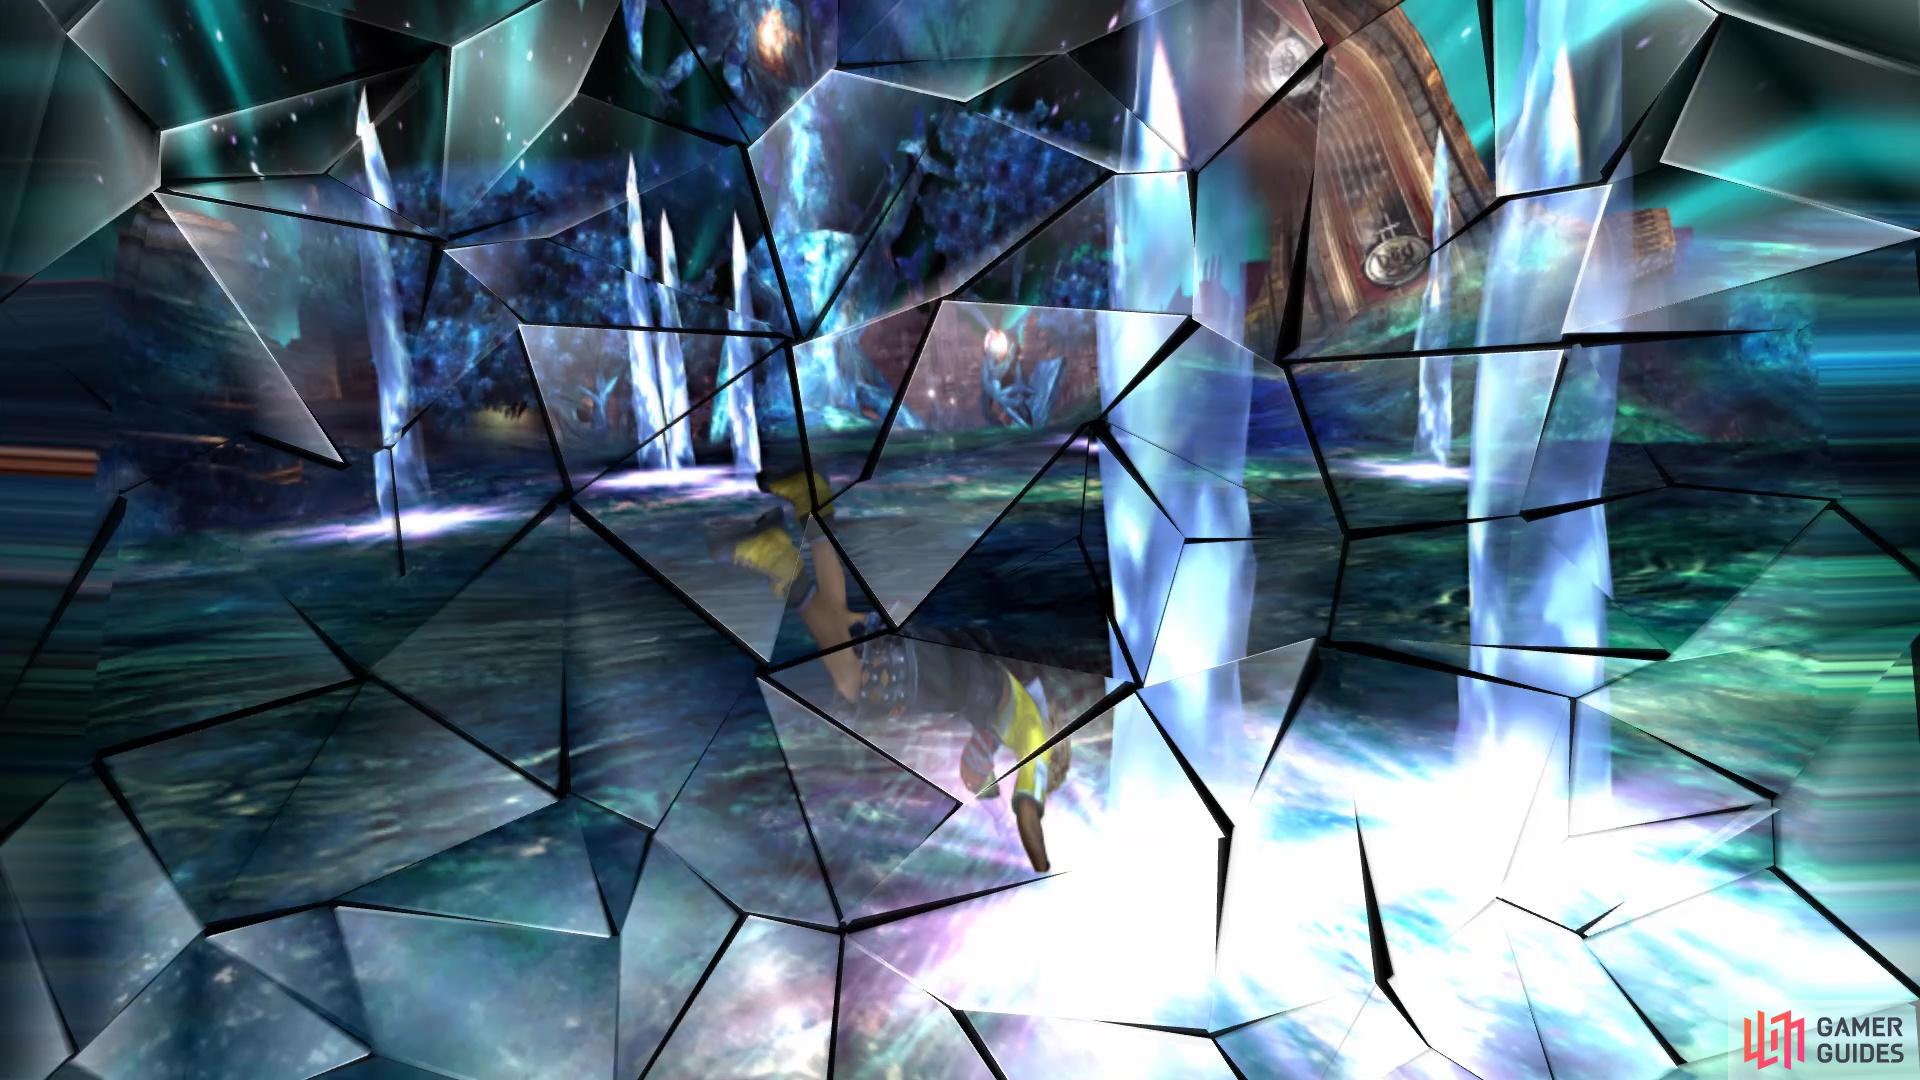
Hitting any ice spikes will throw you into a battle
- Attribute Sphere
- Hrunting
- Infinity
- Knight Lance
- Mage’s Staff
- Prism Ball
- Skill Sphere
- Stillblade
- Wht Magic Sphere
- Wicked Cait Sith
Once you have collected all of the items, you will continue to the final area. Some scenes will play out, then you will be ready to face the final set of bosses in the game.
BOSS - Braska’s Final Aeon
Braska’s Final Aeon, or BFA for short, has two forms, each with their own HP pool. Both forms share a lot of moves, so it’s not too different. Joining BFA is two Yu Pagodas, which are probably the biggest problem with this battle. When both are left alive, they will use Power Wave on BFA, which heals him and removes a variety of ailments and Breaks; it will also increase his Overdrive gauge. Each of the Pagodas only have 5,000 HP, but there is a catch in defeating them. The Pagodas will come back, so there is no way to keep them infinitely away, with their HP being restored to the amount that was dealt to them via the total they were struck. For example, if you deal 3,000 damage the first time and 3,500 damage the second time, then the Pagoda will return with 6,500 HP instead of only 5,000.
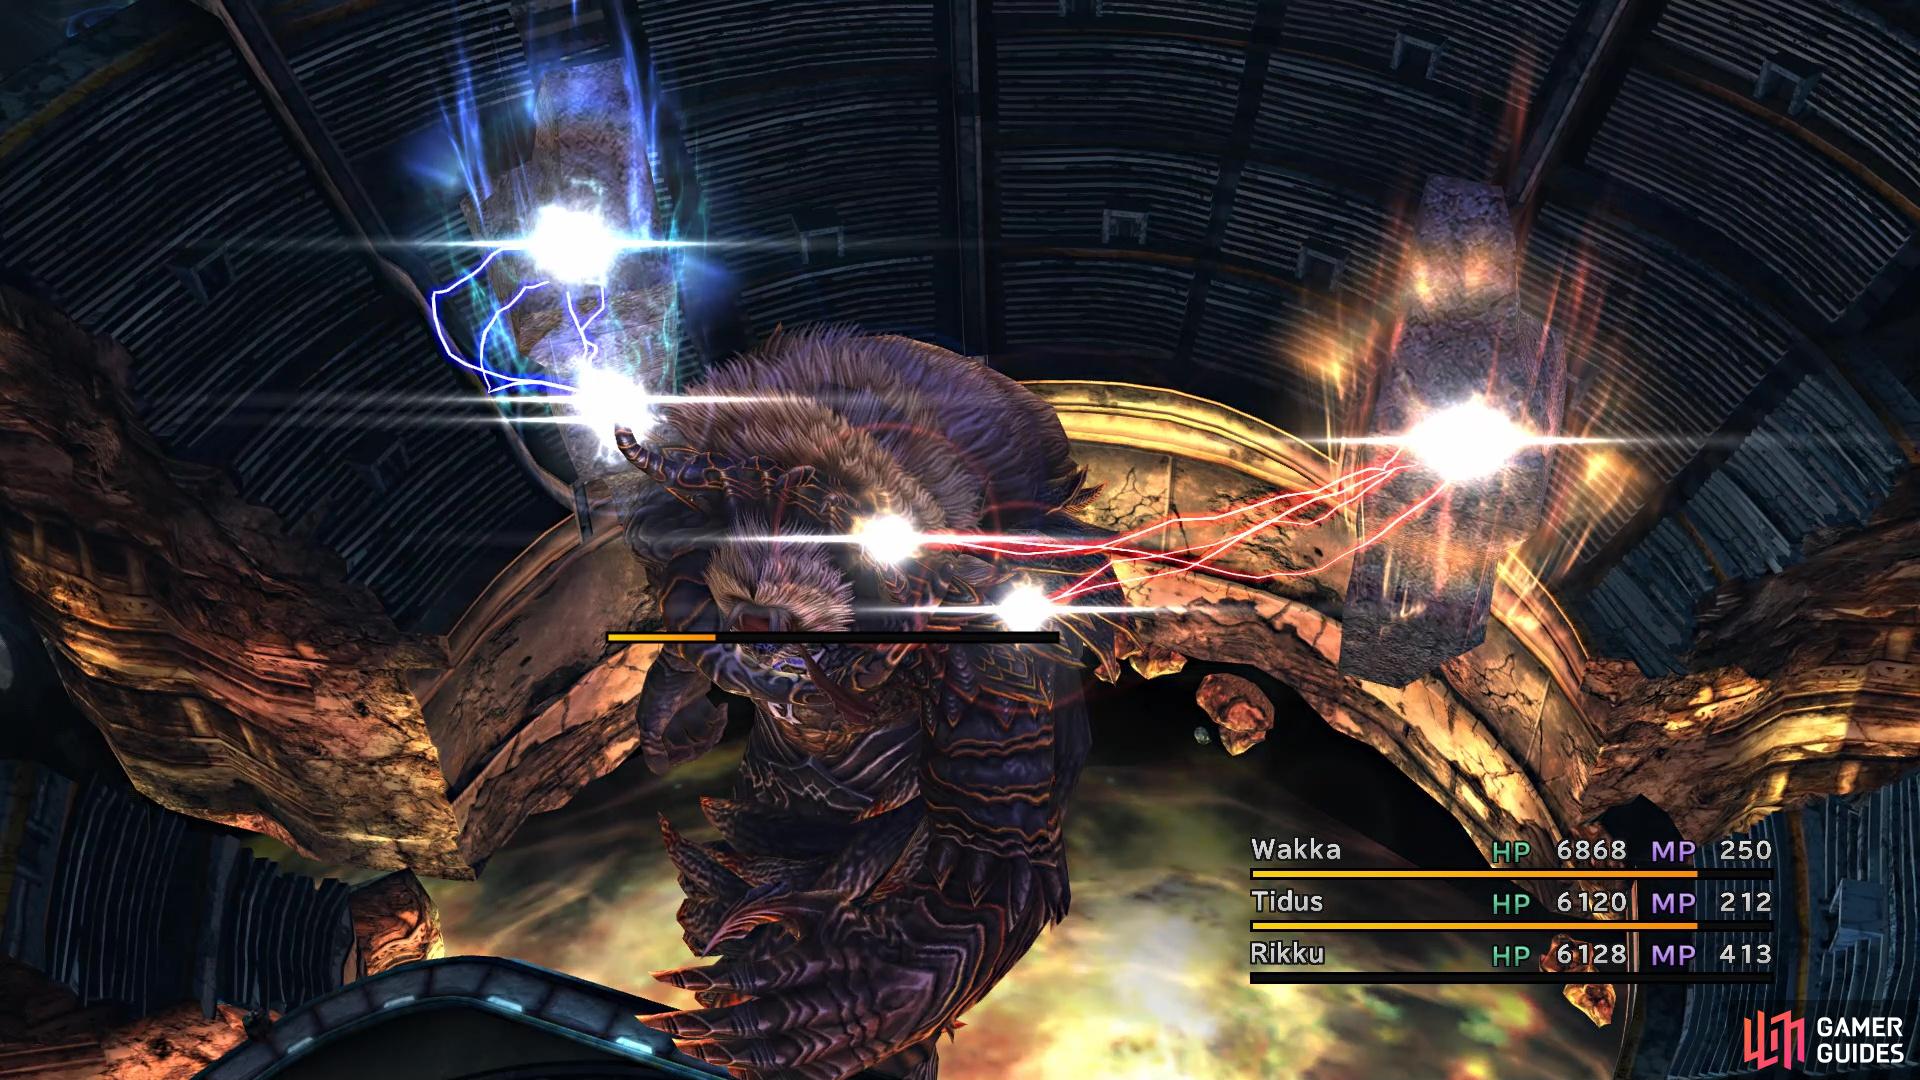
Power Wave both heals and charges up Braska’s Final Aeon
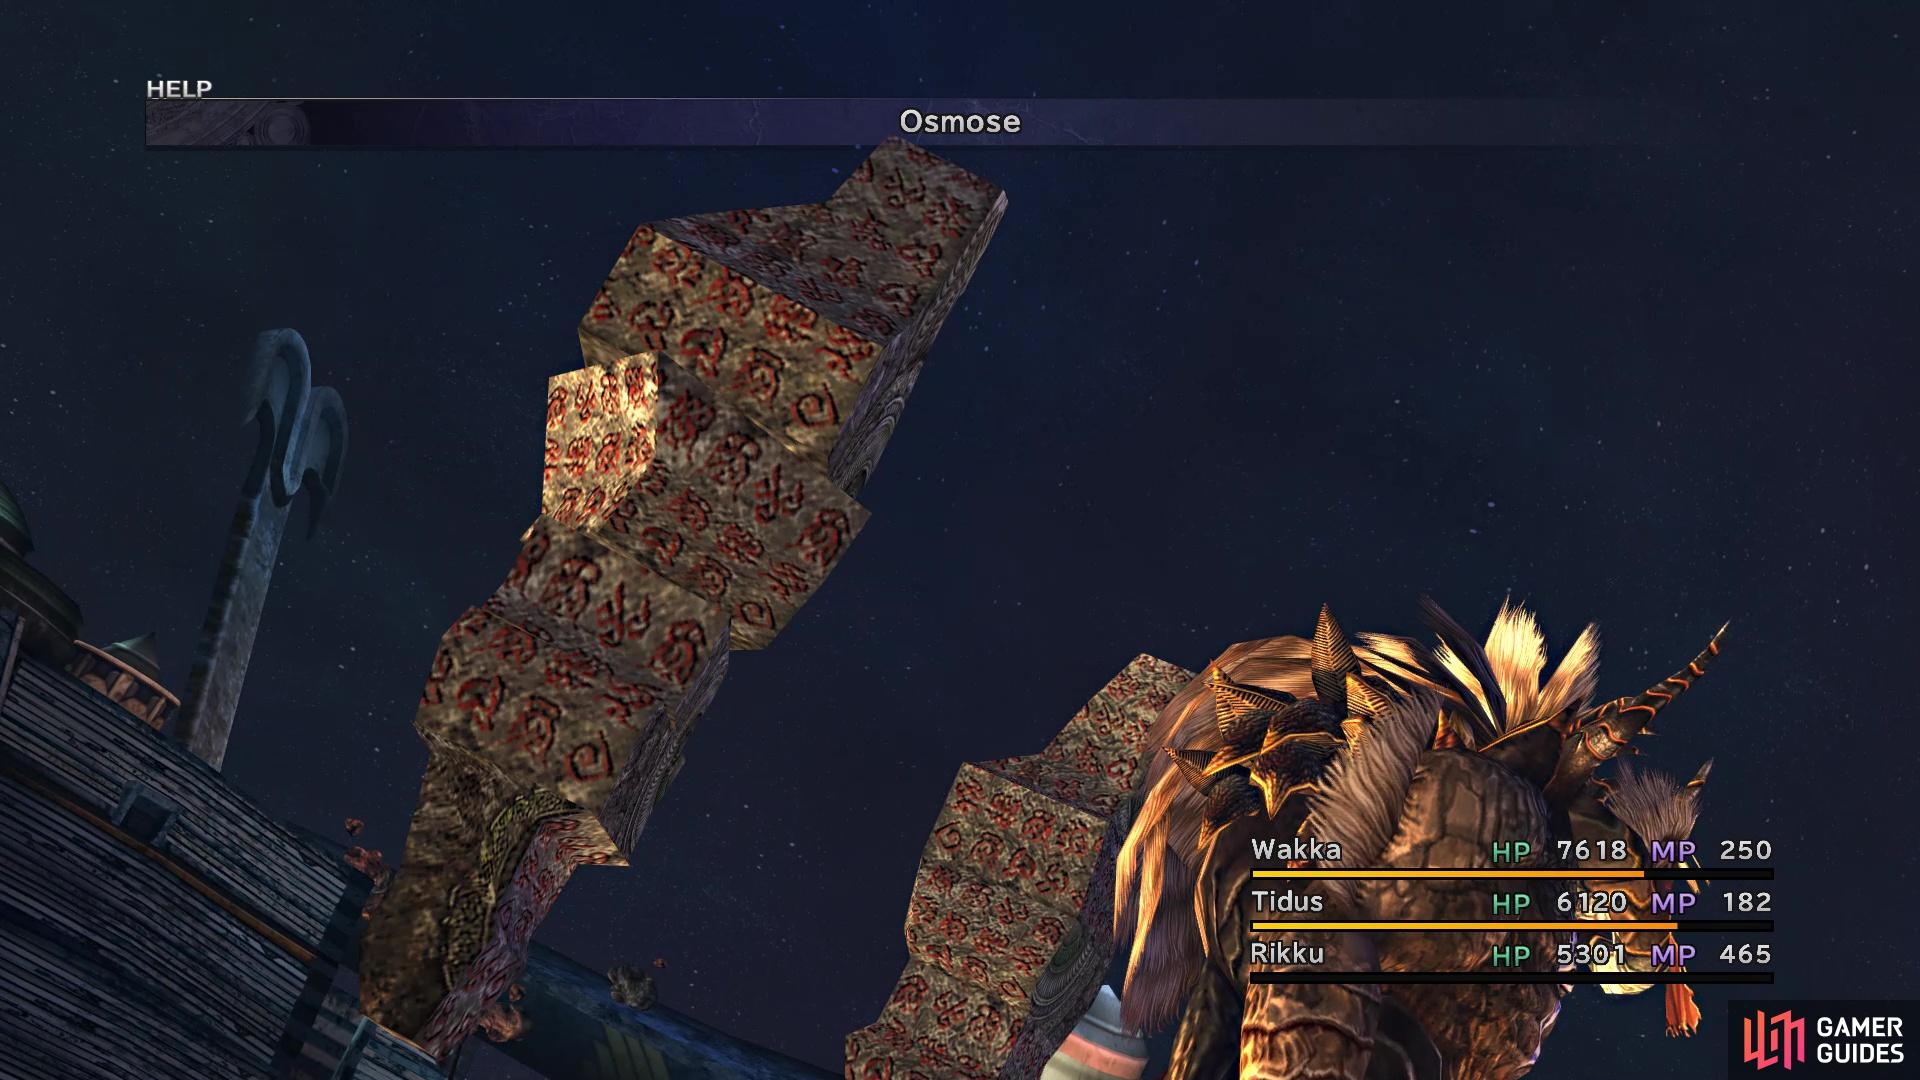
If only one is alive, the Pagodas will resort to annoy you with Osmose and Curse
This can cause a big problem, especially if you grinded enough to exceed the damage limit of 9,999, but only if you have Break Damage Limit on a weapon. If there’s only a single Pagoda alive, then they will either use Curse or Osmose. The latter siphons all of a character’s MP, while the former inflicts Curse, Darkness, Poison, Silence and Sleep. Pagoda A seems to use Curse more, while Pagoda B uses Osmose more. Lastly, the Pagodas are out of range of melee attacks, so the only one who can hit them physically is Wakka. Their physical defense is a lot lower than their magical defense, although the latter isn’t terribly high.
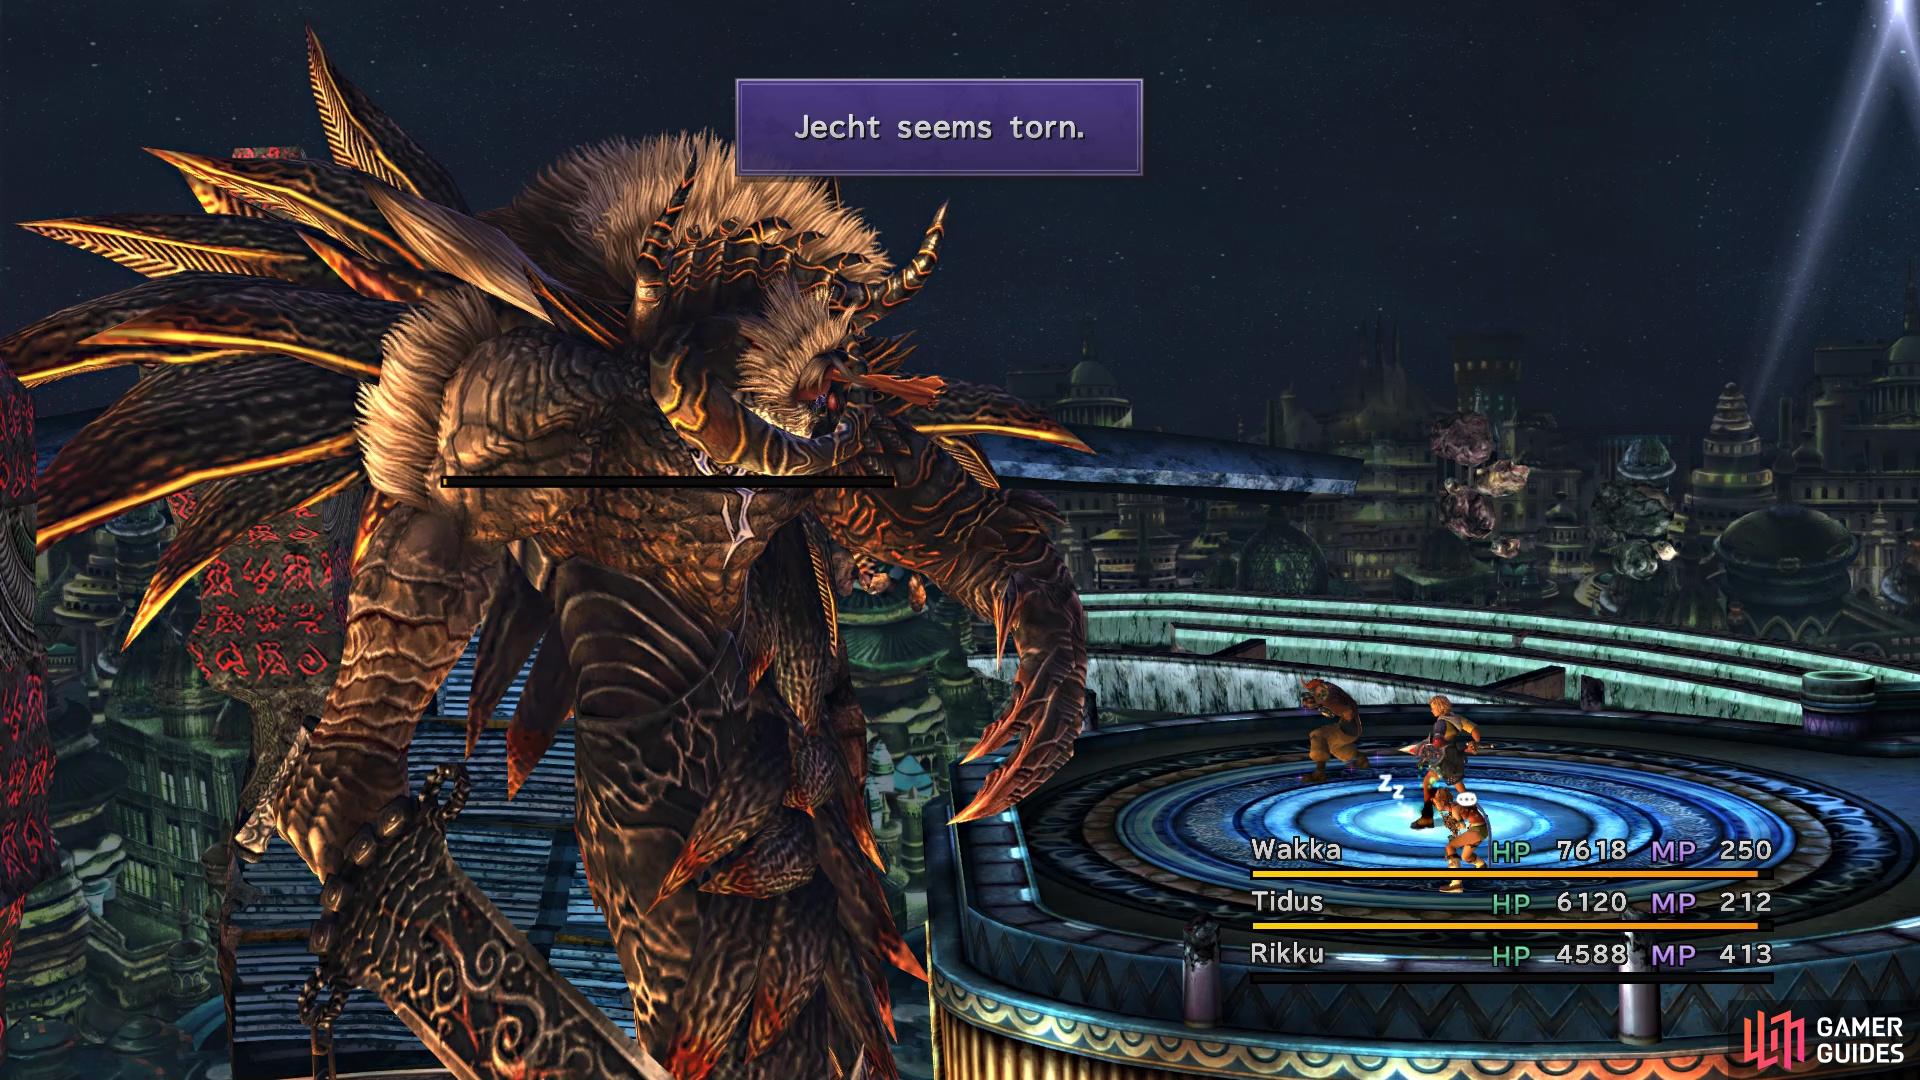
Moving on to Braska’s Final Aeon, you will start the battle with Tidus, Yuna and Auron in your active party, so switch out as necessary. In addition to the Pagodas filling up BFA’s Overdrive, it will also fill up a tiny amount in the normal manner of attacking and being attacked. Tidus will have a Trigger Command to talk with BFA, which will reset the Overdrive gauge on BFA’s next turn, but this only works twice. In addition to a normal attack, you will also see Jecht Beam, an attack that can petrify character. Should his Overdrive gauge fill up, he will use Triumphant Grasp on a single character that isn’t petrified, hitting twice and possibly inflicting Zombie. If an Aeon is out, the Overdrive will change to Jecht Bomber.
During the second phase, BFA will pull out a sword from his chest. A lot of things are the same, as he will use Jecht Beam and Triumphant Grasp as his Overdrive (Jecht Bomber for Aeons). The physical attack, though, will change to a sword swipe that hits the entire party. You will still have to contend with the two Pagodas, but they are no different. Once BFA’s second form goes under half health, his Overdrive will change to Ultimate Jecht Shot, which hits the entire party for a good amount of damage. If you didn’t use Tidus’ Trigger Command before, it’s a good idea to save it for this Overdrive.
First and foremost, it’s a good idea to have Stoneproof on the characters you will be using the most, since petrification will remove buffs. The biggest conundrum here is whether to worry about the Pagodas or not. Defeating just one will cause the other to use Osmose/Curse, both of which can be problematic. If you go after both of them, then that takes time away from the main boss. Saving Tidus’ Trigger Command for the last portion of the second phase is ideal, since that gets rid of the party-wide Overdrive. Also, other than the petrification taking away buffs, there’s nothing else that does, so feel free to use Haste and other buffs.
Tidus’ Trigger Command can empty BFA of his Overdrive gauge
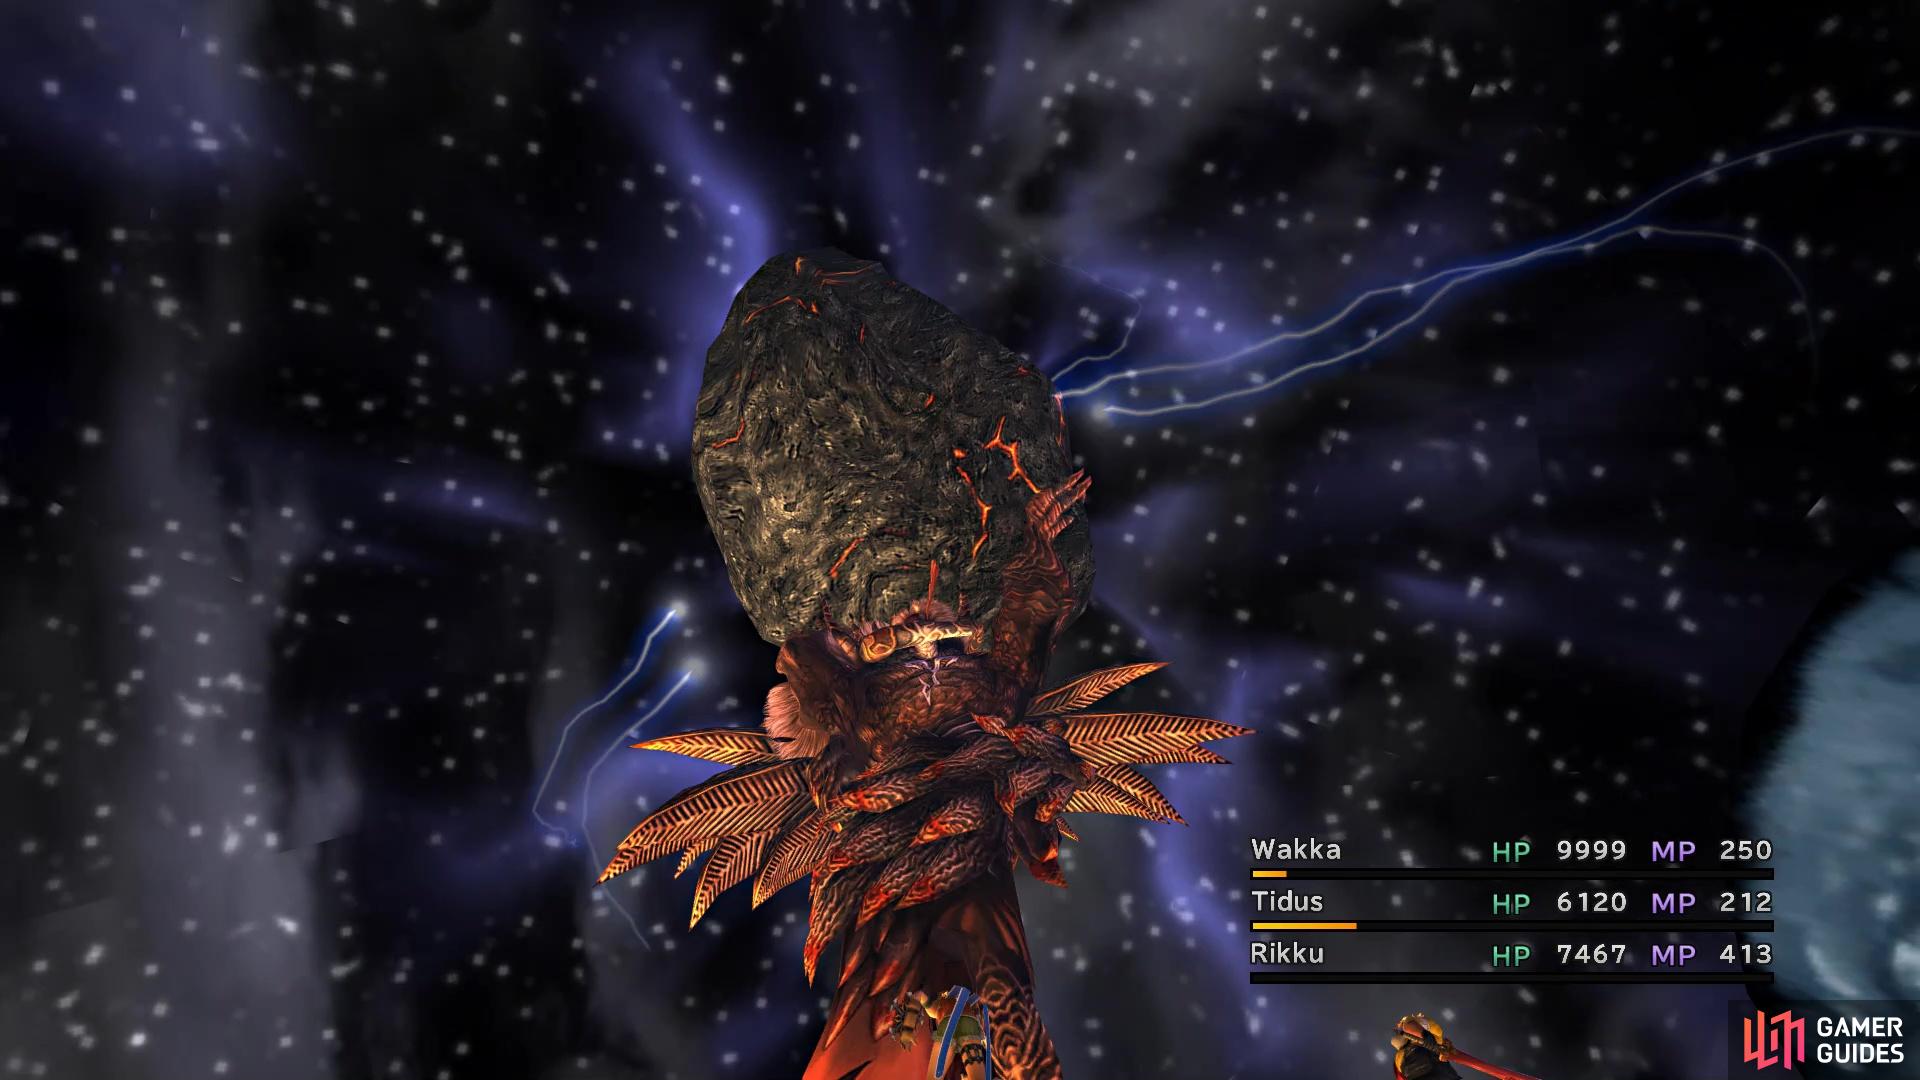
Ultimate Jecht Shot is quite the cinematic Overdrive and hits the entire party
Magic is also a viable solution, especially if you got access to Doublecast and stronger magic, like Flare or Ultima. Also, since there is nothing that bothers with Aeons, other than the Aeon-specific Overdrive, you can also use them if you wanted to do so. Bahamut’s Overdrive can break the damage limit and if you’ve built up Yuna’s Sphere Grid quite well, then it should be dealing a good bit. Rikku’s Trio of 9999 Mix is very good in this fight, as you can consistently deal with the Pagodas in a single hit and Overdrives like Tidus’ Slice & Dice will deal upwards of 50,000 damage.
Upon defeating Braska’s Final Aeon, there will be a number of scenes, then you will be pitted against the final boss.
BOSS - Yu Yevon
First and foremost, you cannot lose this battle, as you have a permanent Auto-Life. Unless you purposefully go out of your way to petrify your entire team themselves, you will be able to win no matter what. The first portion of the battle will have Yuna summoning all of her Aeons, then Yu Yevon possessing them, requiring you to defeat each one. Now, all of the Aeons will have the stats they had when they were in your control, so you should have a good idea of what they can do. The Pagodas will be in this fight, although they can now be reached with melee attacks. They will charge up each Aeon’s Overdrive, but it doesn’t really matter.
You can summon the Aeons in any order you want and upon defeating the last one, Yu Yevon will finally appear himself. On each of his turns, he will either do nothing or use Gravija on the party, taking away 75% of their current health. Should you attack him, then he will counter with Curaga, healing 9,999 HP. Once you uses Curaga seven times, he will use Osmose, then Ultima on the entire party, before resorting to the beginning of his script. It should be noted that his Gravija will also hurt him, so you could literally do nothing in the battle and have him reduce his HP to a lower enough amount before delivering the final blow.
The above is the strategy you will want to use if you don’t have access to Break Damage Limit, which is on all of the Celestial Weapons, by the way. If you happen to have a Candle of Life item on you, which is a common steal from the [Fallen Monks] in Zanarkand, having someone like Rikku Use one on Yu Yevon will cast Doom. Unlike a lot of harder enemies in the game, Yu Yevon will succumb to Doom in only three turns, making it a lot easier than having to deal with his Curaga spam. You could also do something as simple as cast Reflect on him, causing Curaga to be knocked back to your party.
With Yu Yevon down, you have completed the main story of Final Fantasy X, so congratulations! Sit back and enjoy the ending, then when you’re ready reload your last save to get ready to tackle the Monster Arena and other strong enemies.
No Comments