Upon finally arriving in Luca, there will be a few scenes introducing the Blitzball teams, then you will finally gain control at one of the docks. There is a Save Sphere nearby, so use it to save, then head in the direction of the red arrow on the minimap. You will witness another scene at the docks on the second screen, showcasing the arrival of Maester Mika and some other people. Eventually, you will be placed inside one of the locker rooms, where you will see a tutorial on how to play Blitzball. It’s a good idea to go over things here, so when the time comes for the actual game later, you have a basic understanding on how things work.
Upon finishing up and regaining control, you will be right outside of the locker room. Attempt to leave the area to the south for another quick scene, then you will be outside. Your goal is to head to a separate section of Luca to see if you can find Auron, but there’s some treasures you can pick up along the way. Remember the basement area right outside of the locker room you were just in? Well, there’s another one directly to the left of the one where you emerged, so head in there first.
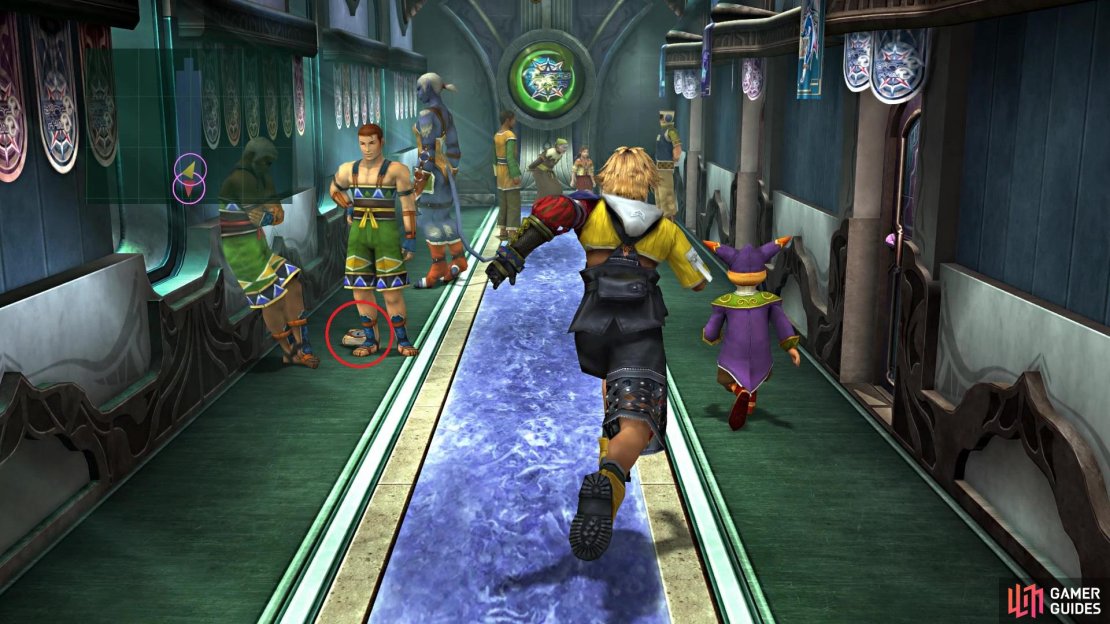
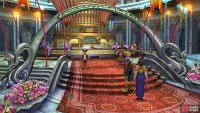
Al Bhed Primer Vol. VI is outside of the other locker room, behind a NPC
On the floor, behind the two NPCs on the left side, will be Al Bhed Primer Vol. VI on the ground. In the back of the same room, there is a chest with two Hi-Potions. Remember those docks where you got off in Luca? Well, it’s time to explore them all now, as a couple of them have chests. From outside the locker rooms, head west and at the first one, you will find a familiar travelling merchant. Unlike the previous two times, O’aka has some wares to sell, one of which might be useful to you in a little bit, the Thunder Spear. You can also donate more Gil to him if you want, but don’t worry about it right now.
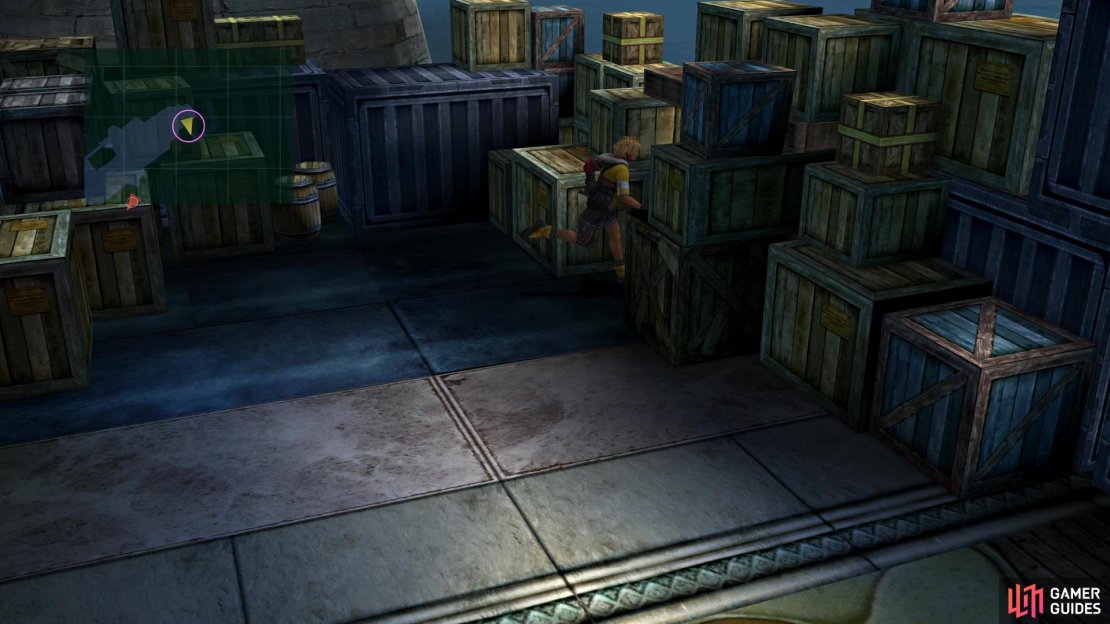
While still in the same area, check the dock portion to find a chest with 600 Gil, as well as another farther back with a Tidal Spear. Head north, into the next area, and check the docks for another chest near some boxes, which contains two Phoenix Downs. As you continue clockwise, the next two docks will have nothing, but the fifth one will have some hidden chests. In the back of the dock, you can squeeze through some crates on the right side, causing the camera to change angle and show two chests. Open them up for a HP Sphere and Magic Sphere.
Return to the central area by the locker rooms and go south now, where there will be a scene. Once it’s over, you will be on the right side of a three-way fork, with the western path taking you back to where you came. Take the northern exit and keep going until you reach the final room, where you can find Al Bhed Primer Vol. VII on the floor right before the stairs. Note that this room has two special vendors, who sell Music Spheres and Movie Spheres. They can be purchased for 2,000 gil and 5,000 gil, respectively, and you will need to purchase them all to unlock the Theater Enthusiast trophy/achievement. It’s best to save your money right now and come back later.
(1 of 3) You can squeeze in between these crates
Return to the three-way split and take the right path this time, to the square, where a scene will happen upon entering. Go to the path leading northeast and take it to the City Limits area, where you will find a chest at the top of the stairs, containing 1,000 Gil. That’s all of the goodies here, so double back to the square and enter the cafe at the top of the area. There will be a number of scenes that happen here, culminating in you going after Yuna now.
Chasing After Yuna
Your party will consist of Tidus, Kimahri and Lulu for this section and if you bought that Thunder Spear from O’aka earlier, equip it to him now. There’s nothing you can really do or see here, so just follow the red arrows on your minimap, stopping at Dock Number 1 only if you didn’t get the Thunder Spear. In the second dock area, you will be forced into a battle with some machina, called Workers. They are weak to thunder, so have Lulu use that and attack normally with the other characters. They only have 300 HP, so one casting of Thunder should be enough to one-hit them.
There will be another battle with Workers on the next dock, then a battle with three consecutive sets in the third area. Watch the scene after those group of enemies, then get ready for a boss. Luckily, there is a Save Sphere nearby, so you can use it to completely heal and save your game. Go east to the next screen and prepare for the boss battle.
BOSS - Oblitzerator
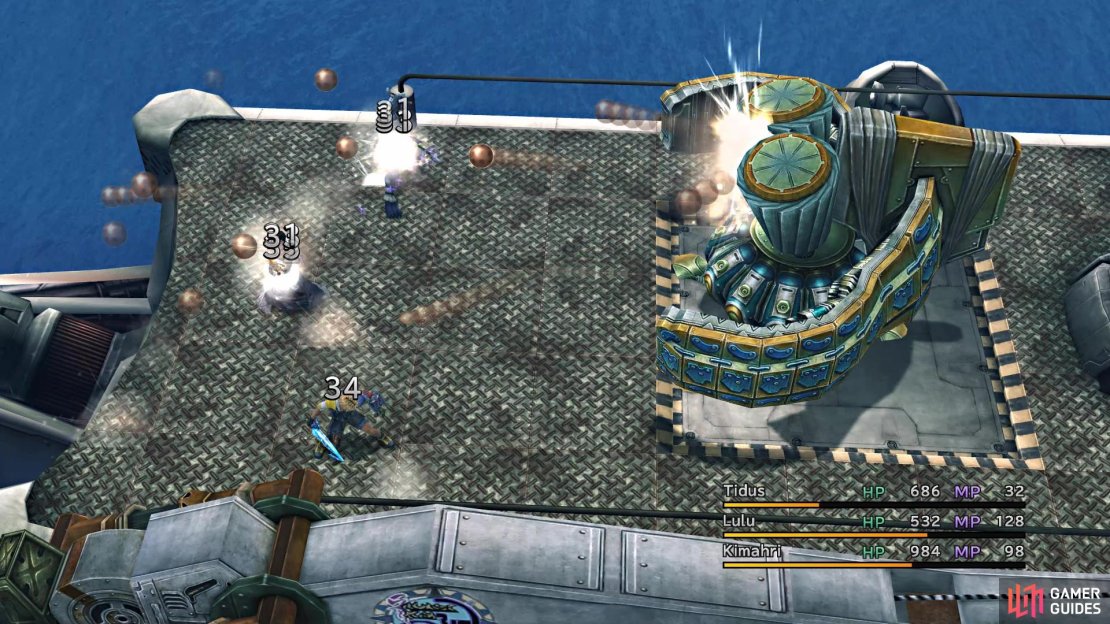
The Oblitzerator can be an annoying boss, depending on your luck, as it can counter-attack anything you do against it with specific skills. If you use physical attacks, it will counter with Blind Ball, inflicting Darkness. Should you use magic, then it will counter with Mute Ball, inflicting Silence. Even things like Overdrives can be countered with Doze Ball, inflicting Sleep. The luck comes in because the counters are not 100%, so there is a chance you might not even see a single one during the entire battle. Despite these counters, you can go through the majority of the battle without having to touch the boss.
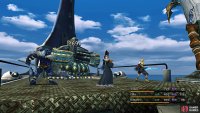
At the beginning, Tidus should point out the crane to your right and that you can use it. This sets a Trigger Command to use the crane, but doing so at the start will result in nothing happening, as the crane needs power. You will need to use Lulu to cast Thunder three times on the crane before it will become functional. However, the boss will not sit idly by, as on its turn, the machine will use Blitzball Rush on your party. This will randomly hit all characters for some pretty big damage, so be ready to heal any characters at low health.
(1 of 3) Blitzball Rush can deal some heavy damage, but it’s random
Tidus should focus on using Cheer to increase his and Kimahri’s strength, while also increasing the party’s physical defense, to help protect from Blitzball Rush. Meanwhile, he should also use Haste on Lulu (you should have this by now) and she can either use Thunder or Focus to up her magical power. Once the crane has been sufficiently powered, use the Trigger Command to deplete the majority of the boss’ health. Doing this will also get rid of the counterattacks and Blitzball Rush, so it will be a free battle.
Watch the scene after the battle, then go all the way back to the locker room for the Aurochs to witness another scene. When you are just outside again, enter the locker room once more, save your game and speak with Wakka when you’re ready to do some Blitzball yourself.
No Comments