
The fiends you will find along the Moonflow are largely the same as the Djose Highroad, except there is one new enemy, the Ochu. This creature can be a huge problem, depending on how often you encounter it. Not only does it have a large HP pool (7,200), but its normal attacks can inflict Poison and it has another move called Ochu Dance, that can inflict Confuse, Darkness, Silence and/or Slow. Needless to say, this can be a huge problem, but the biggest troublemaker here is Confuse. Confused characters cannot be controlled at all and they will attack their own party members at random. You can easily break this by having someone like Yuna or Lulu physically attack the confused character, since they have weak physical attacks, or if Yuna isn’t the one confused, then have her cast Esuna.
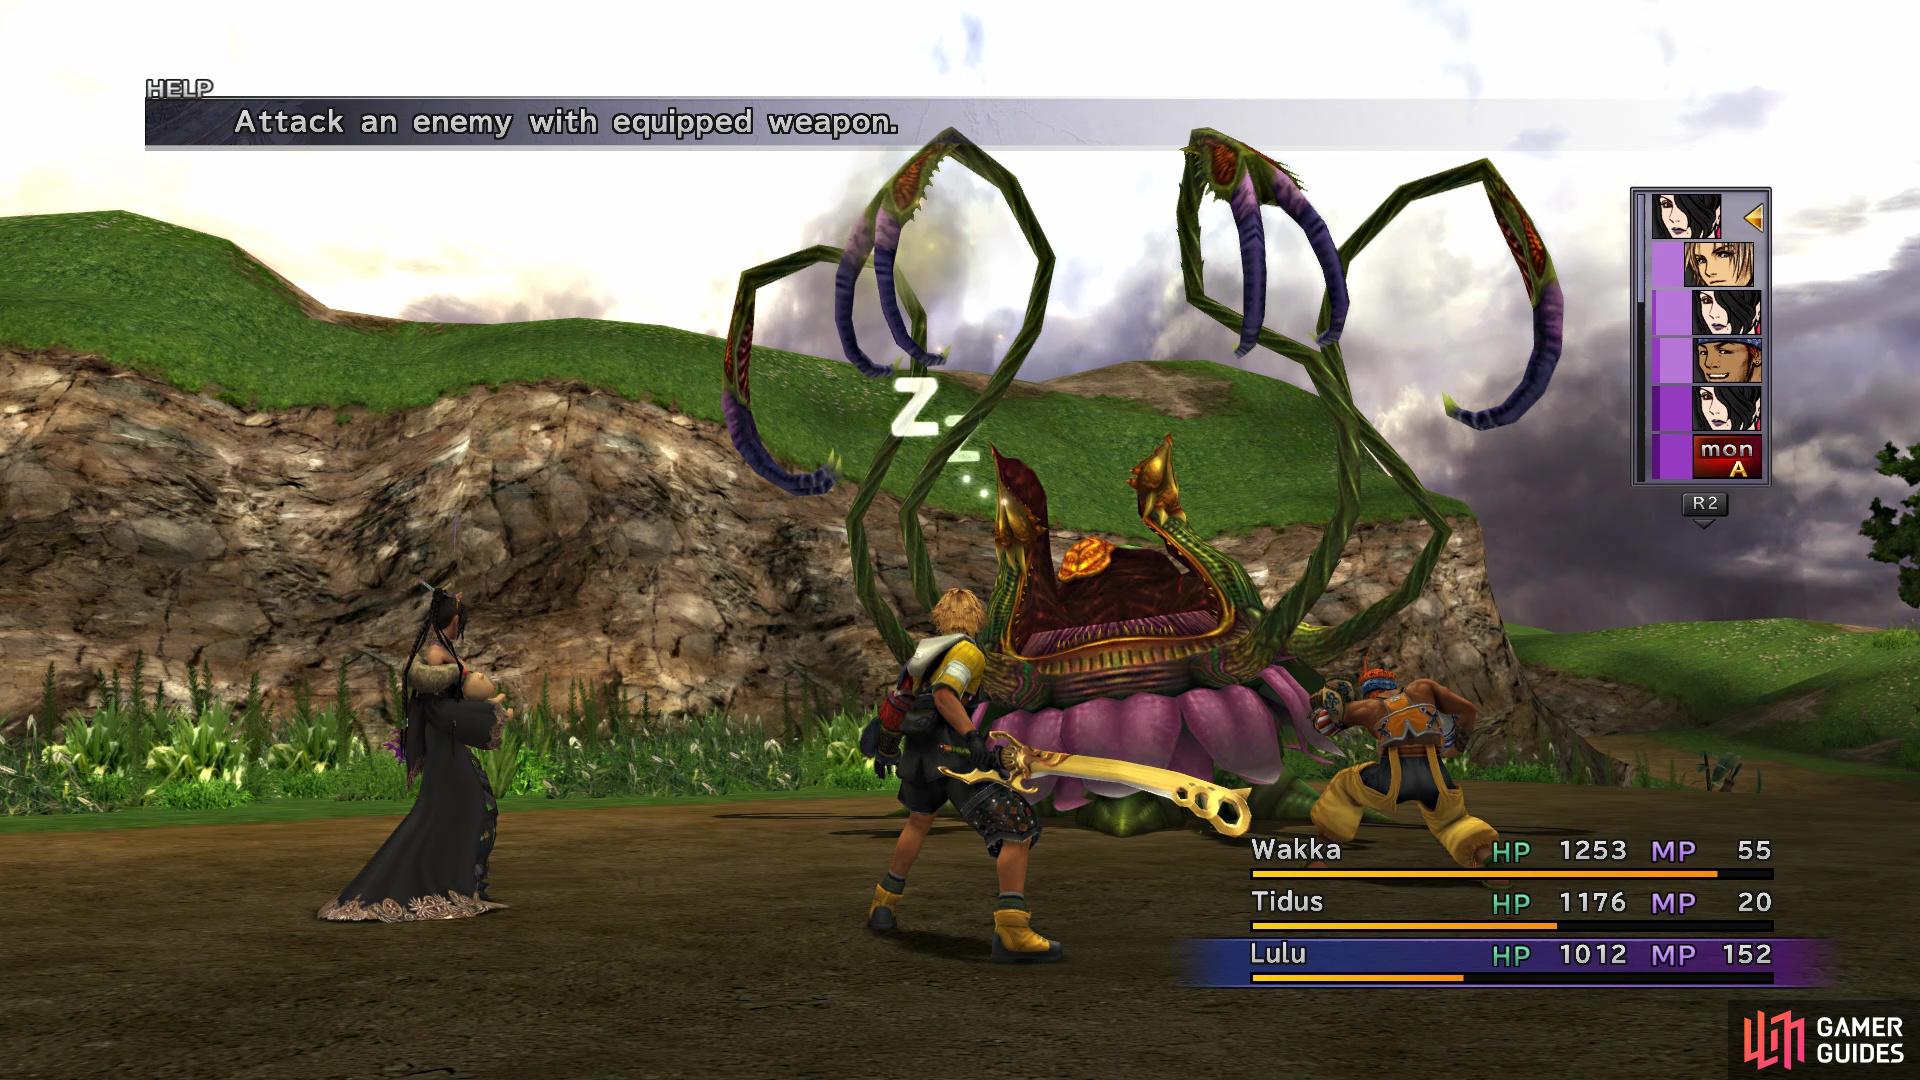
The Ochu can be put to sleep with Wakka’s Sleep Attack
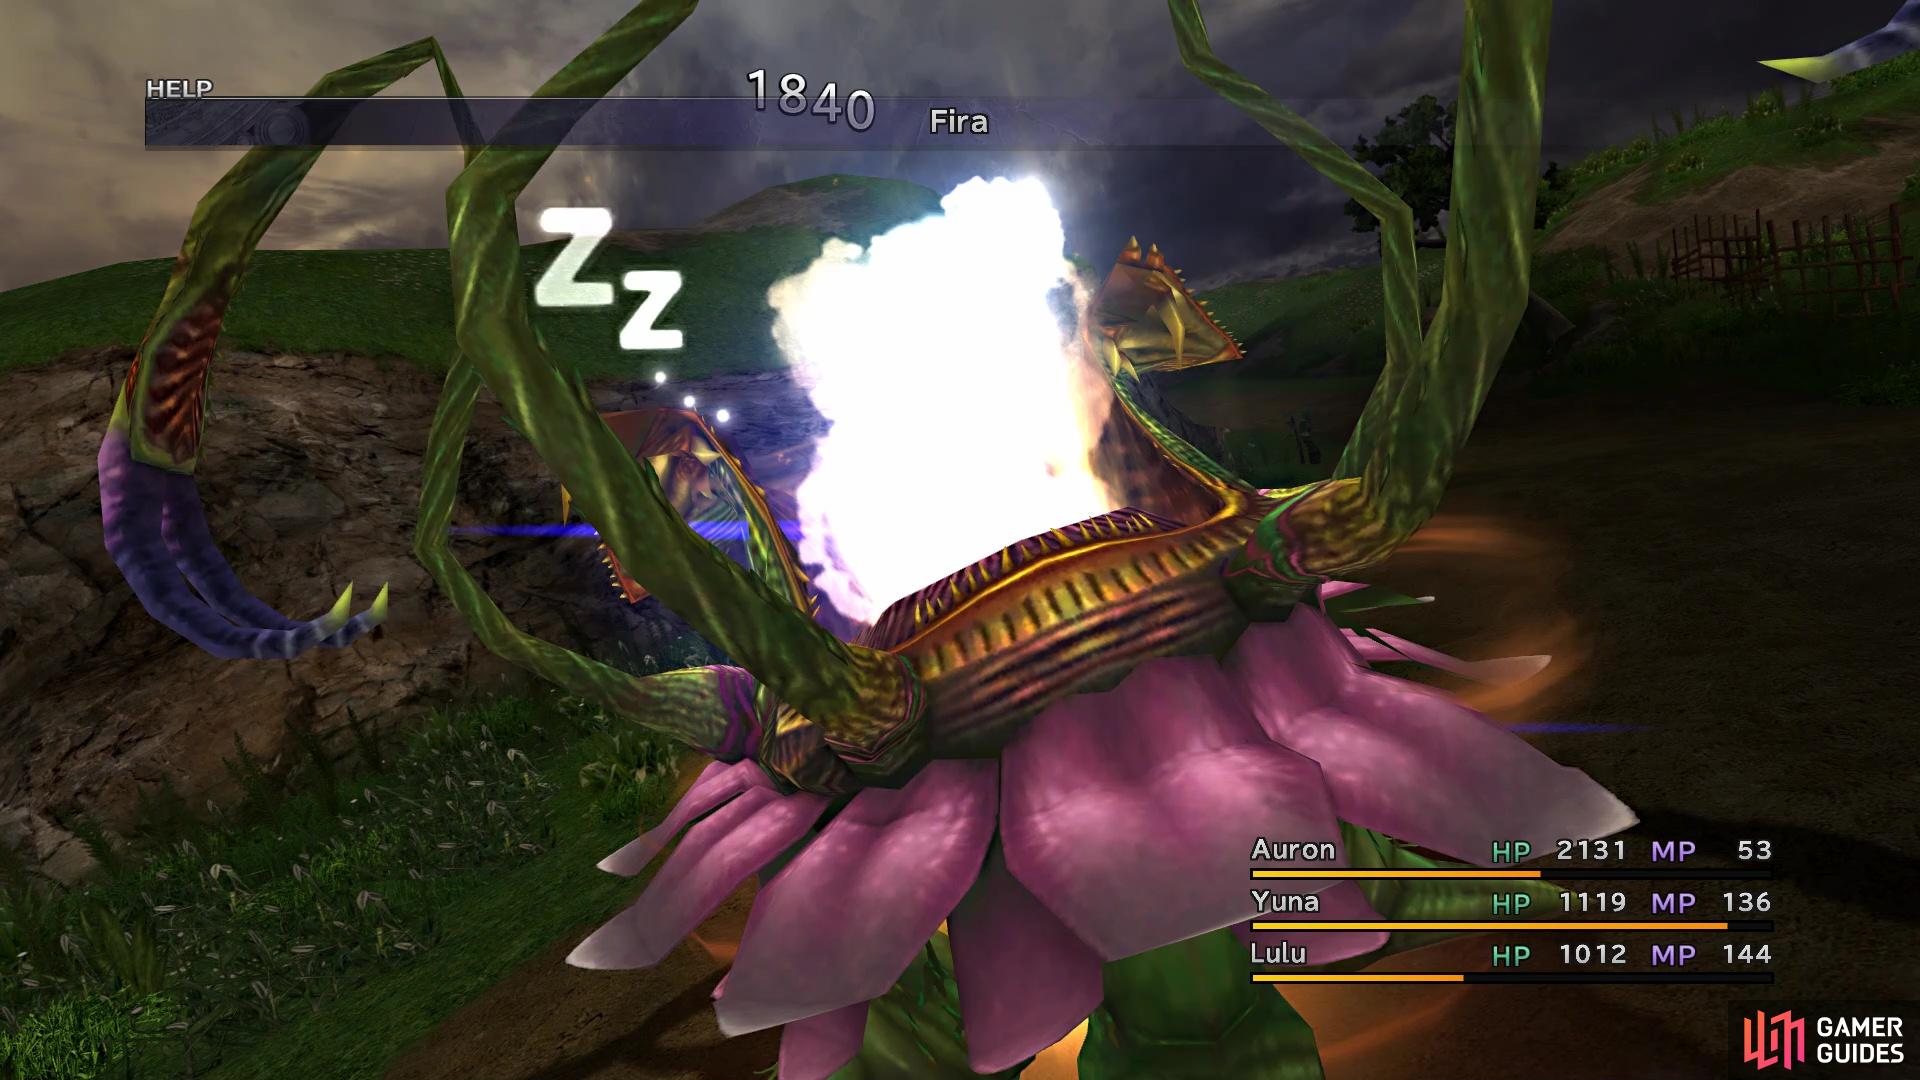
While asleep, using magic on it will not wake it up
The Moonflow, like so many other areas, is pretty linear, with not many diversions being found on it. When you reach Shelinda on the trail, you can find a chest to the right of her, that contains three Lv. 1 Key Spheres. Continue north and onto the next screen, where you will run into some of Kimahri’s “friends,” warning of the summoners disappearing recently. When the scene is over, you can find another chest by the tree nearby (X-Potion). As you keep going on the road, you will come to another side path on the minimap, where another chest with three Lv.1 Key Spheres inside it. Not too far north of that second chest, you will run into Belgemine on the side of the road, who once again challenges Yuna to an Aeon battle.

There is a chest to the right of Shelinda
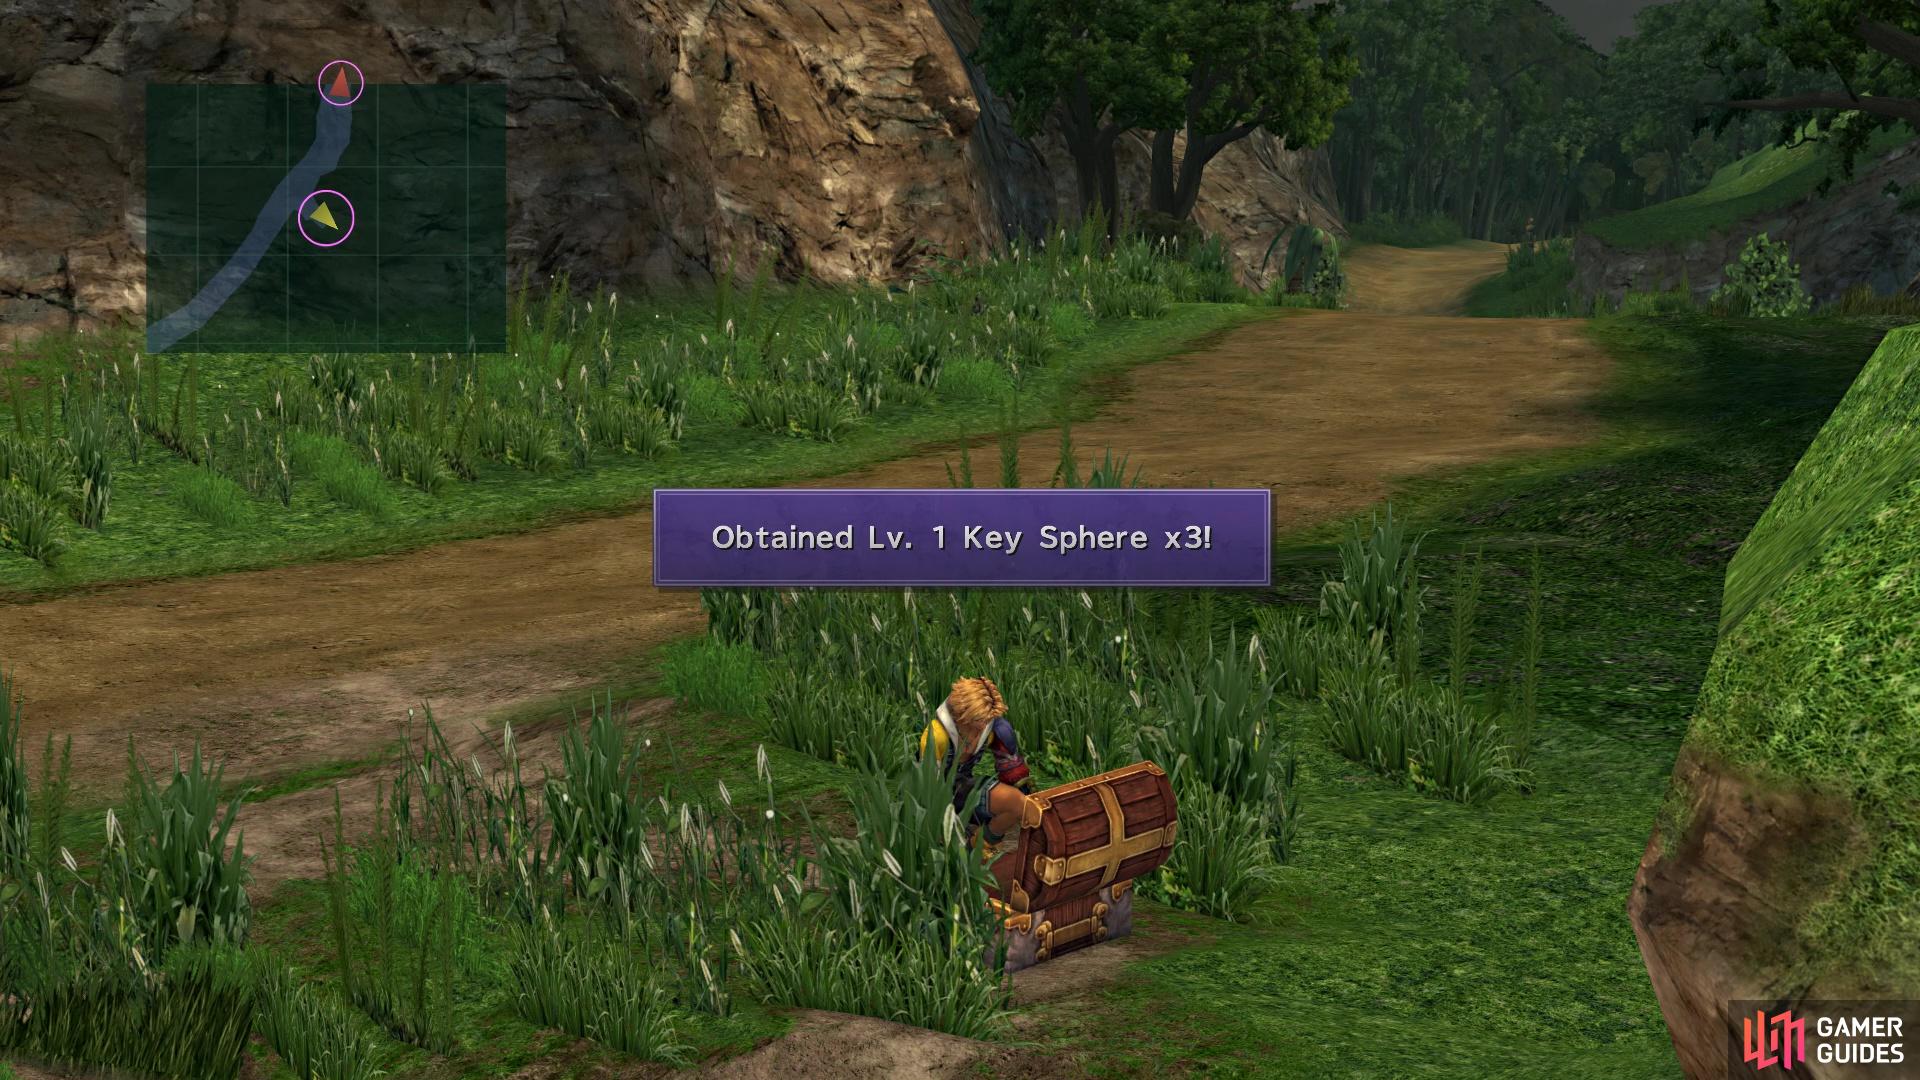
as well as another one farther north, so keep an eye on the minimap
BOSS - Belgemine’s Ixion
Depending on how much you’ve prepared for this battle, it can be quite difficult or pretty easy. As with the previous battle against Belgemine’s Ifrit, you do not need to win and the rewards for winning aren’t exactly all that great. You will actually be able to use both Ifrit and Valefor here, so if one goes down, you can still summon the other one. The only two things you will see for the first half of the battle will be a normal physical attack and Aerospark, which is also physical damage. At 50% health, Ixion will cast Haste on itself, meaning it will get a lot more turns now.
Ifrit is the better option to start this battle, as you can use Fire on himself to replenish his HP. If you happened to come into the battle with Yuna’s Overdrive ready, then a Hellfire from Ifrit should be able to take out around half of Ixion’s HP (it has 6,000). Depending on the stats of Yuna and subsequently, Ifrit, you should get another opportunity to use Hellfire, meaning it’s possible to two-shot Ixion here. Note that using an Aeon’s Overdrive will likely give Ixion a lot of turns in a row, so hopefully you’ve been building up Yuna on the Sphere Grid.
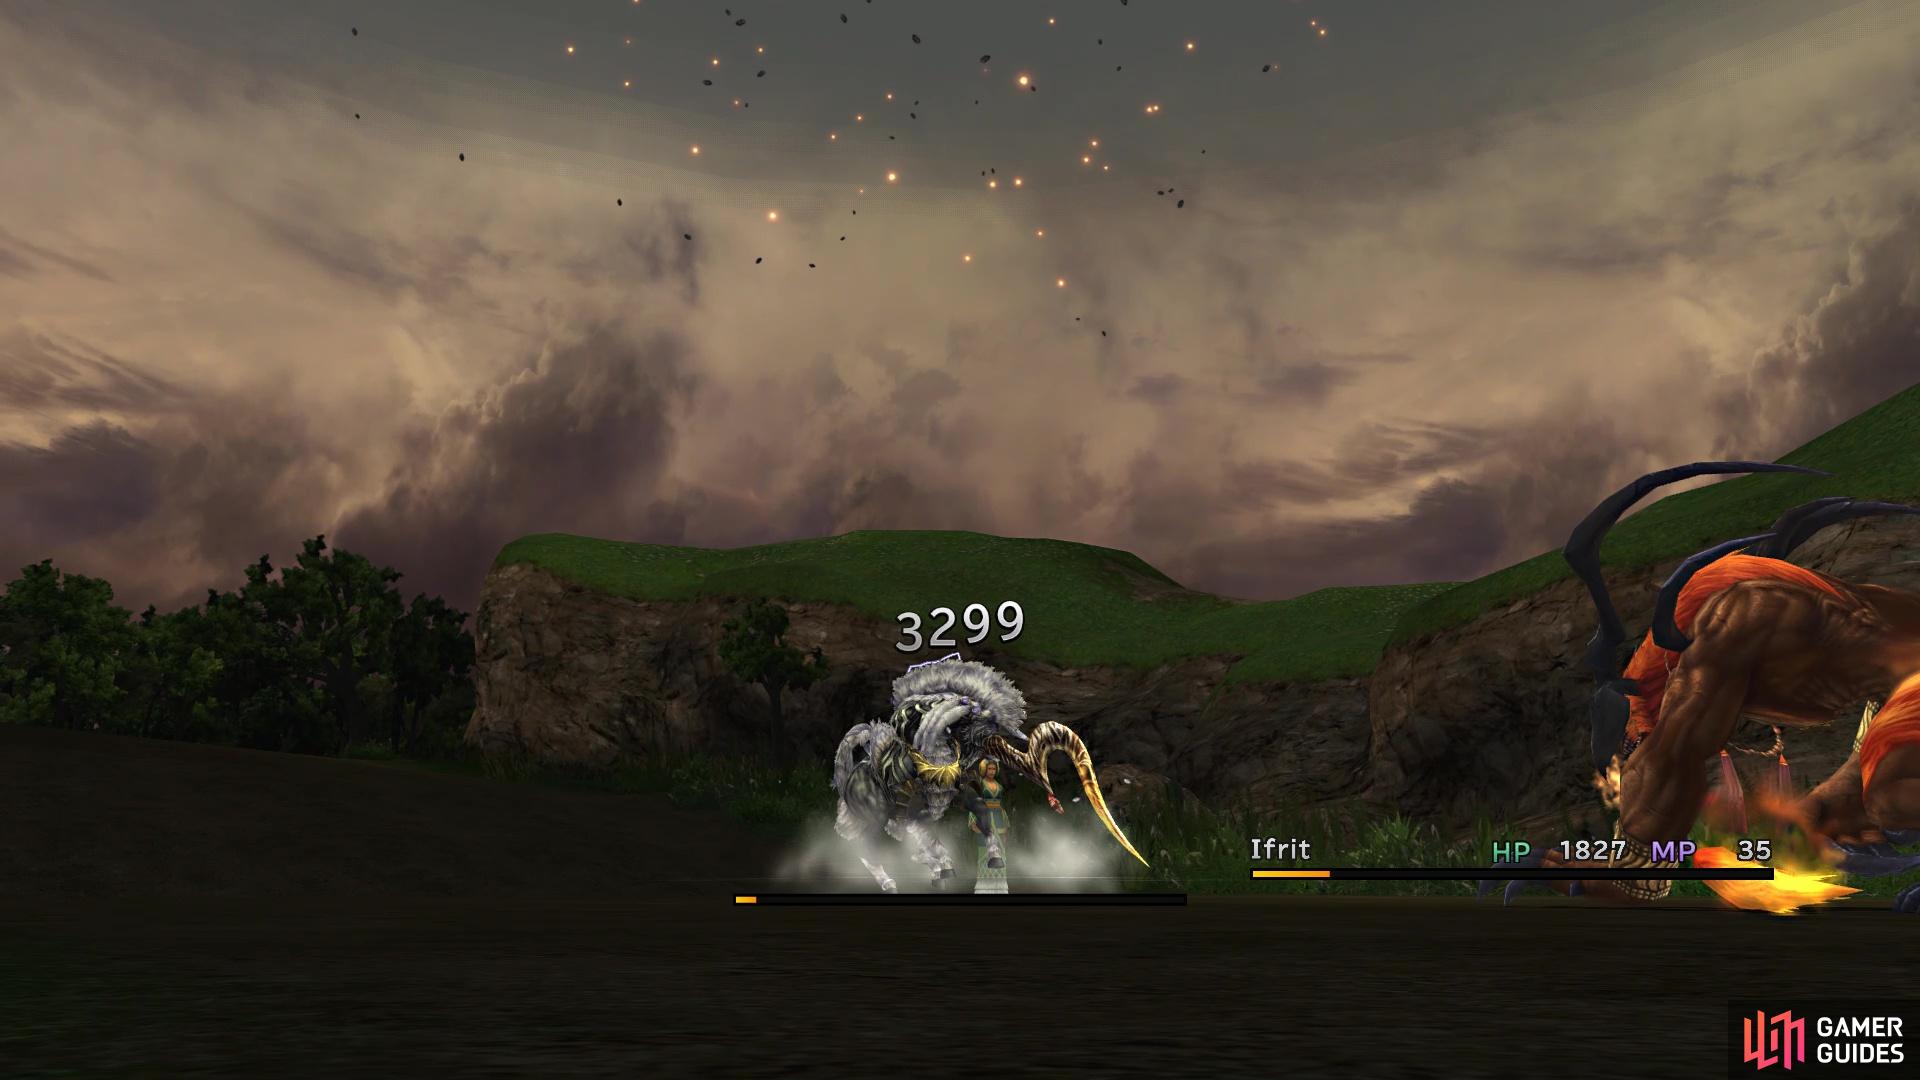
A Hellfire might be able to do some major damage to Belgemine’s Ixion
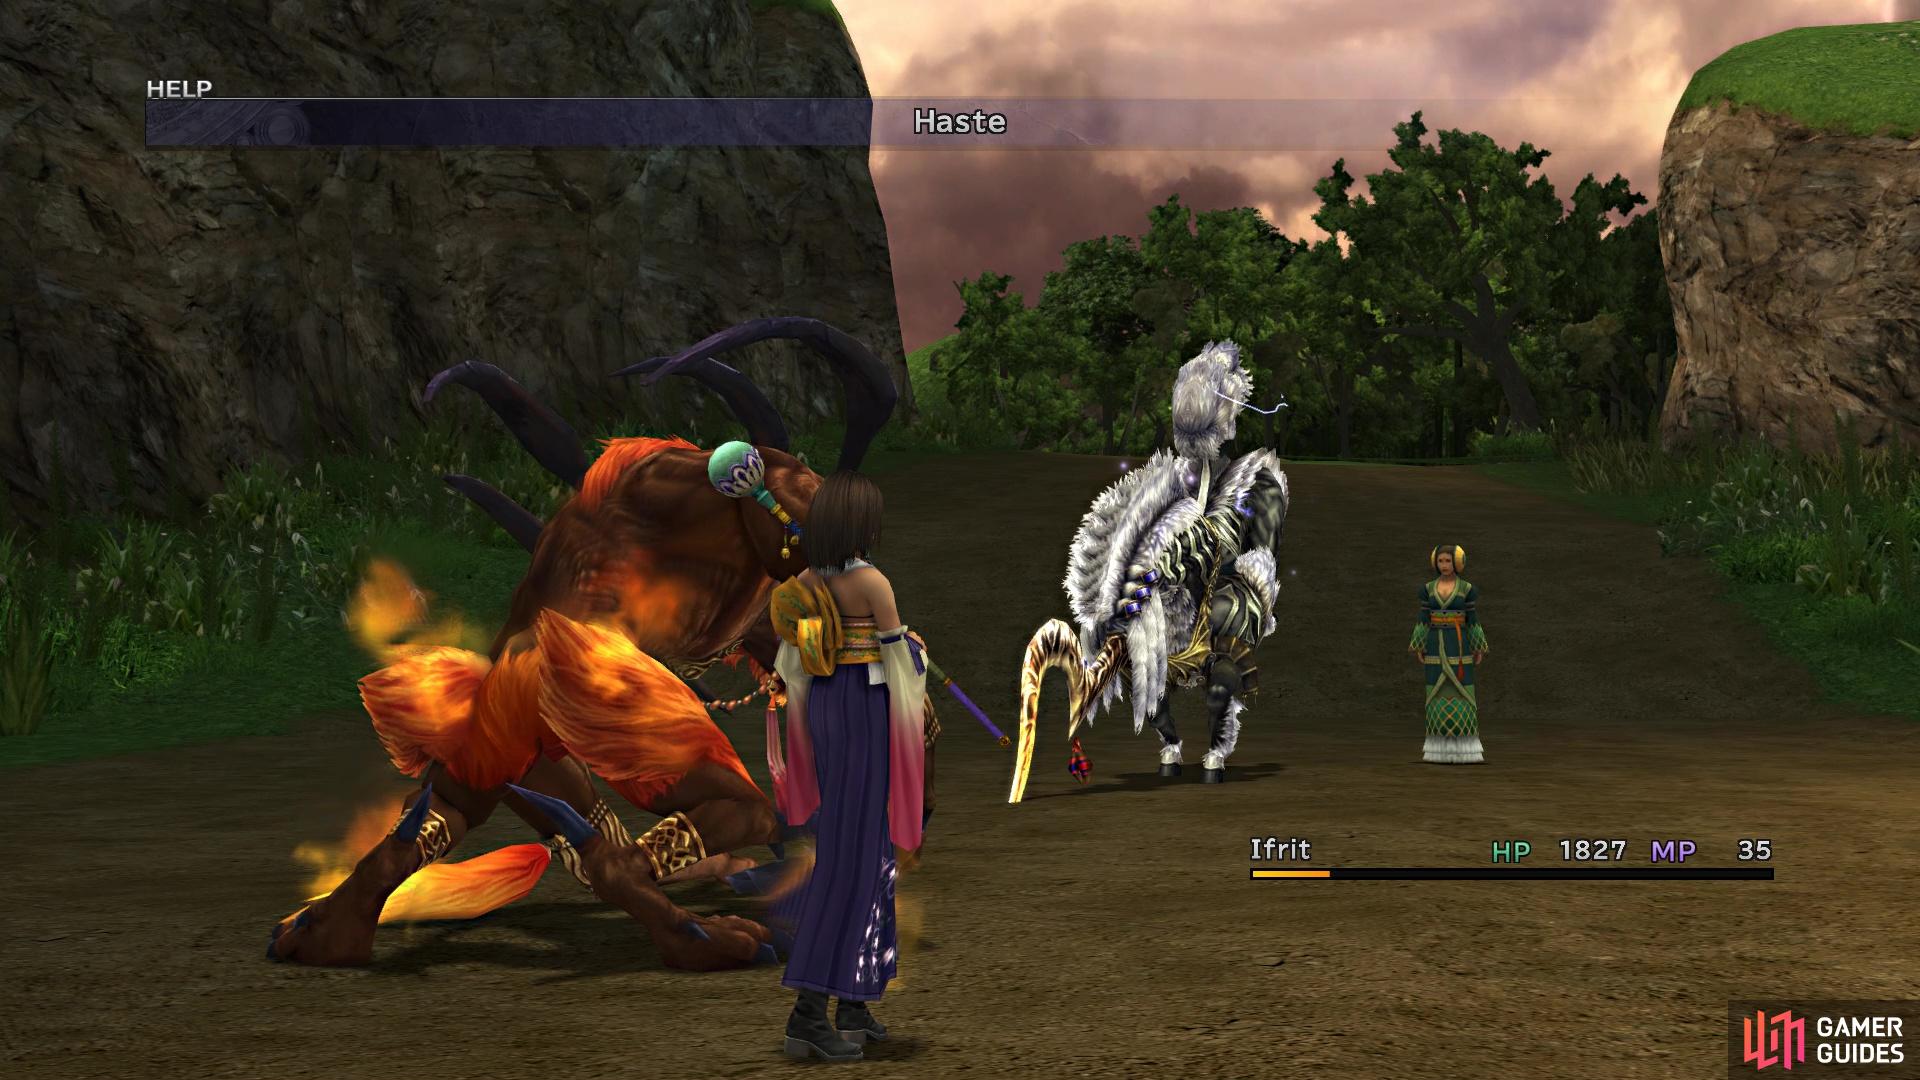
At 50% health, Ixion will use Haste, so it will get a lot of turns
For winning the battle against Ixion, you will receive two Dragon Scales, but if not, you only get six Smoke Bombs. No matter if you win or lose, Belgemine will hand over the Summoner’s Soul item, allowing you to expend items in order to teach Aeons new abilities. Note every single Aeon will be able to learn every ability, but it is nice to eventually be able to have more powerful abilities over their original set. Unfortunately, you likely won’t have any good abilities to set on Aeons right now.
When you regain control, head north and on the minimap, you should see a little path to the left, north of Belgemine. At the end of this path will be a chest that has a Magic Def Sphere inside. Continue north and to the next screen, where there will be a scene, then you will be able to reach the rest area.
No Comments