
| Enemies | HP | Notes |
|---|---|---|
| Achelous | 5,100 | Absorbs Water |
| Ahriman | 2,800 | Flying |
| Bandersnatch | 1,800 | Evasive |
| Bashura | 17,000 | Be careful of counterattack state |
| Behemoth | 23,000 | Kimahri can learn Mighty Guard |
| Dark Flan | 12,800 | Use Armor Break; Kimahri can learn White Wind |
| Grendel | 9,500 | Armored |
| Maelspike | 10,000 | Absorbs Water |
| Mandragora | 31,000 | Be careful of Ochu Dance at low health; Absorbs Water |
| Mech Defender | 8,700 | Use Steal |
| Mech Leader | 3,700 | Use Steal |
| Nidhogg | 2,000 | Armored |
| Splasher | 2/4/600 | Absorbs Water |
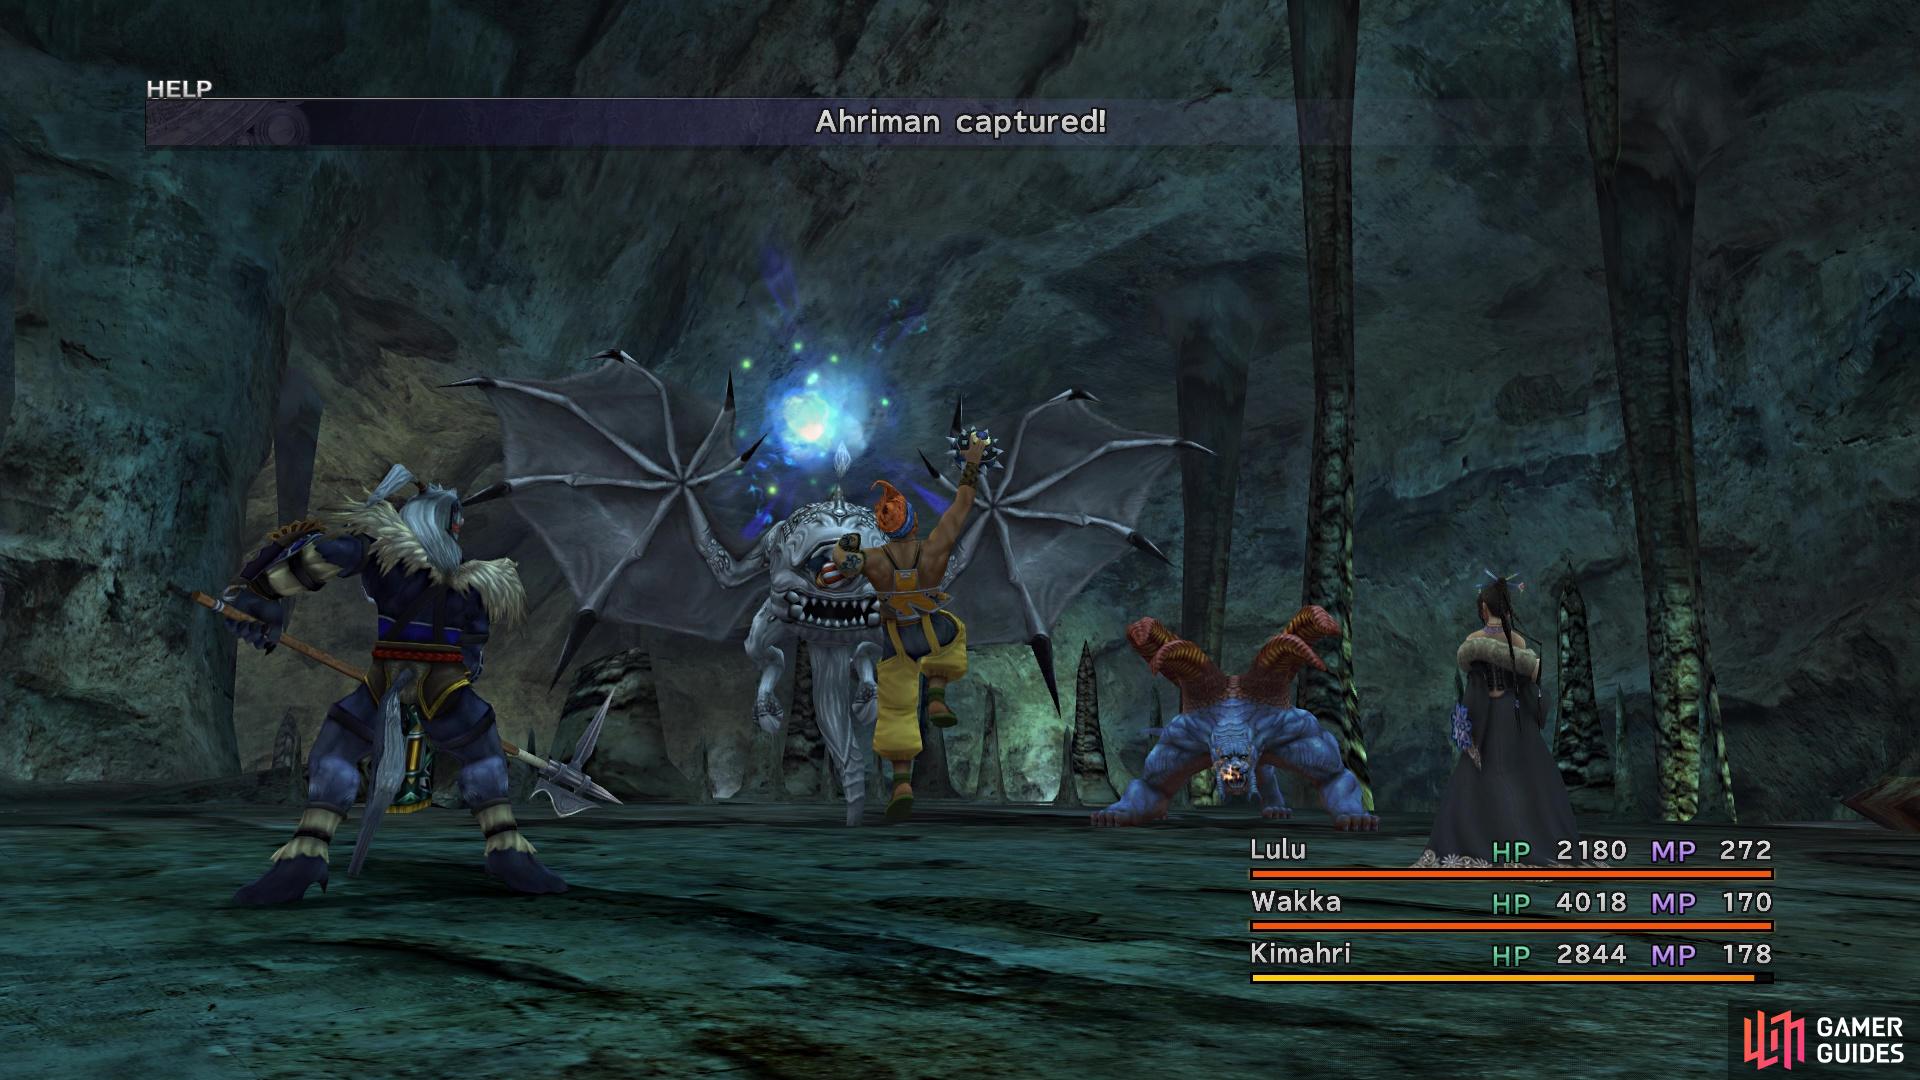
It’s a good idea to get started on capturing as soon as possible
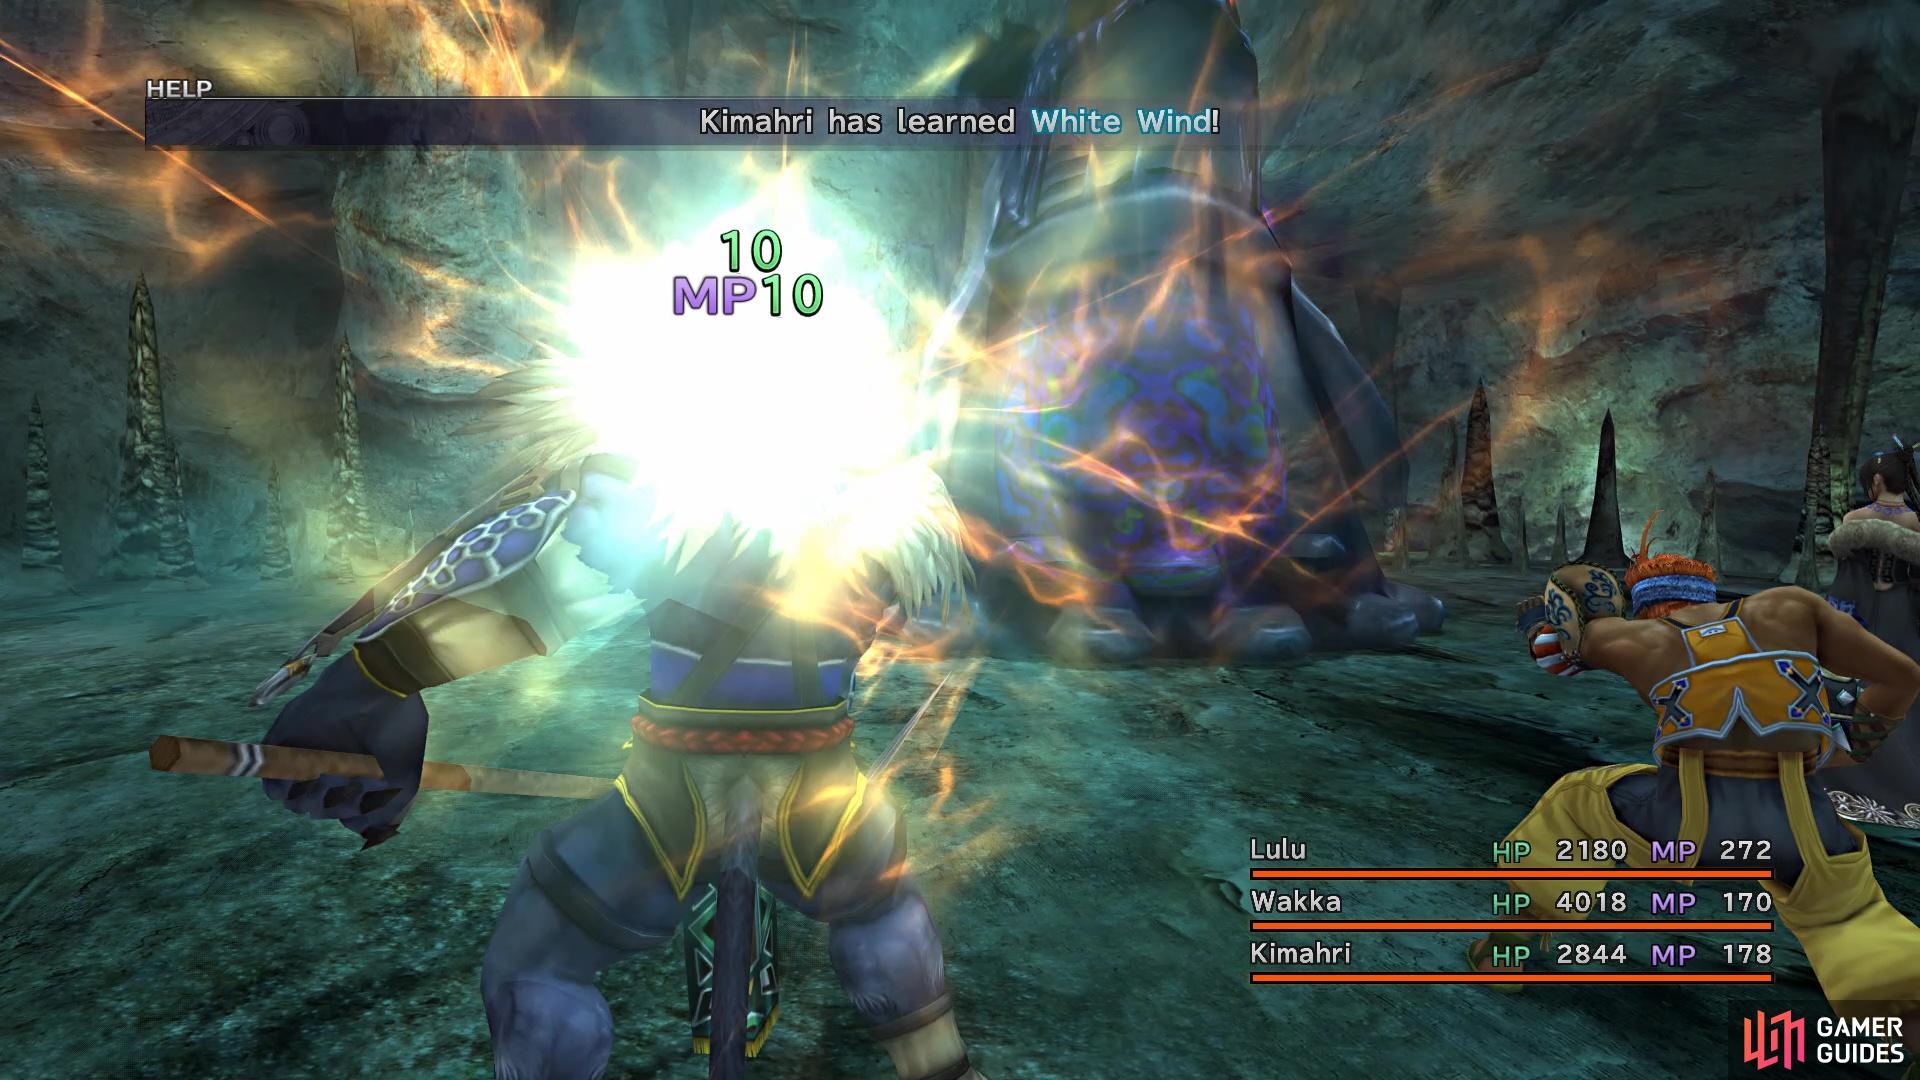
Kimahri can learn White Wind from the Dark Flan
The caves on Mount Gagazet has a few enemies from the outside portions, but there are plenty of new fiends in here. For Dark Flans, use Armor Break to reduce its defense to nothing, then you can follow up with normal attacks. Behemoths are strong, but can be dispatched with anything. Mandragoras are probably the biggest problem, especially at low health, as Ochu Dance can inflict a variety of ailments. The Ahriman can confuse a character with its normal attack, like all other flying eye fiends. Once inside the caves, follow the path before you until you reach a Save Sphere.
This Save Sphere is a crossroads for many different paths you will be taking, so make note of it. There will be a path to the left of the Save Sphere, which is the only way you can go right now. You will come to some water, which means you will be taking Tidus, Wakka and Rikku for the time being. That means you will be without Yuna acting as your healer, but Rikku has Use and you should hopefully still have a healthy supply of Al Bhed Potions in your inventory. Once in the water, swim forward and ignore the path off to the right, as it leads to a dead end that has nothing, although you can see some chests across a gap you won’t be able to cross.
It will take a few tries to strike the core in the first trial
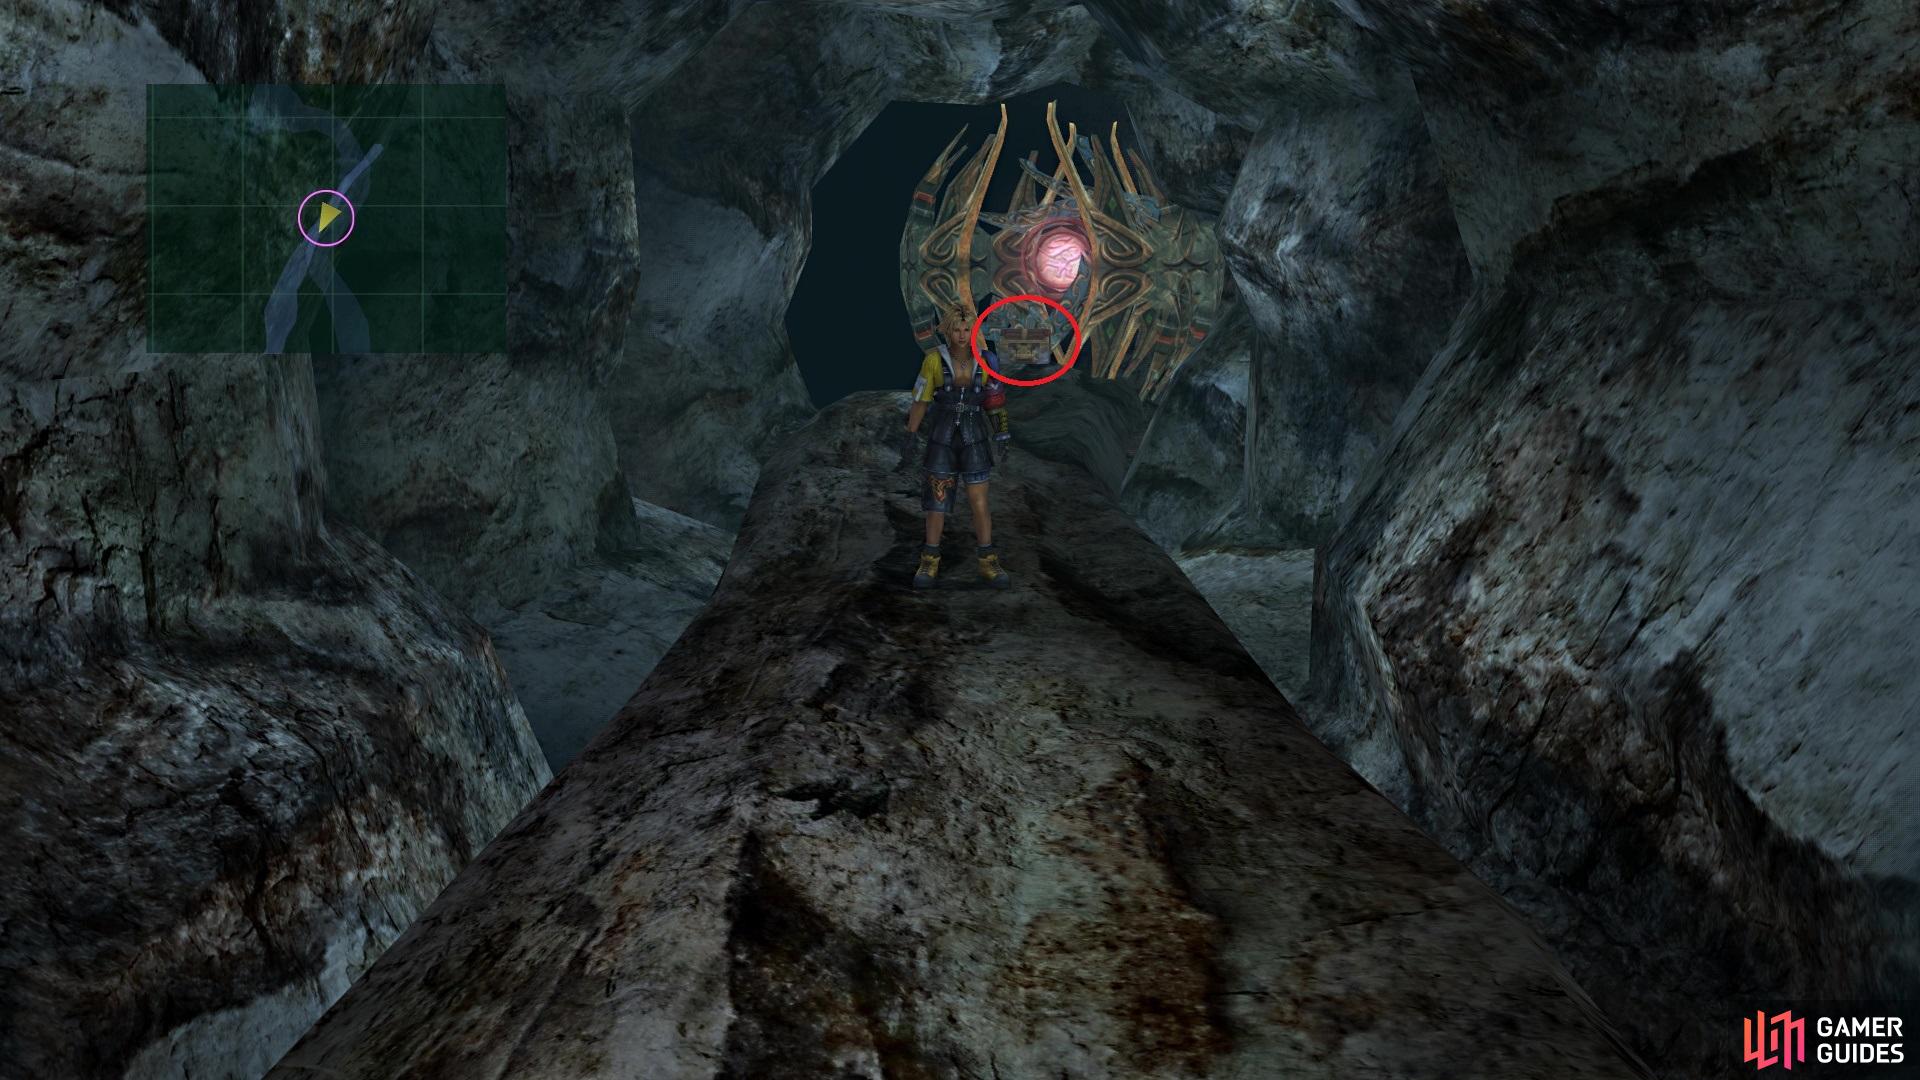
Don’t forget to open the chest after completing the trial
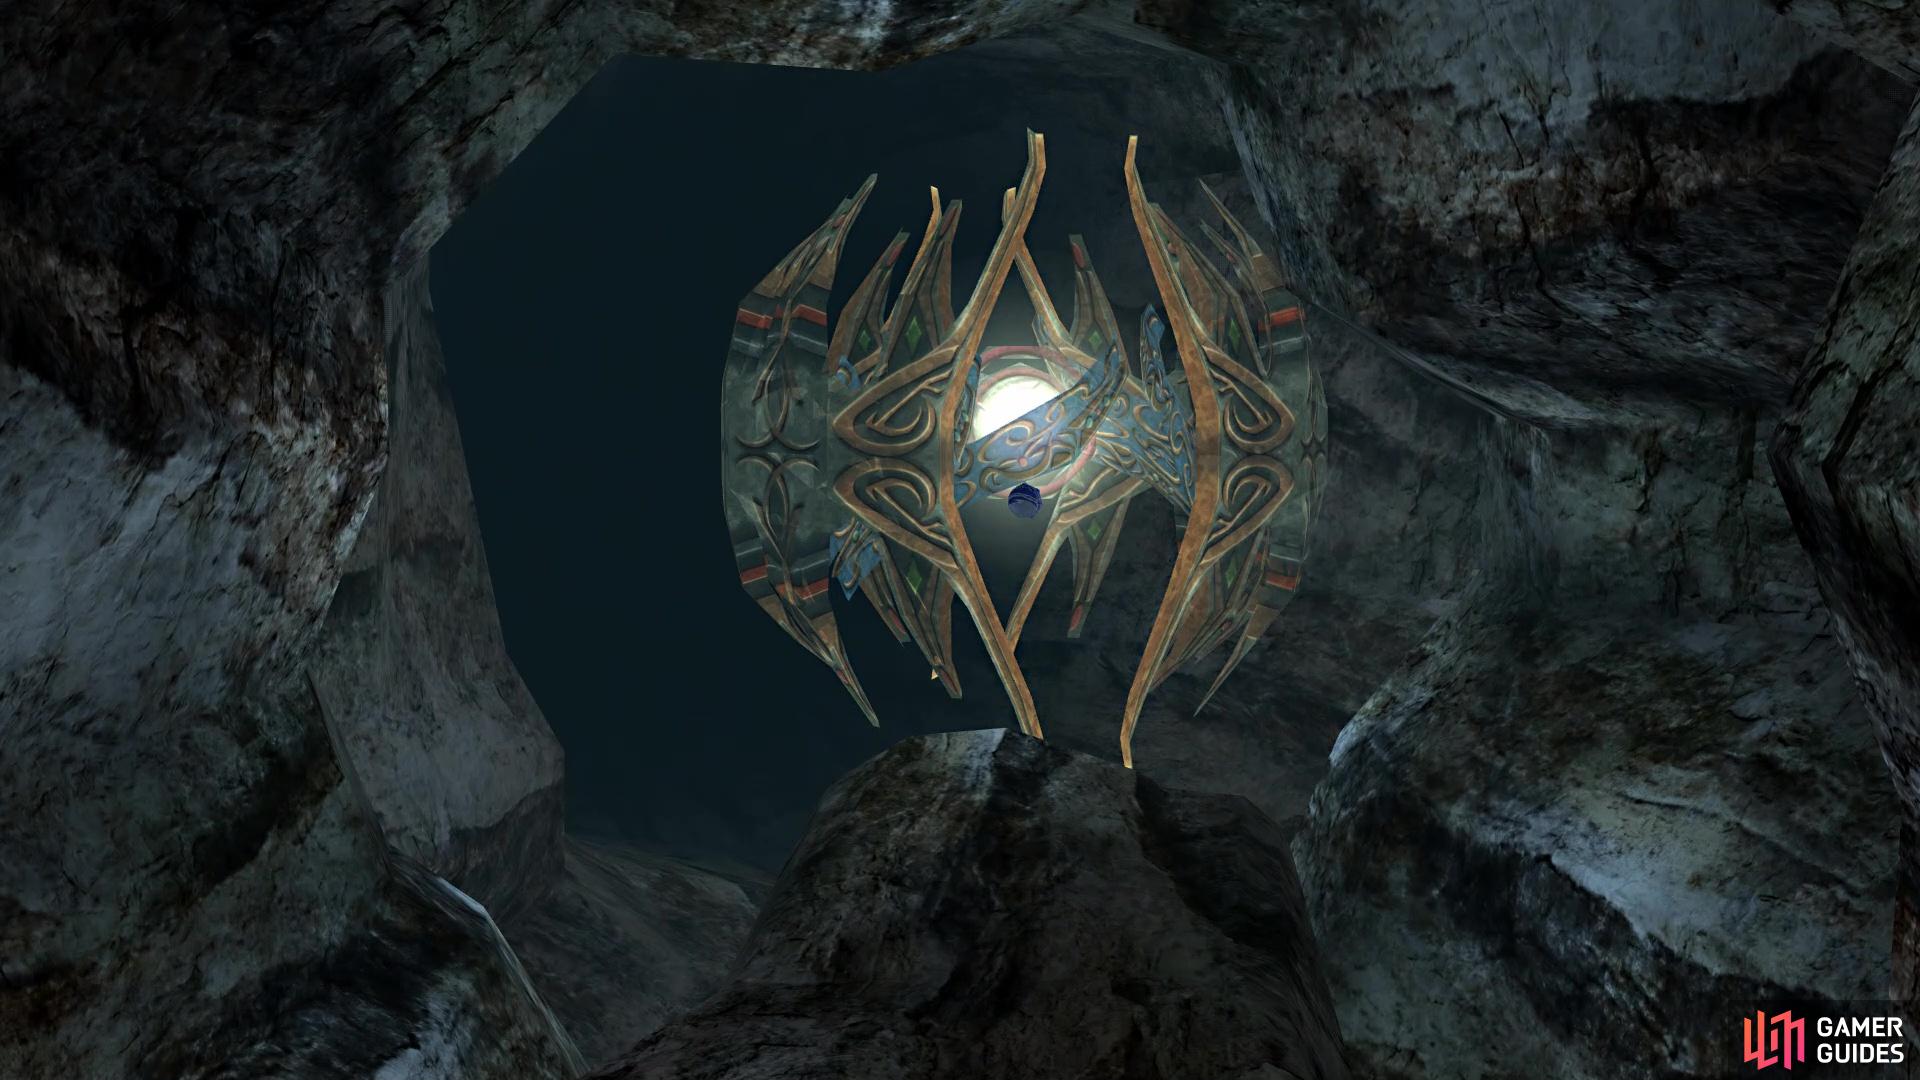
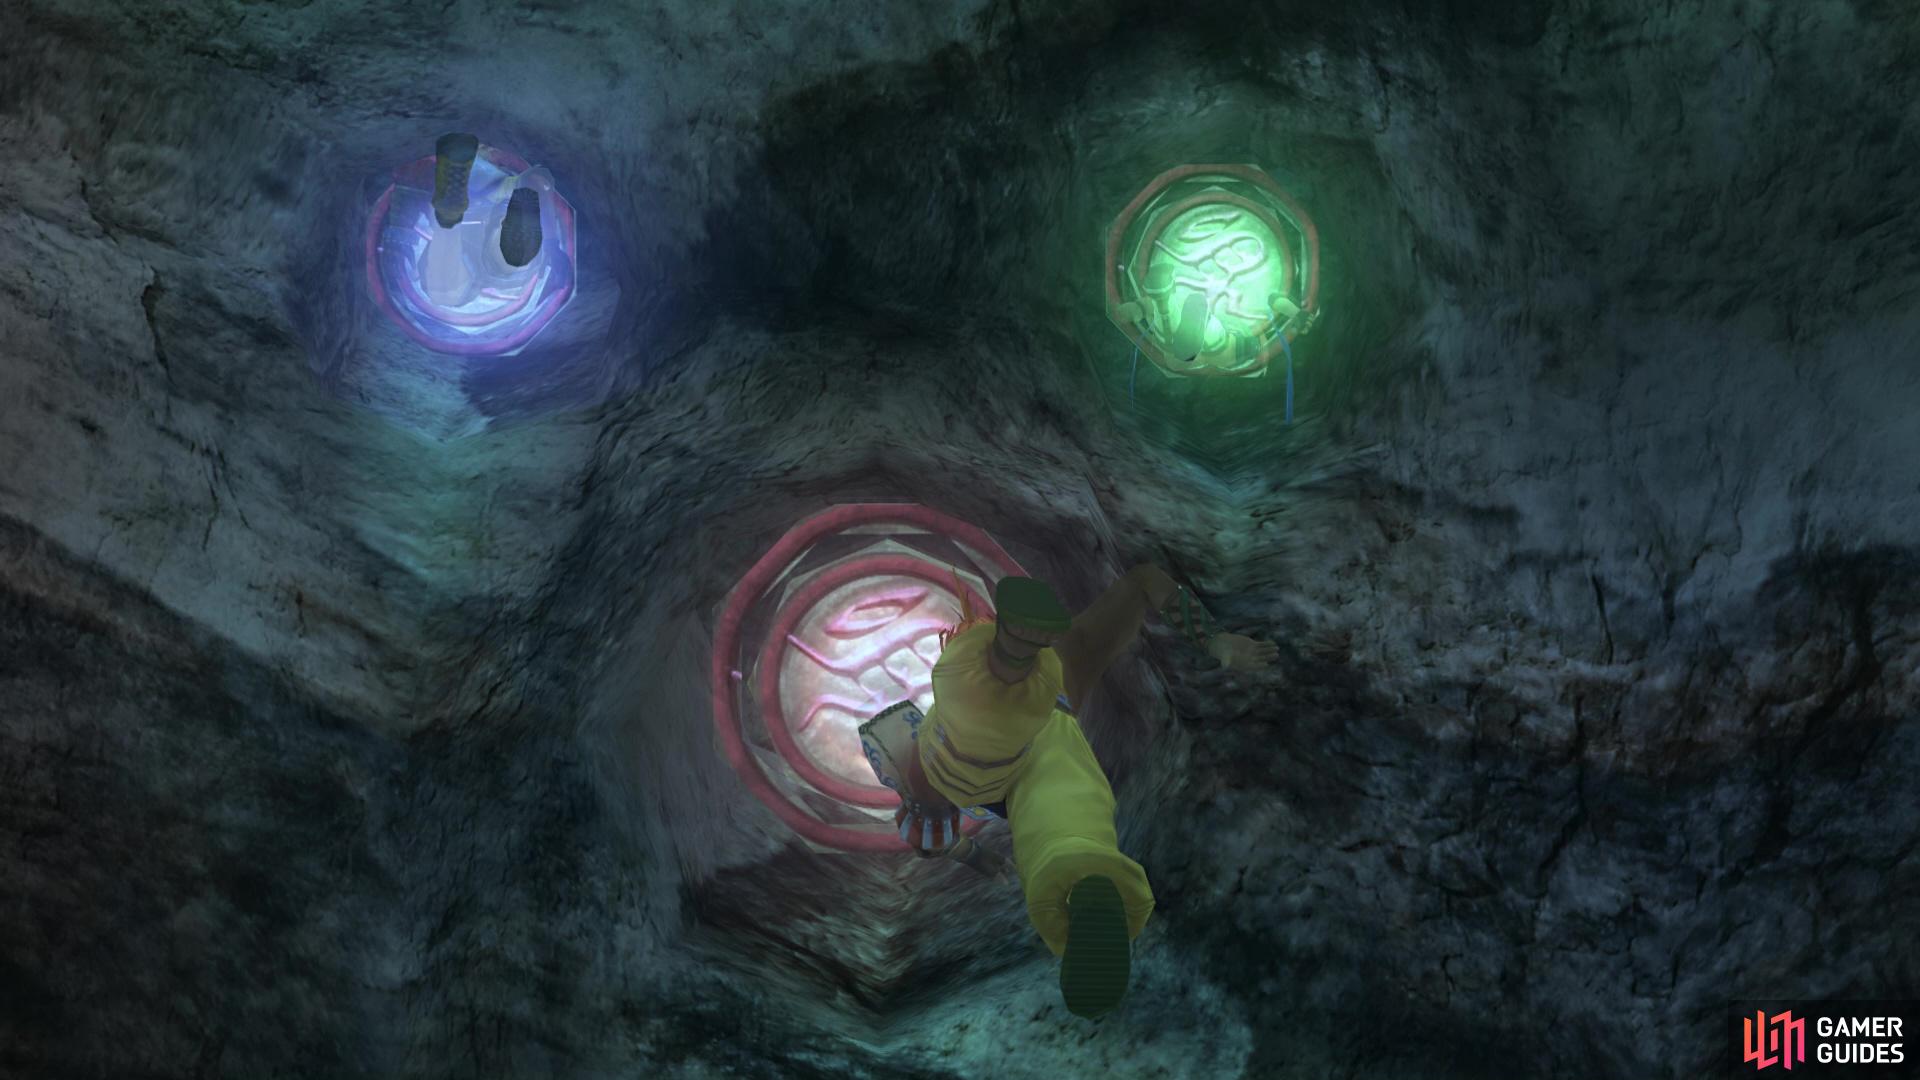
At the end of the path, you will see something spinning and the game will call it the First Trial of Gagazet. You basically have to time a button press to allow Wakka to toss a ball at the core ahead. However, you have two layers spinning about that will block Wakka’s ball. It will take a few tries in order to hit the center and sometimes it looks like nothing was blocking the ball. Once you hit it, a chest will spawn right in front of the contraption, so loot it for a Lv. 1 Key Sphere. You’re done here, so return to where the Save Sphere was located and head up the stairs, then take the path leading north-by-northwest.
Note that the path here will diverge into one that will lead you out of the caves, but stick to the main one that will bring you to more water. The end of this watery-filled area will pit you against the Second Trial of Gagazet. Thankfully, this doesn’t require you to time a button press, but will have you assigning the characters to the panels on the wall. It may seem a little random at first, but the colors correspond to the characters’ Sphere Grid, so Rikku will be green, Tidus is blue and Wakka is red. Whenever you complete this “trial,” a chest will spawn right in front of it, in the water, so open it for a Fortune Sphere.
Return to the Save Sphere and head down the left path before the stairs, stopping at the little alcove before you dip your feet in the water. The hole is now filled, so step into the alcove to find a chest, which contains a Pep Talk armor for Wakka. Up the stairs from the Save Sphere, take the path to the right and swim to the end to find those two chests you saw across the large gap earlier in the dungeon. They will contain a Return Sphere and a Recovery Ring. Back at the Save Sphere, go up the stairs and down the left path. If you’ve reached the water, you’ve gone too far. There is a path on the left side in this area you can go up, so follow it to another Save Sphere, then continue on to a boss.
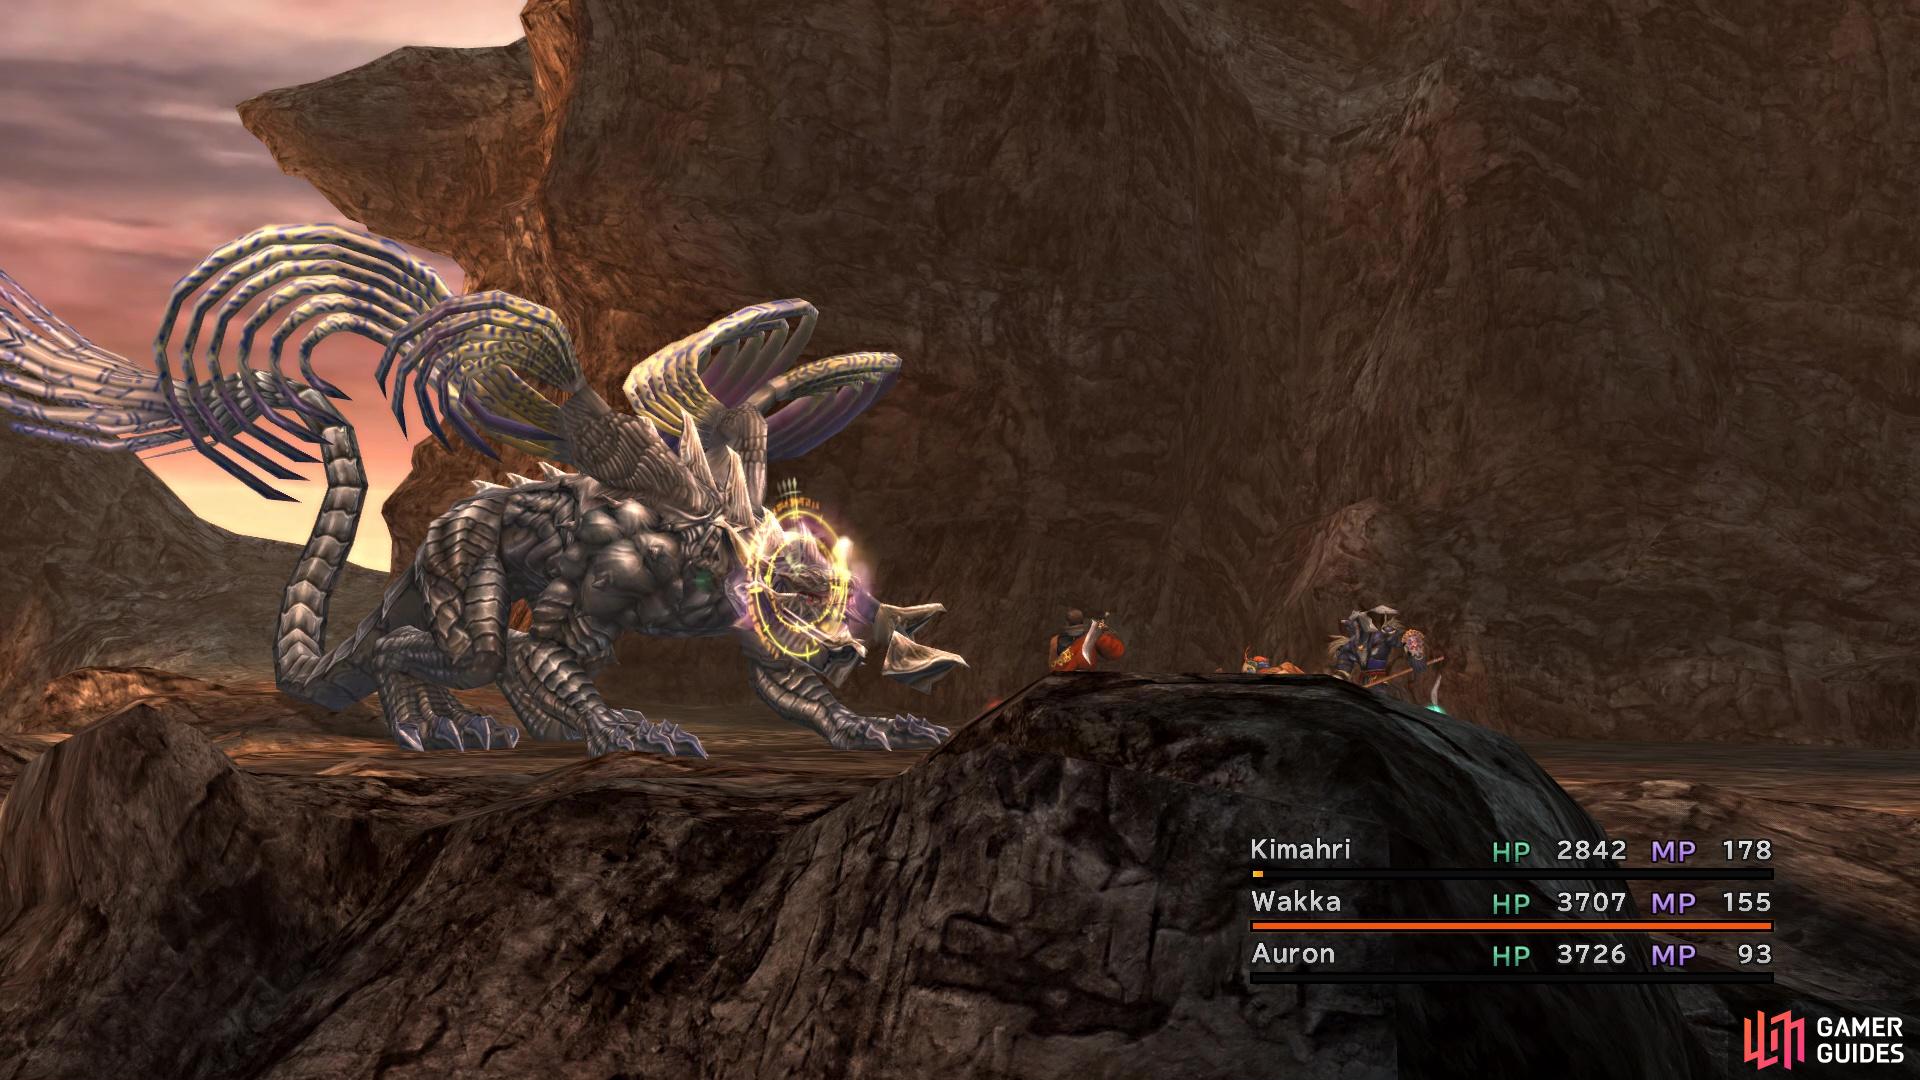
BOSS - Sanctuary Keeper
Sanctuary Keeper can be a troublesome boss, if only because of its one move, Photon Wings. It will always open with this attack, which does damage, but also inflicts Curse on your party. If you haven’t seen Curse before, it basically makes it so you can’t use your Overdrive. Aeons are susceptible to this ailment, too, so you will need to be careful. It can be removed with Dispel or a Holy Water, so it’s not all too bad. Also, in addition to Curse, Photon Wings may inflict Confusion, Darkness, Silence and Sleep. The best thing to do, at the start of the battle, is bring in Yuna (if she’s not) and have her summon an Aeon to take Photon Wings.

Use a summon to block Photon Wings at the beginning of the fight
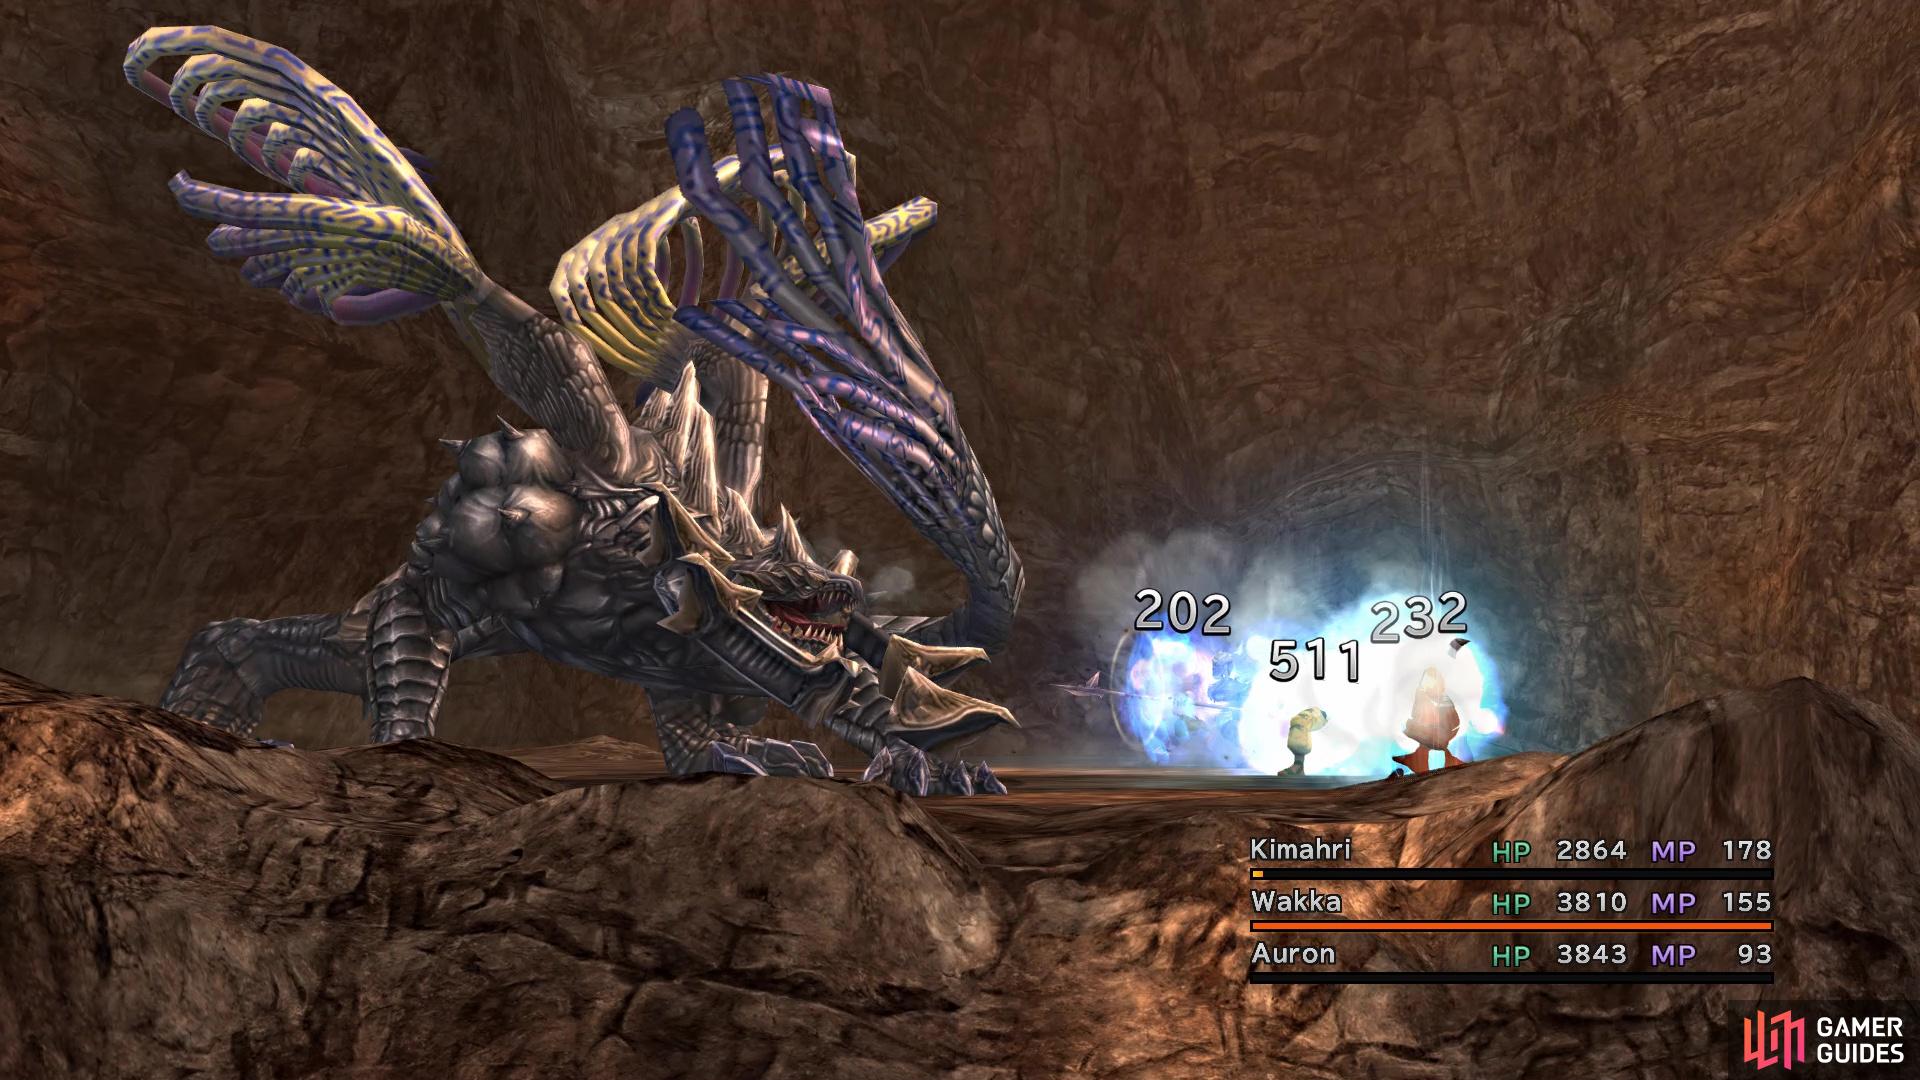
The boss will eventually counter with Tail Sweep
While it may get Cursed, it will be immune to the other ailments and you’ll save yourself from the headache. After using Photon Wings, it will use two normal attacks, then follow those up with Mana Breath, which hits a single character. The rest of the battle is a little weird, as the boss is able to cast Protect, but only if you use Armor Break on it. Likewise, if you inflict Darkness or Poison on Sanctuary Keeper, it can use Esuna to get rid of them. If you put Reflect on it, the boss can cast Reflect on one of your characters, then bounce the good spells off of them and onto it.
Note that the boss has access to Curaga, meaning it can heal itself; it can also use Regen and this should be Dispelled. As you attack the Sanctuary Keeper, there is a chance that it will counter with Tail Sweep and it gets to a point where the counter eventually comes out. This deals damage, can Delay character turns and it removes Haste. Lastly, if you put Slow on the boss, then it will counter this by casting Haste on itself. As you can see, there are a plethora of buffs it can use, plus Photon Wings can place a good number of ailments on your party.
Since Sanctuary Keeper is a bit preoccupied at the beginning of the battle with a script, you can use that time to set up. It’s a good idea to use an Aeon as a meatshield for Photon Wings, then spend the next three turns buffing your party. A Rikku Mix of a Mighty Guard variant is good, as is Kimahri’s Mighty Guard Ronso Rage. Putting Reflect on the boss is a good idea, though, to prevent it from buffing itself. While Reflect is active, you can use something like a Silver Hourglass to inflict Slow, causing the boss to reflect its Haste onto one of your characters. Note that the boss is not immune to Threaten and Shiva’s Heavenly Strike inflicts Threaten.
If using Reflect, an item can be used to inflict Slow
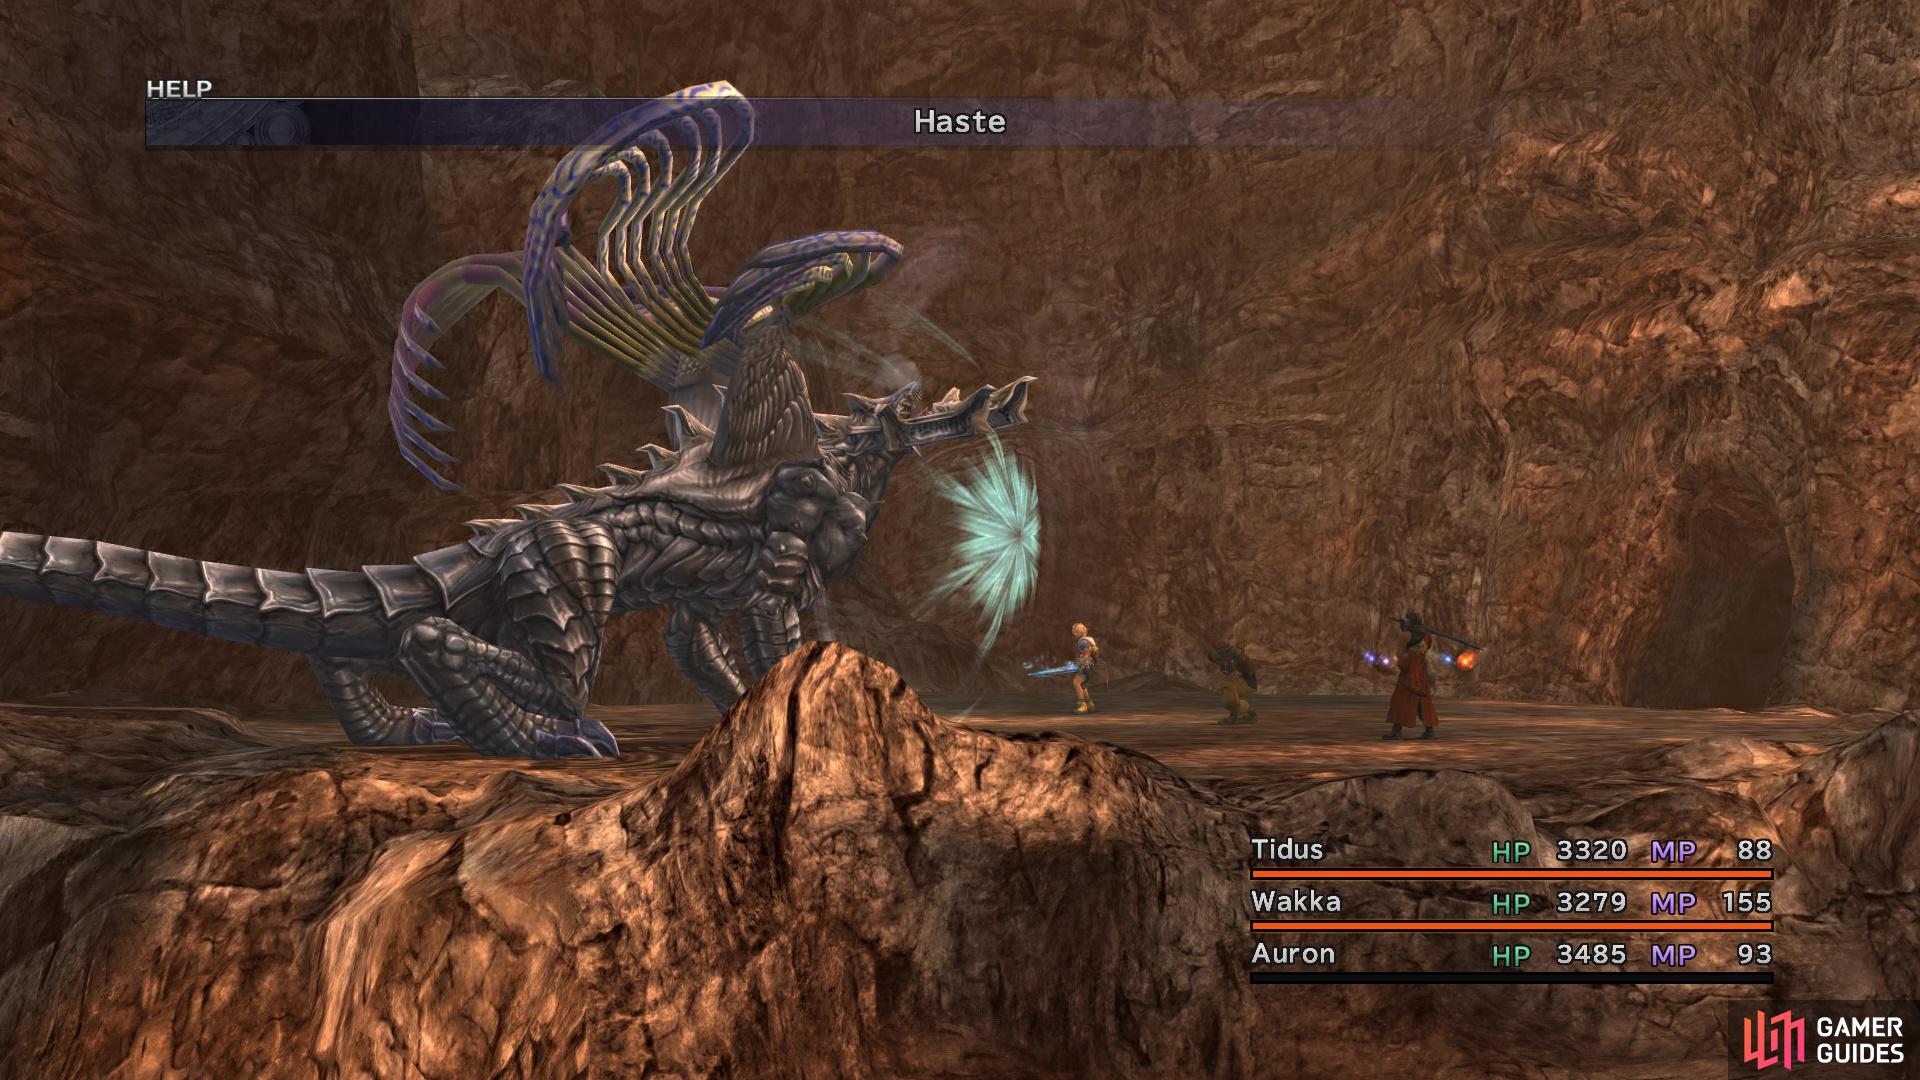
which gets the boss stuck in a loop trying to Haste itself
After defeating the Sanctuary Keeper, follow the trail behind it until you trigger a scene, then check the sphere that is on the ground for another. Keep going after that for one more familiar scene, then you will be right in front of the exit leading to Zanarkand.
No Comments