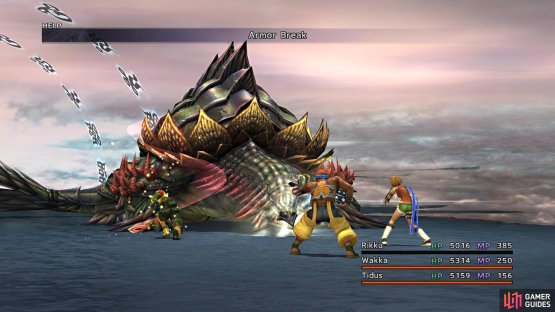
Upon defeating [Overdrive Sin], you will land in an area that has a Save Sphere right in front of you. Exit to the south to arrive in the Sea of Sorrow area, which is a large section that doesn’t have a traditional minimap, like the majority of other areas. You see, as you explore the Sea of Sorrow, the minimap will be filled in, so you will be wandering around and possibly get lost. There are new enemies you will encounter here, including some nasty ones. The Exoray will counter physical attacks with Pollen, which can inflict Poison, Silence and Darkness. The Adamantoise has a lot of HP, as well as the armored status, so use Armor Break before you begin really fighting it.
(1 of 2) Armor Break becomes very important in this dungeon
Armor Break becomes very important in this dungeon (left), The Geminis’ Reaper attack hits the entire party (right)
Gemini (Club) and Gemini(Sword) are always fought in pairs, and they can hit the entire party with Reaper. Concentrate on one of them after using Armor Break. The worst enemy in this area is definitely the Behemoth King, as it is both strong and has a lot of HP. However, the reason it is dangerous is because it will use Meteor as a dying attack, dealing major damage to the party. You can prevent this from happening if you either deal the final blow with a Capture weapon, or from a counterattack. Of course, the Capture weapon method stops working after capturing the tenth one. Also, Meteor is a physical attack, so Protect works, as well as defending. Lastly, you can have one member escape from the battle, which will ensure you will not game over if the other two get KO’ed.
Sea of Sorrow
Before diving into the specifics, there are two waterfalls in this area that block off your progress, meaning you will have to take the long way around. When you reach the first split, you can head either way around it, although you might see one of the two chests blocked off by the waterfalls mentioned before. Once the paths merge again, head west and then south. There will be a little path leading northwest or so, bringing you to a chest with a Phantom Ring inside it. Return to the main path and continue south, bringing you to the first waterfall you saw and a chest, containing a Special Sphere.
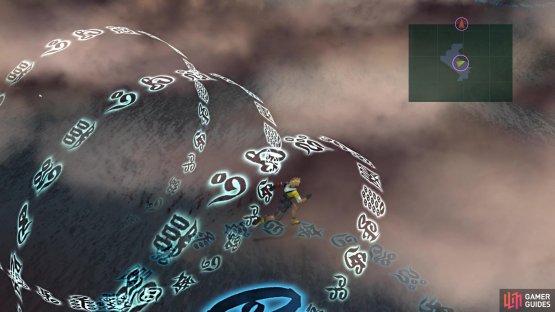
(1 of 2) The map will be uncovered as you explore the place
The map will be uncovered as you explore the place (left), There are two waterfalls next to chests, meaning you’ll have to go around the long way (right)
Double back to the first chest you opened and keep going north this time, until you run into another dead end spot that has a chest (Elixir). Follow this path to the east and when it turns south, continue south until you run into a chest at the top of a second waterfall (Wizard Lance). Return a little north and there will be one final path heading eastish, with one final chest that contains a Lv. 3 Key Sphere. The path beyond that chest will lead you to a Save Sphere. Save your game and go up the stairs for a boss fight.
BOSS - Seymour Omnis
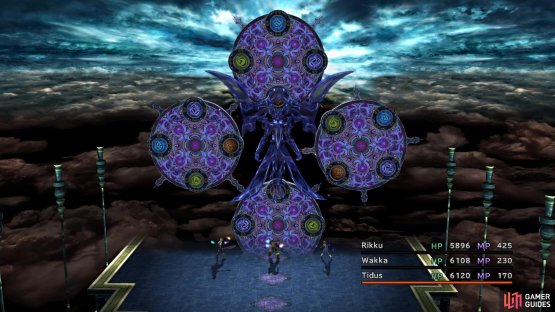
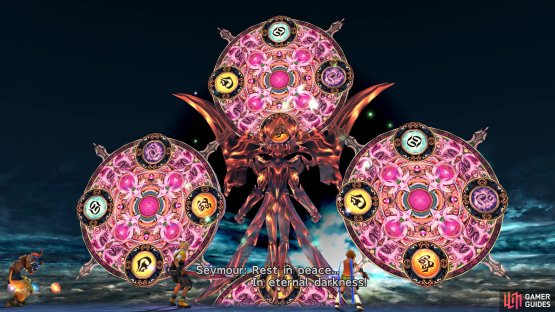
This is the final bout with Seymour and he can definitely be challenging. Behind Seymour, there are four discs called Mortiphasms, that don’t attack and have four colored circles on them. The colored circle closest to Seymour will determine the level of spells he will cast on the party, as well as his elemental affinity. If there are one or two of the same element facing Seymour, then he will cast the tier 2 versions of spells (-ra), while three or four will cause him to cast the tier 3 versions (-ga). On each of his turns, Seymour will cast four spells on the party, one on each party member, with the fourth one being random.
Also mentioned already is how the discs will determine Seymour’s elemental affinity, with four meaning that he will absorb that element and being weak to the opposite element. Three matching discs will mean Seymour will just absorb that element, while two matching discs means he is immune to that element, and one disc will mean Seymour halves the damage from that element. So, no matter what, Seymour will take half damage from any element at any time, meaning magic might not be the best option for this battle. You can actually manually turn the discs, though, with physical attacks turning them rotating them counter-clockwise and magical ones turning them clockwise.
(1 of 2) Seymour starts the fight by aligning all discs to fire
Seymour starts the fight by aligning all discs to fire (left), Hitting the discs will cause them to rotate (right)
Of course, the Mortiphasms are out of range of melee attacks, so the only one who can hit it physically will be Wakka. There is no downside, for the most part, for buffing, so Yuna’s NulElement spells can be extremely useful in this fight. At the very beginning of the battle, Seymour will make it so four fire discs will line up with him, which means that he will take his first official turn casting four Firagas on the party. So, the first order of business will be to rotate one of the Mortiphasms to avoid that fourth -ga spell. Doing the elemental spells will be the majority of offense from Seymour during this battle.
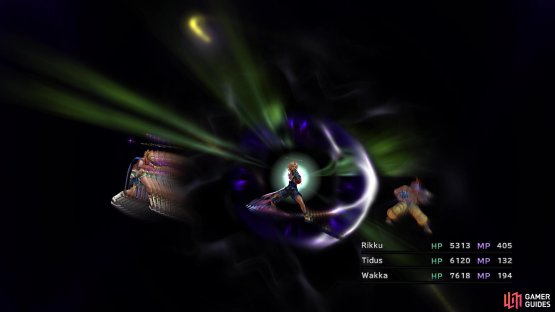
Upon attacking Seymour six times, he will glow red and cast Dispel on the entire party. The second turn after the Dispel will have Seymour cast Ultima, which can deal a good amount of damage to the entire party, so make sure you have your health above 4,000 at all times. On the turn after Ultima, Seymour will make all four Mortiphasms turn to the same element, beginning the process from the beginning. Once his health gets low enough, this Dispel -> Ultima -> Mortiphasm thing will change from six attacks to just three attacks. It should be noted that Ultima is considered special damage here and not magical, so the only real way to reduce damahe is via an Aeon’s Shield command or by using Focus.
(1 of 2) Seymour will glow red when he will use Dispel
Seymour will glow red when he will use Dispel (left), which will be followed by Ultima on his next turn (right)
Speaking of Aeons, Seymour will not use Banish on them at all, so they are free reign in this battle. In fact, the elemental Aeons can be extremely useful here, since you can make it so they absorb the element Seymour will be using. If you want to do a little armor customization, it is possible to purchase a 4-slot piece of equipment from Wantz in Macalania Woods, then place the “Eater” abilities on them (20 of their respective Gem is needed for this). Seymour can deal a lot of damage out, but his script/method of attacking is a lot easier this time.
City of Dying Dreams
Upon defeating Seymour Omnis, you will head to a new area inside Sin. You will be facing mostly the same enemies, but there are a few new monsters present here. The Barbatos can be annoying, as it has a huge HP pool and when you can get Armor Break to hit, it will counter with Mortar. The Demonolith is a nasty fiend, as it counters all attacks with Pharaoh’s Curse, which inflicts a variety of ailments. It also has a party-wide Stone Breath that has a high chance if inflicting Petrify, which can result in a game over. Having Stoneproof on armor is ideal, plus you can use Silence Buster to avoid the former counter.
The final enemy is the Great Malboro, which has the potential to use Bad Breath on the party. This is probably one of worst moves in the game, as it inflicts up to six status ailments. You can bypass this by using Provoke on the fiend before its turn comes up, which will cause it to just use a normal attack on the whole party. Once you’re done researching the enemies, follow the corridor (the map is the same as the Sea of Sorrow, in that you have to uncover it as you go) until you see a door on the right hand side. Inspecting it will reveal that you need to defeat 10 fiends in order to open it. Do this, then there will be another door behind it, revealing the same thing. In total, you will need to defeat 35 fiends in order to open three doors, with the prize being a Lv. 4 Key Sphere.
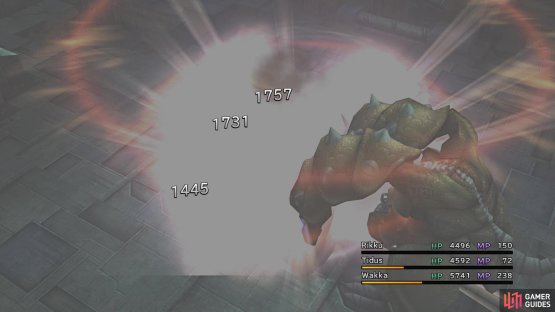
(1 of 2) Mortar can be a troublesome move to deal with sometimes
Mortar can be a troublesome move to deal with sometimes (left), The Demonolith’s Breath can easily result in a game over (right)
Whether it’s worth it or not is entirely up to you, but it is a good chance to try and capture some of the fiends here. Continue past those doors and when you see a little platform in between a gap, you should be able to step on it and have it elevate you to an upper area. There will be a chest up there that contains a Four-on-One weapon for Wakka (all four elemental strikes). Take the elevator back down and a little farther ahead will be another little platform like the previous one. Stand on it and press the confirm button to push down the column in front of you, building a bridge to another chest, this one containing some Defending Bracers.
Keep going on the main path and you will reach a semi-open area. In the middle, there is a ramp you can take down, leading to a chest with 20,000 Gil, as well as another of those platforms. Stand on it to make a pillar shoot out of the ground, taking you to a thin path. Follow this thin path to a chest (HP Sphere), as well as one more around a corner (Defense Sphere). Right next to that second chest, there is another of those platforms that will bring you back to the main area. Continue to the next area, where some pieces of wall will come out of the ground to block your way.
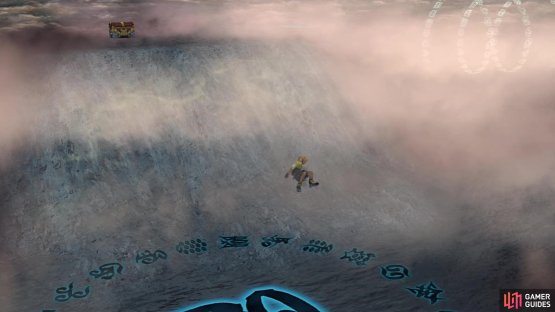
If you look at your minimap, there is a section on the southern side here, leading to a little hallway. On the backside, there is an opening you can enter that leads to a slide, bringing you to an area below. Open the chest down there for a Laevatein, then use the ledges to climb up to the top. You can exit to the north, where you will find a Save Sphere waiting for you. The exit to the left leads back to the beginning portion of the dungeon, while the wait north will lead to the final section of Sin. Note that once you touch the object on the large tower that falls, you will not be able to leave and will be stuck on the path to the final bosses.
(1 of 2) Look for this little path in the area with the walls coming from the floor
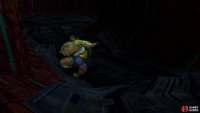
Look for this little path in the area with the walls coming from the floor (left), leading you to a slide that brings you to the lower area (right)







No Comments