
Mount Gagazet is home to the Ronsos and you’ll need to pass through here in order to reach Zanarkand. There is a boss battle coming up soon and you will be required to use only Kimahri. Having Steal on him is a good idea, as you will be able to snag some Lv. 3 Key Spheres. If you don’t, it’s not a big worry, but it will definitely help in the long run. Once you enter Mount Gagazet, go forward until you trigger a cutscene, then save your game at the Save Sphere. As you continue up the trail, you will be stopped by two of Kimahri’s old buddies, tossing you into a boss fight.
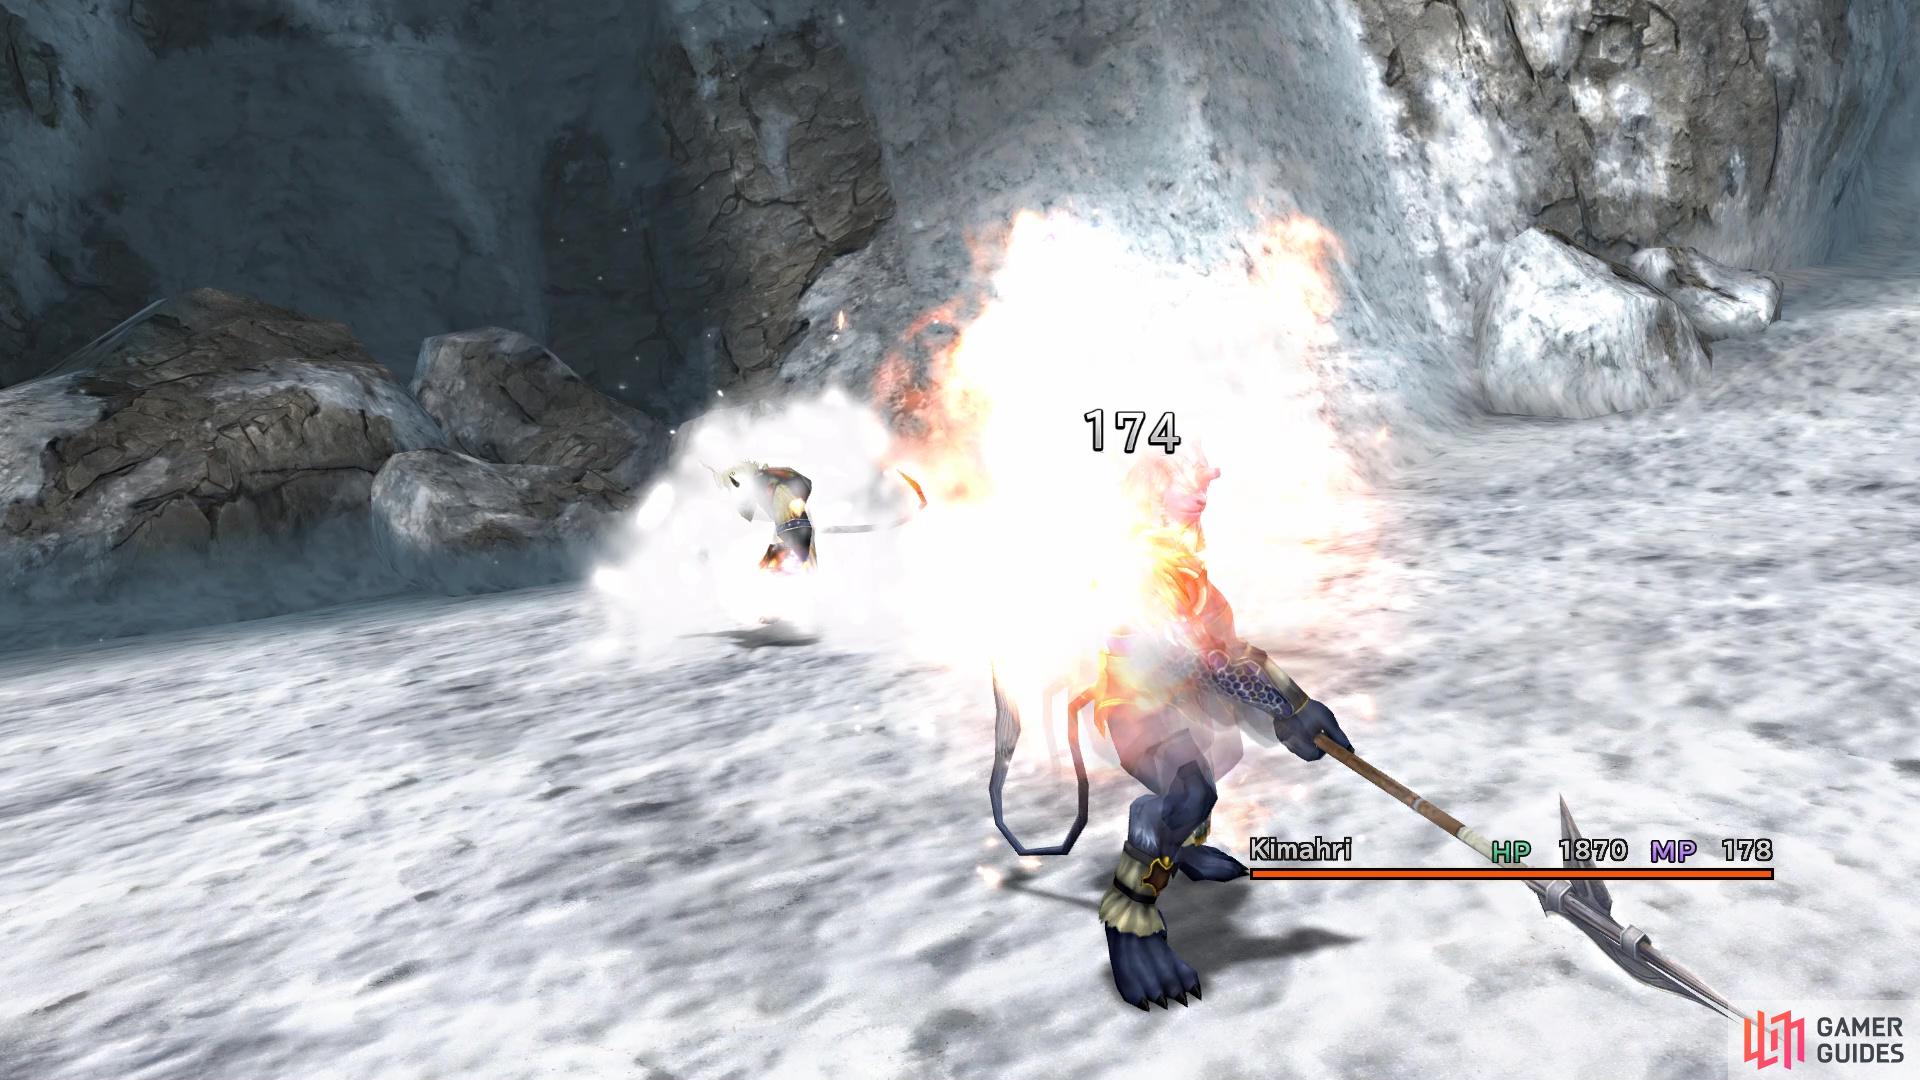
BOSS - Biran and Yenke Ronso
Before diving deep into the battle, both of the Ronsos’ stats are determined by Kimahri’s stats. Namely, their HP is determined by Kimahri’s Strength and Magic stats, while their Str/Mag is determined by his HP. Thankfully, their Strength and Magic will eventually be capped at some point, so it doesn’t matter how much HP you pump into Kimahri. However, you do want to be a little more careful about his Strength and Magic stats, as their HP can reach some higher levels and it might become a slogfest. If you haven’t been using Lancet a lot during your travels, then you may want to do it in this battle, as both Ronsos will have four Ronso Rages each.
They will separate from one another whenever they use Bulldoze
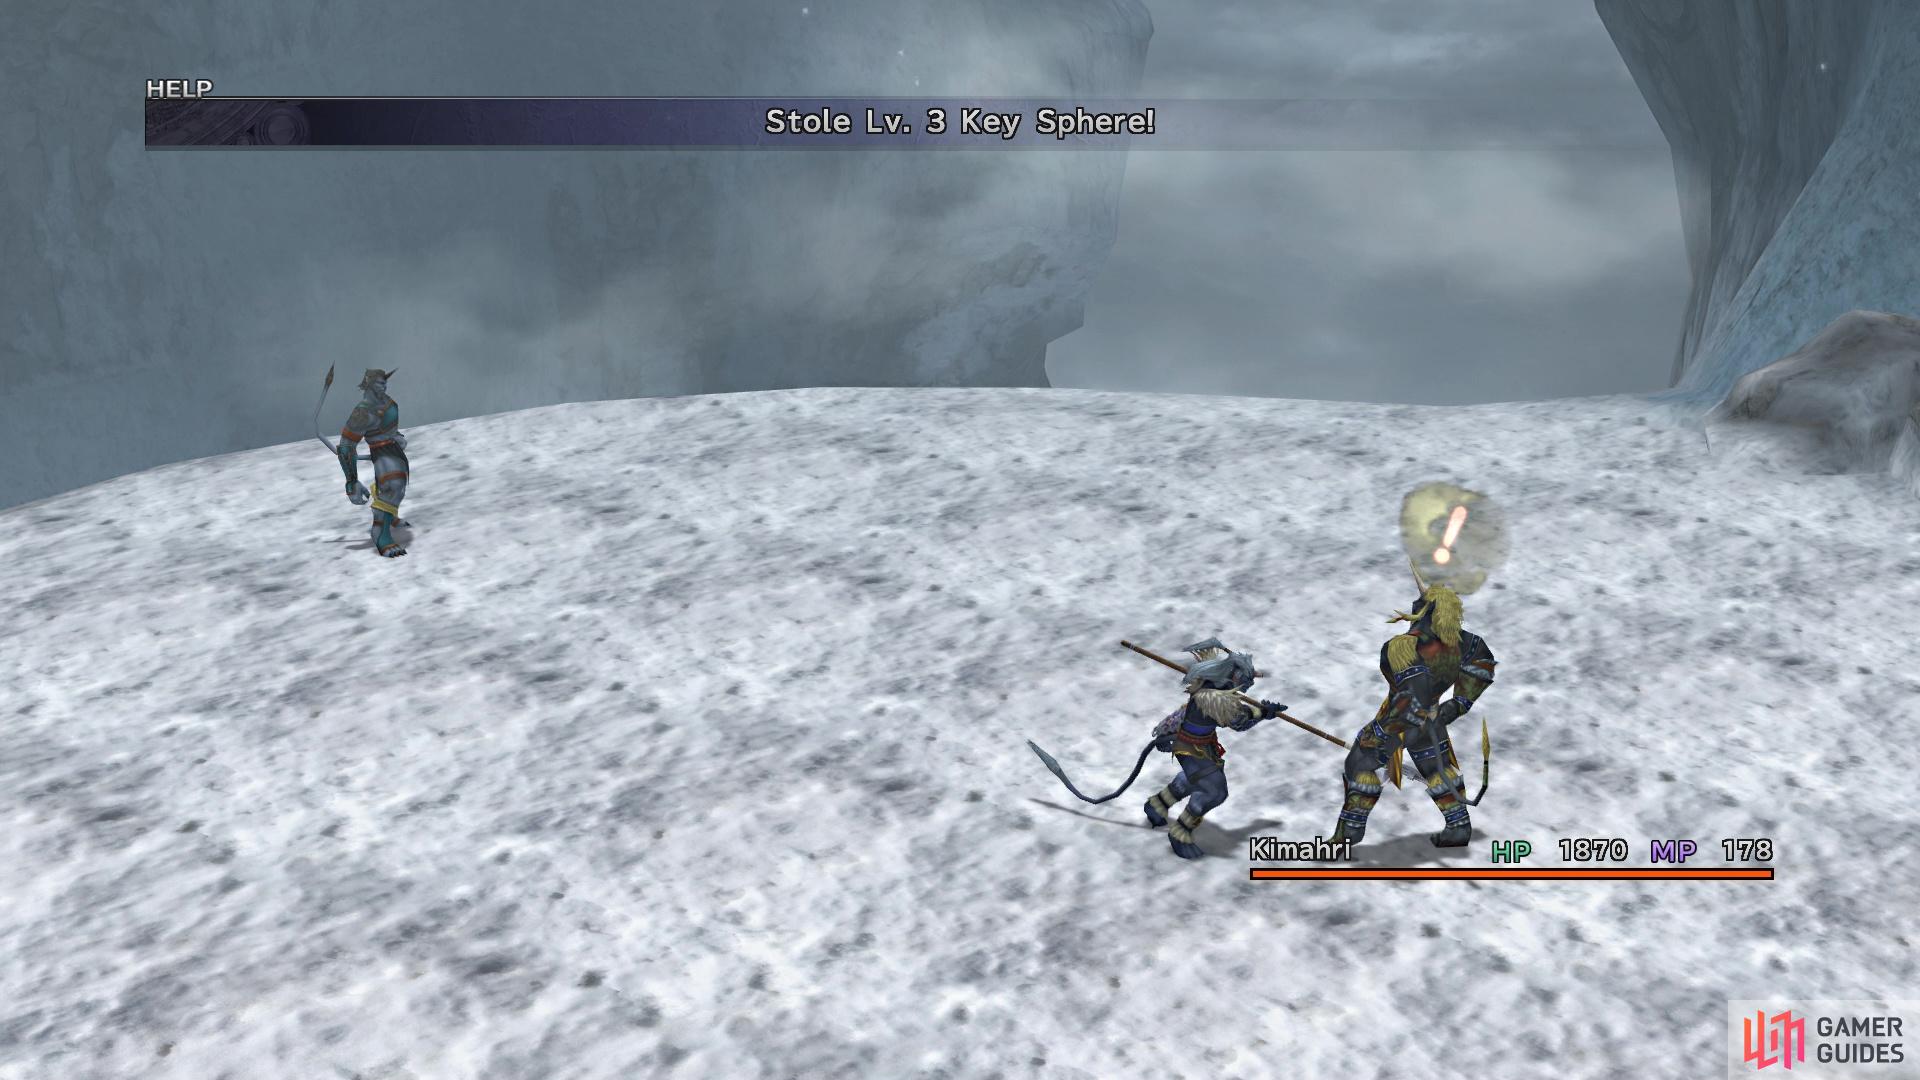
You can steal Lv. 3 Key Spheres from each of them
Biran will have Thrust Kick, Doom, Self-Destruct and Mighty Guard, while Yenke will have Fire Breath, Aqua Breath, Stone Breath and White Wind. The catch is that the last one on each Ronso’s list will require that they use them before you can learn them. They will only use them if they go under 25% HP, but you will have to keep track of a few extra things. Biran will use Berserk on himself if you happen to defeat Yenke first, so he won’t use Mighty Guard because of that. Yenke will use Haste on himself if you defeat Biran first, which shouldn’t prevent him from using White Wind, but he might only use it if both are present.
So, if you wish to learn the two better Ronso Rages, you will want to bring both of them under 25% while both are still alive (you can learn them elsewhere, so it doesn’t matter). Before moving on to the actual battle, both of the Ronsos’ common and rare steals are Lv. 3 Key Spheres, which have been a bit rare up to this point in the game, so if you have Steal on Kimahri, grab at least two each. When Biran and Yenke are together on one side, they will cover the other if you physically attack them, making you deal little damage. Throughout the battle, they will use Bulldoze to switch sides, separating themselves from one another.
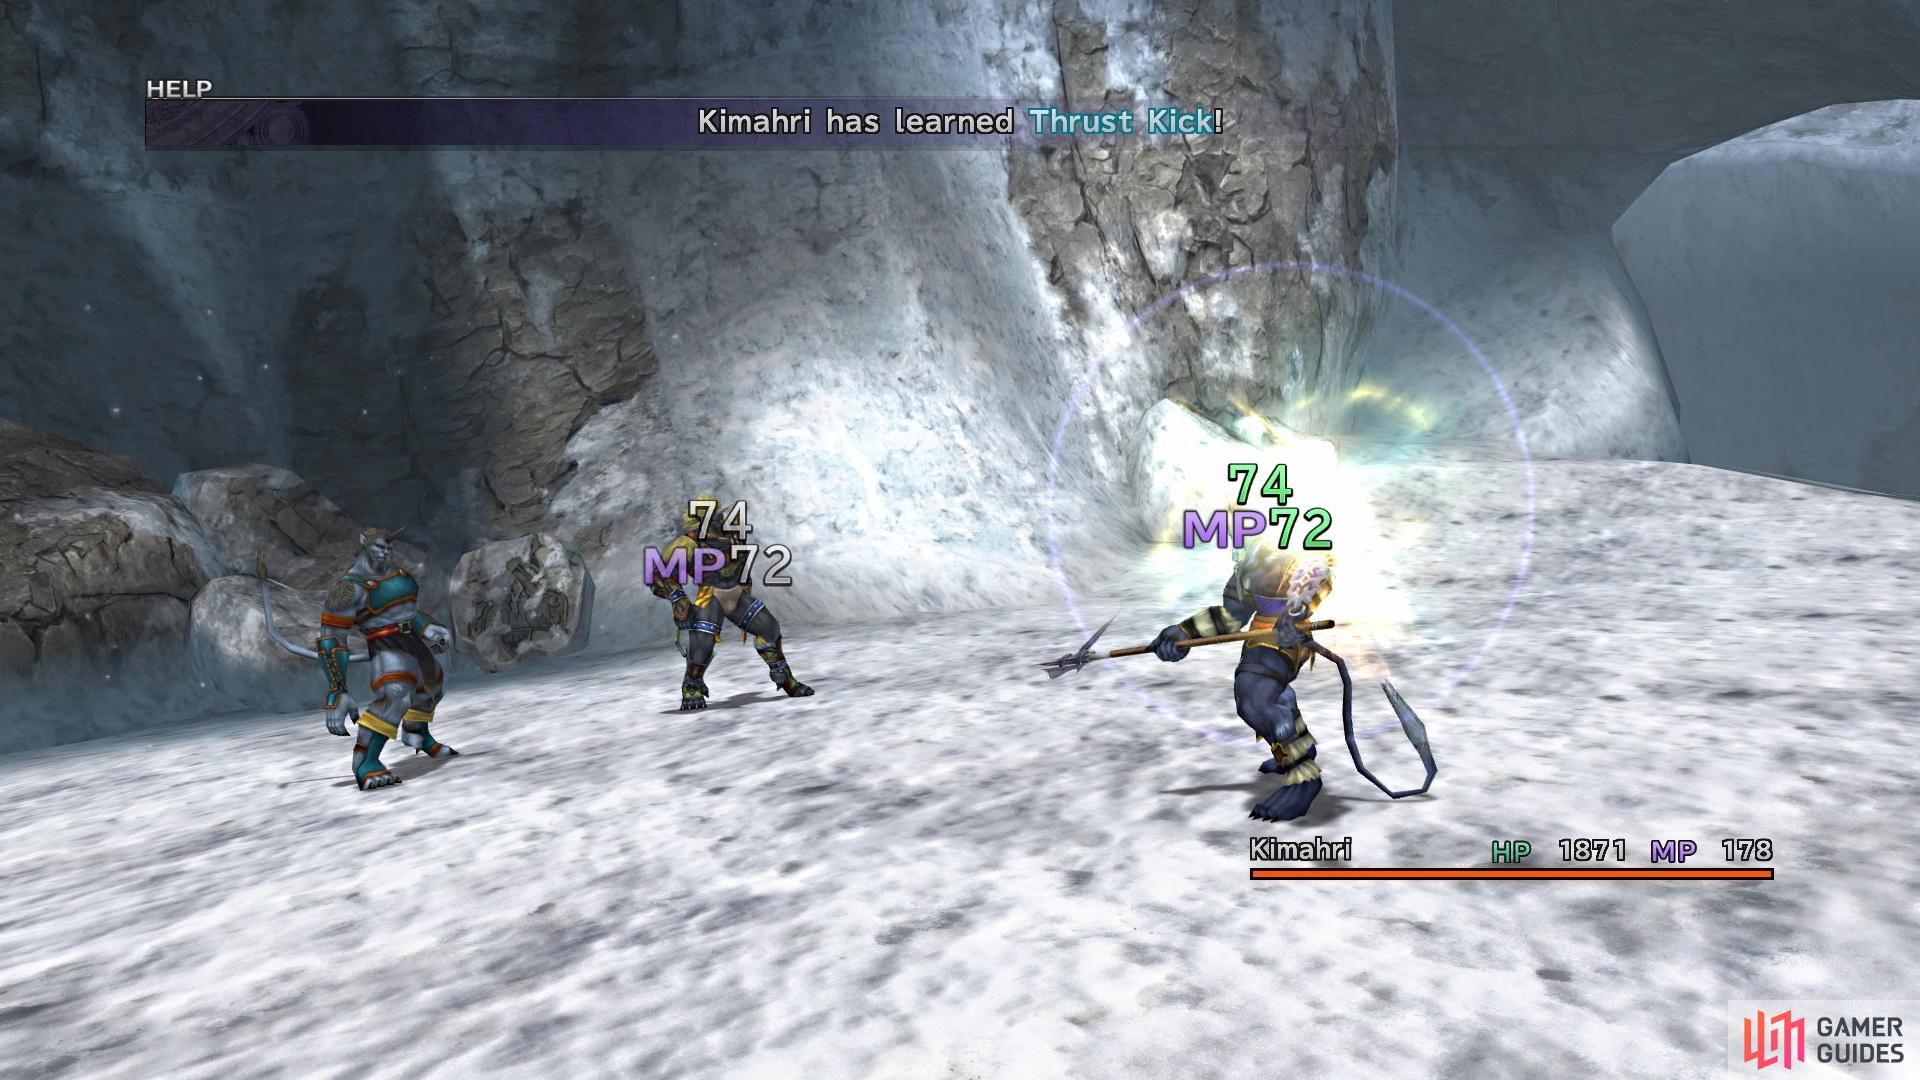
You can learn a bunch of Ronso Rages from Biran and Yenke
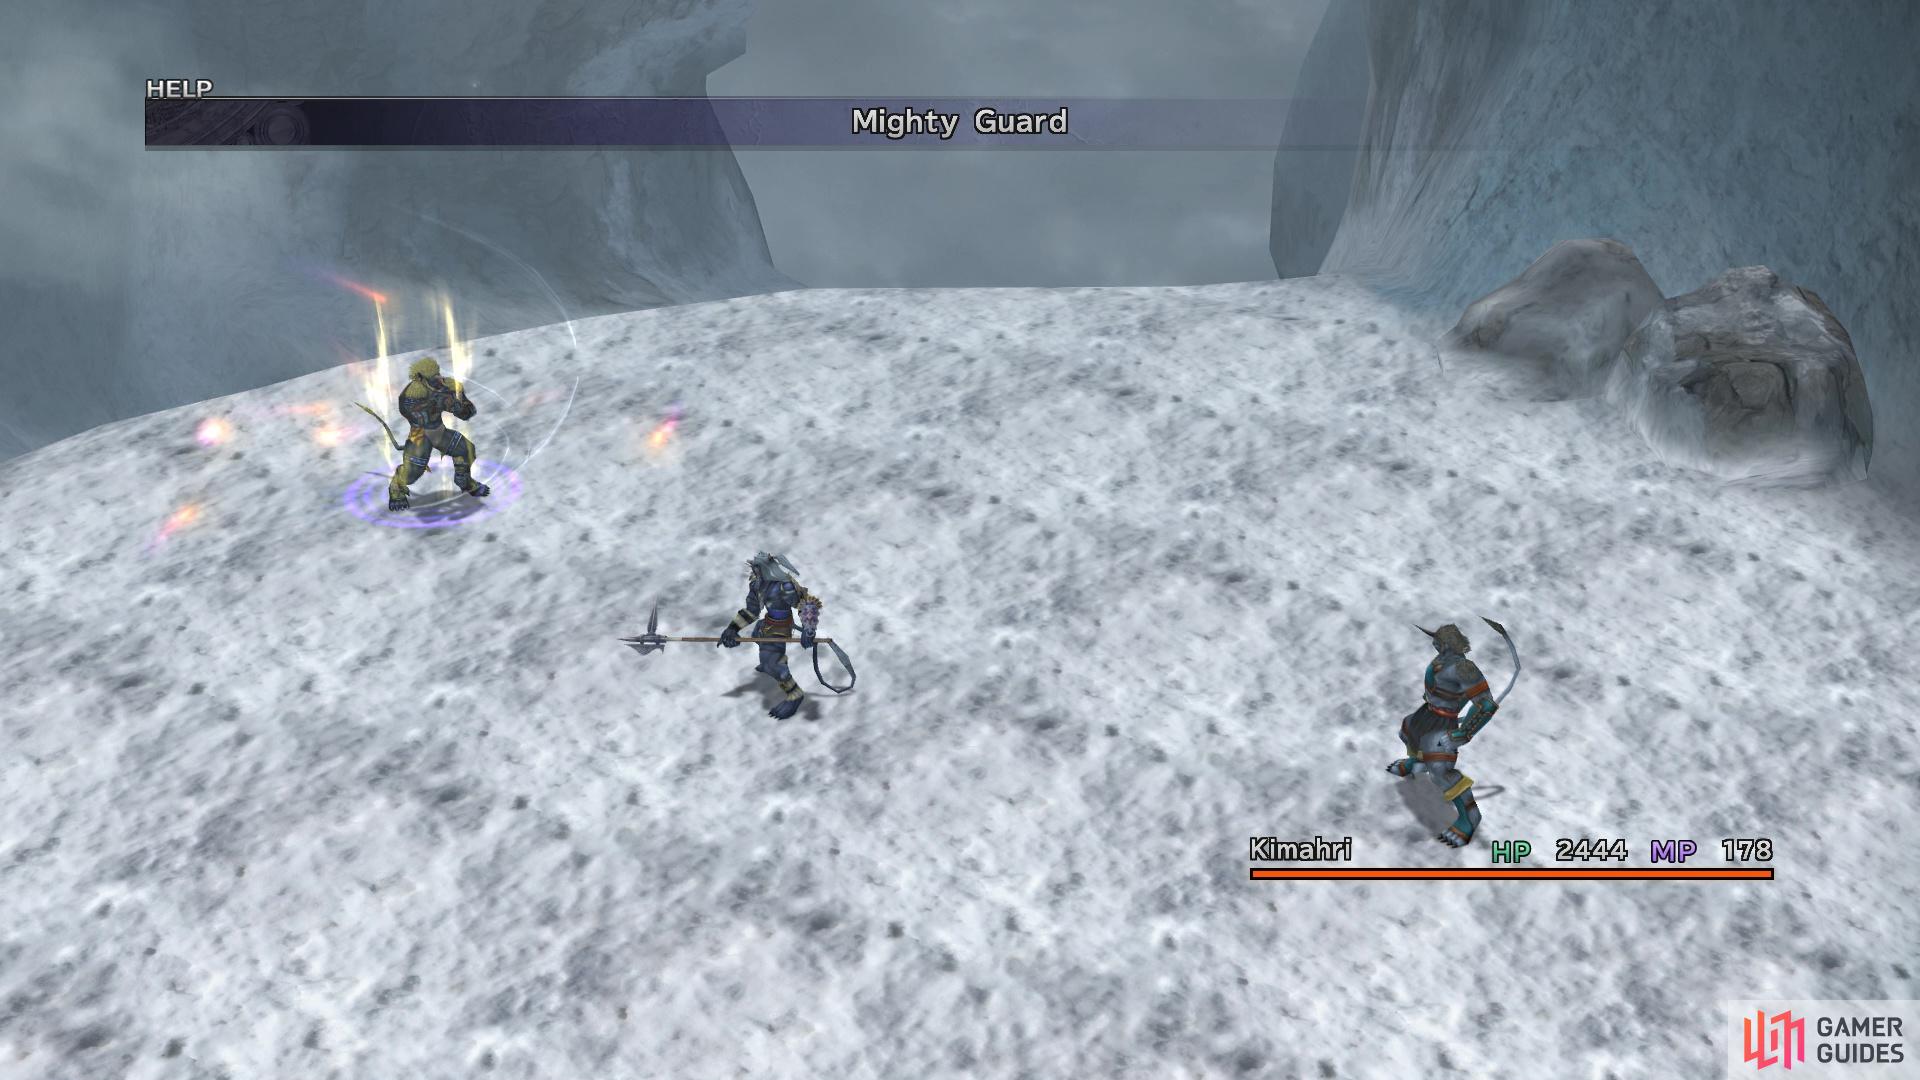
You will have to wait until they use Mighty Guard or White Wind to learn it yourself
That will be your chance to strike them physically, if you wanted, since you don’t have to worry about them guarding the other. Other attacks you will see are Biran using Thunder and Blizzard, and Yenke using Fire Breath and Aqua Breath. They don’t use all of their Ronso Rages, so you don’t have to worry about Doom, Thrust Kick or Stone Breath. Since you are solo in this battle, you will want to keep an eye on your health at all times, gauging when to heal on the damage they do to you. Hi-Potions should be more than enough, though, to heal, with Lancet helping somewhat if you are using it to get some Ronso Rages.
Ascending the Mountain
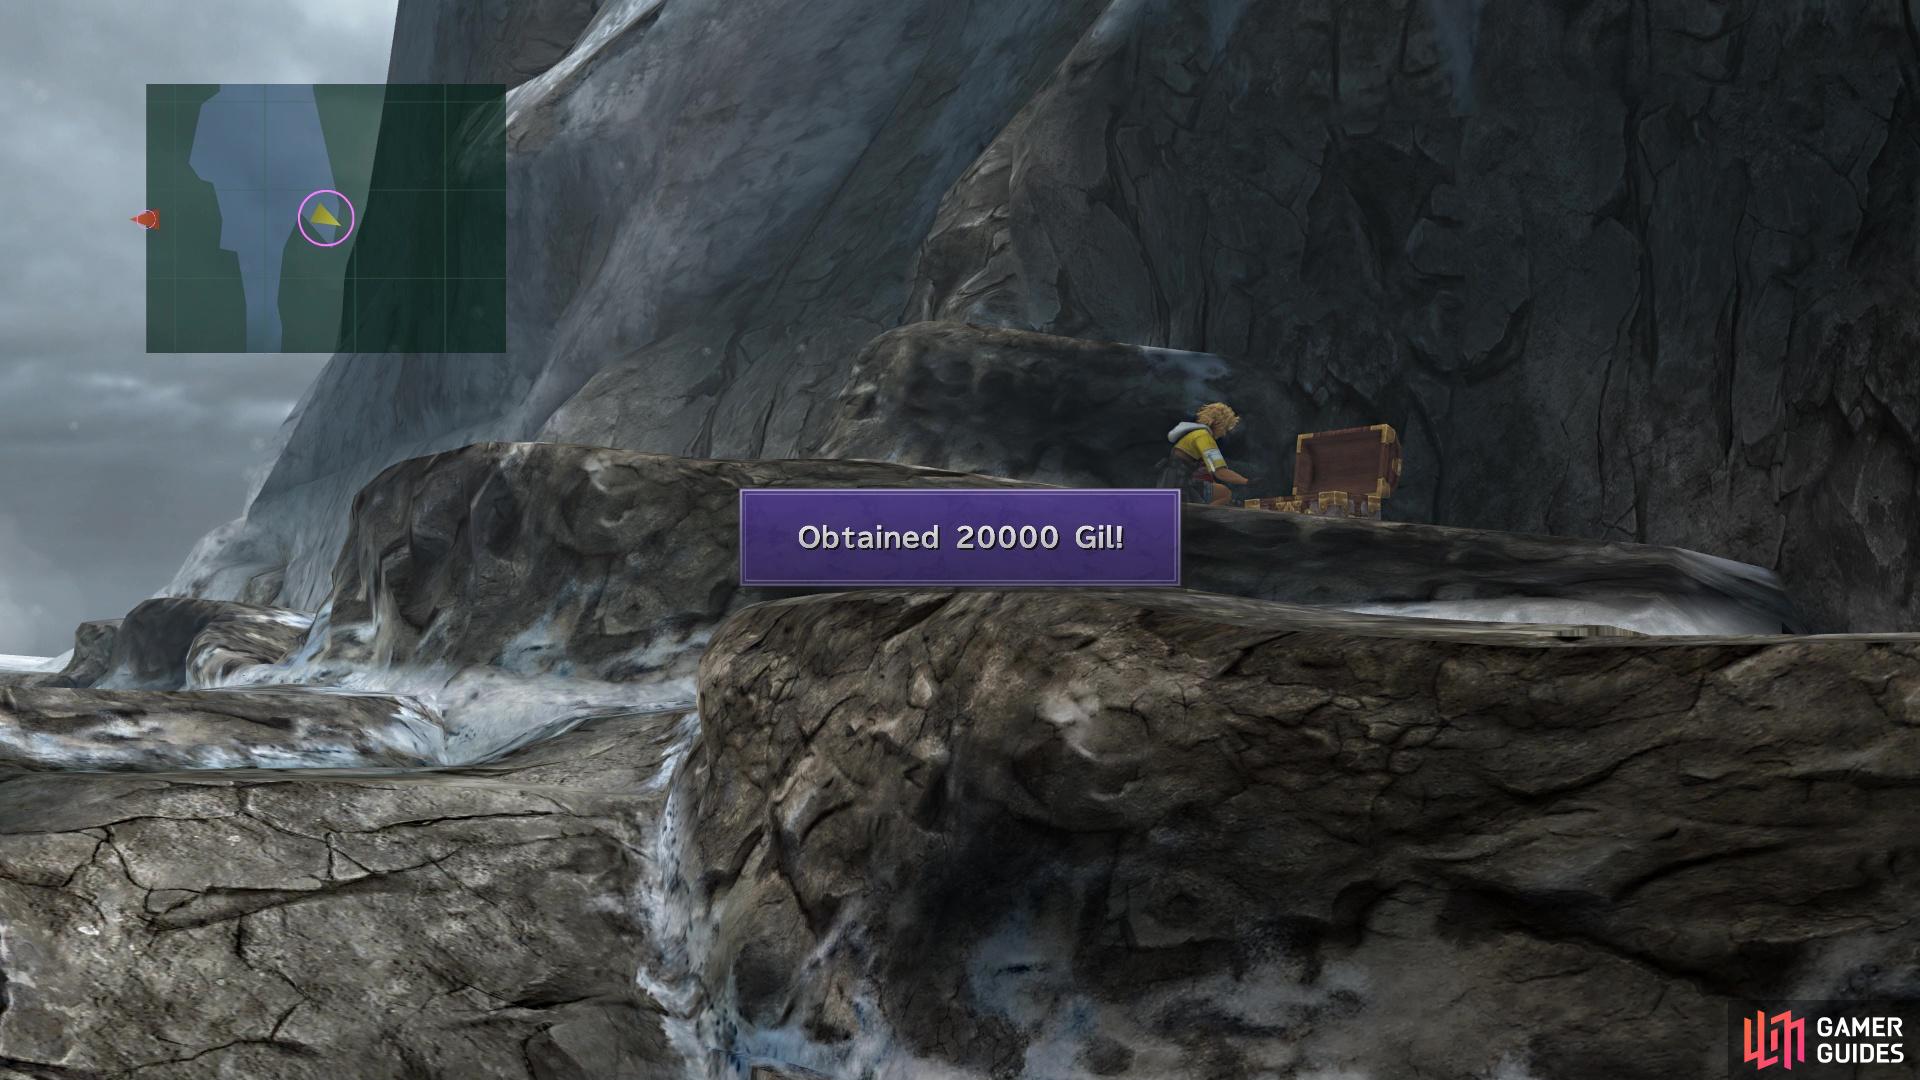
On the next screen after finishing off the Ronsos, look for a place to step up on the rocky terrain to your right, where you will find a chest with 20,000 Gil. A little farther up ahead, there will be a scene with the Ronsos sending you off on the rest of your pilgrimage. Once you’re in control again, there will be a little section on the left side, where a chest will be slightly hidden; this chest contains two Mega-Potions. You can begin making your way up the mountain, although at the tip of the first path, approach the rock formation for a cutscene. Eventually, you will reach a point where there are two paths.
The northern path leads to a dead end, where you will find Braska’s Sphere. This is the final Jecht Sphere in the game and if you’ve gotten the rest of them, then you will unlock the Messenger from the Past trophy/achievement. If you’ve found all of the others, you will also unlock Auron’s Tornado Overdrive. Back on the main trail, take the other path you didn’t before and keep following it until you reach another grave for past summoners. Just past that will be another split, with the southwestern path on the minimap leading to a dead end with a chest (Defending Bracer).
Return to the split and head in the other direction, where you will eventually run across a merchant named Wantz. He is the brother of O’aka, who has been imprisoned. Wantz is a very important NPC here, as he sells some nice equipment on Mount Gagazet, but if you talk to him here, then he will relocate to another place later on, where he will sell equipment with four empty slots. These pieces of equipment will become equally important if you’re planning on doing all of the Monster Arena stuff, as well as the postgame optional bosses. The reason why it’s important to talk with Wantz here is that he’s missable, so he won’t appear in the later spot if you do avoid him.
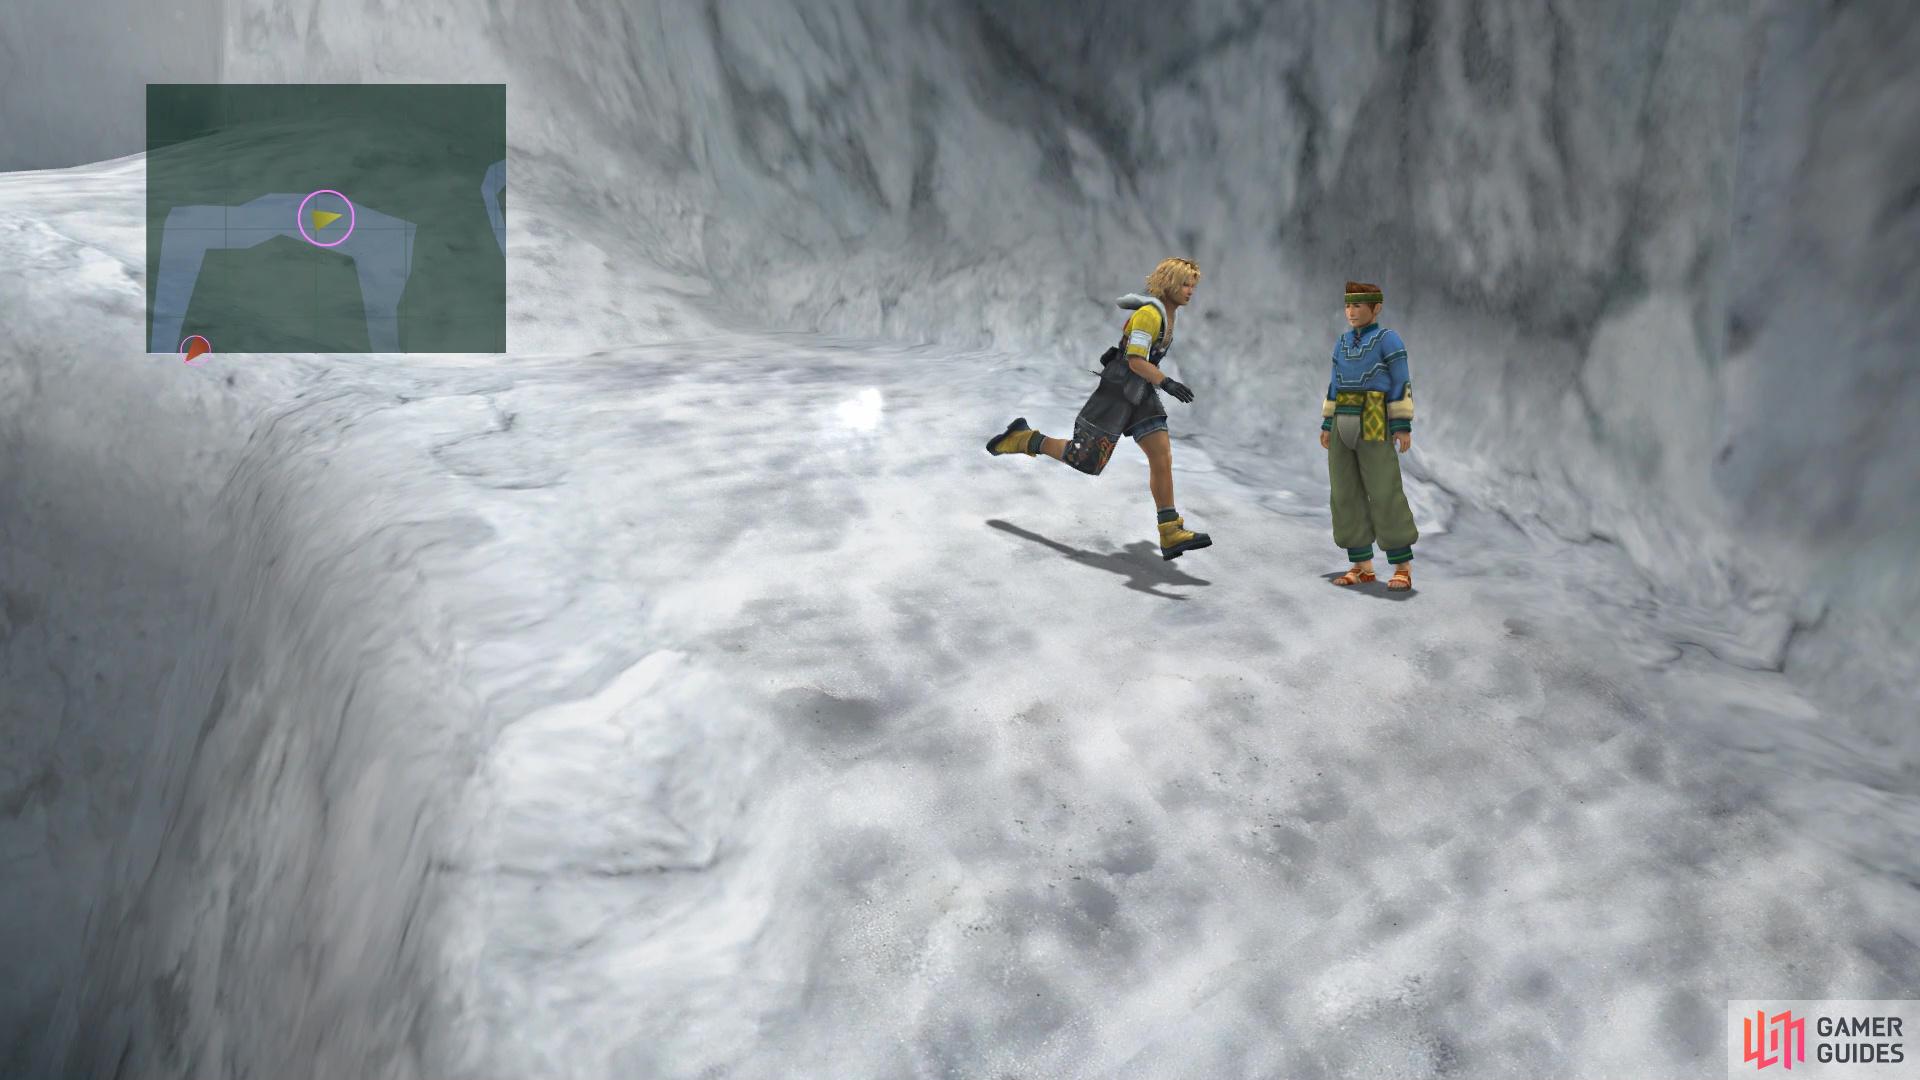
Make sure you speak to Wantz here before going too far
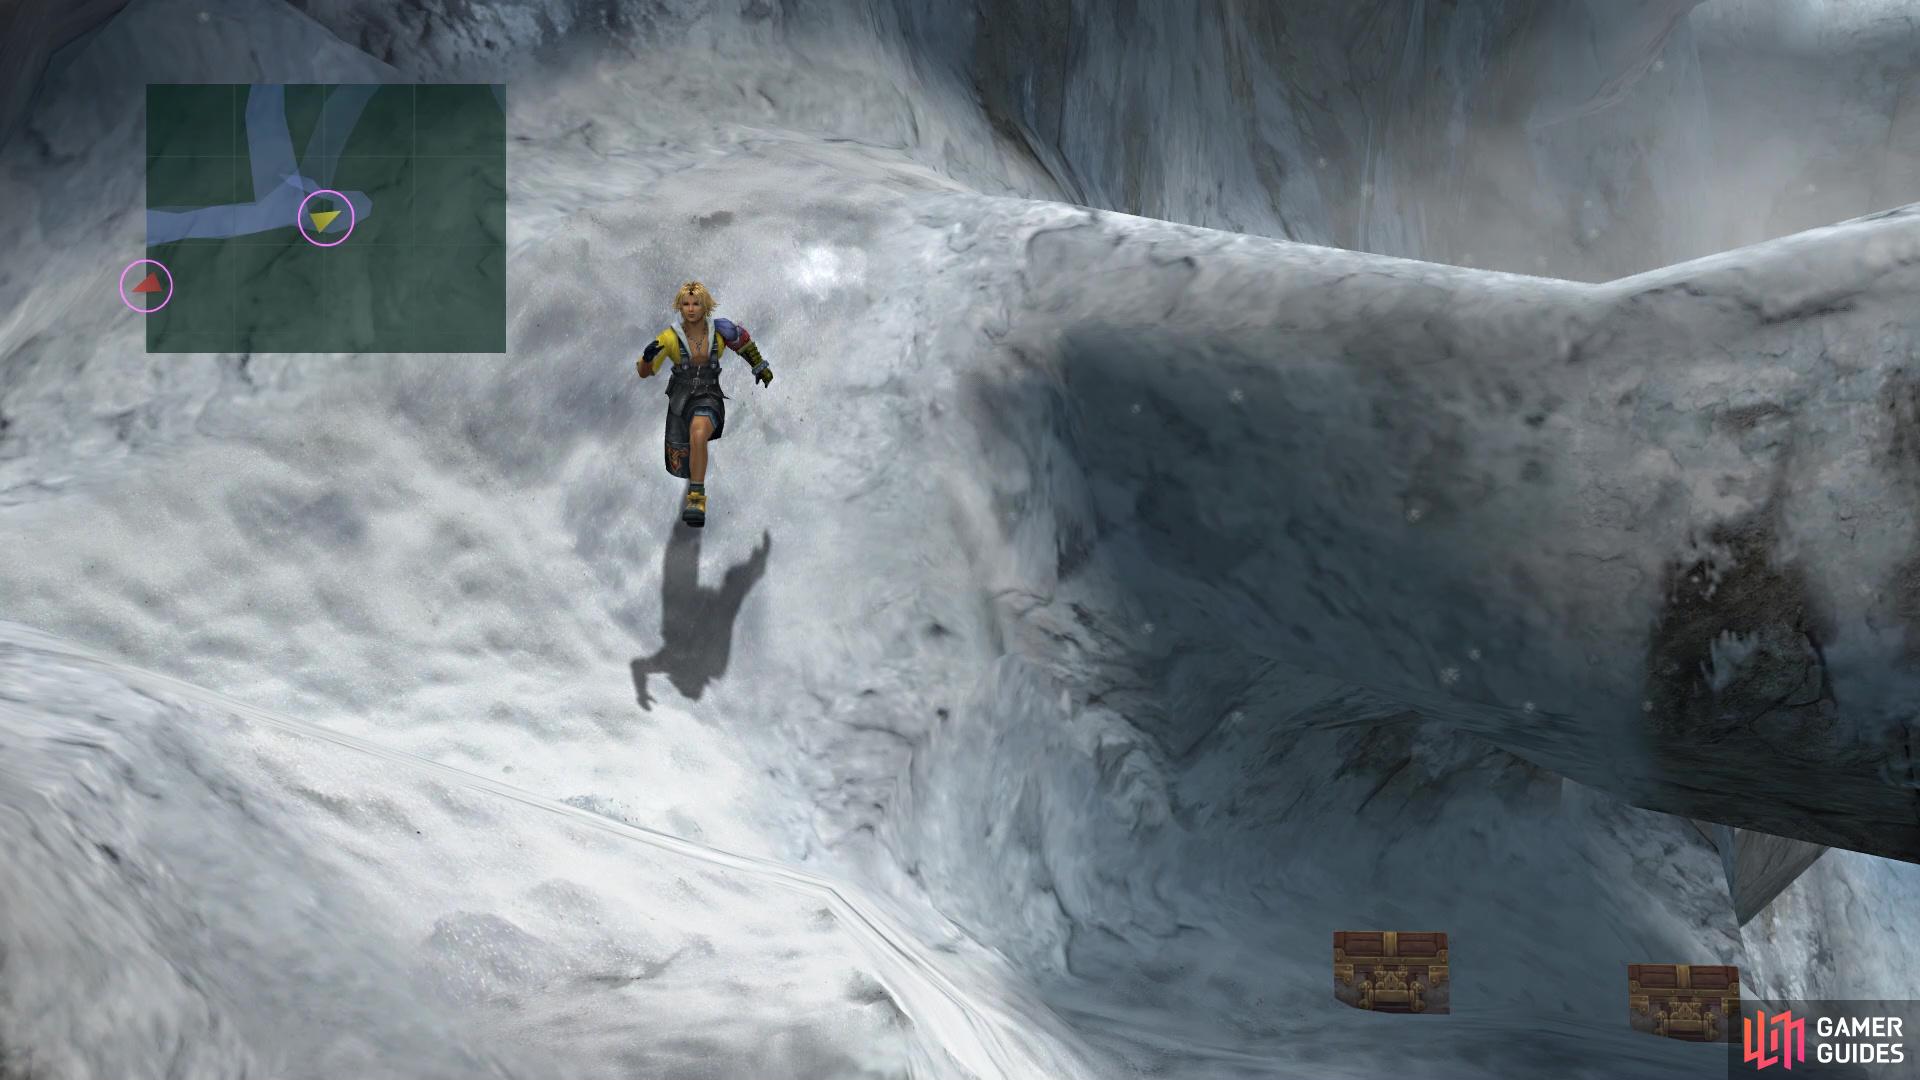
There are two chests found here right after Wantz
Whether you buy any equipment off of him now, it’s a good idea to purchase some Holy Waters from Wantz, as you will be needing them for some upcoming battles. Continue past Wantz and at the bottom of the hill, look for a small hill towards the camera, leading to a little spot with two chests; they contain a Lv. 4 Key Sphere and a HP Sphere. Take the other path and you will eventually reach a third grave marker. Just up the hill from there will be a Save Sphere. This next boss is definitely a challenging one and is considered to be one of the toughest during the main story. Hopefully you purchased some Holy Waters from Wantz before, as you will need them.
BOSS - Seymour Flux
Seymour Flux has a similar feel to him compared to Seymour Natus, as his little friend from before is back, although a little more menacing. Mortiorchis is similar to the previous battle, as depleting its HP will cause it to siphon some from Seymour. It starts at 4,000 HP and will go down by 1,000 HP until it reaches the bottom threshold of 1,000. It has the armored status, so if you wish to use physical attacks, you will need Piercing on your weapon. The biggest pain about this fight is that both Seymour and Mortiorchis will do combo attacks and play off of each other, so you sometimes can’t do anything about what happens.
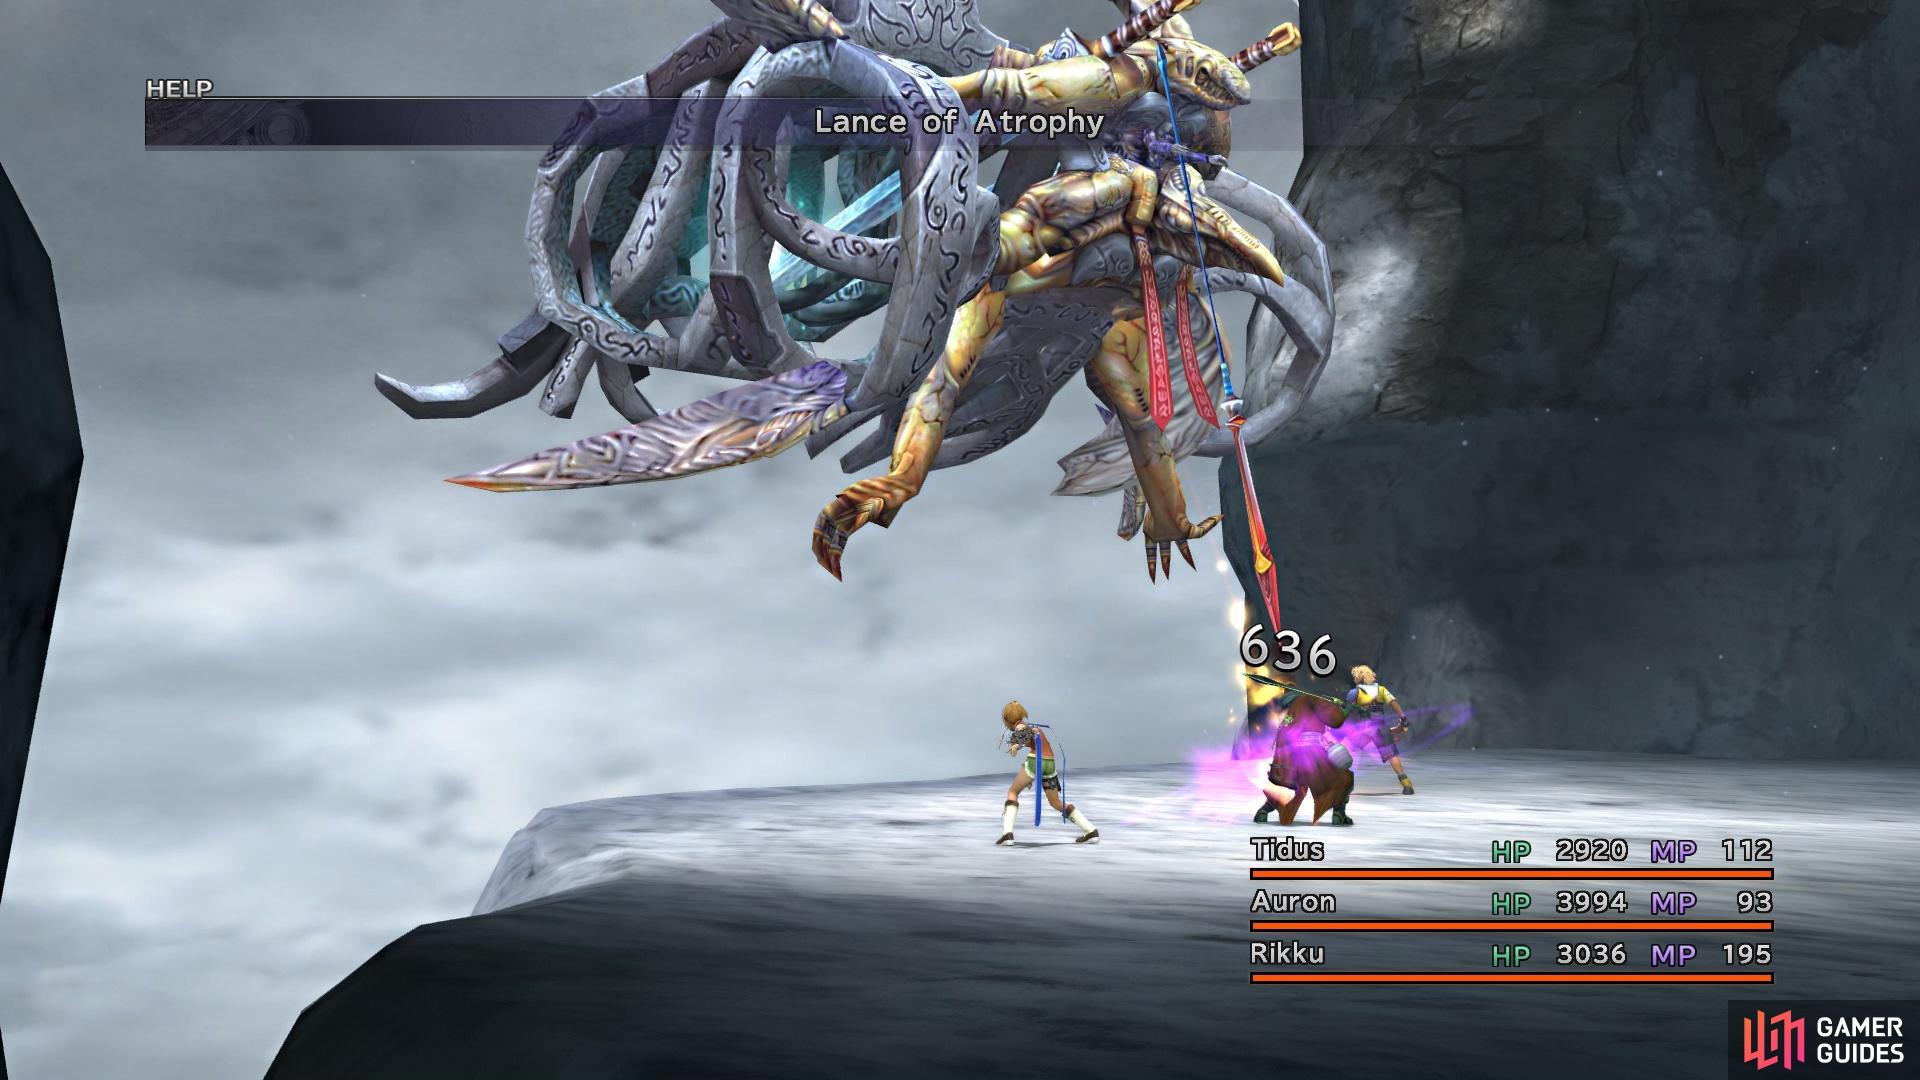
At the beginning of the fight, you can do Trigger Commands to talk to Seymour with both Kimahri and Yuna, with Kimahri gaining some Strength and Yuna some Magic Defense. As with previous battles with Seymour, there are a few phases that he will go through once his HP reaches a certain point. From the start, Seymour will use Lance of Atrophy on a single character, damaging that character and possibly inflicting the Zombie ailment on them. On Mortiorchis’ next turn, it will use Full-Life to essentially KO the character. It is possible, if your characters are fast enough, to use a Holy Water to cure the Zombie before Morti’s next turn, where it will still cast Full-Life, even if Zombie was cured.
Once Seymour uses Lance of Atrophy twice, he will use Dispel on his next turn on the entire party. On Morti’s next turn following the Dispel, it will use Cross Cleave to deal some major damage to the entire party. Depending on turn order, you might want to defend after the Dispel to minimize the damage done. Hopefully, your party members have enough health to survive the attack, which does around 2,000 or so damage. This will be the way the fight goes until Seymour drops below 50% health or so. Note that at 75% HP, Seymour will automatically cast Protect on himself, so you may want to Dispel that.
At the HP threshold mentioned above (50%), Seymour will cast Reflect and begin bouncing Flares off himself, onto your characters. You can Dispel the Reflect, causing Seymour to cast Flare on himself, but he will recast Reflect. While that’s definitely deadly, the biggest change comes with Mortiorchis, as it will gear up to use a very powerful attack. It will “enter Auto-Attack Mode” first, then announce it is “Ready to Annihilate,” before unleashing Total Annihilation on the third turn. Total Annihilation does huge damage to the entire party and having everyone defending will help a lot in trying to stay alive.
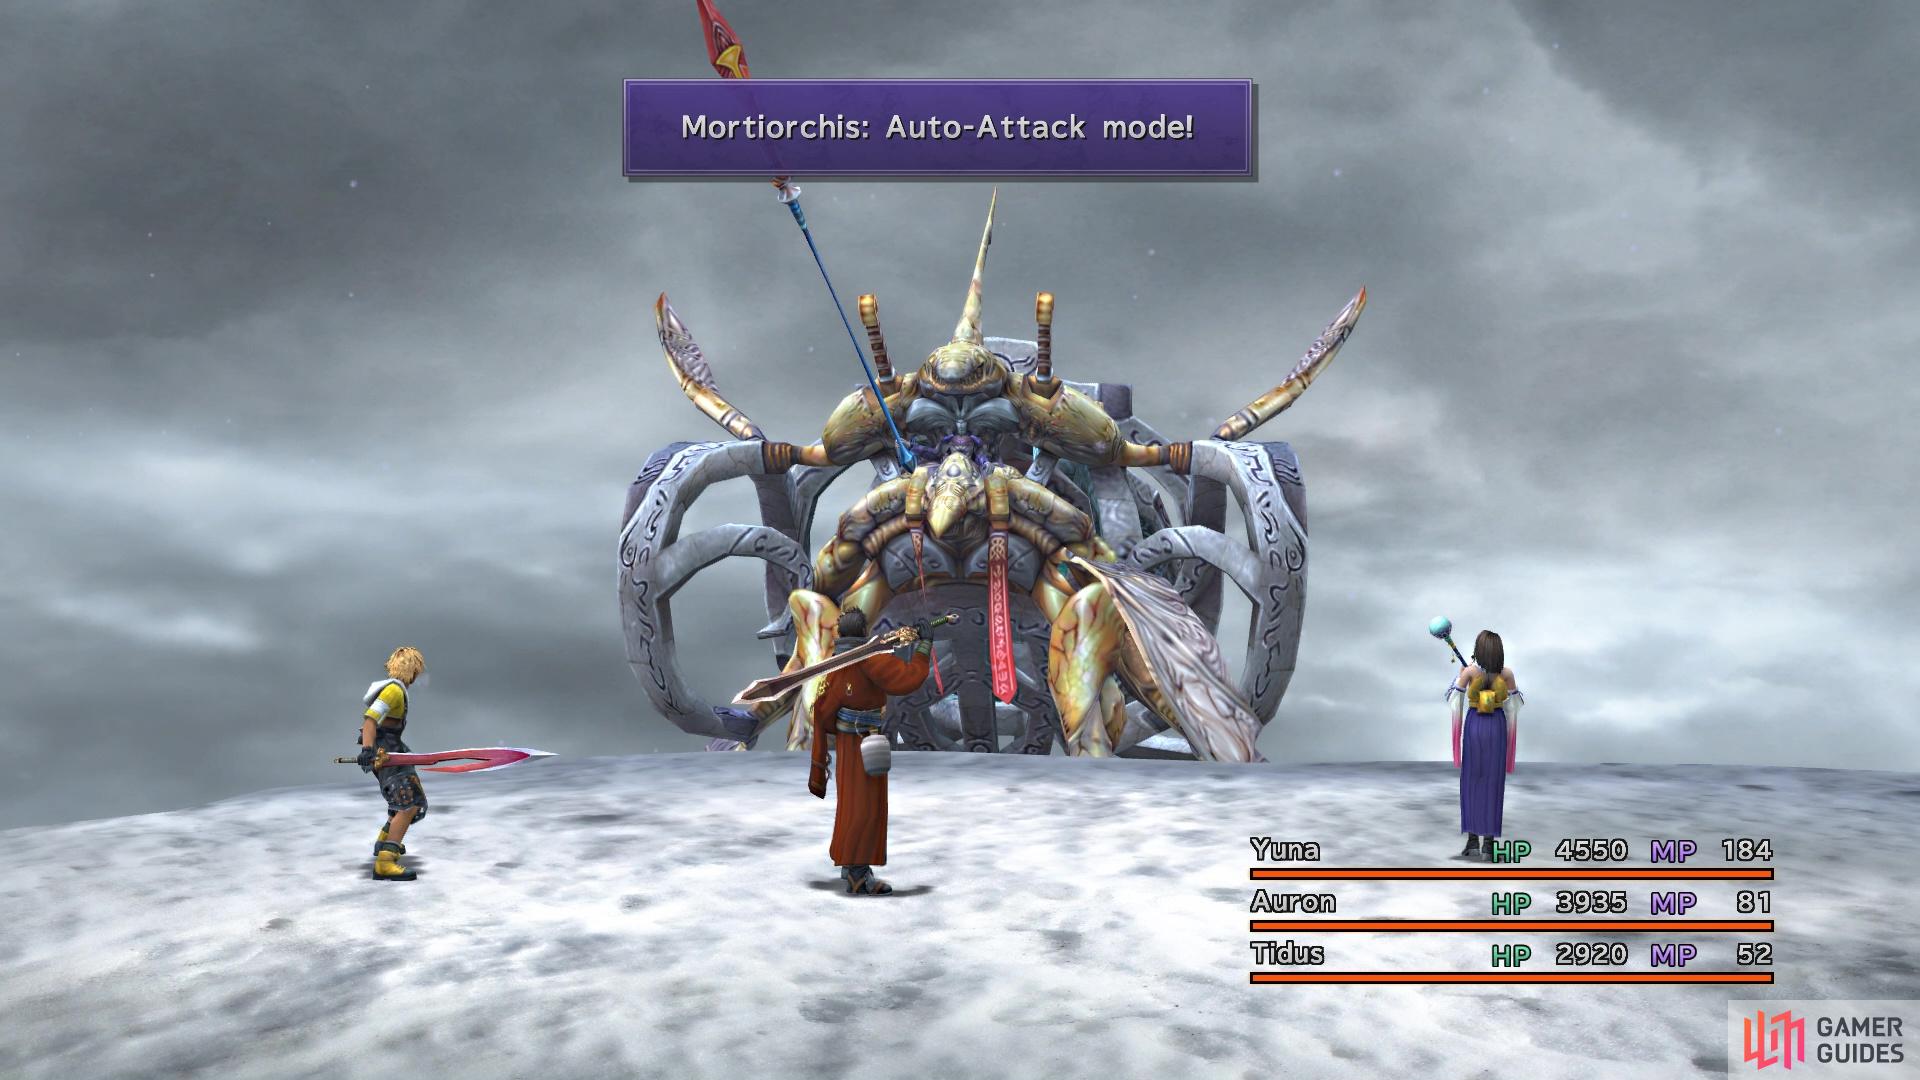
Auto-Attack Mode is the sign that Total Annihilation is coming
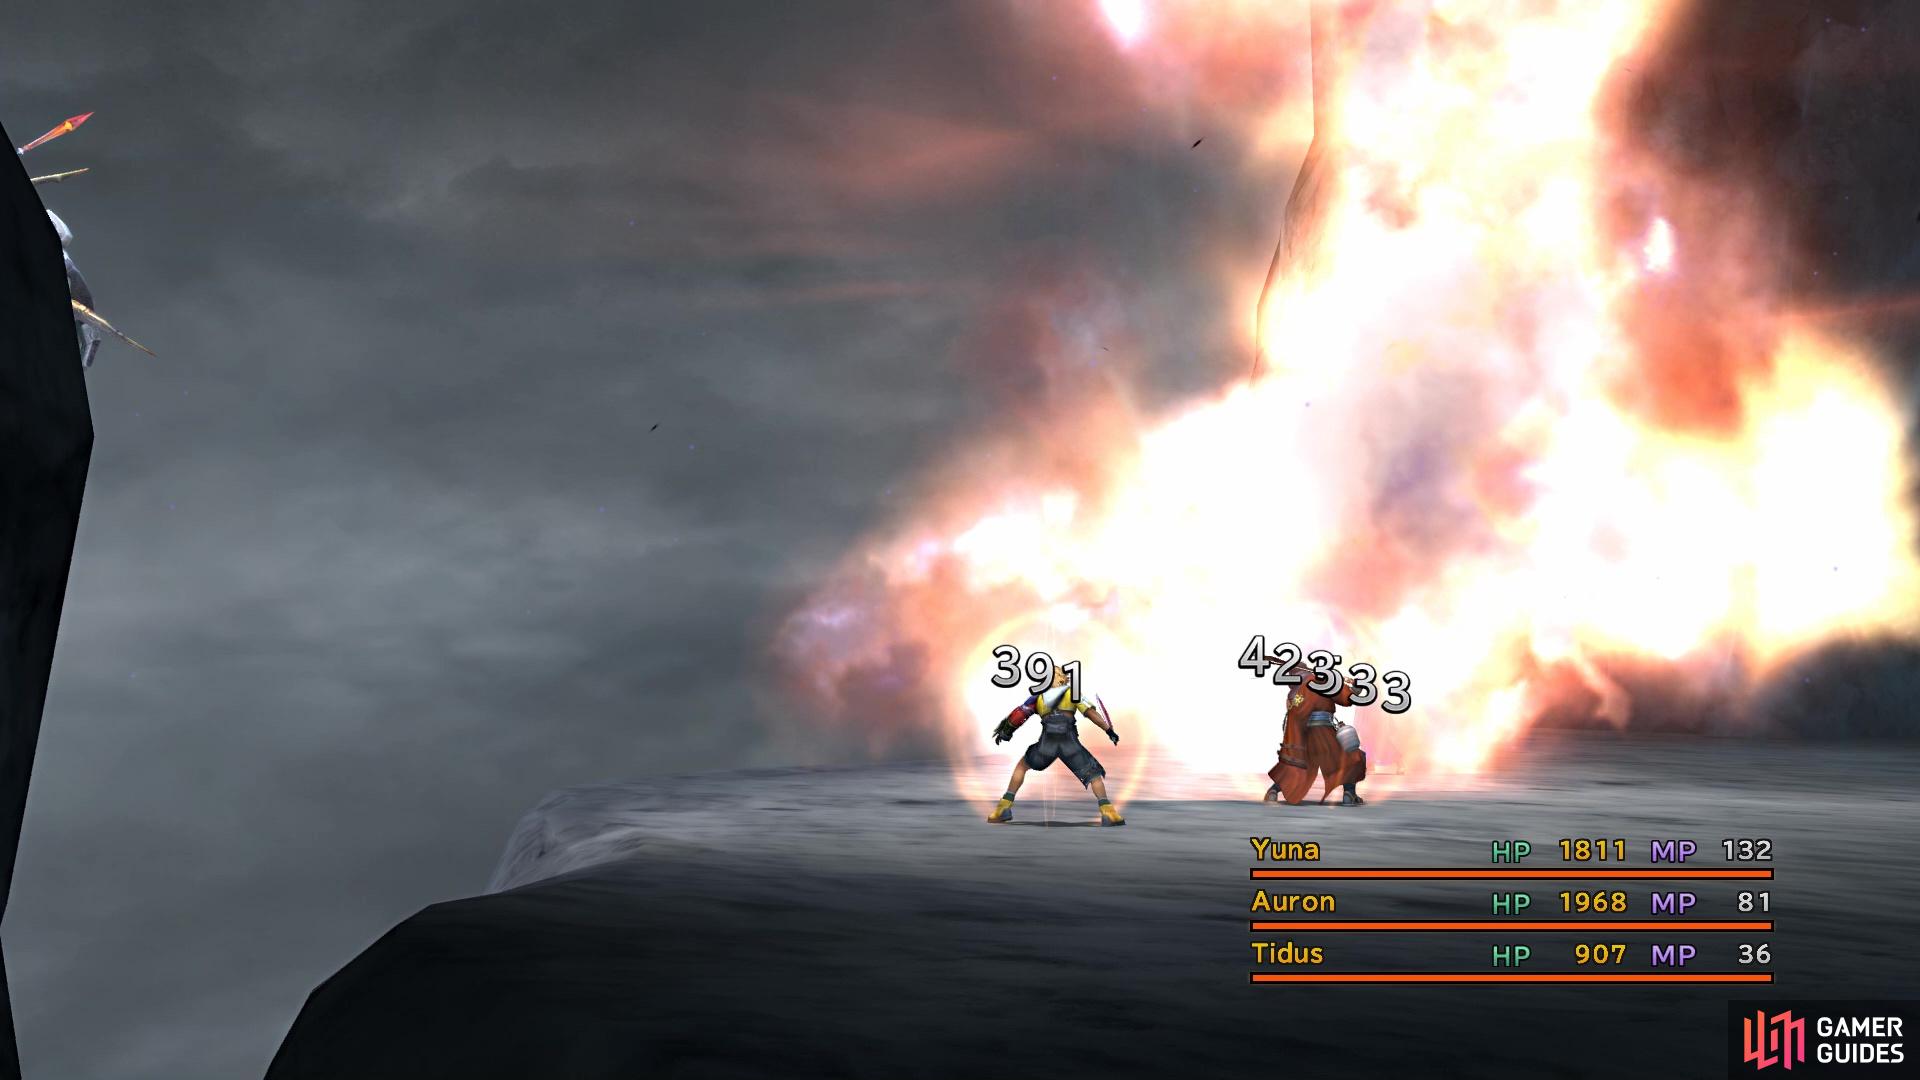
Defending can help to stay alive against Total Annihilation
On subsequent turns, Mortiorchis only needs one turn to charge up Total Annihilation. As with Seymour  Natus, Flux will also use Banish on Aeons, so they only get their initial turn before being sent away. You can use this to your advantage by using both Yuna’s Overdrive, as well as their own, if the gauge is full. It also appears that once you cut his HP to below 50%, he stops using Dispel, so you can also buff up around then, particularly Shell. Note that Seymour is susceptible to both Poison and Silence, although he can resist both. A Poison Fang will 100% work, as will Silence Buster, but the latter only works for one turn. Poison does not trigger the phase change at 50% HP, if the poison dips it below that.
The battle against Seymour Flux is definitely a challenging one, although you will definitely prevail. Continue past where you fought Seymour and look in between some of the pillars on the left side to find a hidden chest, which contains the Saturn Crest. Enter the next screen for a cutscene, then you will be in some kind of flashback or something with Tidus. Head to the boat on the right side and go inside, then exit and go to the upper deck. Once all of the scenes are over, follow the trail to enter the Mount Gagazet Cave.
No Comments