
This page details a guide for how to complete the Onslaught Muspelheim Challenge in God of War Ragnarok, including how to defeat the Dark Elves, Hel-Walkers, Reavers, Ogre, Dodher Wyvern, Einherjar while surviving for 300 seconds in the arena.
| Objective |
|---|
| Survive until the time (300 seconds) elapses |
How to Complete the Onslaught Muspelheim Challenge in God of War Ragnarok
The Onslaught Muspelheim Challenge is arguably (and somewhat disappointingly given the name) one of the easiest to complete. As the name suggests, you’ll be facing an onslaught of enemies and you need to survive their sustained attack. The attack will last for 300 seconds, and you’ll be encountering Dark Elves, Hel-Walkers, Reavers, Ogre, Dodher Wyvern, and Einherjar enemies. Ideally, we would’ve liked to see the entire selection of enemies thrown at us for this challenge, but this group makes it fairly easy so long as you know how to avoid their most damaging attacks.
| Time Limit | Enemy Types |
|---|---|
| 300 seconds | Dark Elves, Hel-Walkers, Reavers, Ogre, Dodher Wyvern, Einherjar |
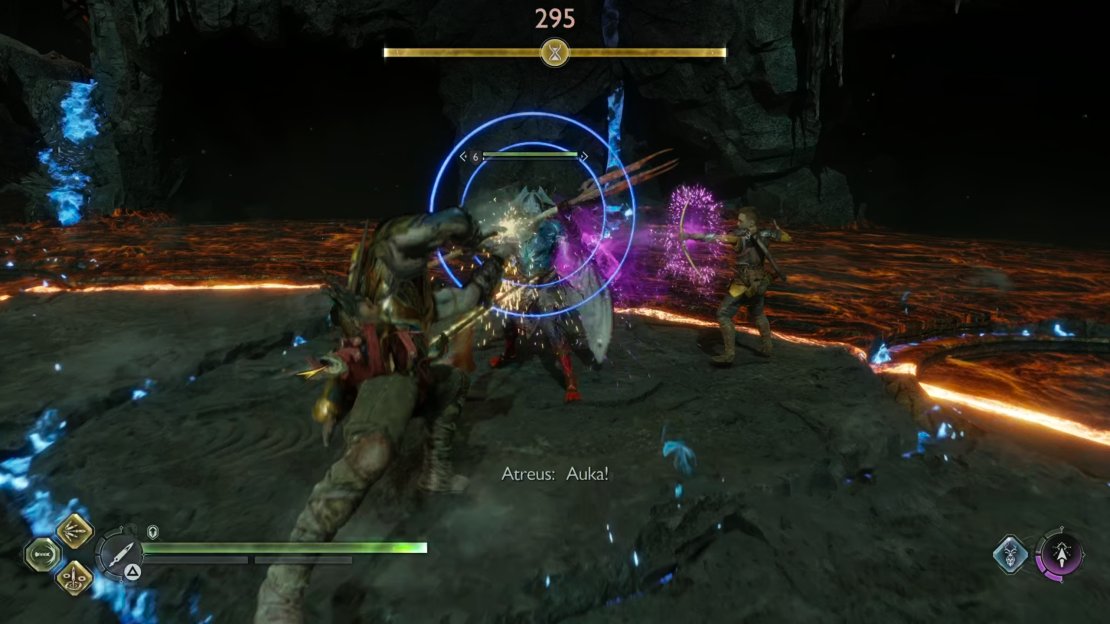
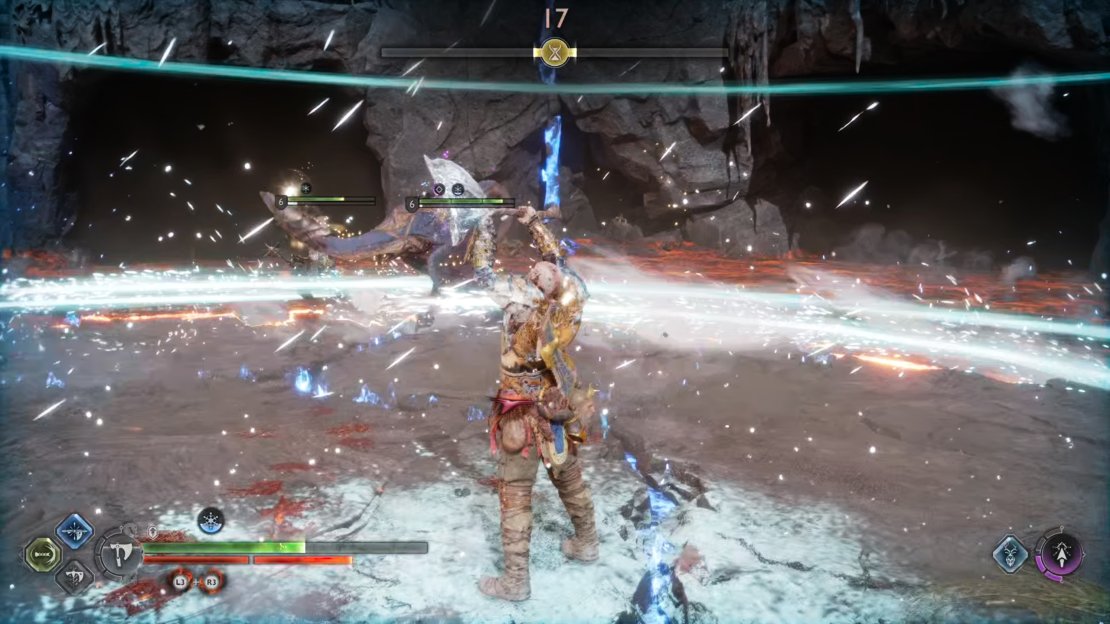
The enemy types above are listed in the order that you will most likely encounter them during the challenge. It will start off with a handful of Dark Elves. These are fairly evasive enemies but you can take them down with ranged attacks, including the use of arrows from your companion (Atreus or Freya). You can also execute a few melee combos when they get close, but keep in mind that the Dark Elves will often fly away as soon as you hit them a few times in melee. A good way to prevent them from attacking you at range is to stick a few Draupnir Spears in them with ranged attacks, then pop the spears by pressing  when they’re in the air, or when they’re in the middle of a special attack animation.
The most disruptive attack that a Dark Elf can use is probably their blinding flashes. They will cast flashing orbs on the ground which, if you run into them, will explode and blind you for a short period. This can be enough to disorient you and make it difficult to see incoming attacks from other enemies, so try to avoid running into this where possible. The Dark Elves will often cast them on the ground in front of them just as they’re retreating, in an attempt to to goad you into running over them. Instead, you should wait for them to explode before rushing forward.
You will also encounter some of the more agile Hel-Walkers here, which are capable of jumping on your back and rendering you immobile for a while. You will need to spam  to get them off your back when this happens, but you can avoid it altogether by dodging away from their jumping attack, or just prioritize killing them first to reduce the chances of this attack being pulled off. They are incredibly weak enemies with low stun resistance, so you can kill waves of them within just a few seconds. The same goes for most of the Reavers, although you will encounter some elite variants of these enemies throughout the challenge which have more health and higher defences.
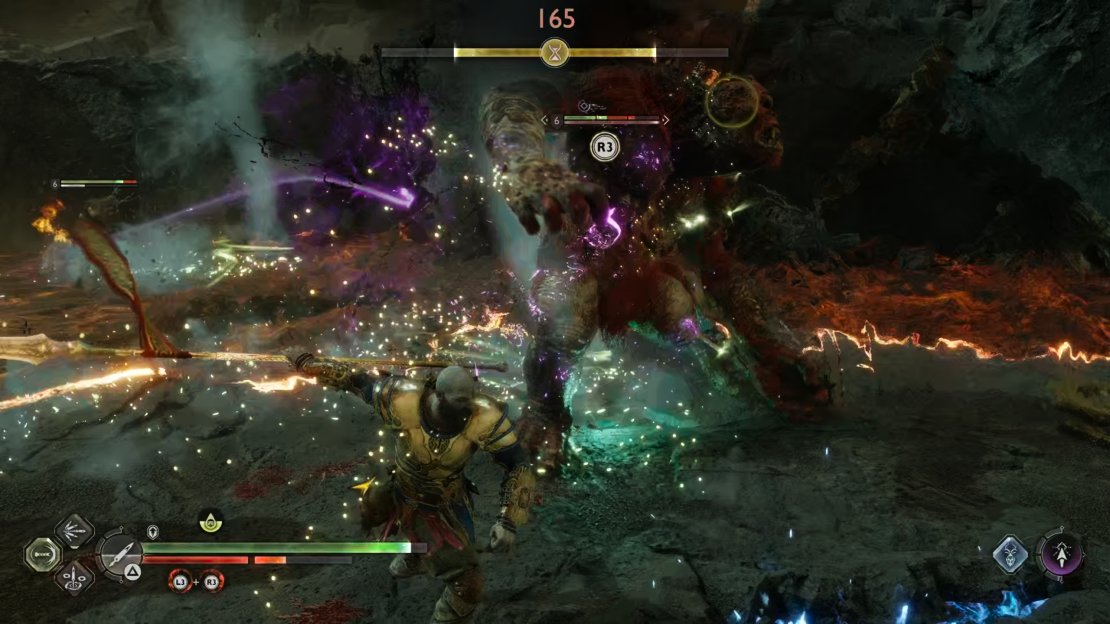
Around halfway through the challenge you should see an Ogre spawn, and not long after that the first Dodher Wyvern. Both of these are potentially more dangerous than the other enemies, but the Ogre is by far the easiest to kill. They are vulnerable to stun damage which you can quickly inflict with melee combos, or by chaining some Runic Attacks with Relic / Sword Hilt abilities. You can then stun grab the Ogre and jump on its back, using it to smash through other enemies below while you remain invulnerable to damage for the entire duration that you’re on its back. Once you’re back down on the ground, you should be able to finish the Ogre off with a few regular attacks.
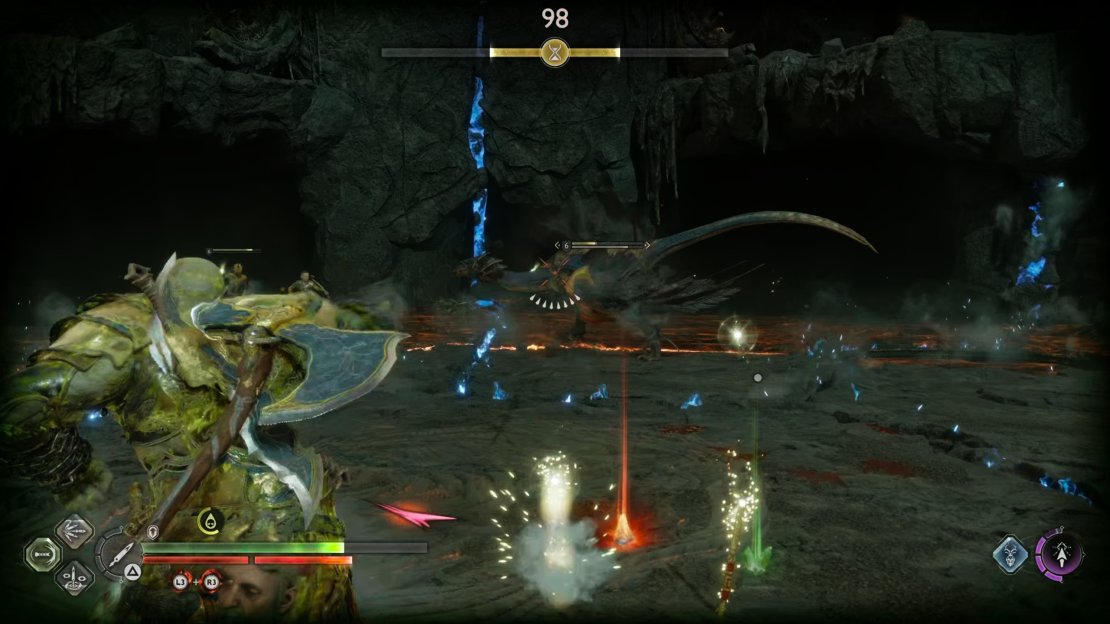
The Dodher Wyvern is potentially the most dangerous enemy here. It will inflict Bifrost damage with some attacks, and it can fly in the air before dive bombing you with a special attack which can render you immobile. You should be able to avoid this by looking out for the yellow ring indicator, then blocking, parrying, or dodging the attack at the right time. You need to time this properly, especially if you’re parrying, since activating it too early could see you still caught by the attack. Wait until the Dodher Wyvern is just about to hit you before activating the parry or dodge. If you’re using a shield capable of holding a block such as the Stone Wall shield, you can just hold up the block for the entire duration to make sure that you’re not hit.
Other than the dive bomb attack, the Dodher Wyvern shouldn’t cause you too much trouble. You can throw Draupnir Spears at it and then detonate them when you see the beast in the air, which will interrupt its flying motion and briefly stagger it, leaving it vulnerable to a melee combo. You will probably see at least two of these Dodher Wyverns throughout the challenge.
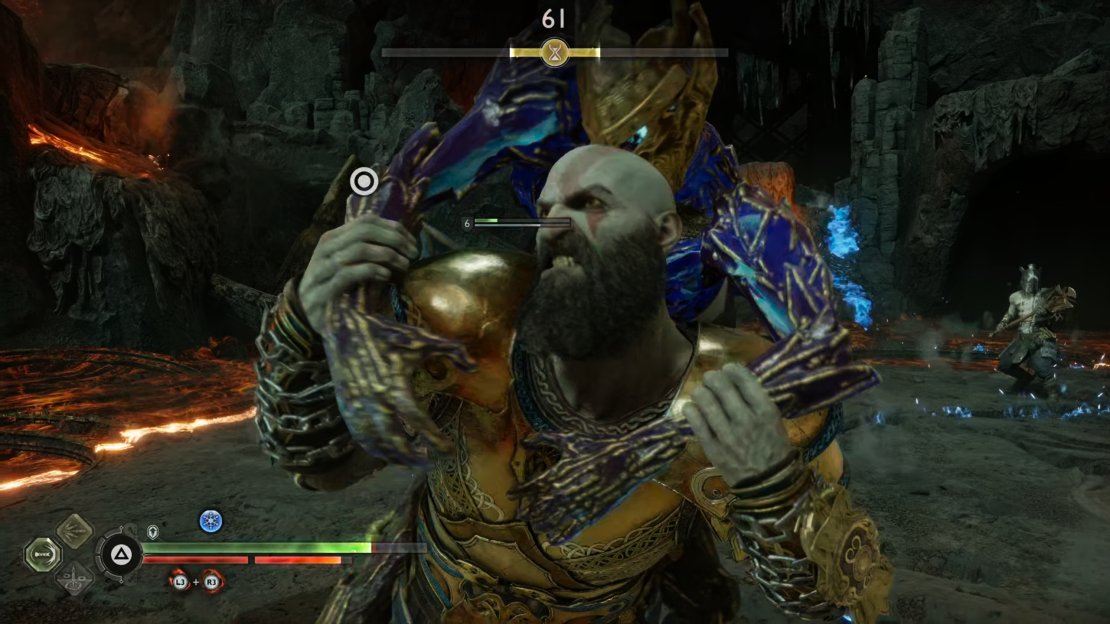
Towards the end of the challenge you’ll begin to see some Einherjar spawn, all of which are capable of inflicting Bifrost damage. It’s important that you know when to interrupt their special attacks which are preceded by concentric blue rings. You can easily interrupt these by double tapping  to execute a shield attack, but you need to make sure that you’re within melee range when you do this. If you’re too far away from the enemy when they use one of these attacks, the shield attack won’t reach them and you will be vulnerable to an AoE (Area of Effect) blast of Bifrost in some cases. For this reason, it’s a good idea to focus on thinning the Einherjar numbers as soon as they spawn.
The last 50 seconds of the challenge are likely to be the most chaotic, but you can use some AoE attacks to deal with multiple enemies at once. The Cyclone of Chaos Light Runic Attack for the Blades of Chaos is one of the most effective at keeping multiple enemies at bay, but it’s not the most damaging. The Breath of Thamur, a Heavy Runic Attack for the Leviathan Axe, is also great for pushing enemies back and inflicting moderate damage for an extended duration. You shouldn’t necessarily need to use special abilities such as these, but they can be useful to keep in mind when things get hot.
Onslaught Muspelheim Challenge Rewards
You can obtain the below rewards repeatedly each time you complete this challenge, other than the Muspelheim’s Endurance enchantment. You can see what this enchantment provides alongside many others on our Best Amulet of Yggdrasil Enchantments And Upgrades page.
| Reward | Quantity |
|---|---|
| Kratos XP | 1500 |
| Companion XP | 1500 |
| Blazing Embers | 2 |
| Smouldering Embers | 1 |
| Glowing Embers | 3 |
| Divine Ashes | 2000 |
| Hacksilver | 40000 |
| Muspelheim’s Endurance (Unique Amulet of Yggdrasil Enchantment) | 1 |
No Comments