
Walkthrough for the favor Secret of the Sands in God of War Ragnarok.


(1 of 2) Head to the south-center of The Barrens,
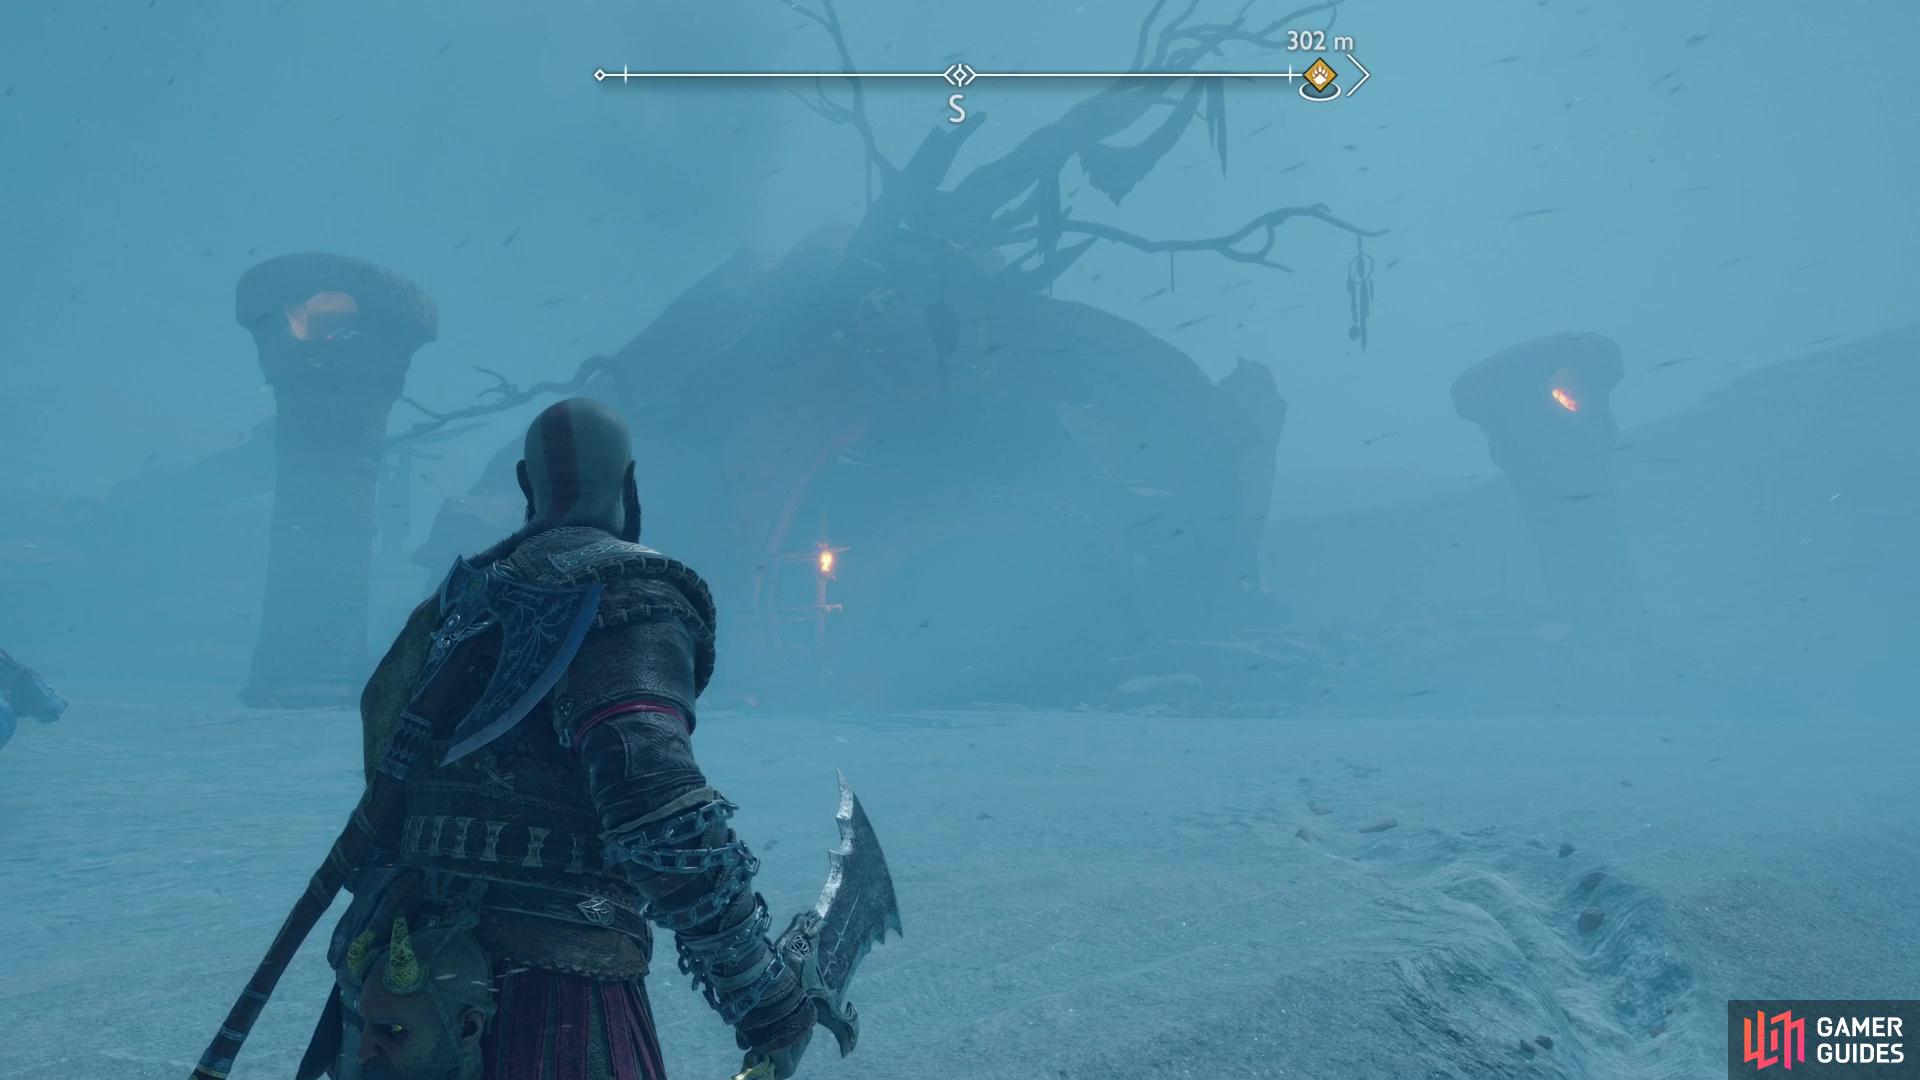
Head to the south-center of The Barrens, (left), where you’ll find a cave leading to The Below. (right)
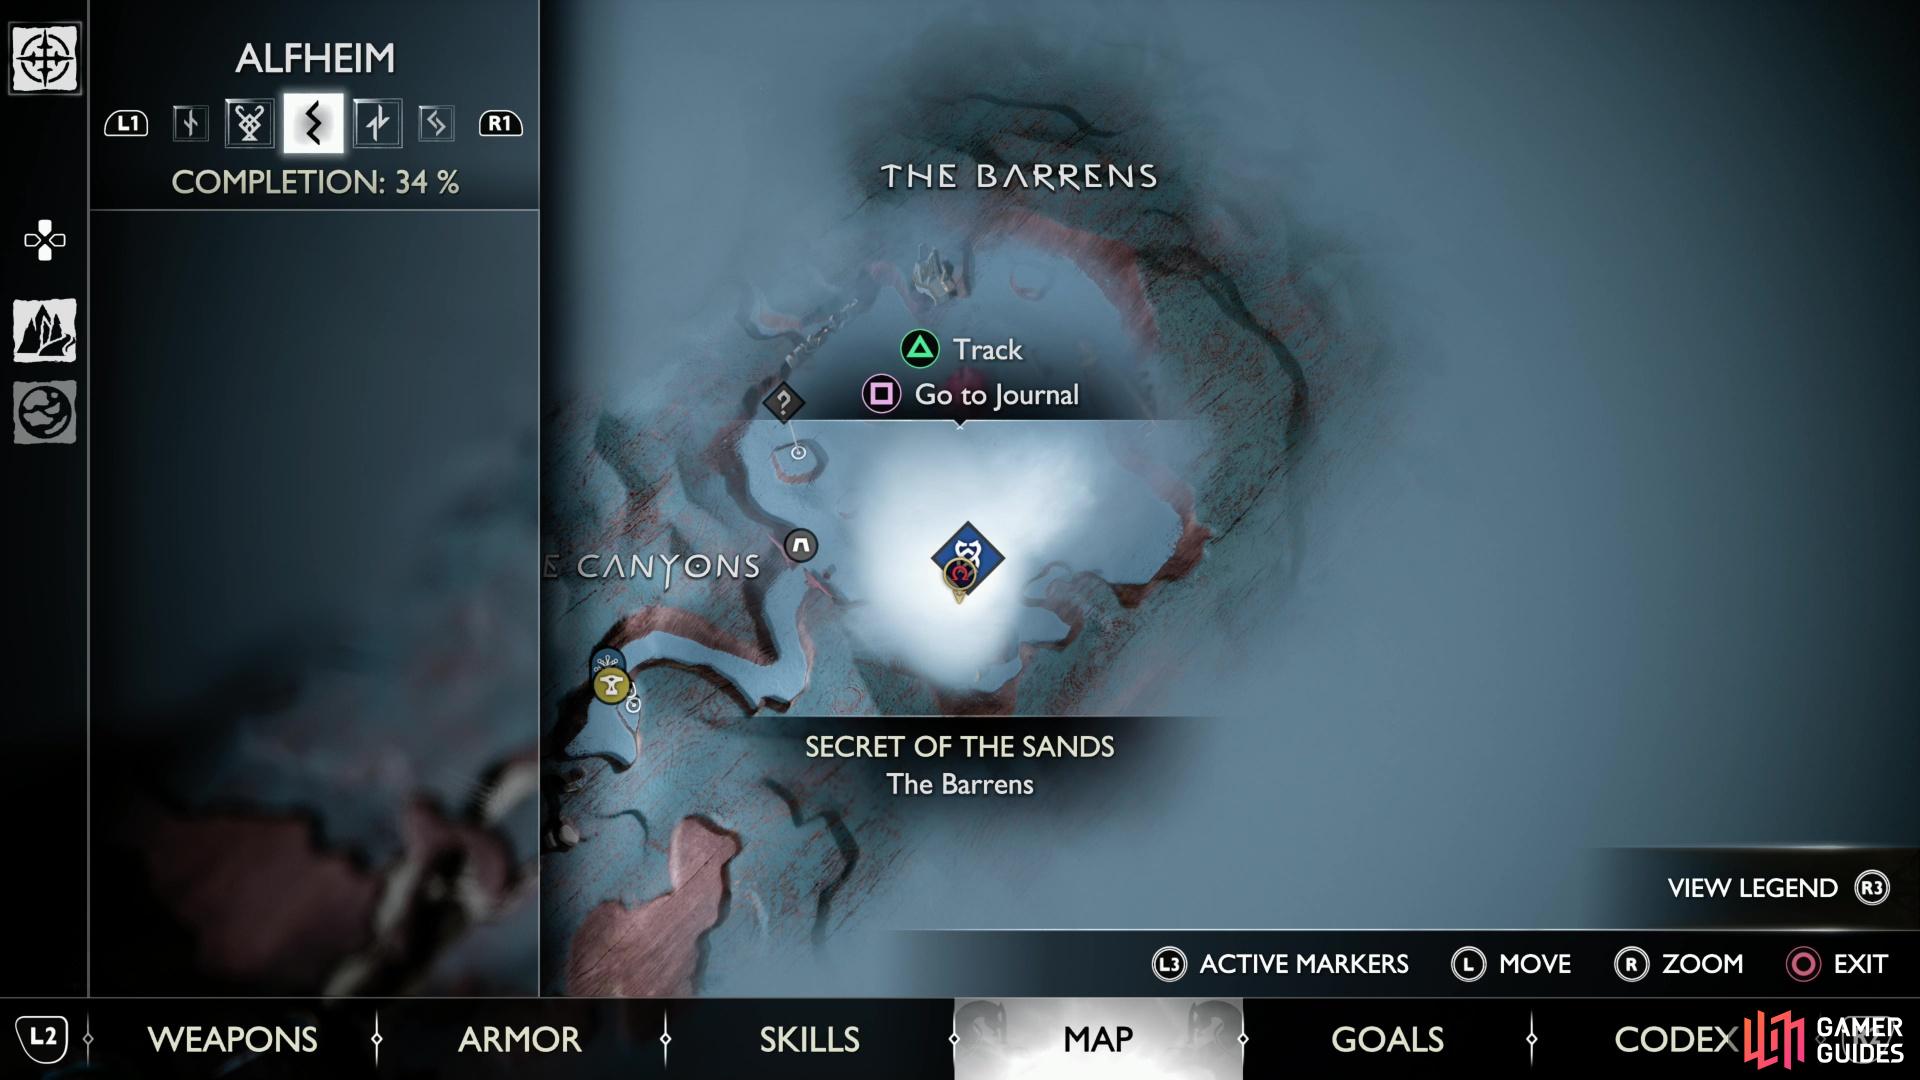
How to Start the Secret of the Sands Favor in Alfheim
During the fourth man quest, Groa’s Secret, you’ll travel to Alfheim. At several points during your exploration Atreus will mention hearing some animal. Once you finish your business in Alfheim you’ll return to the Mystic Gate from which you entered this realm, but you don’t have to leave just yet, as a new area will have opened up nearby.
Go through the circular door northeast of the Mystic Gate in The Strond and you’ll enter The Canyon, where Kratos will express his desire to seek out this creature Atreus heard.
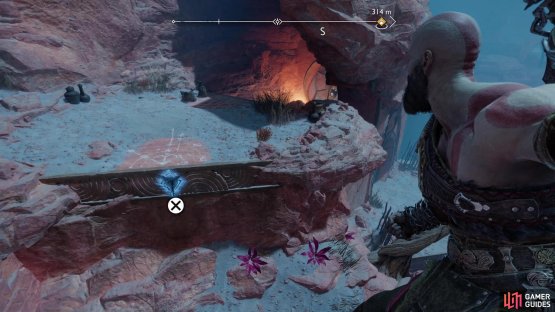
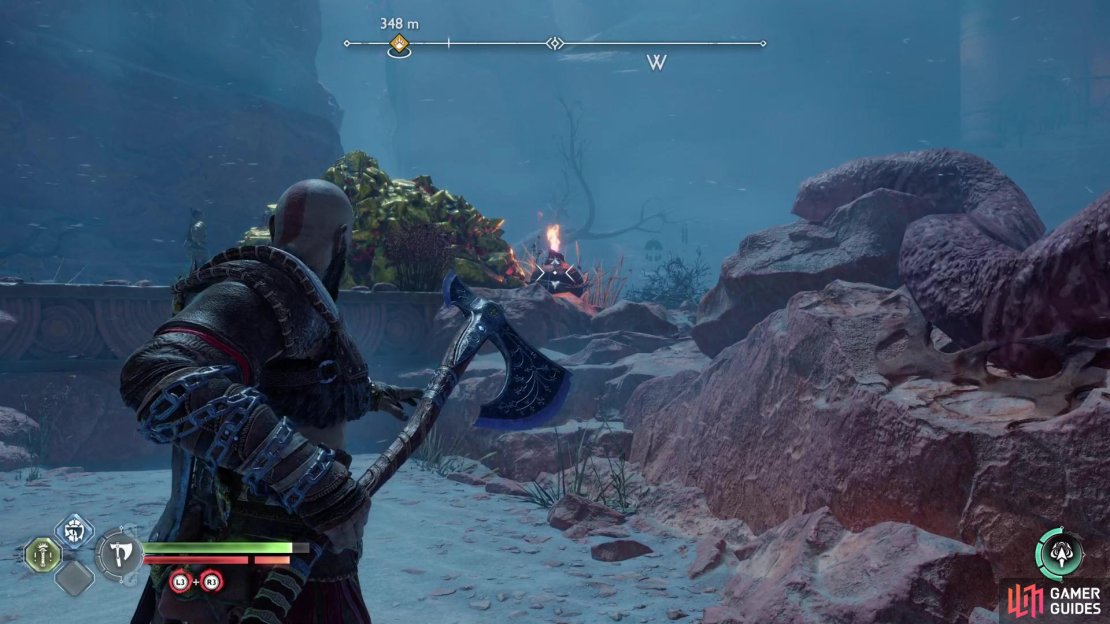
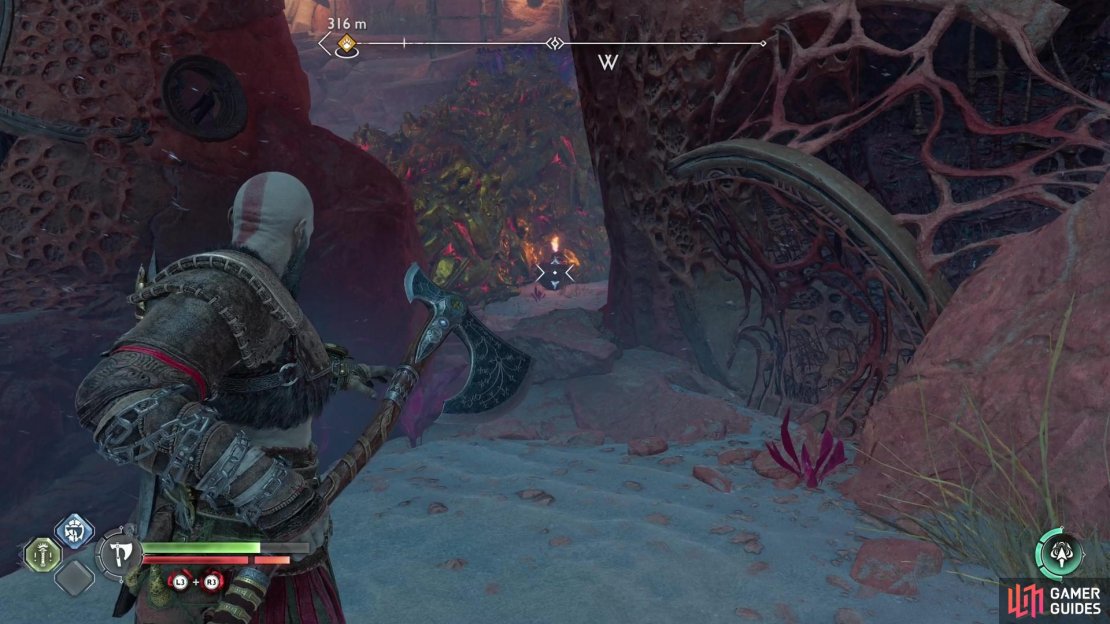
Make your way through The Canyon until you find Sindri’s shop, then talk to the dwarf to start this favor. Afterwards, make your way to [The Barrens], a much larger, more open area that’s currently plagued by a mysterious storm. On the plus side, a mysterious Gulon-drawn sled will arrive, which you can commandeer to make exploring The Barrens less tedious. Drive the sled to the south-center of the desert to find a cave, which leads to [The Below], where the majority of this favor will take place.
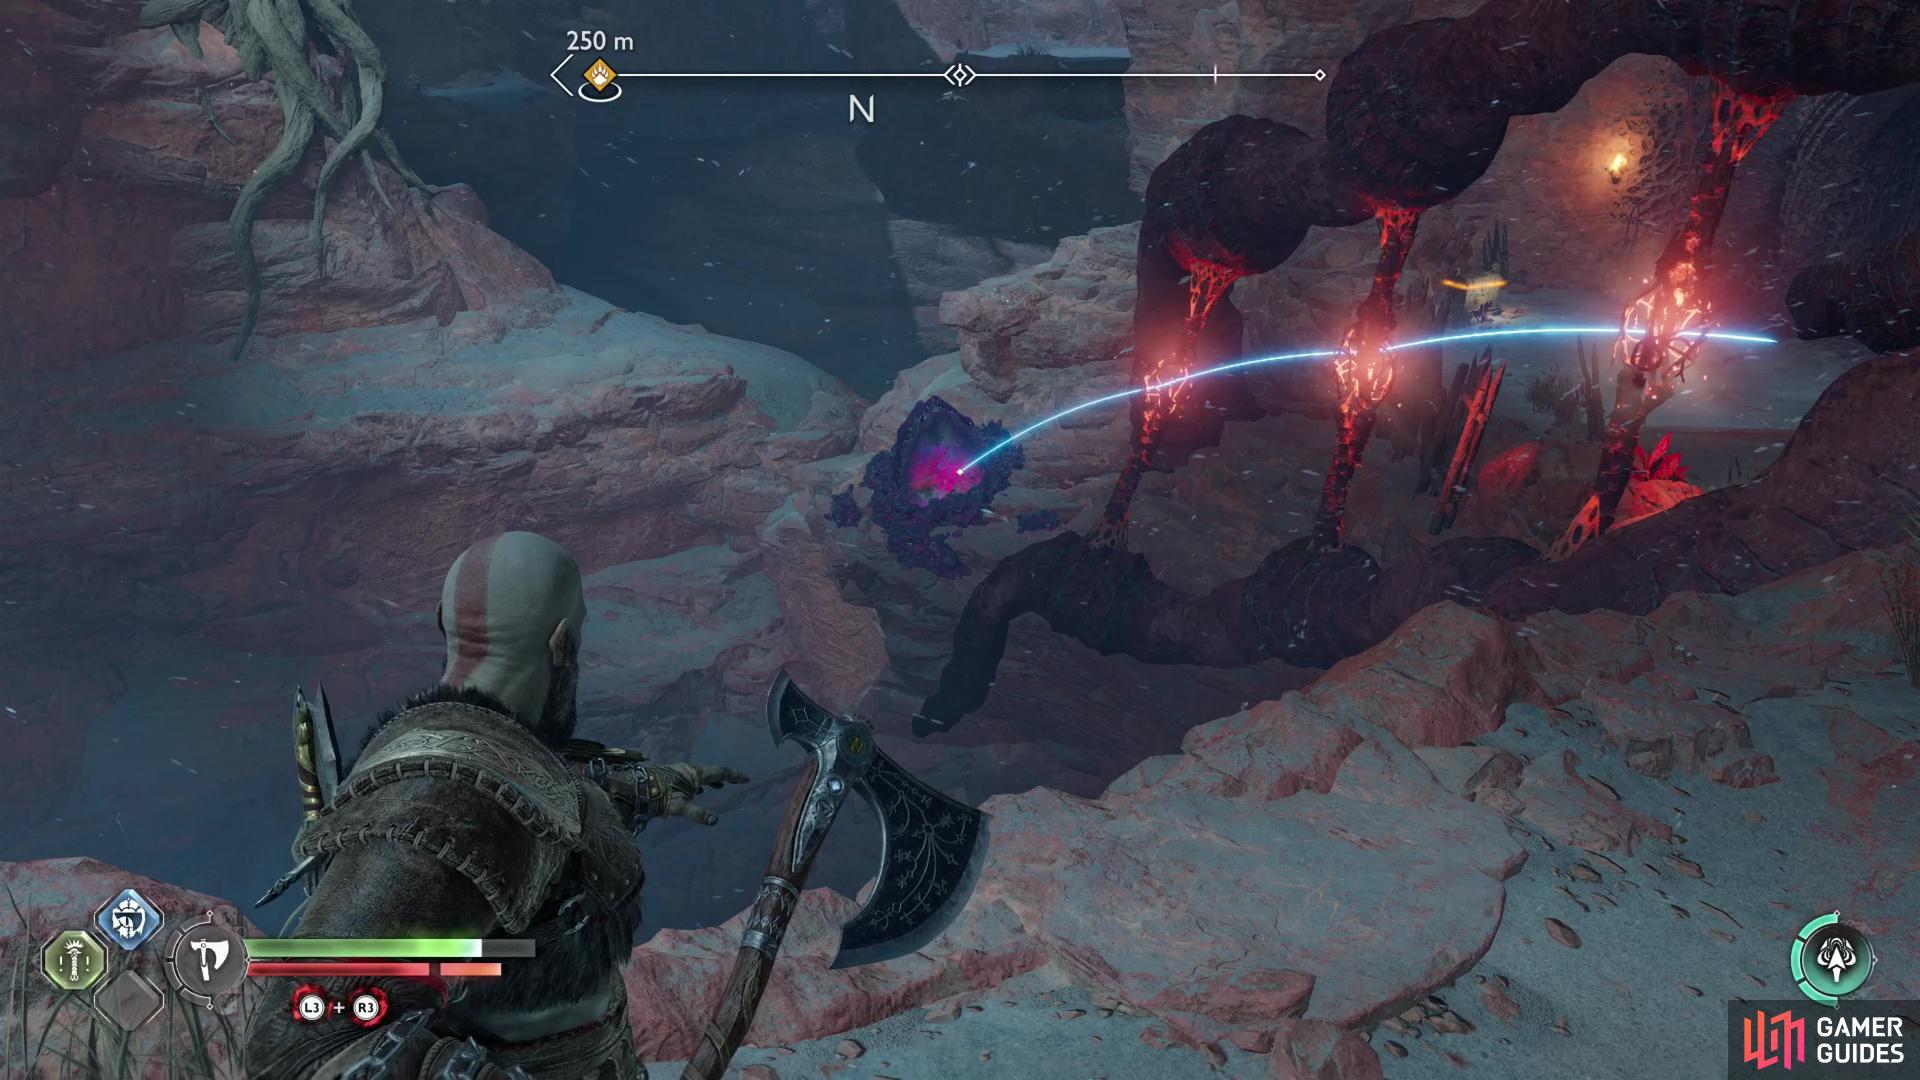
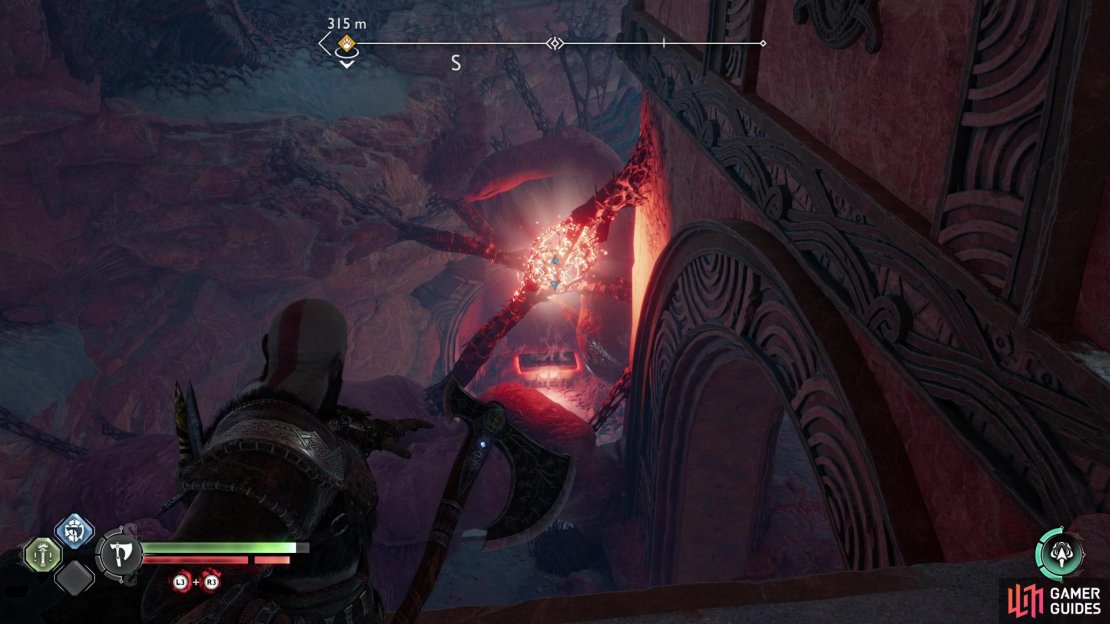
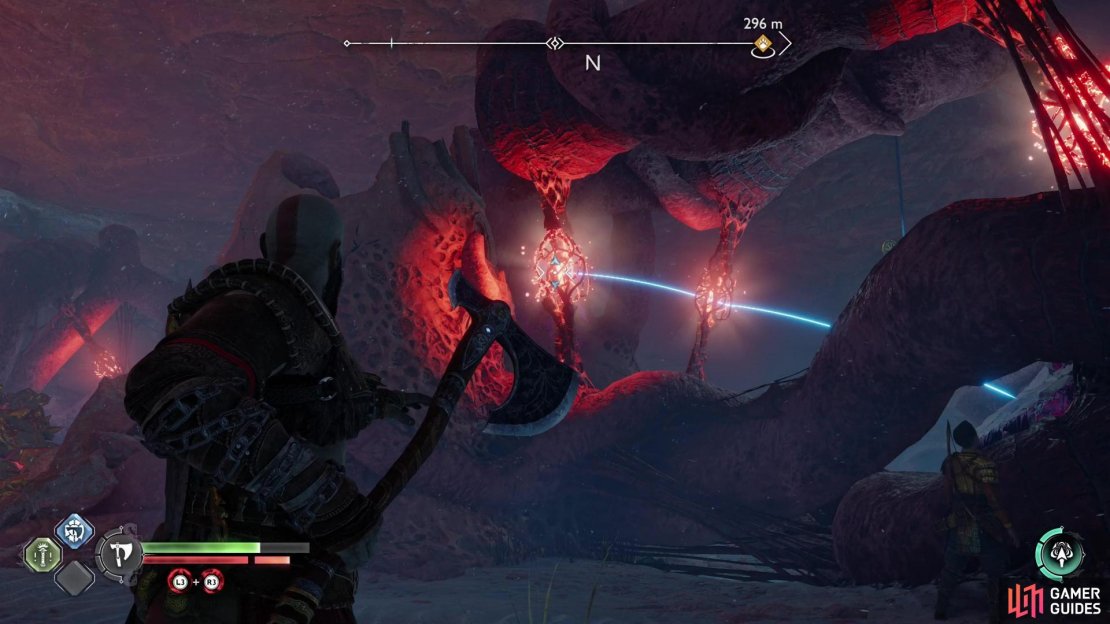
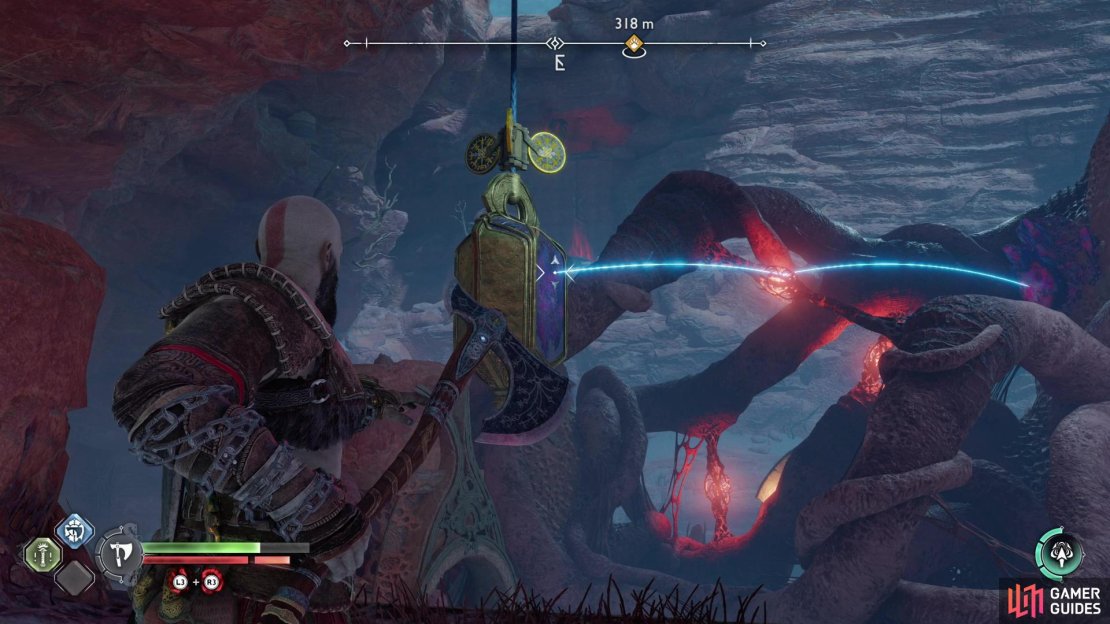
Rebound the Leviathan Axe off a Twilight Stone to sever all three hive tendrils at once and clear the way forward.
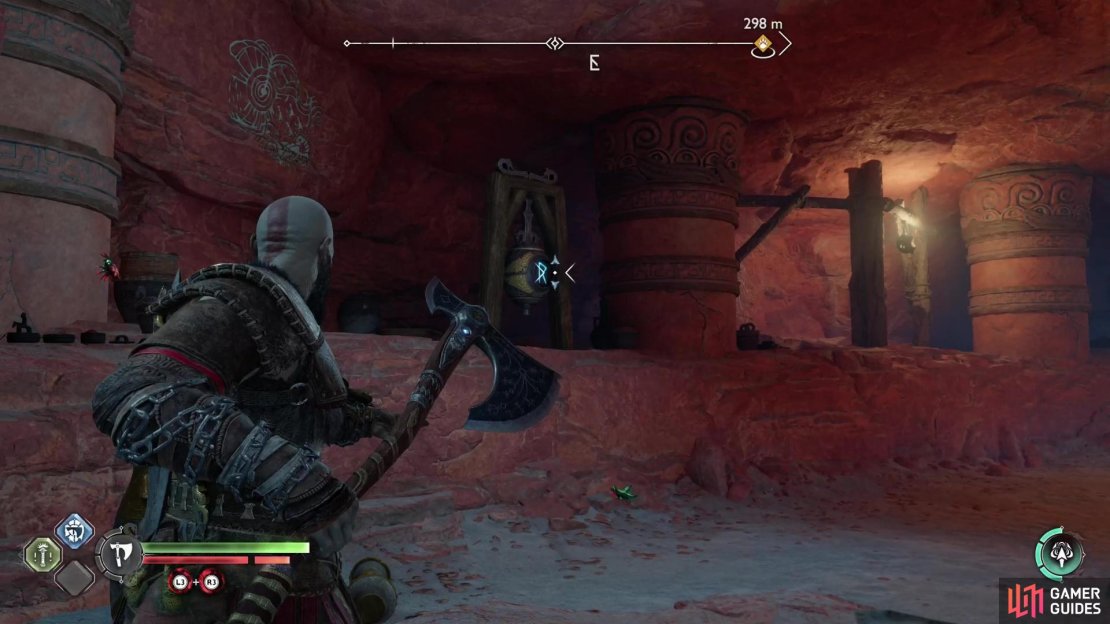
Enter the cave and climb down a pit to reach The Below. Follow the linear path ahead until you come across a hive tendril - this will be a common barrier in this place, along with Twilight Stones. Fortunately this particular hive tendril isn’t too complicated, just introduce it to the Leviathan Axe and you’re good to go.
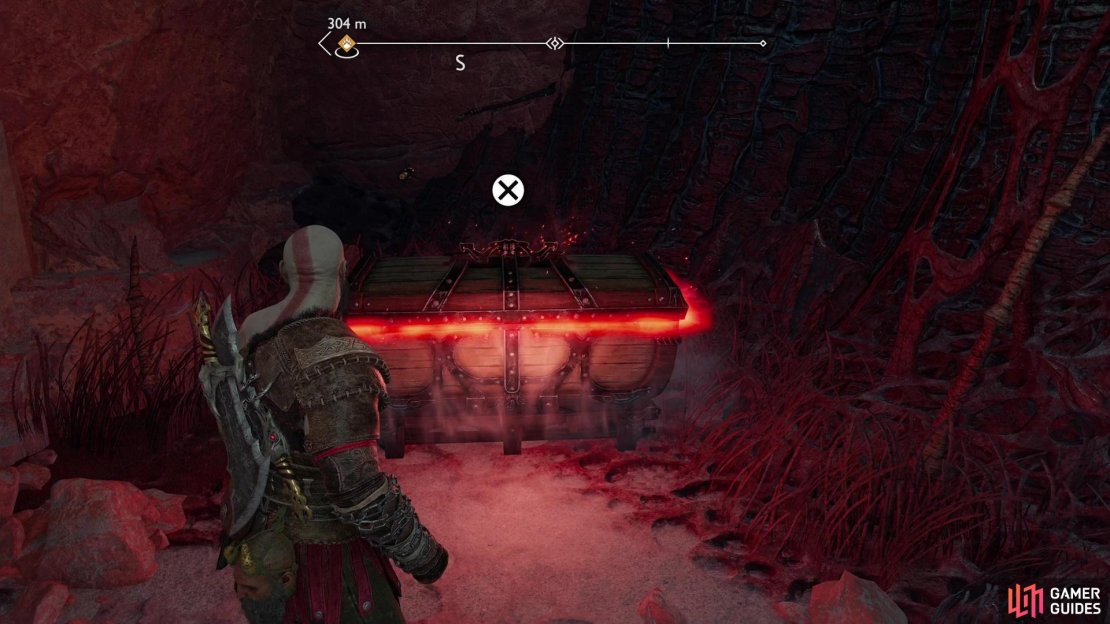
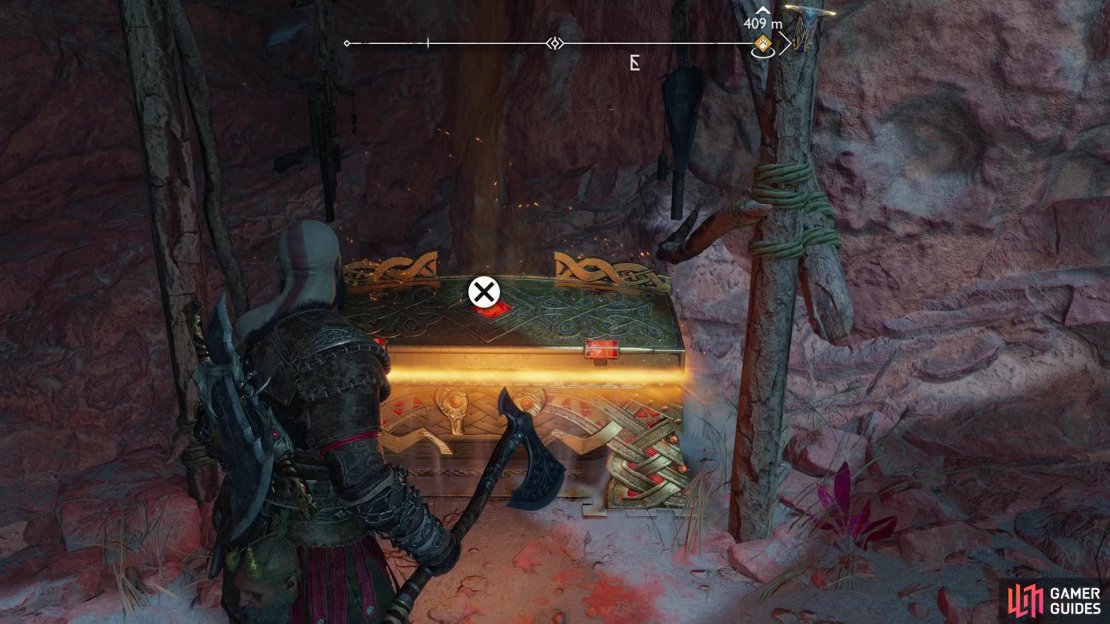
Destroy the hive tendril and continue forward, dropping down a ledge until you’re pestered by a Dark Elf. Plenty of those in this place, too. Kill it, then not another barrier, this time sustained by three hive tendrils. Use the twilight stone to the left of the hive tendrils to achieve the required angle to sever them all at once, then continue on when the path is clear. Your ingenuity will be rewarded by the arrival of two more Dark Elves. Kill them, then continue downhill, loot a chest, then go through a doorway to the east.
(1 of 4) Kill the hostile Dark Elves in the first side chamber,
Where to Find the Rune Reads - Patience Lore
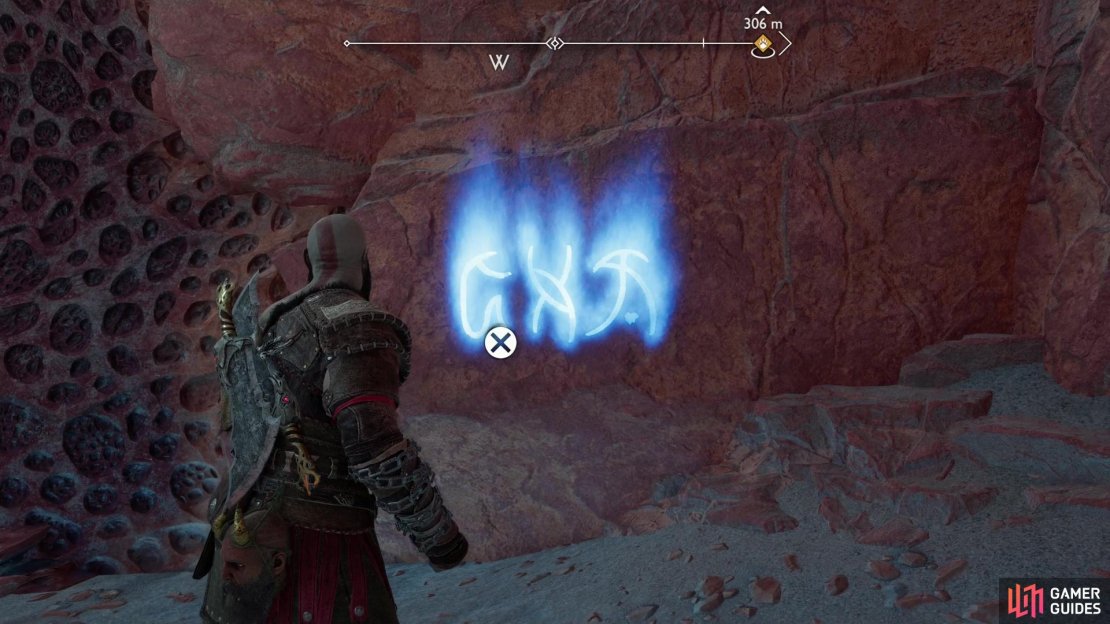
This room is full of Dark Elves, although they won’t spawn until you advance a bit. Do so and kill anything that opposes you, then note the hive tendrils to the east. The Twilight Stones in this area are red herrings, so ignore them and climb a wall to the north (if you go through the northern doorway you’ll just see a Nornir Chest rune gong you can’t do much with… yet). Once atop the wall, head east, then south and look down a ledge at the hive tendrils. Line them up and cut them down to remove the hive, then drop down two ledges to find the Rune Reads - Patience on the wall to the right and a chest to the southwest.
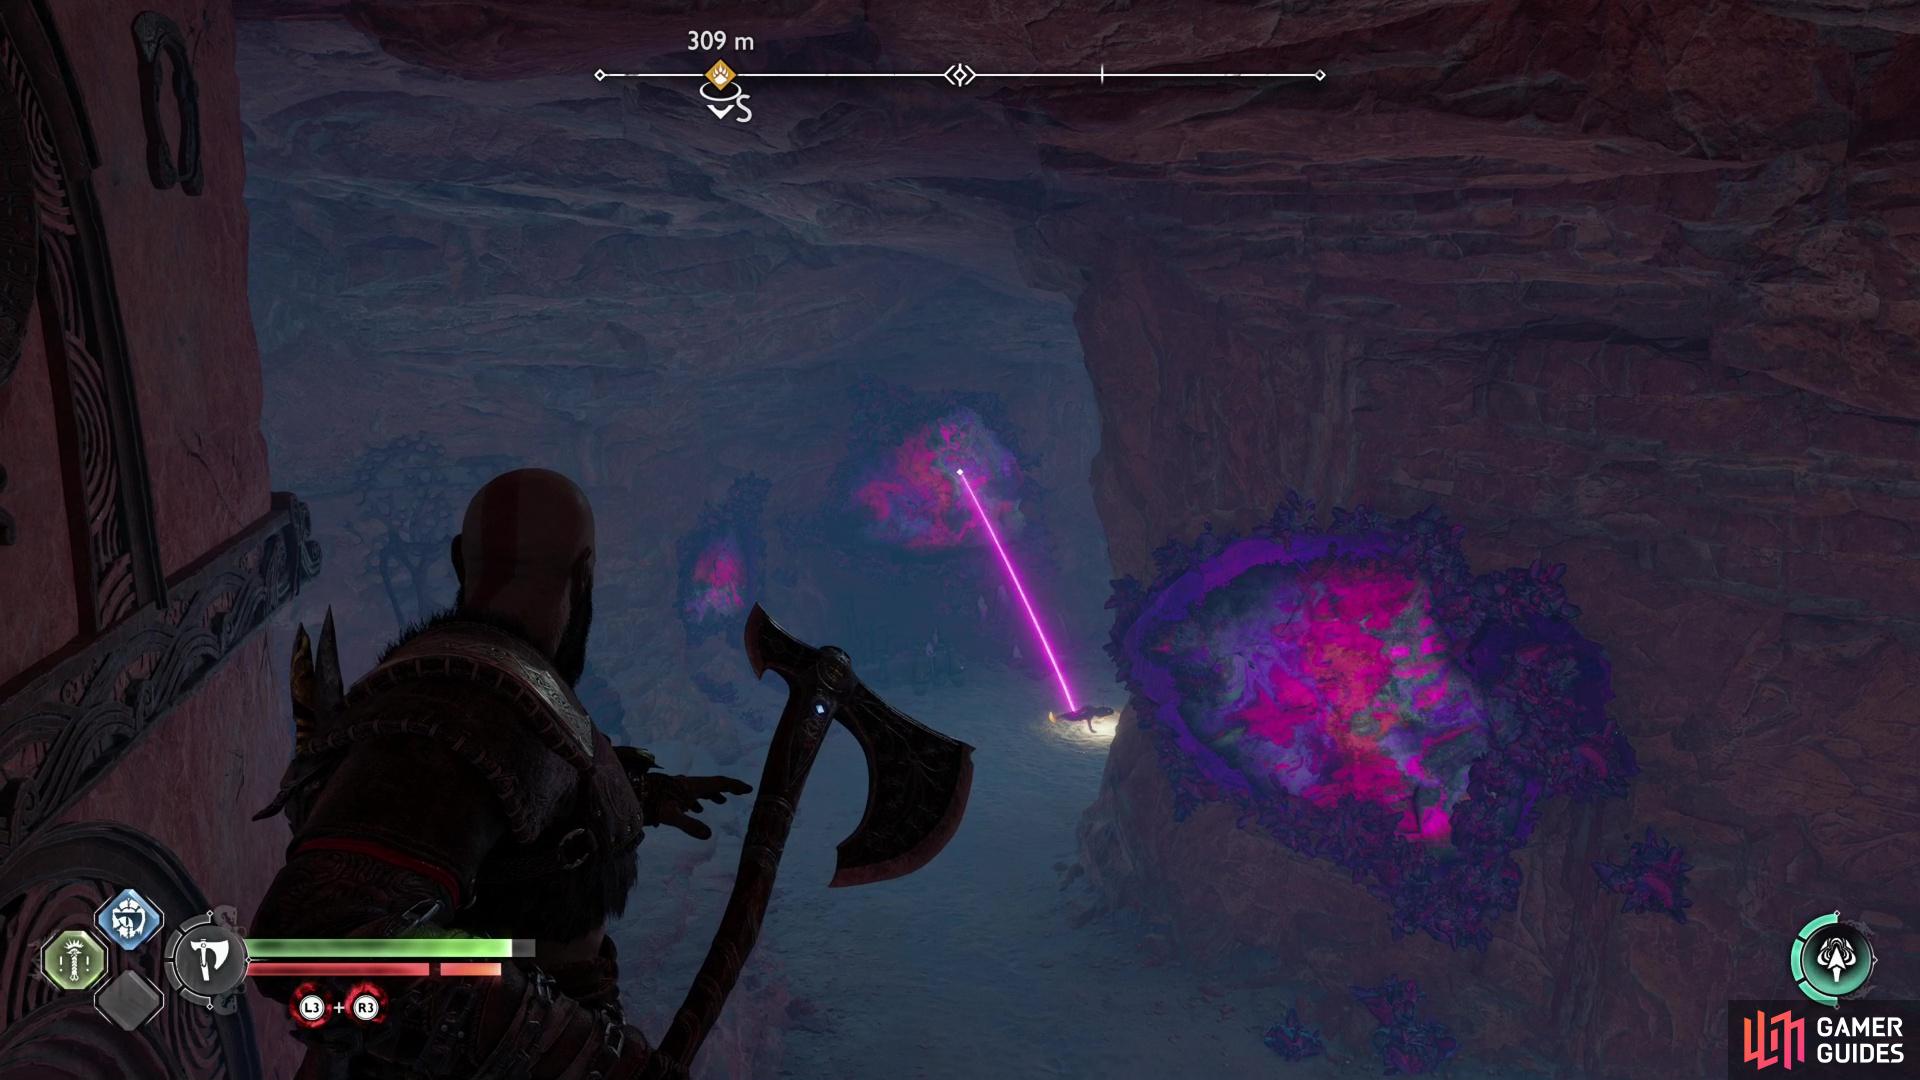
Either free-aim at the loot lizard, or use a twilight stone to bounce the Leviathan Axe into the beast.
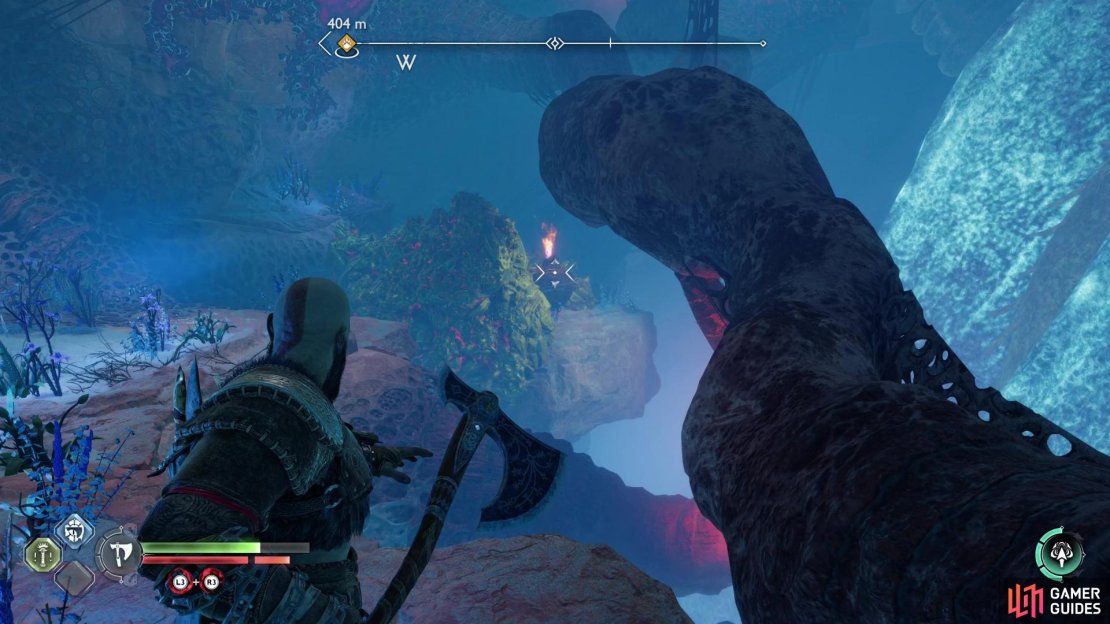
How to Kill the Loot Lizard
Grab the loot and the collectible, then climb back up the ledges to the north. Return to where you climbed the wall earlier and look southwest to where you entered the cavern and you should spot a Loot Lizard off in the distance. Either arc the Leviathan Axe far enough to hit the Loot Lizard, or the twilight stone opposite the Loot Lizard to more reliably bounce the Leviathan Axe back into the Loot Lizard. Either way, once it’s smote pick up the crafting materials it drops.
Climb back up the wall then turn left (west) and climb up another ledge to find yourself back in the main cavern area. Slide down a rope to reach a ledge to the north, then immediately turn around, drop off a cliff, and loot a chest. Climb back up and follow the walkway until you reach an apparent dead-end. Use the Blades of Chaos to grapple across a chasm, and when you land note a closed door to the east before dropping down to the southwest.
(1 of 2) Use the Leviathan Axe to clear some hive from the canyon,


Use the Leviathan Axe to clear some hive from the canyon, (left), after which you can use the Blades of Chaos to grapple to a previously inaccessible ledge. (right)
Kill a few Wretches, then turn northeast to spot a twilight stone overlooking a line of hive tendrils. Line up the Leviathan Axe so it rebounds off the twilight stone and cuts all the hive tendrils, then note a Nornir Chest to the southeast. You can’t open it just yet, but you can open the door leading back to the room where you last fought a squad of Dark Elves. Be wary of two exploding Wretches and a Nightmare as you drop down, then open the door.
Climb back up the ledges to return to the chasm you grappled across, and use the Blades of Chaos to traverse it again, this time leaping to a grapple spot previously obscured by the hive growth you cleared. After some chatter with Atreus you’ll be able to climb up and around a stone column, ultimately using the Blades of Chaos to reach another ledge.

(1 of 5) You can find a Nornir Chest between two doors - make sure they’re both open.
How to Solve the Nornir Chest Puzzle
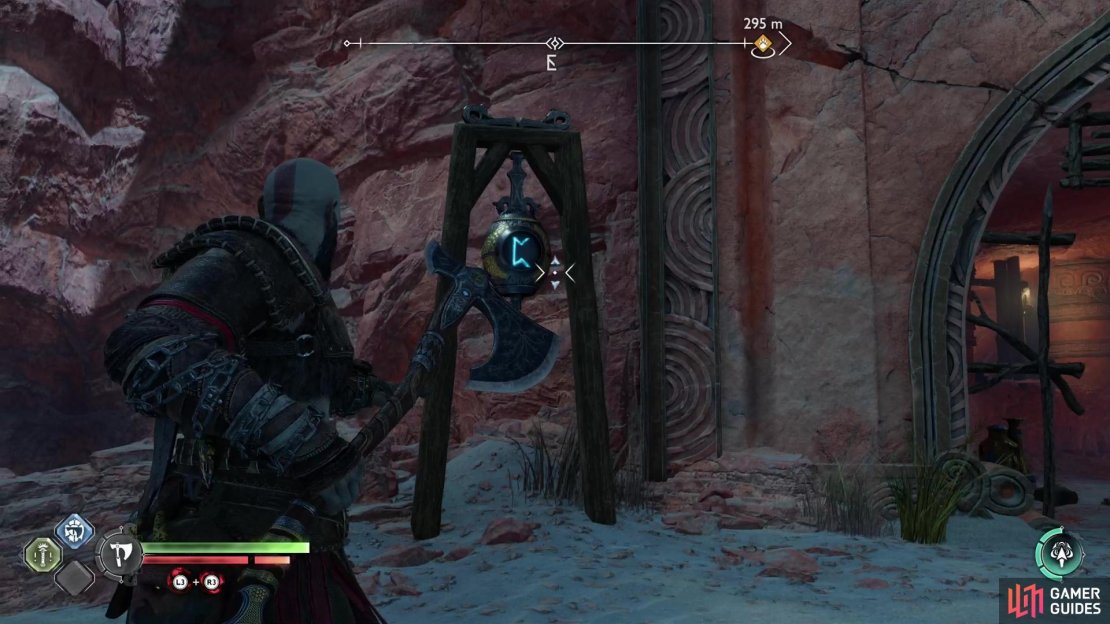
Make your way south to a ledge and note the rune gong in the window. Drop down to the south, turn right (west) and open the door. You can now complete the Nornir Chest you spotted earlier, if you’re fast enough. Stand in the doorway and look up at the rune gong. When you’re ready, hit it with the Leviathan Axe, then exit through the doorway and drop down the ledges to reach the Nornir chest. Hit a second rune gong just northeast of the Nornir Chest, then head through the door to the east to find the third and final rune gong on a ledge just through the doorway. Try running through this once without hitting any rune gongs so you’re familiar with the route and the locations of your targets and it shouldn’t be too hard, especially since the first rune gong lasts quite a while.
When you hit all three rune gongs, loot the Nornir Chest to claim your upgrade.

(1 of 3) Destroy a fire pot to clear some rocks,
How to Solve the Hive Puzzle
Backtrack up the ledges one last time (we promise) then go through the door to the east. Descend a chain (also to the east) but be ready for a fight, as a Dark Elf Lord awaits you. On his own he’s not too bad, but once he’s around half health he’ll be joined by some reinforcements. Put them down, then crawl through a tunnel to the north, where you’ll immediately find your path blocked by rocks.
Drop down a ledge to the northeast and turn around to find a fire pot you can destroy to clear the rocks. Once those are gone, head to where the rocks were and turn northeast to find another pile of rocks in the distance. Use the Leviathan Axe to destroy another fire pot and clear out this second pile of rocks, which will reveal a twilight stone. Ricochet the Leviathan Axe off of it to cut several hive tendrils and you’ll unveil a chest. Loot it, then backtrack to where the first pile of rocks you cleared stood and drop off a ledge to the west.
(1 of 5) Toss the Leviathan Axe through some hive tendrils, deflecting it off a twilight stone to clear a hive cluster.
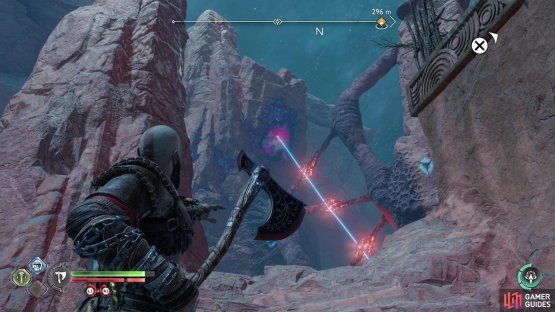
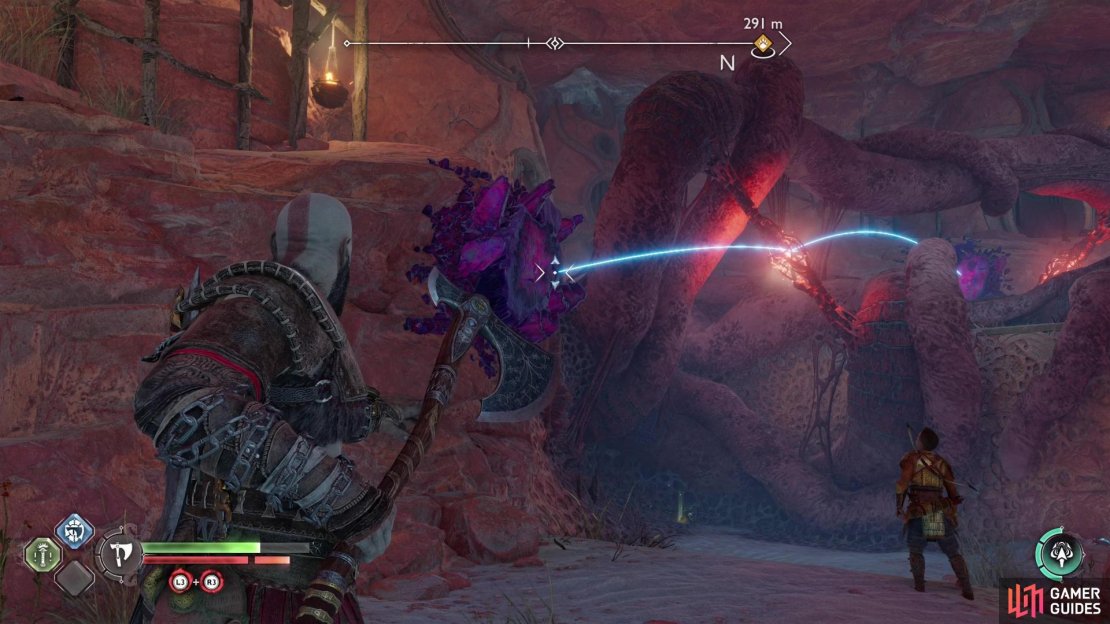
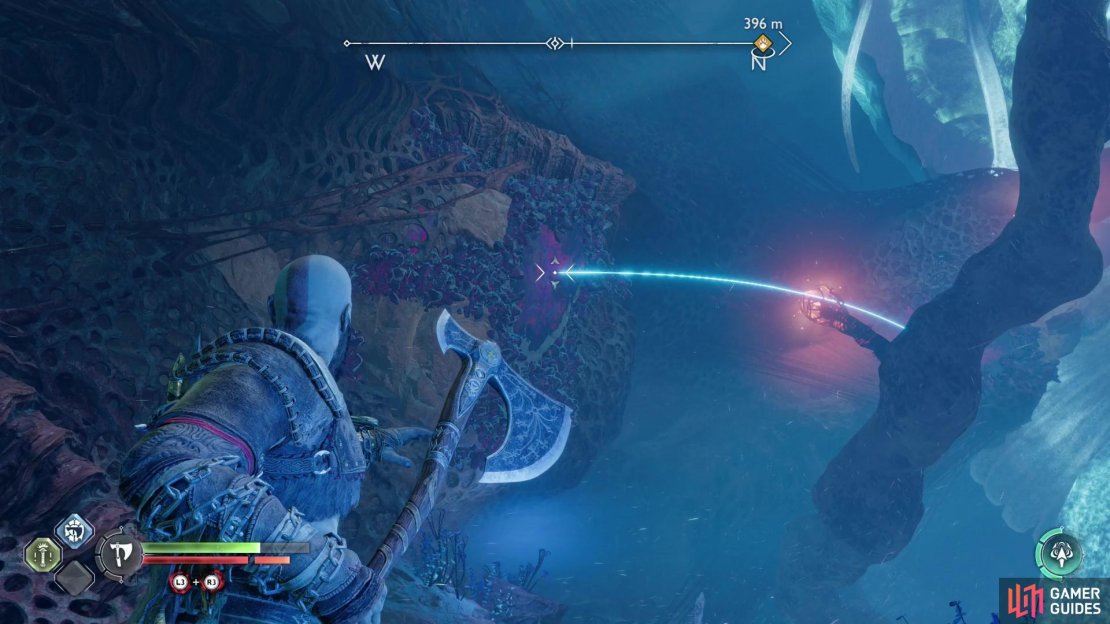
Continue west and you’ll… a whole lot of hive blocking your path. Kill some explosive Wretches when they spawn and look north to spot a trio of hive tendrils, as well as a twilight stone behind them. Line up the Leviathan Axe so you have to throw it through a hive tendril to hit the twilight stone beyond, and your axe should bounce and hit all three tendrils, clearing the way to the north, northeast.
Jump a gap past where the hive was and continue until you find a chest. Loot it, then return to the gap and look to the west to spot a fire pot behind some rocks. Destroy it, jump across the gap, then work your way around to where the rocks were, only to find one obstruction replaced by another.
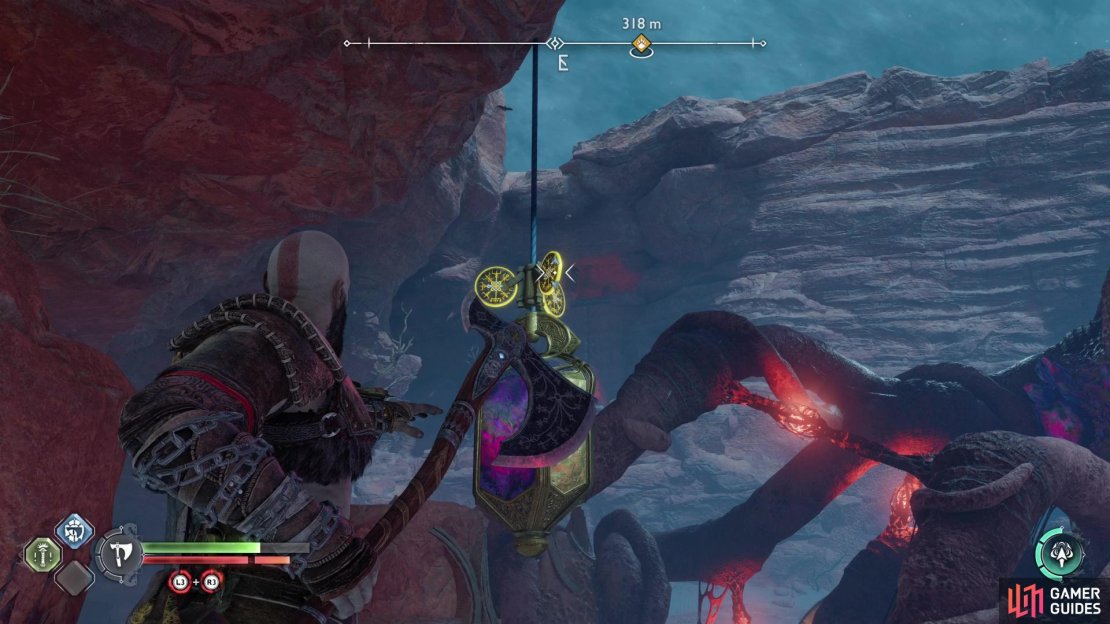
Note a twilight stone on the wall to the left, aim the Leviathan Axe at it, then bounce it through a tendril up ahead and into a second twilight stone. With the hive cleared, climb a wall to the north, loot another chest, then continue until you reach a ledge to the east, where you’ll find a twilight stone hanging from the ceiling. Toss your Leviathan Axe at the right-most panels to rotate the twilight stone, then recall the Leviathan Axe and ricochet it off the hanging twilight stone and through a tendril ahead. After it’s done bouncing the way forward should be clear.
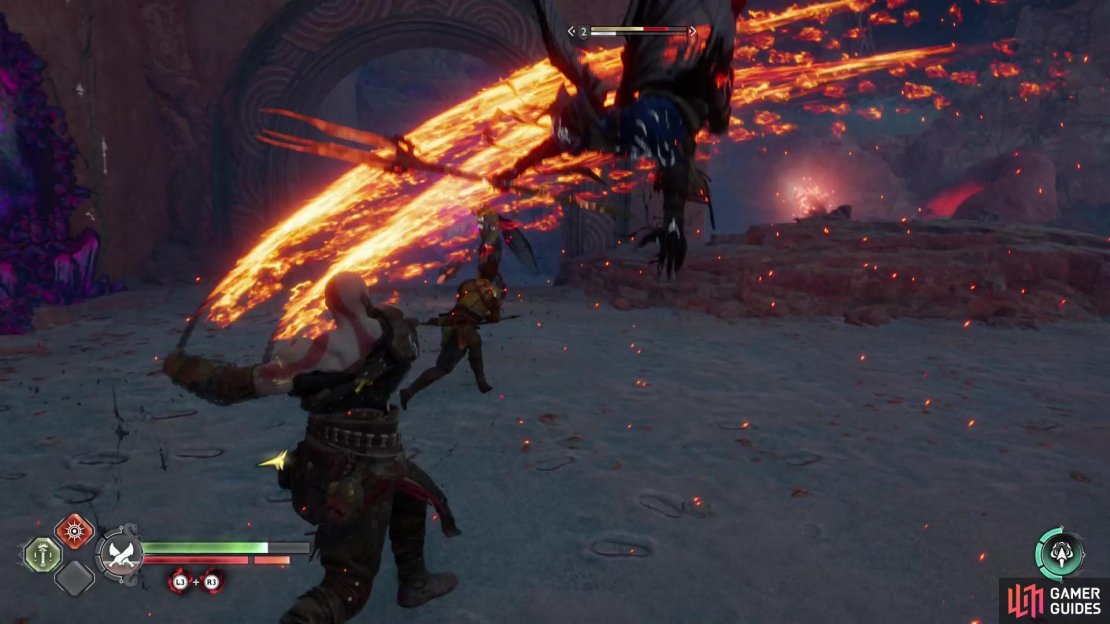
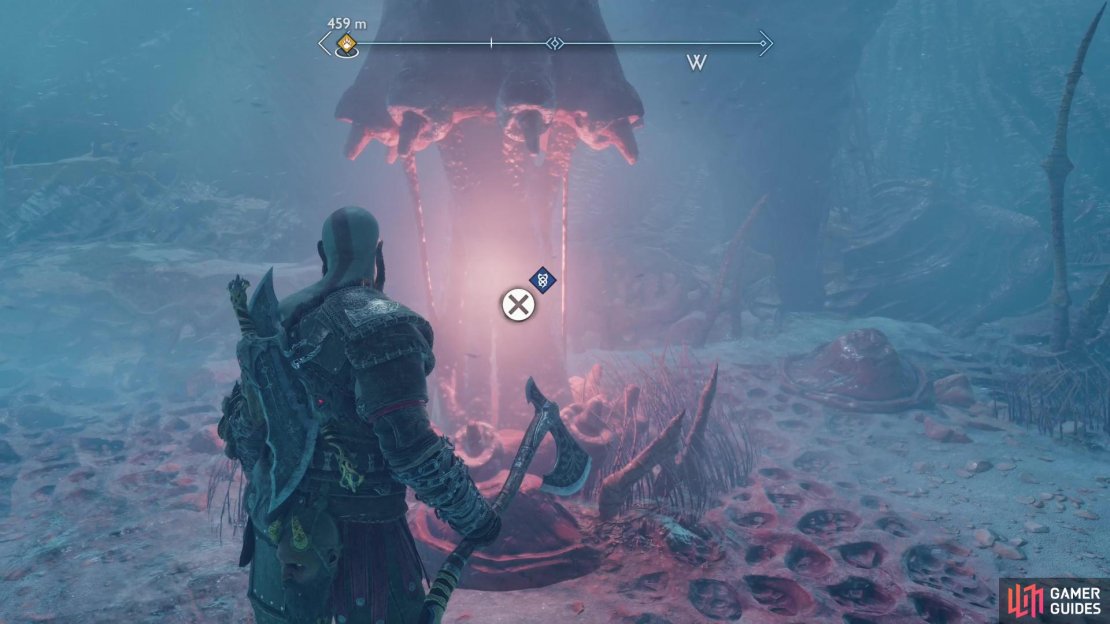
Drop off the ledge to the east, kill the Nightmares that spawn, then continue across a gap to the east, turn left (north) and cross another gap. Keep fighting through Nightmares as you work your way into a side chamber, where you’ll find a Nightmare nest. Destroy it, then climb up the wall to the northeast to finally reach the creature Atreus heard.
(1 of 3) Destroy a fire pot to clear some rocks,
How to Free the Hafgufa
When you’re back in control, note some rocks to the left (northwest), then turn right (east) and head off in the latter direction and keep an eye on the aforementioned rocks until you spot a fire pot nestled among the rocks. Toss the Leviathan Axe at it when you see it to clear the rocks, then jump the gap previously blocked by the rocks.
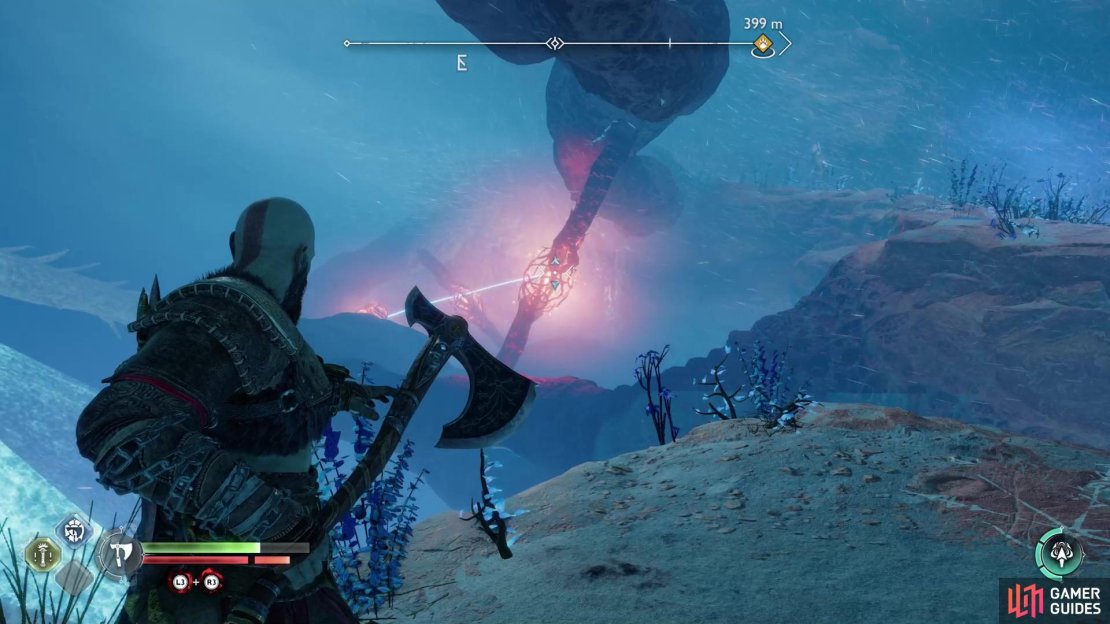
Once on the far ledge, turn east to spot some hive tendrils behind which lurks a barely visible twilight stone. Chuck the Leviathan Axe through the closest tendril and line it up so it ricochets through the other two tendrils, which will clear the hive growth to the east.
Jump back over the gap and look up to the northwest until you spot a twilight stone above you. Angle it so the Leviathan Axe bounces through a tendril to the right and ricochets off another twilight stone, ultimately destroying three hive tendrils and clearing off another section of hive. The Hafgufa isn’t free yet, but you’ve done all you can from here.
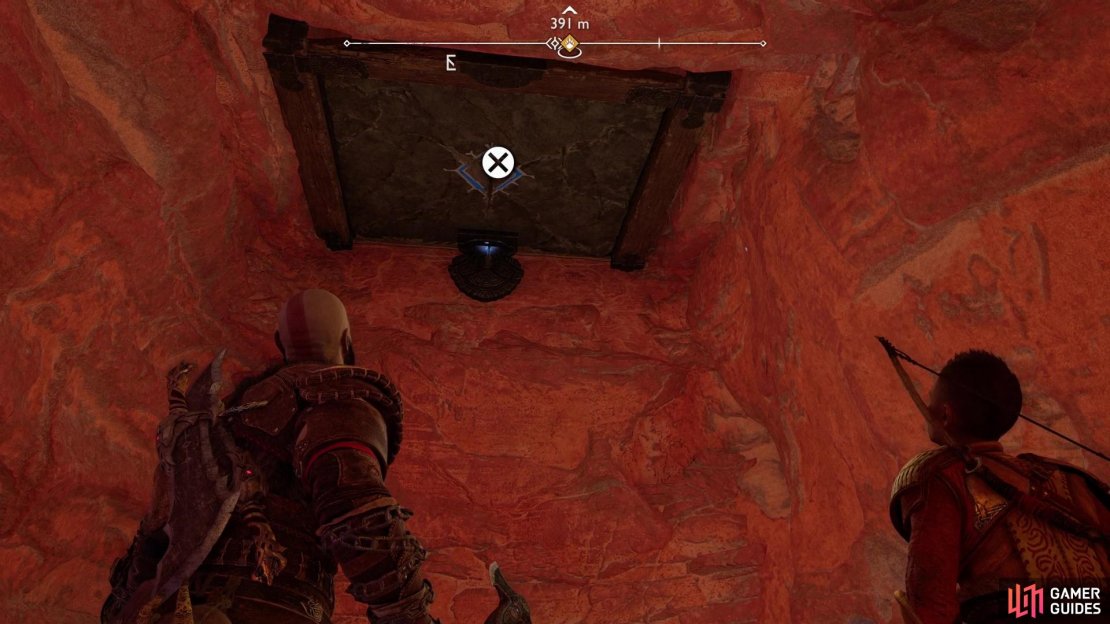
(1 of 3) Smash through a weak section of ceiling,
Head east and follow the linear path ahead until you reach a ledge you can climb up. Do so, loot a chest, then turn east and climb another wall, continue forward, and when you reach a ledge look up and smash through a fragile section of ceiling to find yourself in a room with a Legendary Chest. Loot it to obtain Shoulder Straps of Radiance, look up to the south and destroy a hive tendril, then climb up the wall to the east to return to The Barrens.
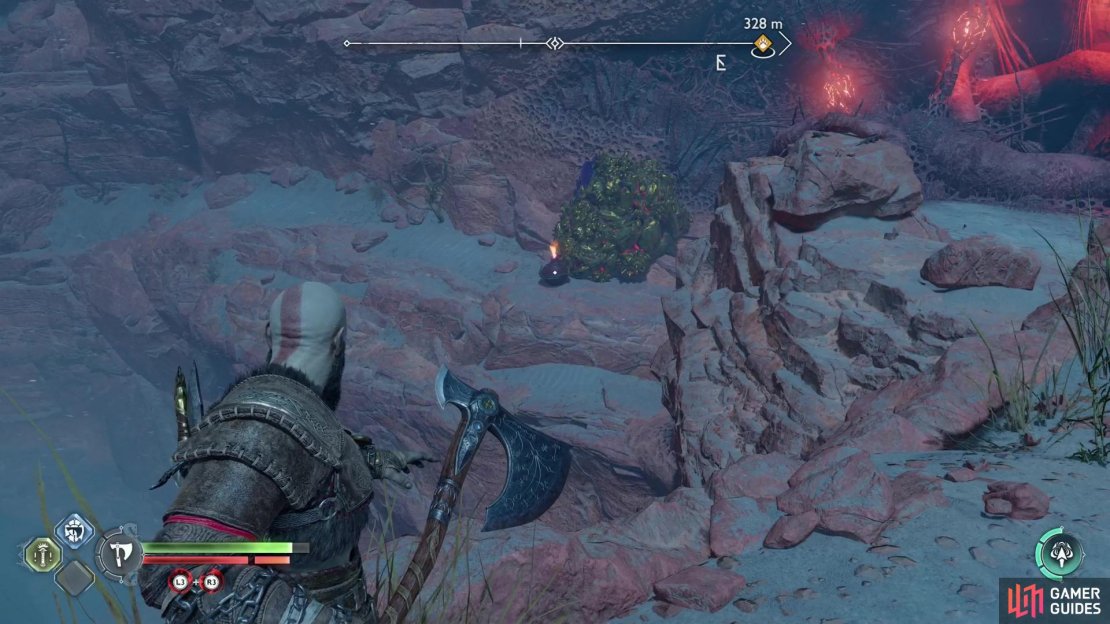
Pilot your sled north to reach the remaining hive growth over the Hafgufa and cut through an exceptionally durable section of hive to free the beast and finish the favor. You need to complete this one as part of the Full Gufa achievement.
No Comments