
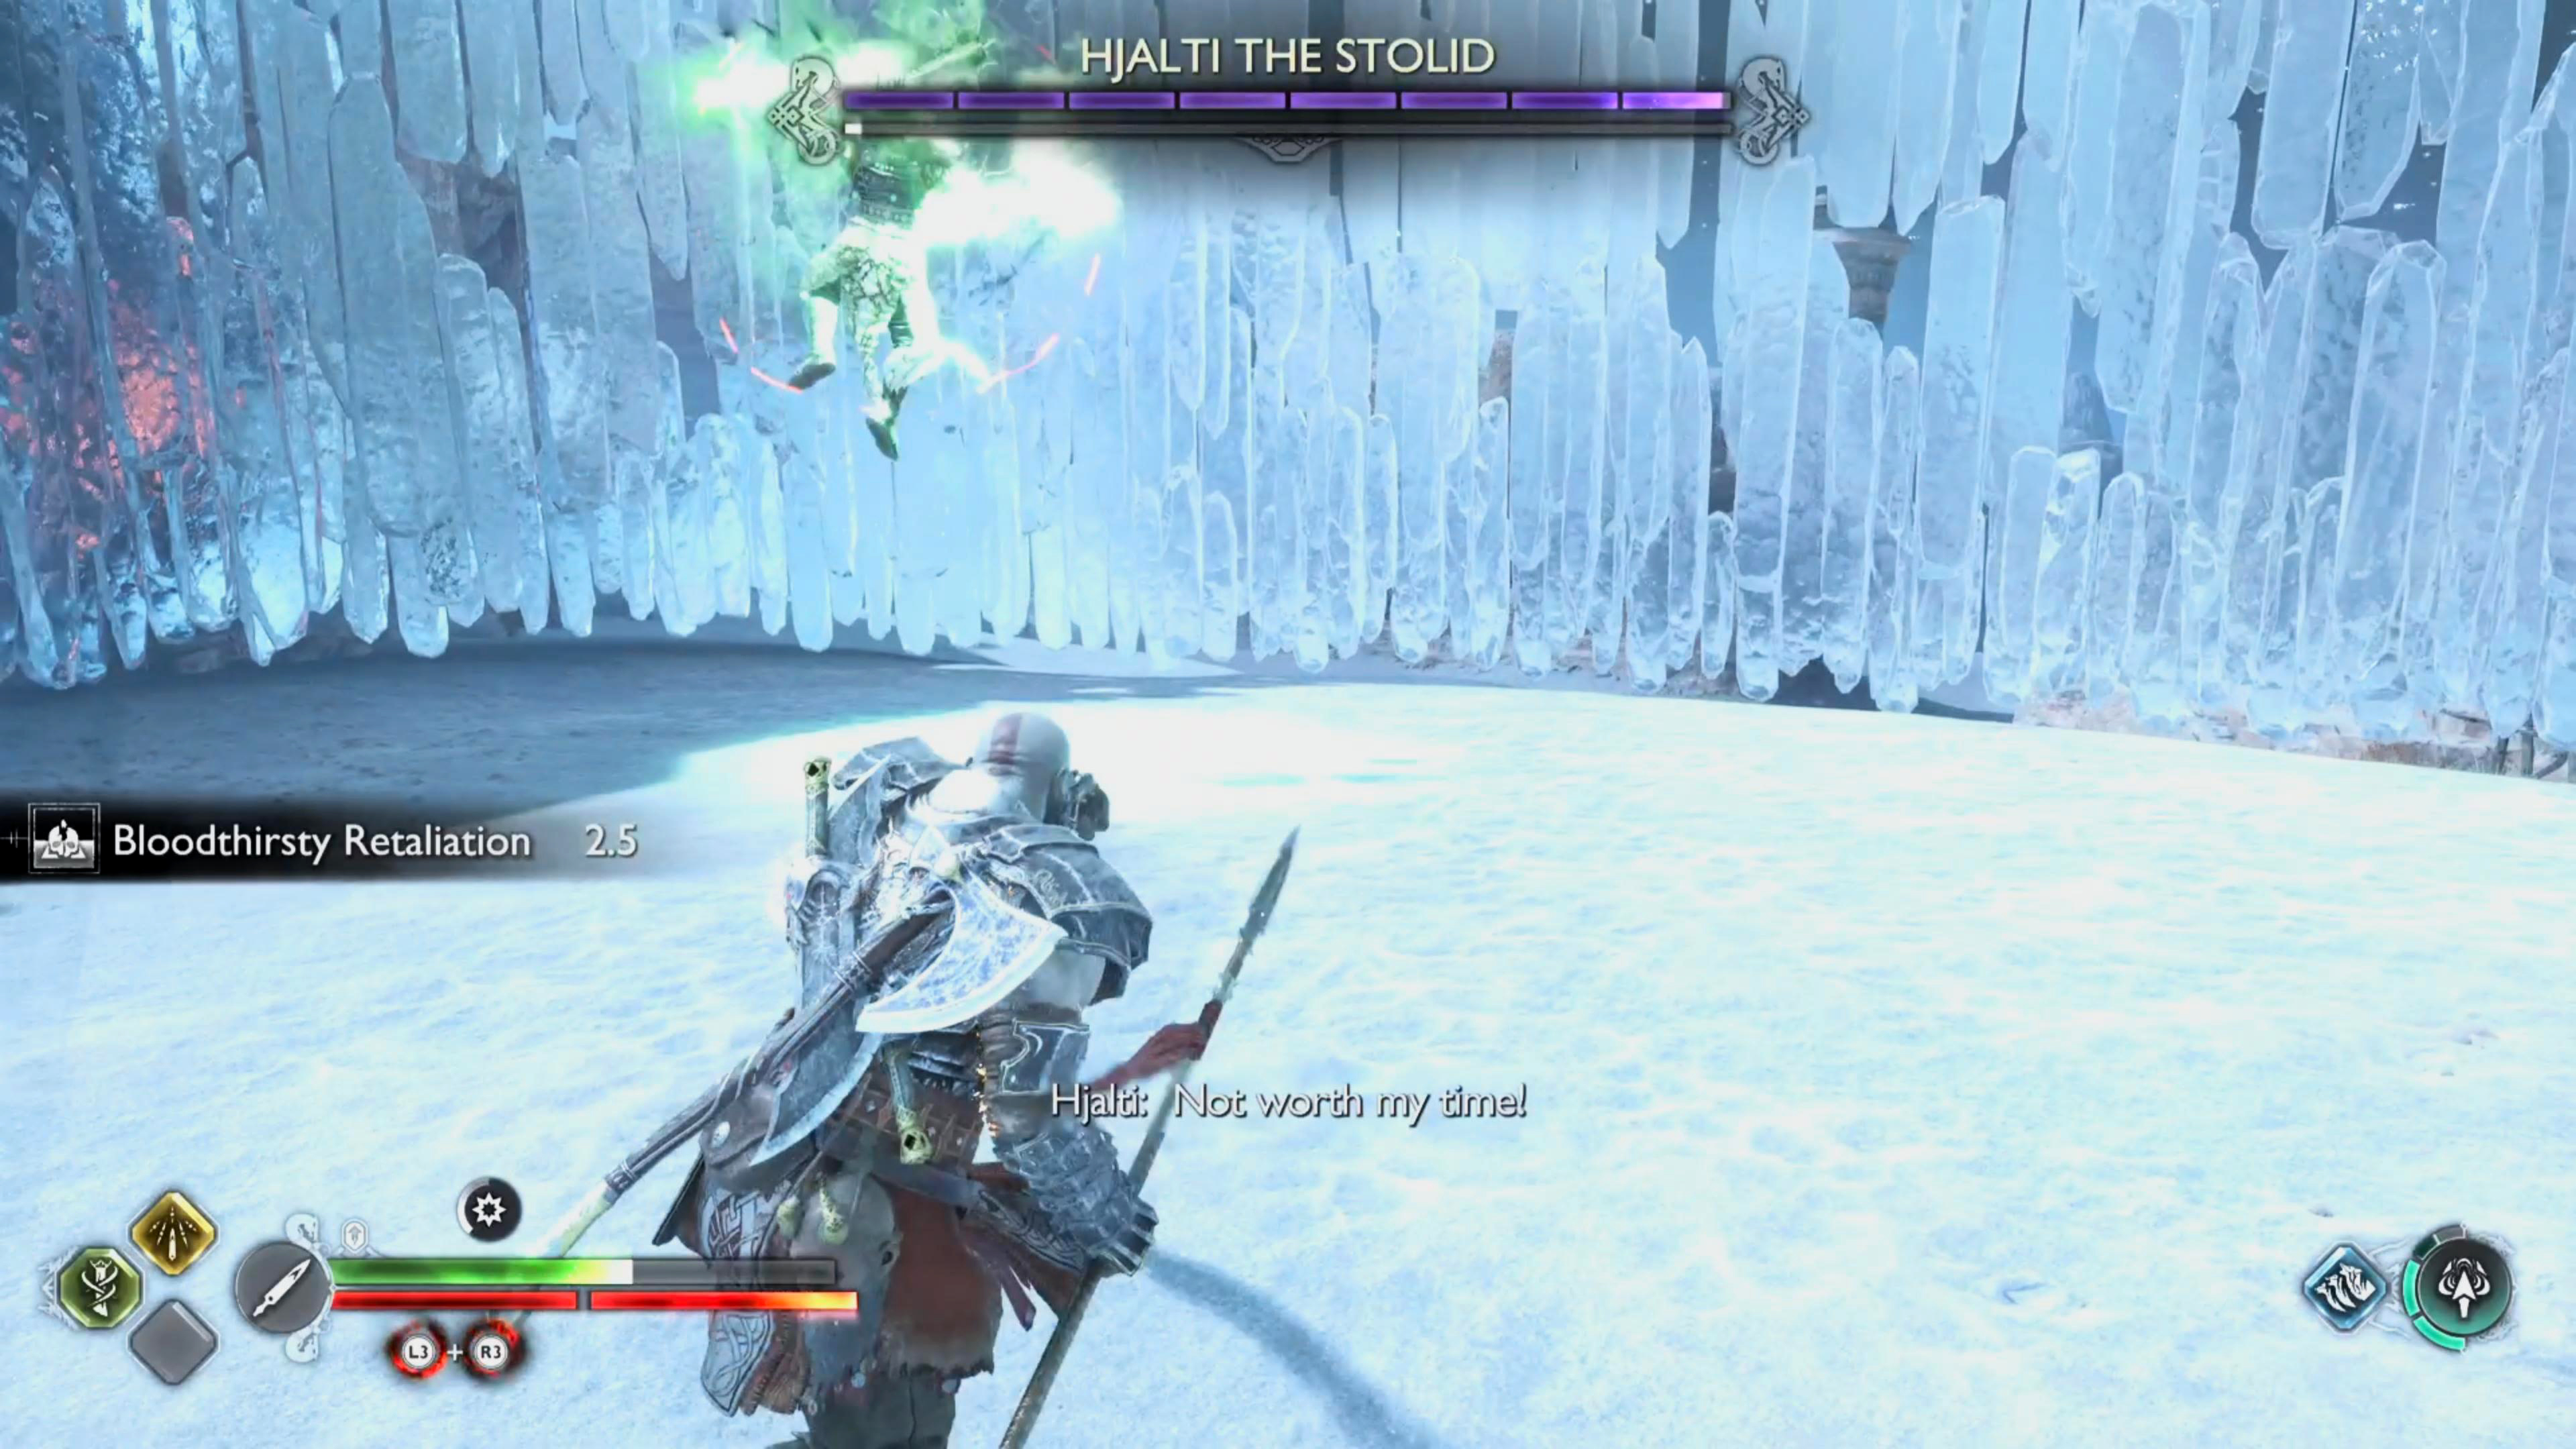
As you explore the numerous areas in the world of God of War Ragnarok, you may have passed some gravestones sitting out in the open. These are called “Berserker” Gravestones, and when you interact with them, you’ll be placed in an arena where you’ll have to fight one (or more) of them. There are 13 Berserkers’ in total, but only 10 gravestones to beat them in. Defeating all Berserker’s is required for 100% completion as well as to unlock, and finish the Favor “Fit for a King”. This page will guide you through finding, and defeating the Berserker “Hjalti The Stolid”.
How to Activate the Berserker Gravestones
To activate the gravestones, you’ll need the key-item Hilt of Skofnung which you’ll acquire during the story mission “The Word of Fate”. With Hilt in hand, interact with the gravestone to place a circular arena around the gravestone, and one or more of the Berserker’s will spawn. If you die, and you most likely will, you will start near the gravestone, so there’s no reason not to try them whenever you see one.
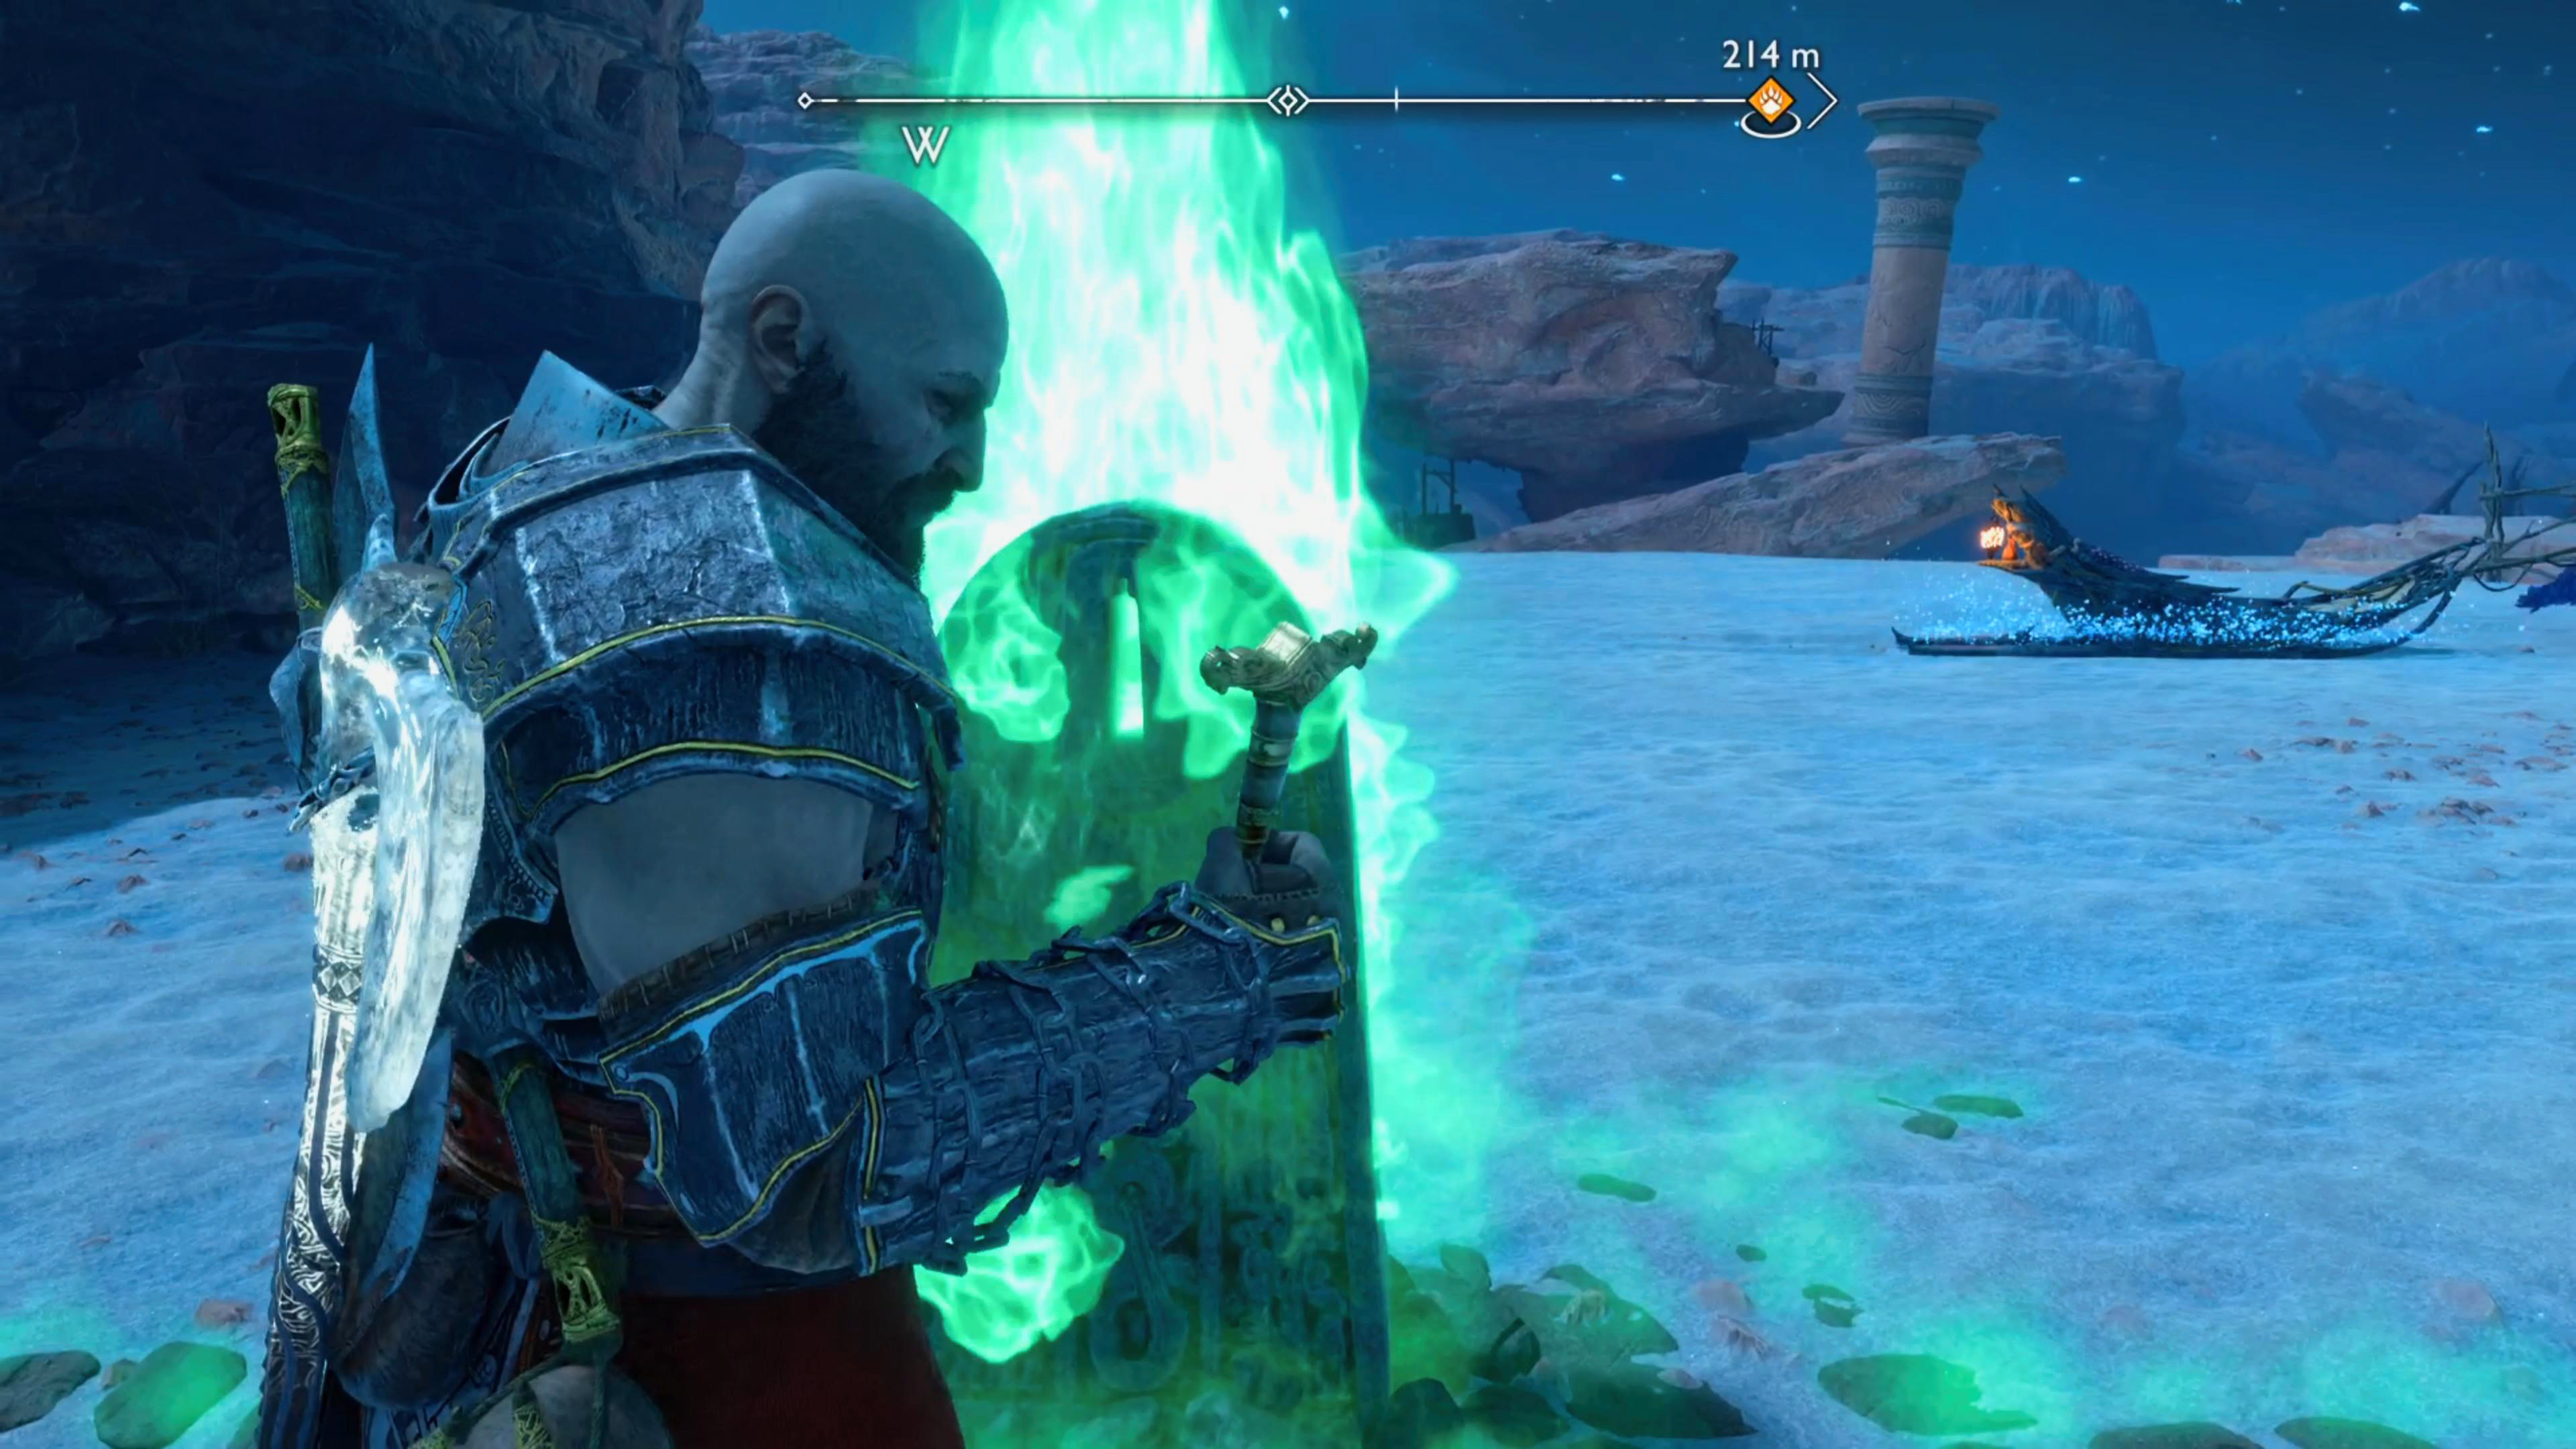
You’ll need the Hilt of Skofnung to activate the Berserker Gravestone.
Where to Find Berserker Hjalti The Stolid in The Forbidden Sands of Alfheim
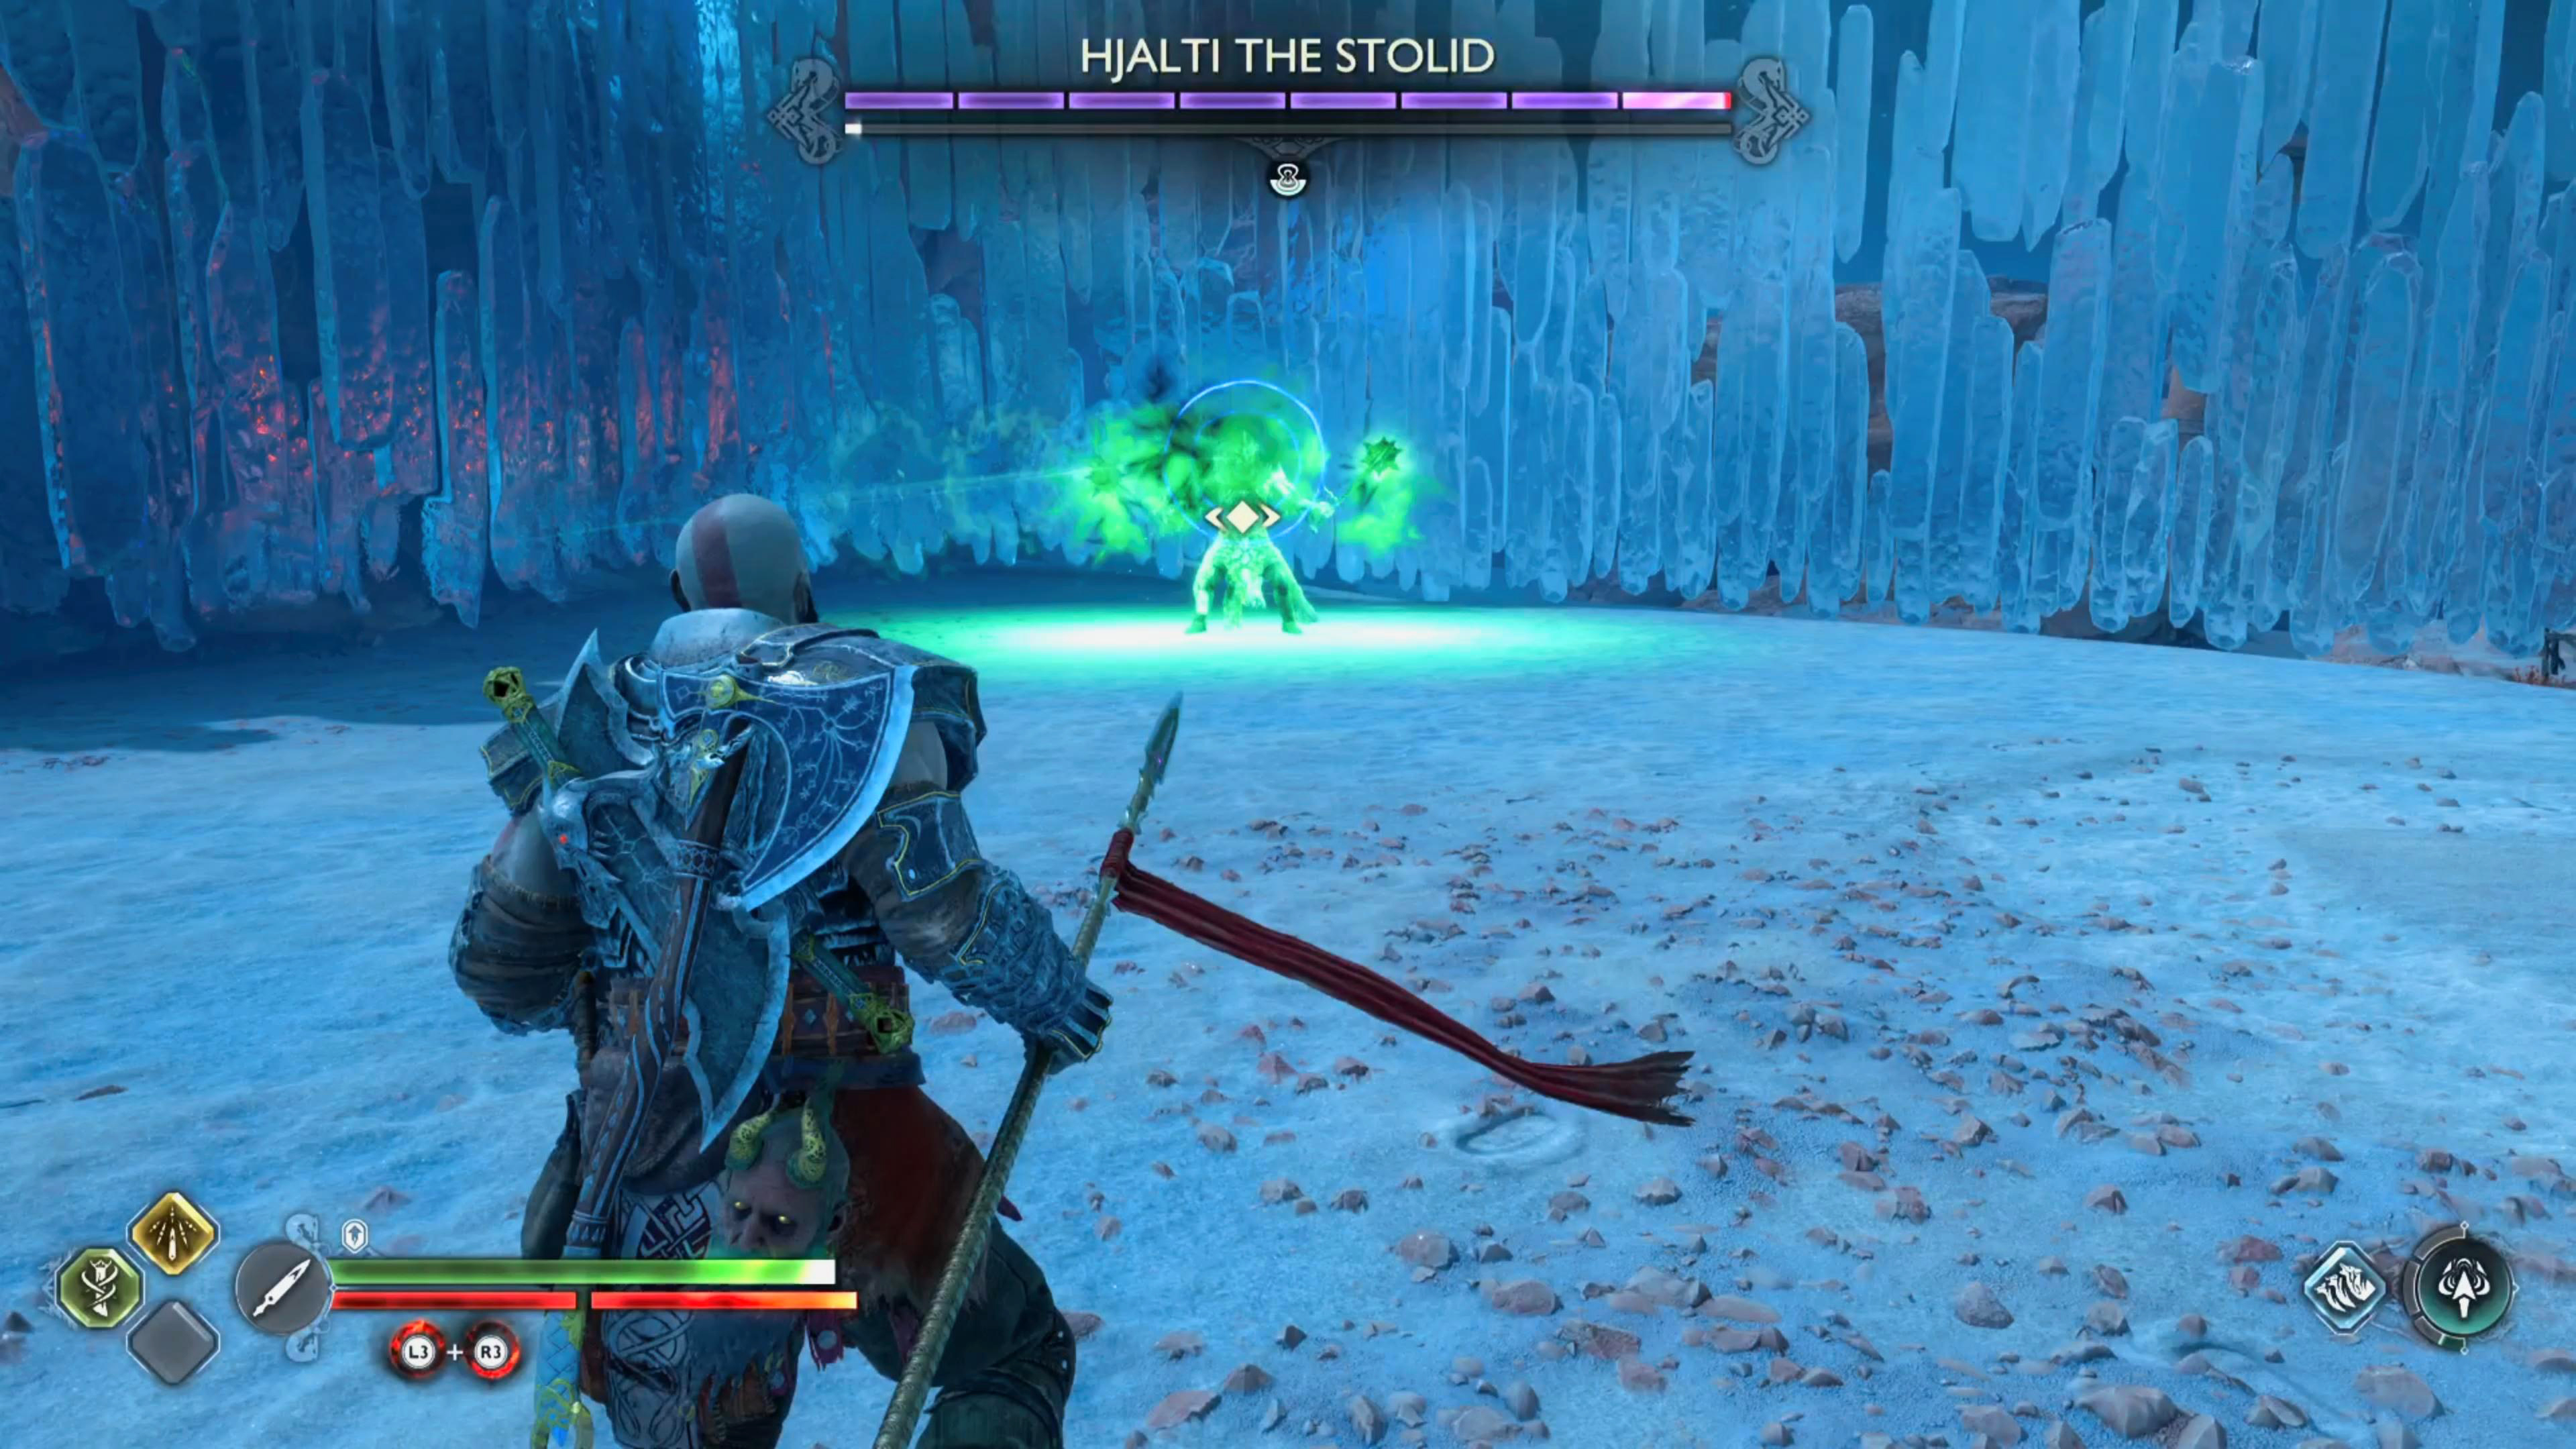
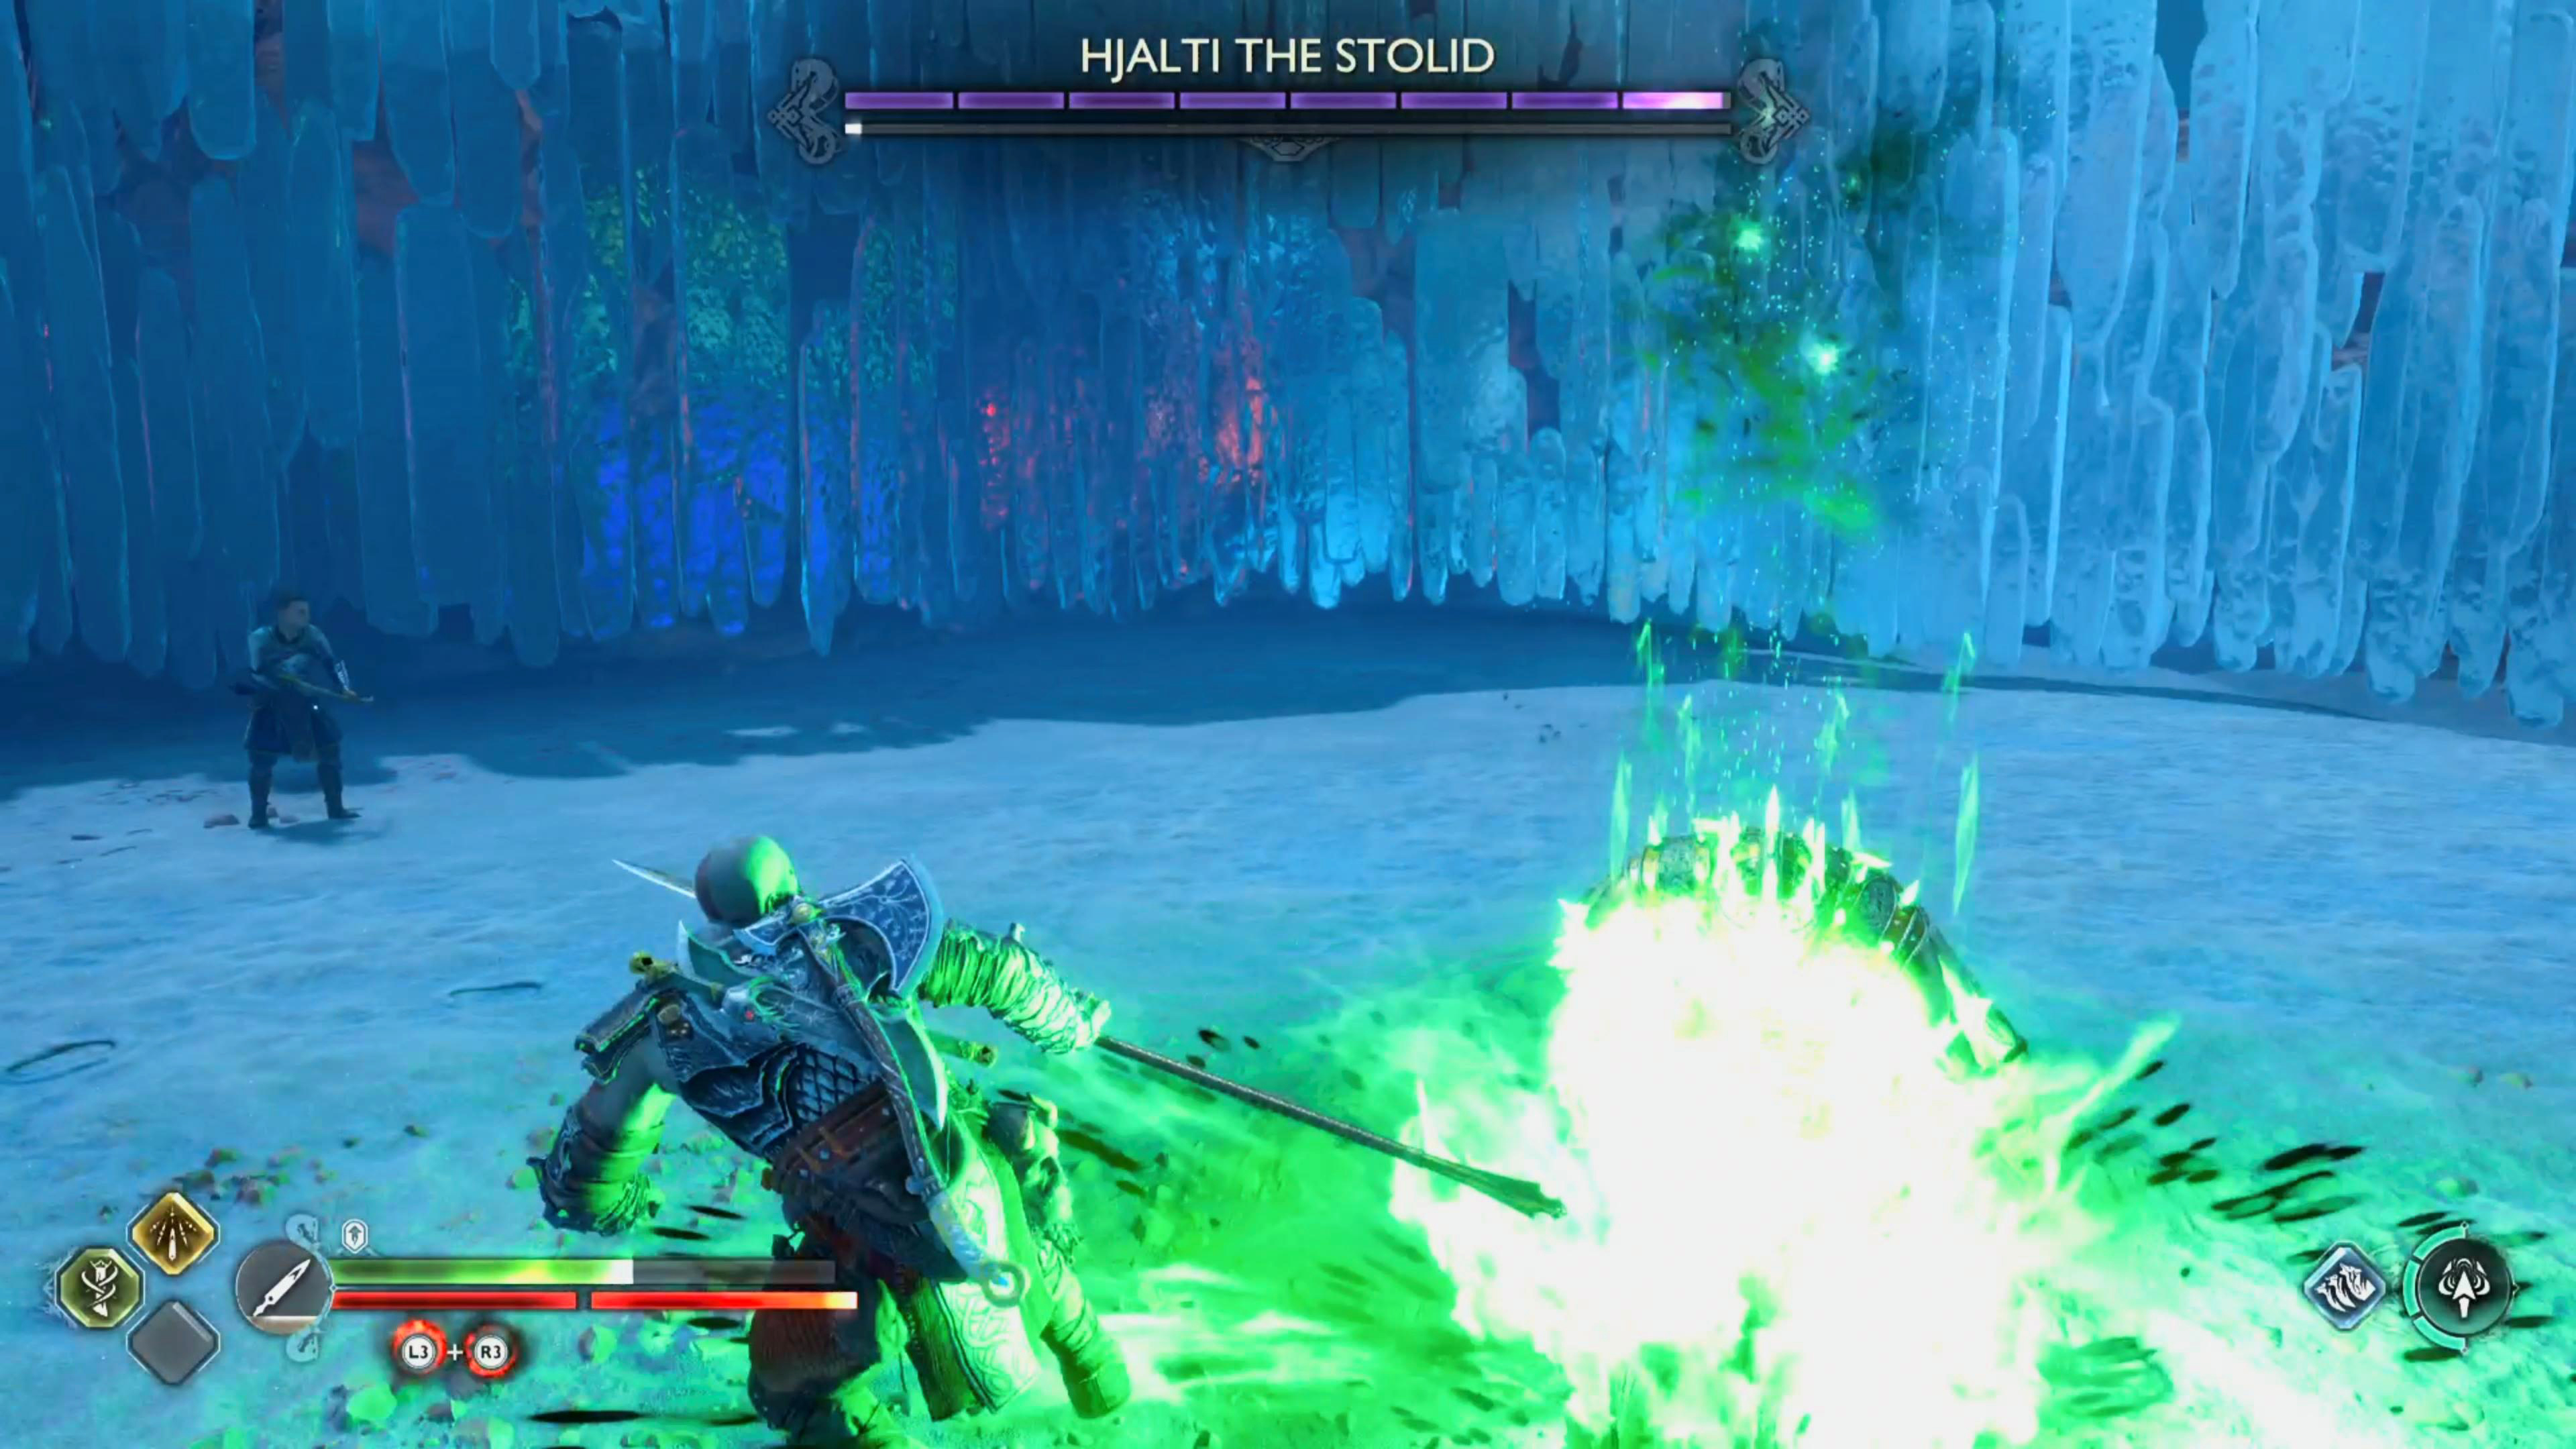
You can find Hjalti’s gravestone in the southwest of The Forbidden Sands in Alfheim. Teleport to The Hjarta Mystic Gate, jump on the sled, and follow the tunnel southwest into The Forbidden Sands. As soon as you exit the tunnel, follow the wall southwest, and you’ll find the gravestone. Place your Hilt of Skofnung on the gravestone to start the battle.
Hjalti The Stolid Attacks
Like all Berserker’s, Hjalti is extremely aggressive, and she has an arsenal of attacks to throw at you. She’ll have her normal melee attacks alongside her more unforgiving attacks listed below.
Single Strike (Yellow-Ring)
This is just a simple strike with one of her maces which can be easily dodged or parried. Sometimes she’ll use this, just before a Quadstrike which turns it into a five-hit combos instead of just the four. She can also use this in-between other attacks. This attack can be done with either hand, and will go the opposite direction to the other depending on which hand she uses.


(1 of 2) When Hjalti raises her weapon while a yellow ring appears, she’ll strike you across the opposite side she is lifting it.
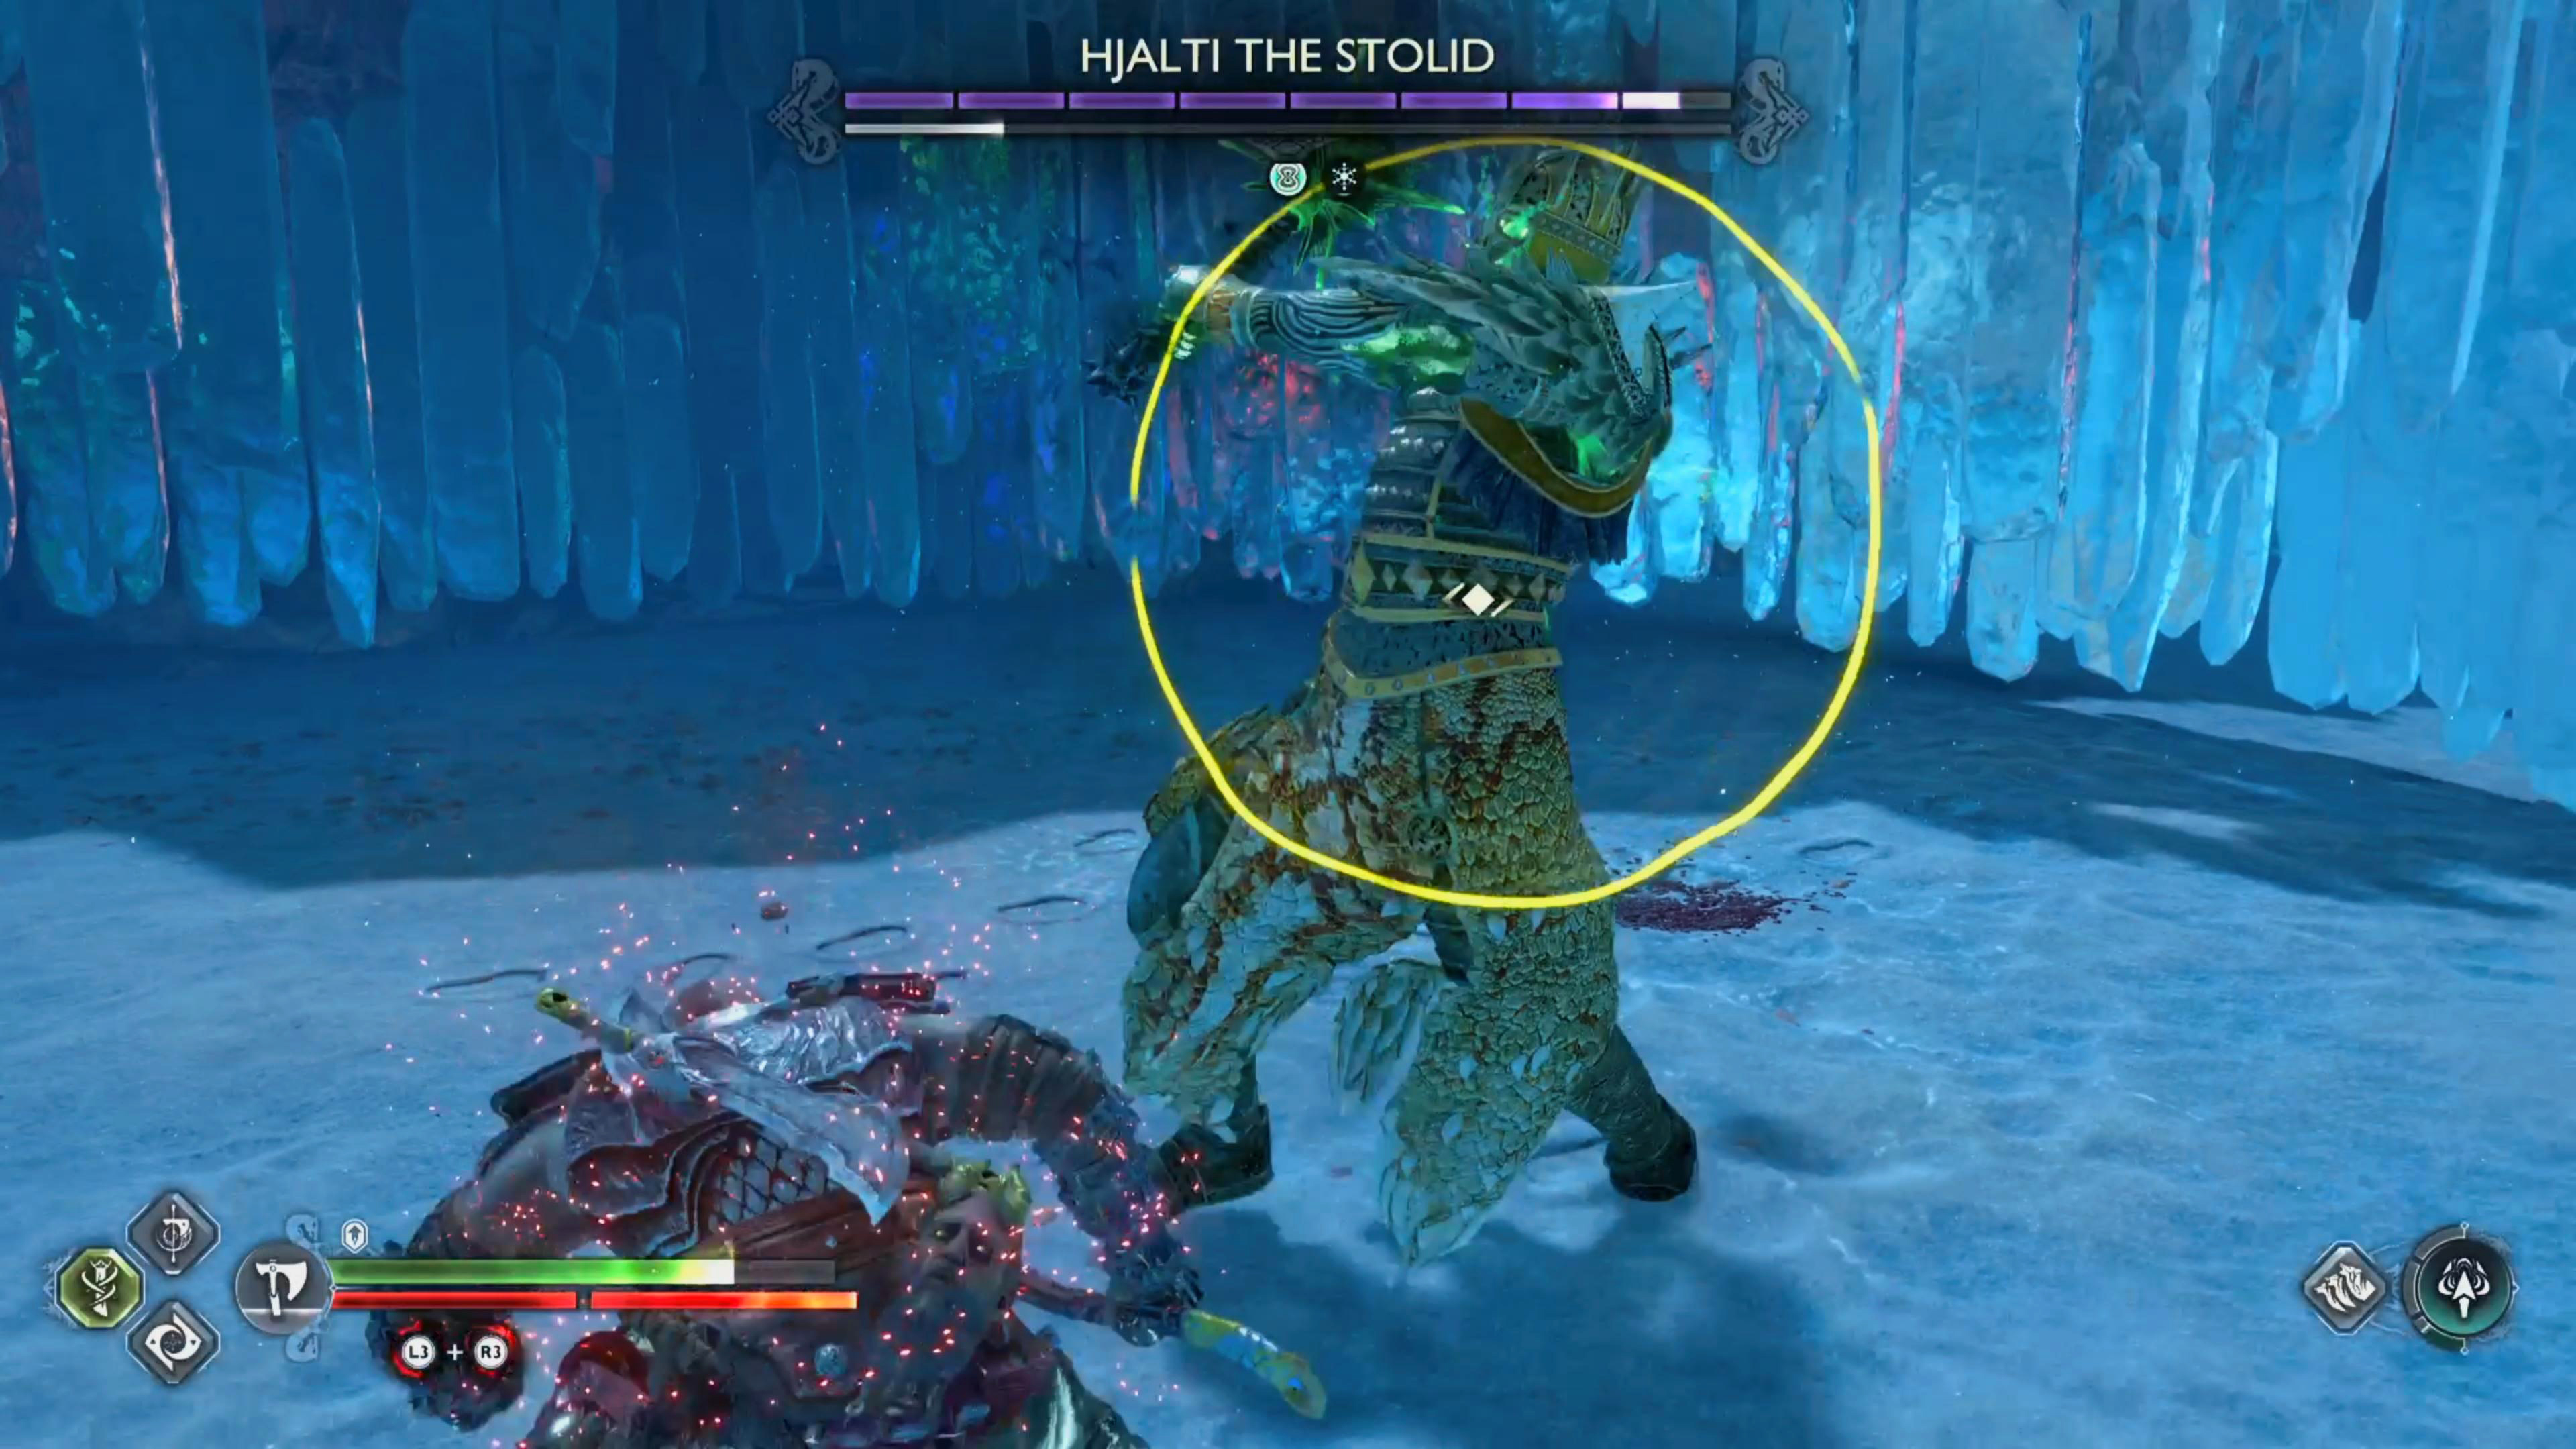
When Hjalti raises her weapon while a yellow ring appears, she’ll strike you across the opposite side she is lifting it. (left), This attack on its own is simple enough to deal with, but she will weave it in-between other attacks. (right)
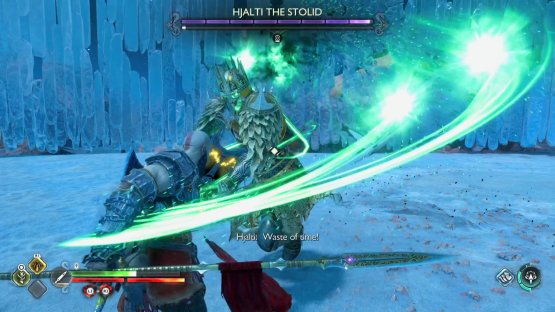
Charged Slam (Blue-Ring)
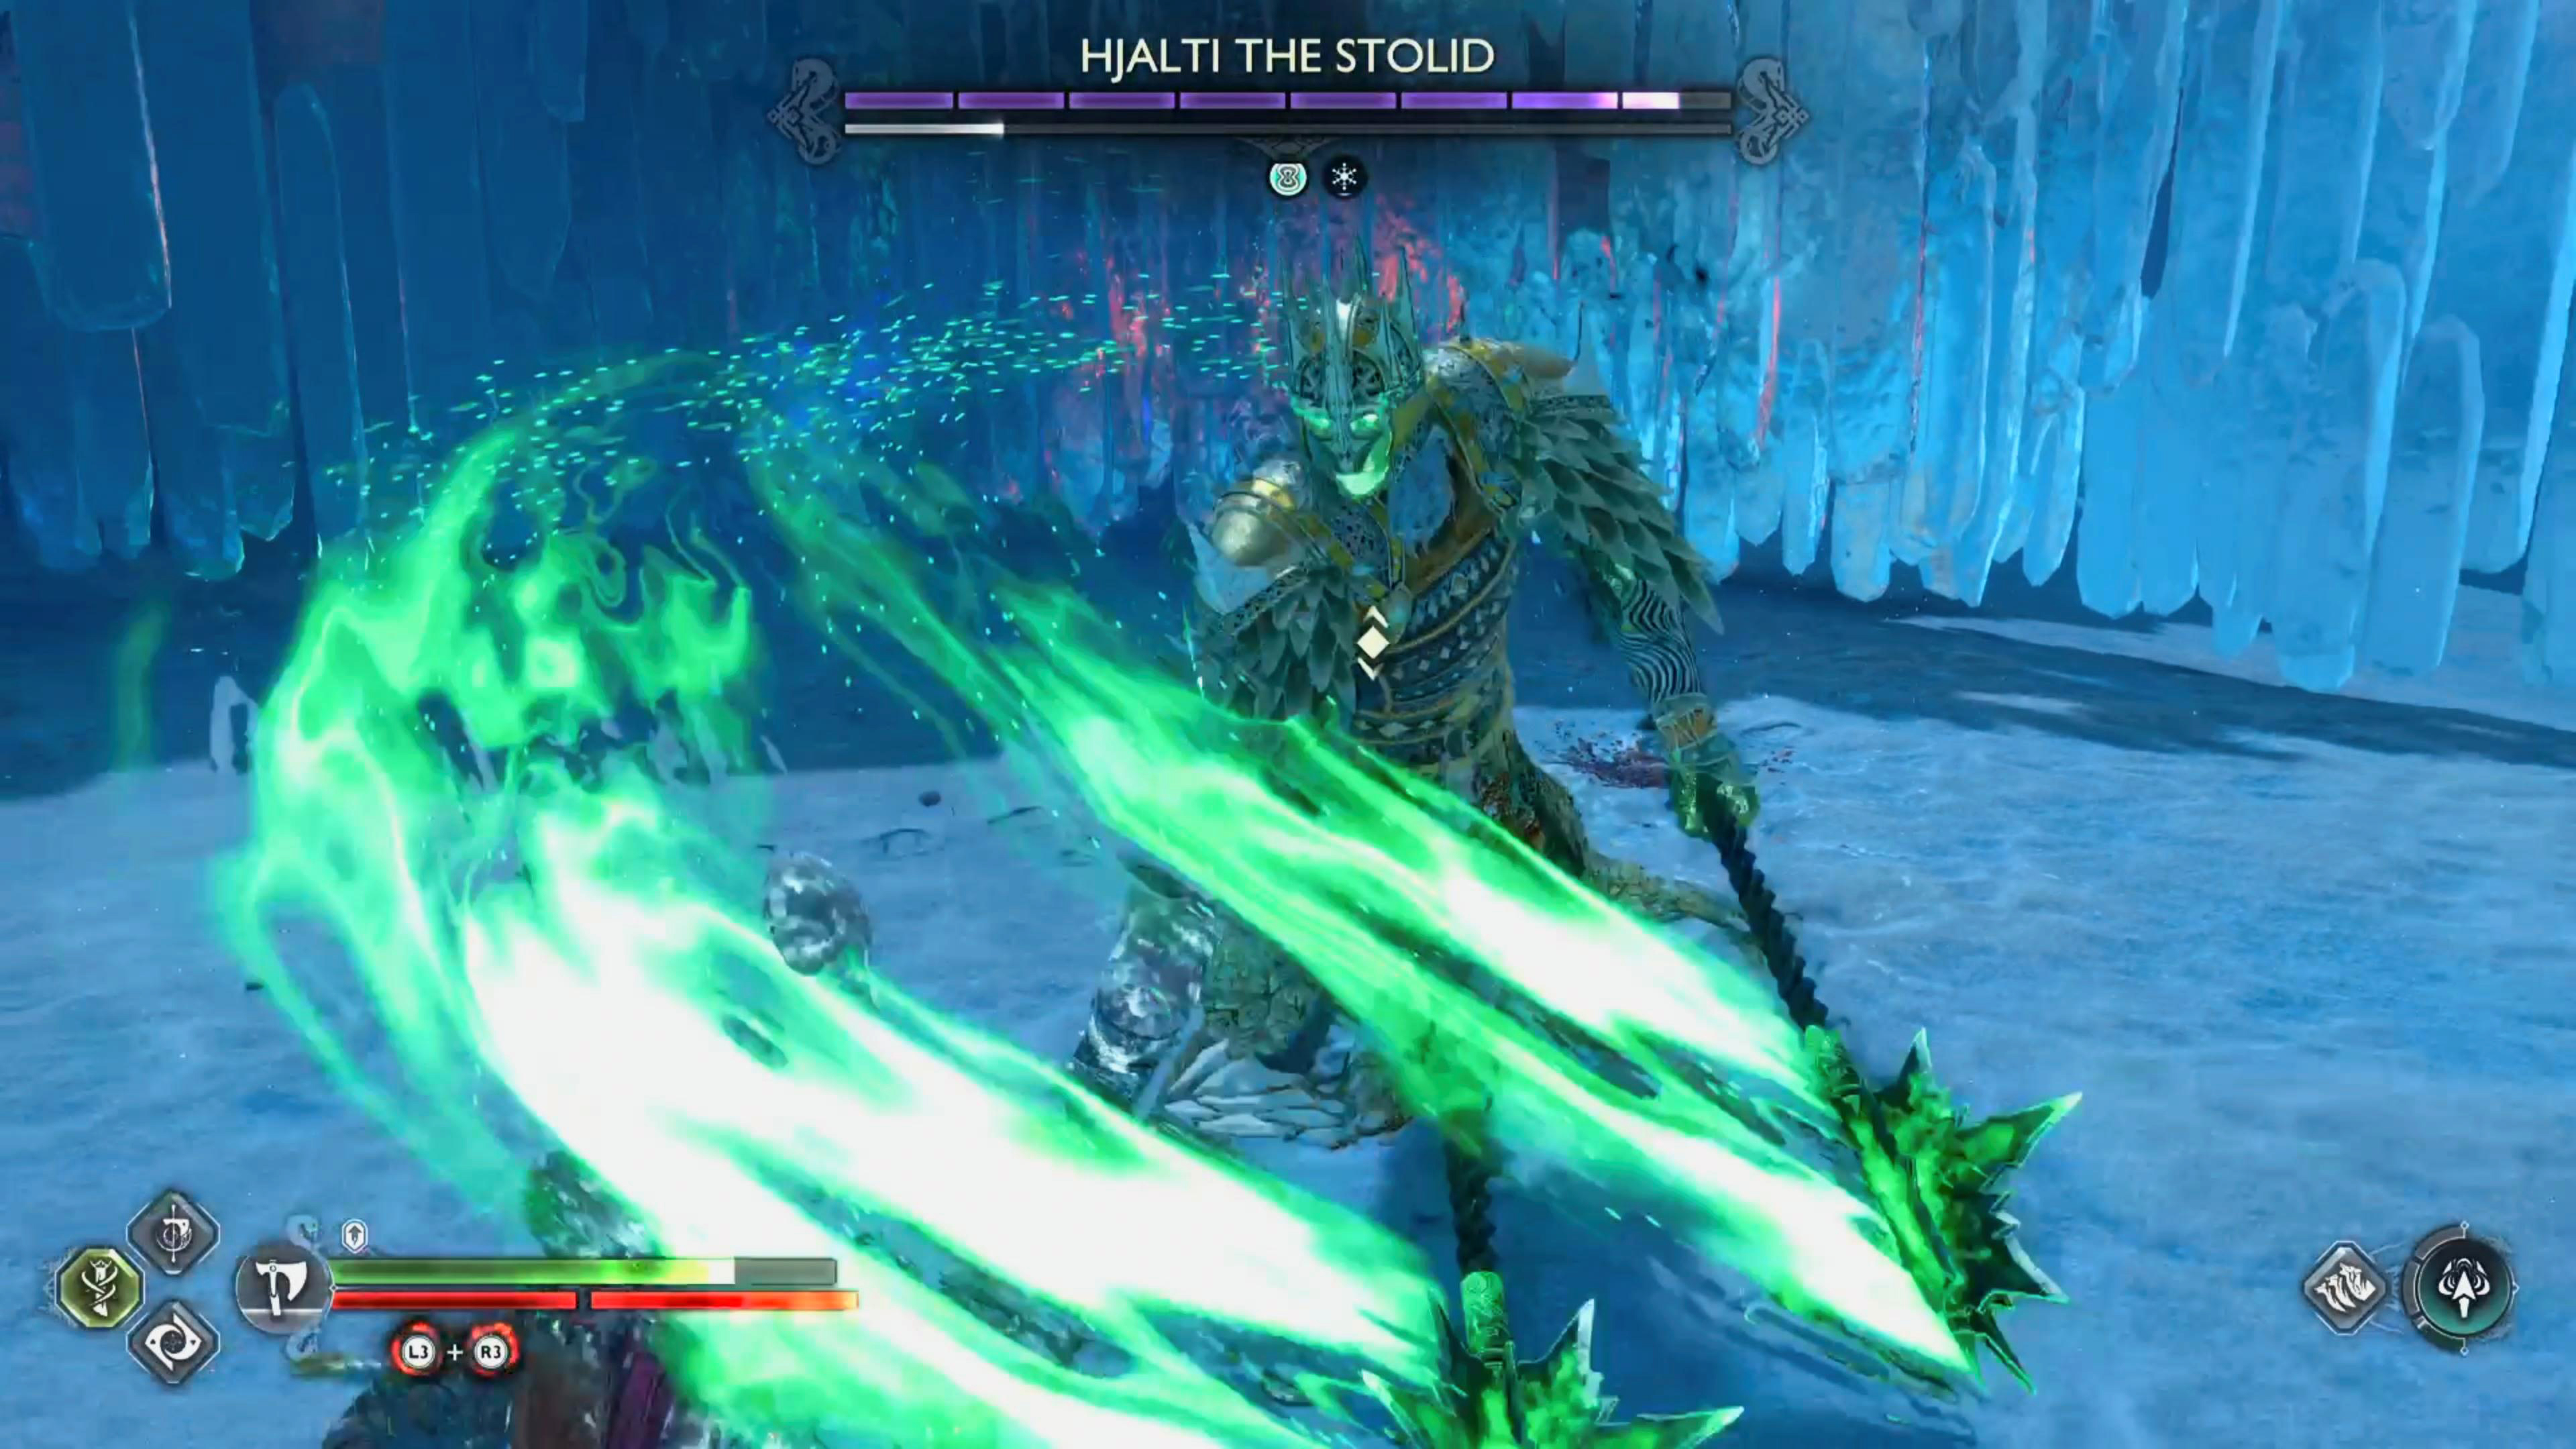
Hjalti will raise both of her maces and she’ll start charging an attack. This will be indicated with the Blue Rings. You’ll only have a few seconds to shield bash it before you take a large amount of damage, and get knocked down. Ideally, you’ll be relatively close to her when this happens, so you can simply stun her out of it, but if you’re further away, you will most likely get hit by it. This is why we recommend taking along the Onslaught Shield as it has the ability to perform the Shield Rush Skill. This will make you charge at the enemy which is great for closing the distance.

(1 of 2) When Hjarlti’s maces turn green and a blue-ring appears, she’ll let out a devastating attack.
When Hjarlti’s maces turn green and a blue-ring appears, she’ll let out a devastating attack. (left), As soon as you see the blue-ring, rush, and shield bash her before she can use it. You’ll only have a few seconds to do this. After you’ve stunned her, you’ll get some time to attack her. (right)
Boomerang (Red-Ring)
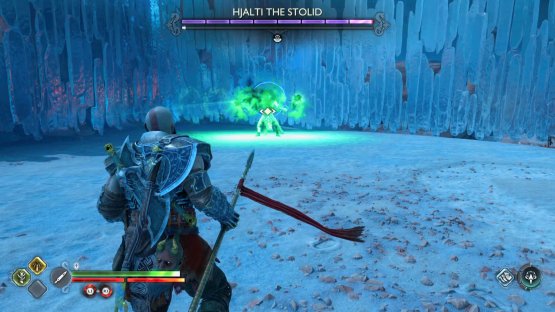
Hjalti will jump in the air, and unleash her dual maces at you. This is a ranged attack, and can be quite difficult to avoid. If you are far away from her, dodge just as the maces are about to hit you by rolling backwards, and to the side, if you time it right, you’ll avoid taking damage. If you’re close to her, your reflexes need to be quick, and you can avoid it by rolling to the side. Later on in the battle, she’ll perform two of these in a row, and sometimes follow it up with a Lunging Backhand.

(1 of 2) This means she’ll unleash her maces at you like a boomerang. The timing is tight for this attack, and you’ll have to either roll to the side or roll backwards to the side.
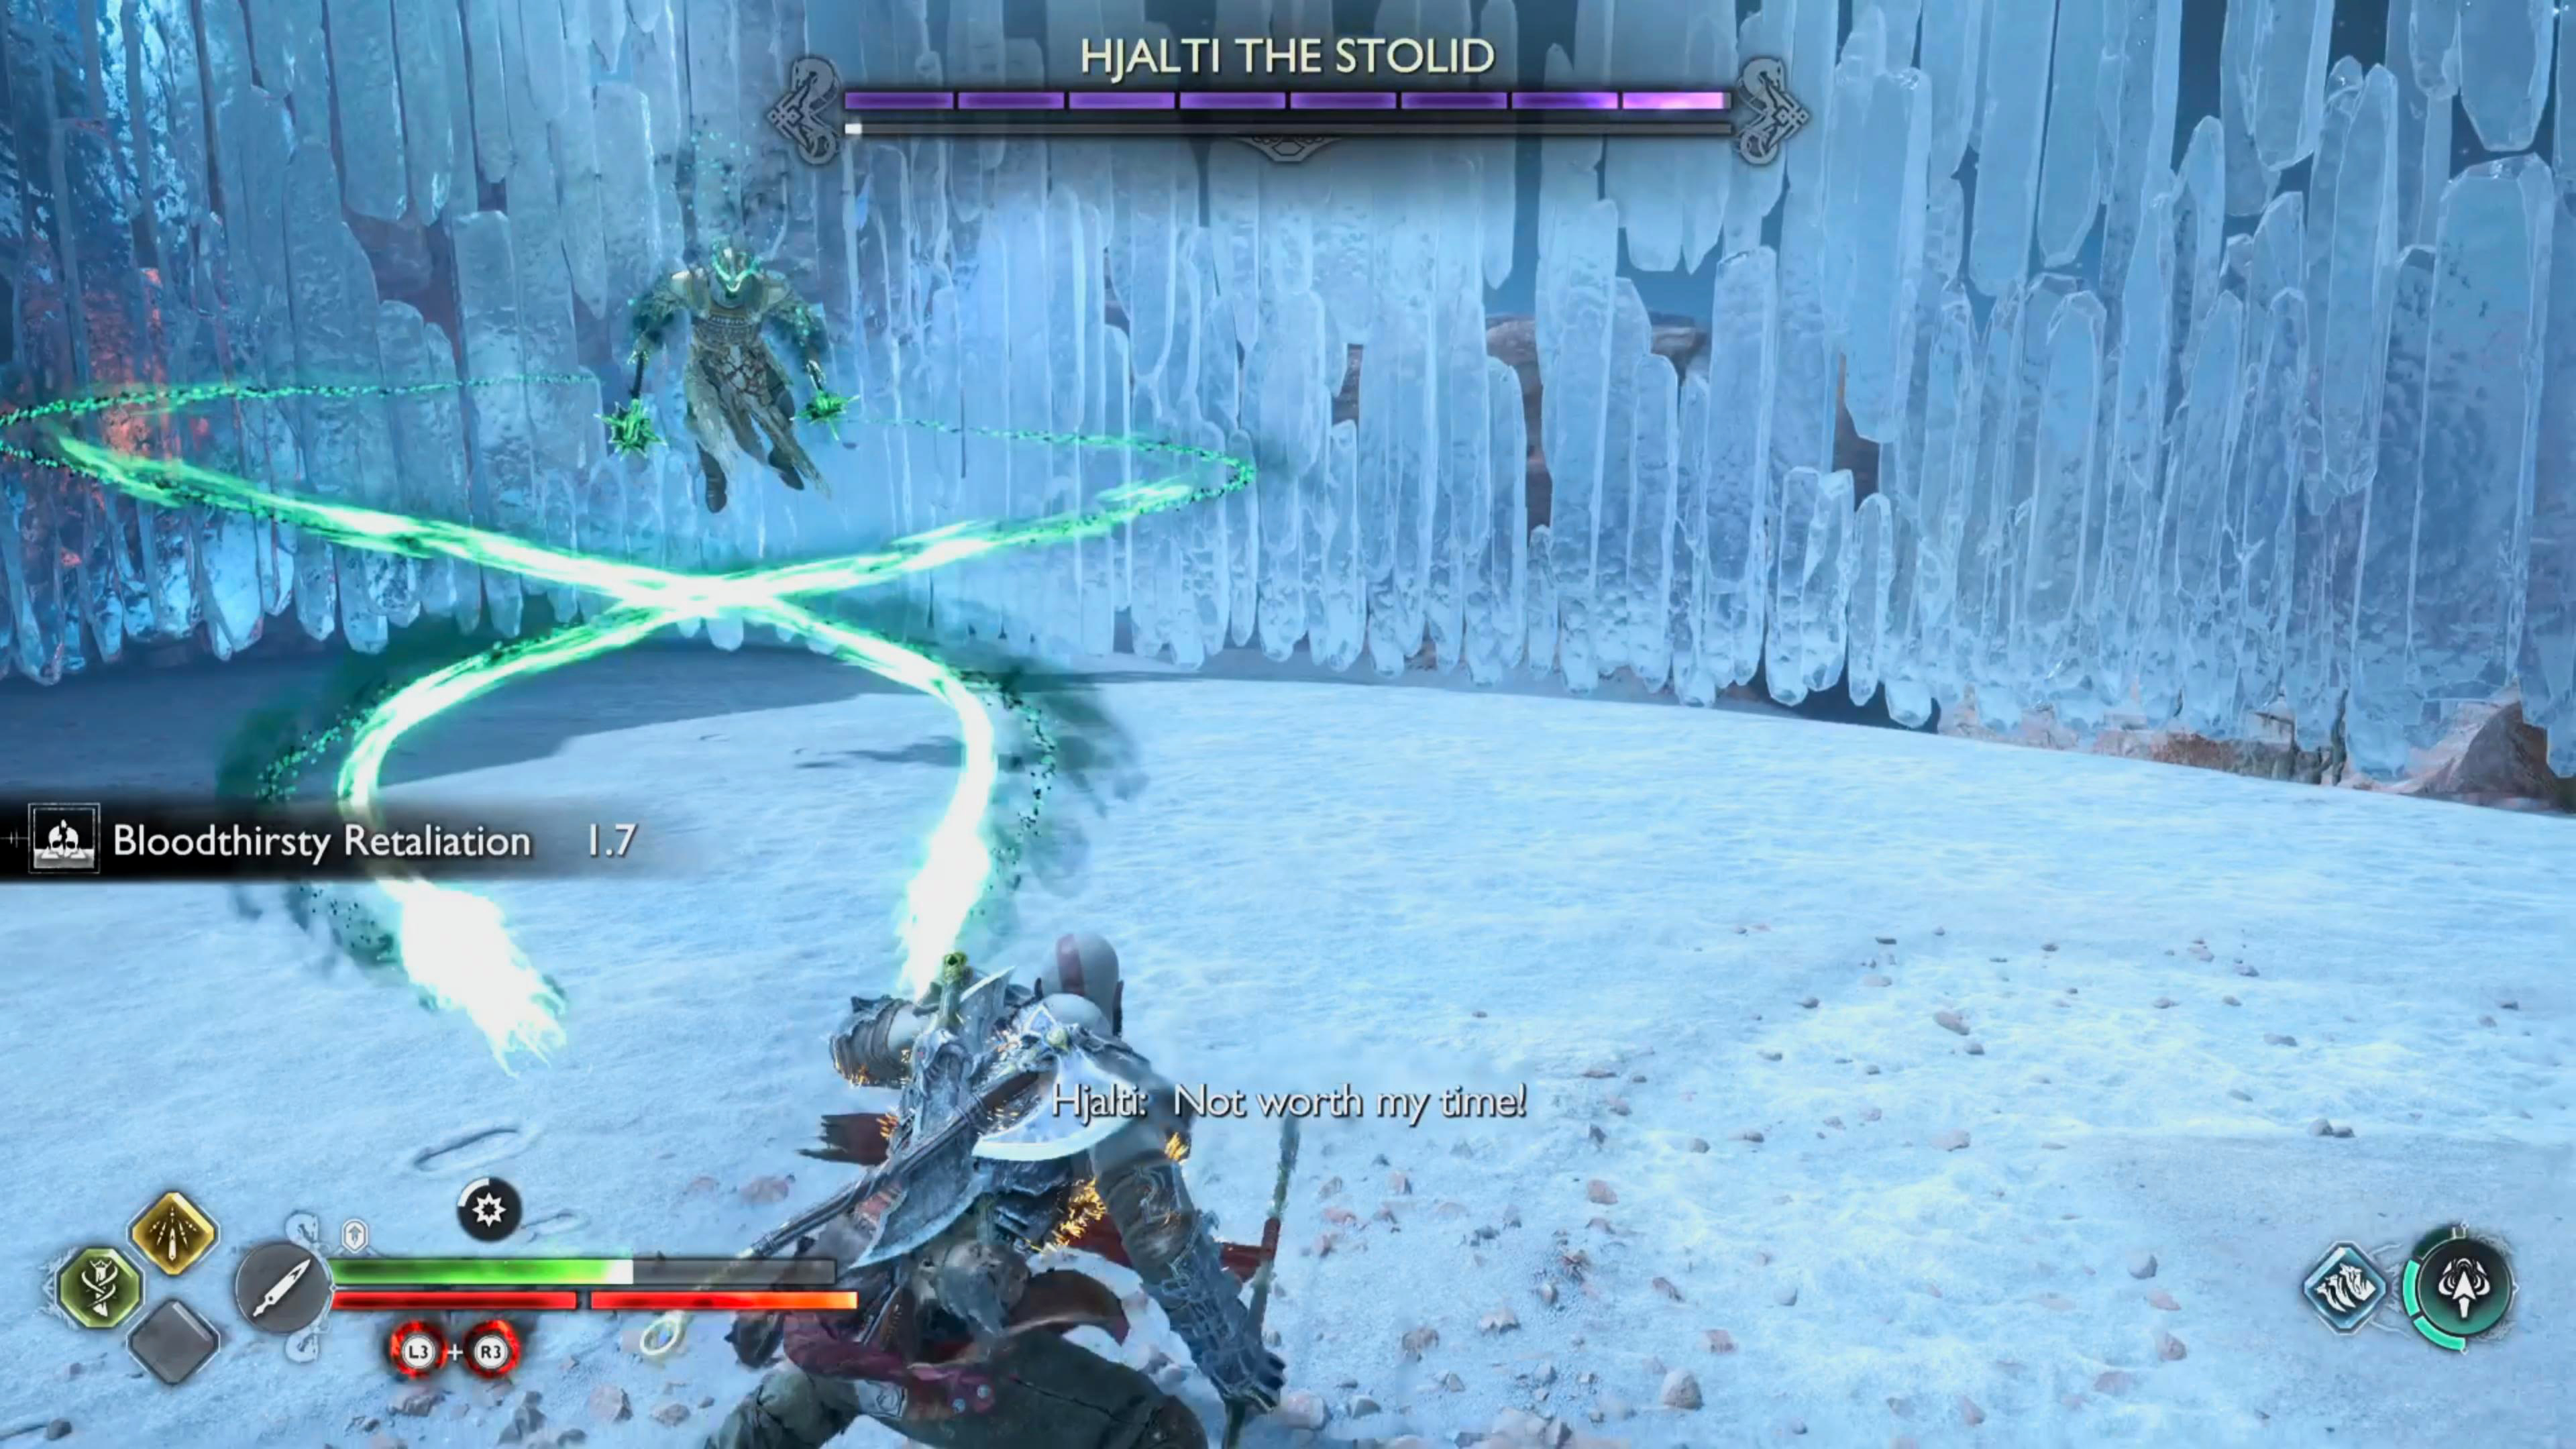
This means she’ll unleash her maces at you like a boomerang. The timing is tight for this attack, and you’ll have to either roll to the side or roll backwards to the side. (left), Hjalti will leap back to the edge of the arena, and a red-ring will appear. (right)
Lunging Backhand (Yellow-Ring)
You’ll see this attack a lot. Hjalti will jump in the air, a yellow ring will appear, and she’ll lunge into you while also performing a backhanded attack with her mace. If you have the Stone Wall Shield, you can just block this otherwise you’ll need to either parry or dodge. Parrying is the best way to deal with this attack as you’ll build up some stun damage while also stunning her momentarily which leaves her open for a combo or two. If you’d rather dodge the attack, simply sidestep as the attack is about to land. This also gives you a moment to deal damage, but not as much as parrying her. When Hjalti has less than half of her health, she can sometimes combo this attack into other attacks, even if you parry it.

(1 of 2) Similar to the Boomerang attack. Hjalti will leap back to the edge of the arena and when a yellow-ring appears, she’ll lunge, and strike at you.

Similar to the Boomerang attack. Hjalti will leap back to the edge of the arena and when a yellow-ring appears, she’ll lunge, and strike at you. (left), The best way to avoid this is to roll to the side, although a parry will give you a better opening. Later on in the battle, she’ll use this after a Boomerang or two. (right)
Double Hand Slam (Red-Ring)
This is one of her easiest attacks to avoid. Hjalti will leap in the air, and slam both of her maces onto the ground at your location which will be indicated by a red ring. Wait for her to get near you, then perform a sidestep away from the attack, then punish her with a combo or Runic attack.

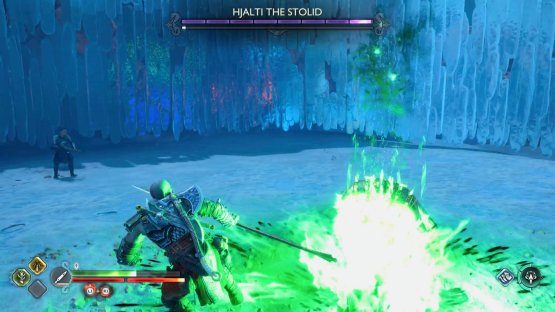
(1 of 2) When Hjalti lowers her weapons, and a red-ring appears, she’ll jump at you, and slam down at you.

When Hjalti lowers her weapons, and a red-ring appears, she’ll jump at you, and slam down at you. (left), A simple sidestep will avoid this attack and put you in prime position to punish her. (right)
Quadstrike (Red and Yellow Ring)
This can be tricky to avoid. When Hjalti is in front of you, she’ll perform a yellow-ring swipe at you. She stops briefly before she follows up with another yellow-ring swipe. Straight after the second swipe, she’ll perform two normal attacks before finishing the combo off with a double-handed red-ring swipe. In all honesty this combo is best avoided by performing multiple rolls away from her. If you’re good at parrying, you can parry the first four attacks, then sidestep the last. This will result in more stun damage, but it is high risk, high reward. This speeds up when she is nearly dead.


(1 of 4) This attack is a four-part combo hence naming it Quadstrike. The first attack will have a yellow-ring.
Hjalti The Stolid Strategy
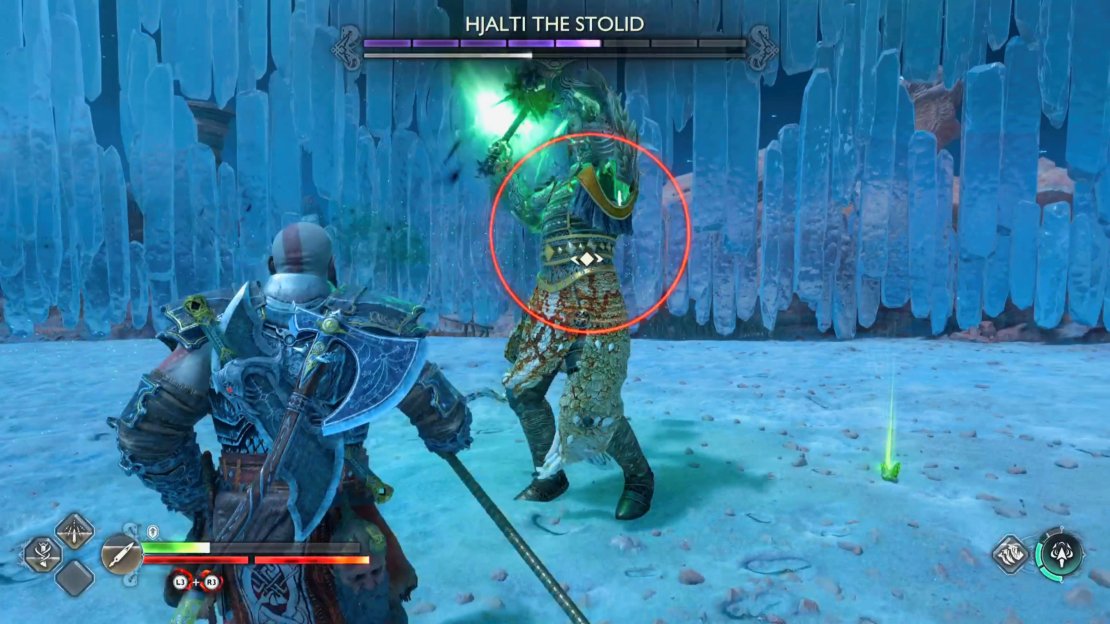
At the beginning of the fight, she’ll almost always use her blue-ring attack unless you rush her from the get-go. She’ll spend most of the time performing hit-and-run tactics by jumping in, performing one or more of the attacks above, and jumping back out. Trying to hit her when she’s prancing around is almost pointless, although you can hit her by throwing your axe or spear. Instead, wait for one of her attacks, and punish her by parrying or sidestepping away from it. When you do that, you can normally get four or five attacks on her, although you may have to dodge an attack in-between that.
Build up her stun bar by parrying, attacking, and Sonic Arrows from Freya or Atreus, and when the bar fills up, she’ll take a huge chunk of damage. Atreus’ Wrath of the Wolf Runic Summon is great for this fight as they’ll cause her to flinch for the duration that they’re out which leaves ample time for you to lay down some of your own attacks. As mentioned above, the best time to attack Hjalti is after her blue-ring attack, the yellow-ring Lunging Backhand attack, and the red-ring Double Hand Slam attack. After each of these attacks, you can get a few hits on her, and when combined with the sonic arrows, build up the stun bar a fair bit.
The hardest part of this fight is being overconfident. At first, it won’t feel particularly difficult, but as the fight goes on, and you miss one attack, she can combo it with another, and the next thing you know, you’re dead. The hardest attack to deal with has to be either her boomerang or her Quadstrike. The boomerang has weird timing, and although rolling backwards, and to the side appears to make it miss more often, you may still get hit by it. When that happens, she’ll follow it up with a lunge, or if later on in the battle, another boomerang, and then a lunge. With the Quadstrike, it can be hard to judge the parry timings as she’ll perform the first yellow-ring attack, then briefly stop, before doing the second yellow-ring attack. After that the next two normal attacks come quickly, and then she’ll slow down the red-ring attack at the end. This is why we recommend you to dodge the combo instead of parrying it unless you’re competent at parrying.
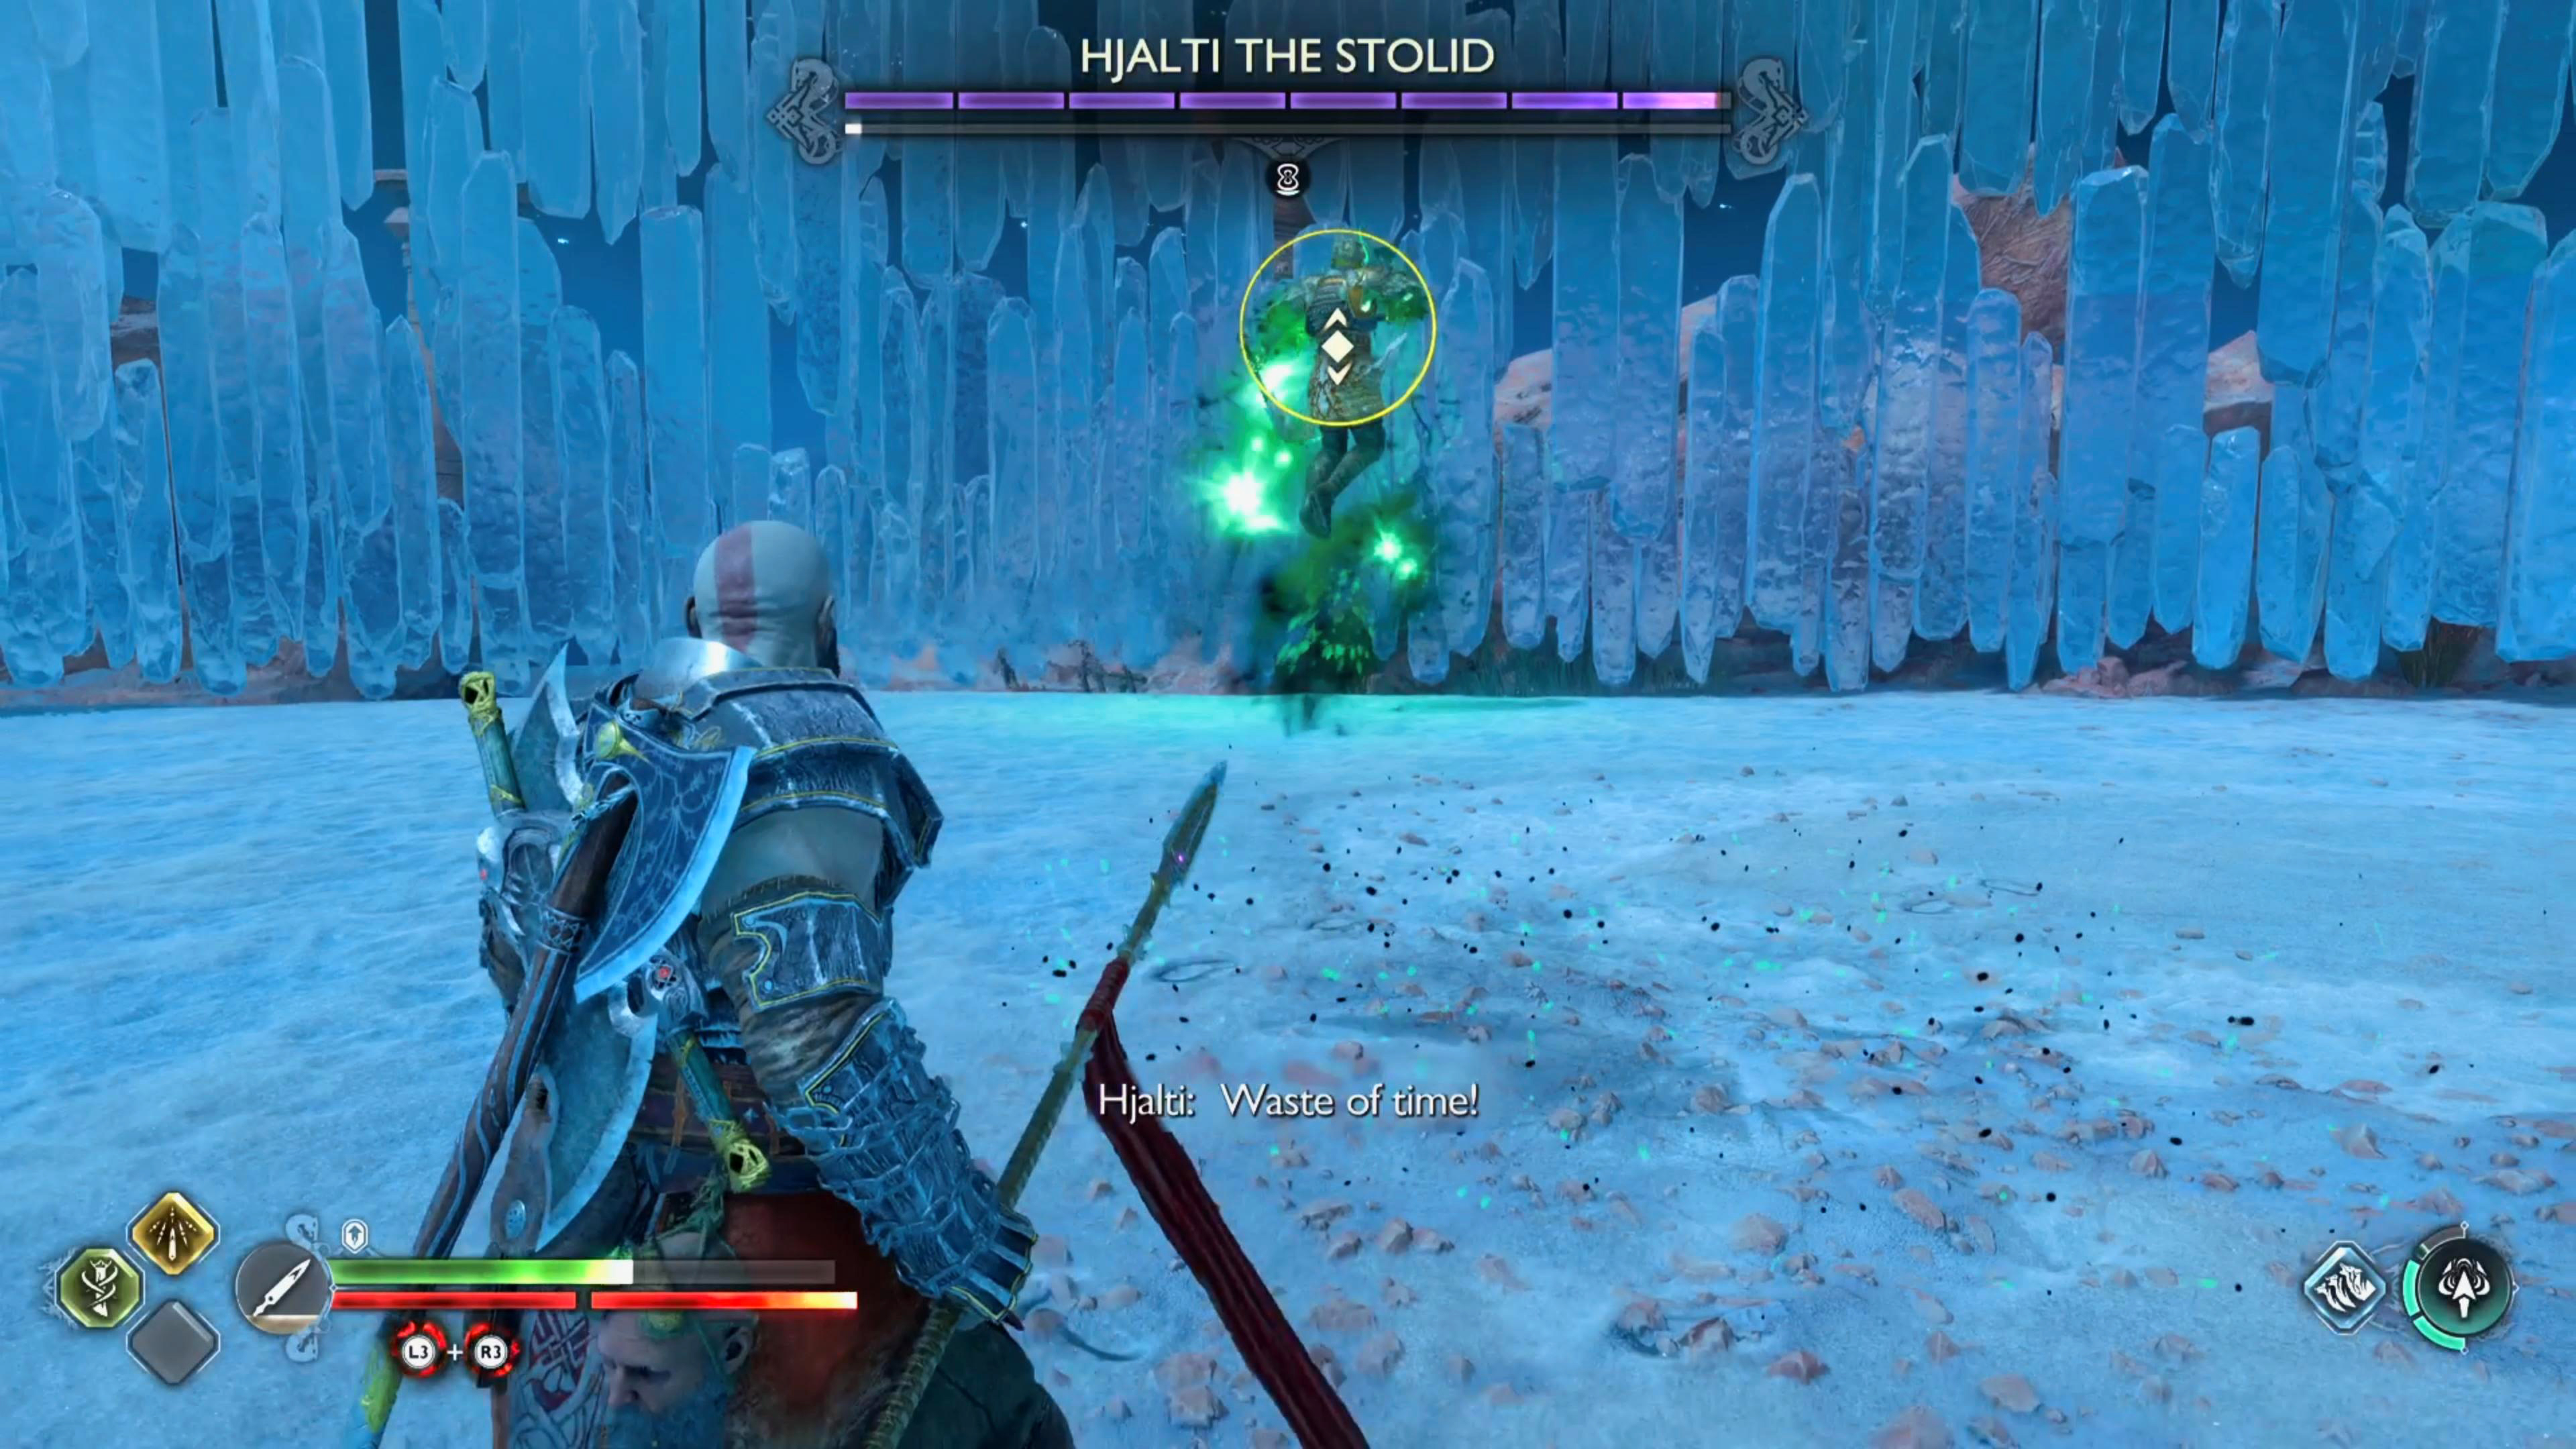
Finally, save your Rage (Fury) for the last 20-30% of the battle as the berserker goes, well…berserk. She’ll add an extra boomerang to her arsenal, and chain together her other attacks more with more pace, and she’ll end up in your face more often. This is the time to take it slow, and only attack when you have an opening. Do fewer attacks on her after you make her flinch, and wait for the next attack before committing. This is a good time to remember your companion exists, and use their attacks to take her down. When her health is depleted, run over to her and press  to finish the fight. Pick up your rewards, and take the Hilt of Skofnung from the area the grave was to remove the icy barrier.
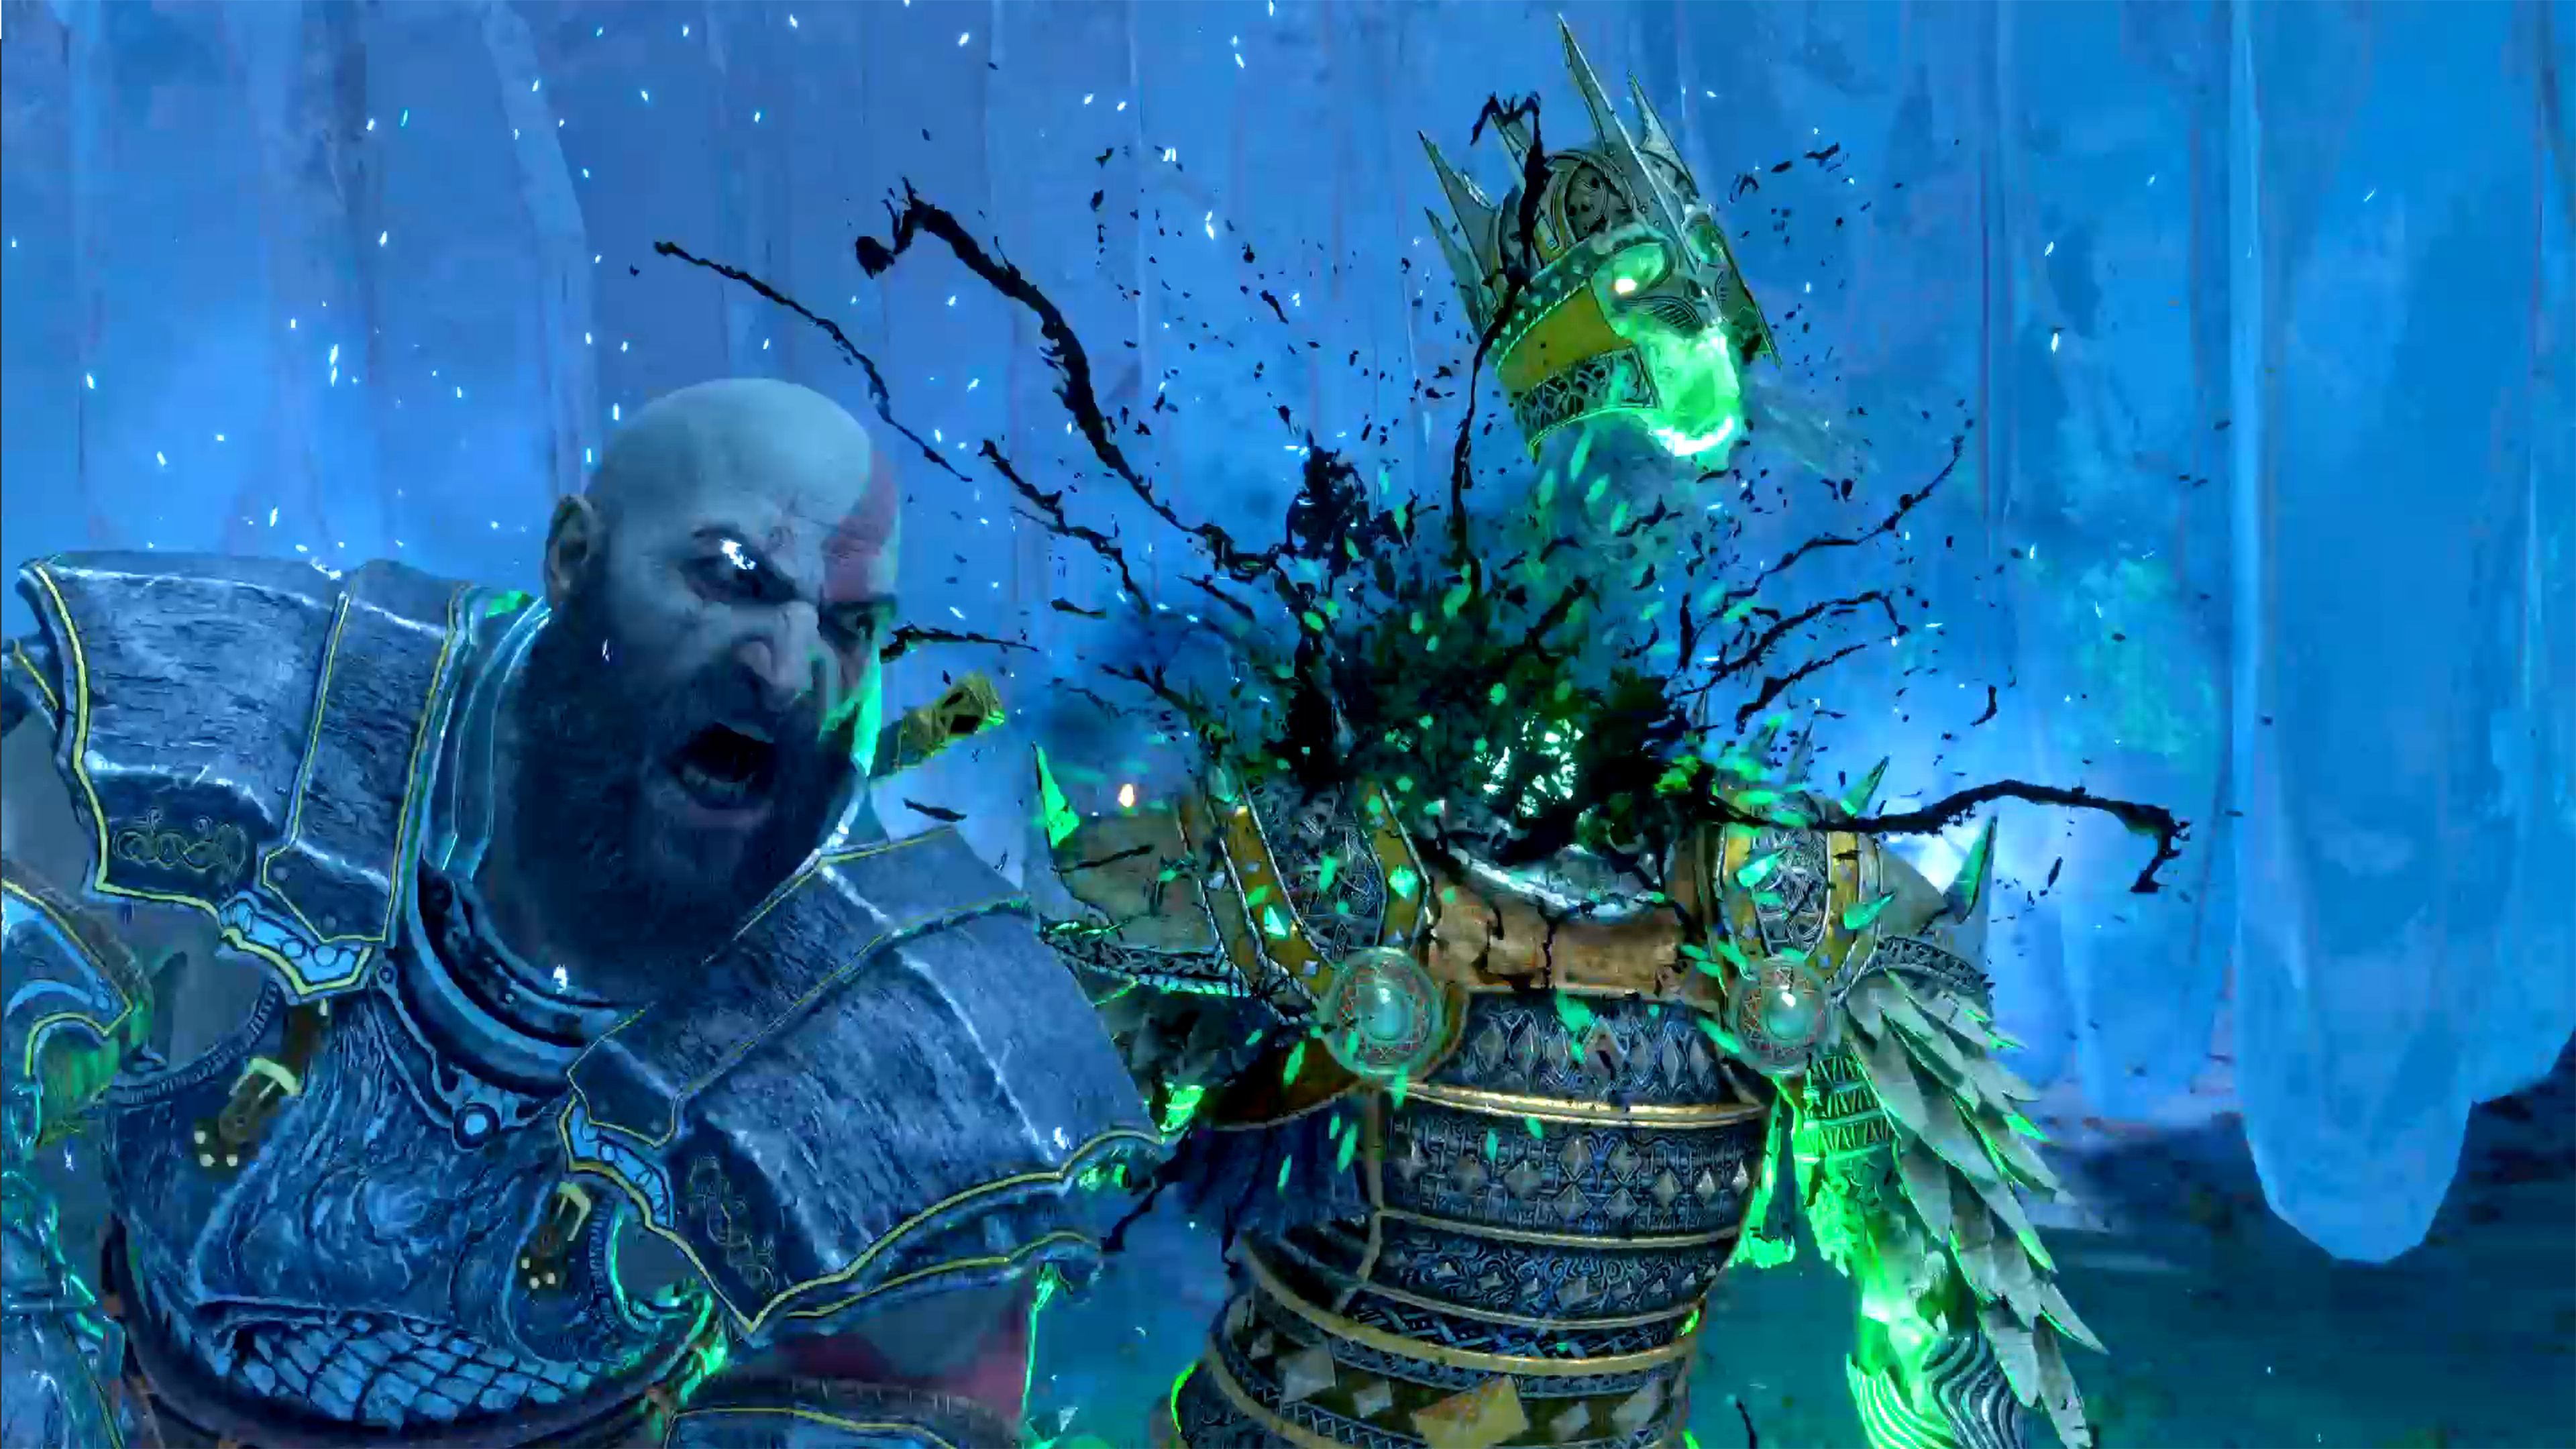
After the tough fight, head over to Hjalti and press R3 to finish her off.
Recommended Equipment For Hjalti The Strolid
Below you’ll find a list of gear that we recommend for tackling the tricky Hjalti The Stolid, this is just what we had great success with, and isn’t necessarily the best.
Weapon, Grip, and Relic
| Weapon | Stats (Max) | Grip | Relic |
|---|---|---|---|
| Draupnir Spear | Luck: +50 | Warrior’s Echo Sauroter: Spear attacks against Sonic-afflicted enemies deal bonus damage and build bonus Maelstrom skill charge. | Hilt of Angrvadall: Slash forward three waves of light that deal increased damage against enemies afflicted with Sonic. |
Shield and Attachment
| Shield | Stats (Max) | Description | Attachment |
|---|---|---|---|
| Onslaught Shield | Defense: +130 Luck: +26 | Shield Rush: Charge the enemy while blocking enemy attacks. | Rond of Restoration Restoring Shield: On taking damage, Kratos has a luck chance to gain Defense and for his next shield strike hit to restore health. The chance increases with lower health. |
Runic Attacks
| Name | Damage (Max) | Force (Max) | Stun (Max) | Description |
|---|---|---|---|---|
| Mountain Splitter (Light/Spear) | Repeated long-range wind slices that stagger enemies. Press  precisely while slashing to enhance each wave. precisely while slashing to enhance each wave. |
| Name | Damage (Max) | Force (Max) | Stun (Max) | Description |
|---|---|---|---|---|
| Honor The Fallen (Heavy/Spear) | A long-range, leaping dive that slams into enemies with overwhelming force. |
Armor
| Name | Piece | Stats (Max) | Perk |
|---|---|---|---|
| Steinbjorn Plackart | Chest | Defense: + 190 | Bloodthirsty Retaliation: After significant damage is taken, Kratos’ attacks will restore some lost health for a time. |
| Steinbjorn Gauntlets | Wrist | Defense: + 85 Strength: + 34 | Stunning Retaliation: Moderate Luck chance to stagger and inflict damage to nearby enemies when damage is taken. |
| Steinbjorn Waist Guard | Waist | Defense: + 119 | Stunning Retaliation: Moderate Luck chance to stagger and inflict damage to nearby enemies when damage is taken. |
Hjalti The Strolid Rewards
Defeating Hjalti will reward you with the following items:
| Icon | Name | Icon | Name |
|---|---|---|---|
| 1500 Kratos XP | Bonded Leather +40 | ||
| 375 Companion XP | Shattered Rune +40 | ||
| Tempered Remnants +3 | Grip of the Nine Realms |
No Comments