
This page details a guide for how to complete the Boss Rush Muspelheim Challenge in God of War Ragnarok.
| Objective |
|---|
| Defeat a series of challenging enemies |
How to Complete the Boss Rush Muspelheim Challenge in God of War Ragnarok
| Wave | Boss |
|---|---|
| 1 | Traveller |
| 2 | Fierce Stalker |
| 3 | Dark Elf Lord |
| 4 | Light Elf Boss |
| 5 | Einherjar Captain |
How to Defeat the Traveller
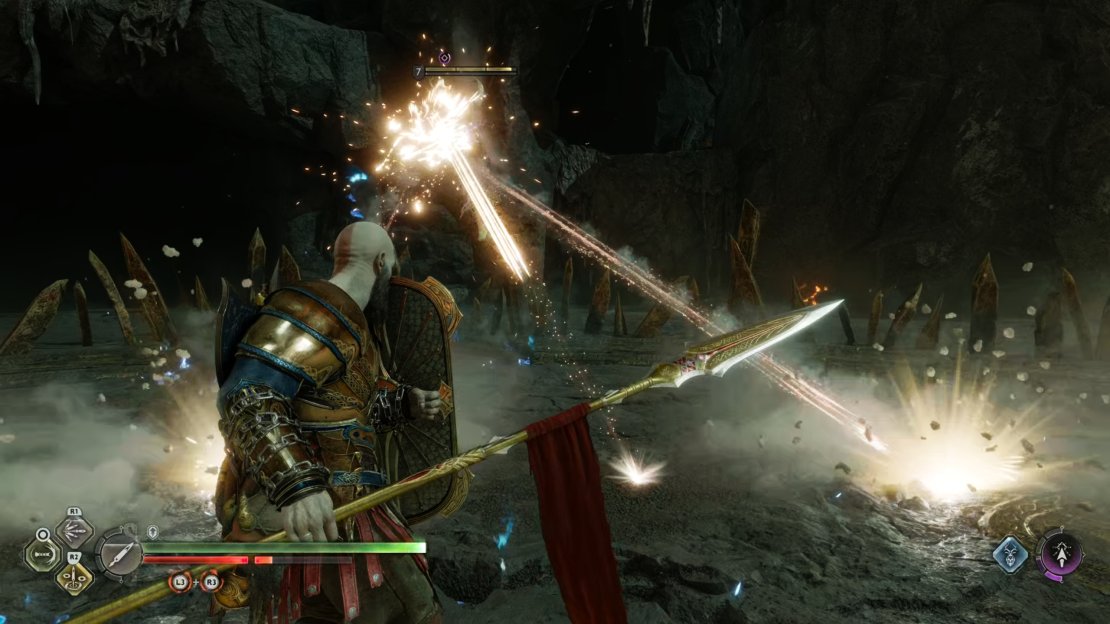
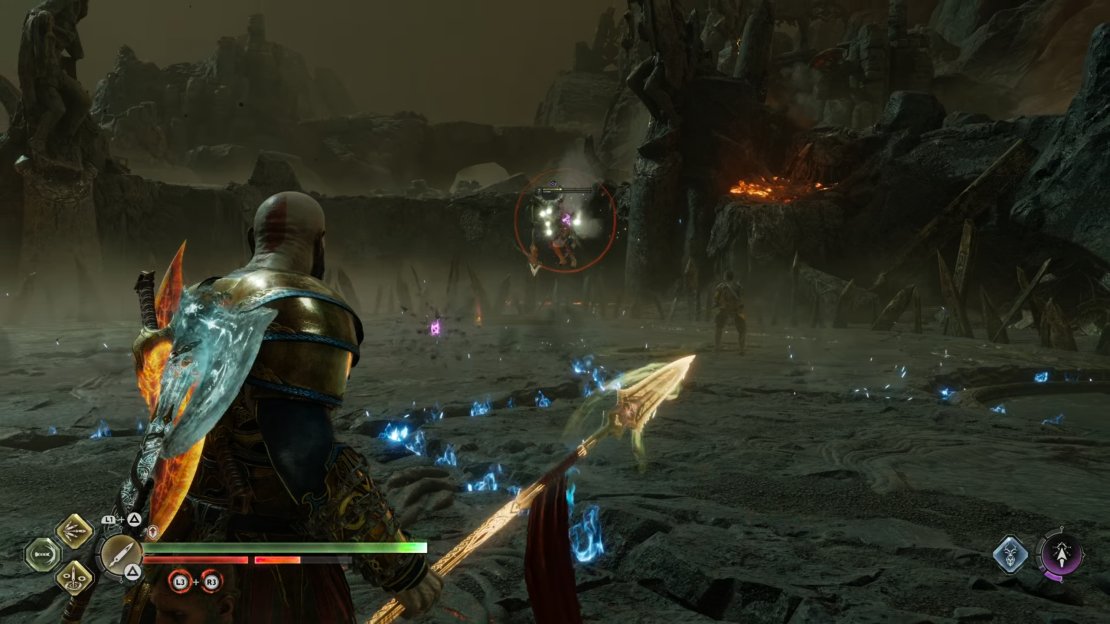
The enemies that you face during this Muspelheim trial can be among the most challenging in the game, at least in terms of elite enemies outside of boss fights. However, so long as you’ve fought each of them outside of the challenge already, you should be familiar with most of their attack patterns. The first enemy that you will face is a Traveller, but one of the lesser versions without a shield. This Traveller wields only a large sword, which has significant reach and is capable of hitting you unexpectedly from a distance. You should keep an eye on the sword at all times, as this will be the main indicator of when a specific attack is incoming.
As with most enemies in the game, you can block or parry any attack from the Traveller which is preceded by a yellow ring indicator, or by no indicator at all. However, red ring attacks can only be reliably dodged, so you’ll need to be ready to evade these as they happen. You’ll generally find it much easier to dodge around a Traveller, rather than away from them. This means dodging but pressing left or right on the directional  stick, rather than facing away. If you try to dodge away from the Traveller, there’s a good chance that the reach of their attack will hit you anyway, unless you dodge at the very beginning of their attack.
As an alternative to dodging, you will find that some Light or Heavy Runic Attacks of your own can interrupt red ring attacks from the Traveller, as can abilities from Relic or Sword Hilts. Not all of these will do the trick though, so you’ll need to experiment with your own setup. If you’re looking for a Relic or Sword Hilt which reliably interrupts special attacks from enemies, you can’t go wrong with the Hilt of Gram, which has the added benefit of providing you with a rage boost and inflicting stun damage on the enemy.


(1 of 2) You can only dodge or interrupt red ring attacks with specific abilities of your own.

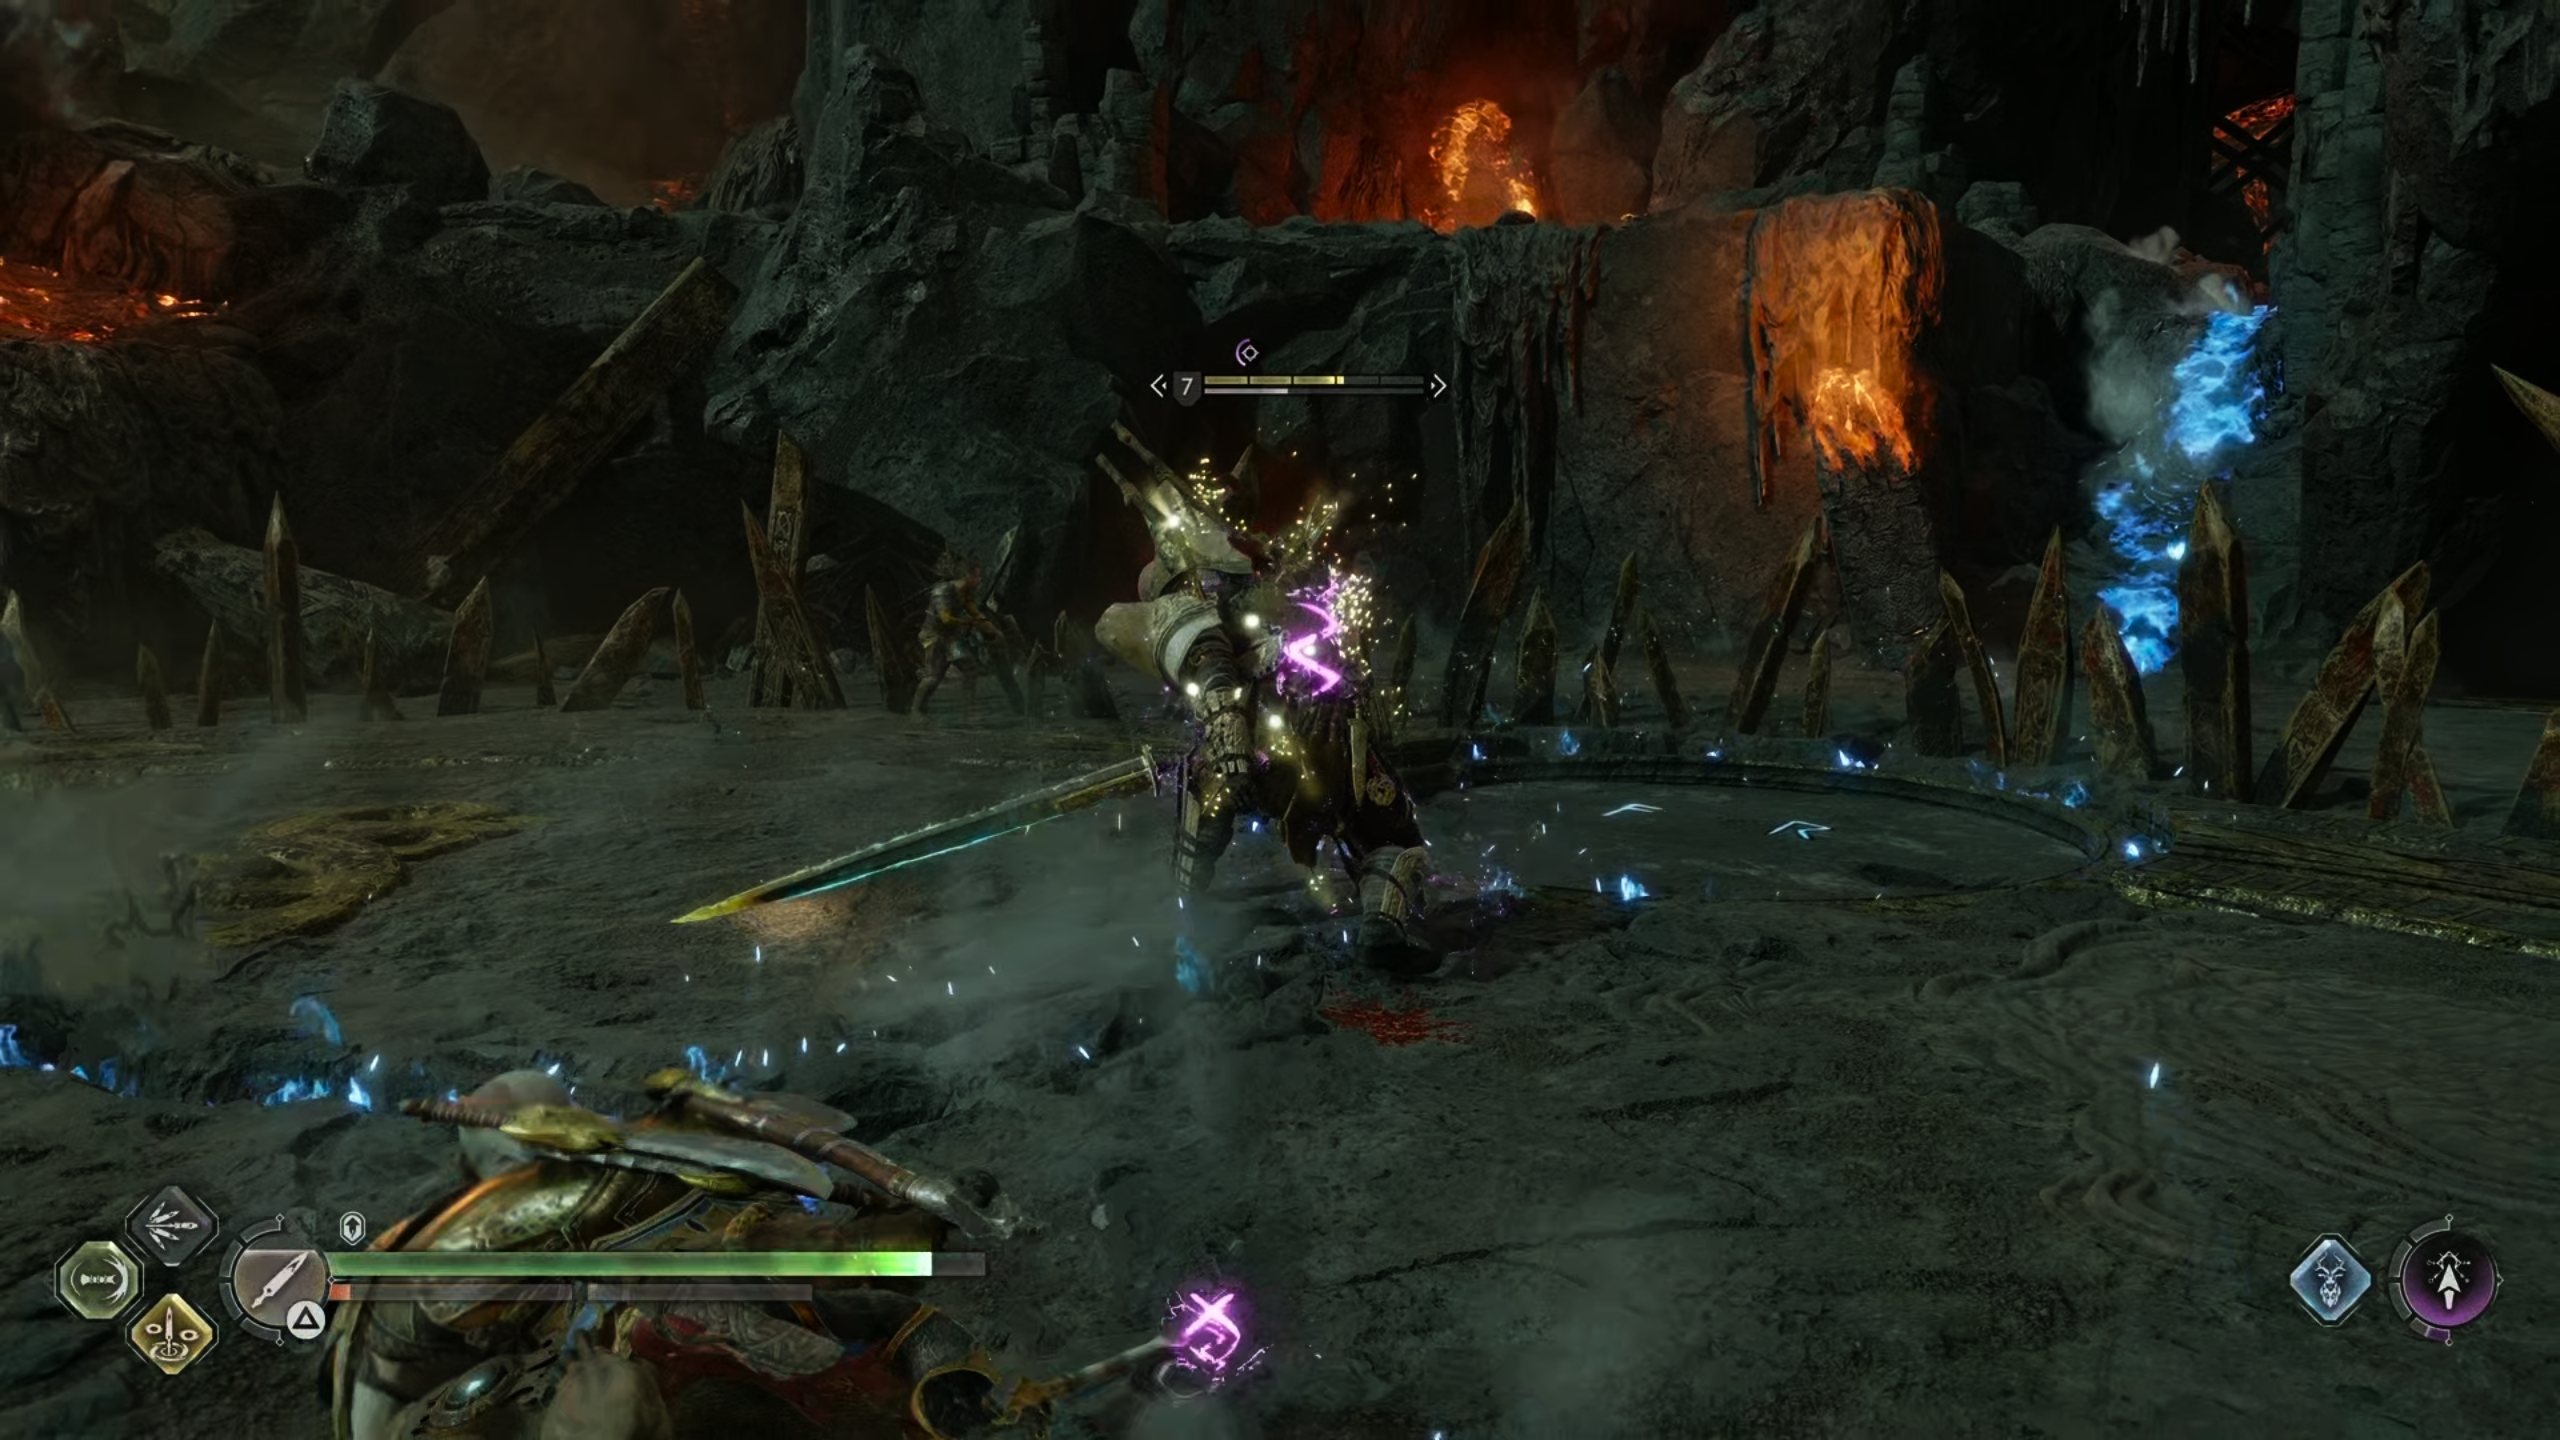
You can only dodge or interrupt red ring attacks with specific abilities of your own. (left), Look out for when the Traveller swings their sword to the side, indicating an incoming melee combo. (right)
How to Defeat the Fierce Stalker
The next enemy that you’ll face is a Fierce Stalker. These are essentially lesser versions of The Untamed Fury boss, and their main attack involves repeated sweeping strikes with their spear / halberd. You can block or parry most of these, but you can also just as easily dodge them. In addition to the sweeping melee strikes, the Fierce Stalker will also make use of their hooves by striking you from the front and from the back. This means if you get too close to them on either side, you will likely be met by a swift hoof to the face. To avoid this, be ready with a block or parry by expecting the attack whenever you’re within melee range.
This is a fairly simple fight compared with the Traveller, but the Fierce Stalker is just as relentless in their attacks. You’ll need to become familiar enough with the melee sweep and the hoof kick so that you can avoid them both reliably, but once you’ve mastered avoiding these attacks and finding the time to retaliate with some of your own, this should be one of the easier bosses in the challenge.

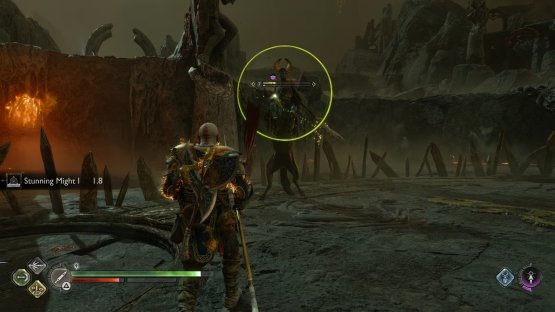
(1 of 2) The most common attack that the Fierce Stalker uses is a sweeping melee combo.
The most common attack that the Fierce Stalker uses is a sweeping melee combo. (left), Be ready to block, parry or dodge hoof attacks when you see the boss raise their front legs. (right)
How to Defeat the Dark Elf Lord
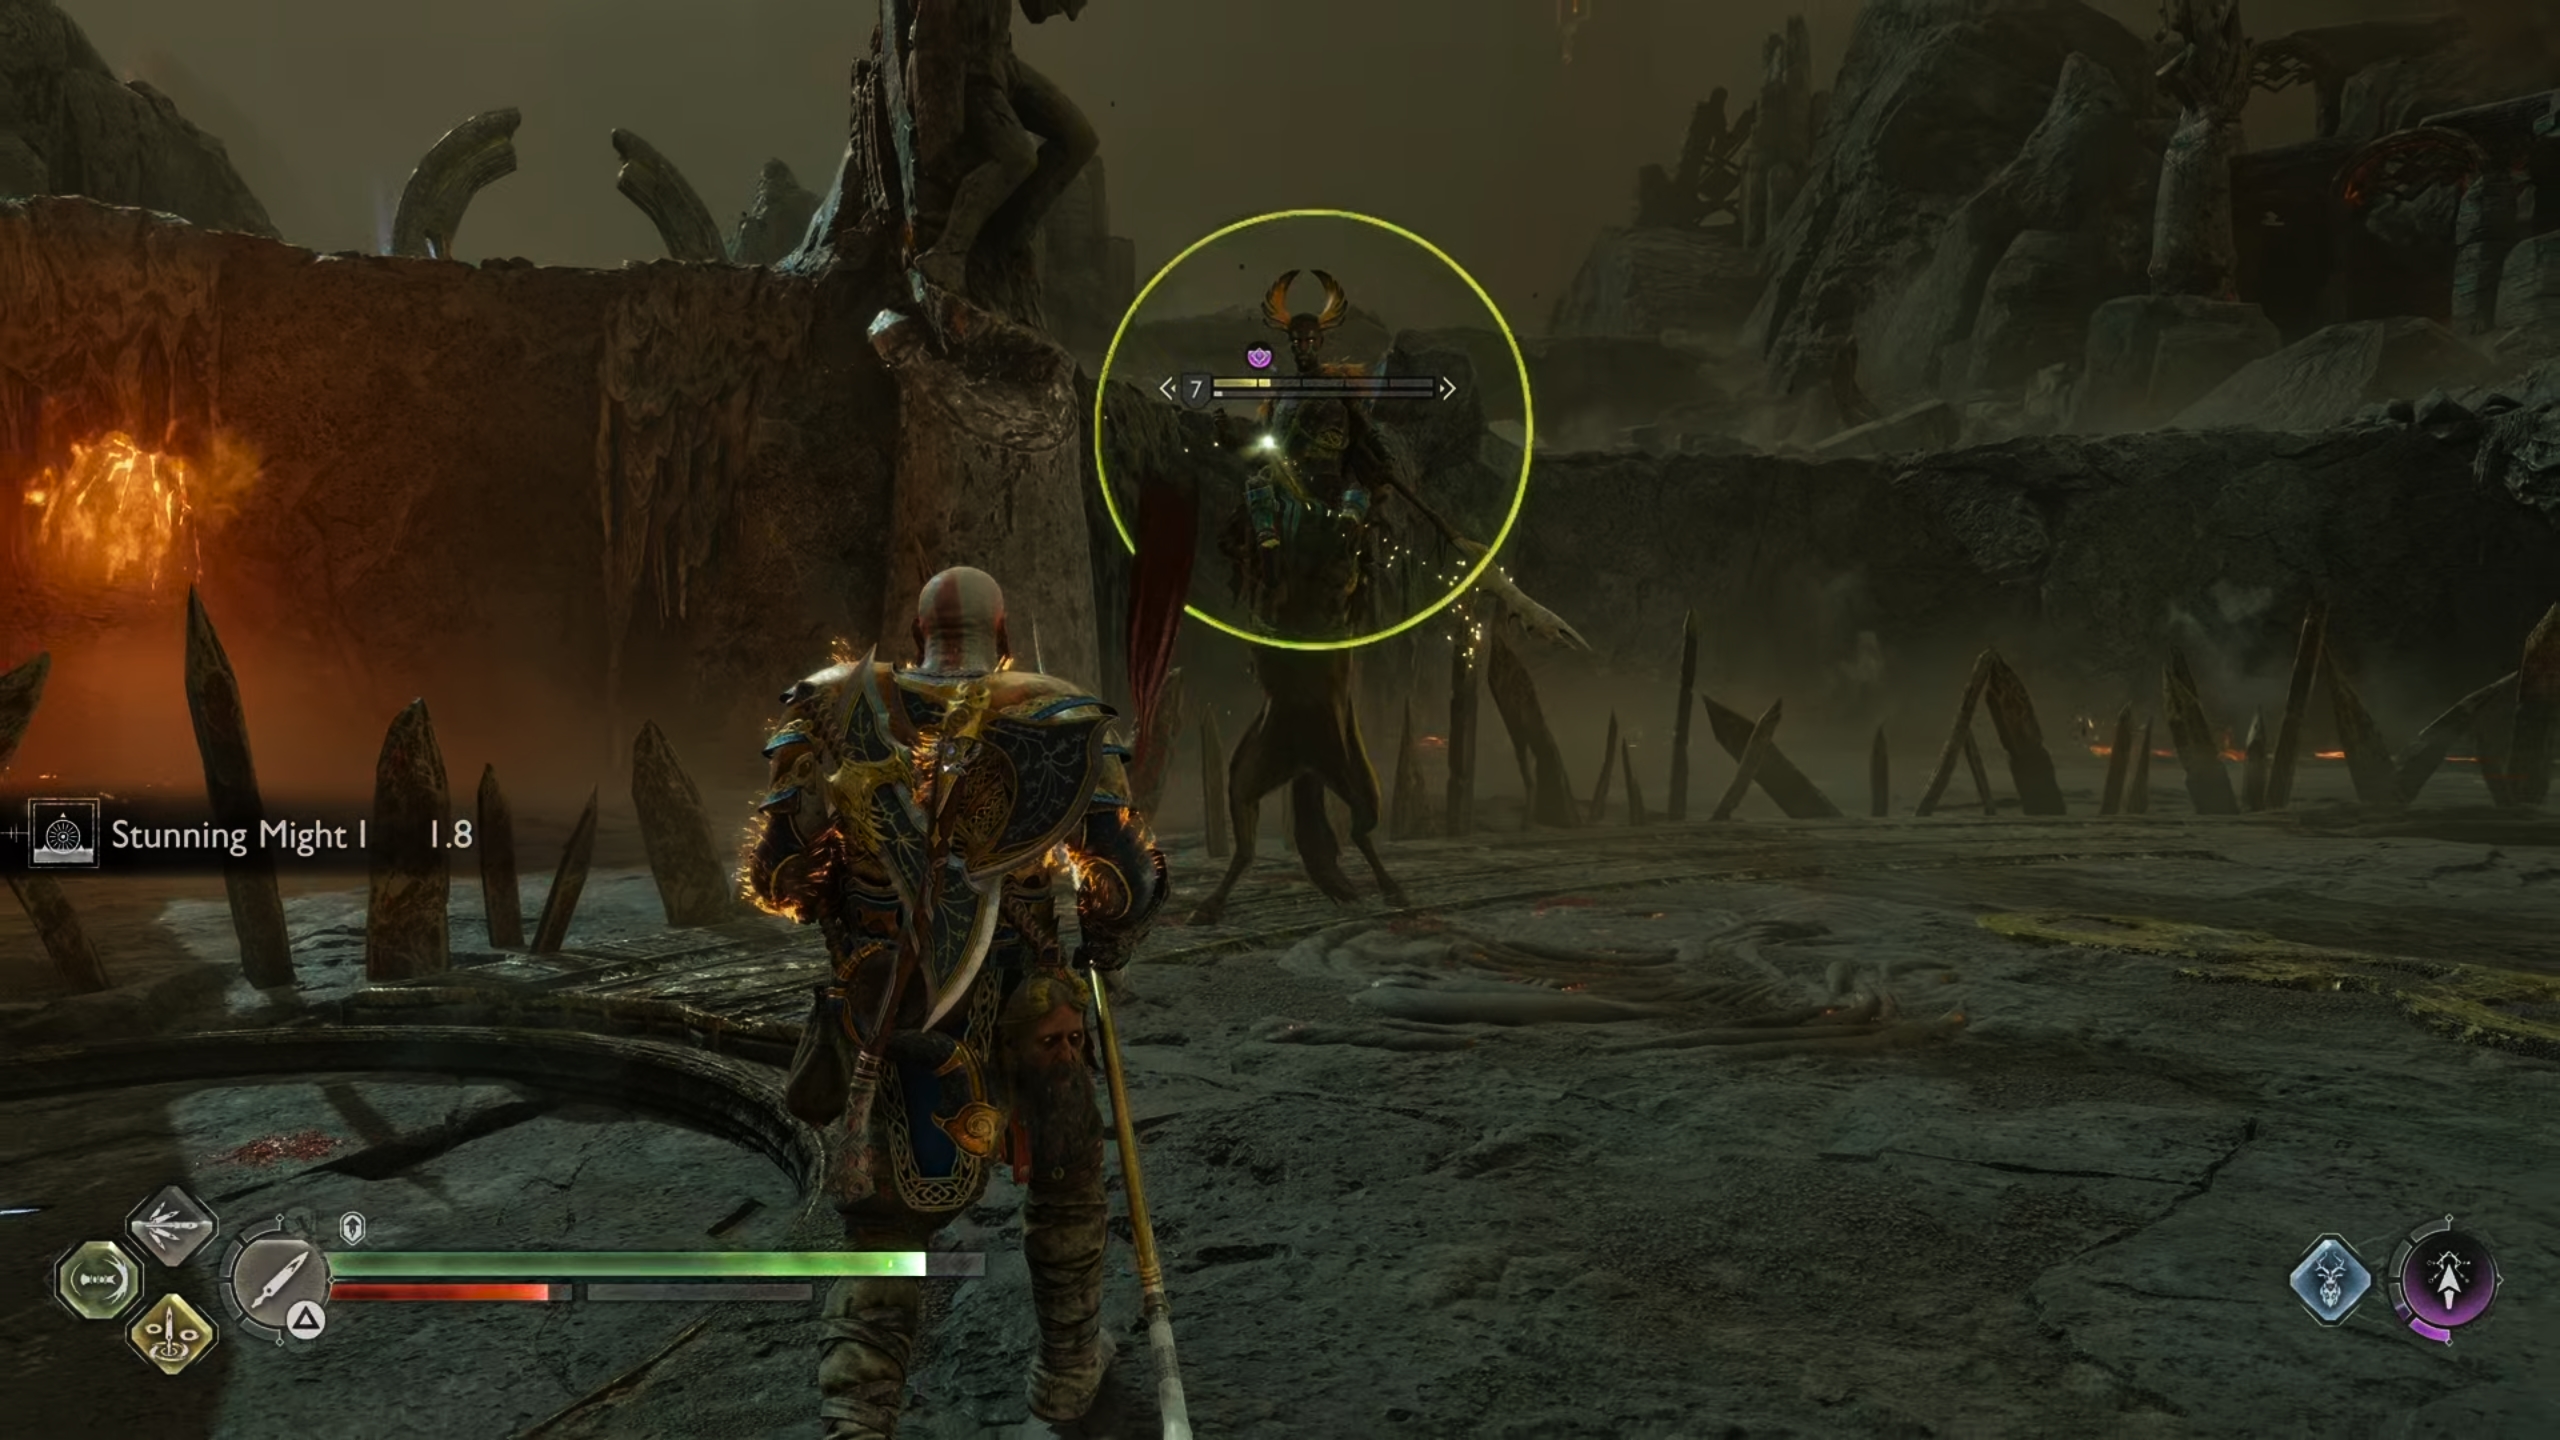
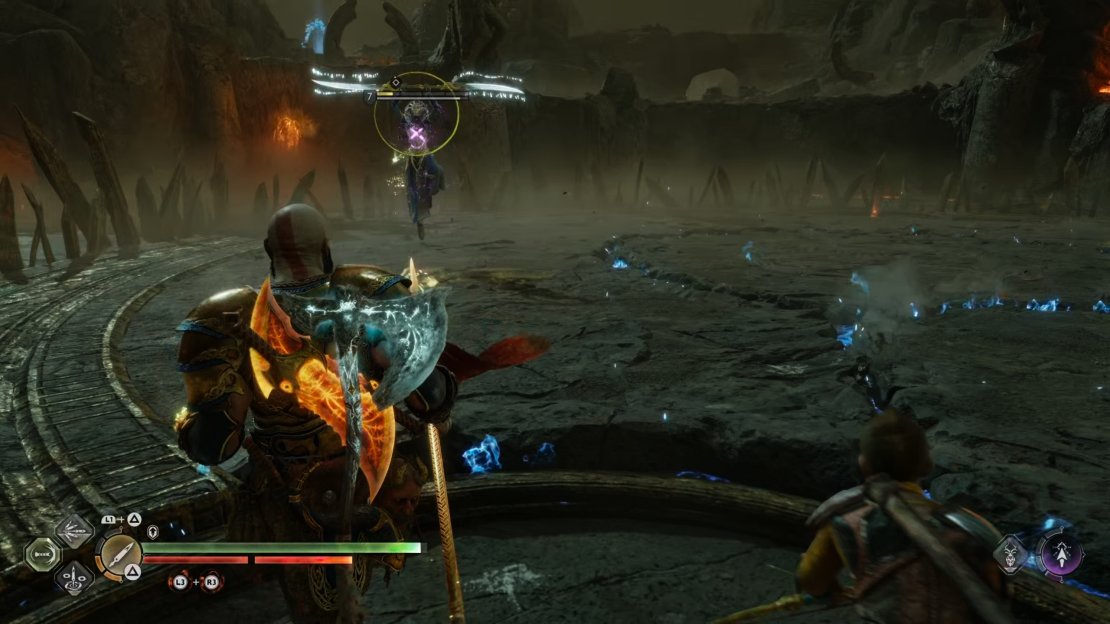
The next boss that you’ll encounter is a lesser version of the Dark Elf Lord. This Dark Elf uses all of the attacks that other enemies of the same type have at their disposal, including the blinding attack and the charge. The Dark Elf loves to use the blinding attack, so you need to become familiar with how to avoid this early on, especially since it can really scupper your line of sight and make it difficult to anticipate subsequent attacks while you’re blinded.
The main method that the Dark Elf Lord uses when attempting to blind you is firing three flashing orbs on the ground in front of them. This is done with the expectation that you’ll be on your way to running within melee range of the boss, but you should be careful here and hold back until the orbs explode. If you stand on one of these orbs, you will be instantly blinded and you’ll take a fair bit of damage. Once blinded, the area around you will turn black and you will only be able to see the boss when they’re immediately upon you within melee range. Not an idea situation!
Instead of constantly running at the boss, try to make use of some powerful ranged attacks if you have them. Both the Leviathan Axe and Draupnir Spear have reasonably powerful basic ranged attacks, so you can just as easily spam these if you want to, although it will take longer to kill the boss. You can get within melee range to execute some powerful Runic Attacks at times, but the best time to do this is just after some of the blinding, flashing orbs have exploded. The boss will rarely use this attack twice repeatedly, and there’s usually at least a few seconds before it will attempt to blind you again, so you can be certain that you’ll have enough time to close the gap between you.
At the same time as using opportunistic melee strikes, you should make good use of your companion’s attacks (either Atreus or Freya) by having them shoot at the boss repeatedly. However, they will also use special attacks of their own if you’re not commanding them to shoot all of the time, so it can be useful to let them do their own thing for a while sometimes.
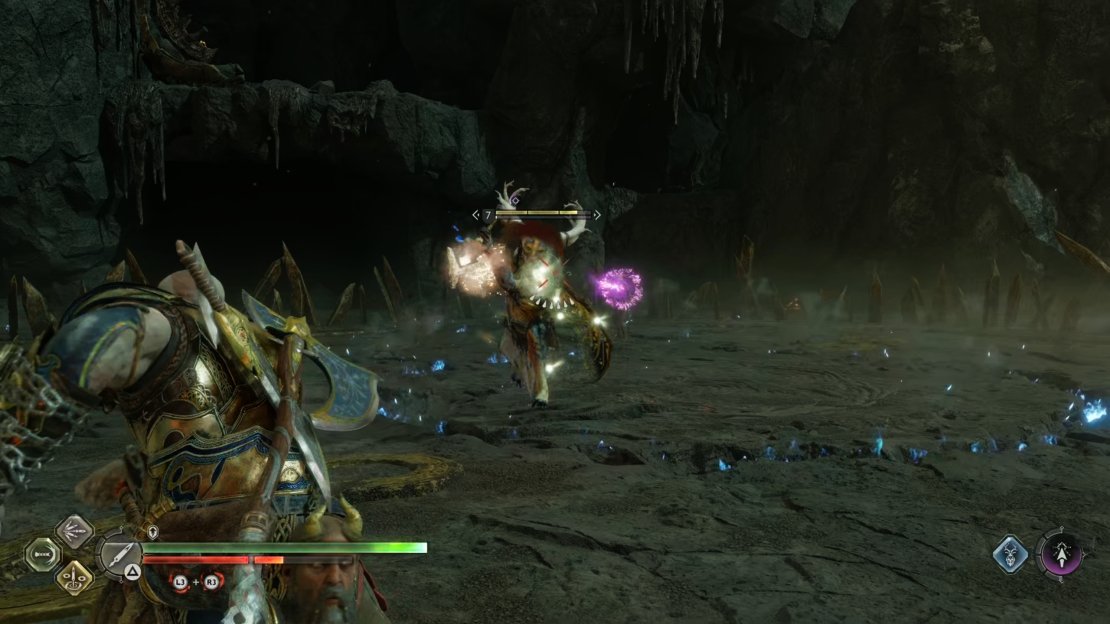
(1 of 5) Don’t run forward when you see the Dark Elf Lord cast these flashing orbs on the ground.
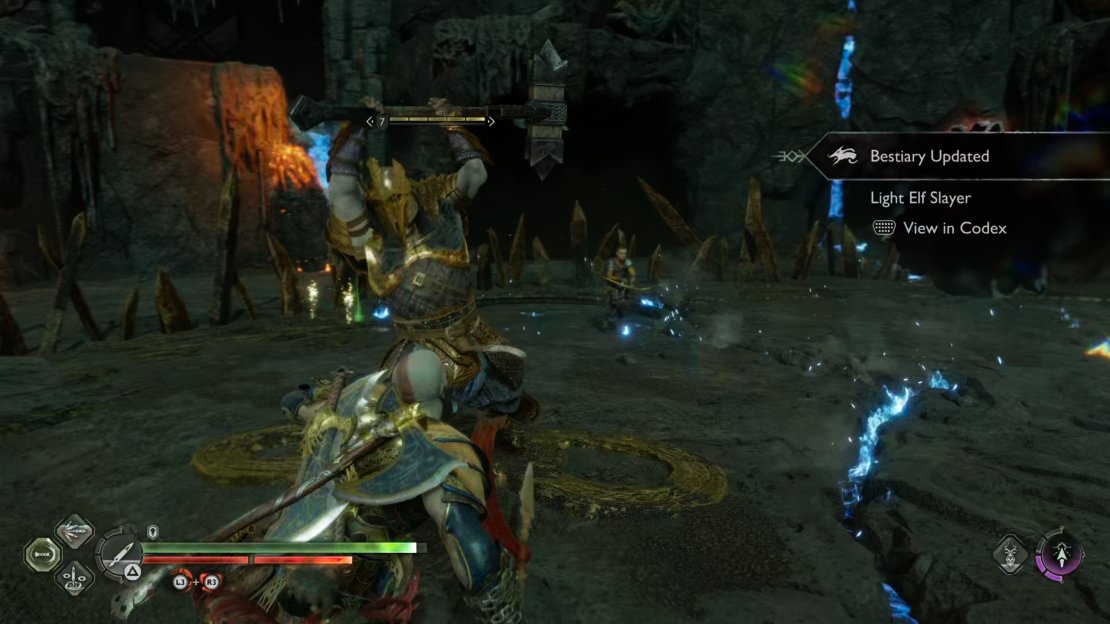
How to Defeat the Light Elf Boss
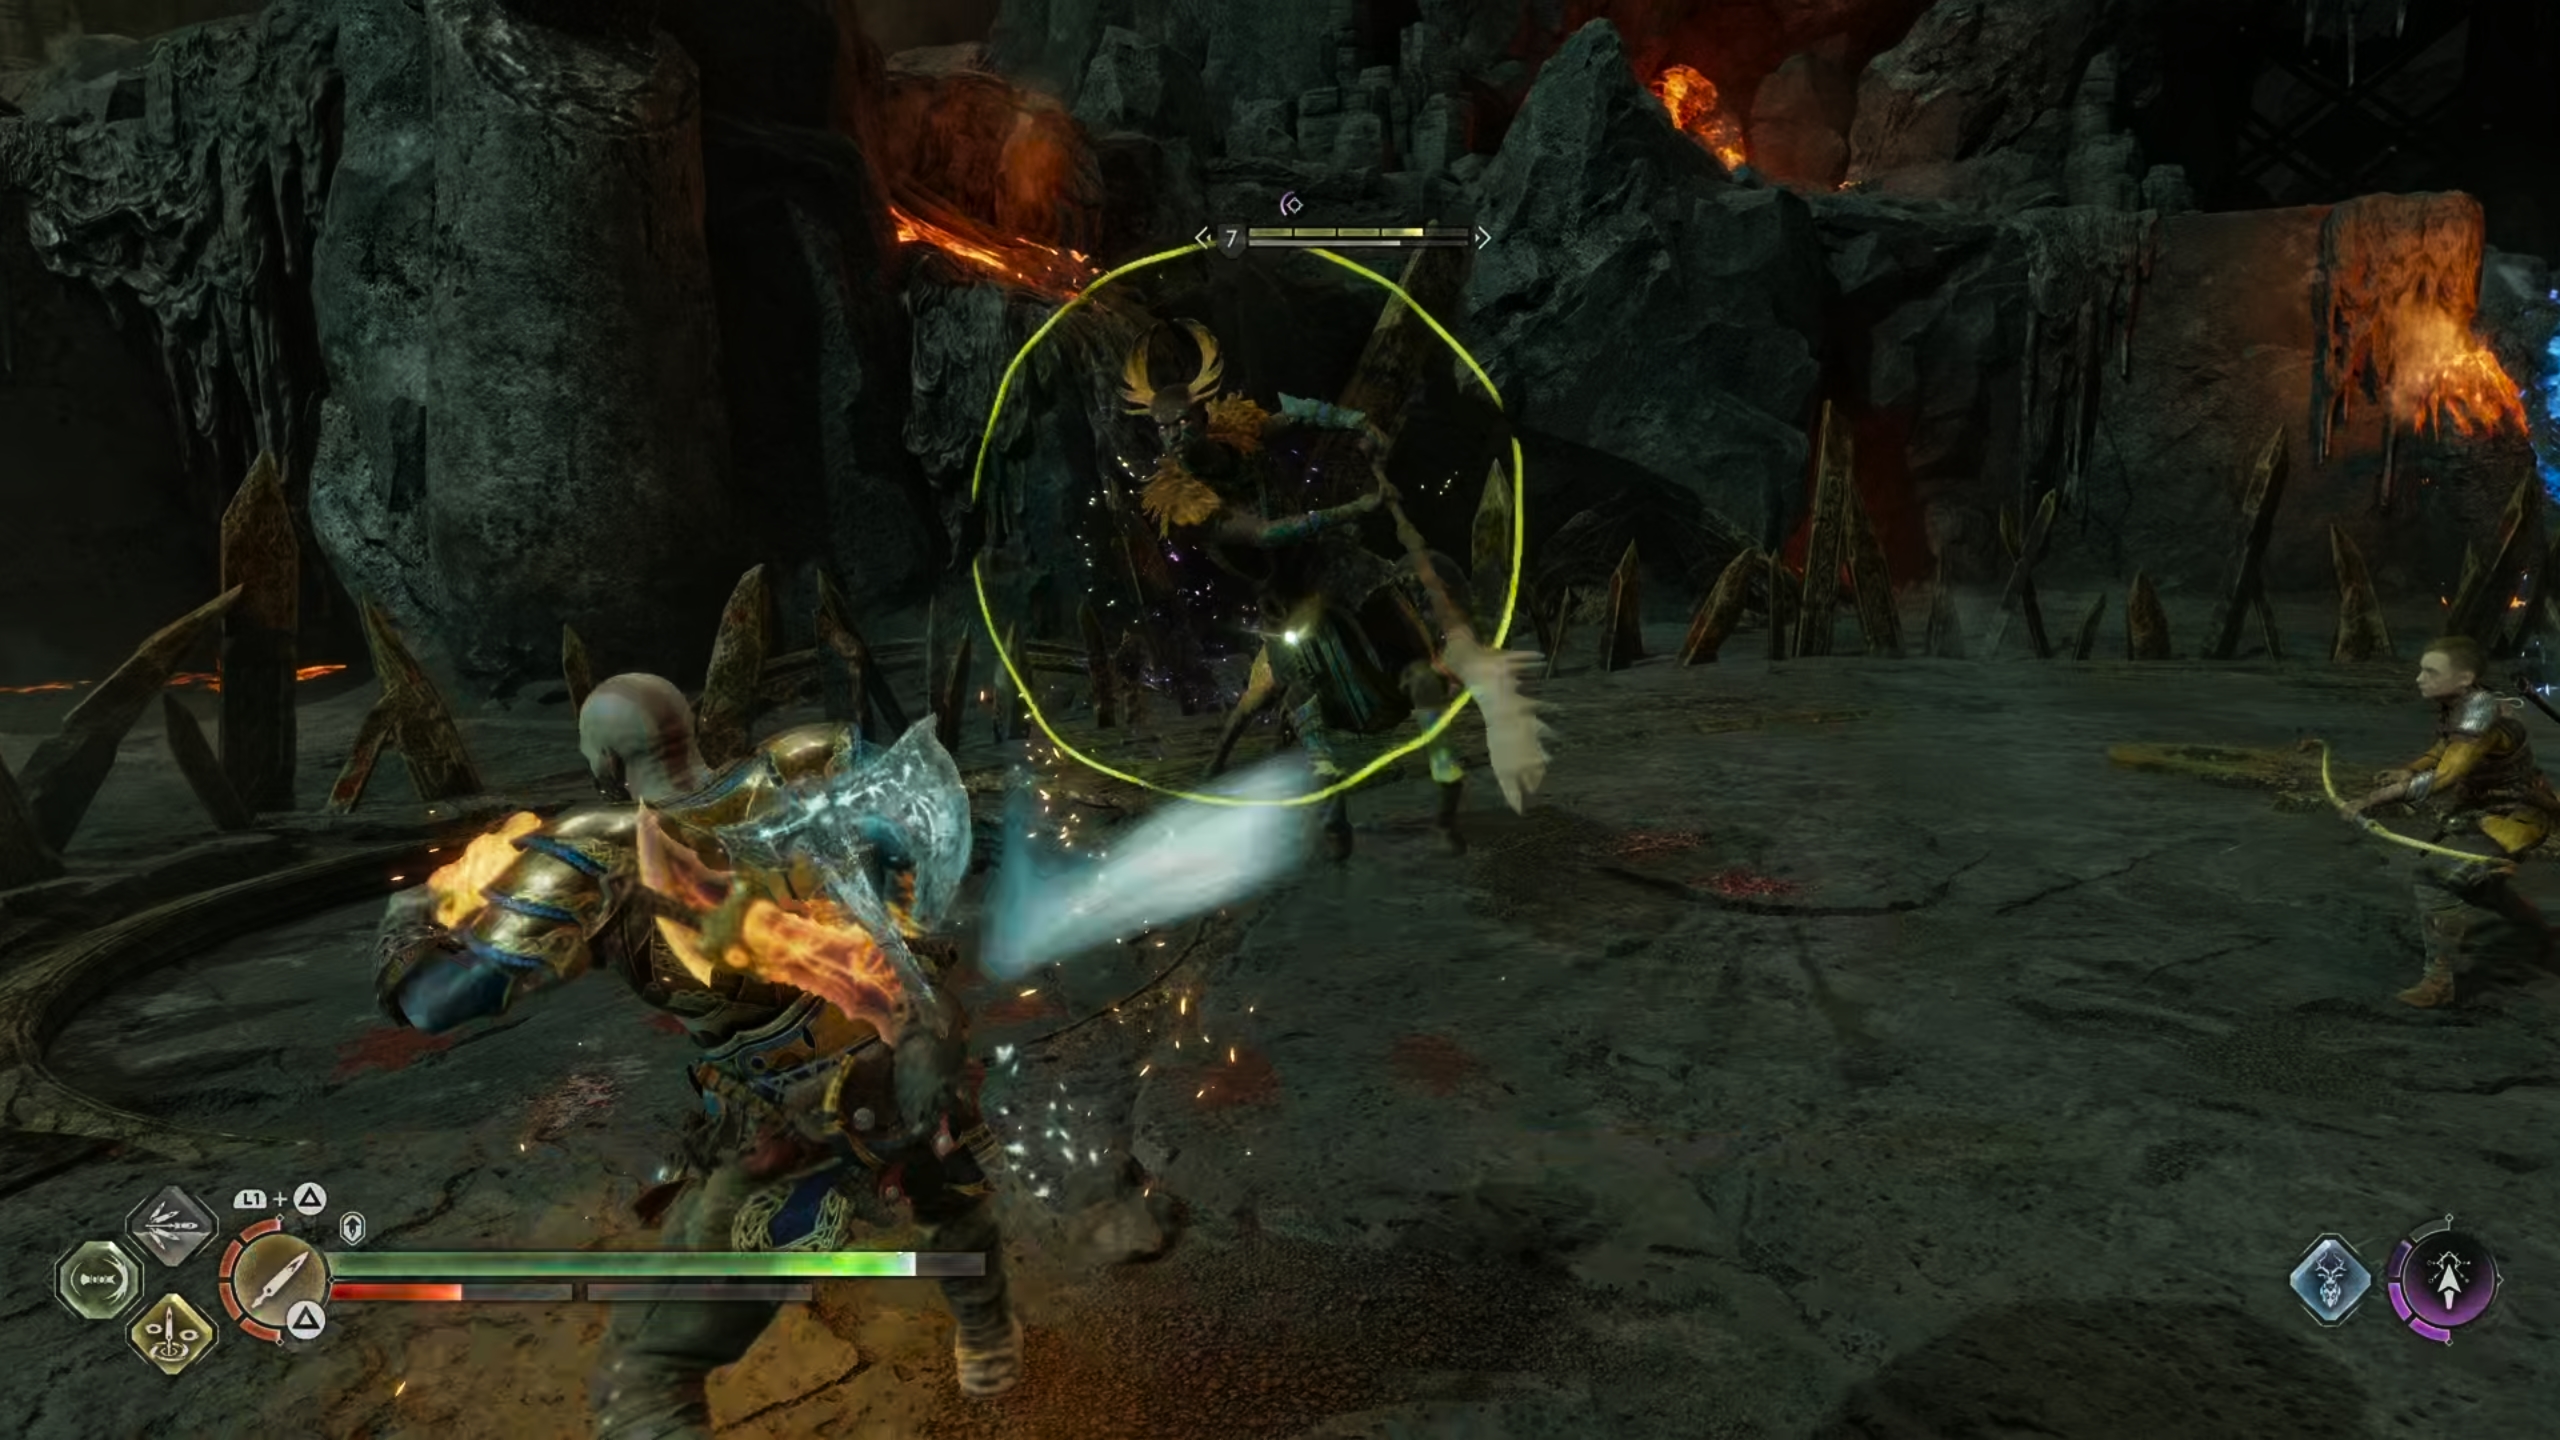
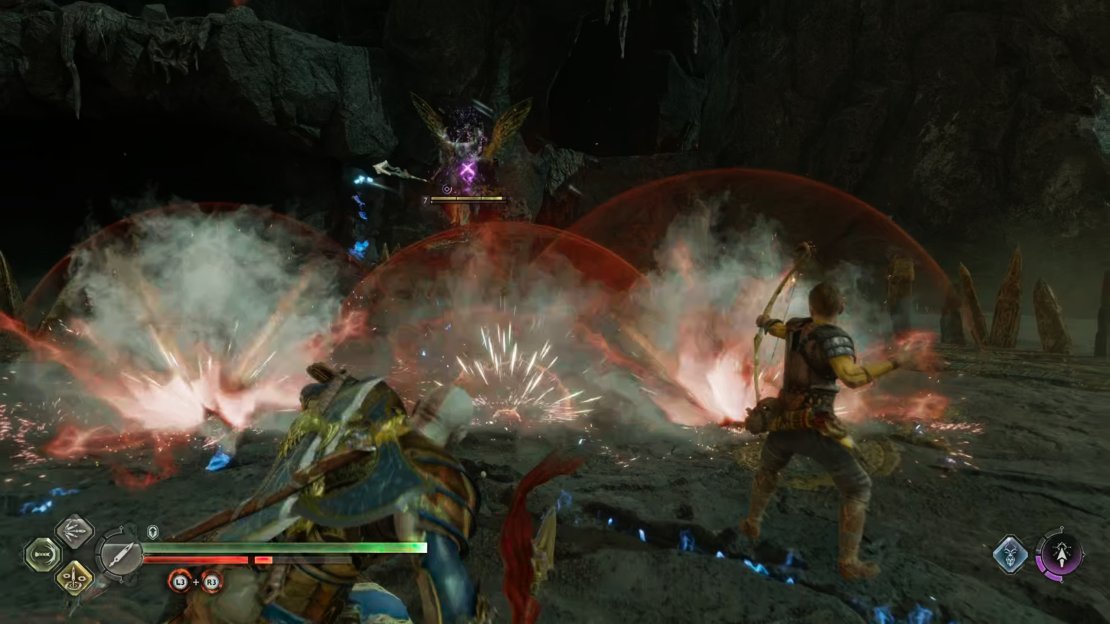
The next boss that you’ll encounter is essentially a Light Elf equivalent to the Dark Elf Lord. They will come out of the realm tear beginning the fight with a swift charge, so be ready to block, parry, or dodge this. There are a number of special attacks which this boss is capable of performing in quick succession, but so long as you know how to consistently avoid them, you should be fine. One of these is the ranged attack which is preceded by a red ring. The boss will fly into the air while spinning as the red ring can be seen around their body, before casting a cross-shaped wave of light energy towards you. This is capable of staggering or even knocking you down, so it’s important that you avoid it by dodging to the side. You won’t be able to block or parry this attack.
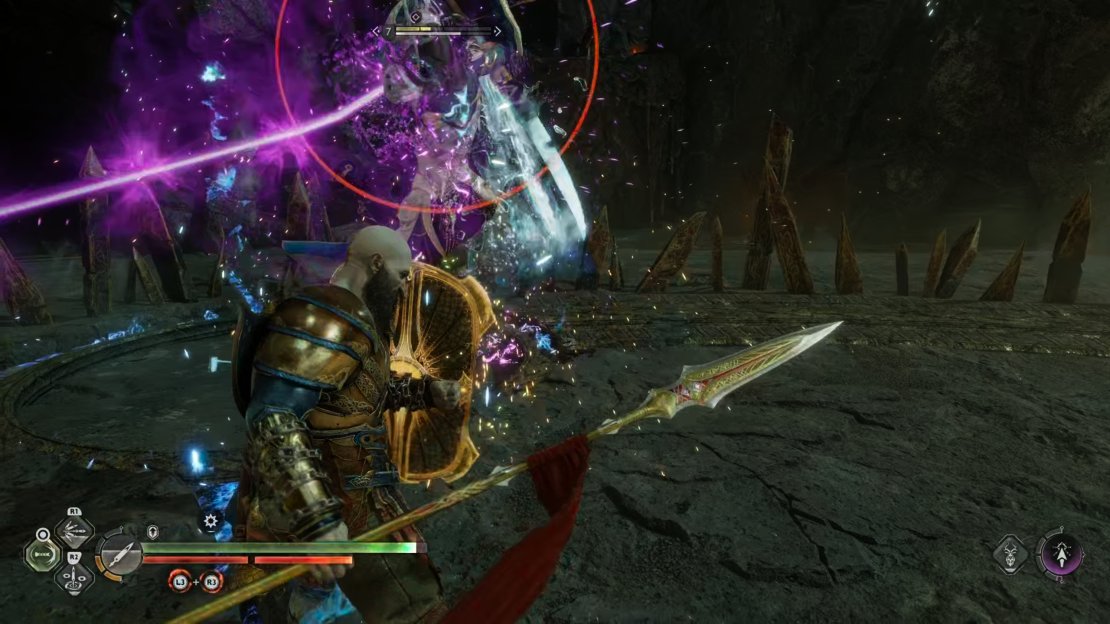
One of the tricks that the Light Elf uses in melee combat is to quickly fly away from you if you remain within melee range for too long. They will often flank you in the process, so you’ll need to turn around quickly to face them and avoid any subsequent attacks. The boss will often follow this evasive manoeuvre with a swift charge attack, which can lead into a relentless melee combo which is difficult to parry if you don’t get the timing right. It’s much easier to block all of these attacks using the Stone Wall shield, so try switching to this if you’re having trouble. To make things worse, the boss will sometimes end this flurry of melee strikes with an unblockable ground smash attack. This will be preceded by a red ring, so you’ll know that you need to dodge instead of attempting to block or parry.
Finally, another ranged attack that you need to look out for consists of the boss throwing their weapons at you before calling them back like a boomerang. They can do this multiple times in a row, so you may need to block or parry this attack more than once. You can see when this attack is about to be executed as the boss will raise their weapons in the air to either side, before spinning and eventually launching them at you. It will also be preceded by a yellow ring indicator, so you’ll know that it’s not just another regular ranged attack incoming.
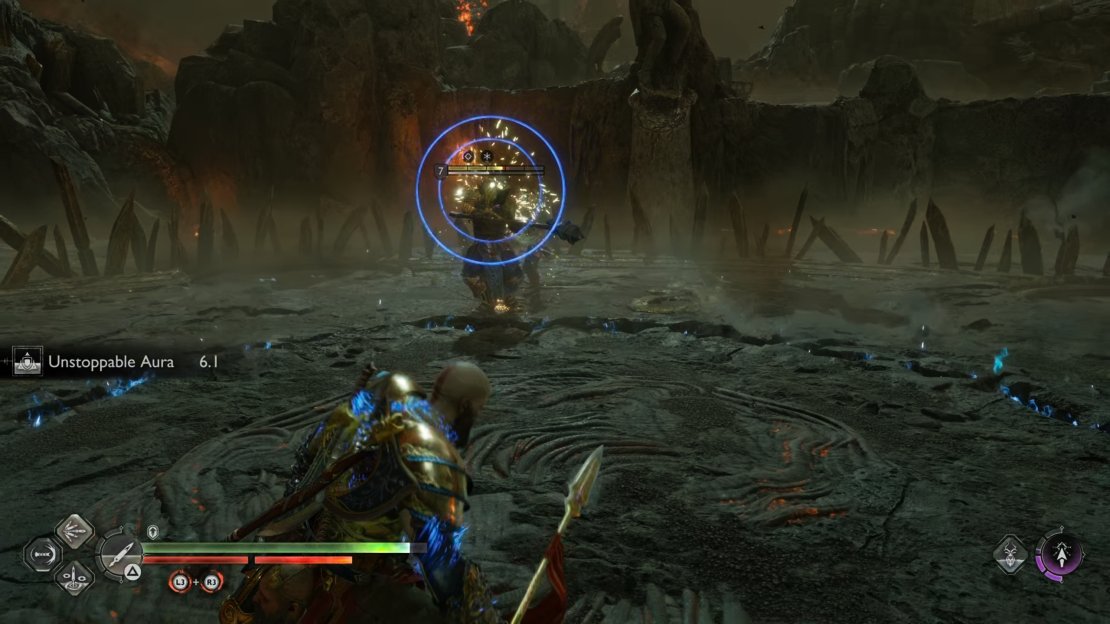
Other than these main offensive attacks, the boss will also utilize a block stance in the same way that many other Light Elves do. It will be preceded by concentric blue circles, and the only way to stop it is by interrupting it with a shield strike attack by double tapping  . You will need to be within melee range for this to work, so don’t bother trying it from a distance. Towards the end of the fight the boss will use another variant of this attack, as they slam their weapons on the ground and begin to heal themselves for a significant amount. You can interrupt this in the same way, but you need to make sure that you’re in melee range, so try not to be too far away when the boss is on low health.
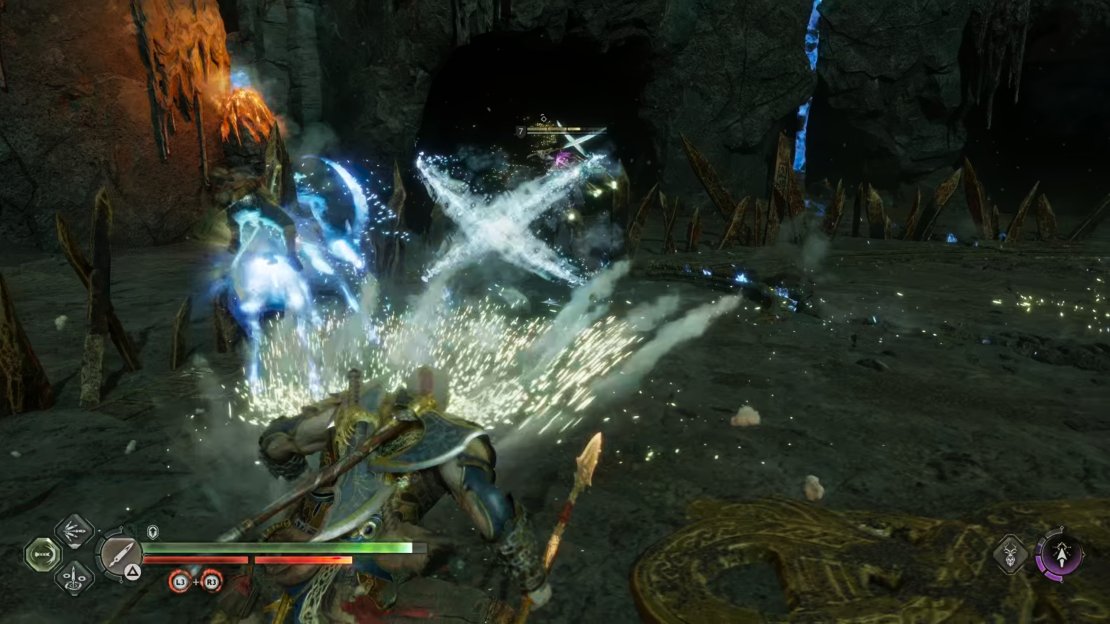

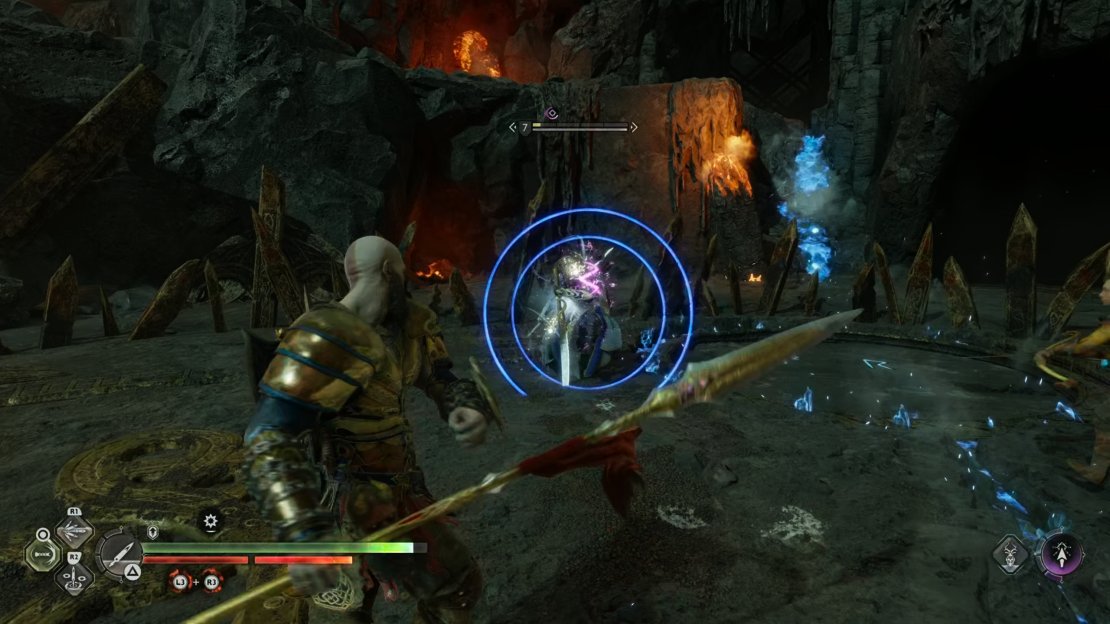
(1 of 5) Be ready to dodge to the side when you see this ranged attack being performed.
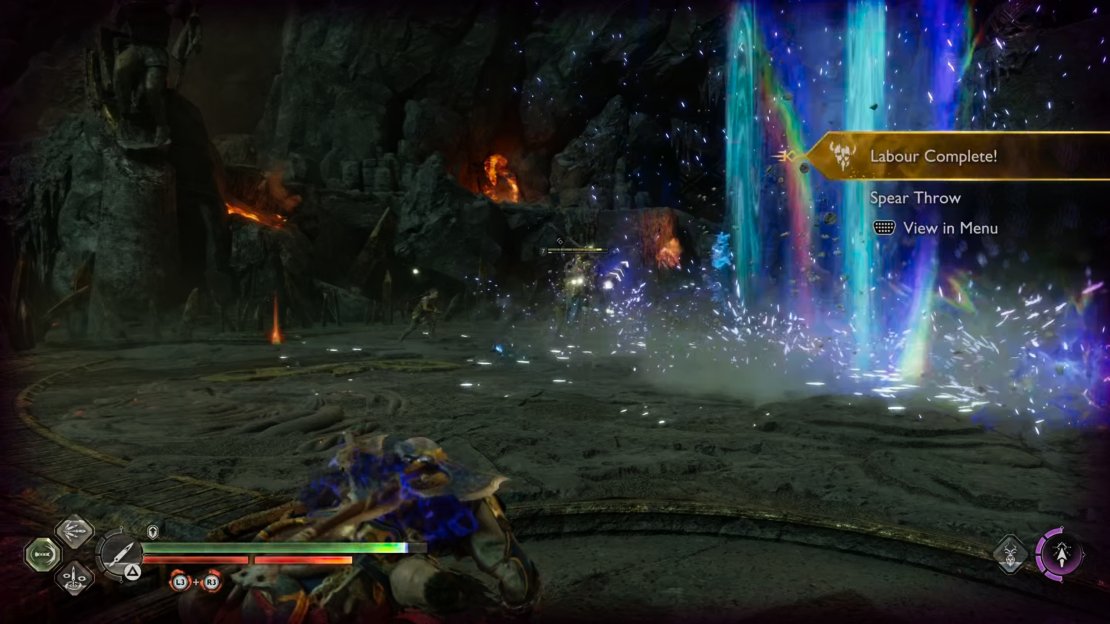
How to Defeat the Einherjar Captain
The final boss in this Muspelheim Challenge is an Einherjar Captain. These can be tough enemies to deal with, especially since you don’t really get much practice with them elsewhere in the game. They’re relatively rare elite enemies which have a range of special attacks at their disposal, so you need to learn how to avoid each one to beat them reliably.
The first thing you should know about this boss is that they won’t actually seem to emerge from the realm tear like the others. Instead, they will be upon you instantly, as if by teleportation, a few moments after defeating the Light Elf. The first attack they’ll use is a hammer strike which can be blocked or parried, but you can just as easily dodge it if necessary as well. Just make sure that you don’t dodge too soon, since the Einherjar Captain is capable of adjusting where the strike lands if you move too quickly. This is arguably what makes this boss more difficult than the others - many of its attacks are delayed after the initial animation begins, which can easily throw your timing off if you’re not prepared.
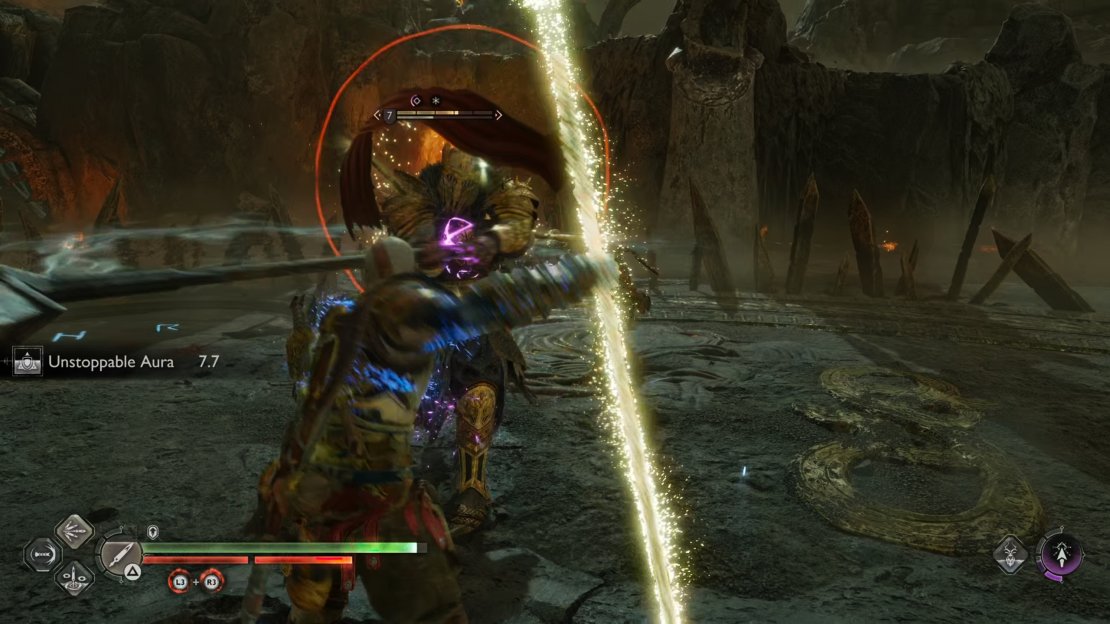
Another reason why this boss is more deadly than the others is that it wields Bifrost damage effectively. The boss will often teleport away from you if it’s hit a few times in melee, then immediately raise its hammer before slamming it down on the ground again. At this point a wall of Bifrost will come hurtling towards you, and you’ll need to dodge either left or right to avoid it. Dodging away from this attack will do no good, since its reach is basically as long as the arena itself.
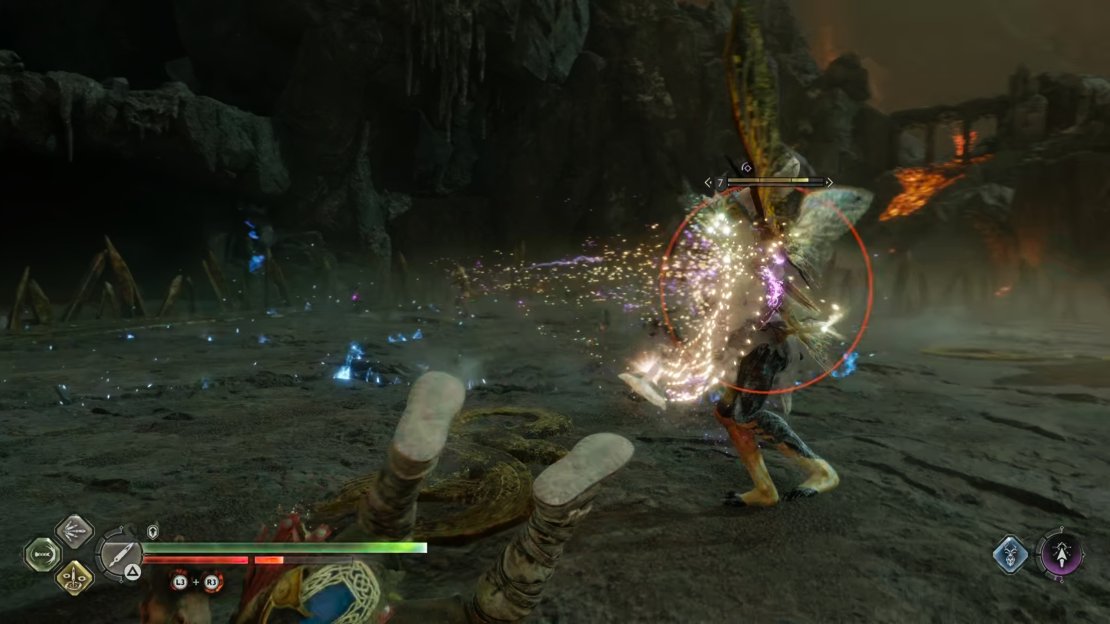
The Einherjar Captain will also use teleportation in other ways, such as moving from a ranged position to being right on top of you in melee range again, while striking a with its hammer. The only warning you’ll have of this is the blue / purple light which is emitted around the boss just before and while it’s teleporting. As soon as you see this, it’s time to block, parry, or dodge.
Another extremely damaging Bifrost attack that the Einherjar Captain will use is preceded by concentric blue circles as it raises the hammer in the air. If the attack lands, it will send a shockwave of Bifrost in an area around the boss, and you won’t be able to block or parry this. The only thing you can do to stop this is double tapping to use your shield attack, but you will need to be in melee range for this to work. For this reason you should always try to remain within melee range of the boss, and whenever a gap opens up between you, try to close it by running towards the boss as quickly as possible.
Although you may feel slightly more vulnerable within melee range of the boss, the opposite is true since you’ll be less likely to succumb to an attack by teleportation. You can dodge most of the attacks from the boss, including those preceded by red rings, if you dodge around the boss rather than away from it. Keep this in mind and try not to panic when you’re within melee range, and you should never be caught off guard by the Bifrost shockwave, since you will have plenty of time to interrupt it with a shield attack.

Boss Rush Muspelheim Challenge Rewards
Aside from the Surtr’s Scorched Girdle armor piece, you can complete this Muspelheim challenge multiple times to earn the same amount of material rewards listed below.
| Reward | Quantity |
|---|---|
| Kratos XP | 1500 |
| Companion XP | 1500 |
| Blazing Embers | 3 |
| Glowing Embers | 2 |
| Divine Ashes | 2000 |
| Hacksilver | 40000 |
| Surtr’s Scorched Girdle | 1 (Unique Waist Armor) |
No Comments