
This page details everything you need to know about how to complete the Song in the Sands favor in Alfheim, God of War Ragnarok. We’ll cover how to free the Hafgufa by solving the hive structure puzzle.
How to Start the Song of the Sands Favor in Alfheim
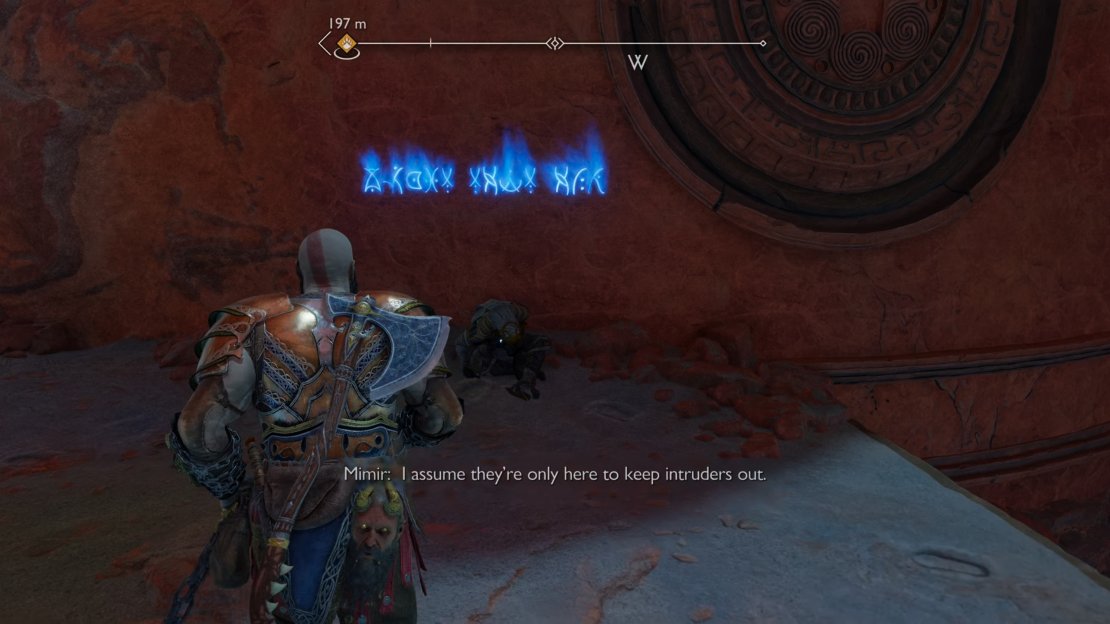
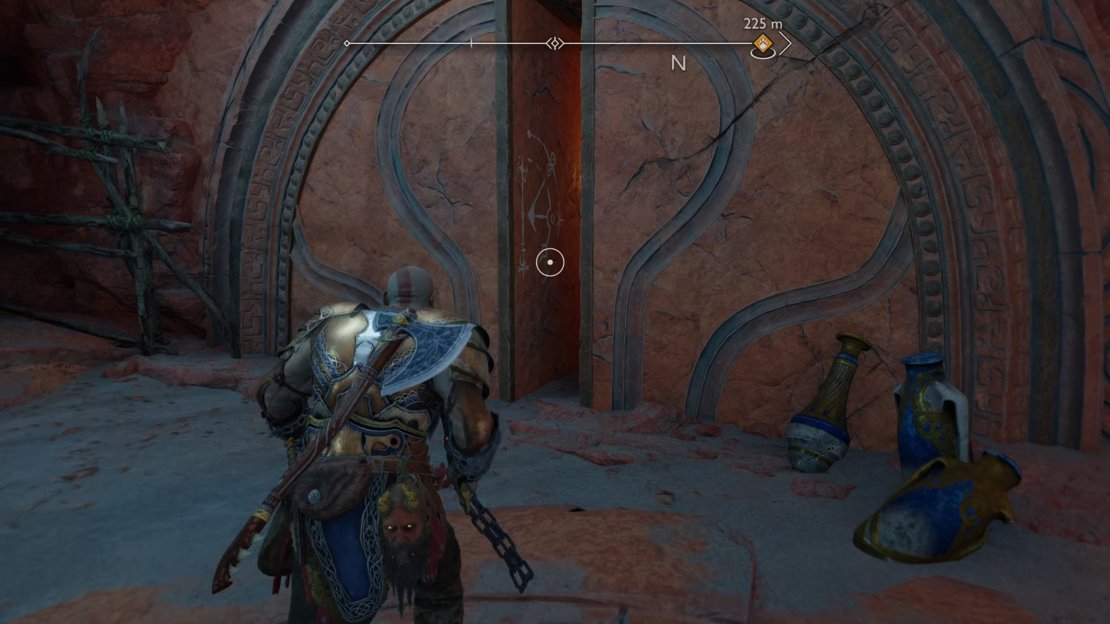
As with the Secret of the Sands favor in The Barrens region of Alfheim, the Song of the Sands favor in The Forbidden Sands region of Alfheim can be started inside a cave, which you’ll find at the location shown in the map below. The entrance to the cave is marked by two torches on either side, and one of your companions (Mimir, Atreus, or Freya) will say something when you’re close to it.
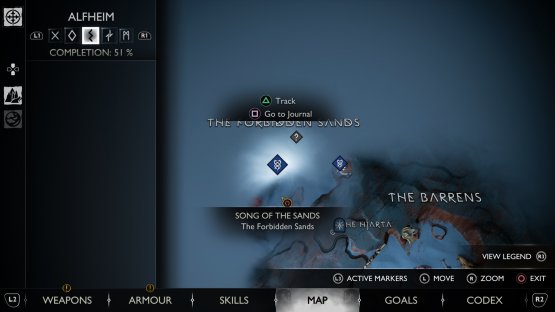

(1 of 2) The location of the cave entrance in The Forbidden Sands of Alfheim.


The location of the cave entrance in The Forbidden Sands of Alfheim. (left), The entrance to the cave in The Forbidden Sands. (right)
How to Free the Hafgufa in The Forbidden Sands
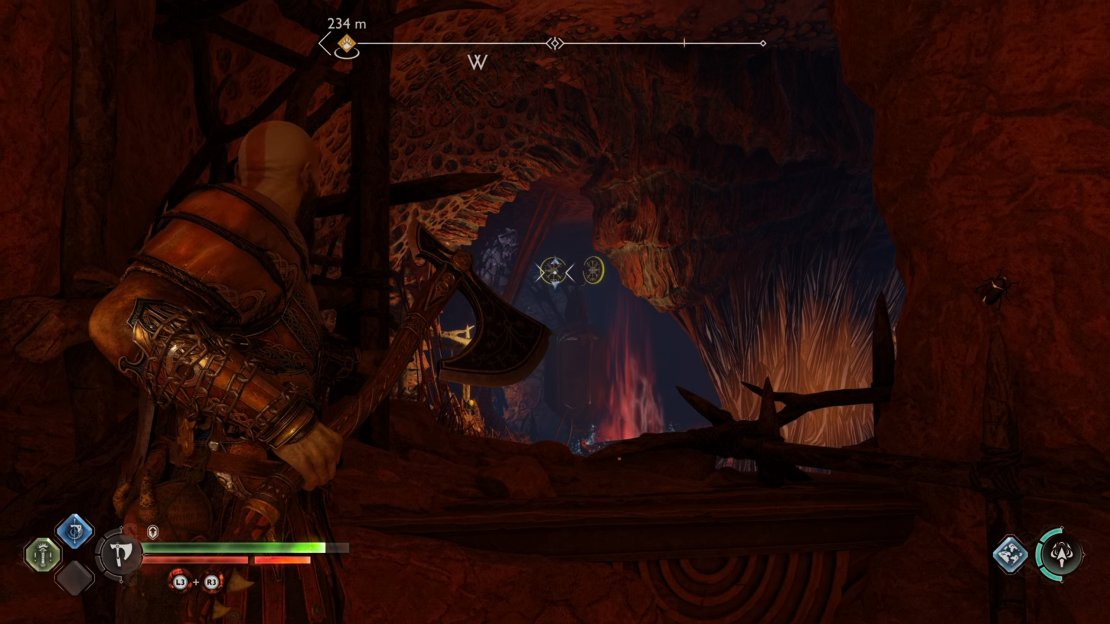
The Secret of the Sands favor saw you freeing a Hafgufa in The Barrens, while this one will do the same for a Hafgufa trapped beneath The Forbidden Sands. You’ll clear the sky of the sandstorm by doing this, so it’s a good idea to complete this favor before you explore the rest of the region.
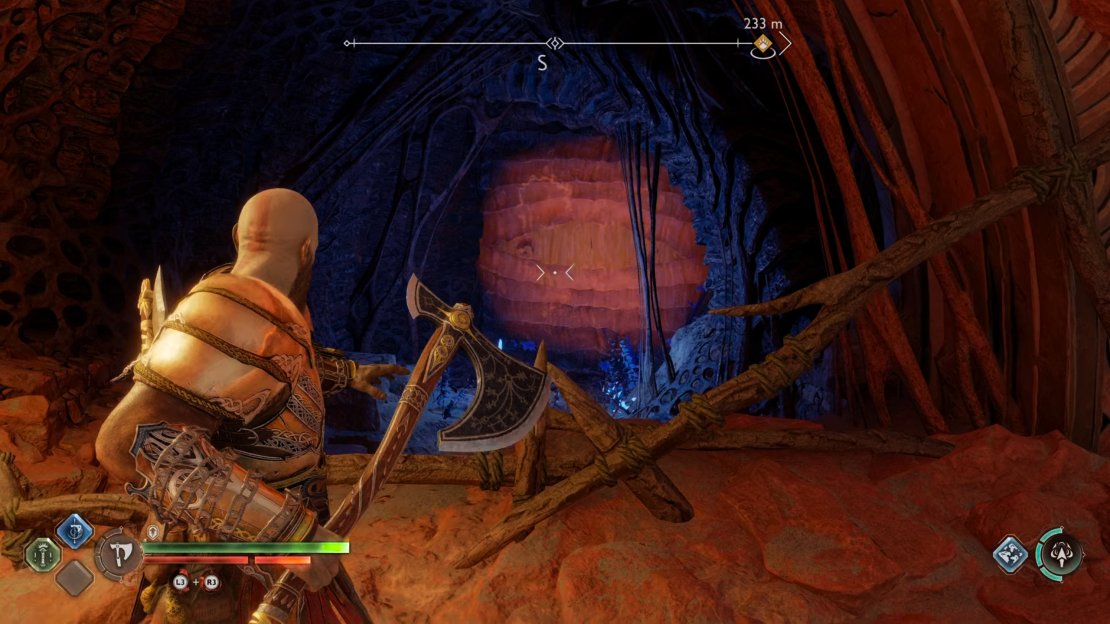
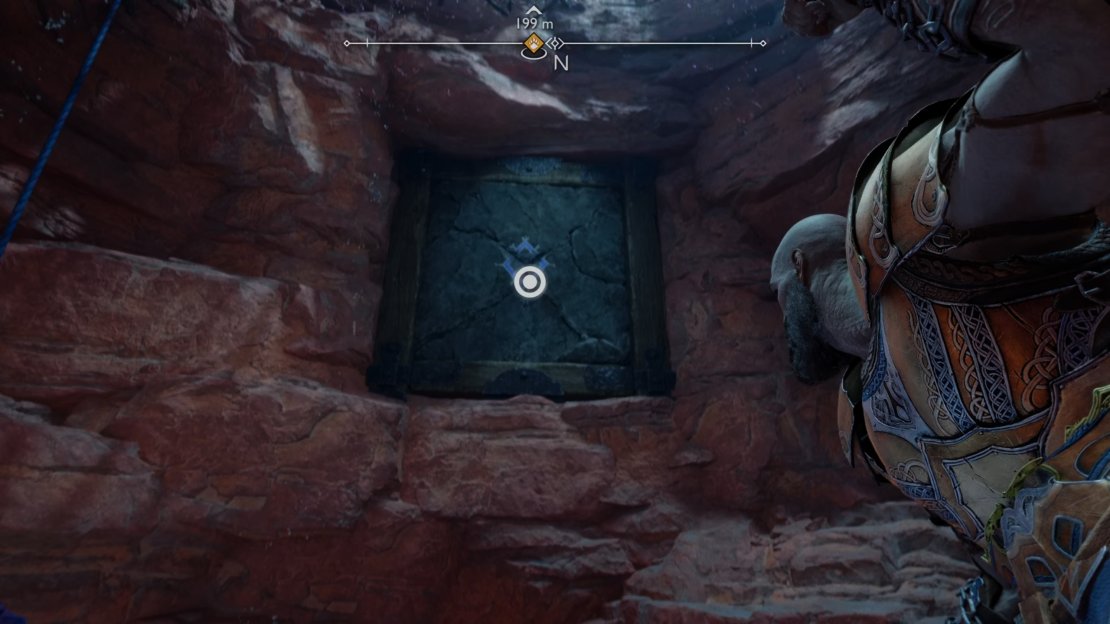
Once you’ve climbed down into the depths of the cave, the first thing you’ll encounter is a wall of shields which can be removed using Sonic Arrows by pressing  . Remember that you can cycle through your arrow types using
  . Head through the western path on the other side, the southern path will be blocked until you’ve finished the favor, since it provides a quick way back to the surface. Once you’re on the other side, look east and use the Blades of Chaos to climb the wall. You’ll find a chest to loot up here and a shield to kick down, granting you easier access back up.
Now jump down the path to the west and look to your left to see a hive wall structure. You’ll need to use Sonic Arrows again to open the wall, then shoot another Sonic Arrow to destroy the shield wall behind it. With the shield wall gone, you can now continue through the path to your right as you use the Blades of Chaos to grapple around.
(1 of 3) Use Sonic Arrows to briefly open the hive wall structure.
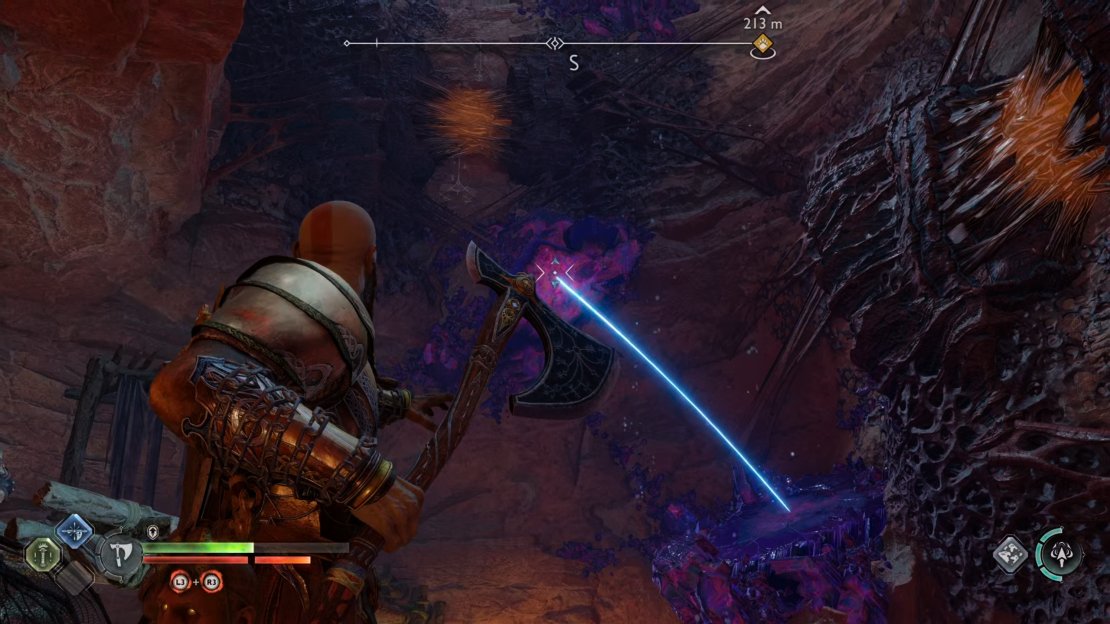
As you grapple onto the points in the next room, you’ll see a loot chest beneath you so be sure to grapple to that before you move on. When you grapple to the northern wall you’ll need to climb towards the right (east) to reach a new area, then grapple over to the south. Here you’ll find another hive wall structure which you’ll need to destroy by throwing the Leviathan Axe at the twilight stone beneath it. You need to make sure that the line is shining in a blue light, rather than purple, indicating that you’re hitting the stone at the correct angle.
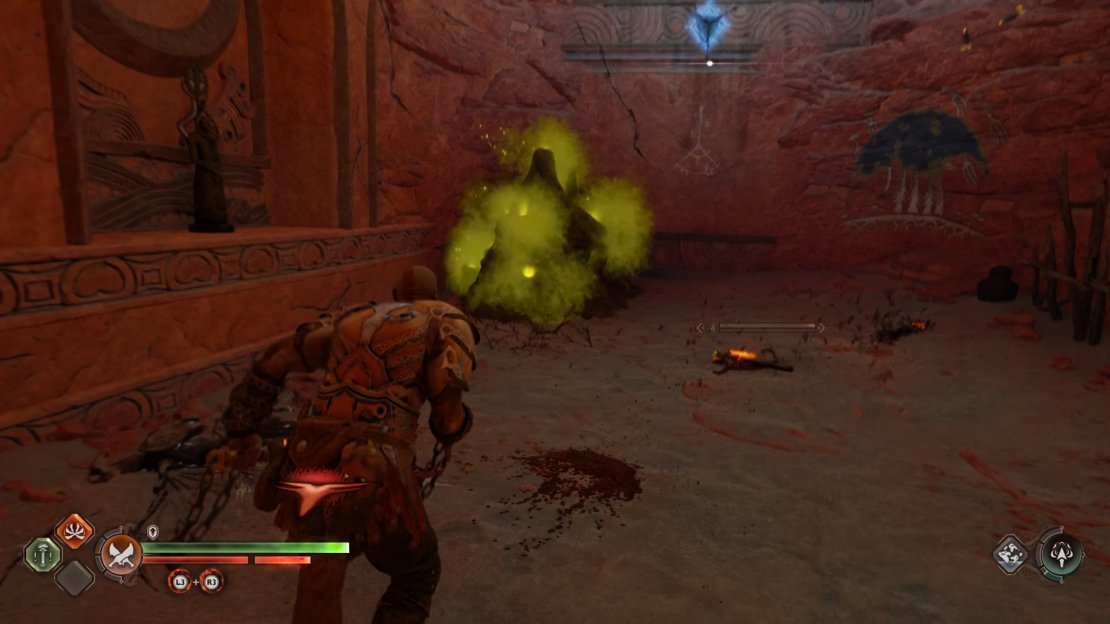
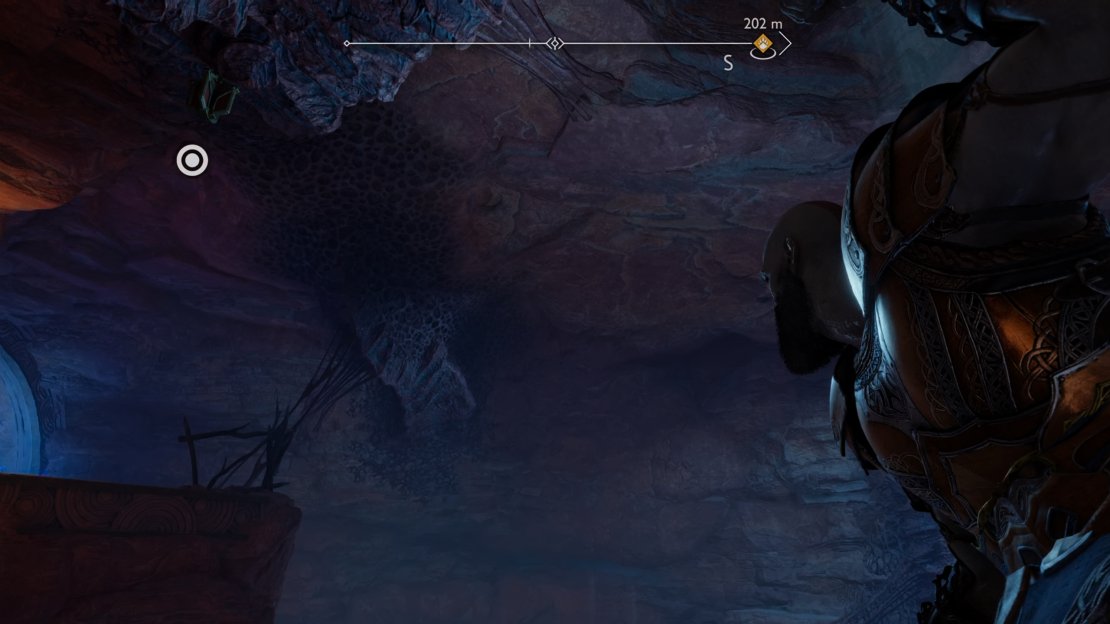
From the other side of the now destroyed hive wall, grapple down to find a loot chest beneath you. You’ll need to kill a few Wretches and destroy their nest down the hall before you can loot it in peace, though. After destroying the Wretch nest, climb up the wall next to it to enter a new room. You’ll encounter a number of Grims and Light Elves throughout this room, so be sure to deal with them first before you attempt to loot anything. You’ll find some rune lore on the southwestern wall here, so be sure to collect that too.
Once you’re done in this room, you can pass through a gap in the northern wall to enter the next one. In this room you’ll see another hive wall structure to your left, which you need to destroy by throwing the Leviathan Axe at the twilight stone behind it, as shown in the screenshot below. The twilight stone is at first hidden on one of the panels on the device behind the hive wall, but you can rotate this by hitting the spinning wheels. With the hive wall destroyed, you’ll gain access to another chest.

(1 of 6) Throw the Leviathan Axe at the twilight stone on the floor to destroy the hive wall.
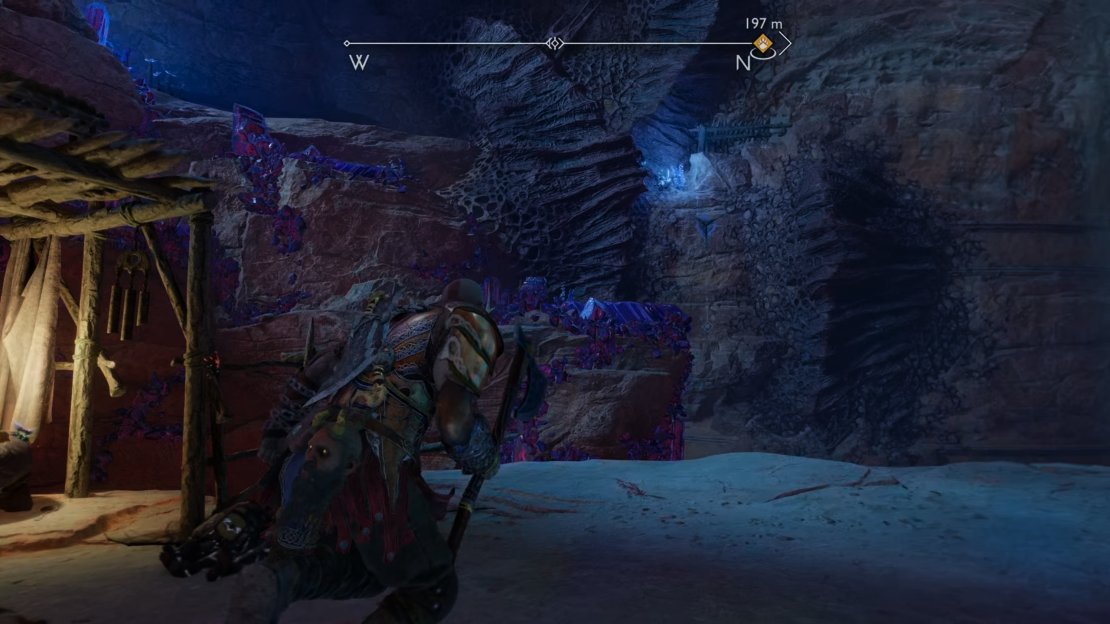
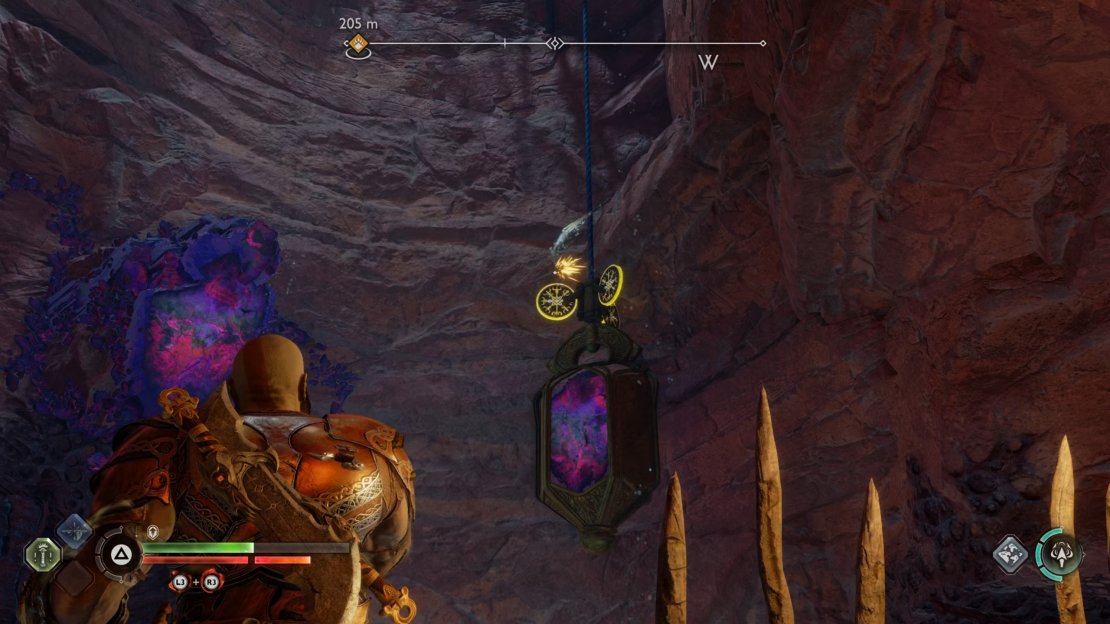
After looting the chest, grapple down to the wall to the north and follow the path down. You’ll find a hanging bucket above which you can knock down using the Leviathan Axe, then look to the west to find another hive wall. You’ll need to open this with Sonic Arrows, then throw the Leviathan Axe at the twilight stone behind it to destroy the hive wall. You can now grapple to the wall above you to the west, and then back down to the surface to the south which the hive wall was blocking. The next route is fairly linear as you grapple to each wall and climb down into a room where you’ll encounter more Grims and Light Elves.
(1 of 2) Use Sonic Arrows to open the hive wall structure.

Use Sonic Arrows to open the hive wall structure. (left), The the Leviathan Axe at the twilight stone while the wall is open. (right)
How to Find the Legendary Chest During Song of the Sands
Once you’ve killed all the enemies in this room, climb the southern wall and look to the north from the top of it. You’ll see some twilight stone and a small hive structure. You need to throw the Leviathan Axe at the twilight stone where the line shines blue, as shown in the screenshot below, to destroy the hive structure. This will grant you access to another part of the wall which you can climb eastward to reach a legendary chest above.
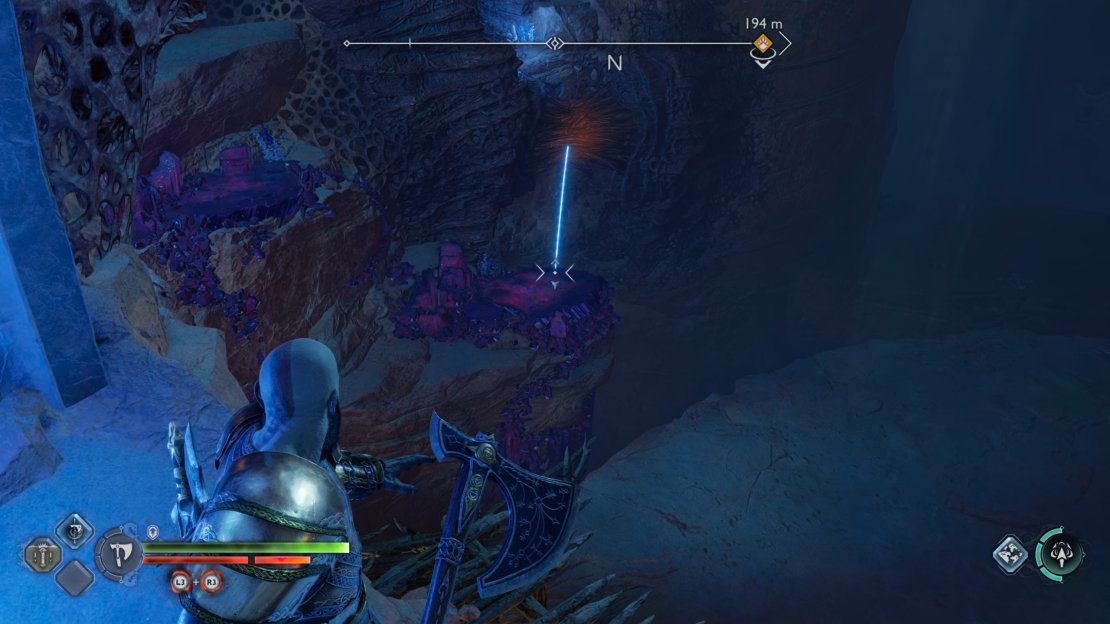
(1 of 3) You need to hit the twilight stone here to break the hive structure, exposing the wall to climb.
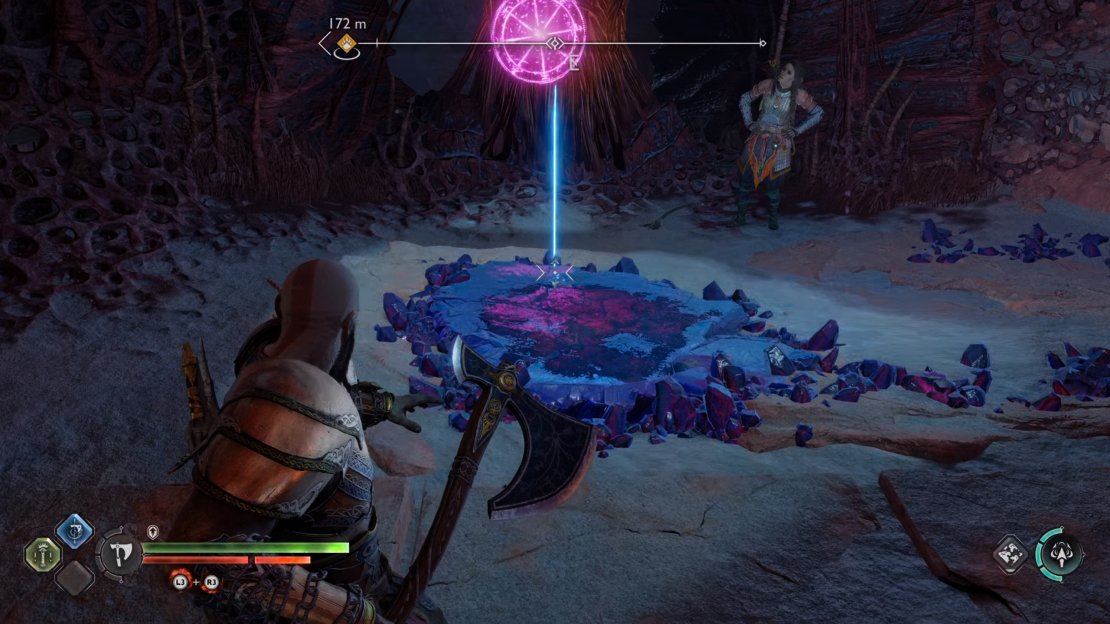
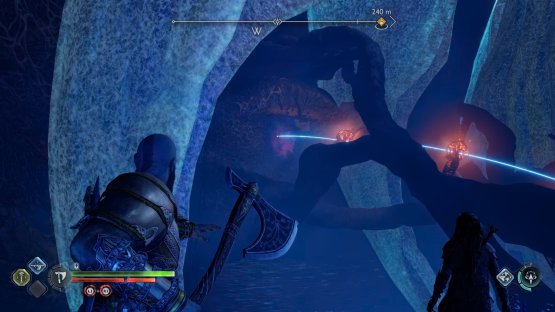
You can now climb back up the southwestern wall to enter a new room, where you’ll find more hive structures. You need to drop down to your left (south) and look up to aim the Leviathan Axe at the structures knots, lining them up to destroy all three at once. You can then grapple back up the wall and enter the room where the Hafgufa is trapped. This room contains another puzzle that you’ll need to solve by hitting the hive structure knots in just the right places.
How to Solve the Hafgufa Hive Knot Puzzle
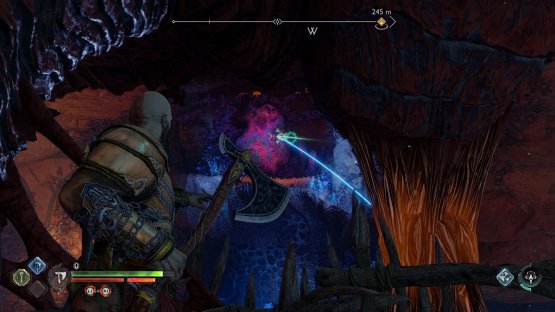
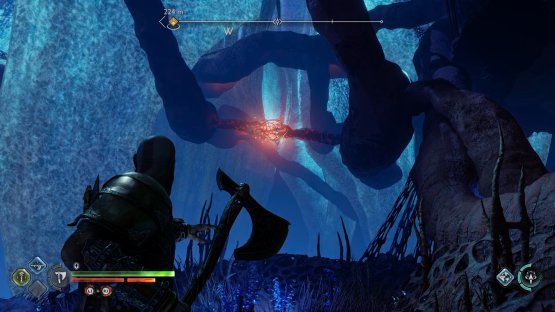
To begin with the puzzle in this room, look to the southwest to see a twilight stone ahead. You need to throw the Leviathan Axe at this to destroy the hive structure above, which exposes a hook that you can grapple to reach the other side. From this platform, look up to the west to see a hive wall structure that you can open using Sonic Arrows. This will expose a twilight stone behind the wall, which you’ll need to throw the Leviathan Axe at to destroy the first set of hive knots.

(1 of 2) Look to the southwest to find a twilight stone you can throw your axe at to expose a grapple hook.


Look to the southwest to find a twilight stone you can throw your axe at to expose a grapple hook. (left), From the platform you grappled over to, look up to the west and use Sonic Arrows to expose the twilight stone behind the hive wall. (right)
With the first set of knots destroyed, you can now grapple back over to the other platform and look up to the west from here. You can now throw your Leviathan Axe through the two knots here to destroy them at once. Finally, grapple back to the southwest and look up to the north. You will now be able to throw the Leviathan Axe through the two remaining hive knots to destroy them and free the Hafgufa from their grasp in the process.

(1 of 2) Look to the west from the first platform to throw the axe through these hive knots.


Look to the west from the first platform to throw the axe through these hive knots. (left), Go back to the second platform to the southwest to destroy the two remaining hive knots looking north. (right)
If you still need help solving the hive puzzle here, see the video below.
Return to the Surface to Free the Hafgufa
Now that you’ve destroyed all of the hive knots in the cave, you can return to the surface of The Forbidden Sands by following the path to the northeast from the room where you found it. In this new room you’ll find a legendary chest guarded by a Bergsra and some Grims. Kill these and then loot the chest to obtain the Nemean Crush Heavy Runic Attack for the Blades of Chaos. You can now climb the wall to the east and follow the path up until you reach another room with some twilight stone on the walls.
To reach the top, you first need to look south and throw the Leviathan Axe at the twilight stone immediately in front of you to destroy the hive wall to your right. This will give you access to a grapple point behind it, allowing you to reach a loot chest on the platform above. From this platform, hit the spinning wheels so that the mechanism with the twilight stone is facing to your left, then hit the twilight stone to your left so that it bounces from it and breaks the hive wall below, revealing another grapple point that you can use to climb up further. At the top you can turn north to find a weak wall that you can grapple to, destroying it to reach the area where you first entered the cave.
You’ll encounter some more Light Elves in this area, but nothing you can’t handle. You can easily make your way to the surface from here and then follow the favor marker to find the last piece of hive structure that you need to destroy to free the Hafgufa and complete the favor. Assuming you’ve completed Secret of the Sands, you will unlock the Full Gufa achievement after completing this favor.


No Comments