This page will reveal the location of every collectible in the Cliffside Ruins, a region of Vanaheim in God of War Ragnarok.
God of War Ragnarok - Cliffside Ruins Collectibles Locations in Vanaheim
| Collectible | Quantity |
|---|---|
| Nornir Chests | 1 |
| Legendary Chests | 1 |
| Lore | 1 |
| River Delta Favors | 1 |
How to Find Cliffside Ruins
After completing the main quest The Reckoning you’ll be tasked with making your way to a new Mystic Gateway southwest of Freyr’s Camp. Once you reach your destination you’ll be given a choice - continue exploring the western half of Vanaheim or return to Sindri’s House and continue the main questline. Assuming you chose the former, use Sonic Arrows to clear an obstruction and continue sailing down the river. Sail down the winding river and, if you persist long enough, you’ll eventually find a ruin-strewn beach to the south - the revolving Nornir Post overlooking the water should serve as a fine landmark.
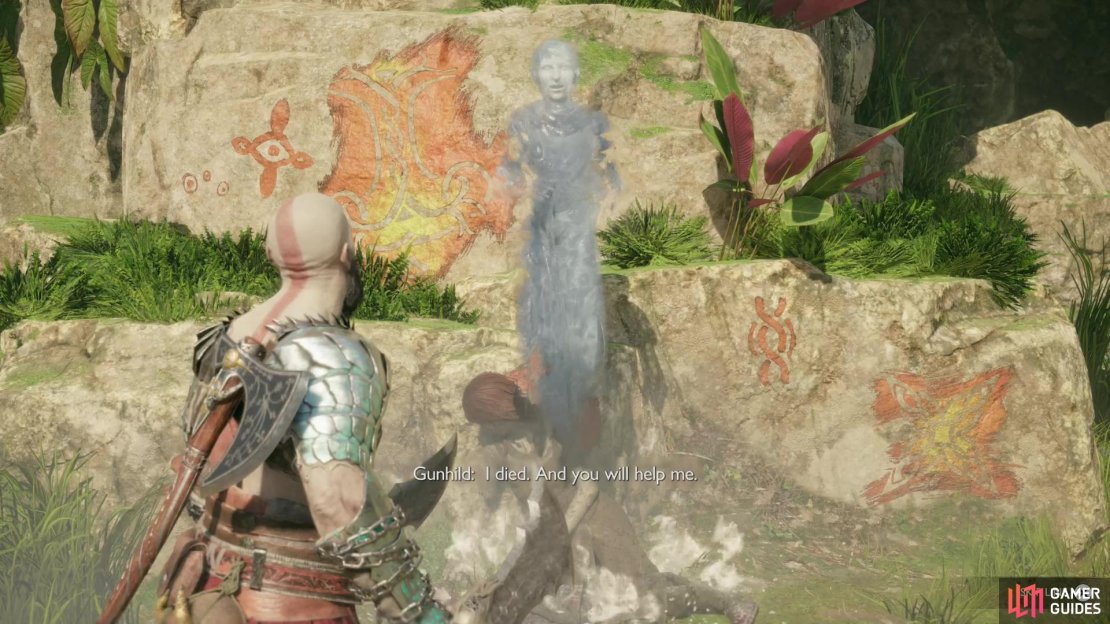
(1 of 3) At the Cliffside Ruins you can find a spirit who will ask you to put some of her friends out of their (and your) misery).
When you land you’ll have to fend off a Revenant (use your companion’s ranged attacks to stun her, allowing Kratos to contribute) and Nightmares. Once the area is clear, find a spirit near the cliffs opposite the beach to the south and talk to her to start the favor Conscience for the Dead. Not only is this favor one of the collectibles in the Cliffside Ruins area, but it’ll lead you to The Veiled Passage area, which you’ll have to pass through to reach the eastern part of the Cliffside Ruins. Since this is where the region’s Lore and Legendary Chest collectibles are (not to mention the second Odin’s Raven for the River Delta region), you’ll ultimately end up having to go through both areas to complete the Cliffside Caverns. You’ll also need to row across the river to the north to find another beach, which counts as another part of the River Delta, as you can only manipulate one of the Nornir Poles from this vantage.
Suffice to say, you’ll be traveling around a bit to complete this area, as not a single one of its collectibles can be completed without getting on a boat at some point.
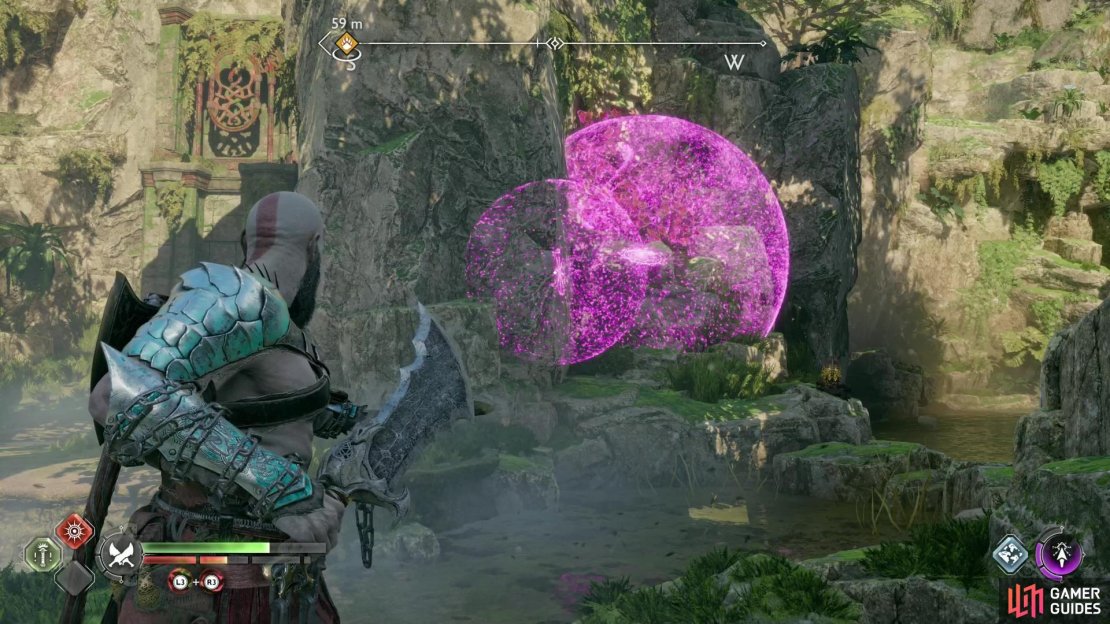
To open the way to The Veiled Passage (and hence the eastern part of the Cliffside Ruins) you’ll need to solve a simple bramble puzzle. From the beach, head south and east to find some ruins you can climb. Do so and turn north to find some crumbling walkways you can jump over to, then jump across to the southernmost segment of these ruins and you’ll find some brambles on a cliff above you and to the south. Use Sigil Arrows to place three sigils in a line on the ridge to the left of the brambles, then detonate them with the Blades of Chaos. Once done, drop down, climb the chain that was restrained by the brambles, use your enchanted chisel to carve a rune onto a magic seal, then prompt Freya to use her magic by pressing the 
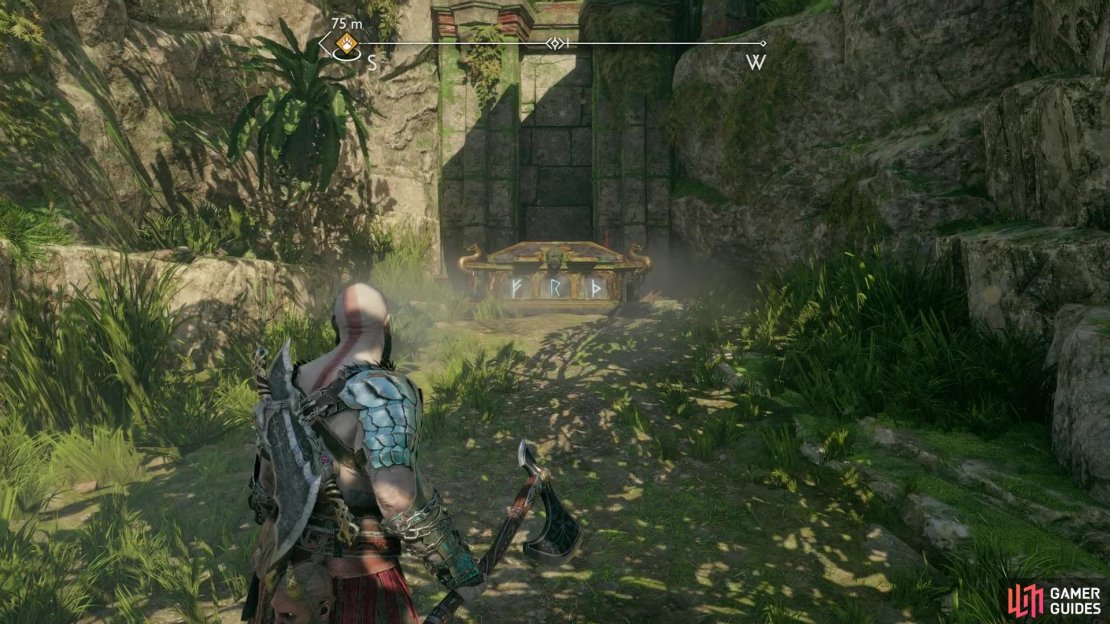
You can find a Nornir Chest at the Cliffside Ruins.
Where to Find All Nornir Chests in Cliffside Ruins
There’s only one Nornir Chest at the Cliffside Ruins, and it’s the only collectible you can actually cross off the list on your first visit… and even then you’ll have to sail to another beach (albeit one just across the river) to unlock it.
From the beach head west, southwest and jump a gap to find the Nornir Chest. If you approach it you’ll need to kill some Nightmares, so get that out of the way before you start hunting for this chest’s three runes. This time you’ll need to find three rune posts and strike their attached panels to rotate them until the correct runes are facing forward:
(1 of 3) Use Freya’s Sigil Arrows to cover a stone pillar and some brambles,
- Rune 1: From the Nornir Chest, turn around around jump back across the gap, then turn left (northwest) until you can’t go any further, then look to the southwest to spot some brambles on the cliffs. This is the standard rune that’s close to the Nornir Chest, but separated from said Nornir Chest by a stone pillar, and otherwise inaccessible. Use some Sigil Arrows to place a line of sigils, jump across the gap and hit the sigils with the Blades of Chaos to clear the brambles, then jump back across the gap and strike the rune post’s panels until the “R” rune is facing you.
Climb onto some ruins and look down and to the south to find the second rune pole.
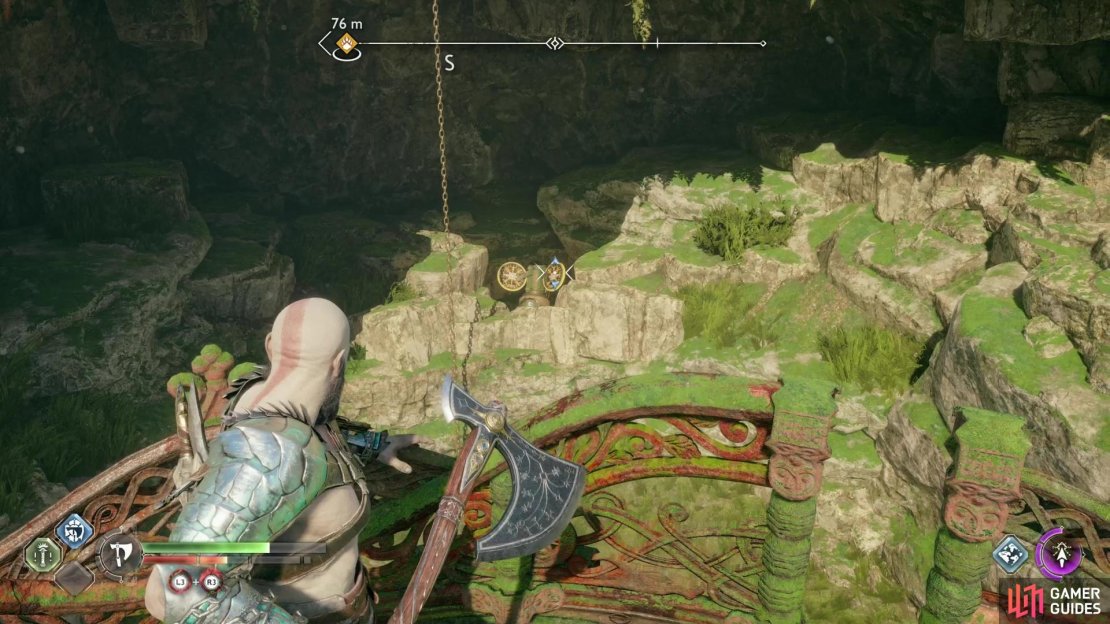
- Rune 2: From the beach, head south until you reach some cliffs, then turn left (east) and climb onto some ruins. Once on the walls of the ruins, turn north and jump onto a now-segmented walkway and head to the southernmost platform. Look down off the southern edge of this platform and you’ll find the rune pole lying amidst some rocks. Strike it with the Leviathan Axe until the “F” rune is facing you.
Sail across the river to Brok’s shop and look south to find the third rune pole.
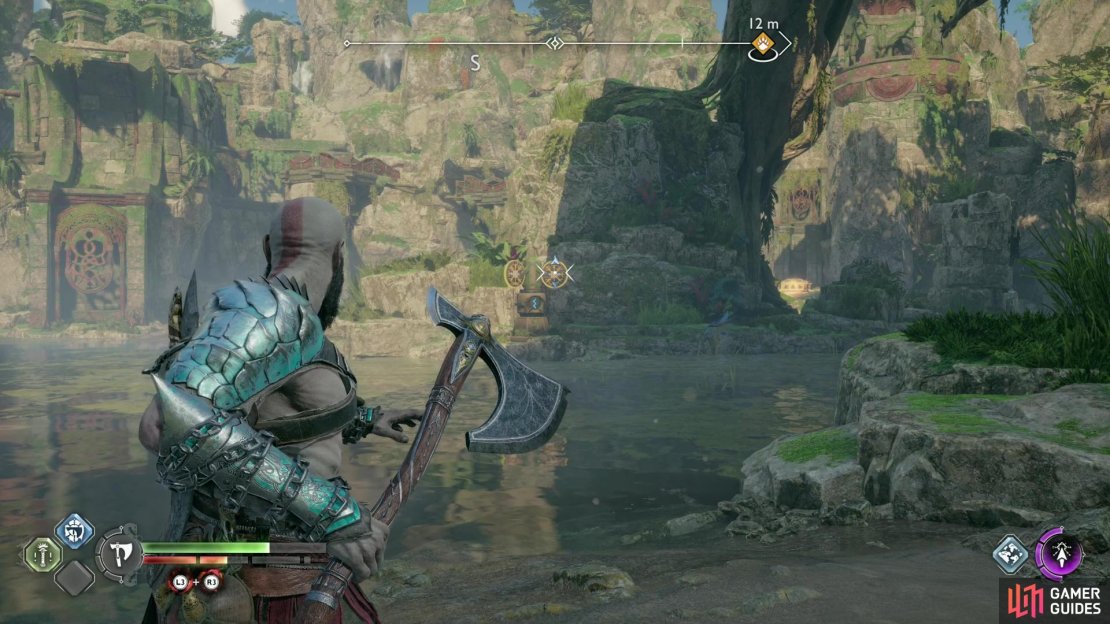
- Rune 3: Get back on your boat and sail across the river to the north and beach at Brok’s Shop (this area technically count as part of the River Delta) and look back across the river to the south, southwest to spot the third rune post.
Once you’ve struck all three rune posts and unlocked the Nornir Chest, head back and claim your prize - either an Idunn Apple or a Horn of Blood Mead.
(1 of 4) Before you can reach the Legendary Chest you’ll need to clear some rocks - the rocks near the Legendary Chest is easy enough, just hit a nearby fire pot.
Where to Find All Legendary Chests in Cliffside Ruins
There’s only one Legendary Chest in the Cliffside Ruins area, and while you need to progress through The Veiled Passage to reach it, you’ve got to do a bit of prepwork from the western half of the Cliffside Ruins, first.
Legendary Chest - Mists of Helheim
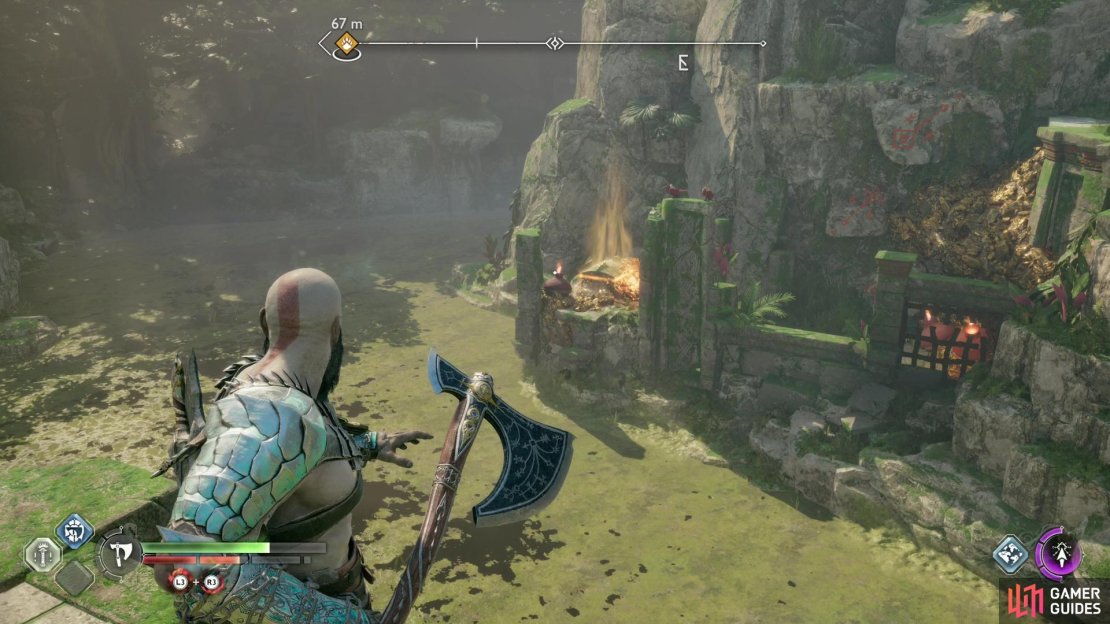
From the beach, head south until you reach some cliffs, then turn left (east) and climb onto some ruins. Once you’re atop the ruins, continue east until your way forward is thwarted by a raised drawbridge. There’s nothing a puny god like Kratos can do about such an insurmountable obstacle from here, but if you look down and to the right from this drawbridge you’ll find a lower section of ruins upon which rests this Legendary Chest… and two piles of rocks you need to clear to both reach and loot said chest.
The pile of rocks near the Legendary Chest is easy, just chuck the Leviathan Axe at it and it’ll detonate, allowing you to open the chest… once you reach it, that is. The other pile of rocks is trickier, as the fire pots you need to shatter are obscured by a gate. You can see them through this barrier, but it’ll deflect your axe throws. Throw the Leviathan Axe at the base of the cliffs just to the left of the wall protecting the fire pots, then walk over to the right until you’re near the landing for the drawbridge. Recall the Leviathan Axe from this position and it should arc towards you, hitting the fire pots on its way back and detonating them. This will allow you to climb down to the section of ruins that houses the chest… once you reach it.
Once that prep-work is done, you’ll need to row to The Veiled Passage and land at the northernmost beach. Now you have to pass through The Veiled Passage (see the linked page for more details) and when you reach the end you can slide down a chain to reach the eastern edge of the Cliffside Ruins, beyond the raised drawbridge. Assuming you cleared both piles of rocks, continue north and drop down a ledge to reach this Legendary Chest, which you can loot to obtain the Mists of Helheim Heavy Runic Attack for the Leviathan Axe.
Travel through The Veiled Passage to reach the Lore Marker - Call to Arms.
Where to Find All Lore in Cliffside Ruins
Lore Marker - Call to Arms
You’ll find this Lore Marker on the eastern edge of the Cliffside Ruins, beyond the raised drawbridge. You can only reach this location by traveling through The Veiled Passage (see the linked page for details), after which you can drop down a chain. As soon as you drop down the chain, turn east to find the Lore Marker - Call to Arms.





No Comments