This page will detail how to complete The Burning Skies favor in The Sinkholes of Vanaheim for God of War Ragnarok.
How to Start The Burning Skies
As with anything in The Crater’s optional areas, you will need to have gotten to and complete the main quest, Creatures of Prophecy. This will unlock a favor in Freyr’s Camp, called Scent of Survival, that will unlock The Crater. From there, you’ll need to venture to The Sinkholes, which doesn’t take too long and doesn’t require anything as soon as you can access The Crater. Upon arriving in The Sinkholes, follow the beginning portions of the favor, Quaking Hollow, until you reach an area where a dragon appears.
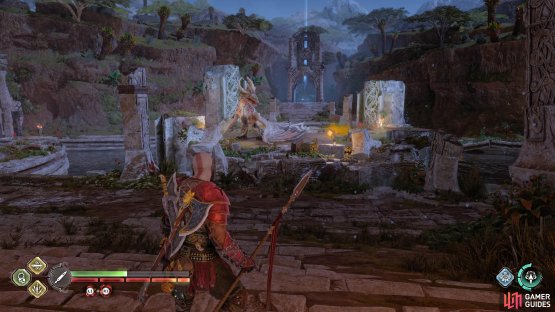
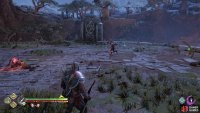
(1 of 2) The dragon will appear here when you first enter this area
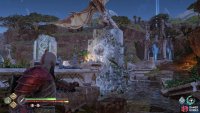
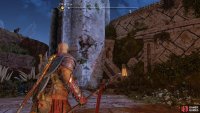
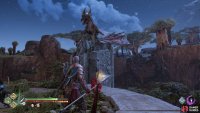
The dragon will appear here when you first enter this area (left), Destroy the pillars it’s perched on to send it away and start the favor (right)
This dragon will harass you until you get rid of it, as it will either spew flames or shoot fireballs. The dragon will remain perched on a pillar and you will need to find the right angle to toss your Draupnir Spear into a wind vent. Detonate the spear to cause the pillar to crumble, with the dragon heading to the pillar on the opposite side of the arena. Do the same thing here with your spear on this side and the dragon will fly off, officially starting this favor.
How to Complete The Burning Skies
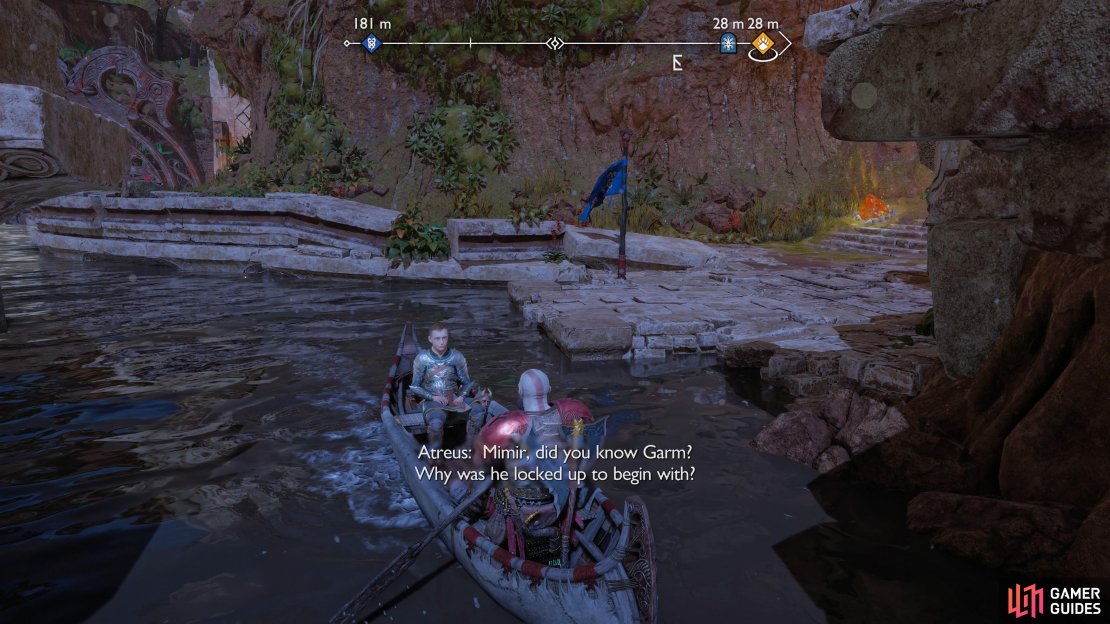
With the dragon now gone, head back to where you broke the first pillar and look for the chain on that side to open the gate. Return to the previous area and get on your boat, sailing it southwest and past where you opened that gate. Dock your boat here and jump to the center platform to find a Mystic Gateway, then find your way to the other gate in the area and open that one, too. Get back to your boat and sail through that newly opened gate, landing on the beach there.
(1 of 4) Park your boat in the central area after getting rid of the dragon
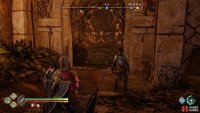
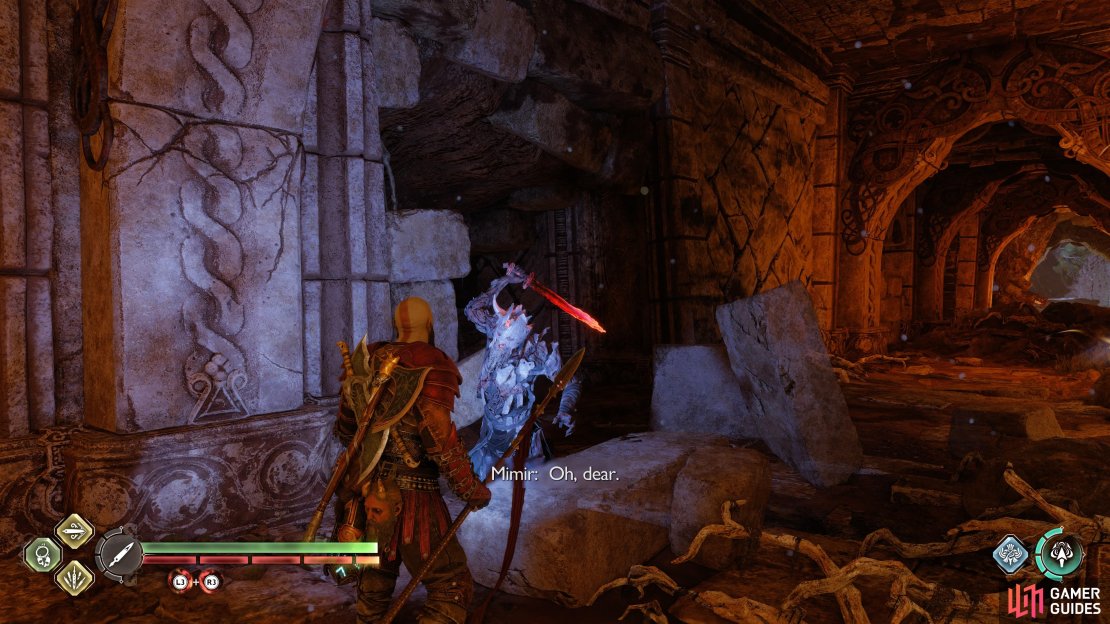
The dragon will make another appearance here, so dodge its attacks while you open the large gate to create a shortcut back to the first area. Locate the smaller gate and lift it up, where you’ll find yourself in a tunnel. Some enemies will pop up in here, and the dragon will appear on the far side, breathing fire through the tunnel periodically. Use the alcoves where the enemies appeared to escape the fire breath, pushing the enemies into the tunnel to get burnt to a crisp. Once the enemies are gone (the dragon will still be there), look for the rocks with the wind vents.
(1 of 3) Be mindful of the enemies coming out to confront you in the tunnel
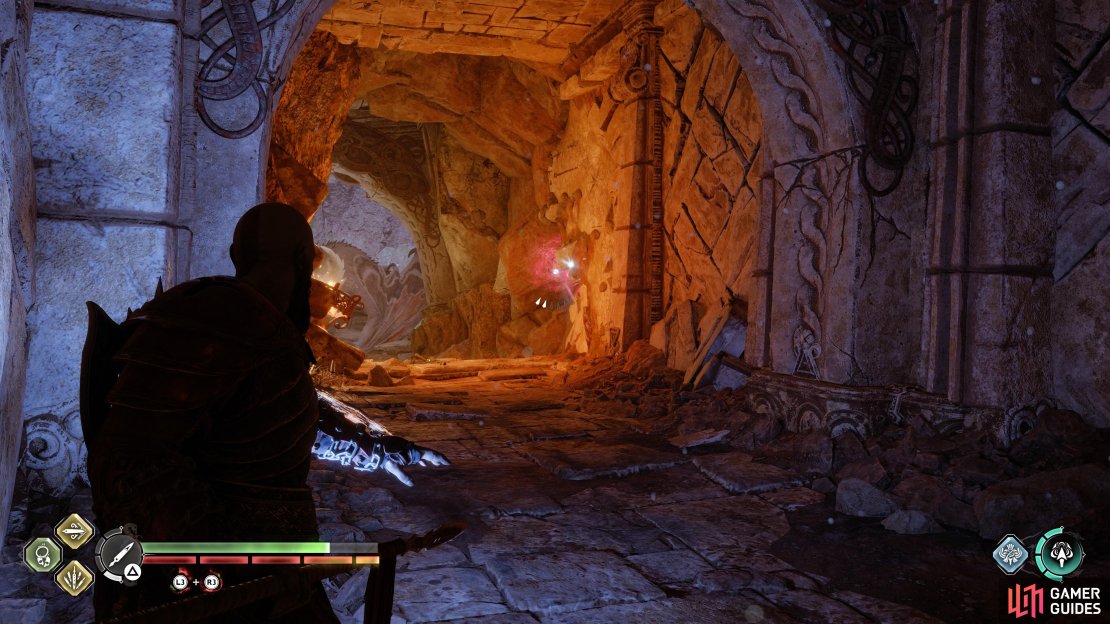
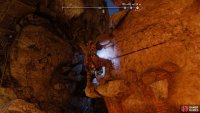
You can safely hit all three points from the alcoves, so do that to open up a passage to find more enemies waiting for you. Clear them out as you delve deeper, until you reach a ledge you can climb. Do that to be greeted by the dragon again, who will continue to annoy you with its flames. In between bursts, you will need to climb up and look at the far end for another wind vent for your spear. Upon destroying the wall, the dragon will fly off and you will be able to climb out of the tunnel. Kick down the chain on the side to create another shortcut, then head to the opposite end for another wall to climb, leading to the dragon fight.
(1 of 3) The final tunnel has a wind vent at the far end you need to destroy
The Ash Tyrant Boss in The Sinkholes
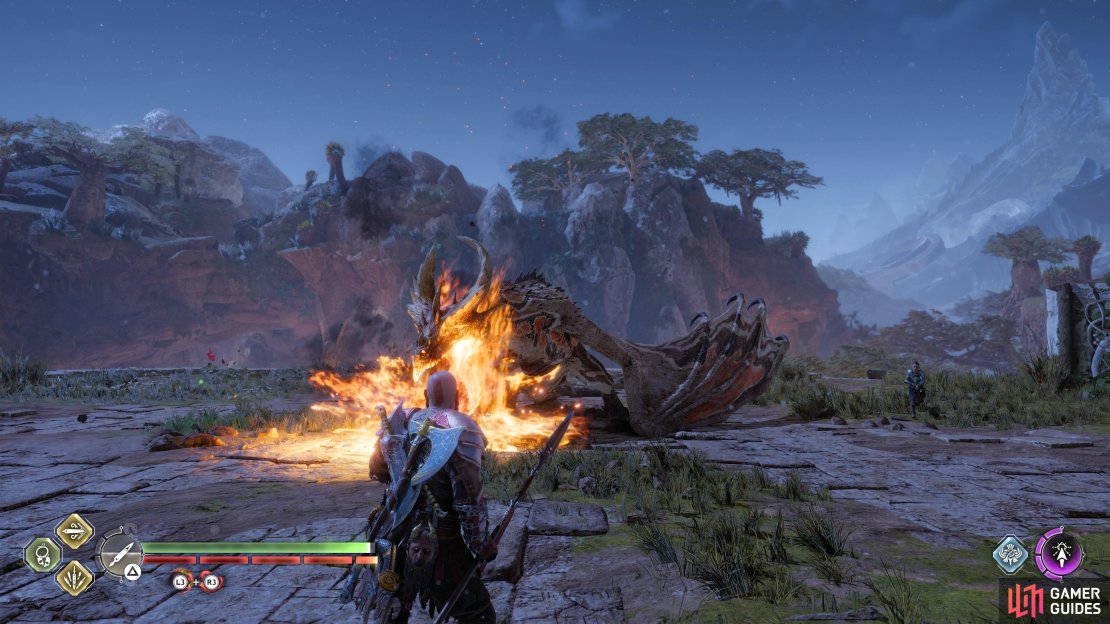
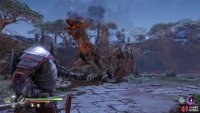
The Ash Tyrant is pretty similar to the other dragons in The Crater, with its element being fire. It will likely start off flying, then crash into the ground before you can begin actually fighting it. The Ash Tyrant will mostly use fire attacks, although it does have a few melee ones, as well. You have the usual fire breath and fireballs, but there is something else to these attacks. Whenever you see the dragon do these, notice that its neck will be glowing in a similar pattern to the various wind vents. That means you can actually toss a spear at its neck when it’s doing those moves, which will cause the dragon to collapse on the ground for a few seconds.
After shaving off enough health, the dragon will go away and some normal enemies will spawn in the arena. Of course, the dragon doesn’t stay away for too long, as it will return very shortly, perched on one of the pillars. Quickly get rid of the normal enemies, then look for the wind vent on the pillar, so you can use your spear to destroy it. Continue fighting the dragon, although you will see some normal enemies mixed in with the boss. After more health has been depleted, the dragon will go on the other pillar and more enemies will appear, including a Wyvern this time.
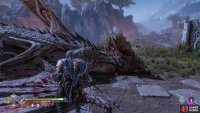
Defeat all of the enemies, then destroy the second pillar like the first. The dragon should now stay in the arena, so just keep whittling its health down to eventually get that Stun Grab prompt, finishing it off for good. When the dragon has perished, you will be finished with this favor.









No Comments