


![]() Dragon’s Dogma 2 is, for better or worse, an unconventional sort of roleplaying game in the modern gaming market. While other games insist on holding the player’s hand, Dragon’s Dogma 2 is proud of its lack of quality-of-life features that many have come to take for granted. Whether this is refreshing or frustrating is a matter of opinion, but the fact remains: Dragon’s Dogma 2 is a complicated game with many systems and mechanics that buck modern trends and could leave gamers frustrated and confused. This page will provide a starter guide for new players, providing explanations, tips and strategies about all aspects of the game that will hopefully make your journey as Arisen a bit easier.
Dragon’s Dogma 2 is, for better or worse, an unconventional sort of roleplaying game in the modern gaming market. While other games insist on holding the player’s hand, Dragon’s Dogma 2 is proud of its lack of quality-of-life features that many have come to take for granted. Whether this is refreshing or frustrating is a matter of opinion, but the fact remains: Dragon’s Dogma 2 is a complicated game with many systems and mechanics that buck modern trends and could leave gamers frustrated and confused. This page will provide a starter guide for new players, providing explanations, tips and strategies about all aspects of the game that will hopefully make your journey as Arisen a bit easier.
For your convenience, these tips will be arranged into several related categories:
- Resting, Camping and Saving Tips will cover how the save system works, how to make checkpoint saves by resting at inns, the benefits of camping and how to restore lost maximum Health.
- Items and Recovery Tips includes info on the various ways of healing in combat, and information on the inventory system and item aging.
- Exploration and Fast Travel Tips covers the various forms of fast travel in the game, hazards of the road, including the Brine, and how to reach inaccessible areas.
- Pawns and Party Composition Tips explains how pawns work and offers some party building tips.
- Quest, Vocation and Progression Tips provide information about quests, NPCs, vocation-specific tips and details about leveling your character and ranking up vocations.
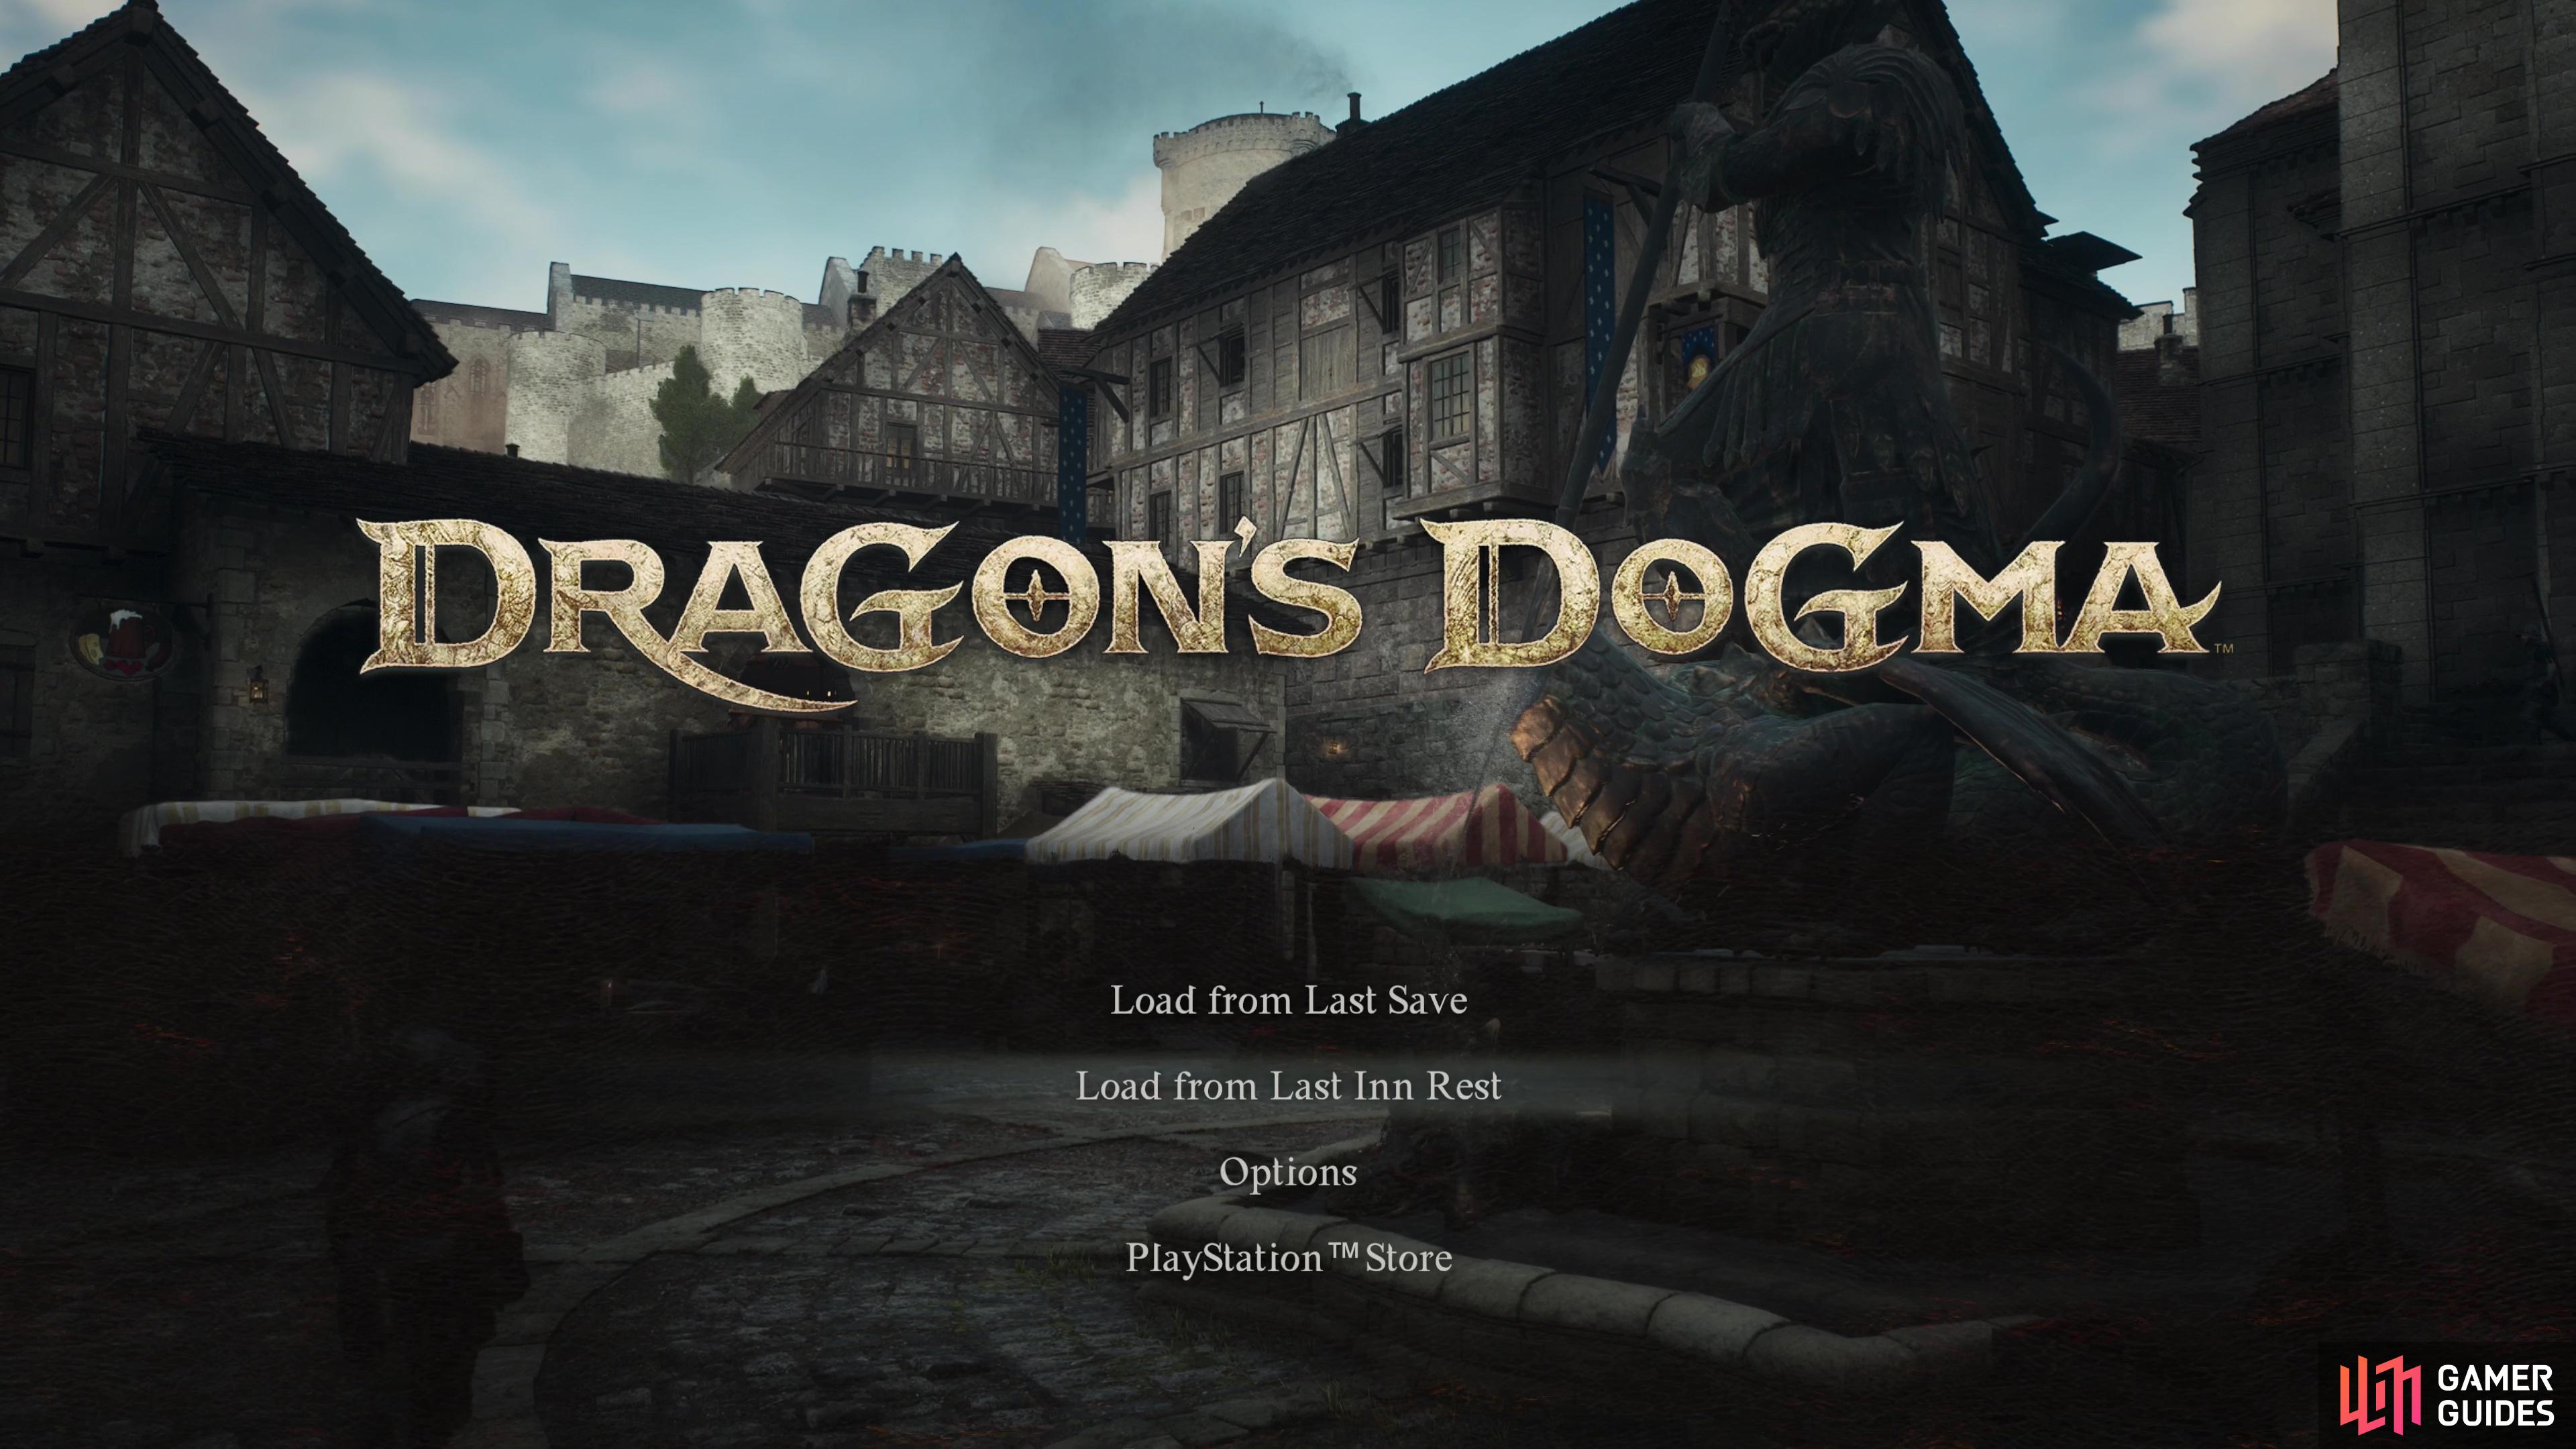
(1 of 2) Resting at an inn will fully restore your HP and create an Inn Save.
Resting at an inn will fully restore your HP and create an Inn Save. (left), Inn Saves serve as checkpoints separate from the manual/auto save slot. (right)
Resting, Camping and Saving Tips
-
You can only have one saved game at a time in Dragon’s Dogma 2, so you can’t run multiple characters at the same time and missing/botching quests can be hard to remedy.
-
Despite only having one character at a time, there are technically two save “slots”, an “Inn Rest” save and a normal saved game. The latter includes manual saves and autosaves, but the former is only updated when you rest at an inn or in a house you own. You can therefore use the Inn Save as something of a checkpoint save - rest at an inn before attempting a quest with a fail state or choice and if something goes awry you can just reload your Inn Save from the menu and try again.
-
Rest at inns and/or houses you own regularly to create reliable, safe save points!
-
Complete the quest A Place to Call Home and you’ll be offered a house for a mere 20,000G. Buy it and you’ll have a reliable place to save and recover without paying at an inn or buying Camping Kits. This will pay for itself in the long run.
-
There’s a day/night cycle in Dragon’s Dogma 2, and it affects various aspects of the game: different enemies prowl the wilderness at night, visibility is greatly reduced, some NPCs may engage in different activities or move to new locations, etc. You can pass time by sitting on a bench, sleeping at an inn, at home, a campfire, or by just waiting.
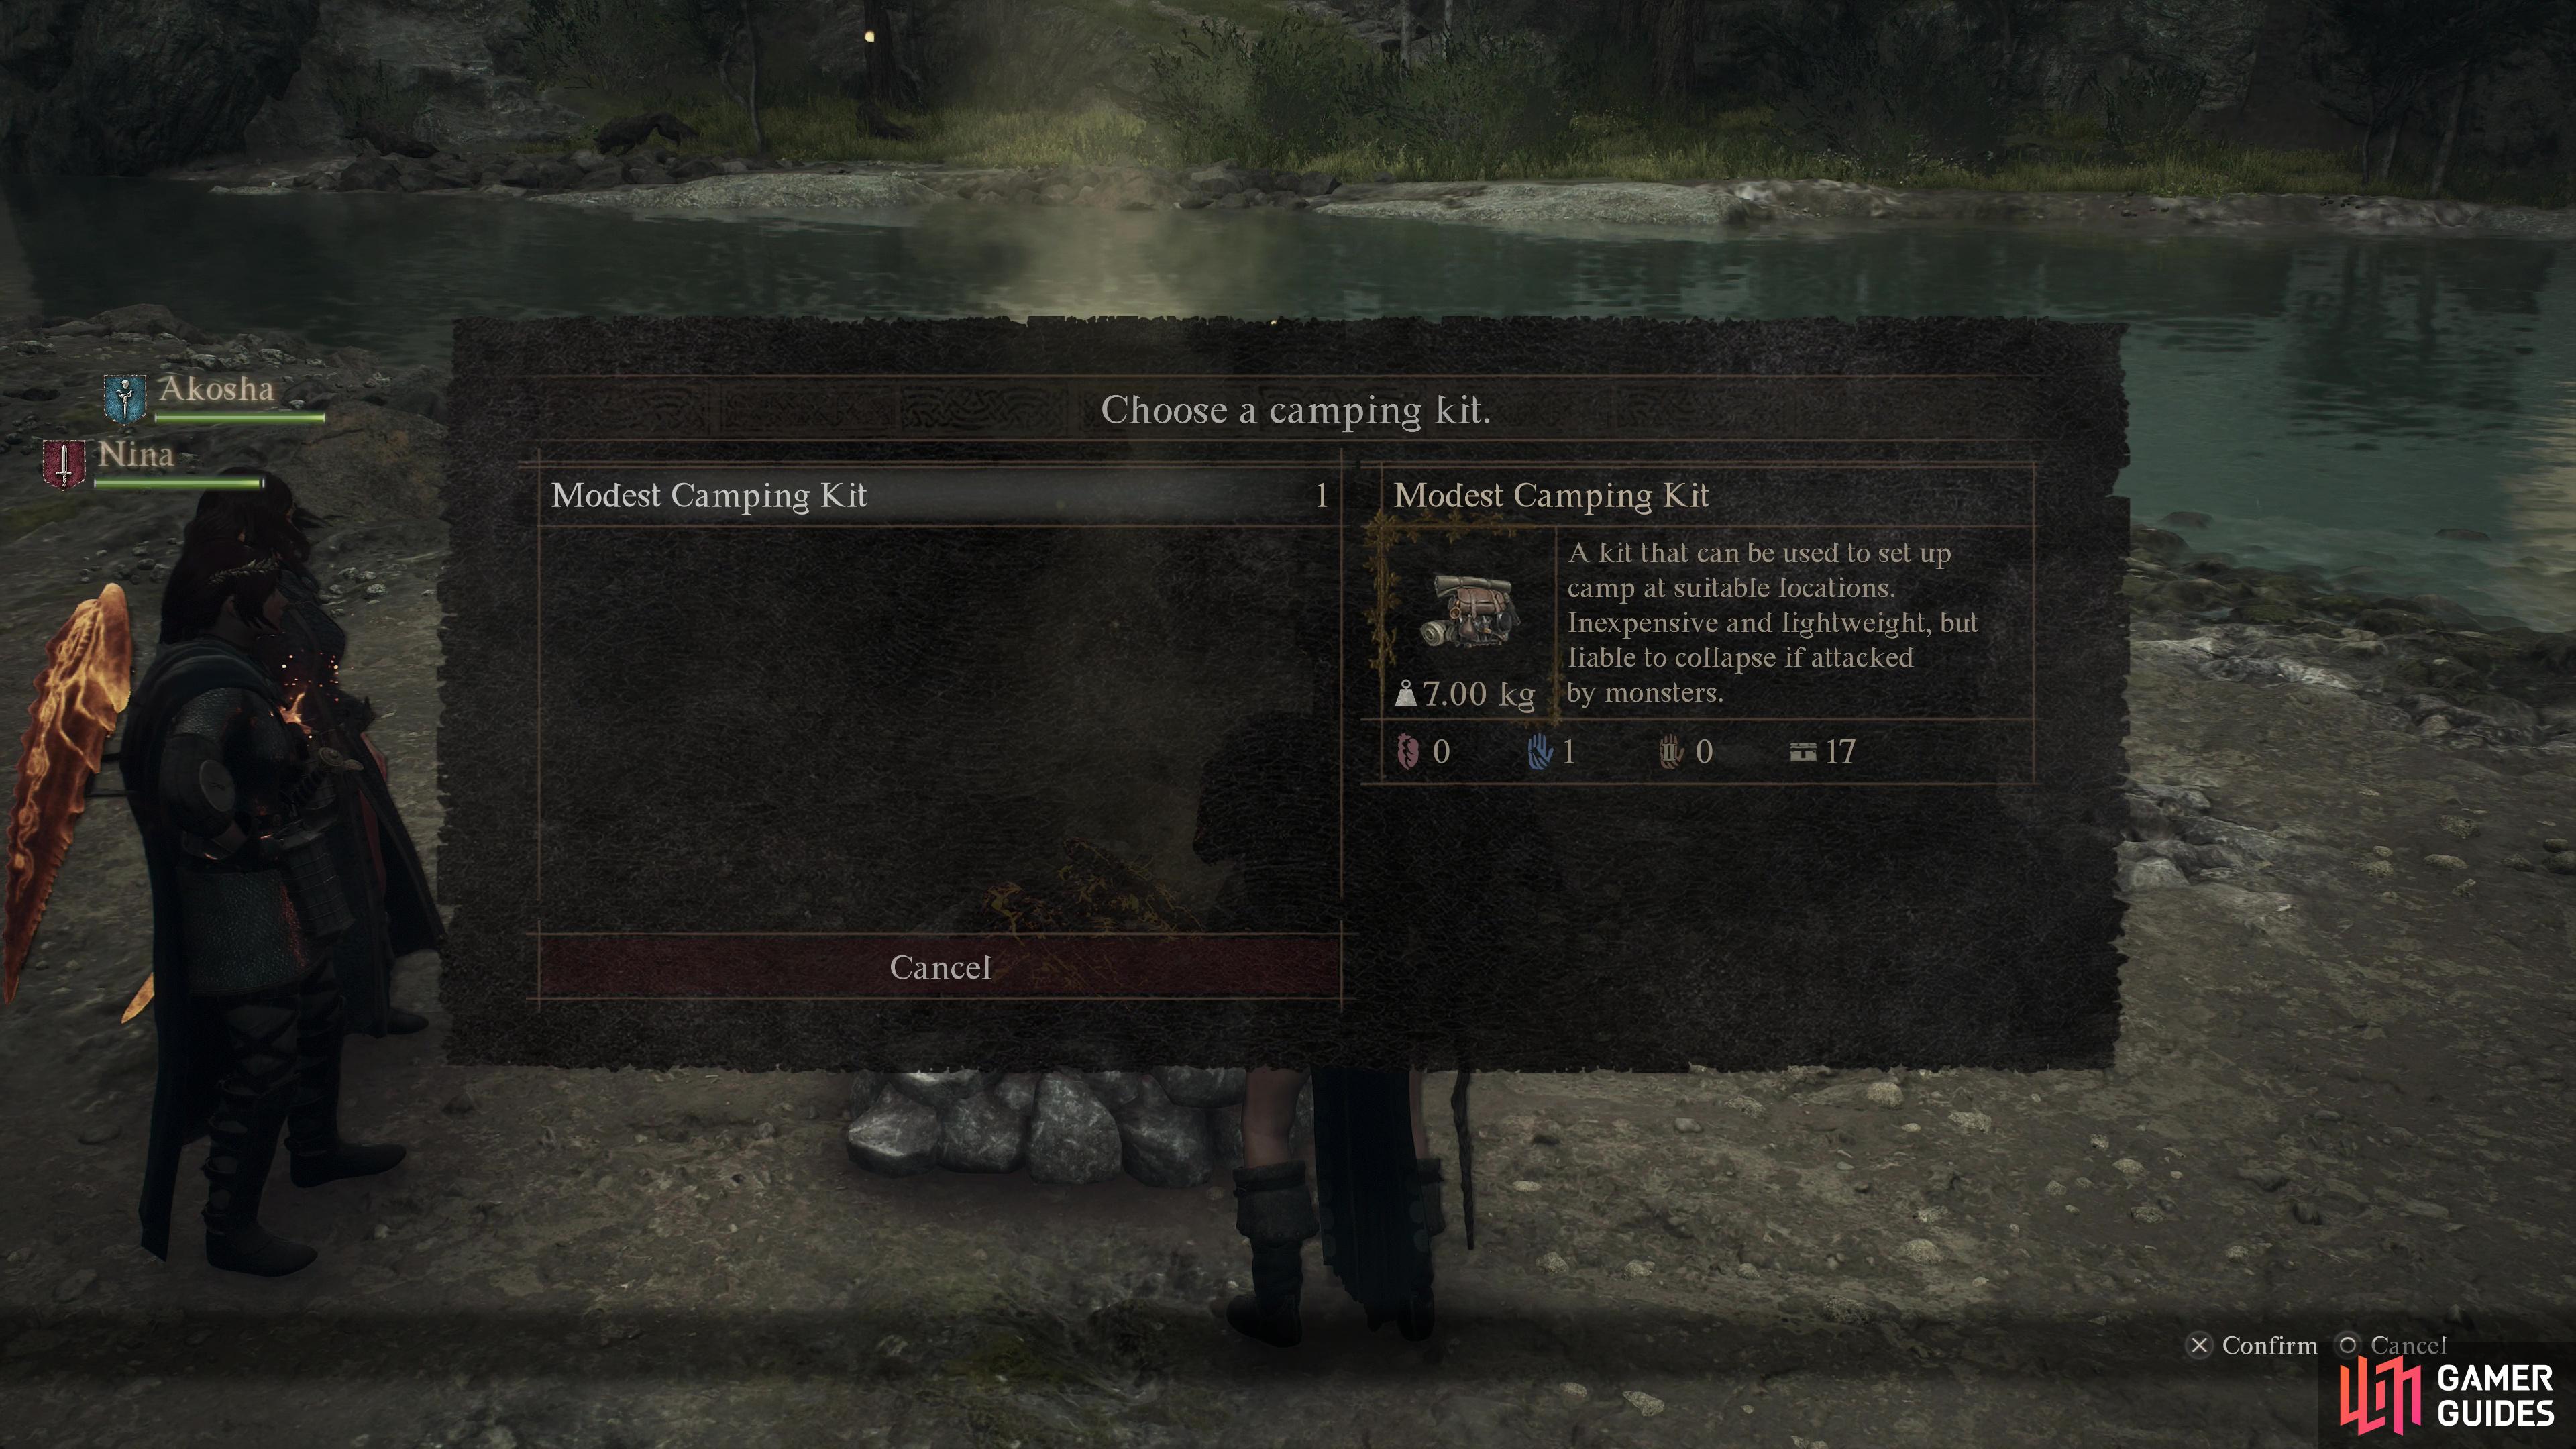
(1 of 2) To set up camp at campsites you’ll need Camping Kits.
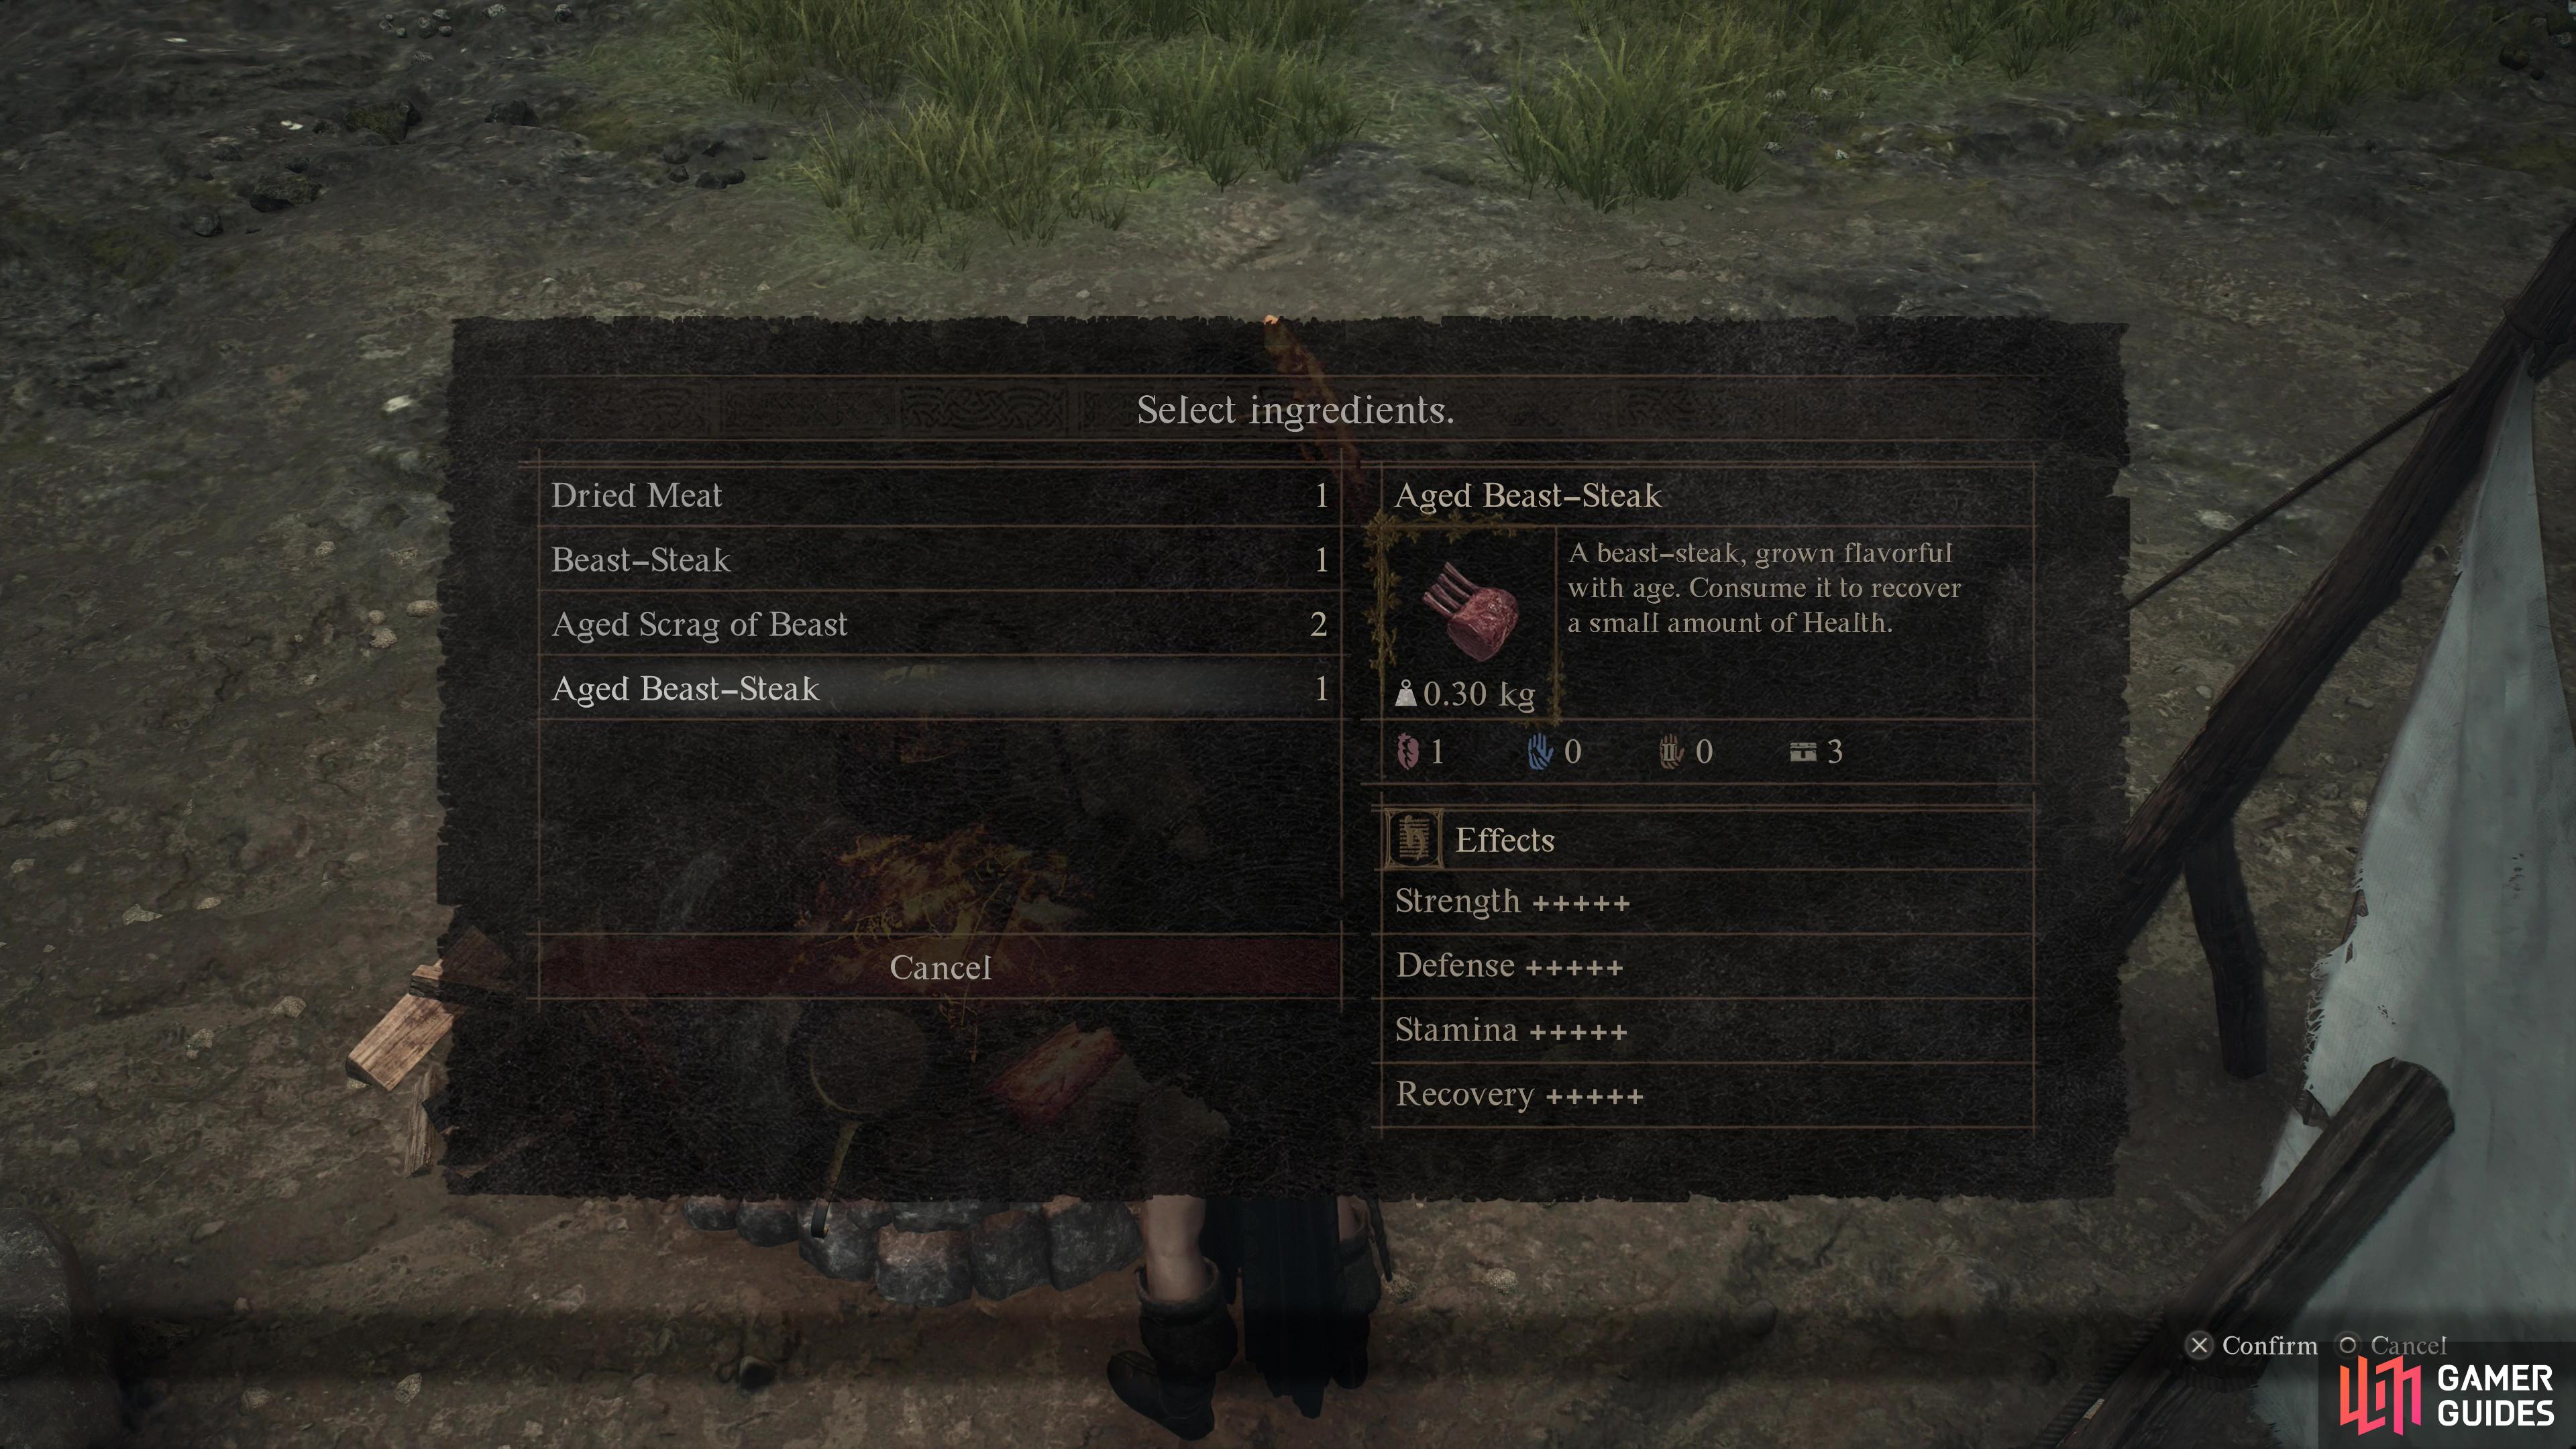
To set up camp at campsites you’ll need Camping Kits. (left), You can cook various meats at campsites to provide a variety of buffs for the day (or night) ahead. (right)
-
You can rest at
 Campsites found liberally throughout the world. Resting at a campsite will consume a Camping Kit, which can be purchased at item vendors. Camping will allow you to cook food, change the time of day (when you will wake up), and fully recover your Health (fully removing the Loss Gauge) making Camping Kits essential to bring around for long trips.
 -
While all Camping Kits allow you to set up camp, more expensive variants may have other properties: being lighter and more resistant to monster ambushes, for example.
-
Examine the campfire while making camp and you’ll be able to cook meats in your inventory. It’s a surprisingly limited selection, typically only including Scrags of Beat, Beast Steaks and
 Dried Meat, but consuming this fare will give you various buffs when you wake up. Hunting for Beast Steaks and aging them can be worthwhile just to benefit from these buffs.
 -
You can change your skills at a campfire without expending a Camping Kit, and campfires are liberally spread throughout the game. This is no coincidence - you’re meant to tailor your skills to the challenge at hand.
-
Advancing time may have many benefits, especially if accompanied by rest, but monsters respawn fairly quickly in Dragon’s Dogma 2. If you sleep, don’t expect enemies you just vanquished to remain defeated - most things respawn after a single rest cycle. This unfortunately does not seem to apply to chests, but does to other sources of loot like fishing spots, ore veins, etc.

(1 of 2) Taking damage will reduce your current HP (green) and maximum HP.
Taking damage will reduce your current HP (green) and maximum HP. (left), You can heal most of your lost health (grey) via the intercession of mages or by consuming curatives. (right)
Items and Recovery Tips
-
Taking damage will reduce both your current Health and your maximum Health in unequal proportions. Your current Health (green) is self-explanatory, but after taking damage, recoverable Health will be marked gray on your health bar, while lost maximum Health will be marked black. This “Loss Gauge” cannot be recovered save by resting at an inn, campfire, or home you own.
-
 Mages can use
  Anodyne by default, a healing spell that gradually recovers Health. Having a Mage pawn in your party will ensure you always have healing on hand.
 -
Stamina recovers fully and automatically while not in use, albeit gradually. Most spells and skills consume stamina, as does sprinting or climbing. Some enemy attacks may also reduce your stamina! You’ll recover stamina faster if you stand still.

Gold Beetles grant you the boon of increased maximum encumbrance.
-
Finding and consuming Gold Beetles will increase your Max Encumbrance by 0.15kg. It’s a trivial amount, but it does add up, and there are quite a few of the things out there. They’re best hunted for at night, where their signature glow can be seen at a distance.
-
Relying on Mage pawns - or pawns in general - works fine… until it doesn’t. When it comes to healing you can also use recovery items via your inventory or via the quick button. Keeping a bunch of
 Salubrious Draughts on hand can be the difference between victory and a reload.
 -
You can use items from your inventory quickly in combat. Hold


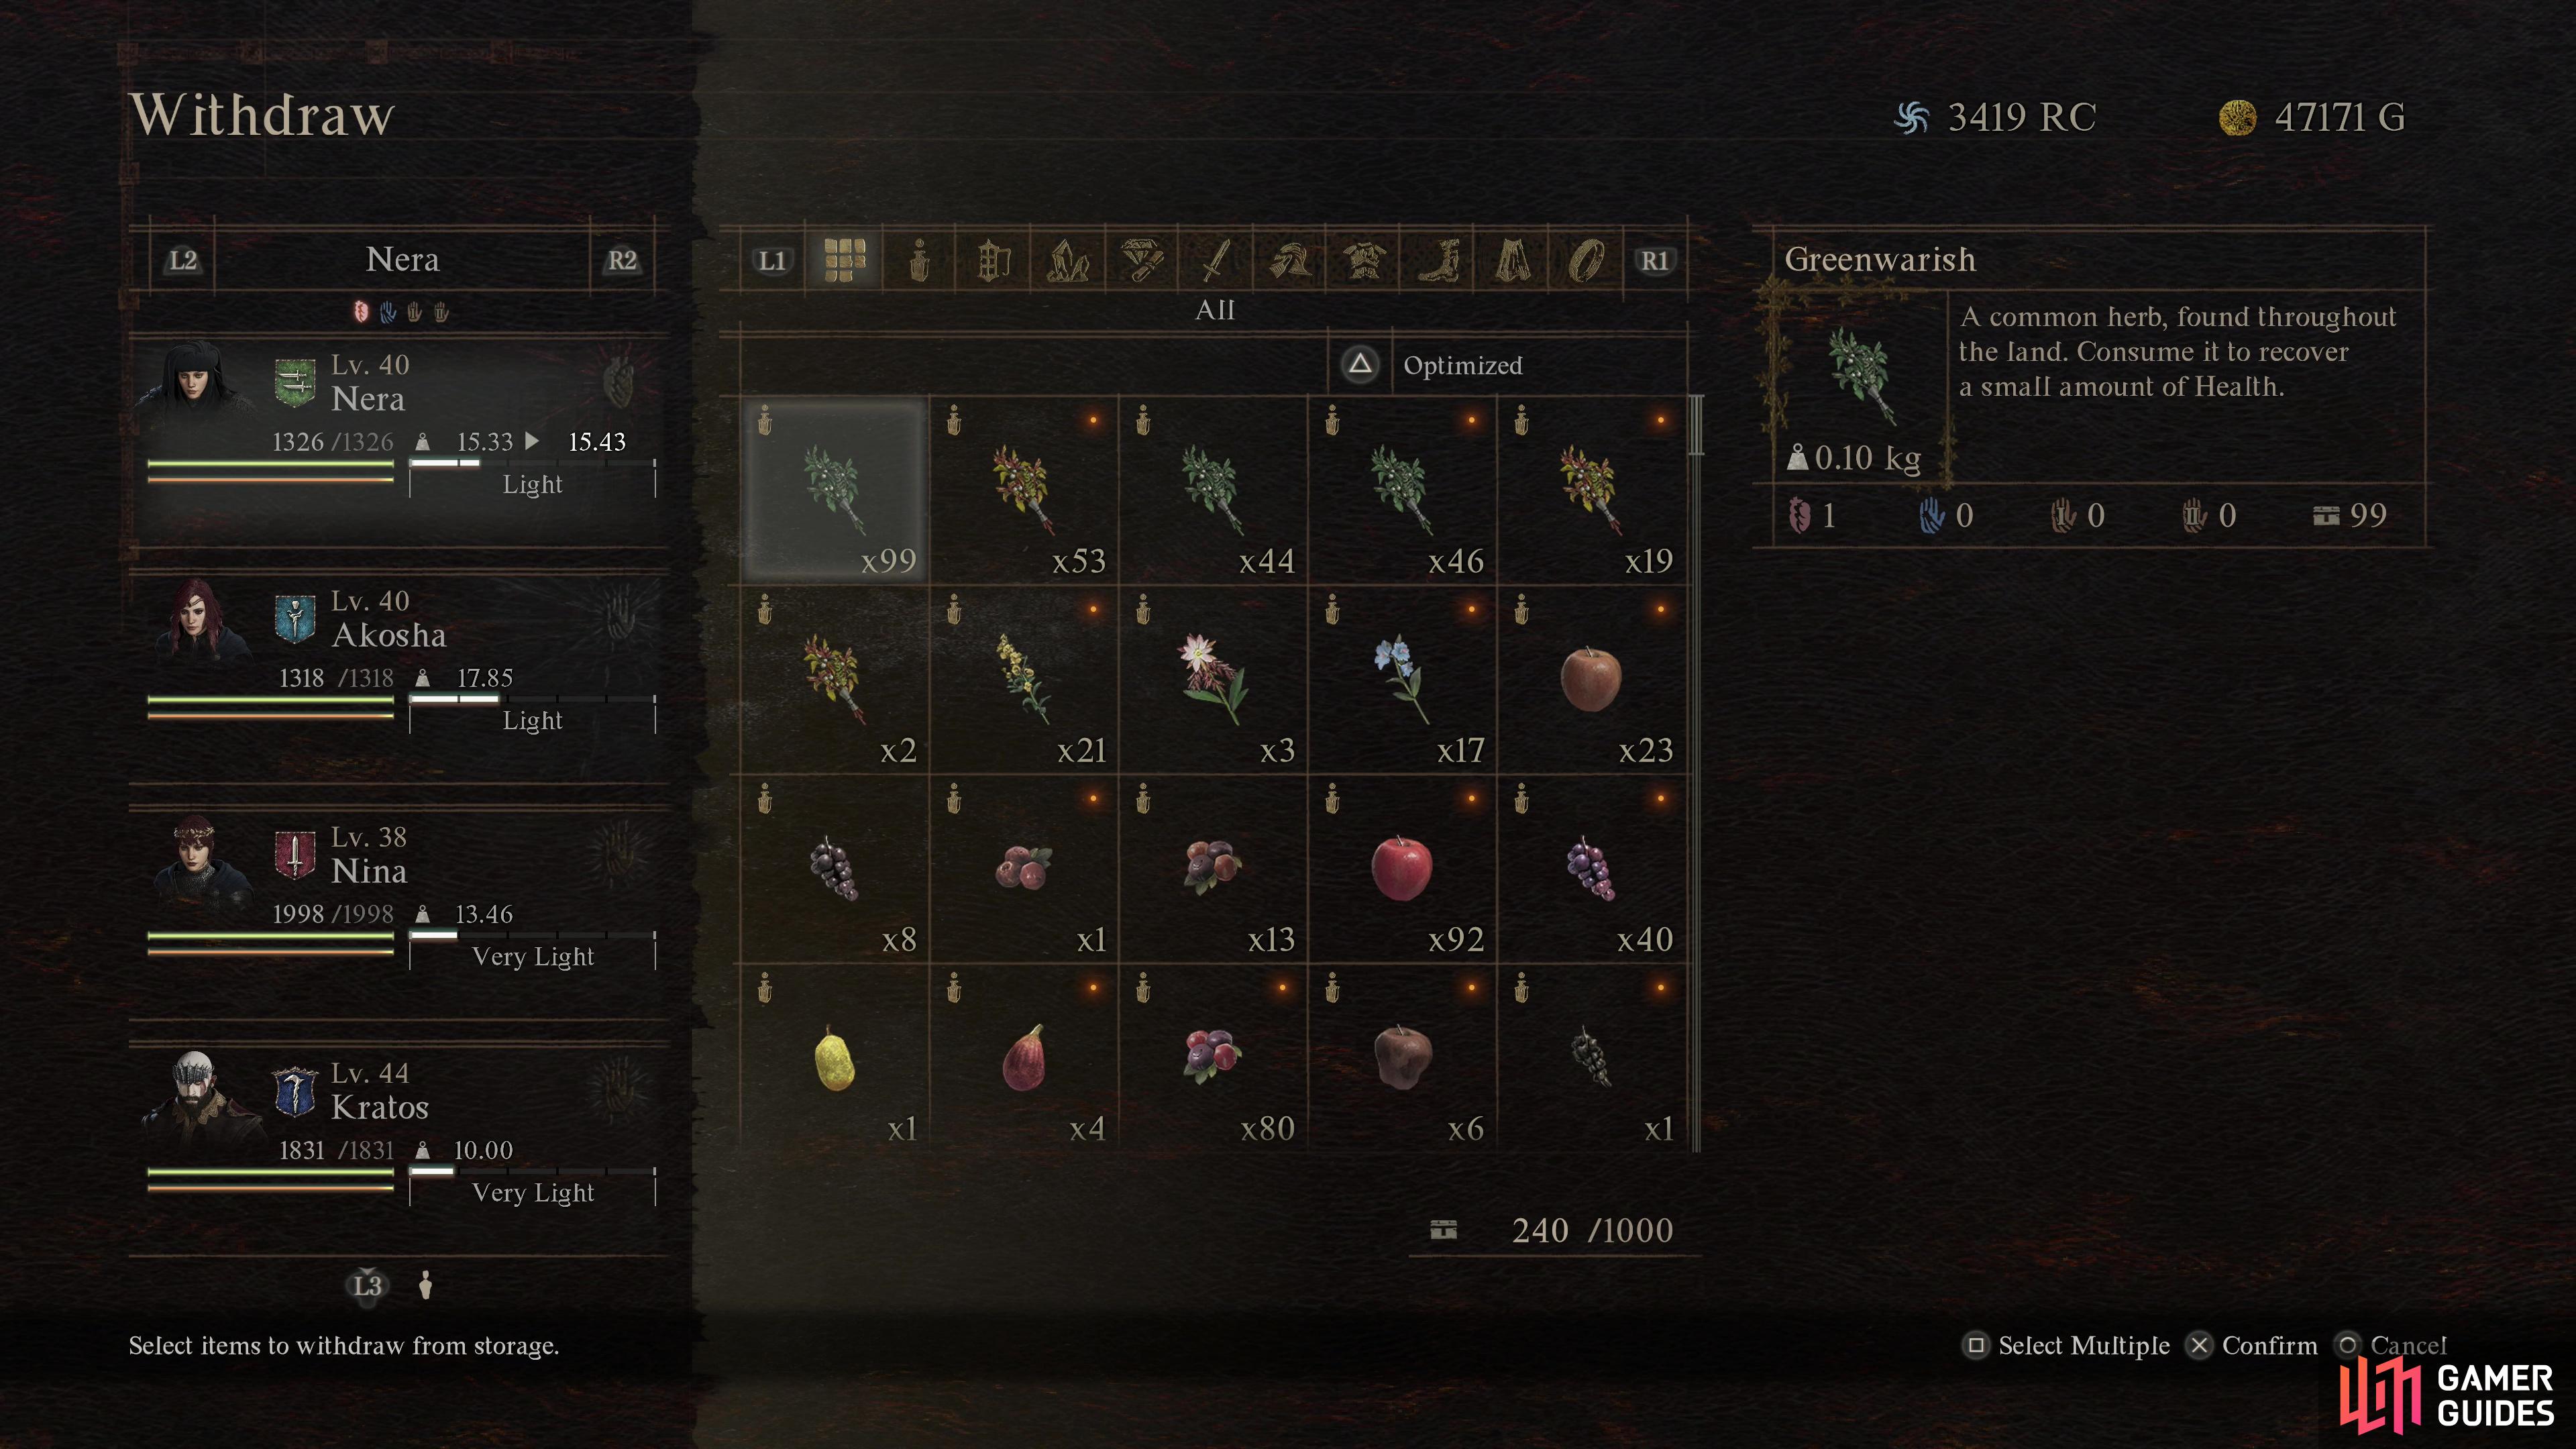
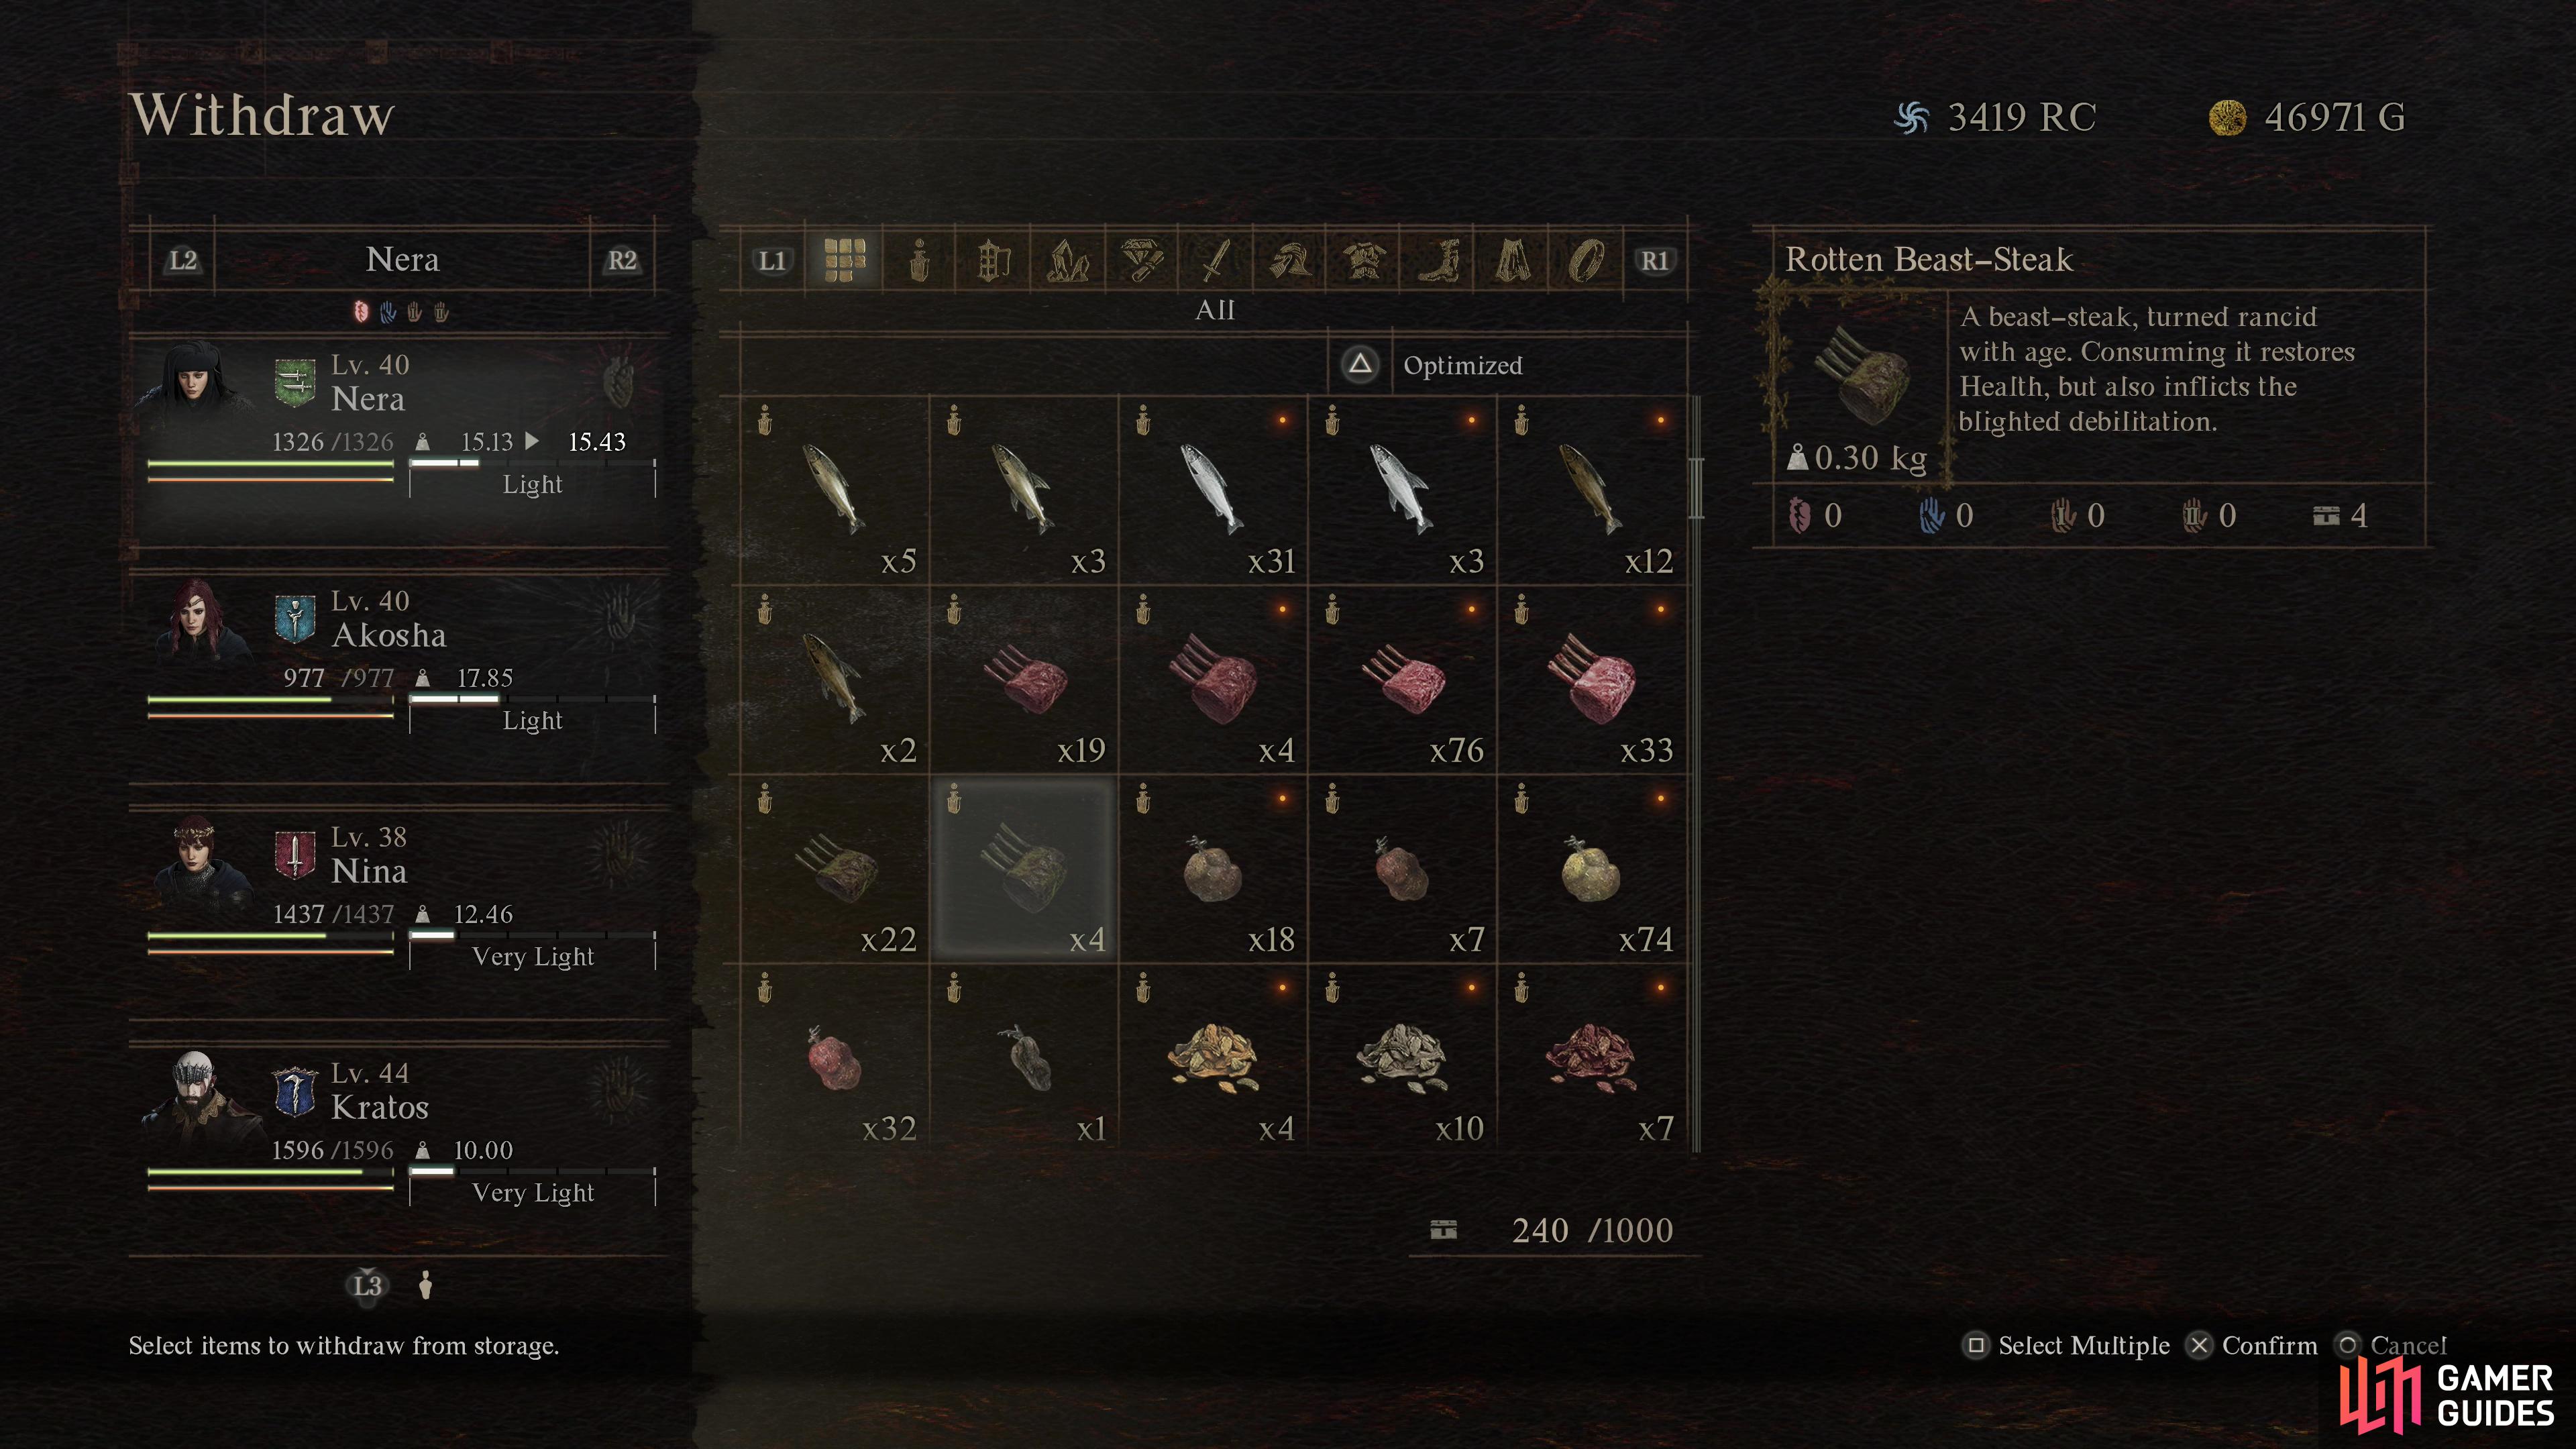
(1 of 2) You can only store 99 of any item in any one inventory window - including your stash.
You can only store 99 of any item in any one inventory window - including your stash. (left), Some items have a shelf life - meat will eventually rot, for example. Items put into your stash will stop aging. (right)
-
You can only have 99x of any one type of item in any inventory. That means any individual pawn or your stash. It’s likely that if you have 99x of an item in your stash and a pawn dies, those items will be lost.
-
Some items have a shelf life. Meat will rot, plants will wither, etc. Keep this in mind when you’re picking stuff up - the longer it’s in your inventory, the more it will age. While many items have an “aged” state where it’s actually more potent and valuable, once something rots it becomes… if not useless, not useful for the same purposes as when it was fresh. Putting an item into your stash will prevent it from aging further.
-
There are many materials in the world, and they can be combined to make more useful items. Pick up everything you find and use the various herbs, fruits, meats, and monster bits you find to keep your curatives stocked.
-
Picking up items is good. Great even! Being a packrat is less so. The more you carry, the more encumbered you’ll be, slowing down your movement and increasing your stamina consumption. Shift excess items to your pawns to keep your own weight down.
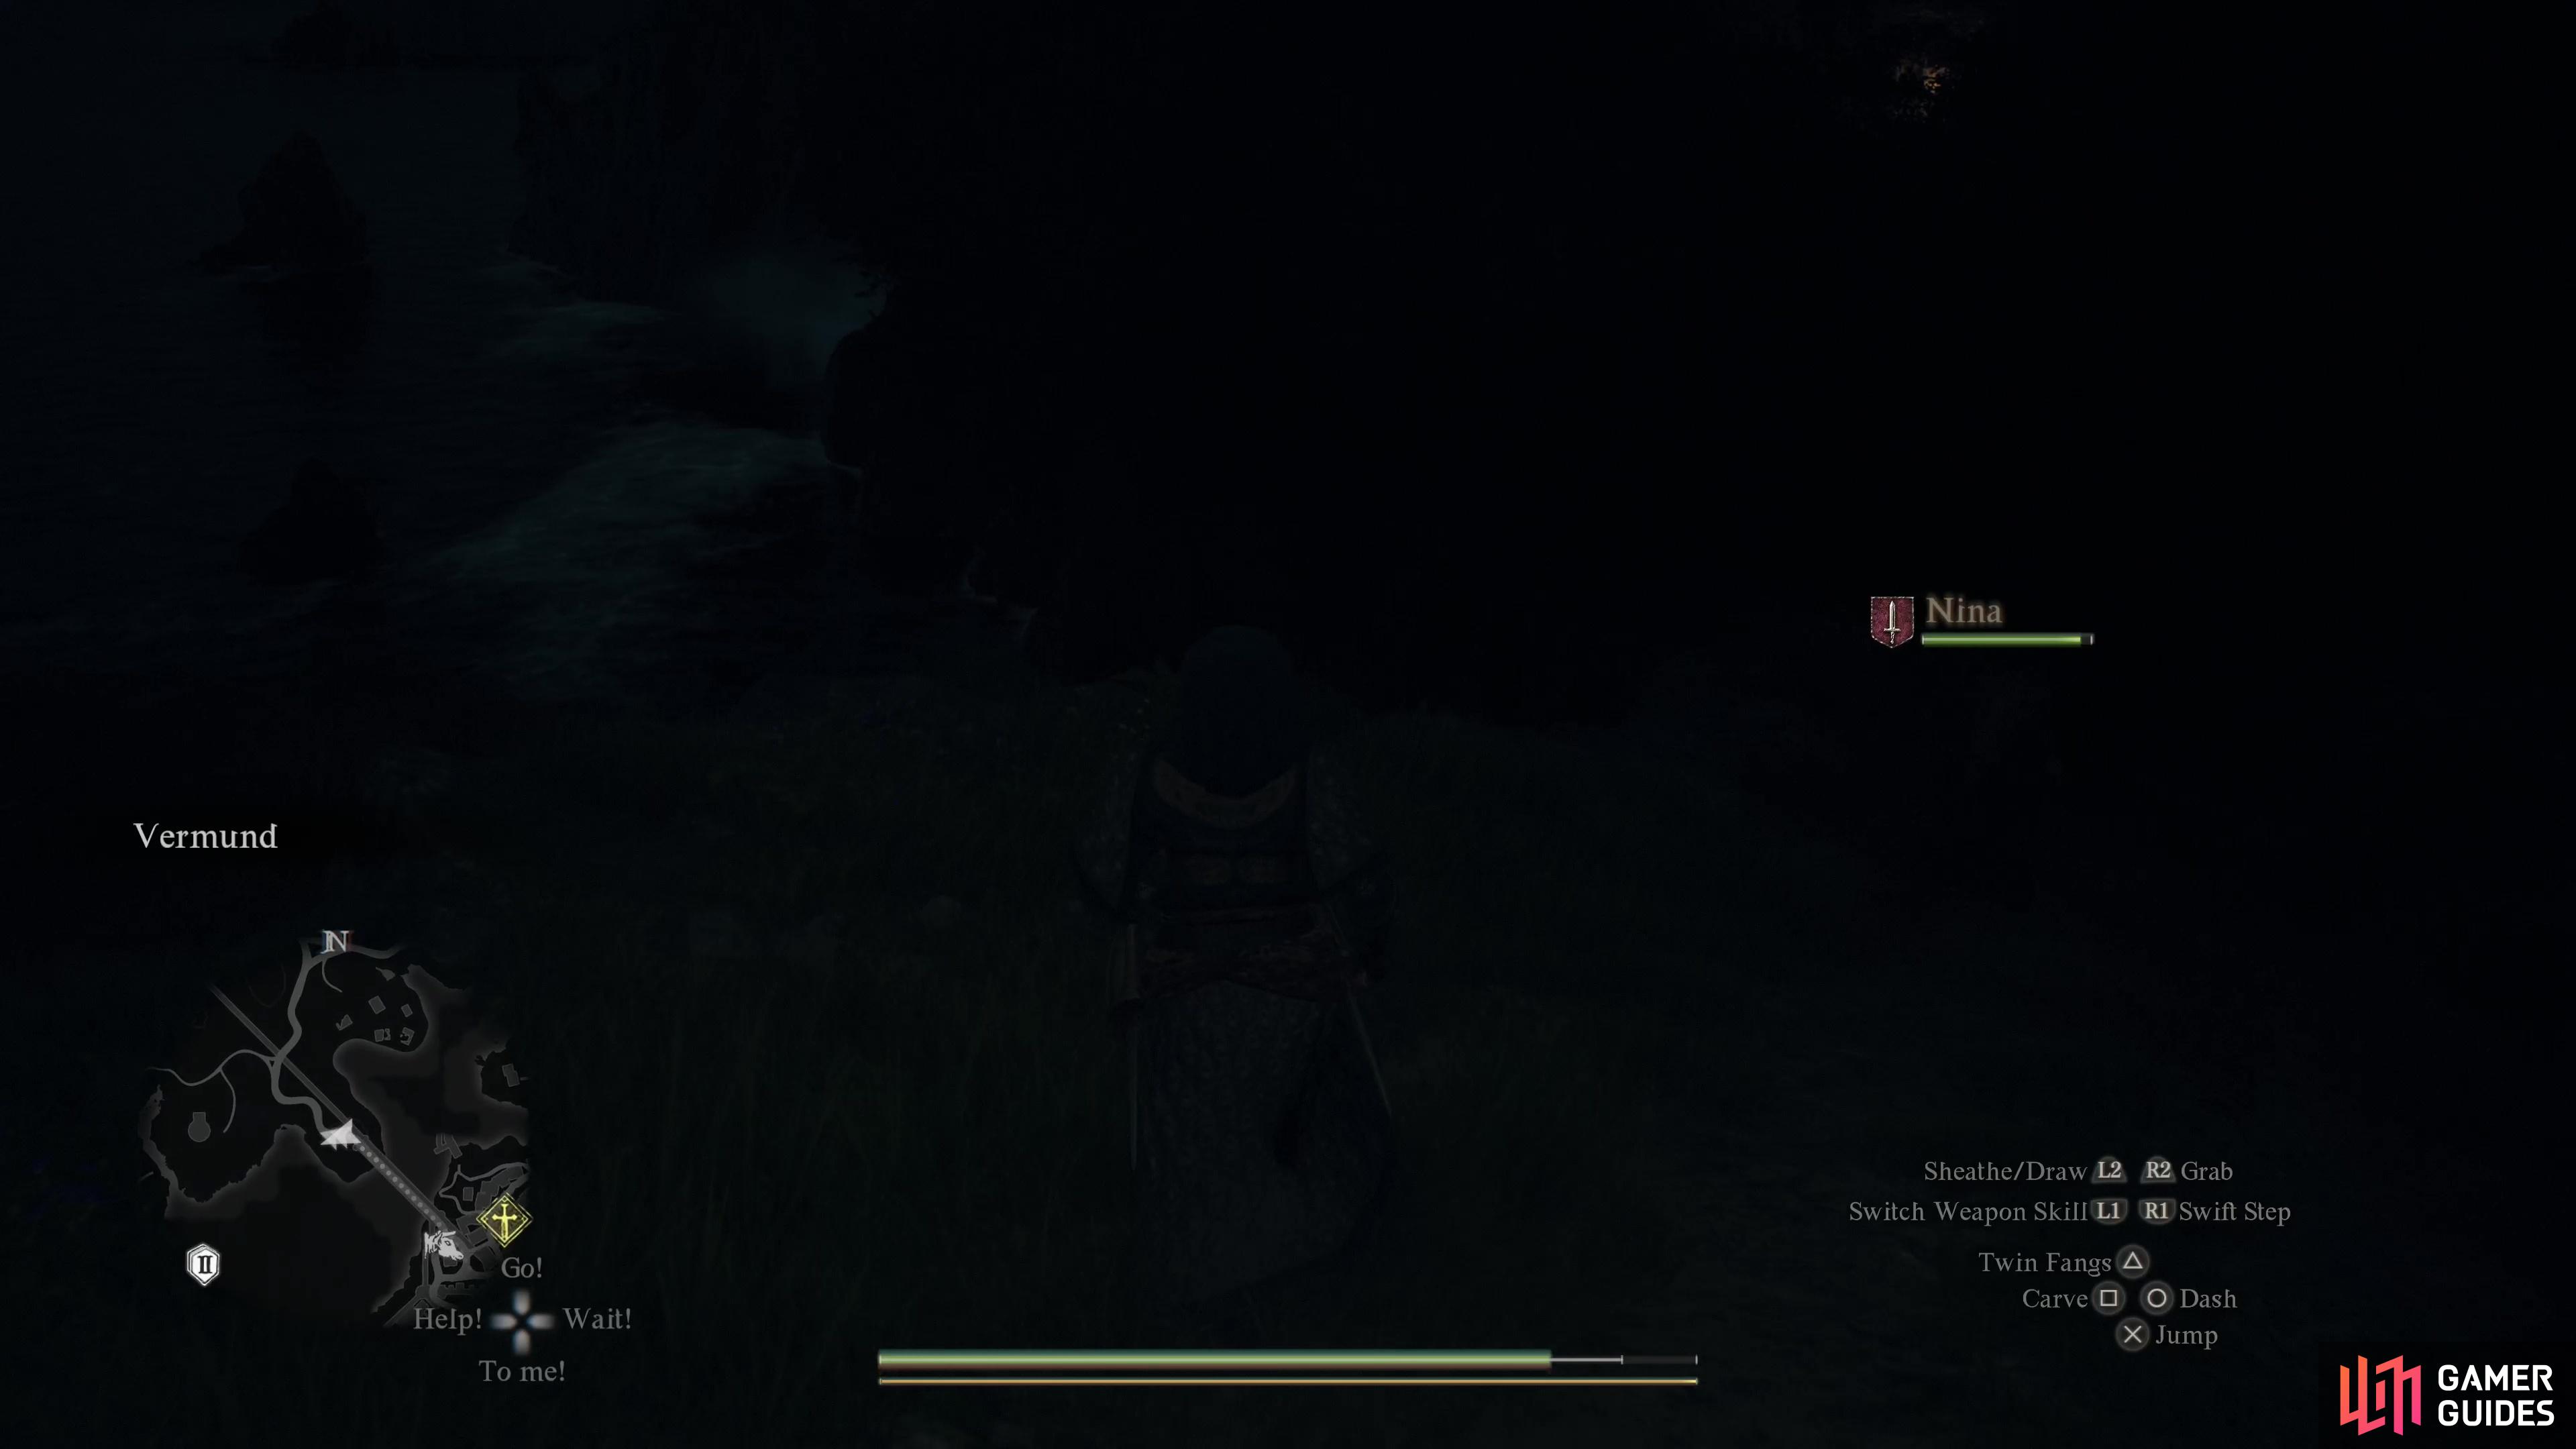
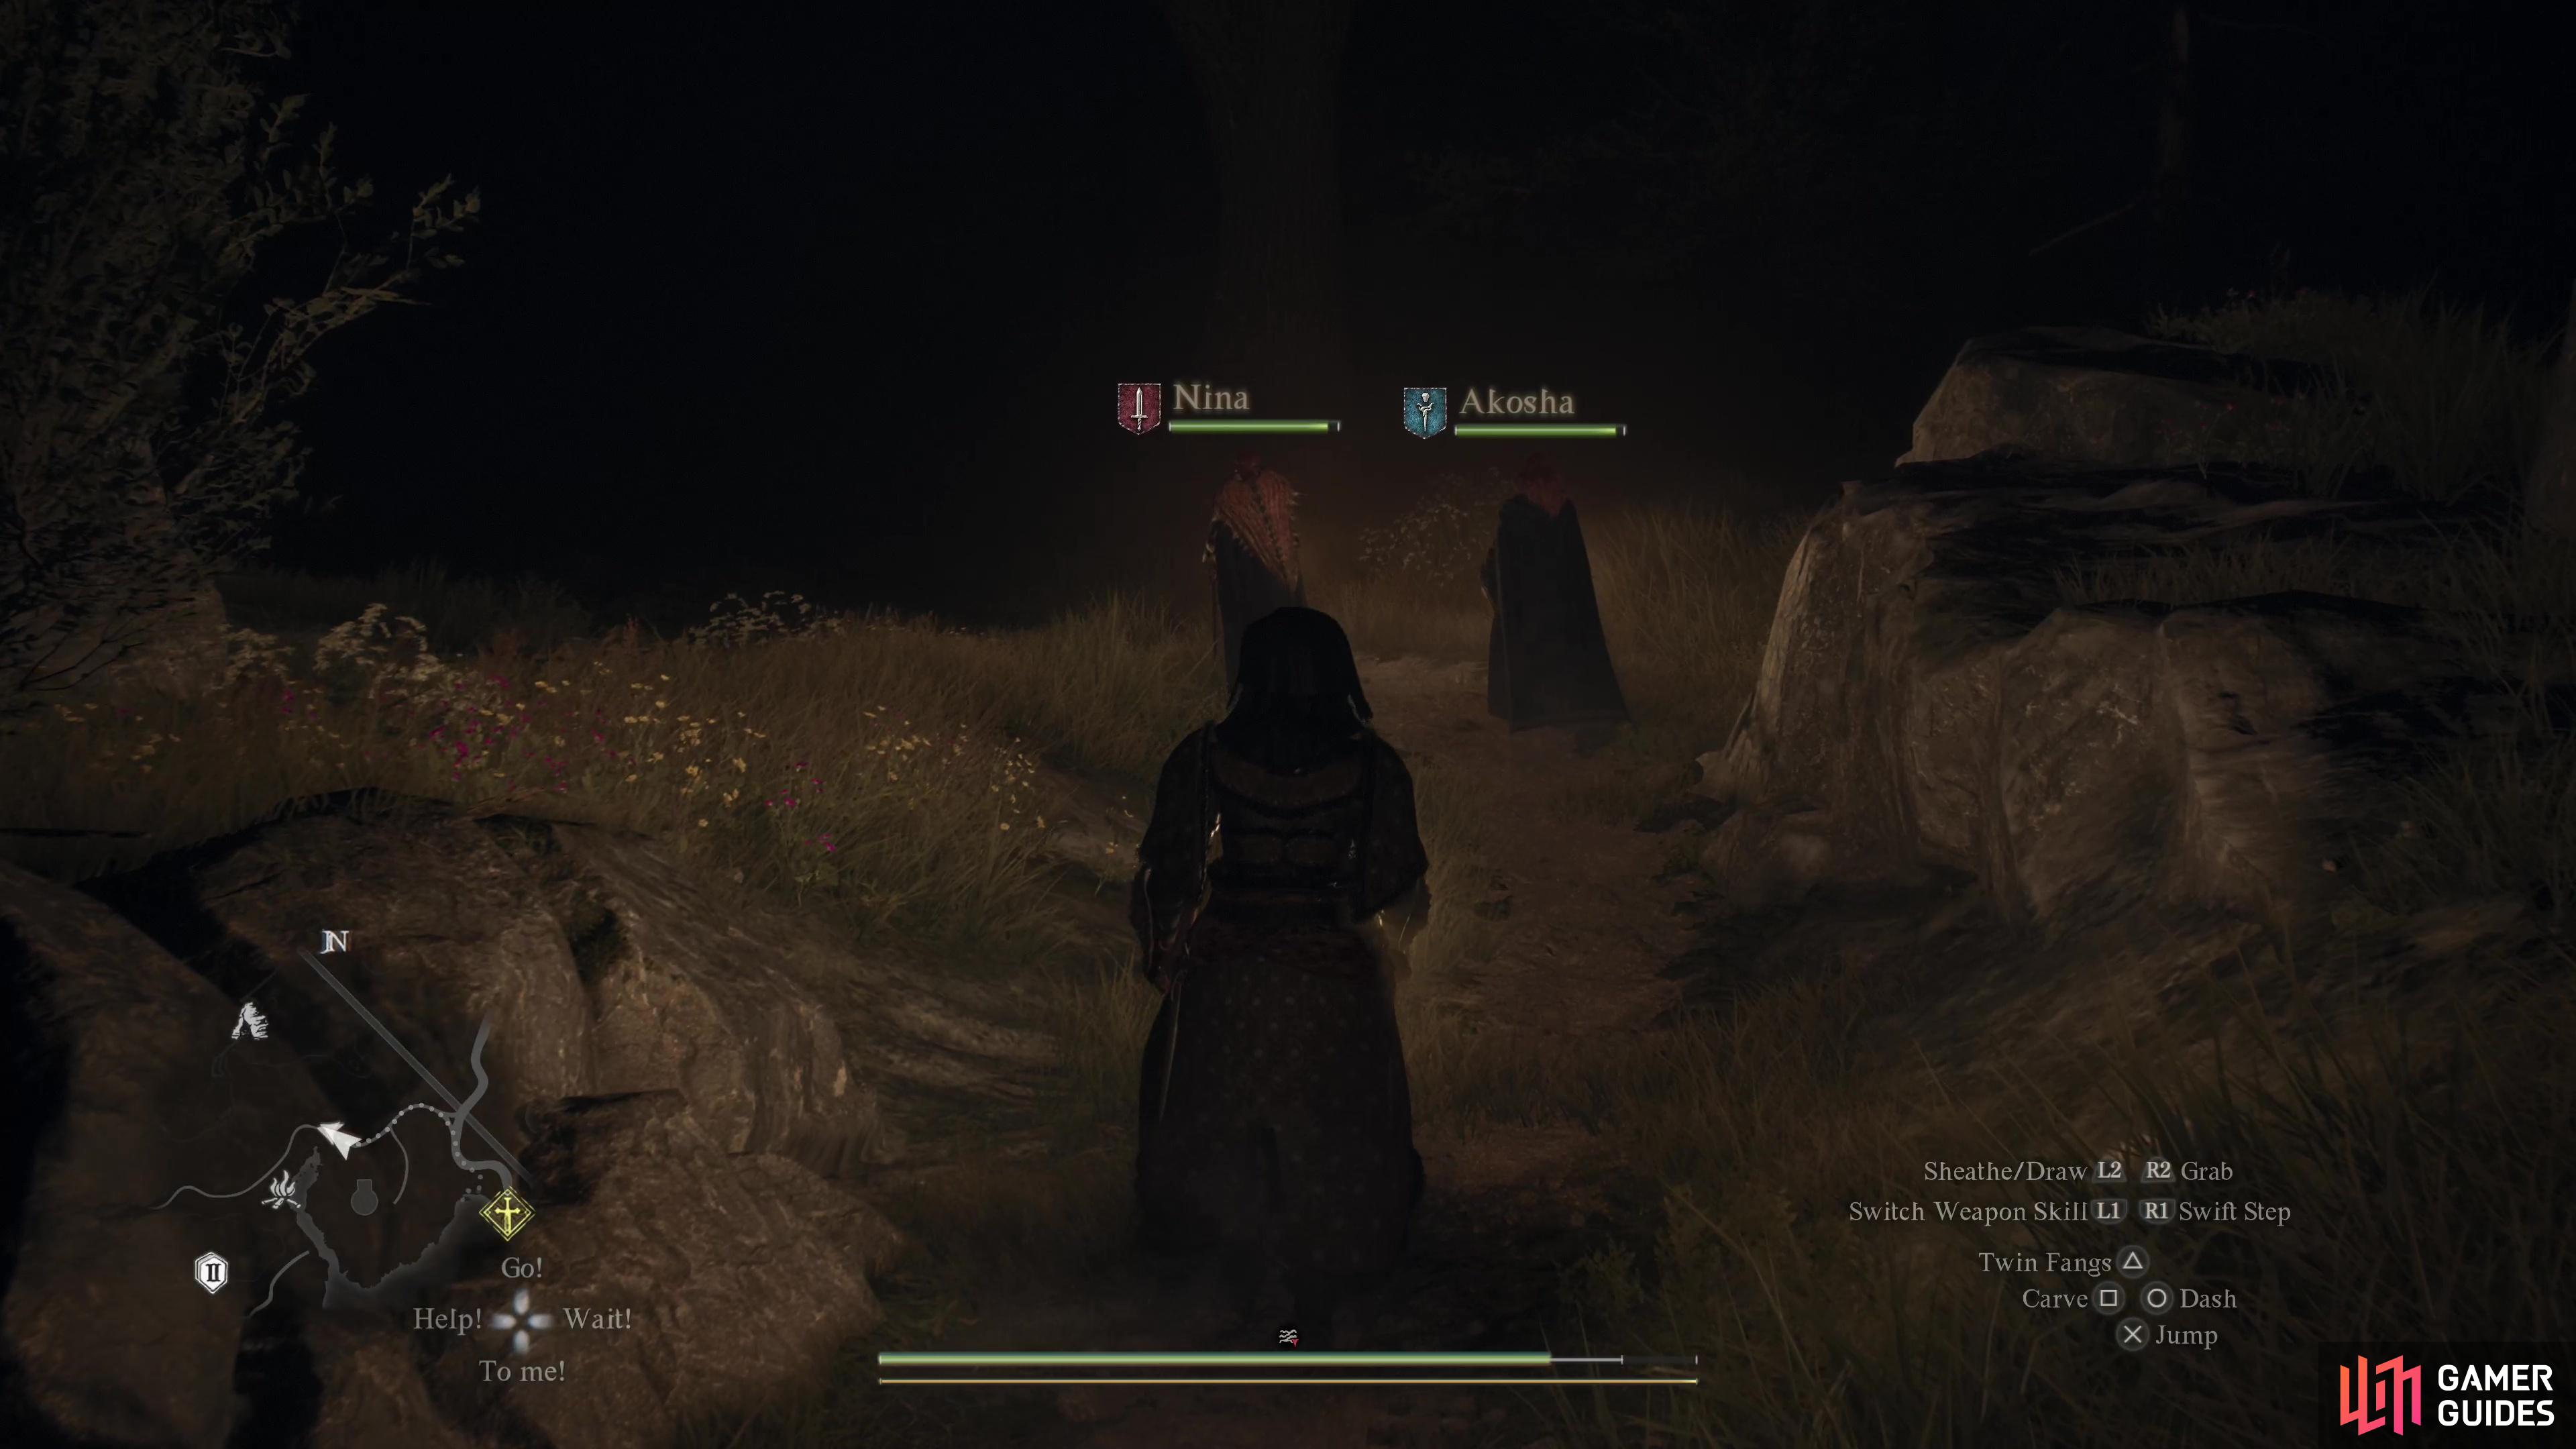
(1 of 2) It can be very hard to navigate at night,
It can be very hard to navigate at night, (left), which is why you should always keep an lantern and some spare oil in your inventory. (right)
Exploration and Fast Travel Tips
-
It’s dark at night, and without a lantern, you’ll be functionally blind. Always keep a lantern and some spare oil in your inventory lest you find your progress impeded or safety endangered by lack of light. You can quickly equip and stash your lantern by pressing

-
Keep your weapons sheathed around other people, on the road and especially within towns. Turns out people get antsy around implements of murder. That said, while your weapons may provoke fear and unrest, you shouldn’t actually be attacked, however much the guards posture.
-
There are 240
 Seeker’s Tokens hidden throughout the game and finding them all without assistance would be a Herculean effort. Fortunately, the
  Trickster vocation can learn the
  Detection augment, which will help you find them. Alternatively, you can take a look at our handy Interactive Map!
 -
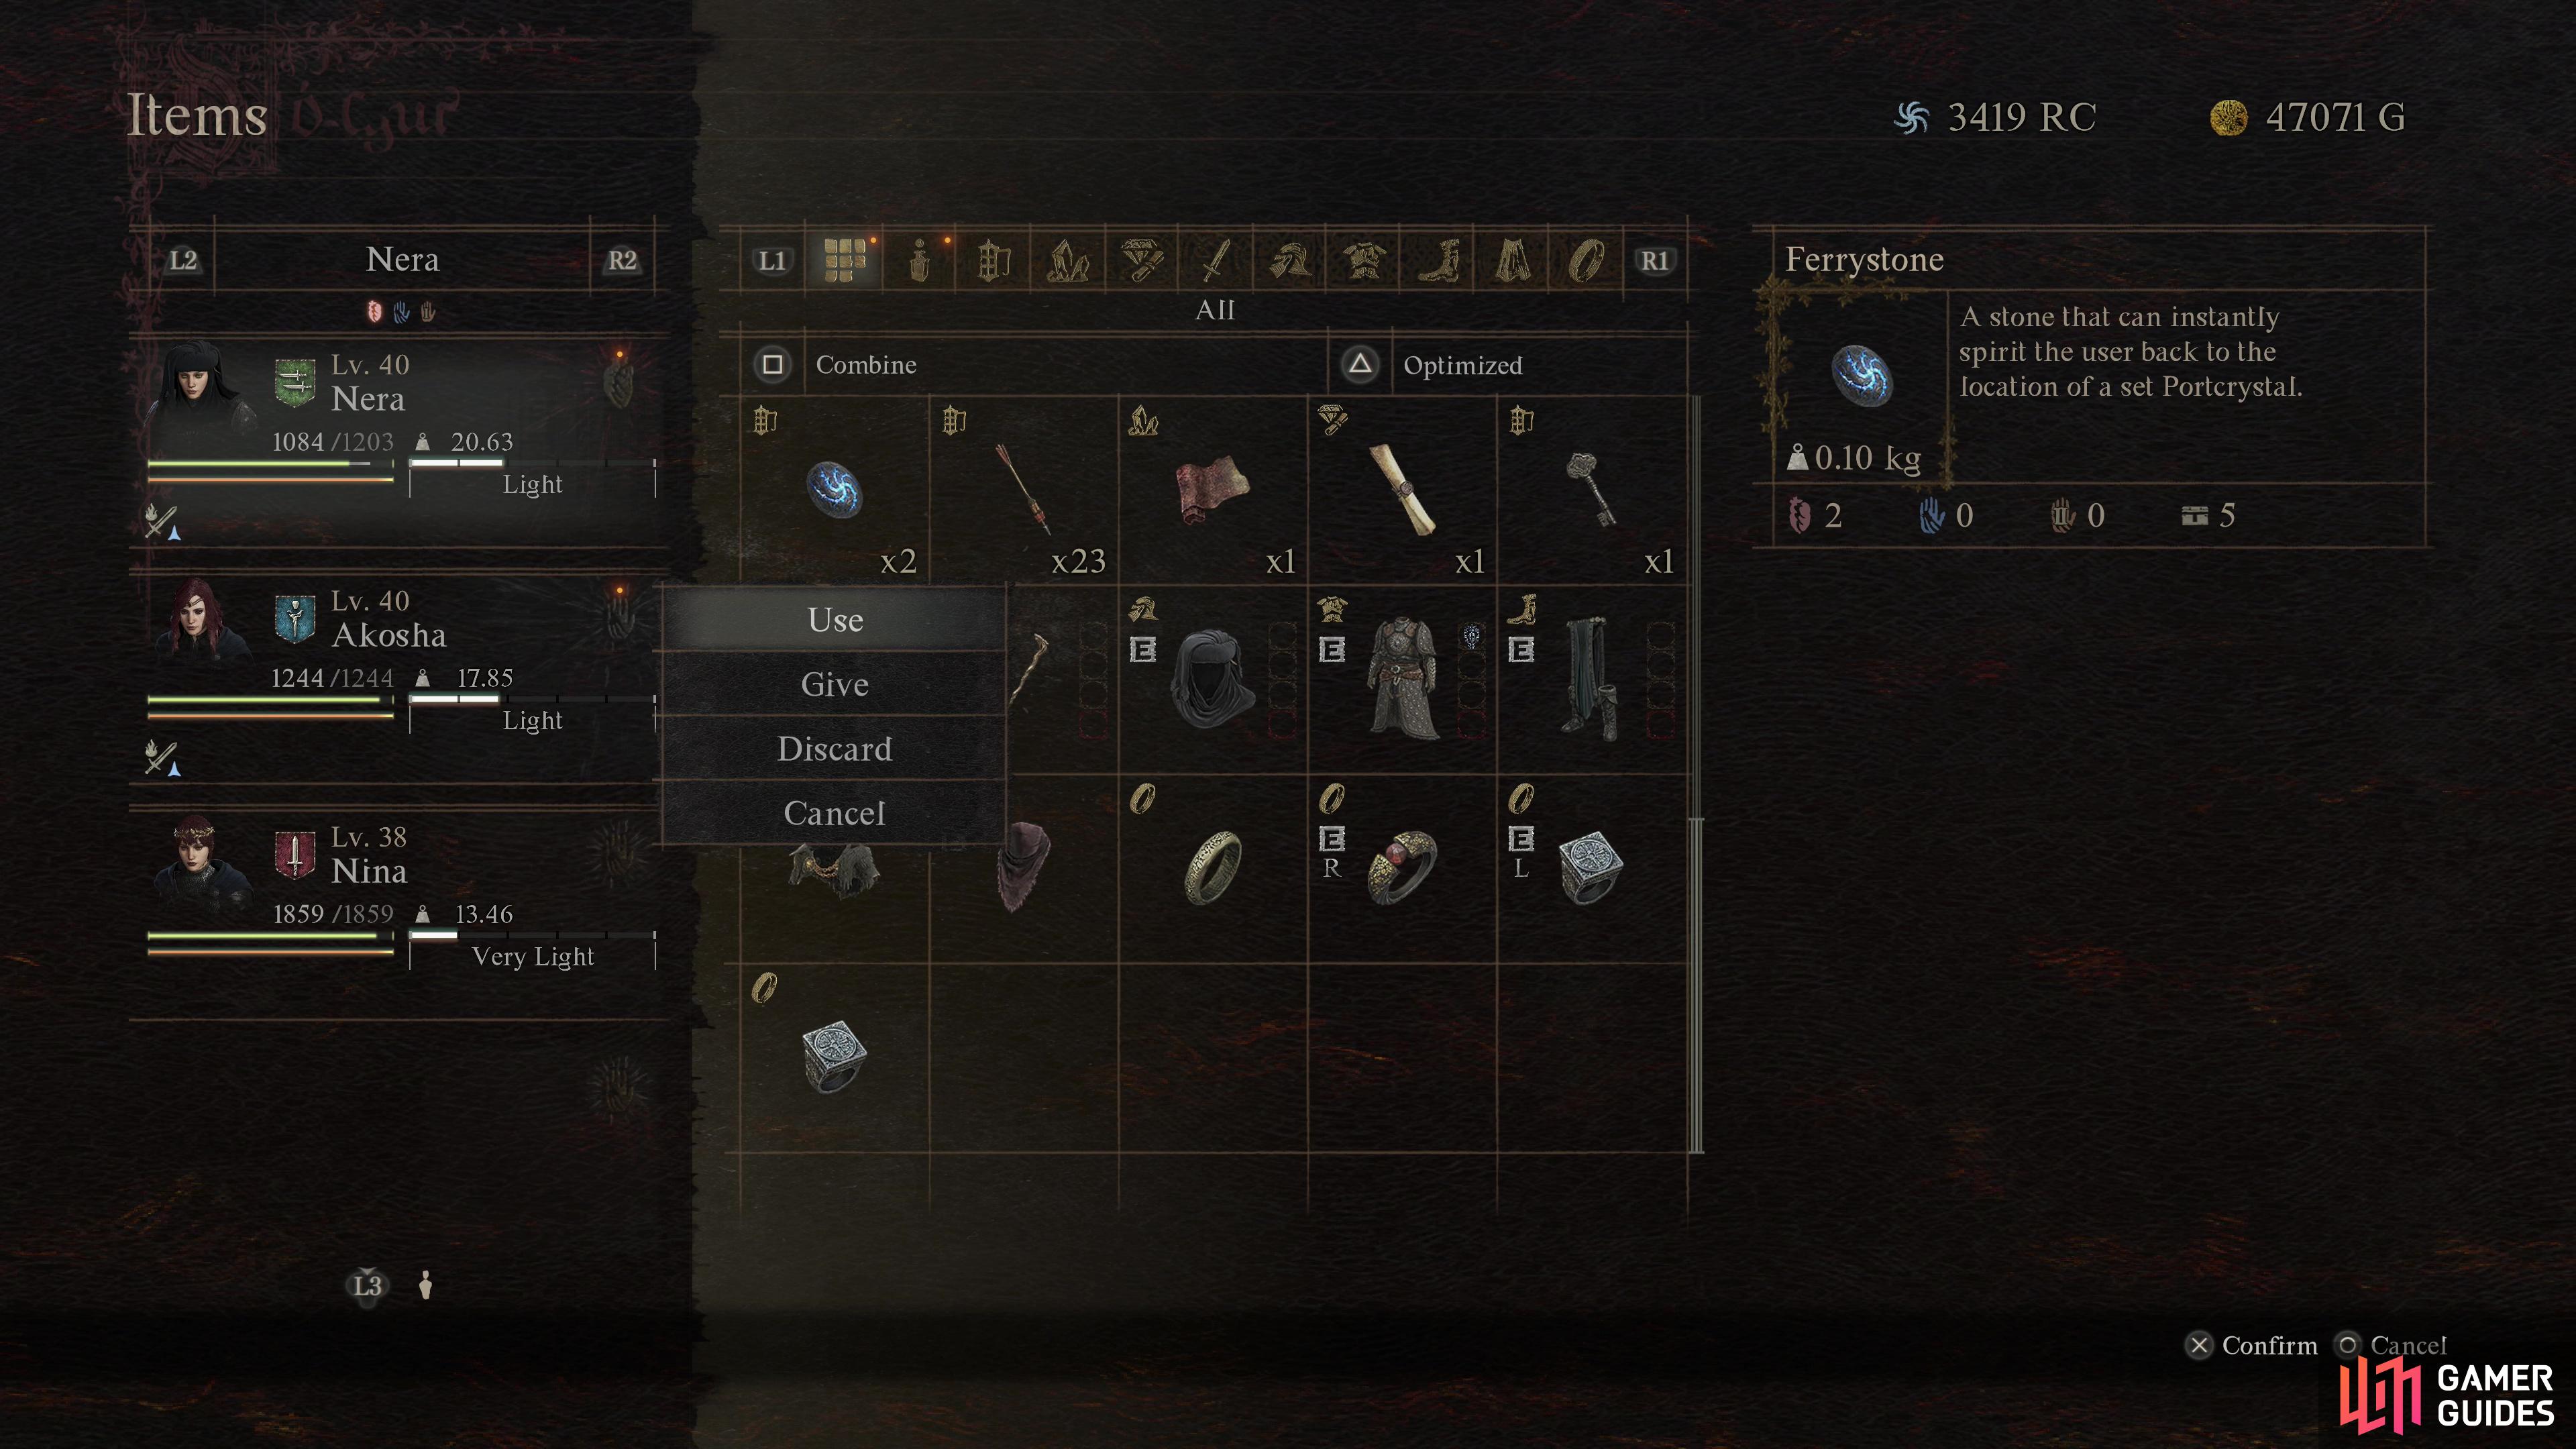
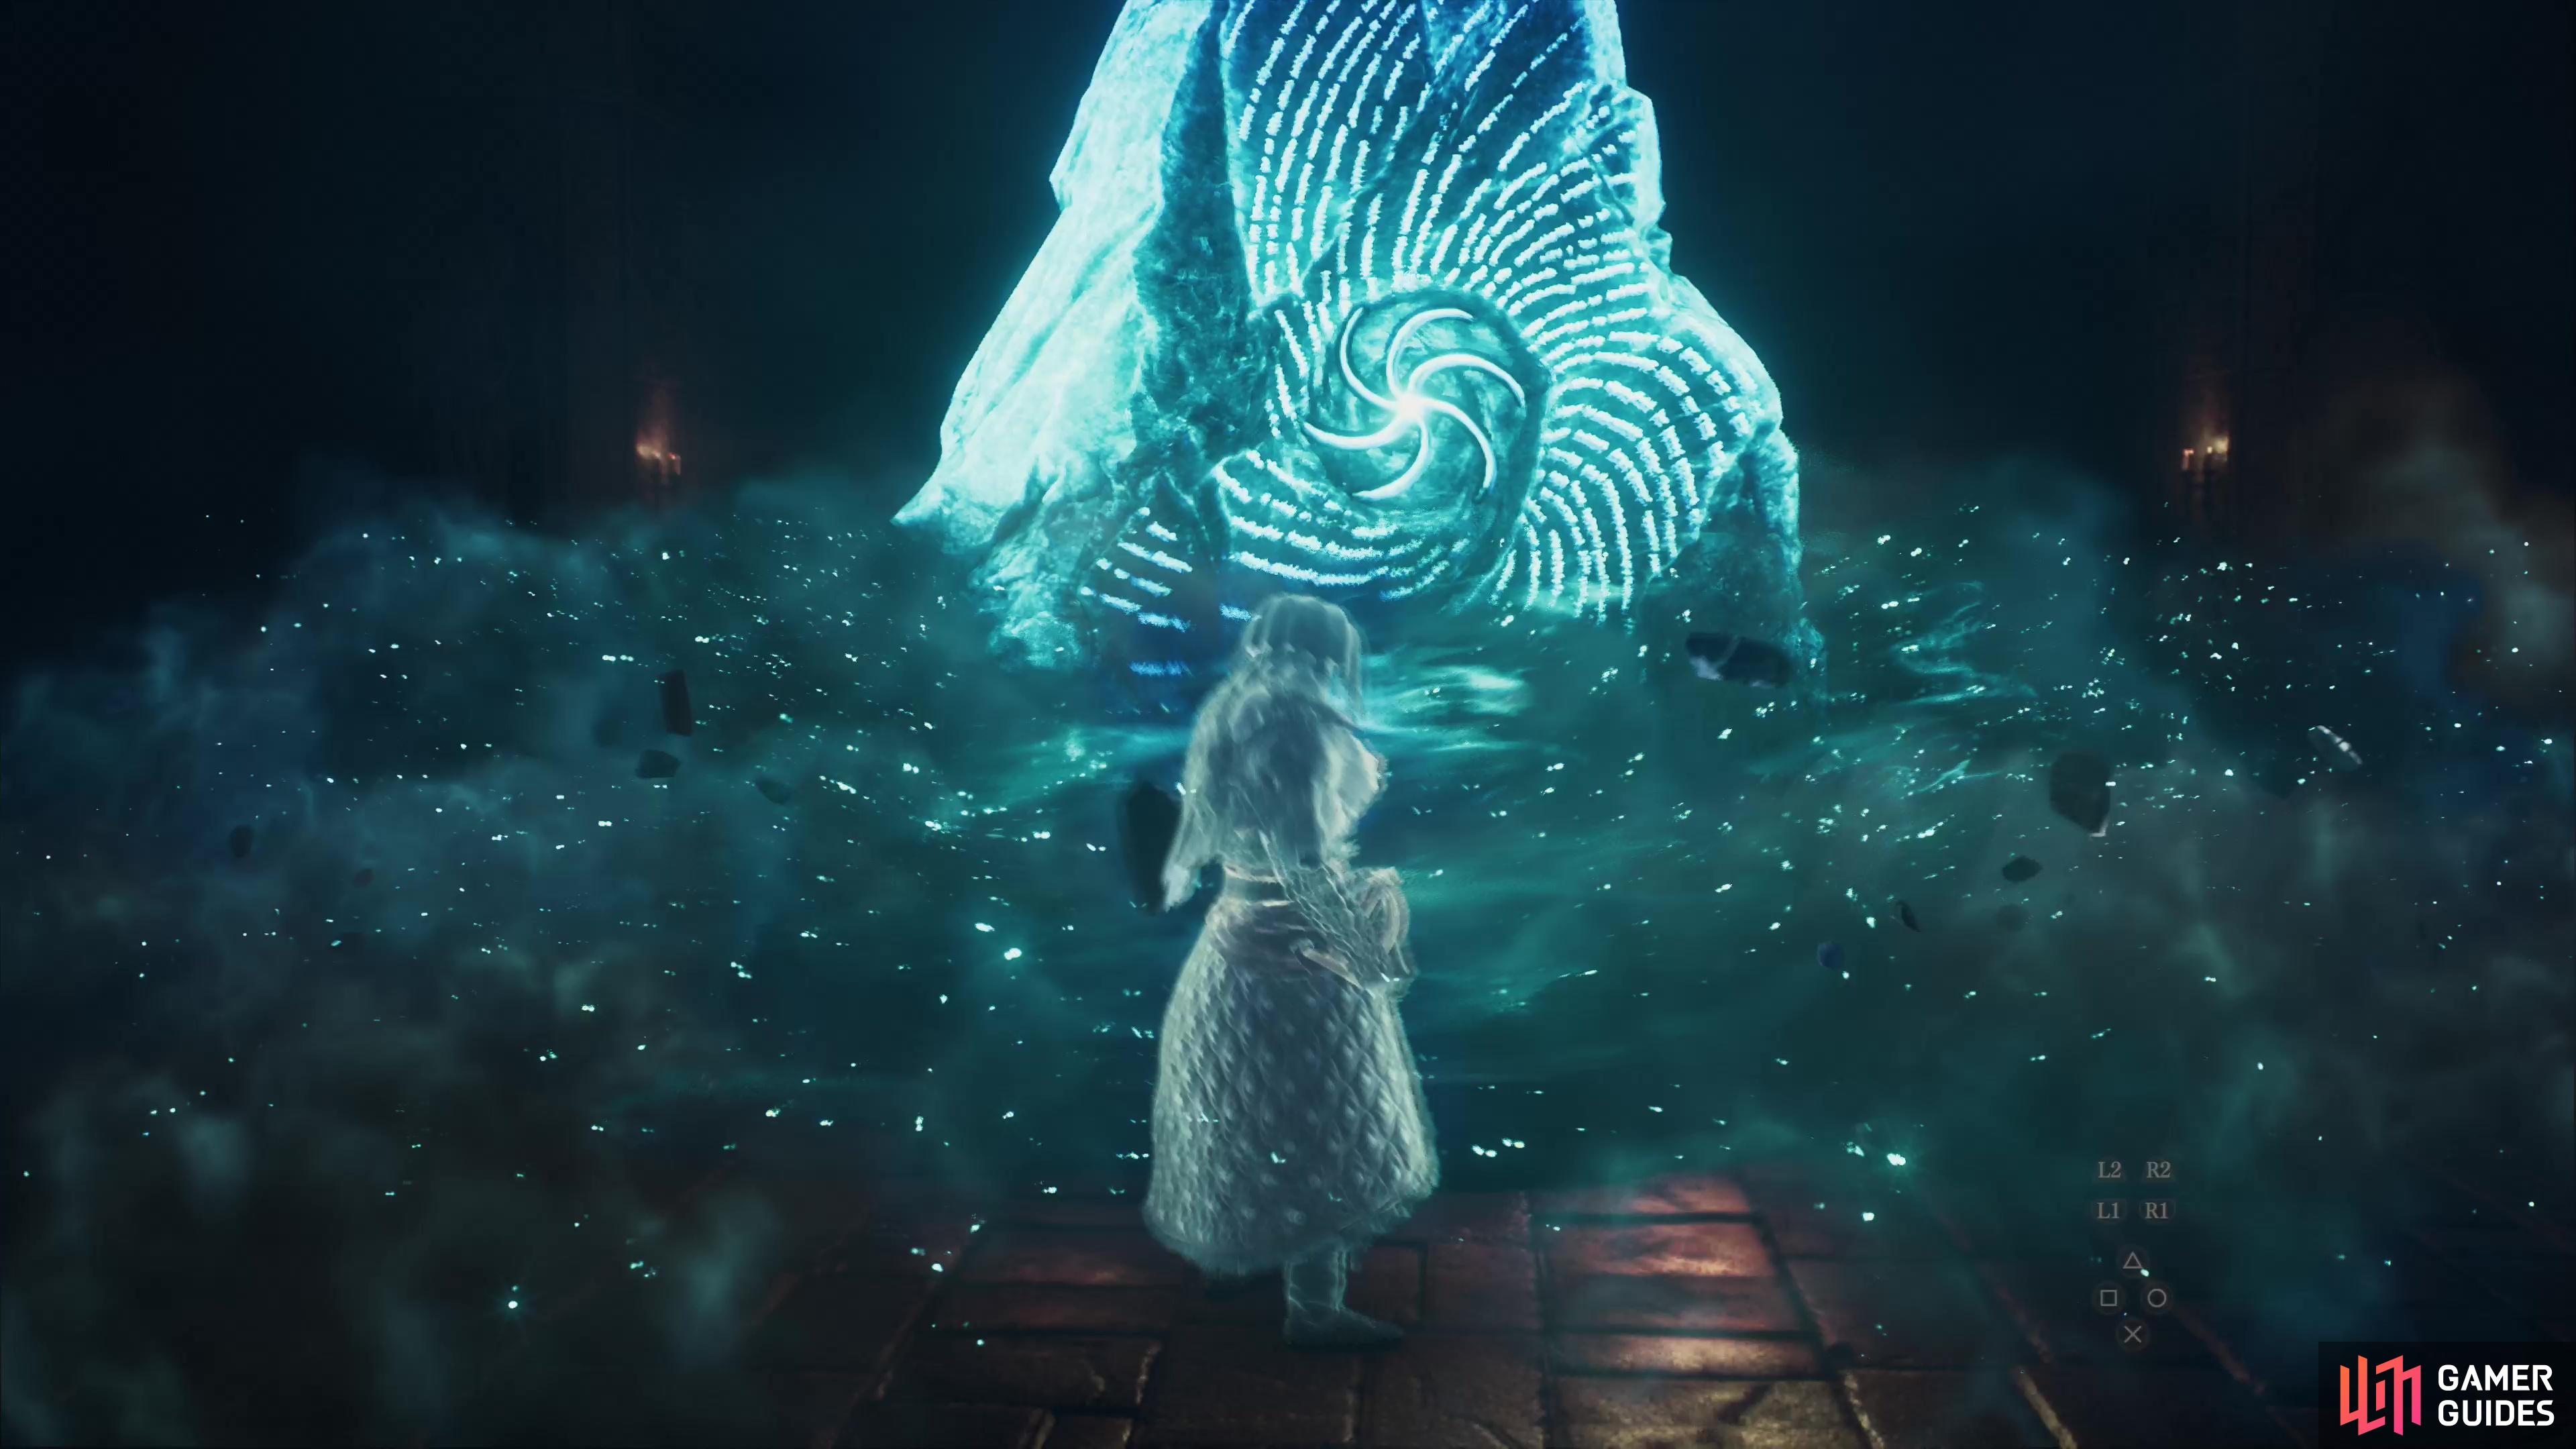
Keep a
 Ferrystone in your inventory at all times. You can use these to fast travel to any
  Portcrystal you’ve discovered. They’re the game’s best version of fast travel, and while uncommon and expensive, sometimes they can help you get out of a pinch or travel vast distances instantaneously. Like
  Wakestones, however, they’re too expensive to be used frivolously.
 -
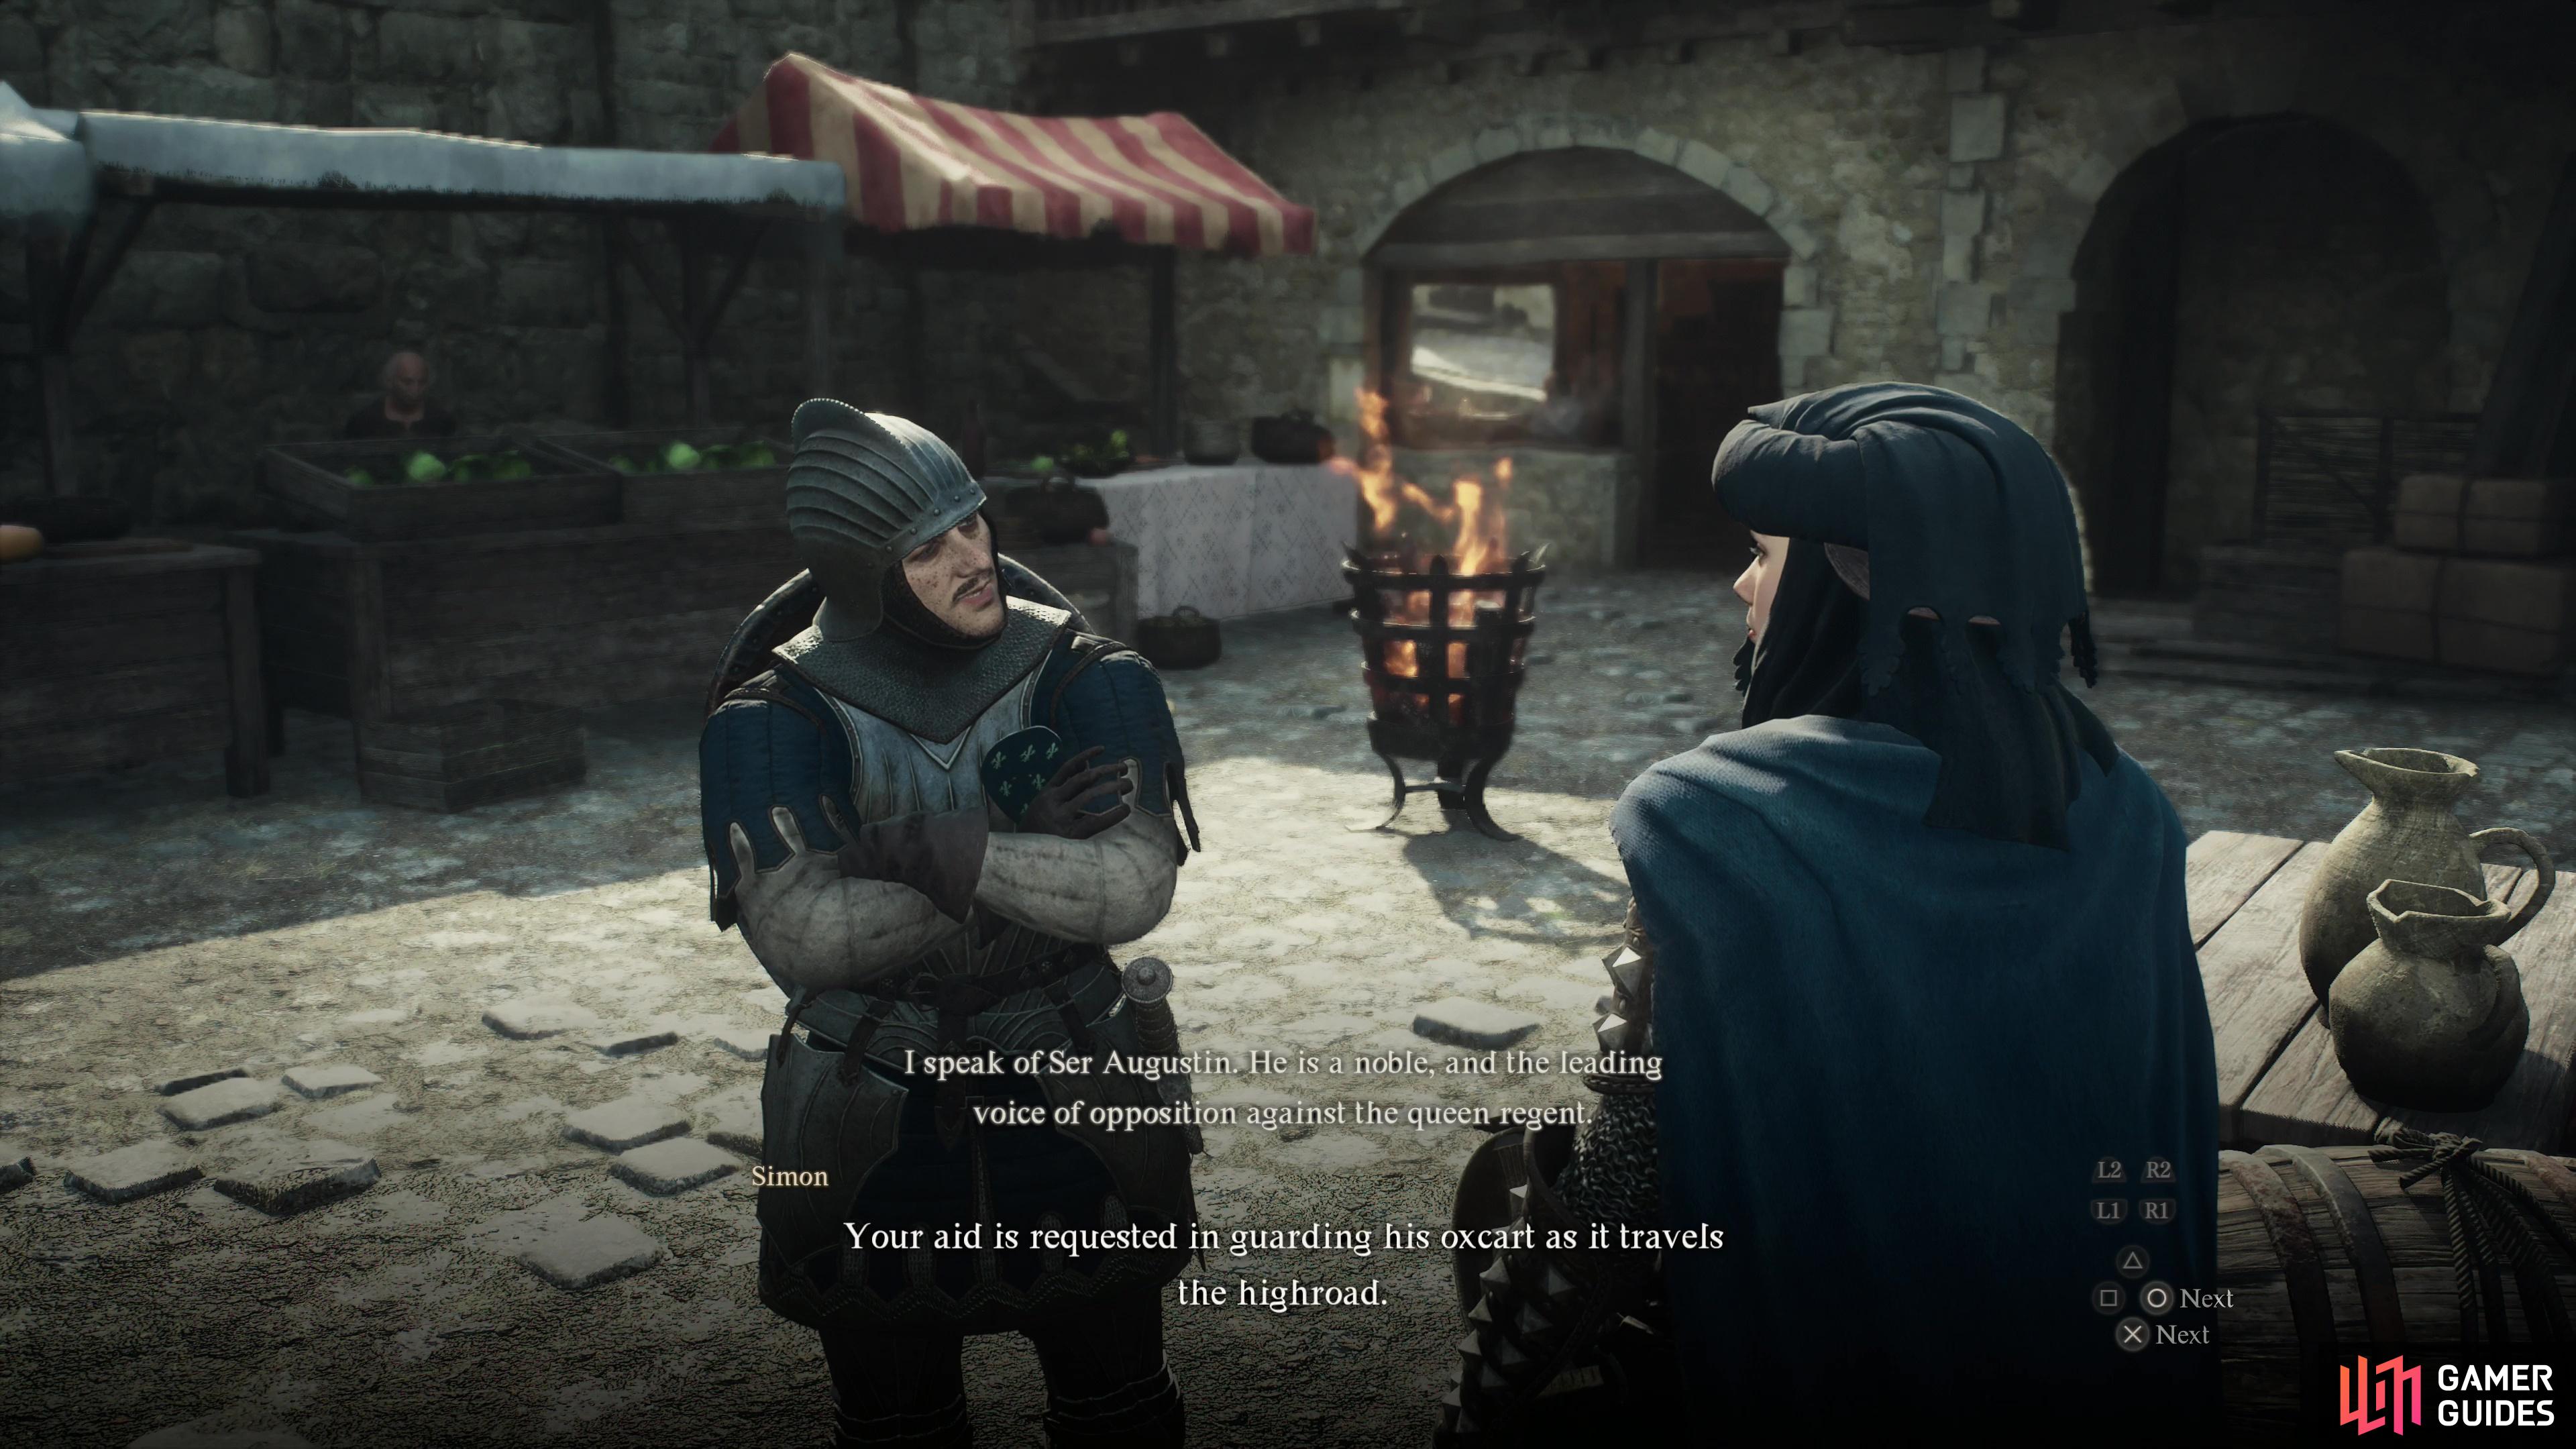
Oxcarts, though not as glamorous as teleportation via Ferrystone, are a passable fast travel alternative. Found in major settlements and traveling only to limited destinations, their downsides are plenty, but they cost a mere pittance compared to a Ferrystone, even if you’re probably going to have to fend off some nuisance enemies on the road.
-
Oxcarts only travel by day. You can summon one (and advance time) by ringing a bell near an oxcart station. These are marked on your map. If you find an oxcart in the wild, board it and sit down - you can pay the driver to take you the rest of the way to their destination.
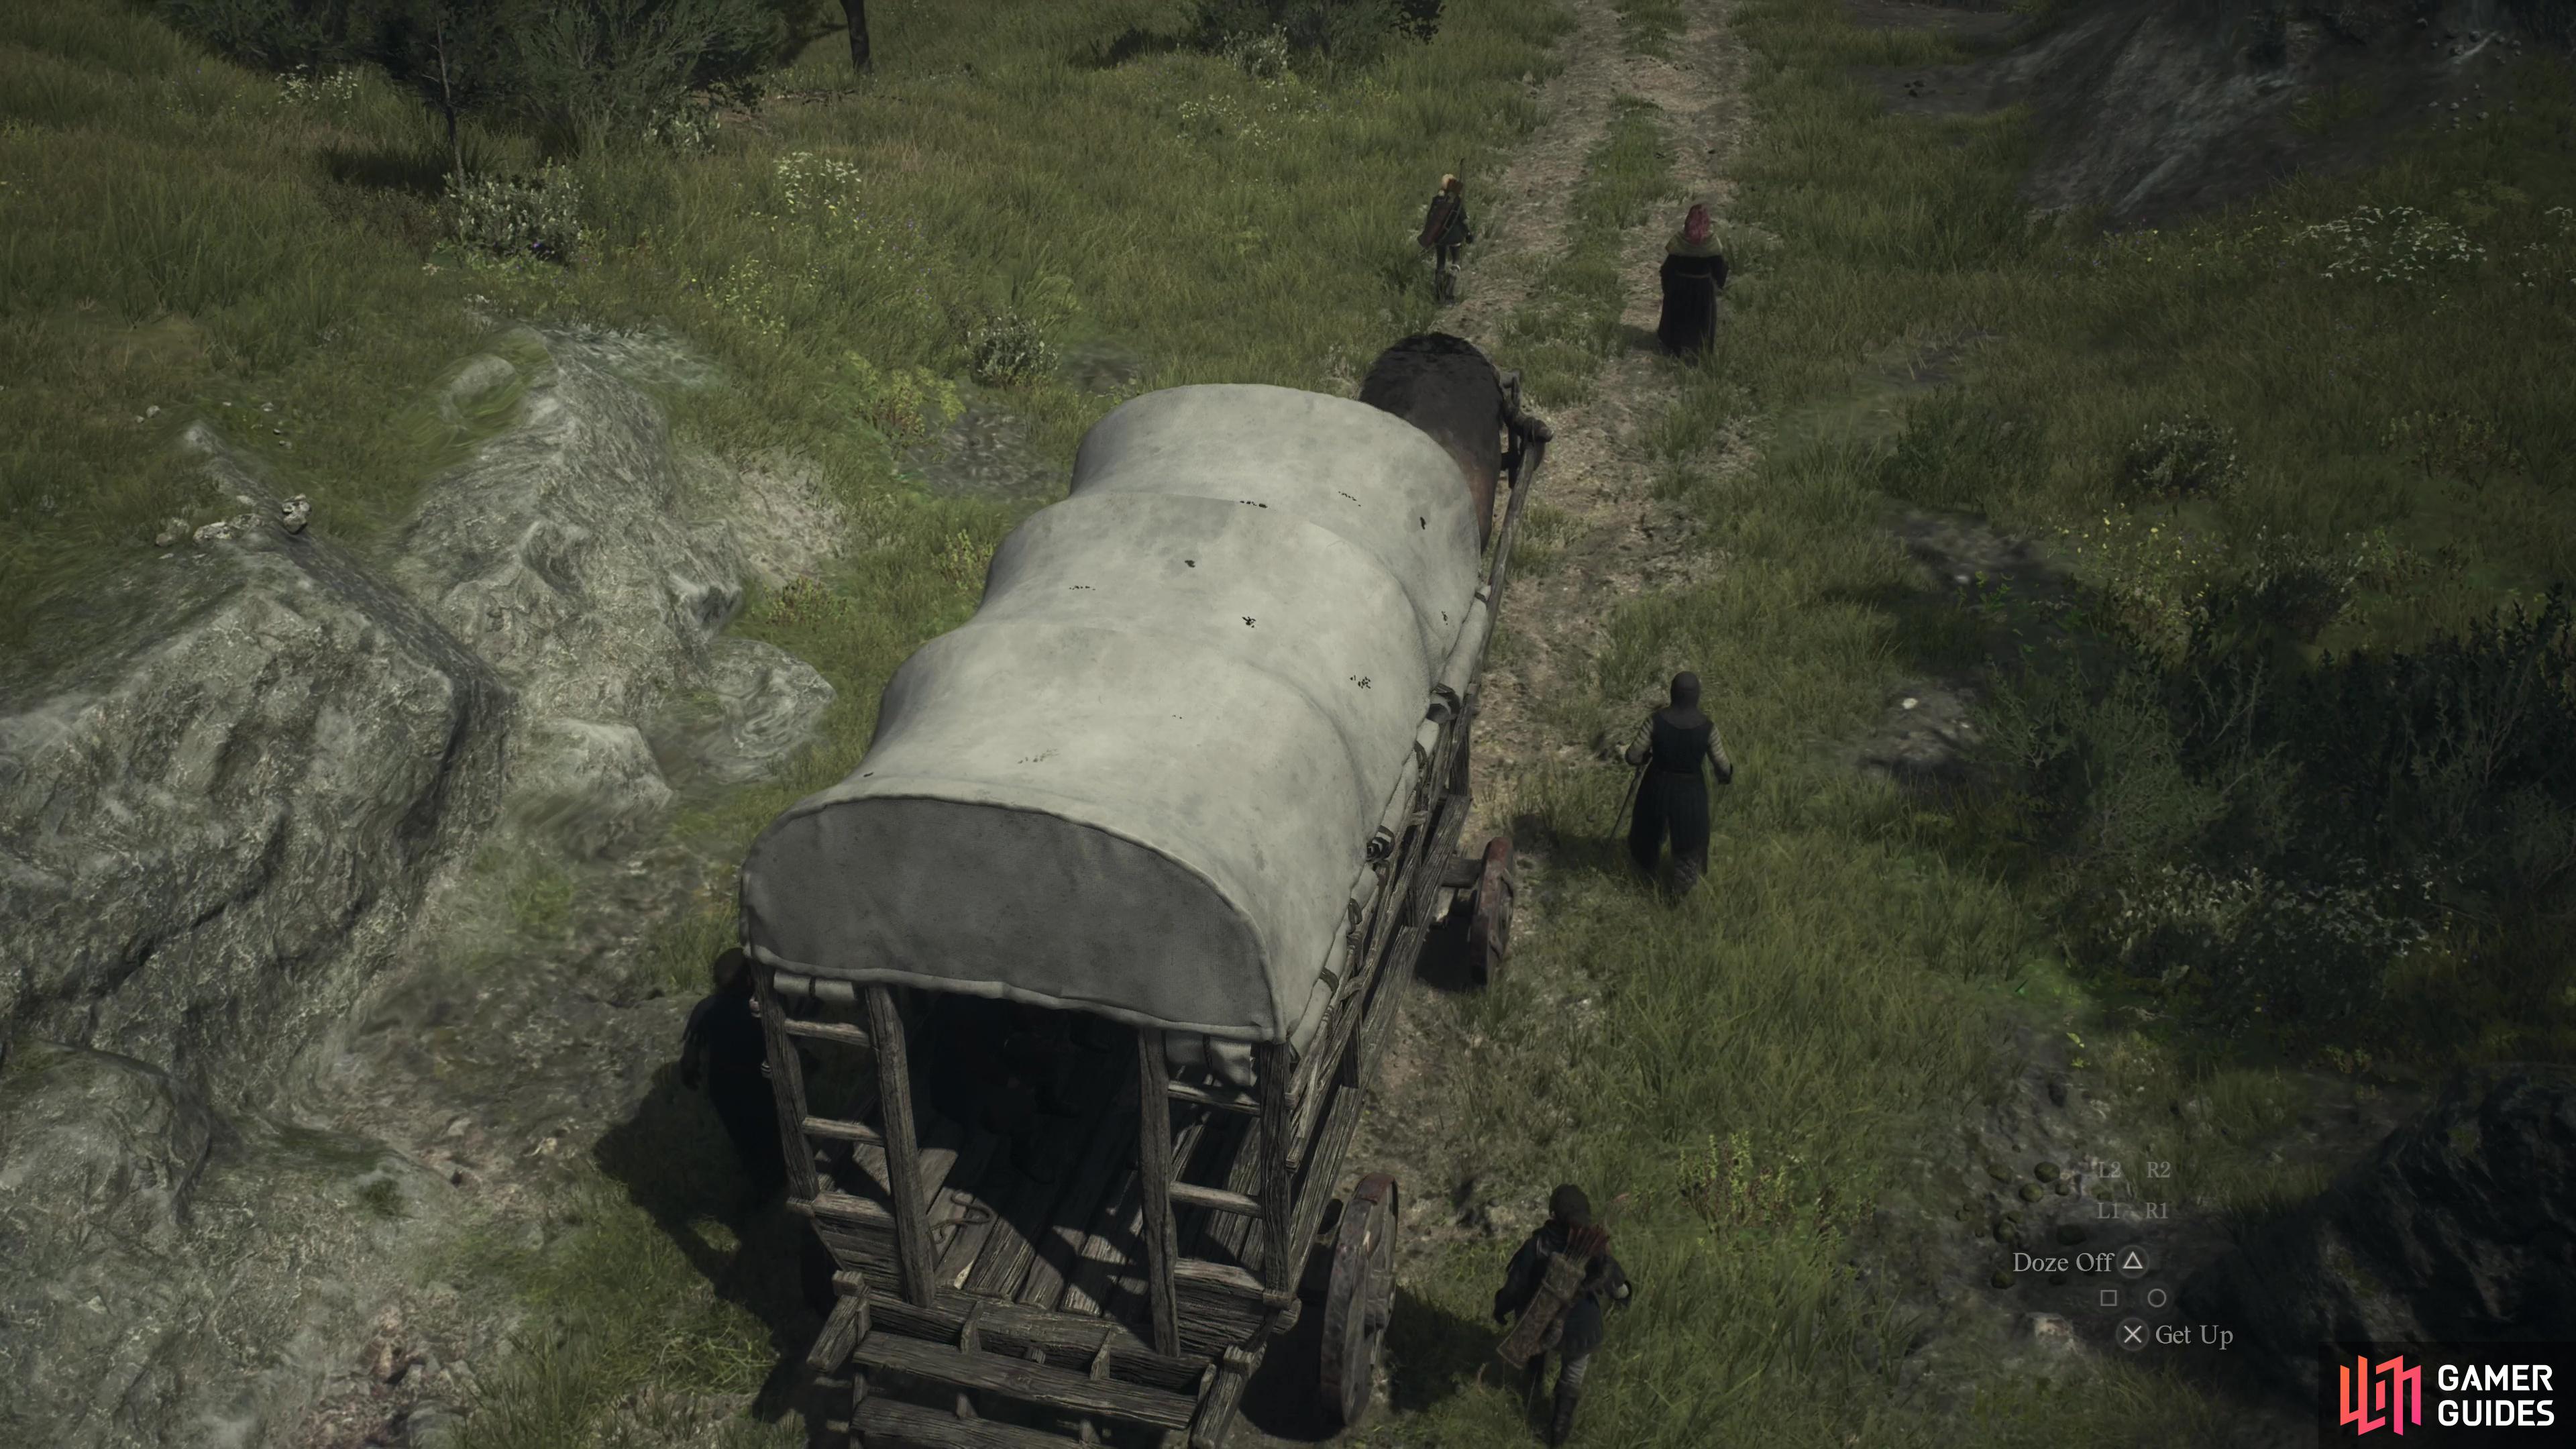
(1 of 2) Oxcarts are a means of fast travel. You’ll likely suffer monster attacks during your trip and strictly run between two preset routes, but they’re pretty cheap to ride.
Oxcarts are a means of fast travel. You’ll likely suffer monster attacks during your trip and strictly run between two preset routes, but they’re pretty cheap to ride. (left), Ferrystones will allow you to fast travel at will to any Portcrystal you’ve discovered, but they’re uncommon and expensive - best not used trivially. (right)
-
As tempting as the conveniences of fast travel may be, there’s a reason why it’s heavily discouraged. You can obtain many materials and gain EXP and Discipline by fighting and exploring your way from point to point. Enemies don’t scale, so you only stand to grow more powerful and well-supplied the more you travel.
-
Be wary of deep water. Instead of allowing characters to swim, Capcom instead found it expedient to make up an omnipresent aquatic threat lurking in the water called “the Brine”. Get into deep water and red tendrils will start to pull you down. This will consume pawns, forcing you to resummon them, but the Arisen will just be mildly inconvenienced and washed up at shore.
-
The Brine can be used to your benefit - knock monsters into the Brine and they will also be consumed. You likely won’t get any materials this way, but you’ll still get the Experience and Discipline. Not a bad way to deal with a nuisance enemy!
-
Tossing your pawns is a solution - however inelegant - for reaching otherwise inaccessible areas, but various vocations have mobility skills that can help the Arisen get around better, too. The
 Thief’s
  Concussive Step/
 Concussive Leap, the Mage’s
  Levitate, and the
  Mystic Spearhand’s
  Dragoun’s Stabbe/
 Dragoun’s Foin being prime examples.

(1 of 2) Visit Riftstones to resummon your main pawn or hire new secondary pawns.
Visit Riftstones to resummon your main pawn or hire new secondary pawns. (left), Hiring secondary pawns whose level exceeds your own will cost Rift Currency. (right)
Pawns and Party Composition Tips
-
If your main pawn ever becomes forfeit, you can summon them back again at any Riftstone.
-
In addition to recovering your main pawn, you can hire new secondary pawns using Riftstones. You will have more options for searching for pawns when using Riftstones found within settlements, being able to filter your search by gender, vocation, inclination, quest knowledge, and more.
-
Hiring a secondary pawn whose level exceeds your own will cost Rift Currency. The higher the level gap, the more Rift Currency you’ll need.
-
There are several different types of Riftstones in the game. The general ones in town can be used to summon all sorts of pawns, while others in the wild tend to have a theme - only pawns with a certain inclination will appear, for example.
 Forgotten Riftstones, on the other hand, do not function like normal Riftstones, instead summoning one pawn that can be hired free of charge, despite the level gap.
 -
Secondary pawns do not gain experience or discipline while traveling with you, nor can you alter their equipment or skills. They will never become stronger under your watch, but they can learn about the world and enemies by accompanying you. Likewise, your own main pawn can learn by exploring the world with other parties, and they will tell you about treasures and tactics they experience along the way.
-
If one of your pawns spots something of interest, it’ll be marked with an exclamation point on your minimap. They will often point out chests, ladders, notices, and other objects of interest that can often lead to treasure or quests.
-
Pawns that have knowledge of quests will offer to guide you to objectives from time to time. Encourage them to guide you by giving them the “Go!” command.
-
While the Arisen has a variety of traversal options available to them, depending on their vocation, you can also pick up and toss pawns to distant ledges, balconies, walls, roofs, or other out-of-reach areas. They’re not above smashing a barricade, pulling a lever, or opening a chest once they recover from their graceful landing.
-
Pawn inclinations can be more important than their vocation. A timid
 Warrior is no use to anybody, and an overly aggressive Mage isn’t going to be providing buffs and heals. If you want a pawn to stay back and heal, buff, or assist, make sure they have the Kindhearted inclination. If you want them to independently and aggressively assault the enemy, give them the Straightforward inclination.
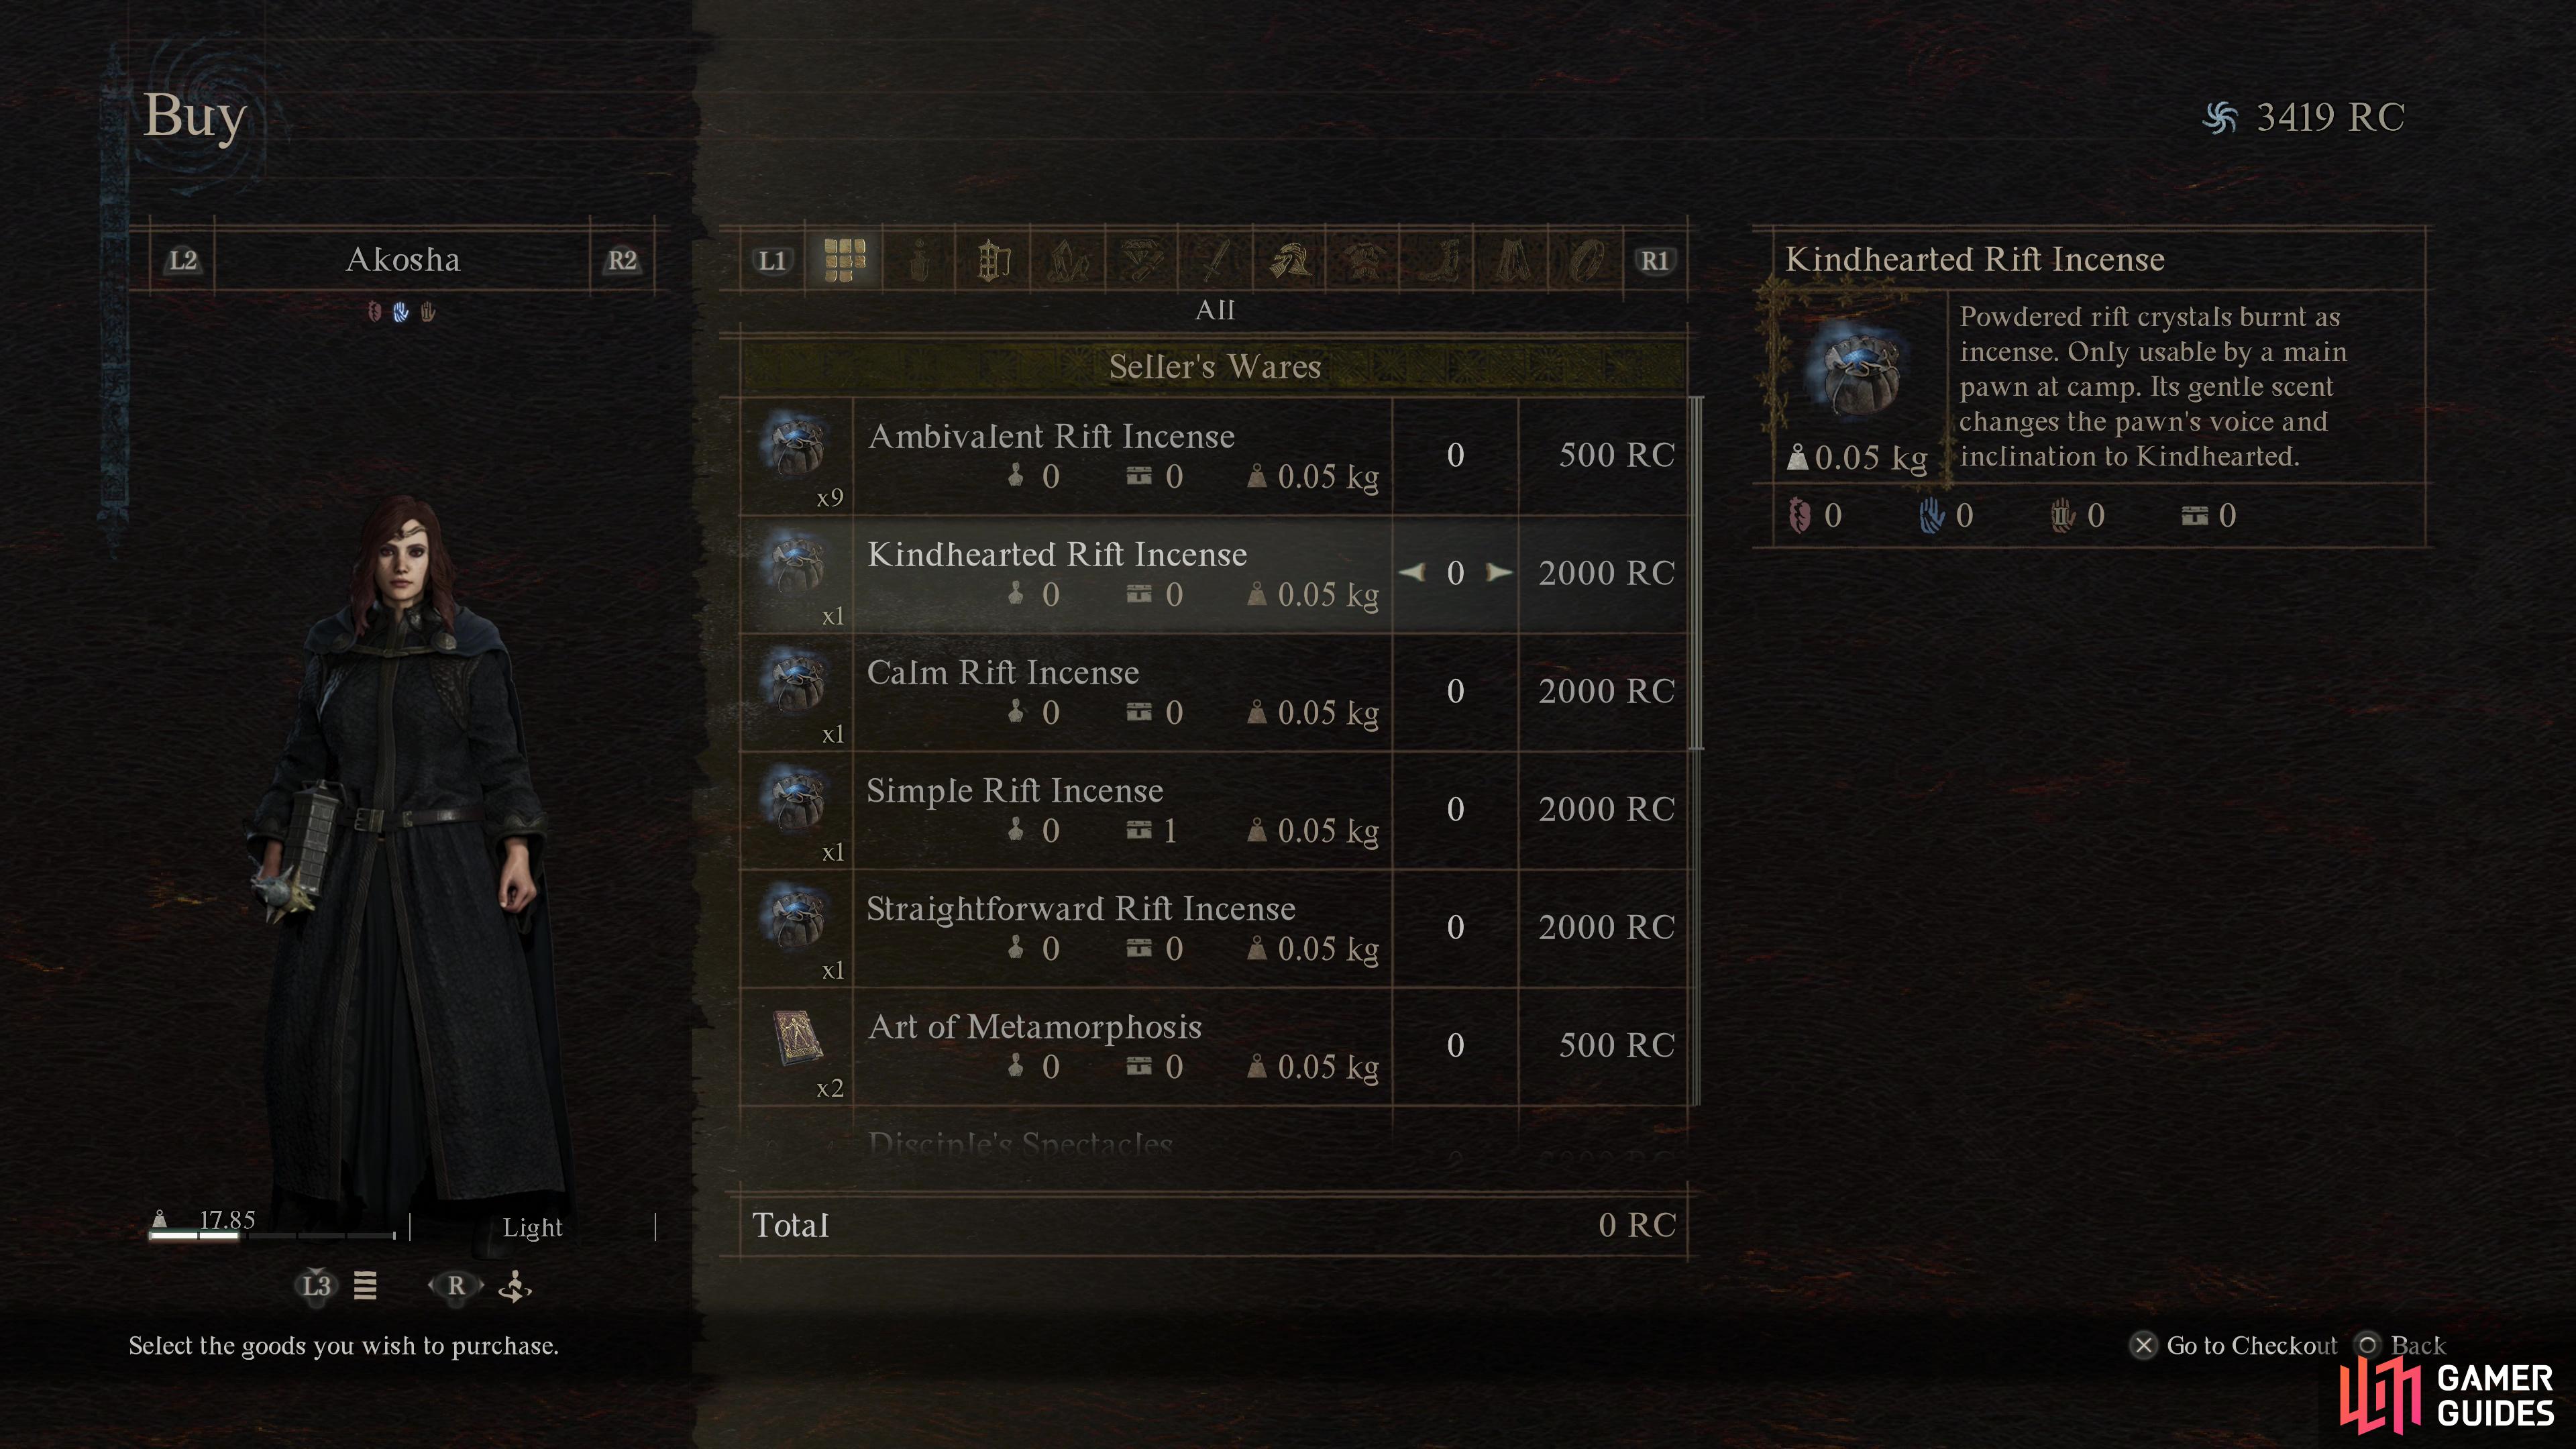
You can buy Rift Incense that will change your pawn’s inclination, causing them to act differently in combat.
-
You can change your own pawn’s inclination by using various “Rift Incense” items, which can be purchased (costing Rift Currency). The earliest place to buy such fare is from
 Neomith, near the
  Grand Riftstone of Vermund.
 -
Mage pawns can provide healing and elemental enchantments, which can keep your party healthy and allow you to damage enemies who would otherwise be resistant to your attacks.
-
 Sorcerers have less utility than Mages but make up for it (and then some!) with massive magical power. If you can buy them the time they need to cast their most powerful spells (and they’re inclined to do so) they can single-handedly win fights.
 -
 Fighters are your premier tanks, but it’s arguable whether their defensive properties are significantly higher than a Warrior’s enough to account for the offensive disparity between the two.
 -
It’s often best to have a diverse party to ensure you can fend off a wide array of enemies. Some enemies are weak to various elements, others are resistant to physical damage, or can have appendages shattered or severed. Others can remain out of reach unless you have a ranged option, and so on.
-
If you’re not quite sure of the best way to utilize a vocation, hire a pawn and watch them fight. Experienced pawns will know enemy weak points and may reveal them by exploiting them. Or they might use skills you’ve discounted, showing you new ways to overcome your foes.
-
Pawns are useful for a variety of tasks, but sometimes they tend to get in the way. If you want to ensure they don’t get too snatchy with loot or you want to use Photo Mode, issue the “Wait!” command.
-
If a pawn is lost, any items it was carrying (not including equipped items) will be returned to your stash. Don’t fret over using them as mules, they don’t take their treasures with you when they die/leave.
Sometimes NPCs will come demand you attend to some task, but many quests in Dragon’s Dogma 2 are more subtle - talk to NPCs often to ensure you’re not missing any quests!
Quest, Vocation and Progression Tips
-
Speak to NPCs regularly and often, as they can give you side quests without any clear indication or warning that they’re quest-givers. Sometimes NPCs will approach you with quests, sometimes you’ll overhear them talking about some problem they have, but sometimes you just gotta do the legwork yourself.
-
Return to old settlements and visit important NPCs regularly. As time passes and you advance the main questline, new quests may pop up. In the early game, this is especially true for
 Melve, where new quests will occur as time marches on.
 -
Many quests are missable, and some will expire if you dawdle too much! Best not to stock up on side quests and complete the ones you have before searching for more. You should also scour settlements for side quests before and after each main quest.
-
You can obtain
 Wyrmslife Crystals by battling draconic enemies of various types. While they sell for a respectable 1,500G each, you should save them, as they’re used for both crafting and a late-game quest.
 -
All enemies yield drops, and bigger, more dangerous enemies (especially the ones that are accompanied by a big pink life bar at the top of the screen) drop particularly rare and valuable materials. Keep an eye out for anything that says “Can be used to enhance equipment” as these materials can be used to make your gear better, and can be used from your stash, so you don’t even need to carry them around!
-
While rare monster materials are useful for upgrading equipment, they also tend to sell well, and you likely only need to keep several on hand for any particular upgrade. Selling a few
 Magick Medals probably isn’t going to kill you, and the value of these materials can make some large monsters well worth farming.
Death doesn’t have to mean defeat - a Wakestone will revive you back to full HP. They can even revive dead NPCs!
-
Keep a Wakestone in your inventory at all times. Not only will this effectively give you a “continue” if you die, but if a quest-sensitive NPC dies you can bring them back to life. Reloading in either case may be a better option, depending on your save status, but it’s nice to have the option and it can turn a disaster into an annoyance.
-
Killing enemies rewards you with Experience and Discipline. The former will level up your character while the latter will rank up your vocation and is also used to purchase skills and augments. Stronger enemies yield more EXP and Discipline, but these do not increase at equal rates. A
 Goblin might only give 60~ XP and 20~ Dcp, while an
  Ogre will yield 3,000~ EXP and 200~ Dcp, and this trend holds true for most enemies. That being the case, if you want to level up your character, fight stronger enemies. If you want to increase your vocation rank, fight more (weaker) enemies.
 -
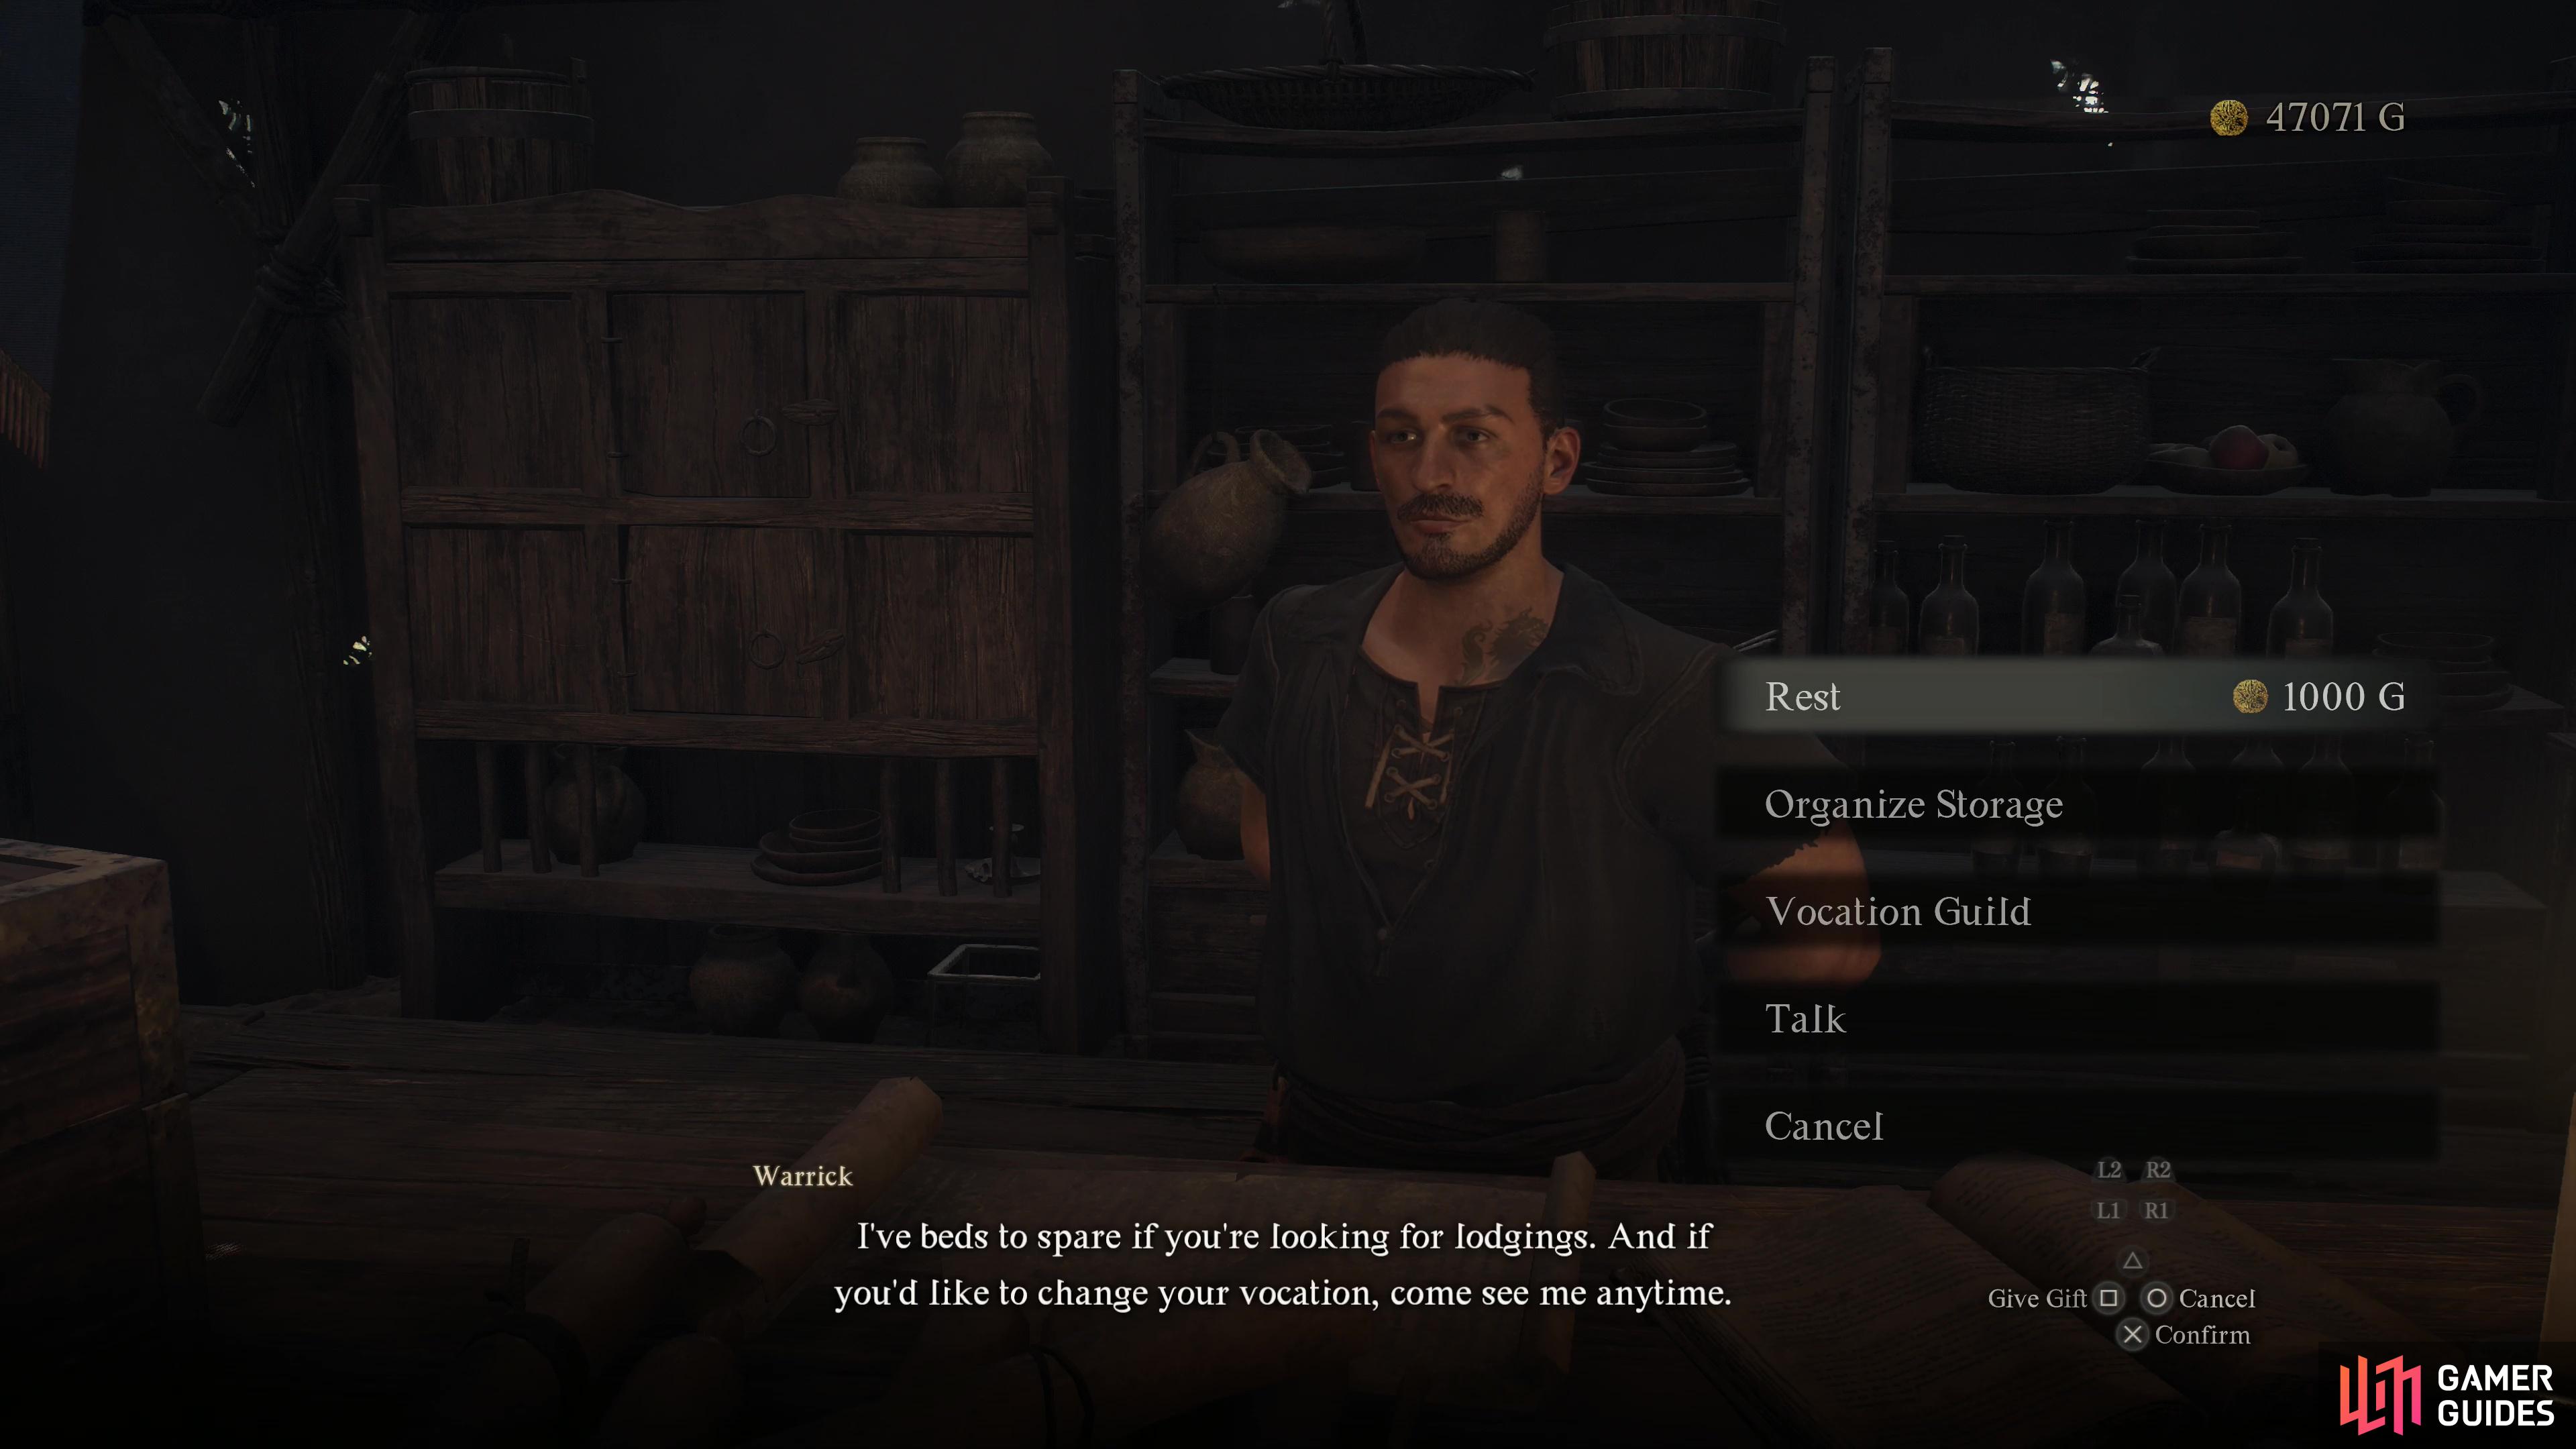
You can change vocations at either inns (in smaller towns) or Vocation Guilds (in larger towns). Changing to a new vocation will cost a trivial amount of Discipline and will get you a full set of starter gear for that vocation. It does not cost anything to switch between previously unlocked vocations, and unlike in the original Dragon’s Dogma, the game remembers what skills and augments you had equipped.
-
At the start of the game, players and pawns can choose between four vocations: Fighter, Mage, Thief, and
 Archer. All other vocations must be unlocked, usually via quest progression.
 -
Pawns have a more limited vocation selection than the Arisen: they can only be Fighters, Archers, Mages, Thieves, Warriors, and Sorcerers.
-
Each vocation has its own selection of unique weapons and skills, and very little carries over from one vocation to the next. Some types of armor and accessories allow for multiple vocations to use, but you should be aware that when you switch vocations, you’re probably going to need to buy new arms and armor to go with it… or settle for the starter gear you get for that vocation.
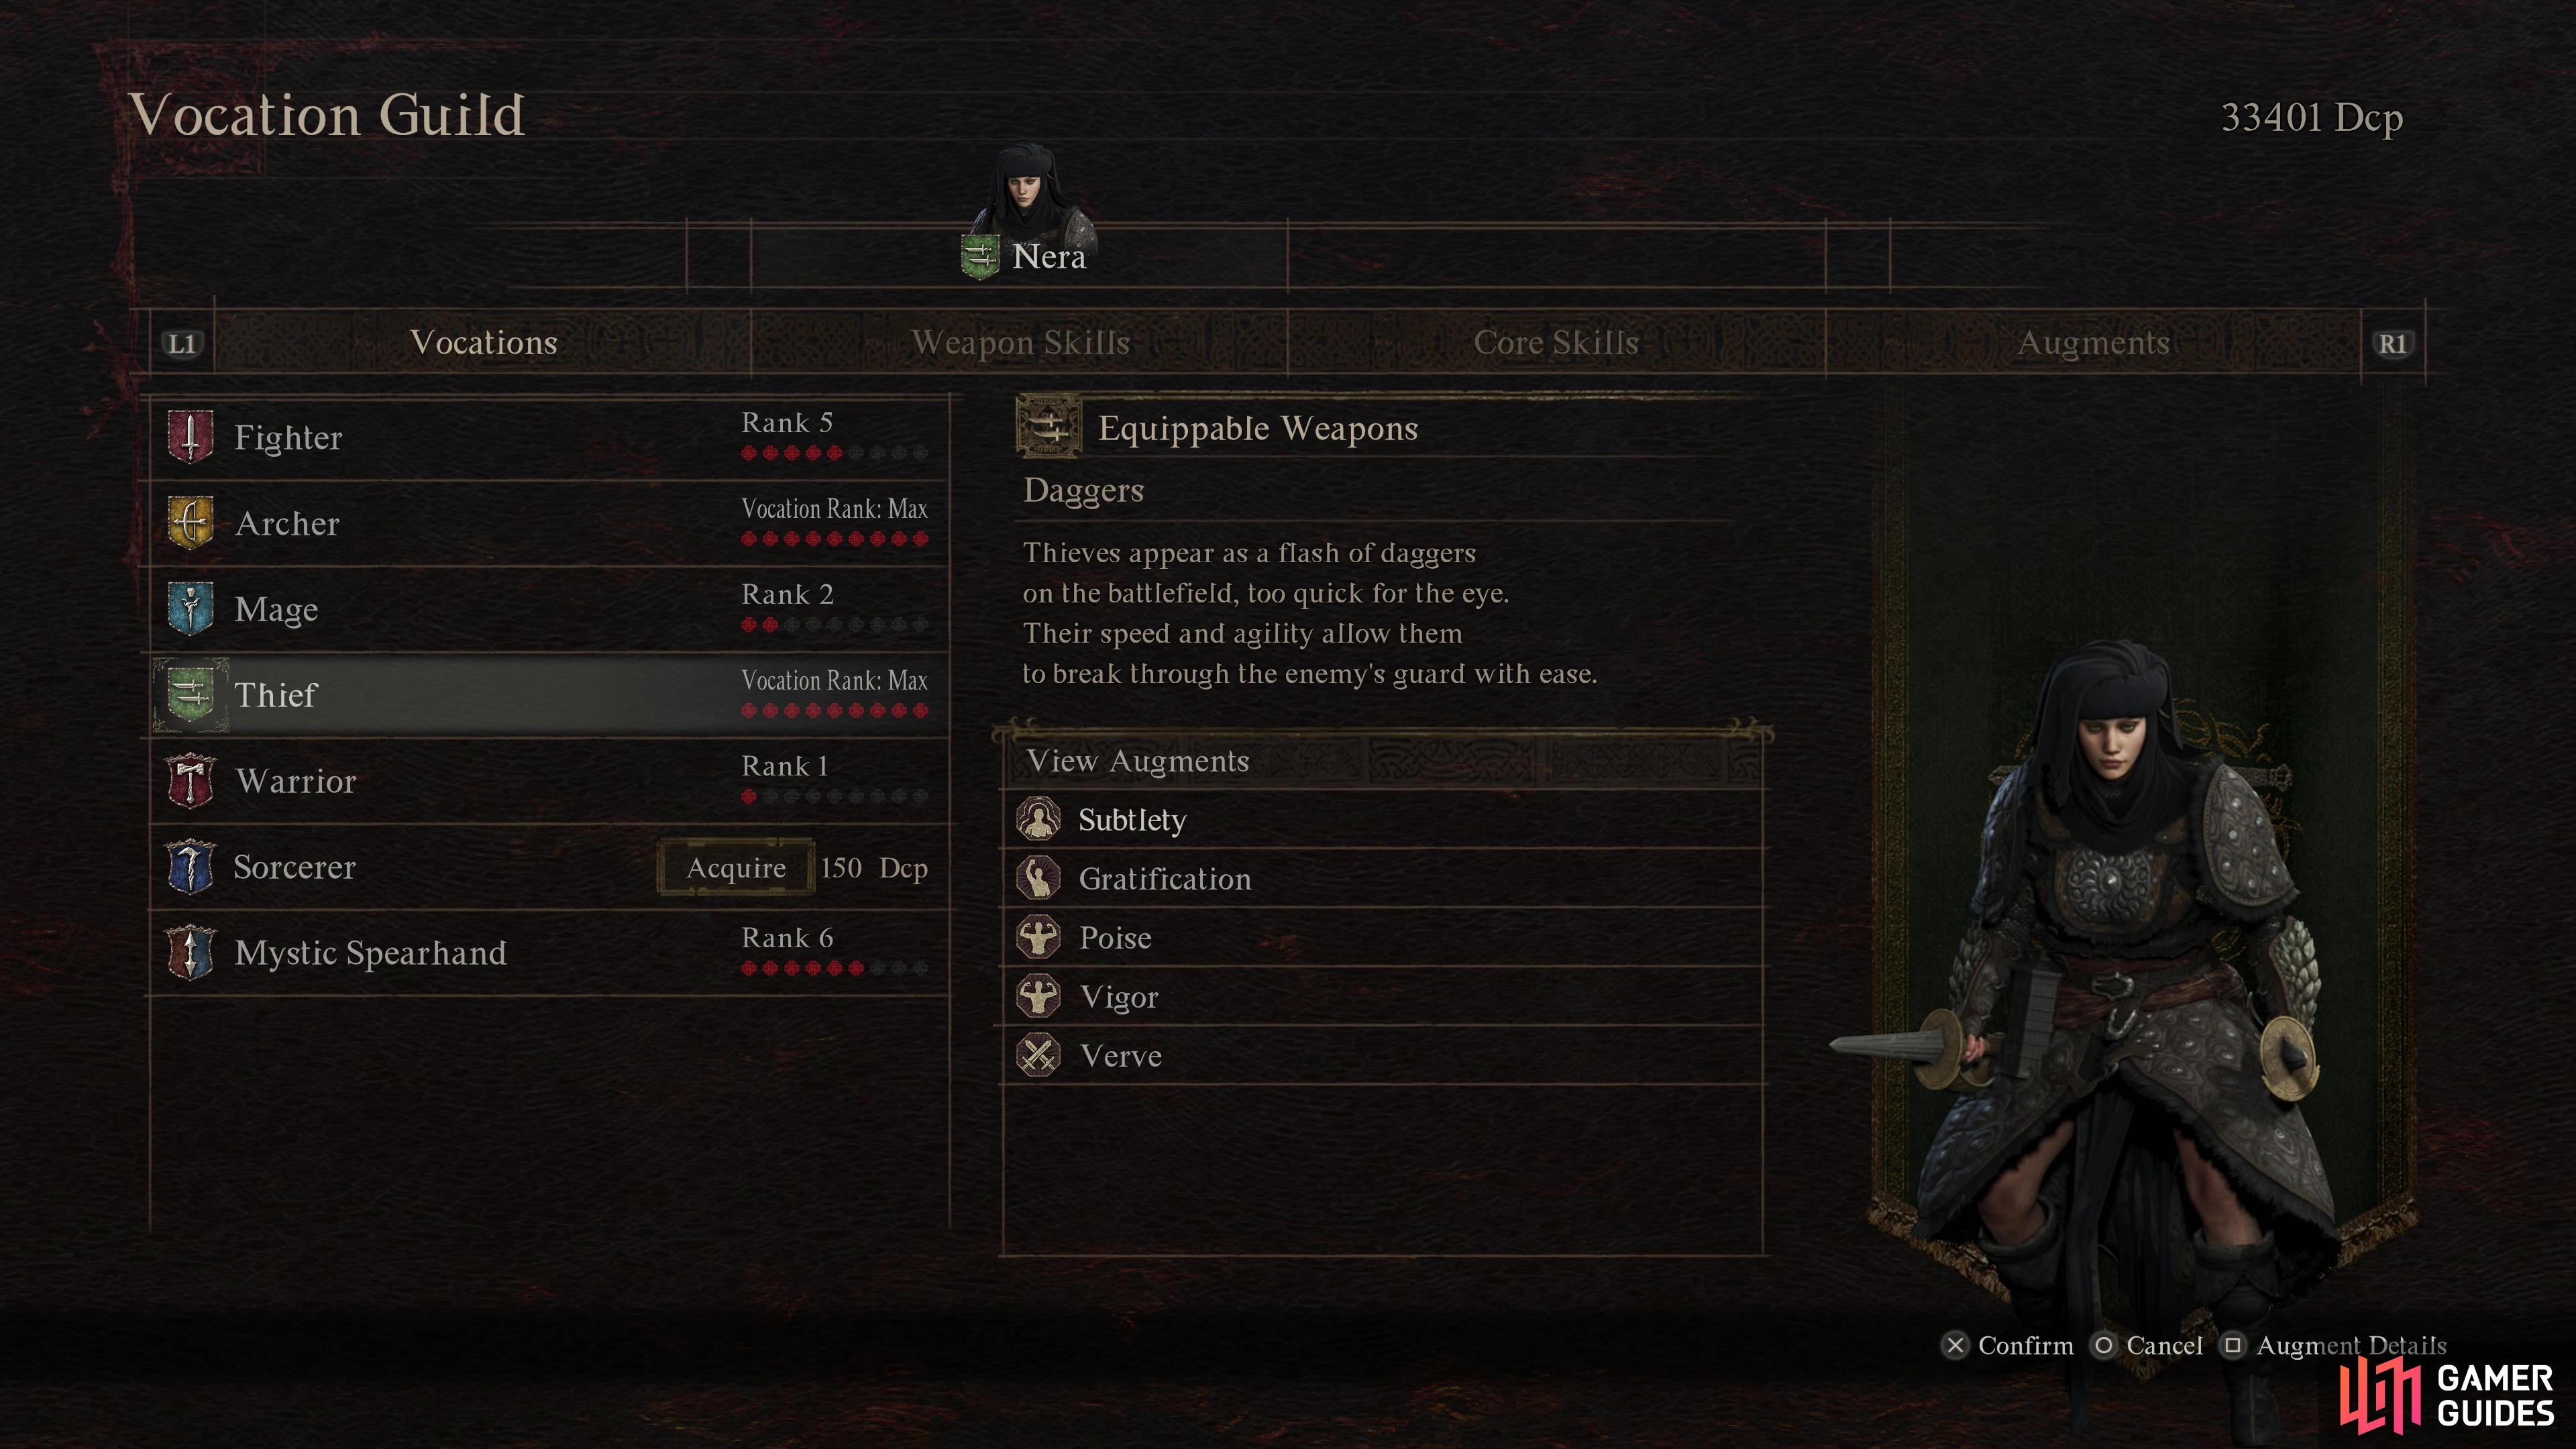
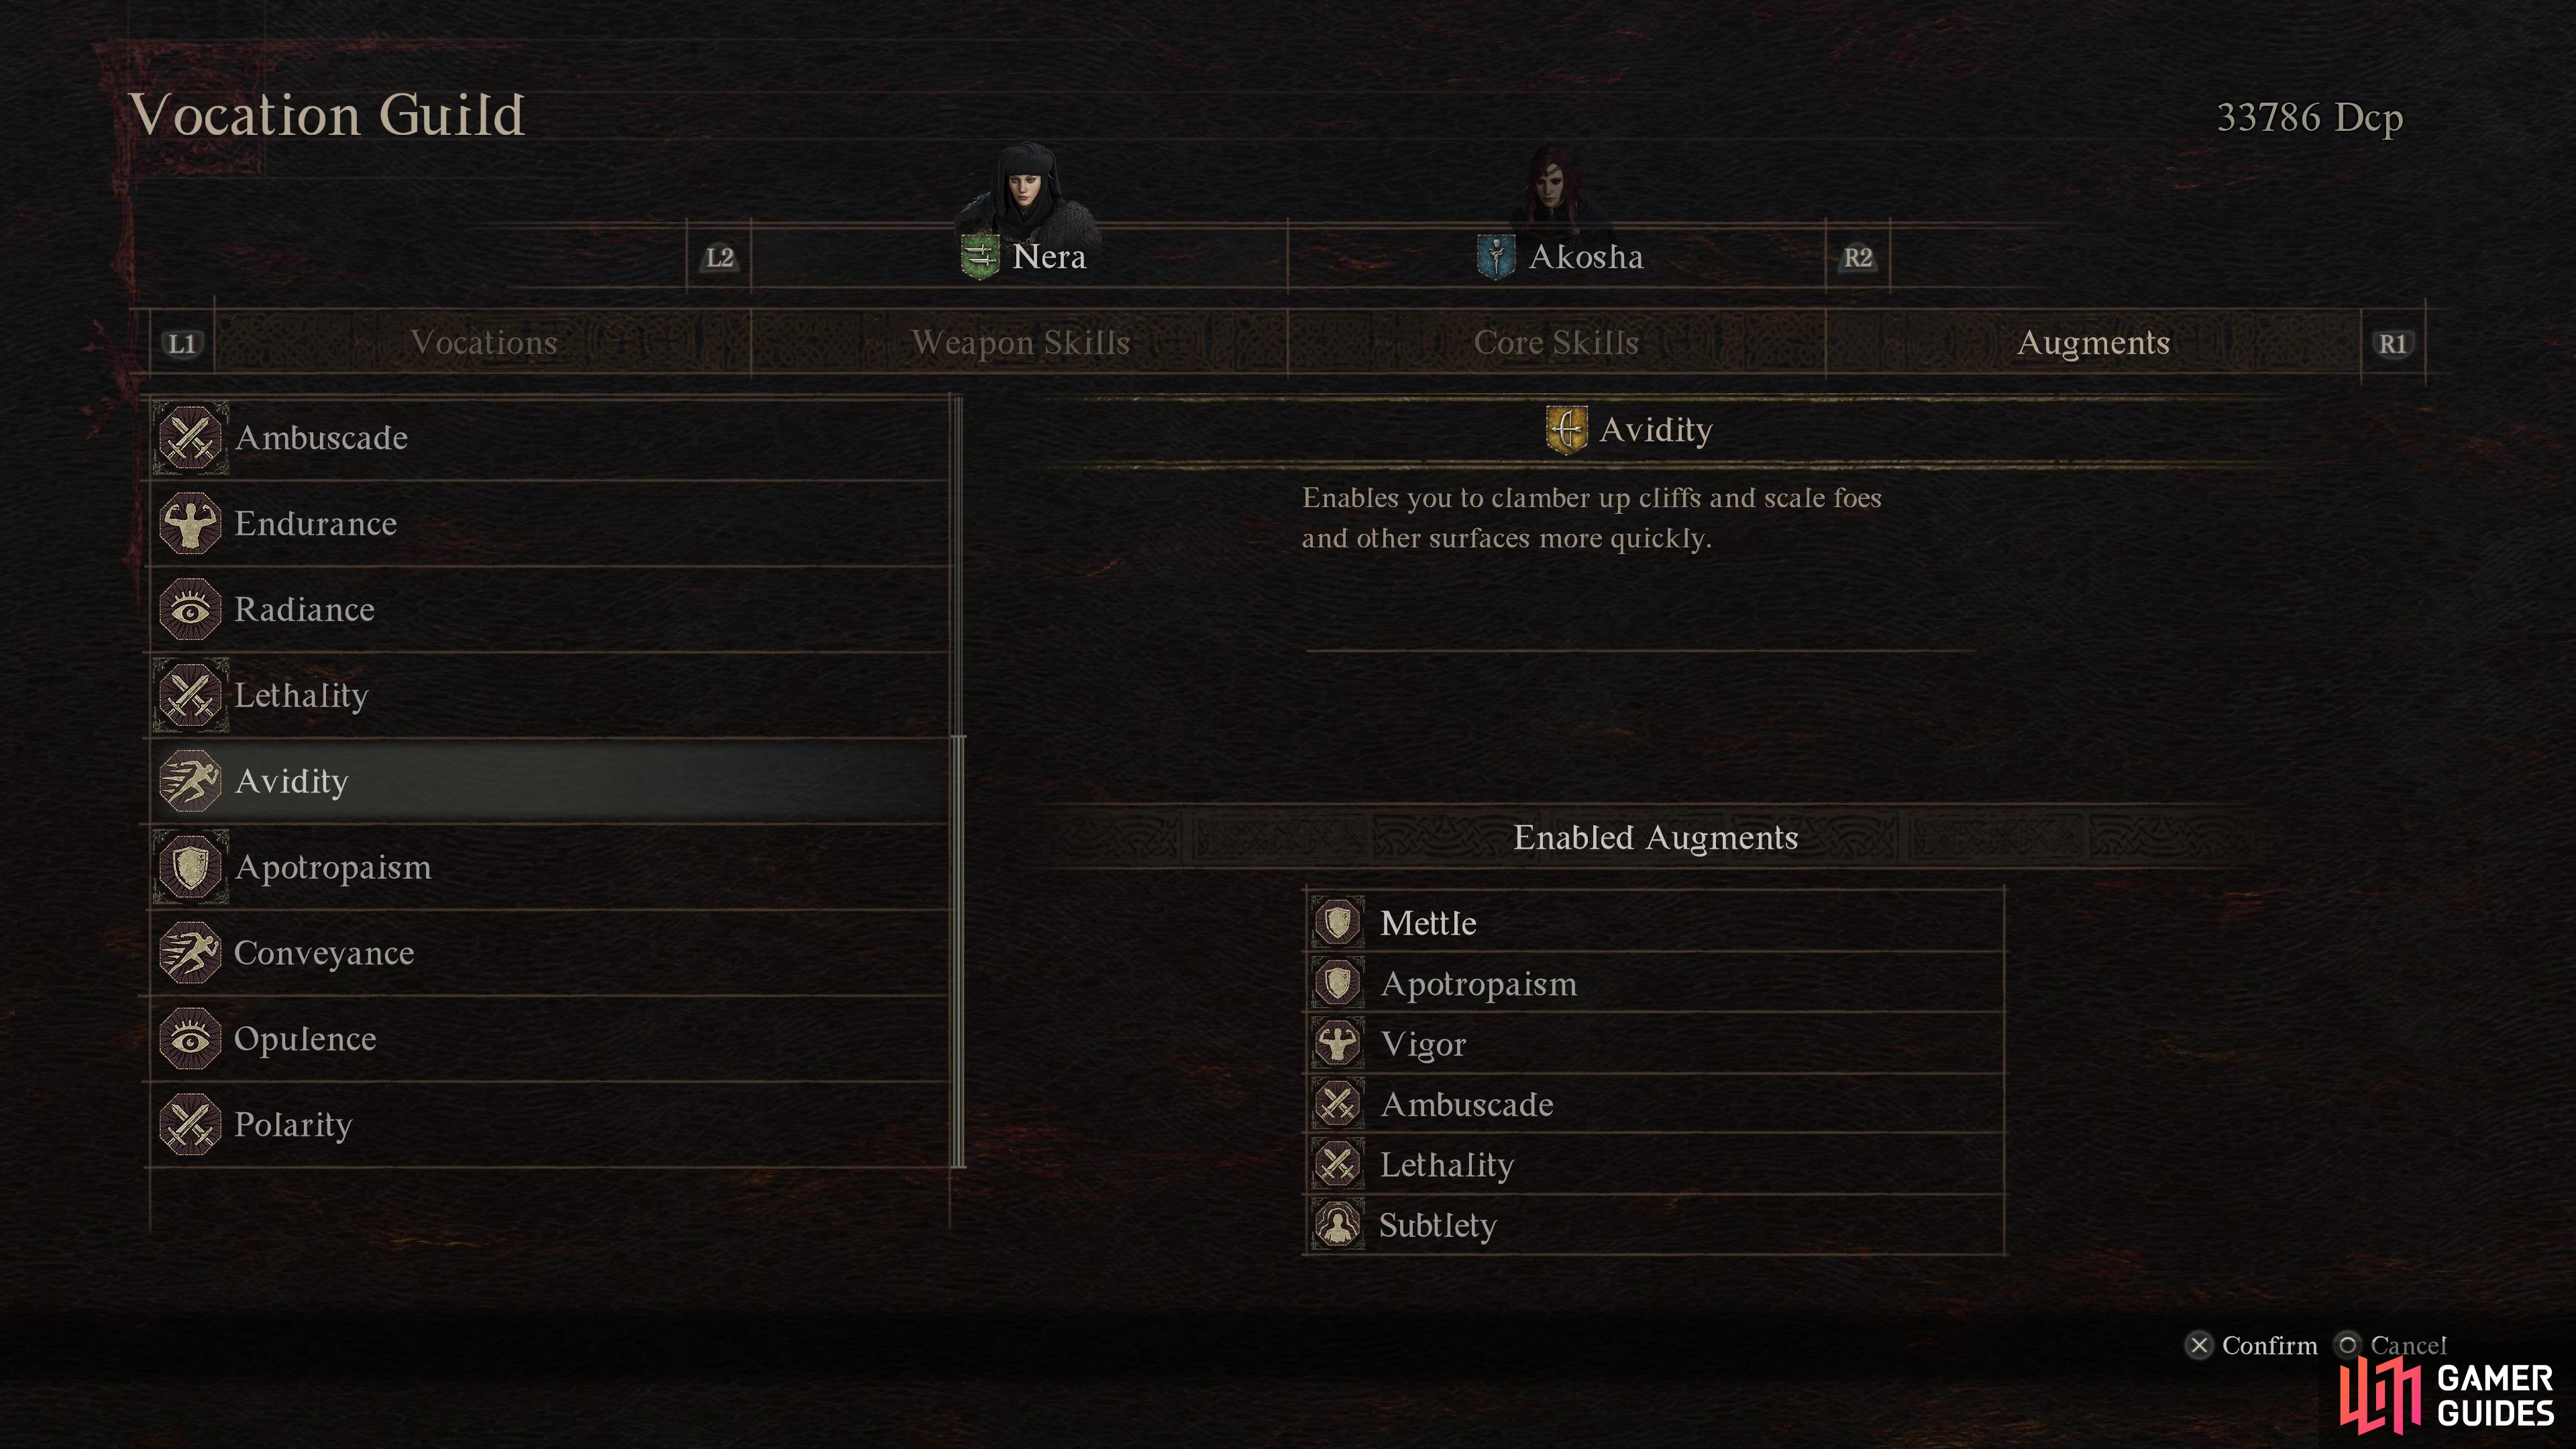
(1 of 2) You can change your vocation at a Vocation Guild. Unlocking new vocations costs Discipline.
You can change your vocation at a Vocation Guild. Unlocking new vocations costs Discipline. (left), Most things aren’t shared between vocations, but augments are a notable exception - it’s worth ranking up some vocations to unlock their augments. (right)
-
While most things aren’t shared between vocations, augments are an exception. Each vocation has a list of augments they can learn, but once unlocked they can be equipped even when you change vocation. Dipping into vocations you don’t necessarily care to play just to unlock their augments is a good idea.
-
Your current vocation influences your stat growth upon level up. Many levels seem to have a “theme’, i.e, some levels are going to give you a lot of Strength whether you’re a Sorcerer or a Warrior, but these numbers are always massaged by your current vocation so that over time a long-term Warrior will have more Strength and Health and less Magick and Magick Defense than a Sorcerer.
-
Buying new arms and armor will both make your character substantially more powerful, but this is, obviously, expensive. Sometimes it’s best to save up for the best new sword in town rather than buying every intermediary along the way. Even better, if you can brave the hazards of the road and make it to distant settlements like the
 Checkpoint Rest Town or
  Bakbattahl, you can skip many steps and save a lot of money.
 -
Some skills may require you to expend resources in order to use them, especially various Archer skills that consume special arrows. Keeping a stockpile of these arrows handy is necessary to maximize this vocation’s effectiveness.

 Sign up
No Comments