
The ![]() Sphinx is one of the best-kept secrets in
Sphinx is one of the best-kept secrets in ![]() Dragon’s Dogma 2, at least for those players who haven’t had it spoiled for them. You may stumble upon the Sphinx naturally while exploring Vermund, but if you’ve heard about it elsewhere and you just want to find out where it is, we’ll show you both locations on this page. The Sphinx offers a total of ten riddles, with the act of finding her second location counting as the sixth, since you’ll complete five riddles in her first location, then four in her second location. With that said, although it doesn’t technically count as a named riddle, if you want to unlock the final chest and obtain the
Dragon’s Dogma 2, at least for those players who haven’t had it spoiled for them. You may stumble upon the Sphinx naturally while exploring Vermund, but if you’ve heard about it elsewhere and you just want to find out where it is, we’ll show you both locations on this page. The Sphinx offers a total of ten riddles, with the act of finding her second location counting as the sixth, since you’ll complete five riddles in her first location, then four in her second location. With that said, although it doesn’t technically count as a named riddle, if you want to unlock the final chest and obtain the ![]() Eternal Wakestone, you need to kill the Sphinx in a very specific way. On this page, we’ll guide you through the solutions for all ten riddles, including how to kill the Sphinx to ensure that you unlock all rewards.
Eternal Wakestone, you need to kill the Sphinx in a very specific way. On this page, we’ll guide you through the solutions for all ten riddles, including how to kill the Sphinx to ensure that you unlock all rewards.
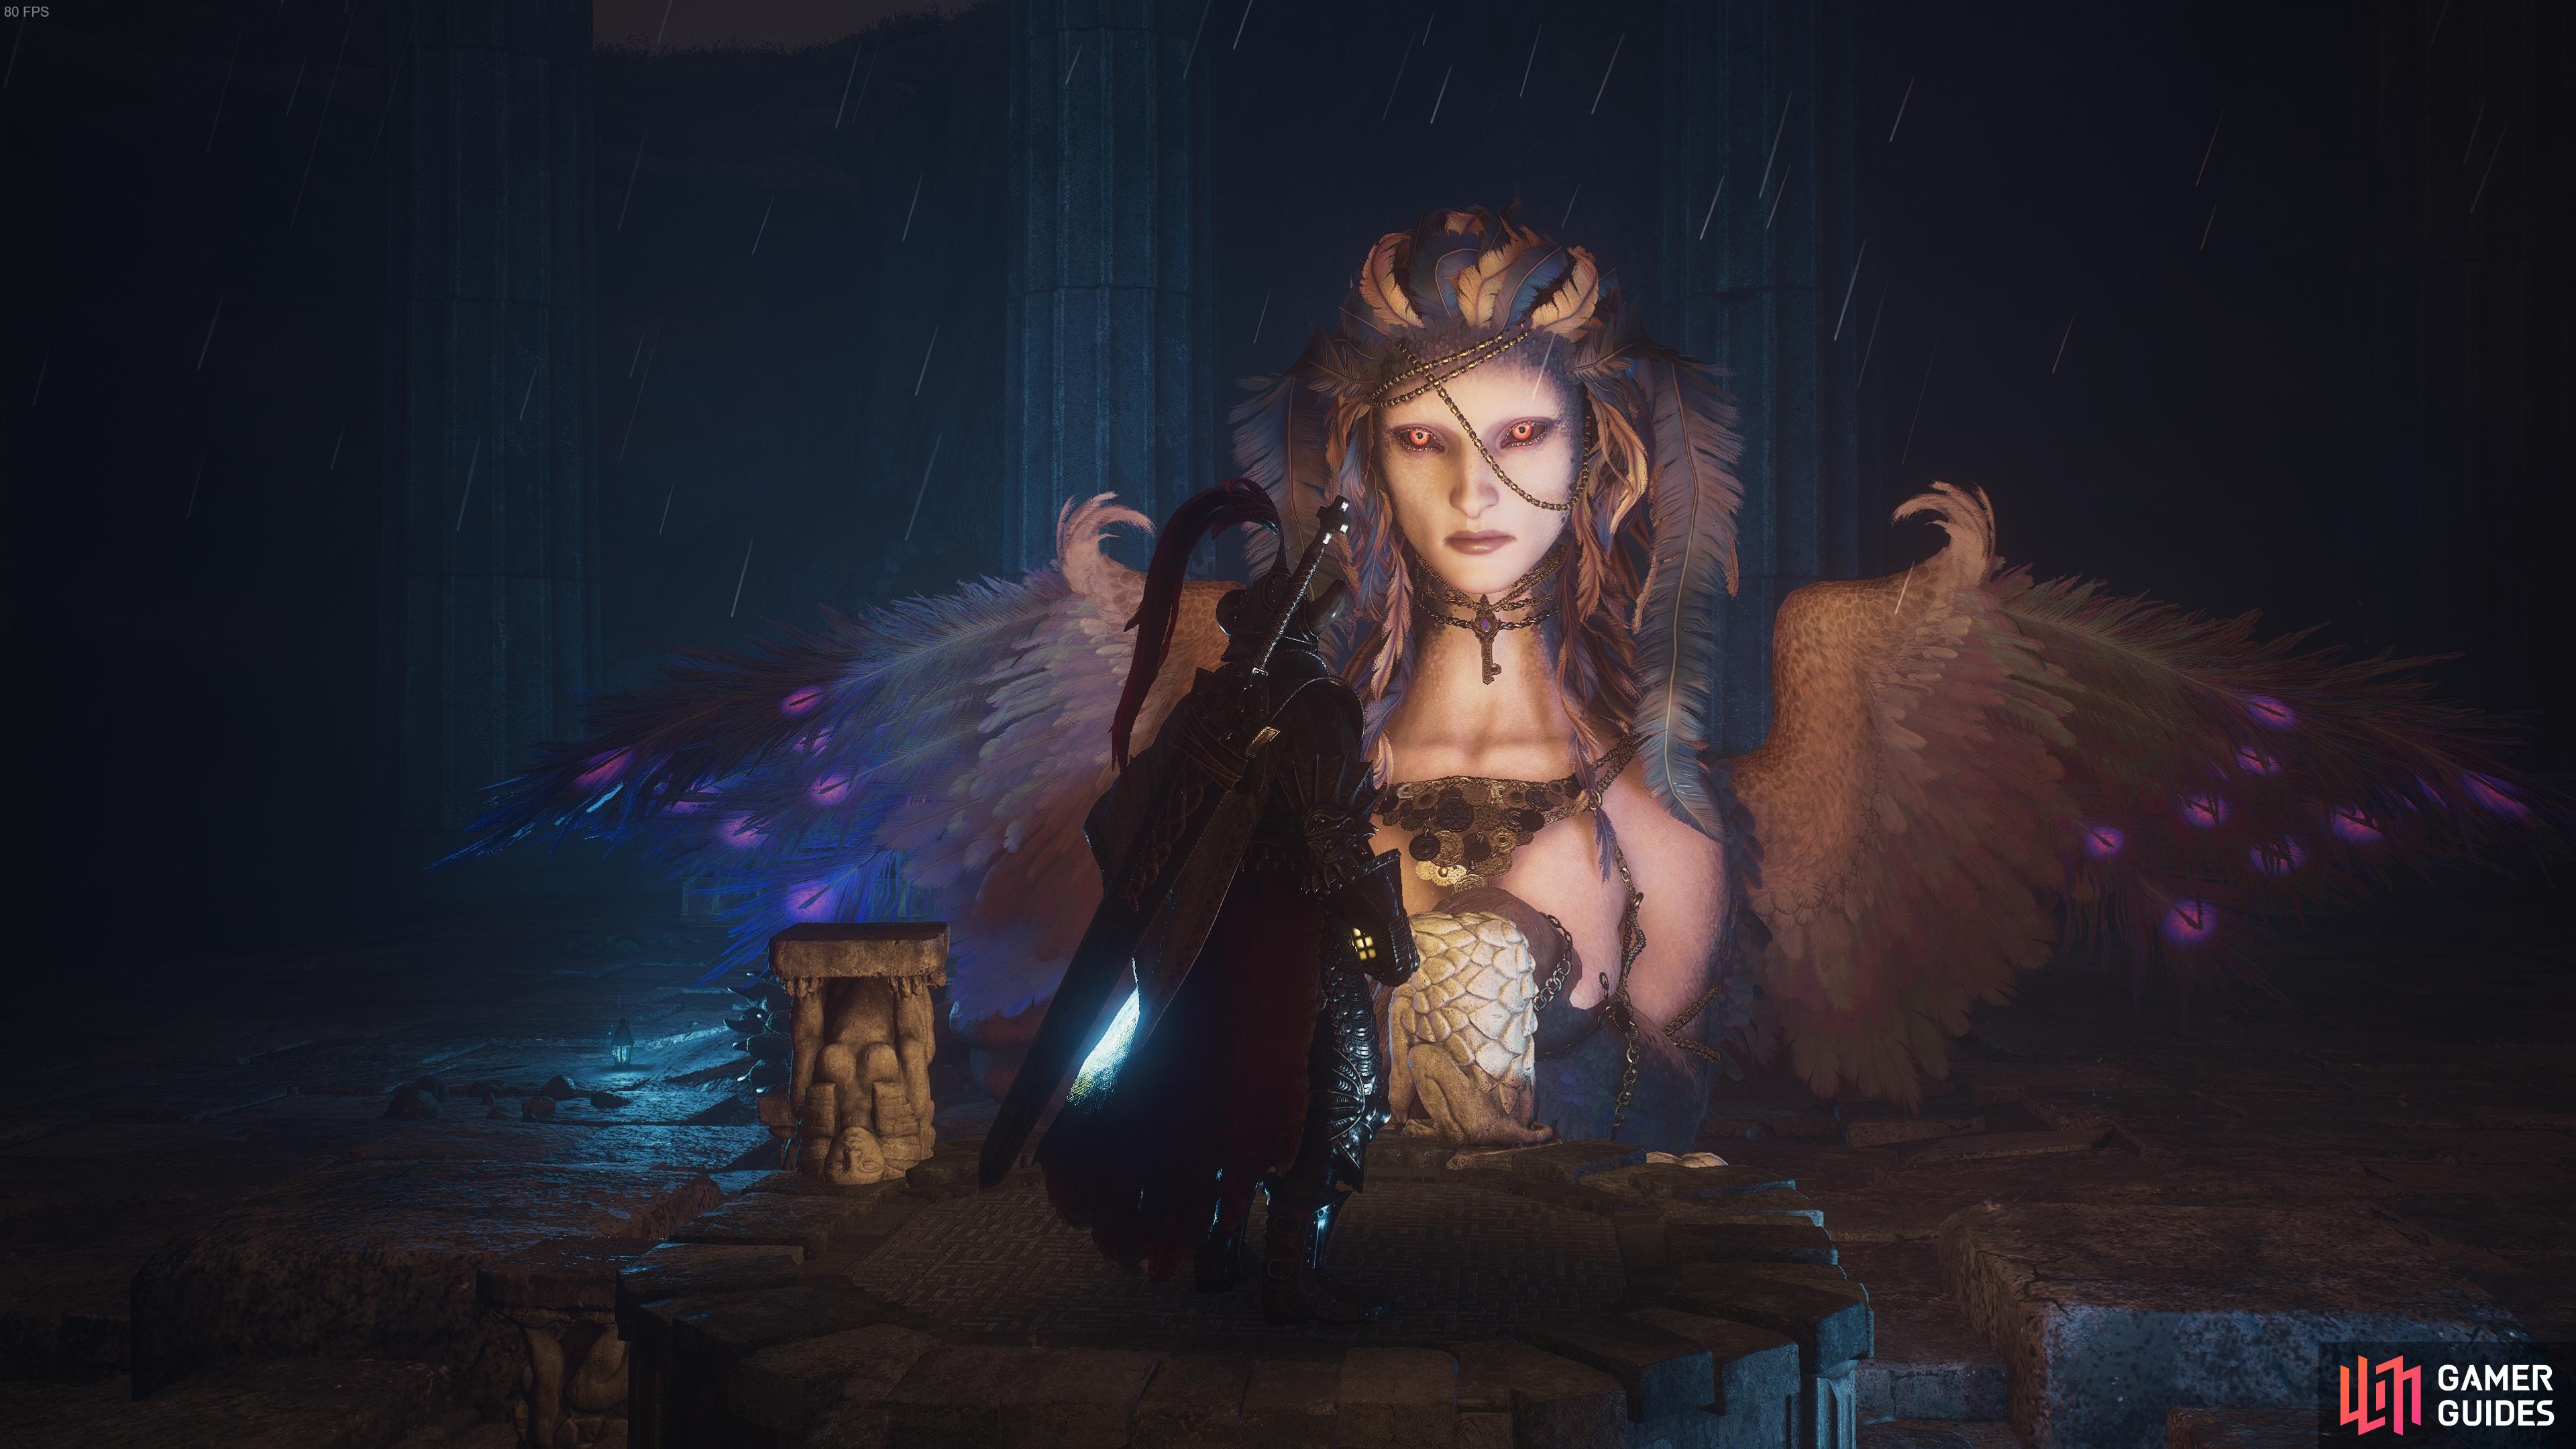
The Sphinx poses ten riddles that you’ll need to find solutions for in Dragon’s Dogma 2.
Sphinx Riddles Overview – Come Prepared!
The first five riddles that the Sphinx poses aren’t too difficult to complete once you know what to do, but you’ll need to come prepared if you want to avoid having to travel back and forth. In short, you’ll need the following things to complete the first set of riddles with as few trips as possible:
- A pawn with the “SphinxParent” moniker
- x1
 Portcrystal
The Portcrystal is actually more of an optional item that you’ll only need if you don’t intend to complete the first couple of riddles upon first meeting the Sphinx. This is because she’ll give you a Portcrystal as a reward for completing the Riddle of Madness, so if you’re willing to stay until you complete that riddle, you needn’t bring one of your own. The Portcrystal isn’t essential to complete the riddles, but it will massively speed things up since you can place it at the ![]() Mountain Shrine, then return to it using a
Mountain Shrine, then return to it using a ![]() Ferrystone whenever you need to come back. There’s at least one riddle that will require you to leave the Mountain Shrine to complete, so if you want to avoid making the trek multiple times, you should place a Portcrystal at the Mountain Shrine as soon as possible.
Ferrystone whenever you need to come back. There’s at least one riddle that will require you to leave the Mountain Shrine to complete, so if you want to avoid making the trek multiple times, you should place a Portcrystal at the Mountain Shrine as soon as possible.
A pawn with the “SphinxParent” moniker can be found at specific types of Riftstones, namely a ![]() Riftstone of Fellowship, one of which can be found northeast of Checkpoint Rest Town, and another at Harve Village. You’ll need to go to one of these and recruit a pawn with the SphinxParent moniker before you visit the Sphinx if you want to save some time. Some Riftstones, such as the large one in central
Riftstone of Fellowship, one of which can be found northeast of Checkpoint Rest Town, and another at Harve Village. You’ll need to go to one of these and recruit a pawn with the SphinxParent moniker before you visit the Sphinx if you want to save some time. Some Riftstones, such as the large one in central ![]() Vernworth, can be used to access Linked Riftstones that allow you to attune the Riftstone to a particular type, so long as you’ve found one of that type already in the wilderness. You can check for a SphinxParent pawn at one of these if you’re not close to
Vernworth, can be used to access Linked Riftstones that allow you to attune the Riftstone to a particular type, so long as you’ve found one of that type already in the wilderness. You can check for a SphinxParent pawn at one of these if you’re not close to ![]() Checkpoint Rest Town or
Checkpoint Rest Town or ![]() Harve Village.
Harve Village.
If you want to jump to a specific riddle solution on this page, click the links in the table below.
First Sphinx Location – Mountain Shrine, Vermund
To start the quest associated with the Sphinx - ![]() A Game of Wits - you first need to find her at the Mountain Shrine in northern Vermund, northwest of the Misty Marshes. You can see the exact location on our map here, but it’s not so easy to reach without going through the
A Game of Wits - you first need to find her at the Mountain Shrine in northern Vermund, northwest of the Misty Marshes. You can see the exact location on our map here, but it’s not so easy to reach without going through the ![]() Ancient Battleground area first. You can reach this easily enough by taking the roads northeast of Checkpoint Rest Town, or you can take the path from the Misty Marshes by following the main road on its western side, then go through the
Ancient Battleground area first. You can reach this easily enough by taking the roads northeast of Checkpoint Rest Town, or you can take the path from the Misty Marshes by following the main road on its western side, then go through the ![]() Rock Wall Berme cave to emerge on the other side, not far from the Ancient Battleground site.
Rock Wall Berme cave to emerge on the other side, not far from the Ancient Battleground site.
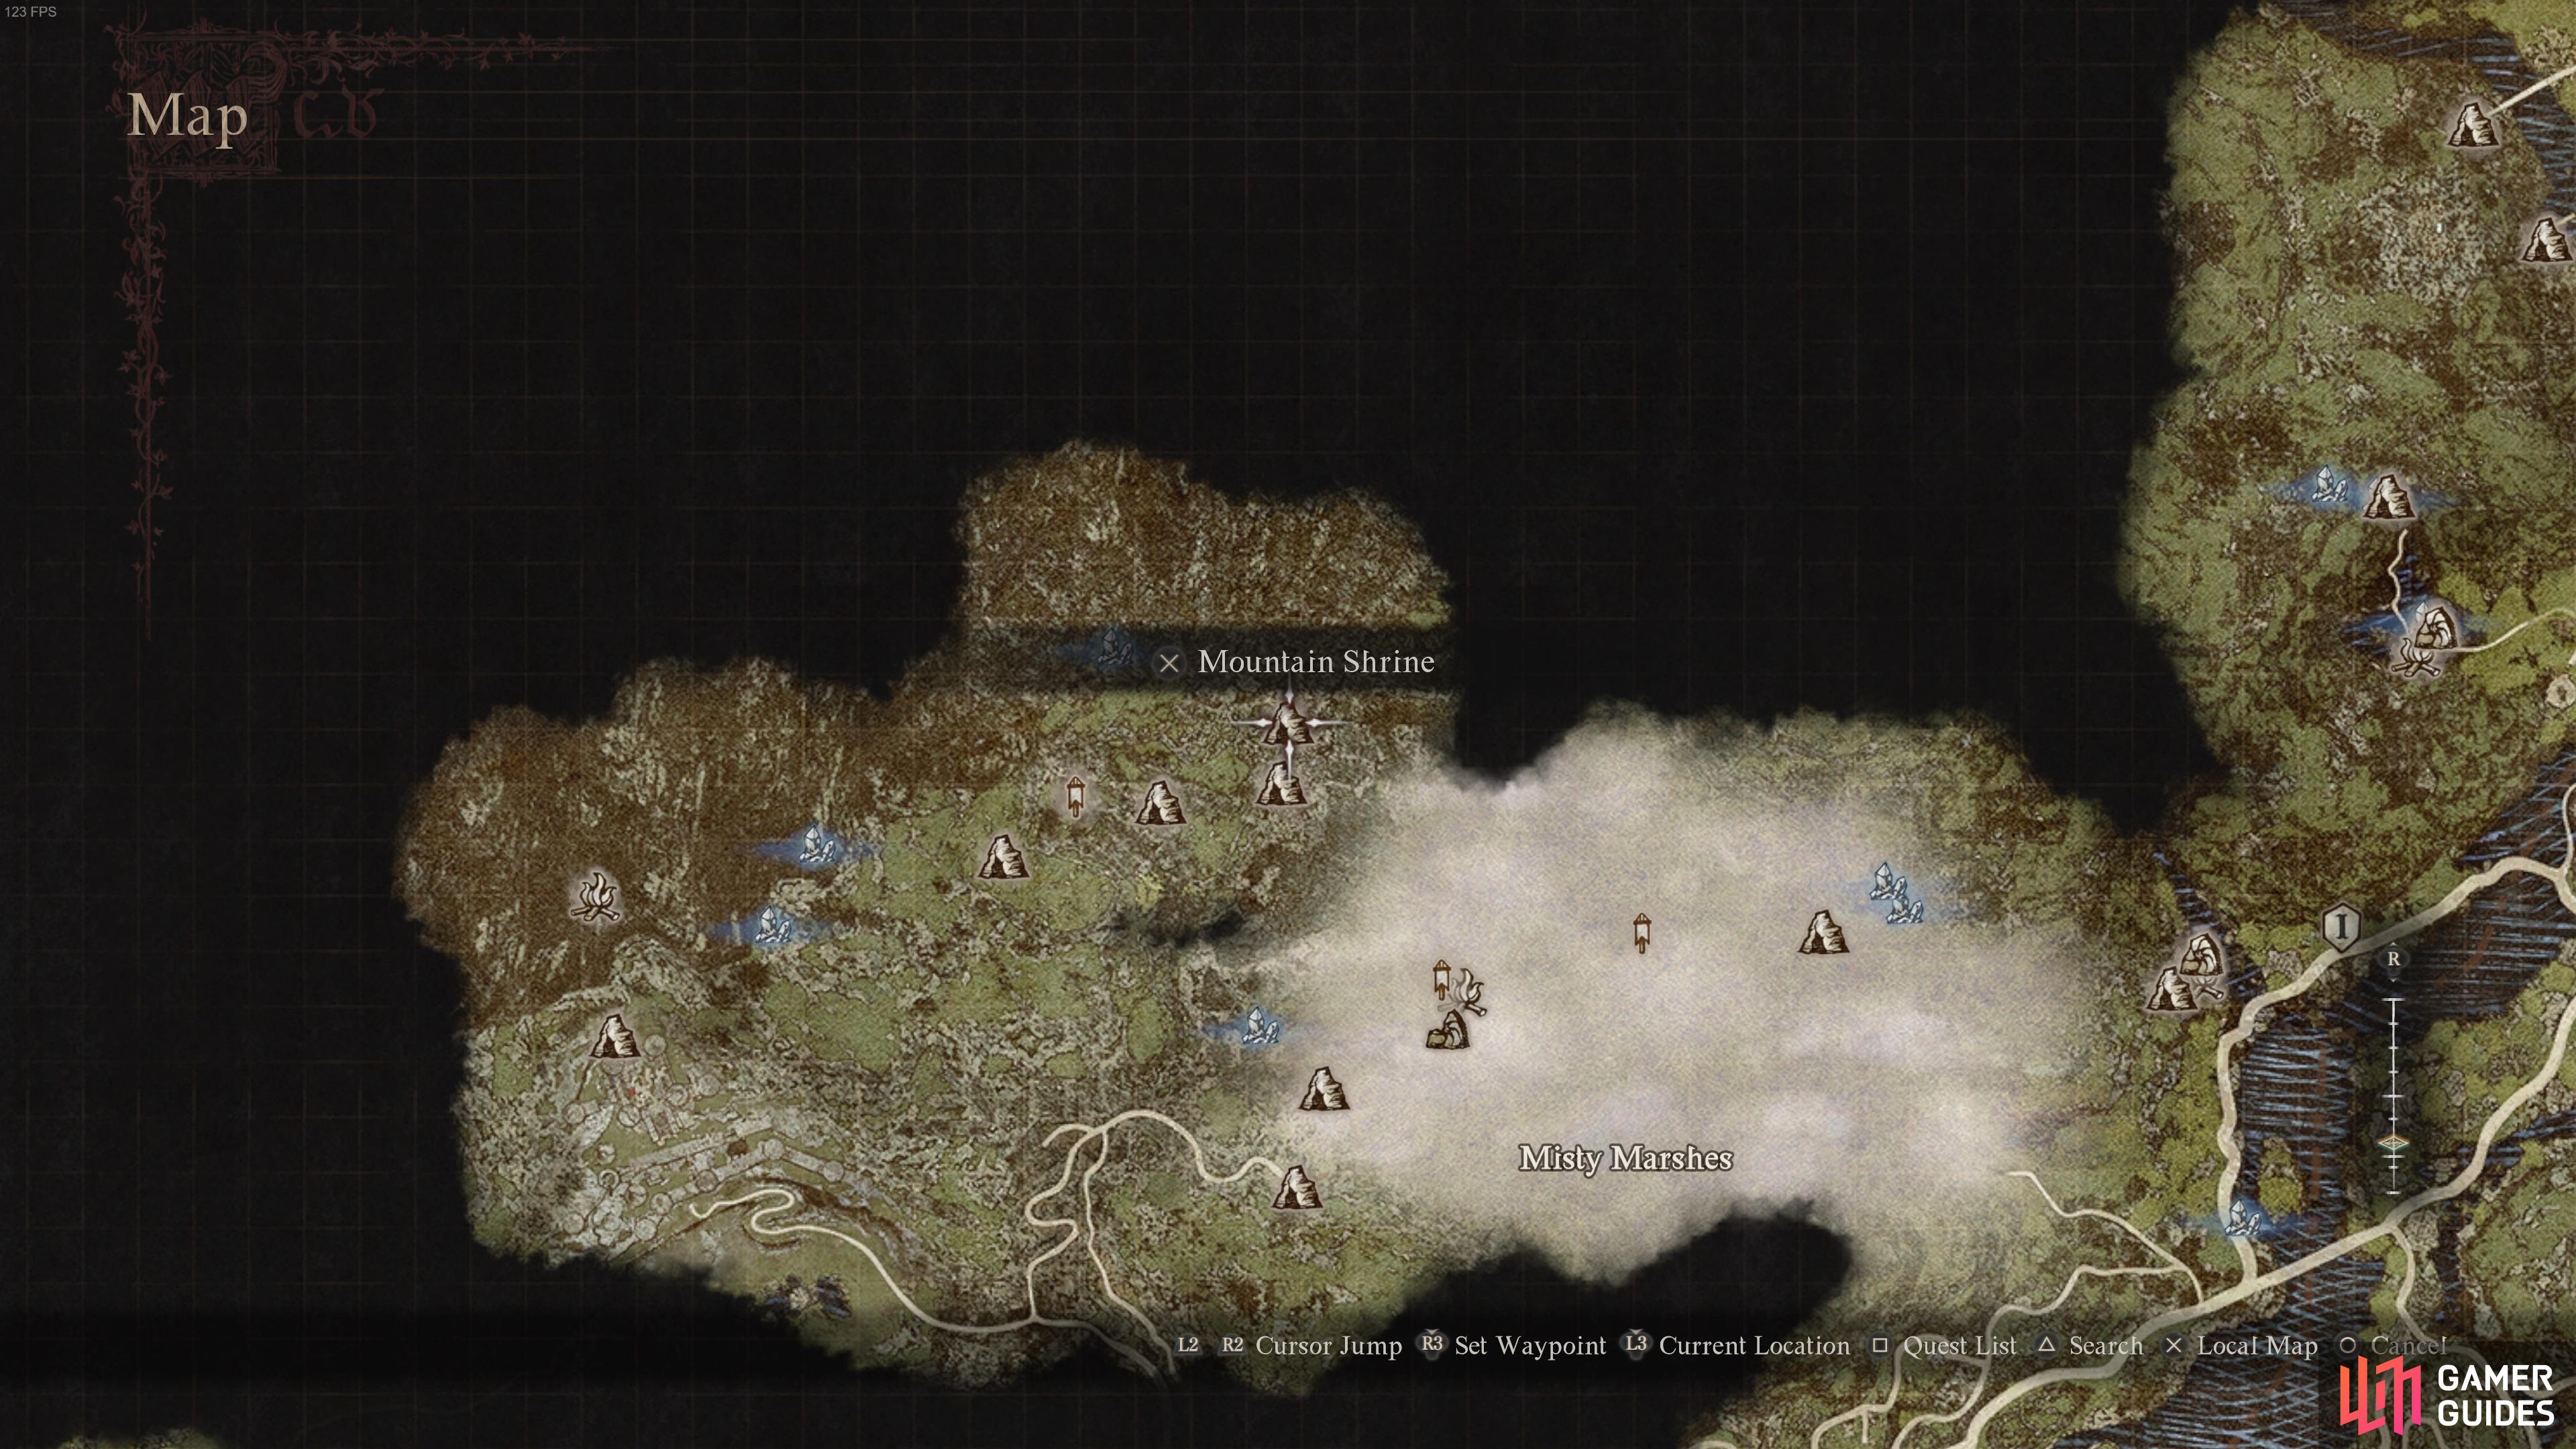
The Mountain Shrine can be found to the northwest of the Misty Marshes in Vermund.
Ancient Battleground and Worldsend Cavern Exploration
The path through the Ancient Battleground is fairly linear, so you can explore it thoroughly to ensure that you loot everything it has to offer, including a ![]() Makeshift Vault Key which you can use to open the basement beneath the kitchens at
Makeshift Vault Key which you can use to open the basement beneath the kitchens at ![]() Vernworth Castle, leading to a secret storeroom with some valuable loot, including a
Vernworth Castle, leading to a secret storeroom with some valuable loot, including a ![]() Ring of Reassurance,
Ring of Reassurance, ![]() Daughter of the Evening shield, and
Daughter of the Evening shield, and ![]() Wyrmhunter’s Cloak.
Wyrmhunter’s Cloak.
Once you’ve explored everything here, go to the northernmost point of the crumbling keep on the Ancient Battleground site to find the entrance to Worldsend Cavern. All you need to do from here is follow the path through the Ancient Ruins, then on to the Shrine Corridor and eventually the Mountain Shrine, where the Sphinx can be found. It’s possible to avoid the Ancient Battleground altogether by climbing the hills northwest from the Misty Marshes if you choose to take that route, but you’ll miss out on the significant rewards that you can gain from exploring the Ancient Battleground this way, including the valuable loot in the Vernworth kitchen basement.
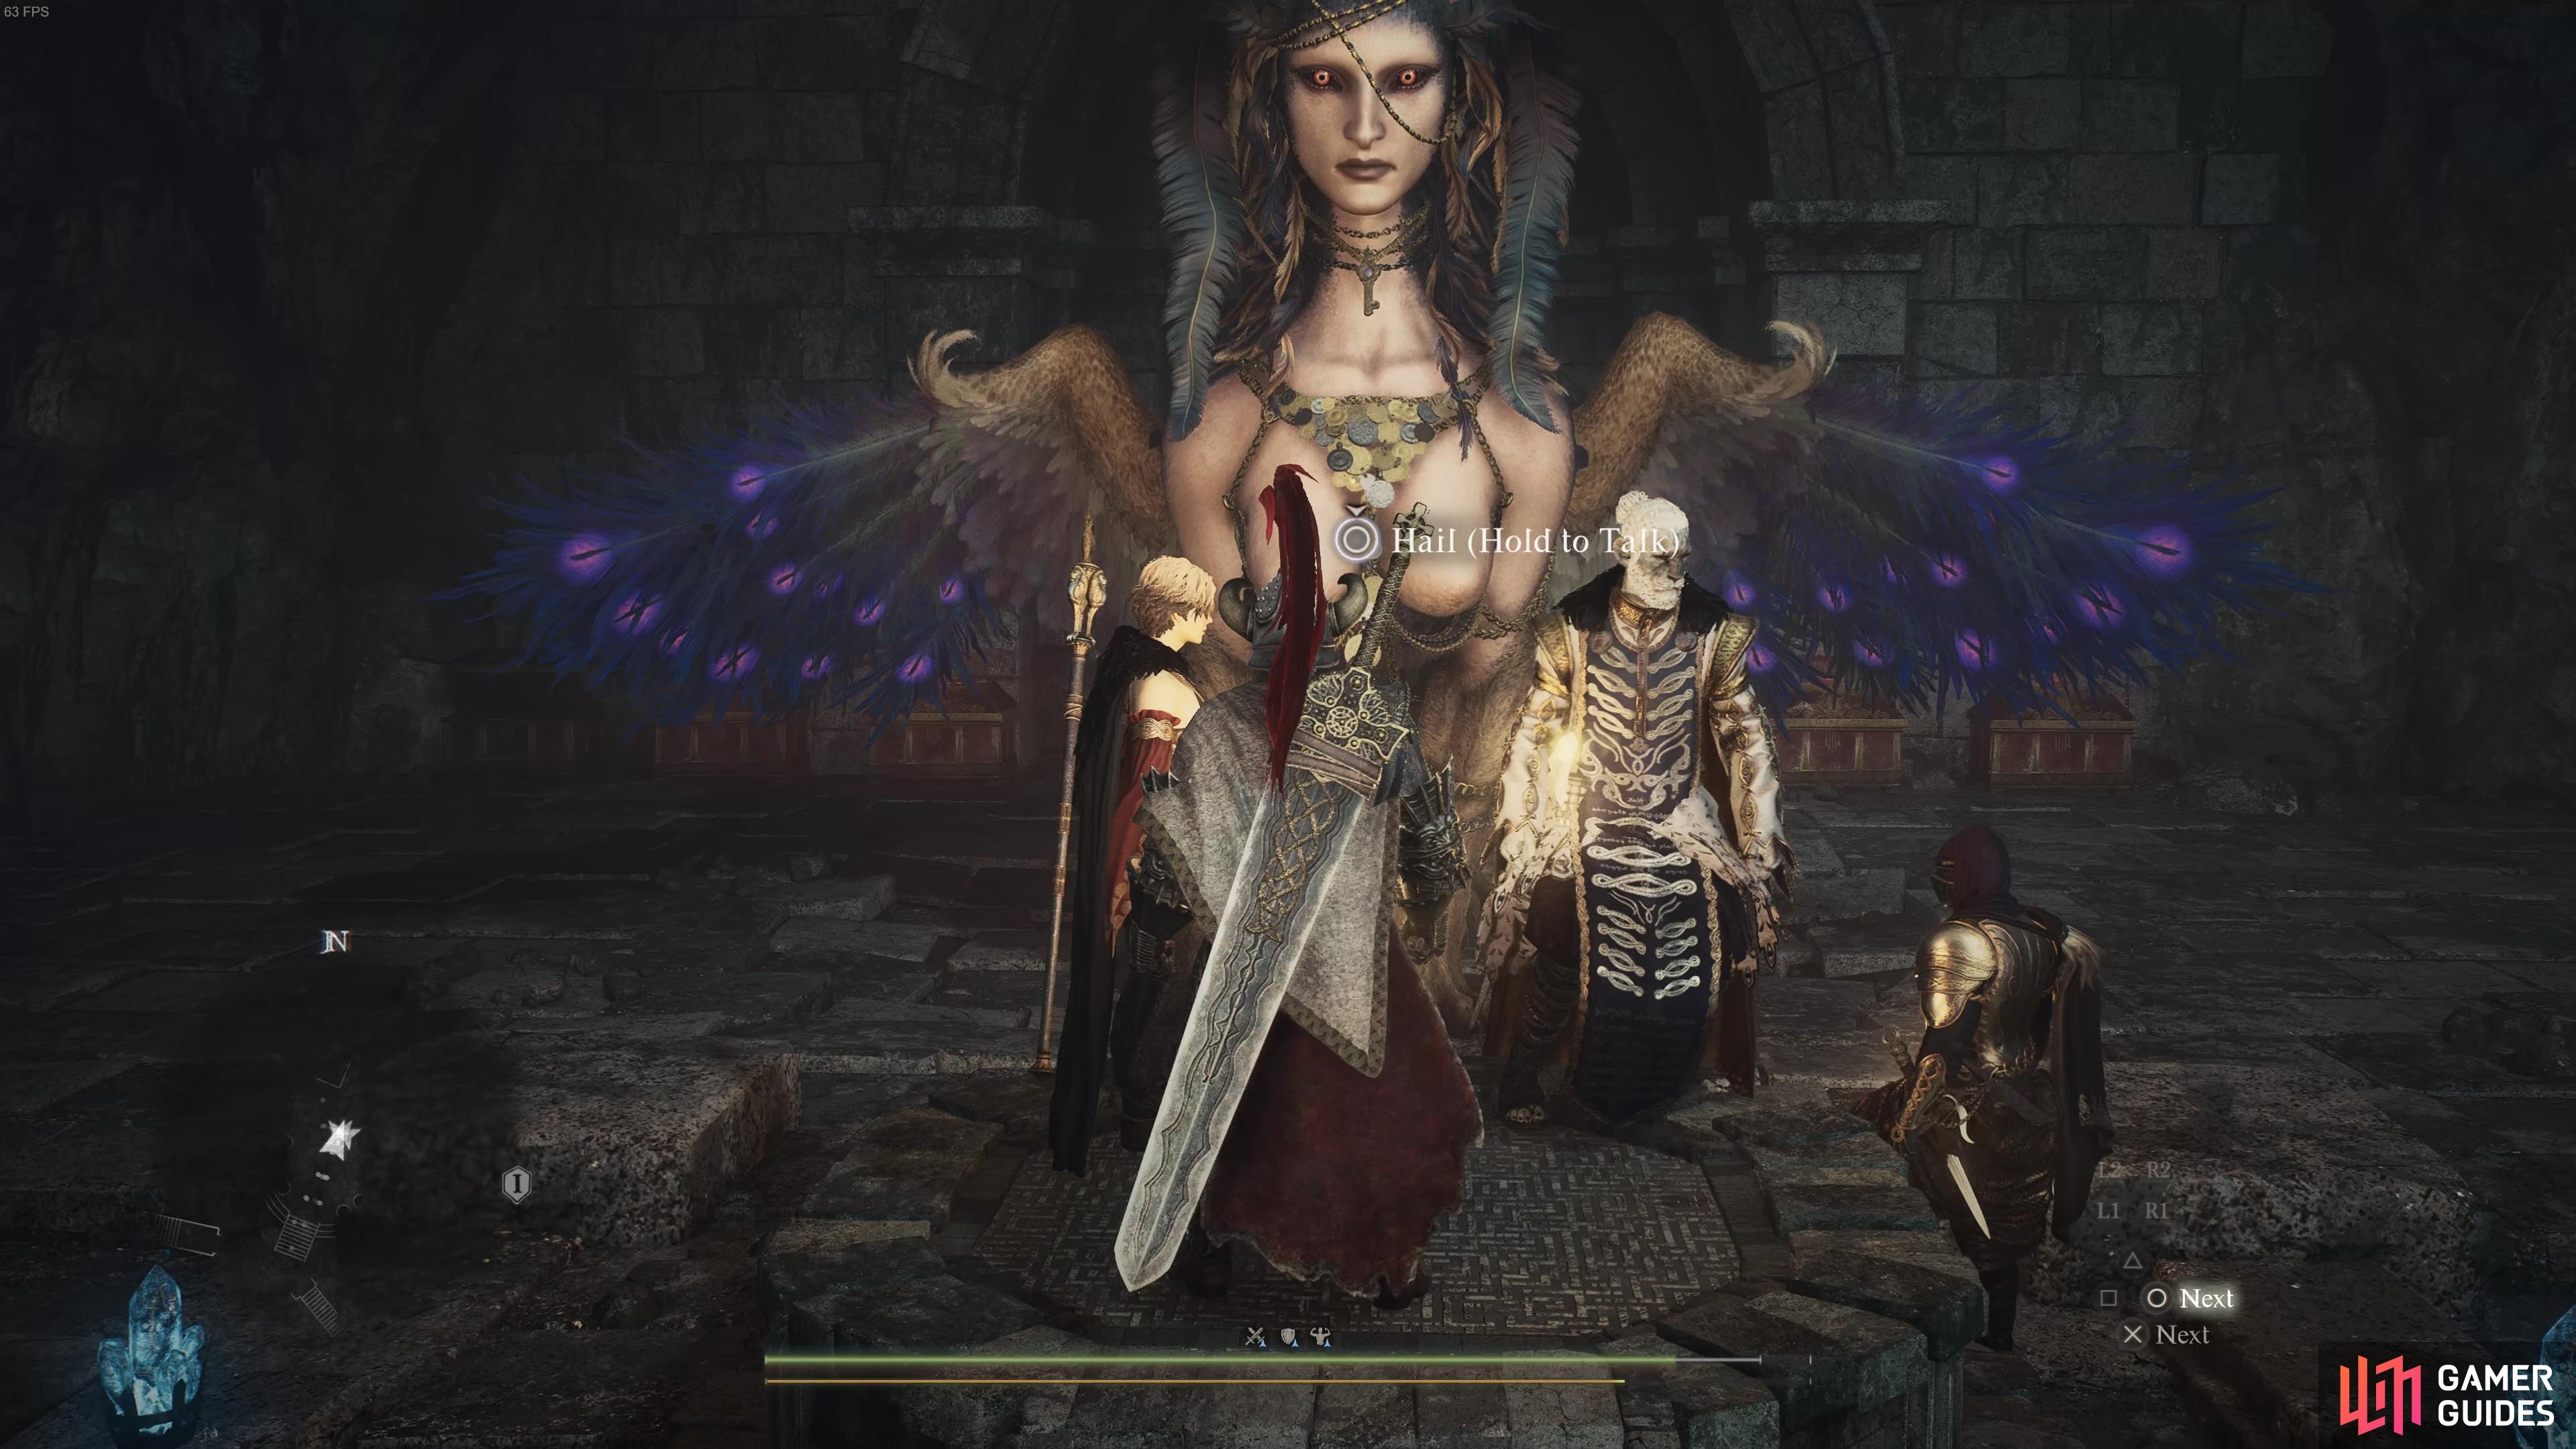
When you first encounter the Sphinx at the Mountain Shrine, you’ll need to interact with her by standing on the pedestal in front of her to begin the riddles. If you want to see this quest through and complete all the riddles, you should never attack the Sphinx while you’re attempting to solve them and don’t try to open the locked chests until you’ve solved the associated riddle. If a chest can be opened, the pink eye on it will be absent.
First Set of Sphinx Riddle Answers
Now that you know where to find the Sphinx at her first location, we’ll go through each of the five riddles that can be solved here. Make sure that you’ve read the above information so that you’ve come prepared with at least a ![]() Golden Trove Beetle and a pawn with the SphinxParent moniker!
Golden Trove Beetle and a pawn with the SphinxParent moniker!
Riddle of Eyes Solution
The Riddle of Eyes is as follows:
“Our eyes are our allies, yet oft do they betray, for eyes tell lies, so I advise, and thence do lead astray. Yet, how will your eyes advise you? Venture through yonder door, and retrieve that which is of greatest value.”
This first riddle sets the tone of the others, beckoning you to explore the cave through the door that the Sphinx indicates, just to the right down the steps from where you came up to meet her. The cave is filled with goblins and hobgoblins, and a few chests with loot, but the final chest contains only a ![]() Rotten Apple. You might think that this is the item you need to give to the Sphinx, but it’s not so poetically complicated as that. Instead, you can find the item that you need - a
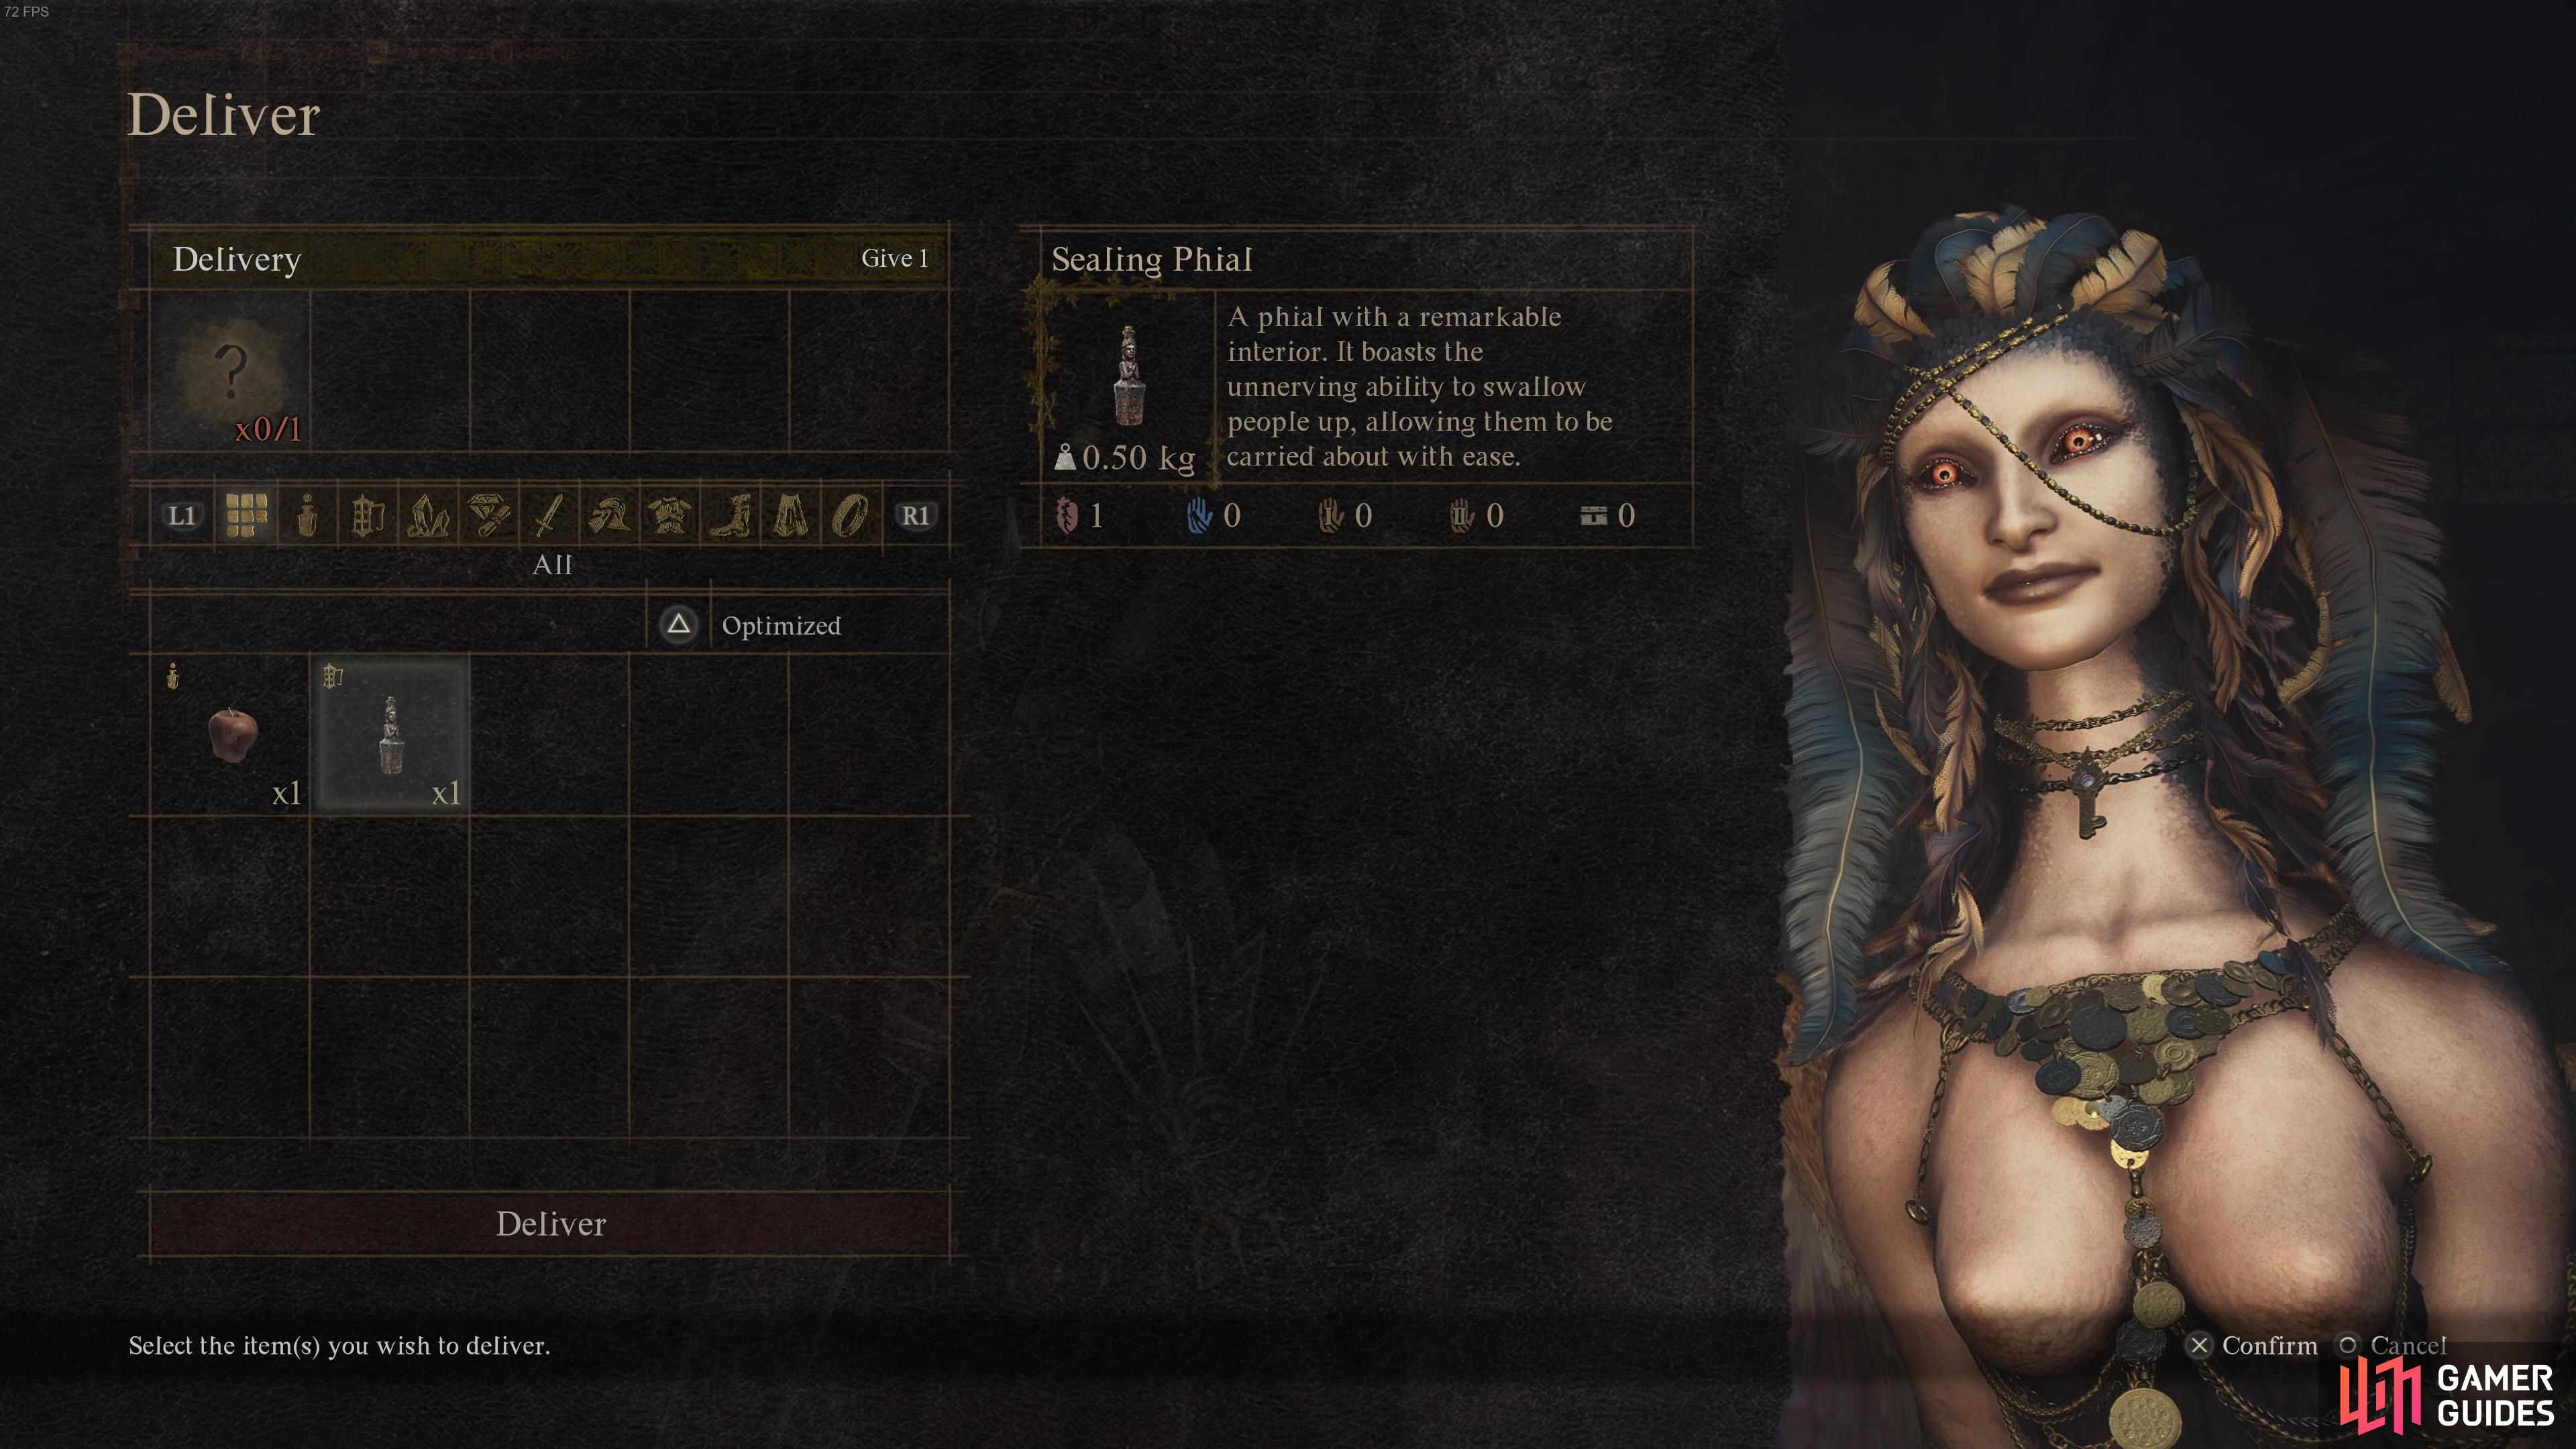
Rotten Apple. You might think that this is the item you need to give to the Sphinx, but it’s not so poetically complicated as that. Instead, you can find the item that you need - a ![]() Sealing Phial - in a chest located just above the entrance to the cave as you walk in.
Sealing Phial - in a chest located just above the entrance to the cave as you walk in.
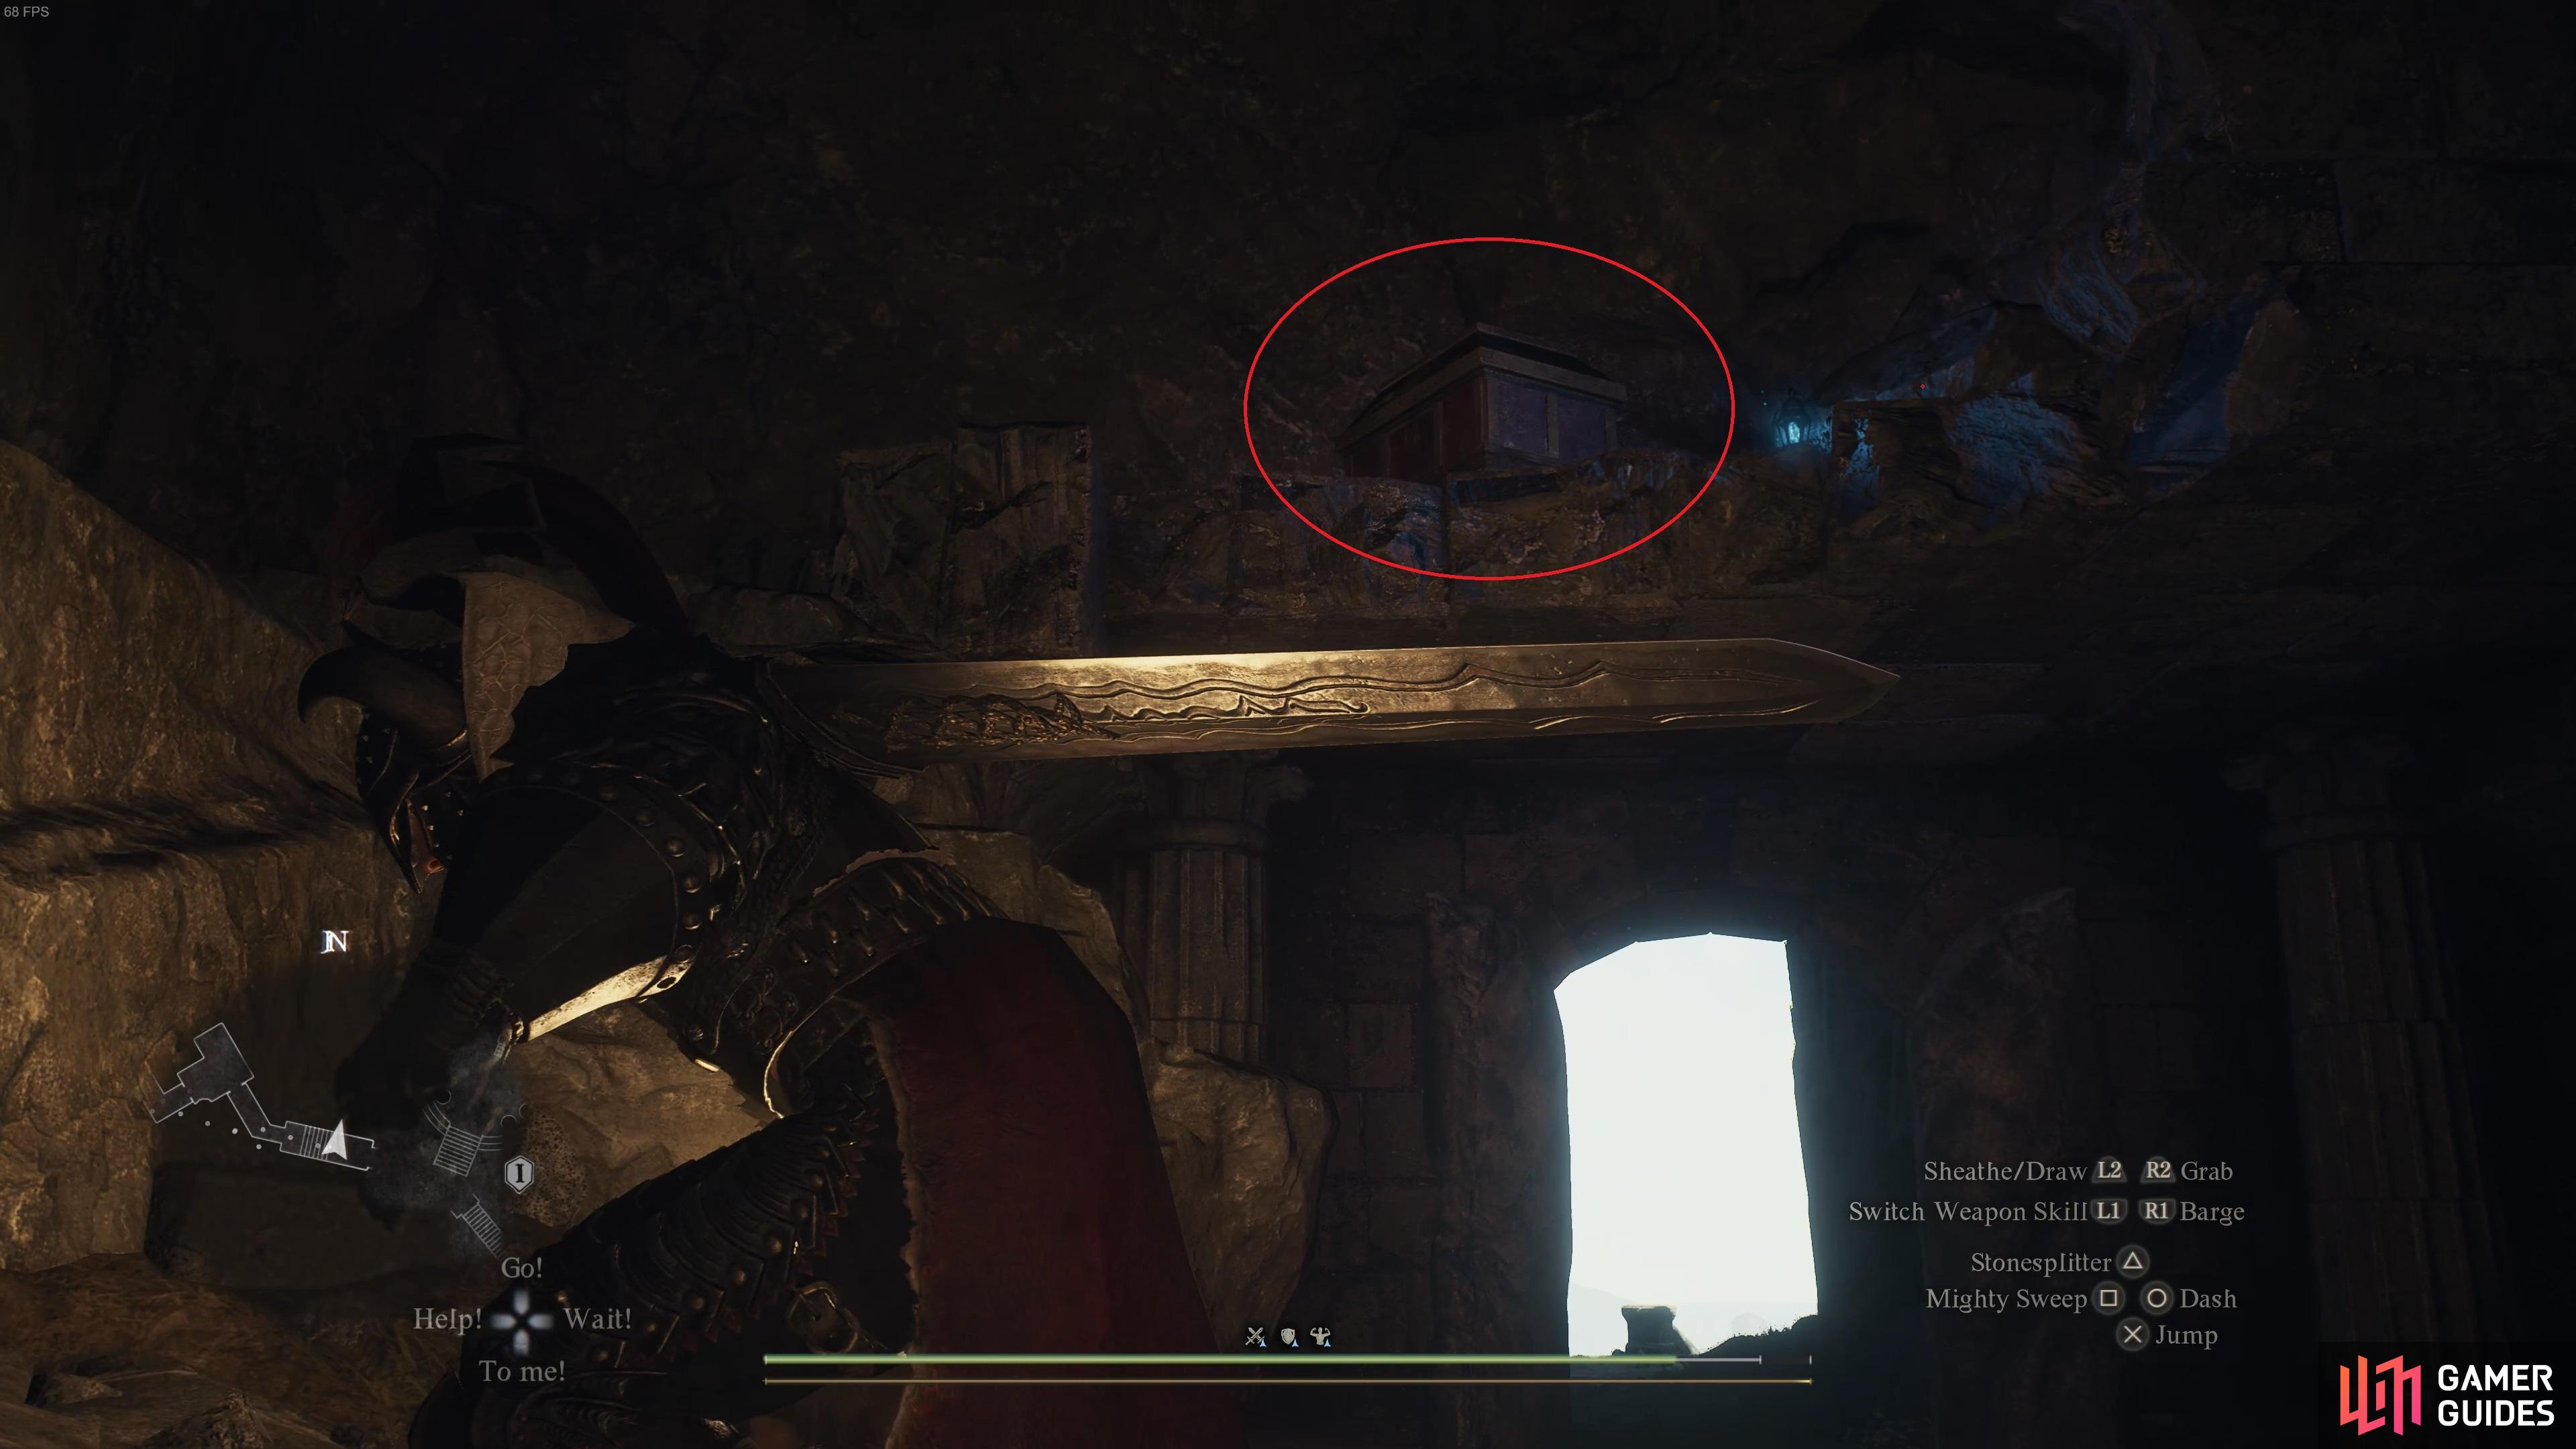
(1 of 2) You can find the chest containing the Sealing Phial just above the entrance to the cave, through the stone door.
You can find the chest containing the Sealing Phial just above the entrance to the cave, through the stone door. (left), Make sure you give the Sphinx the Sealing Phial, and not the Rotten Apple! (right)
Once you give the Sealing Phial to the Sphinx, the Riddle of Eyes will be complete, and you can loot a ![]() Wakestone as your reward from the now accessible chest behind the Sphinx.
Wakestone as your reward from the now accessible chest behind the Sphinx.
Riddle of Madness Solution
The Riddle of Madness is as follows:
“Love is as twin to madness, they say. they are bound fast, as night is to day. So bring forth your most beloved to me, that I might gauge the depth of your insanity.”
Who Is Your Most Beloved?
This is where the riddles start to get a bit trickier if you don’t know how the mechanics of presenting things to the Sphinx work. In truth, the Riddle of Madness is one of the easiest to complete, so long as you have all three of your pawns with you at the time, and so long as you haven’t already romanced a character, such as Ulrika. If you have romanced a character before meeting the Sphinx, you’ll need to bring them before the Sphinx by placing them on the pedestal, then interacting with the Sphinx and selecting “Answer” while they’re on the pedestal.
Romanced NPCs
This is where the Portcrystal mentioned earlier can be useful, since if you’ve already romanced Ulrika, for example, you’ll need to find her in Harve Village, and then bring her to the Sphinx pedestal. To do this easily without having to carry her, you can absorb her using the Sealing Phial, or better yet, you can pick her up so that you’re carrying her on your shoulder, then use a Ferrystone to travel to the Portcrystal that you’ve placed at the Mountain Shrine. Don’t worry; she’ll be as safe as you are when traveling in this way.
Beloved Pawns
If you haven’t yet romanced an NPC such as Ulrika, you can actually just pick up and carry each of the pawns in your party to the pedestal, then speak with the Sphinx and select “Answer” while they’re on the pedestal. This may just work with your main pawn, but it’s best to place all three on the pedestal just to be safe since that’s what worked for us.
(1 of 2) You can pick up your pawns (or romanced character) and place them on the pedestal before answering.
You can pick up your pawns (or romanced character) and place them on the pedestal before answering. (left), It doesn’t matter if not all pawns are on the pedestal, so long as they’re nearby, but keep your main pawn there to be safe. (right)
If you were unfortunate enough not to bring a Portcrystal to the Mountain Shrine, and you had already romanced a character such as Ulrika, you’ll know the pain of having to trek back to the shrine while carrying them (whether on your shoulder or via the Sealing Phial). However, you’ll be glad to know that you won’t have to endure such pain again, since you’ll get a Portcrystal as the reward from the chest for completing this riddle. You can now place this at the Mountain Shrine, ready to return to when needed.
Riddle of Wisdom Solution
The Riddle of Wisdom is as follows:
“The parent knows the child, yet the reverse is far from true. The child knows not the parent: such is the parent’s due. I am a lost child; for kinship do I yearn. So bring to me my “Parent”, that I might better learn.”
This is where the pawn with a SphinxParent moniker comes into play, as mentioned in the preparation notes above. As a brief reminder, if you haven’t come prepared with a SphinxParent pawn already in your party, you need to go to a Riftstone of Fellowship to find one, recruit them, then travel back to the Mountain Shrine, pick them up, and place them on the pedestal in front of the Sphinx. You can then answer the riddle while the appropriate pawn is on the pedestal.
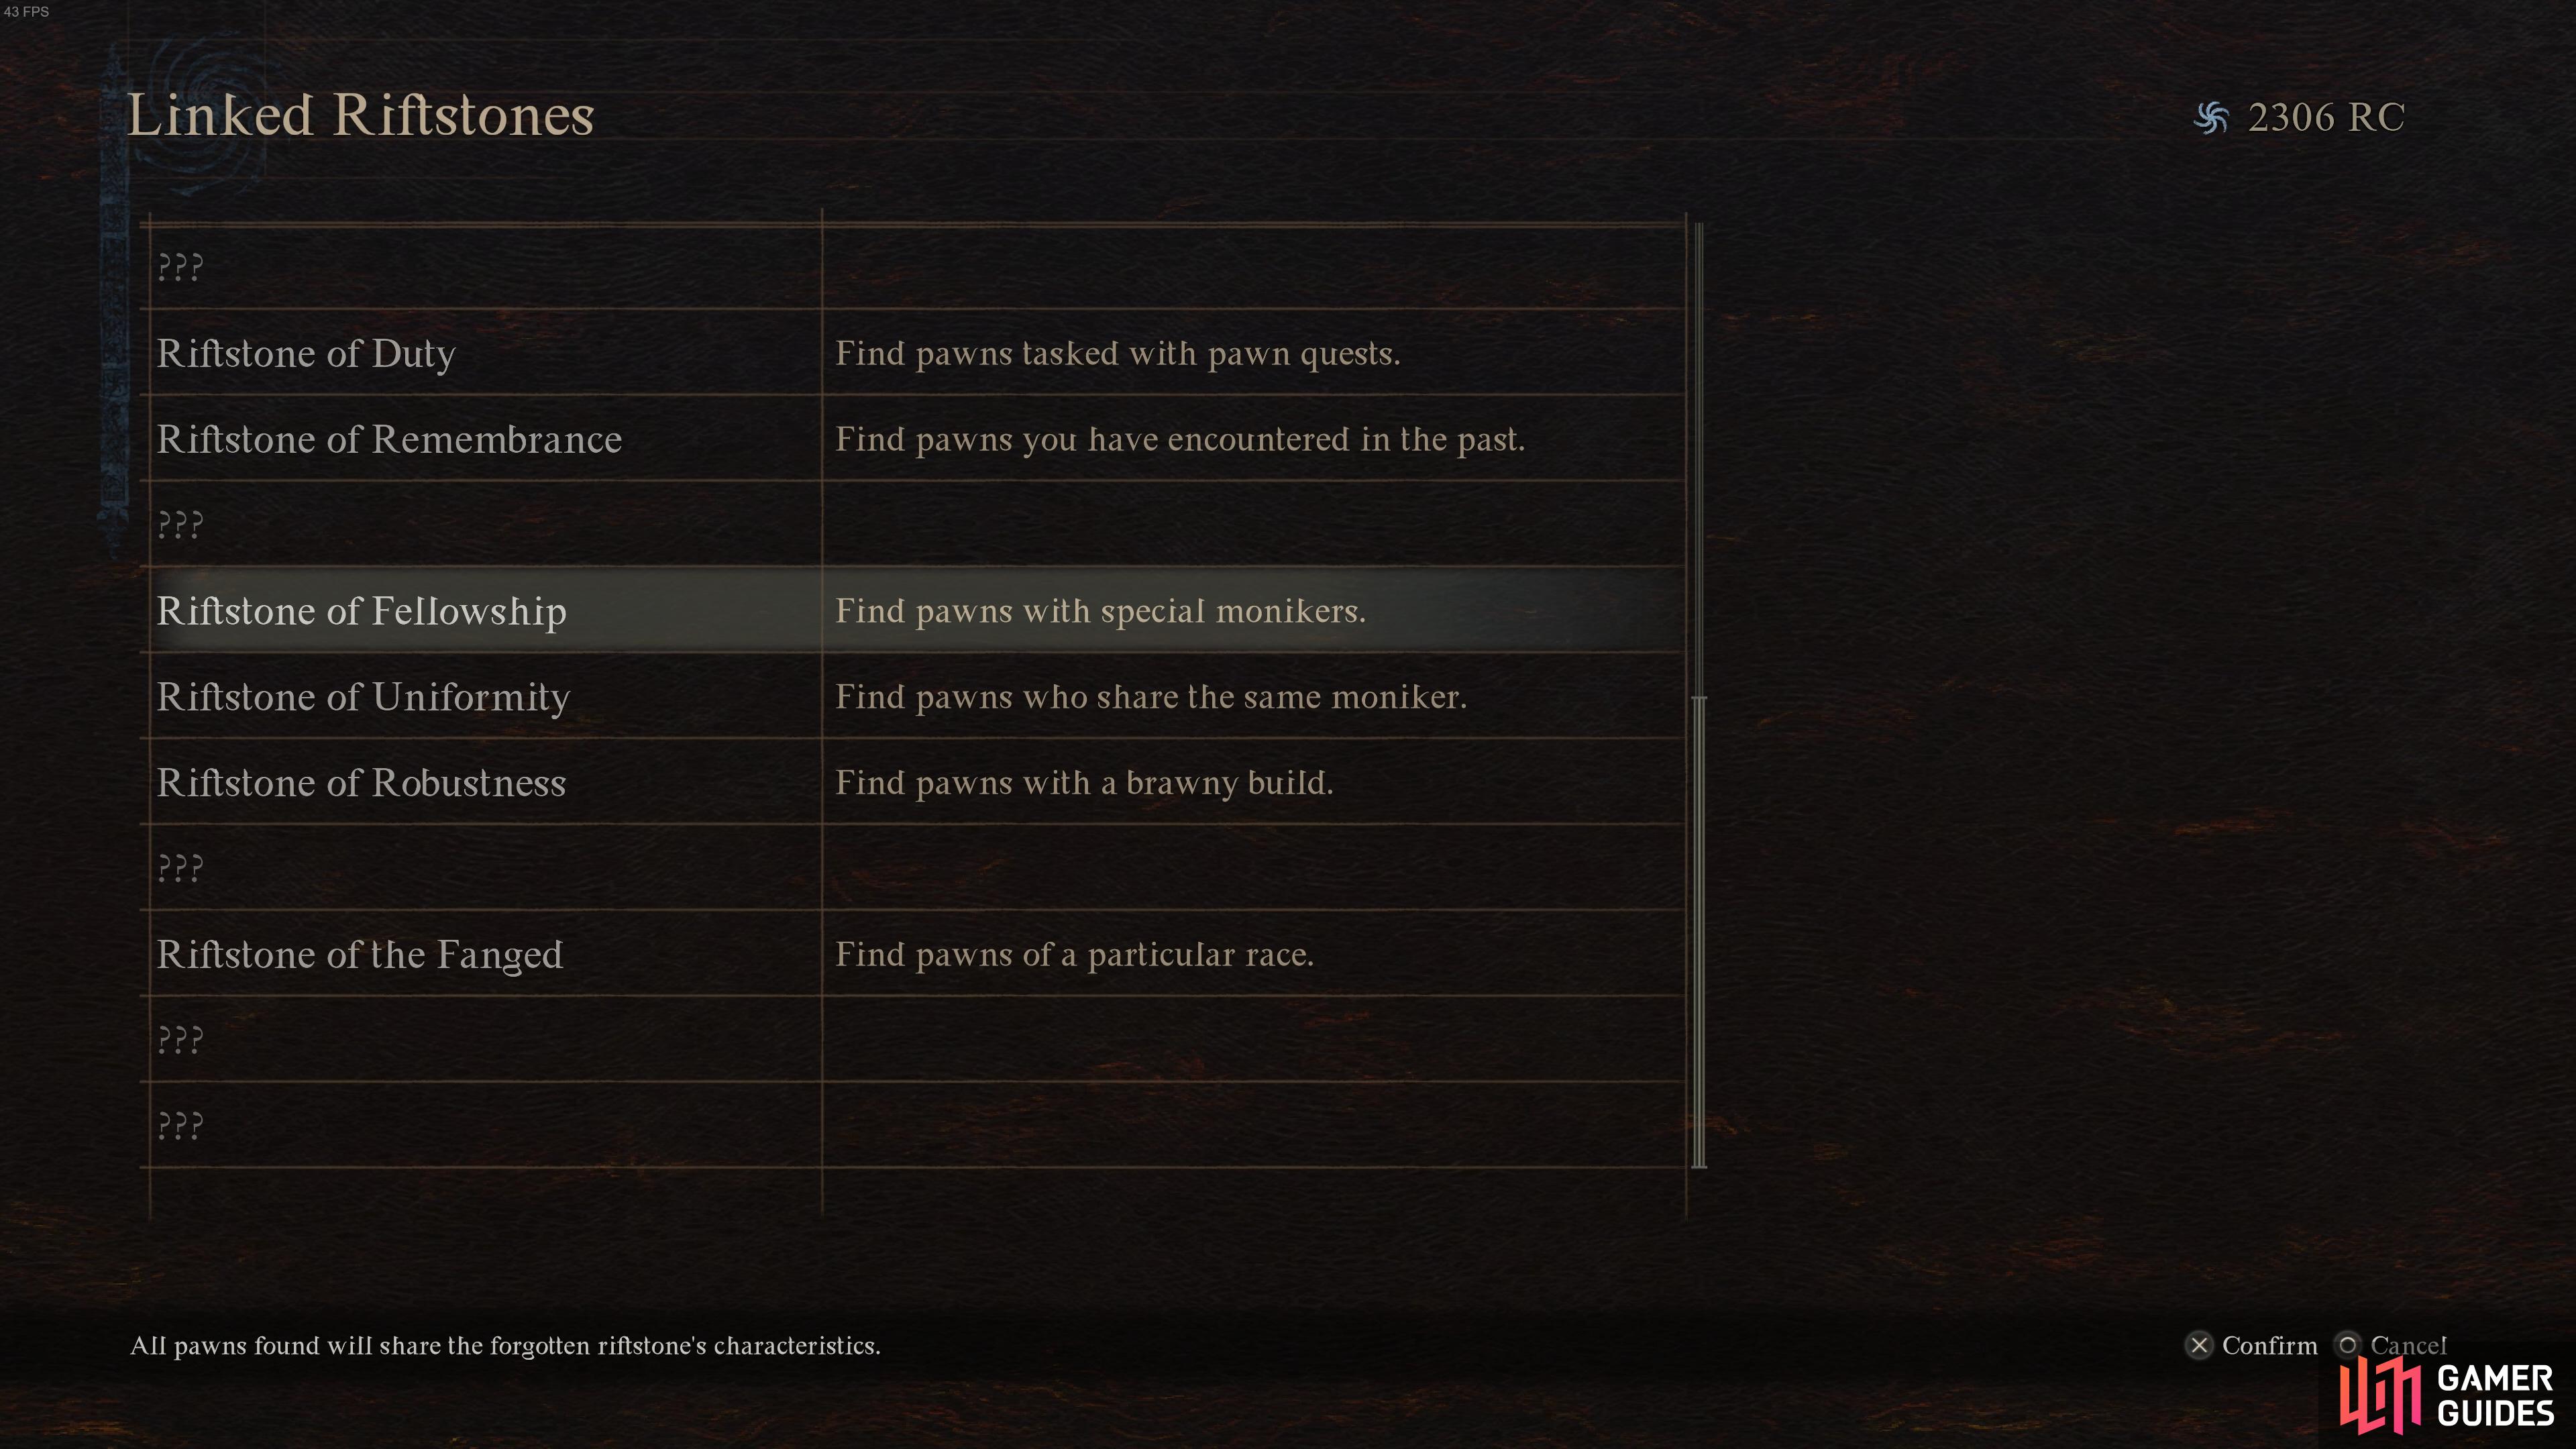

(1 of 2) Visit a Riftstone of Fellowship, or use Linked Riftstones to find pawns with special monikers.
Visit a Riftstone of Fellowship, or use Linked Riftstones to find pawns with special monikers. (left), You need to place a pawn with the SphinxParent moniker on the pedestal at the Sphinx. (right)
As a reward for completing the Riddle of Wisdom, you’ll get 1200 RC from the chest.
Riddle of Conviction Solution
The Riddle of Conviction is as follows:
“Life is an enigma - a lender of mortal debt. Yet lighter pack makes fleeter foot and challenge nimbly met. So grant to me what you most prize, and thence elude your ponderous demise.”
The phrasing of this riddle vaguely indicates the use of a Golden Trove Beetle or a Wakestone, and if you give one of these to the Sphinx as the answer, you’ll be able to loot a duplicate of it from the chest as a reward. However, many players have reported that they’ve been able to give the Sphinx any item as an answer to this riddle, such as a Portcrystal, allowing them to obtain a duplicate of whatever item they most value for their playthrough. If this holds true for absolutely anything, you can try giving the Sphinx whatever item you want to see a duplicate of, be it a valuable piece of equipment, another Sealing Phial, or anything else that you come up with. However, do note that we obviously haven’t tested all items that can be given to the Sphinx for ourselves, so there may be some risk involved, depending on what you hand over. If you want to ensure success, just give her a Golden Trove Beetle or a Wakestone.
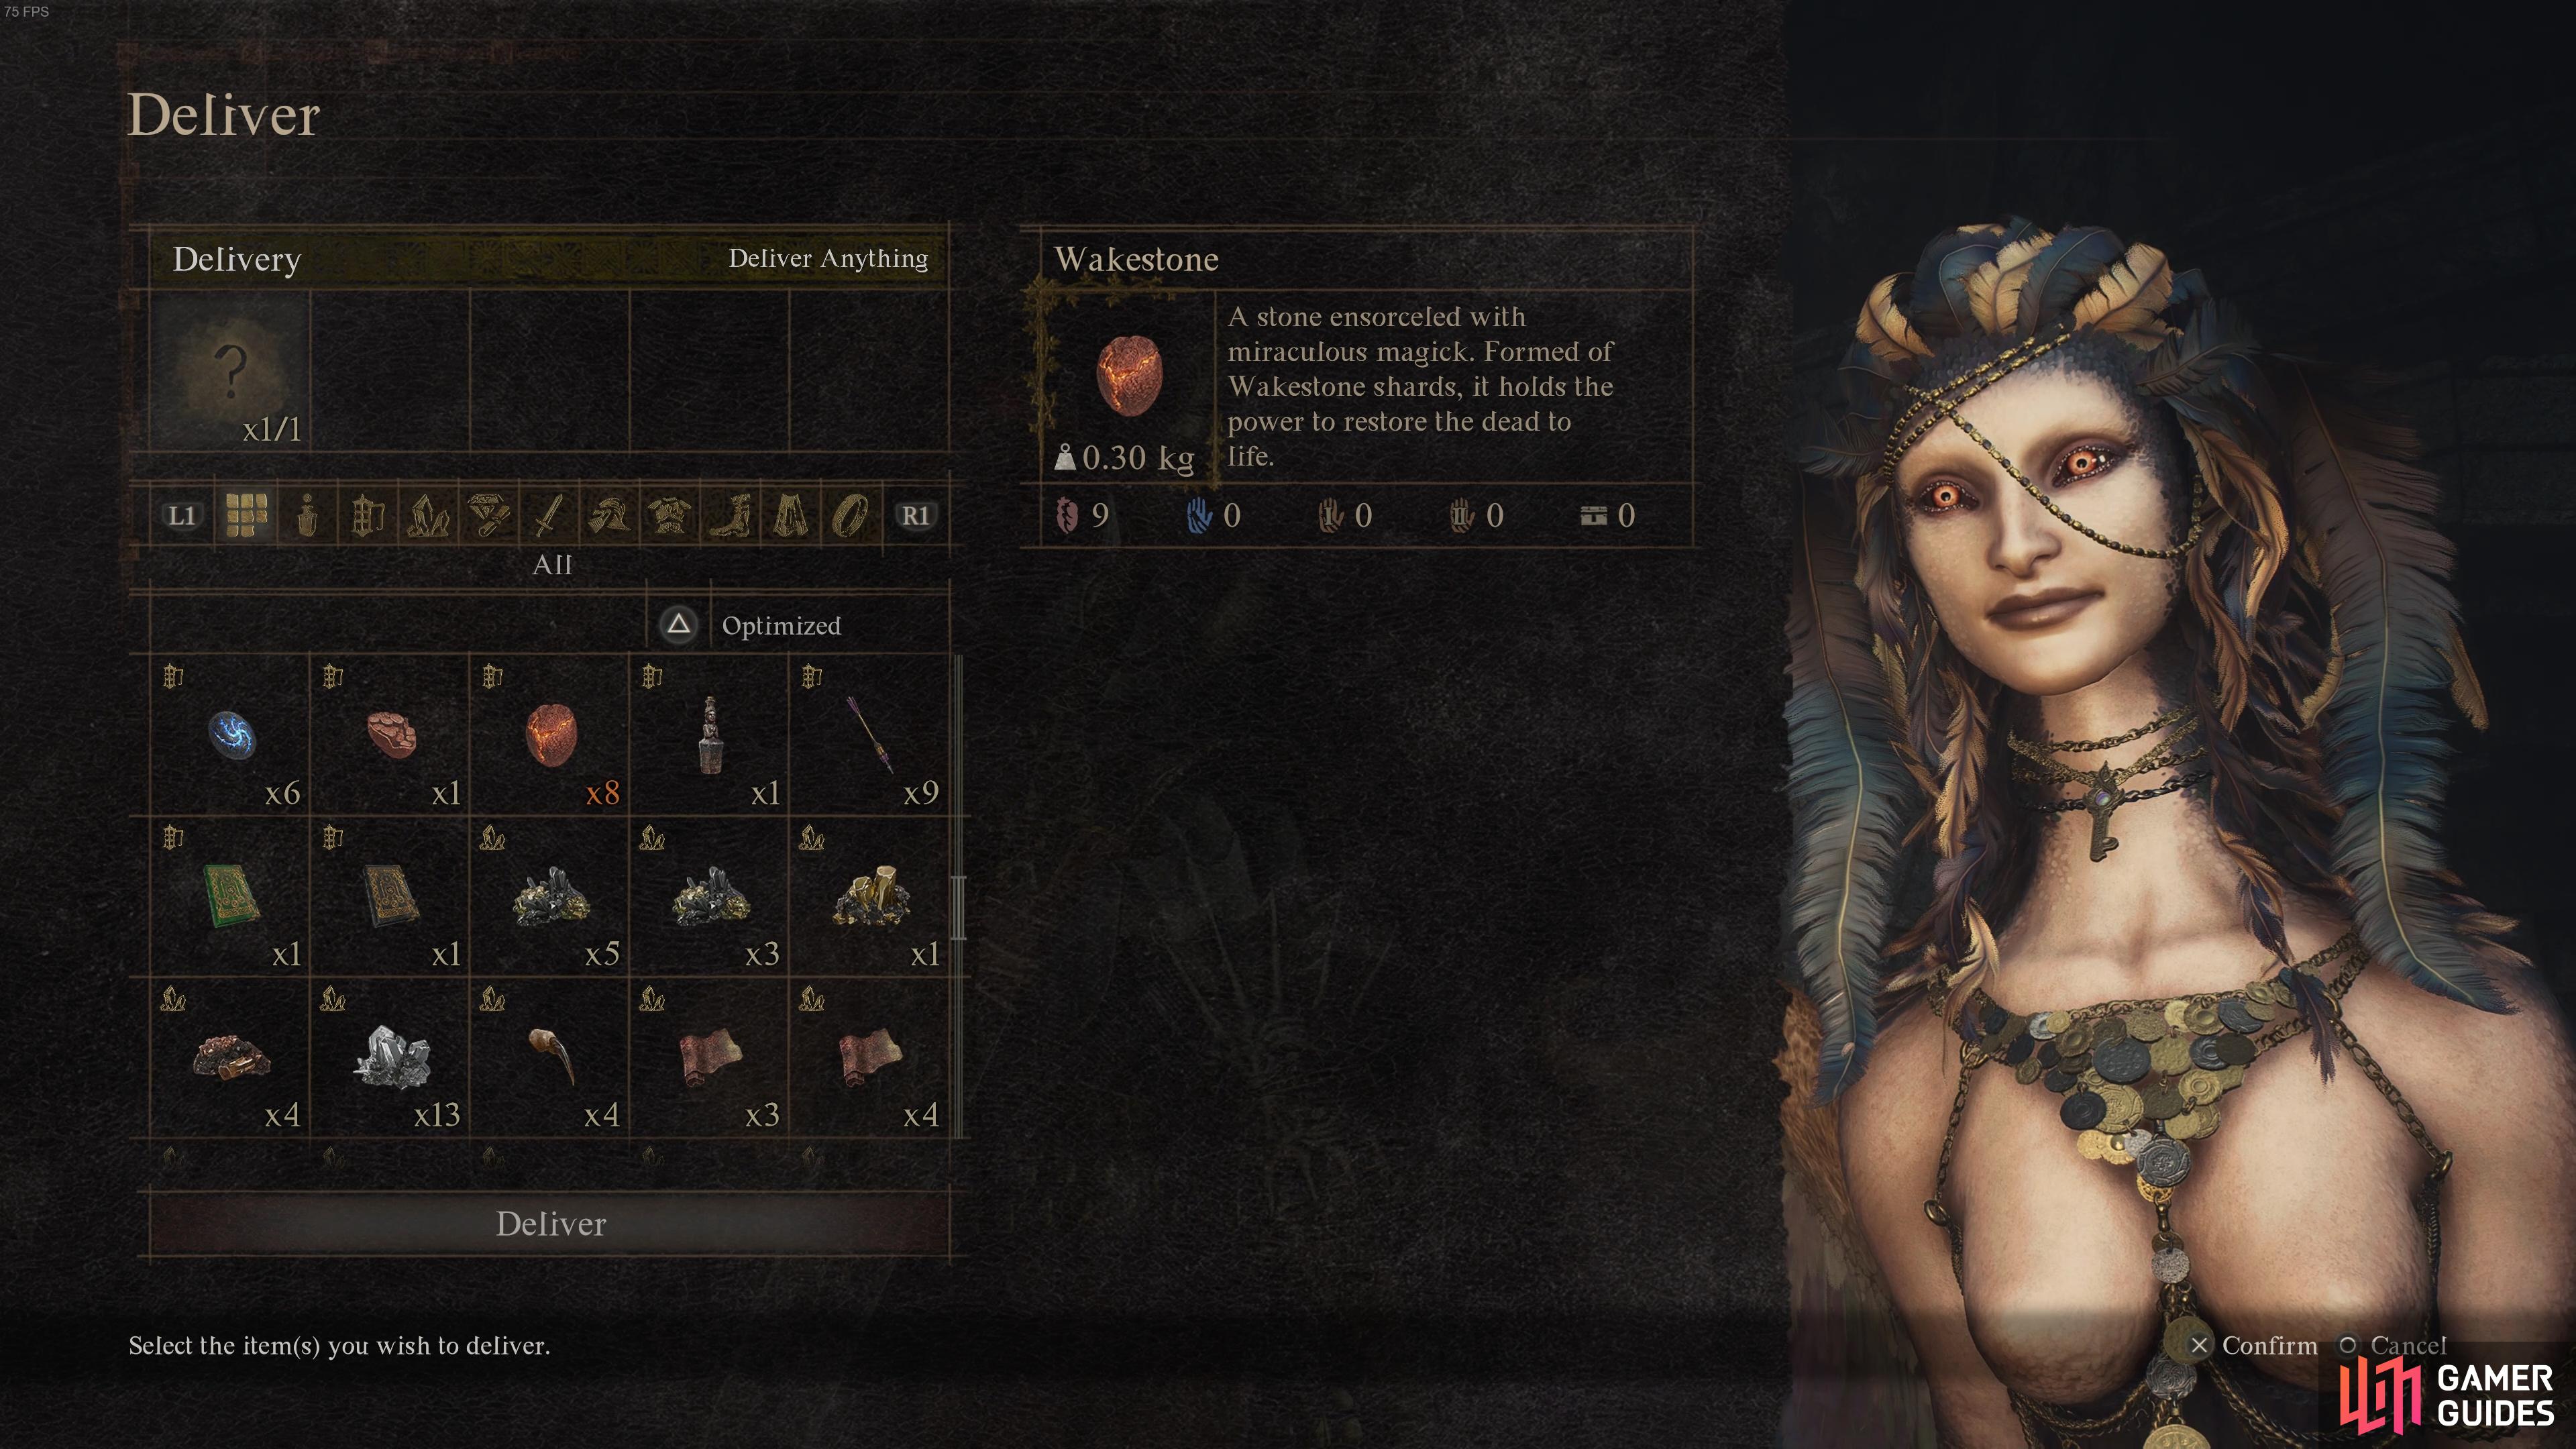
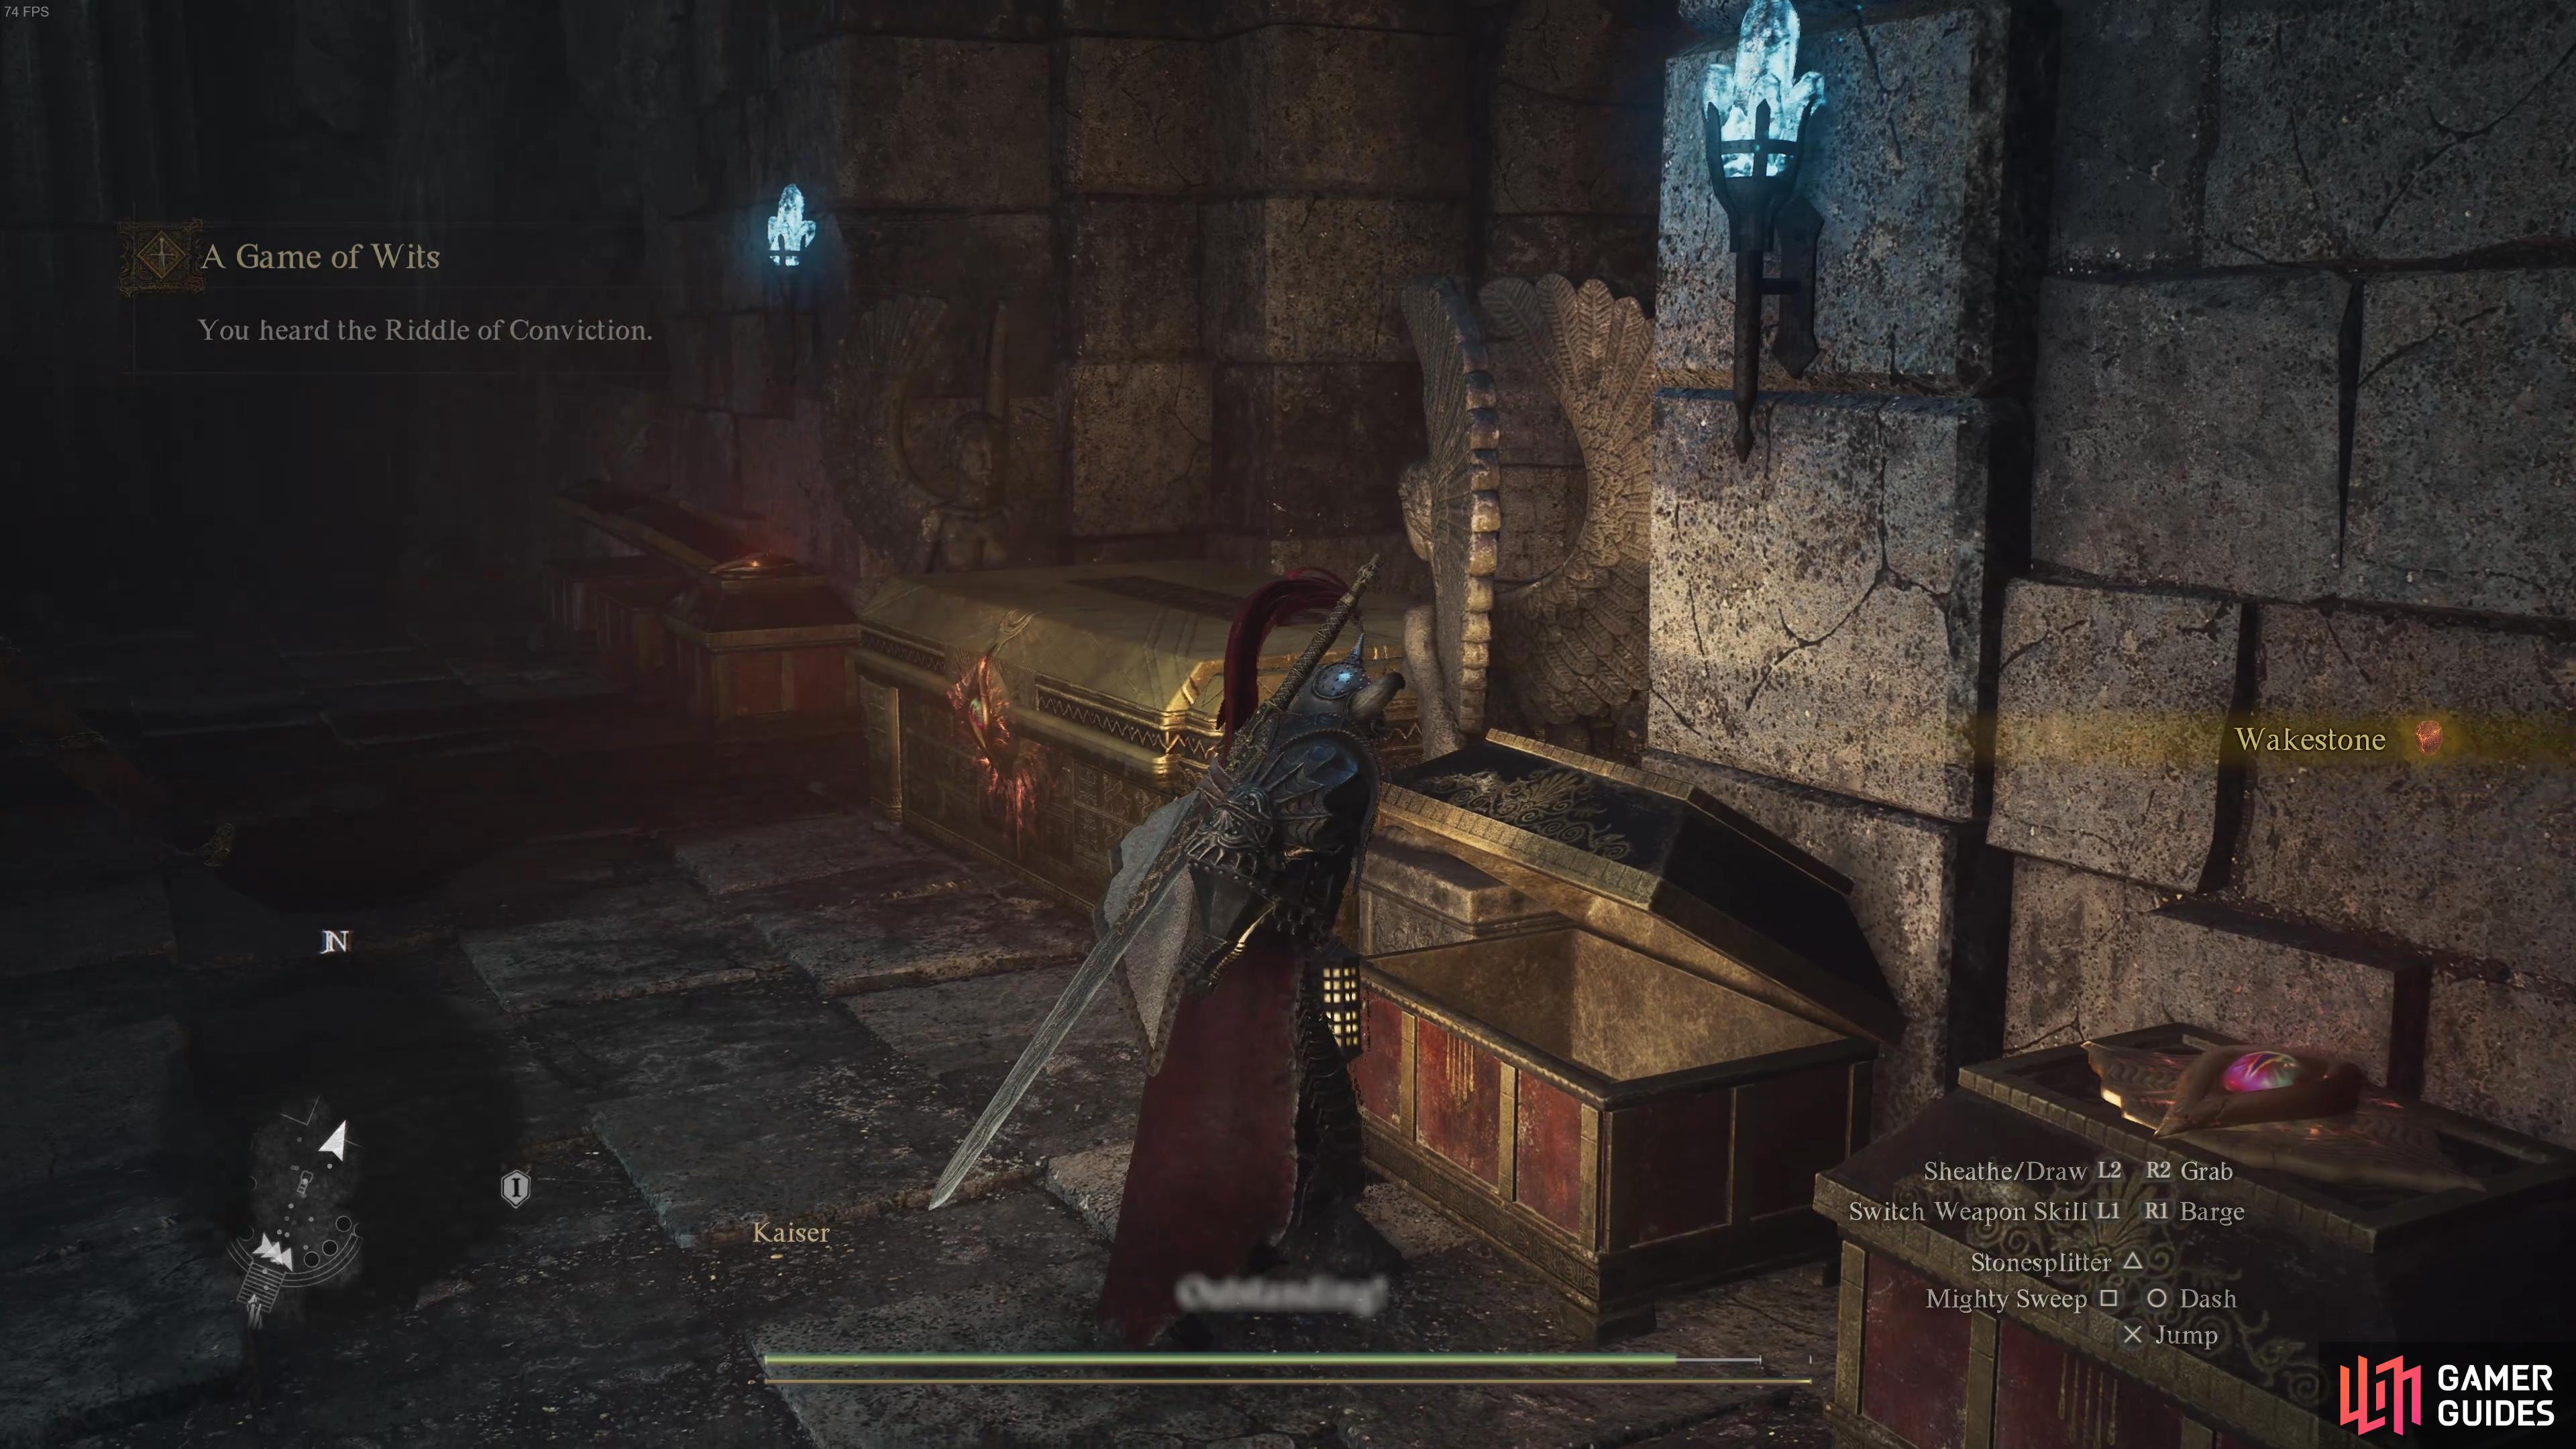
(1 of 2) We handed a Wakestone to the Sphinx, and this worked fine.
We handed a Wakestone to the Sphinx, and this worked fine. (left), You’ll receive a duplicate of the item you give as a reward from the chest. (right)
Riddle of Rumination Solution
The Riddle of Rumination is as follows:
“![]() Seeker’s Tokens are treasures indeed: keepsakes of a fondly remembered journey. Yet where was it that you found your first? Retrace your steps, if you can - you might make a new discovery.”
Seeker’s Tokens are treasures indeed: keepsakes of a fondly remembered journey. Yet where was it that you found your first? Retrace your steps, if you can - you might make a new discovery.”
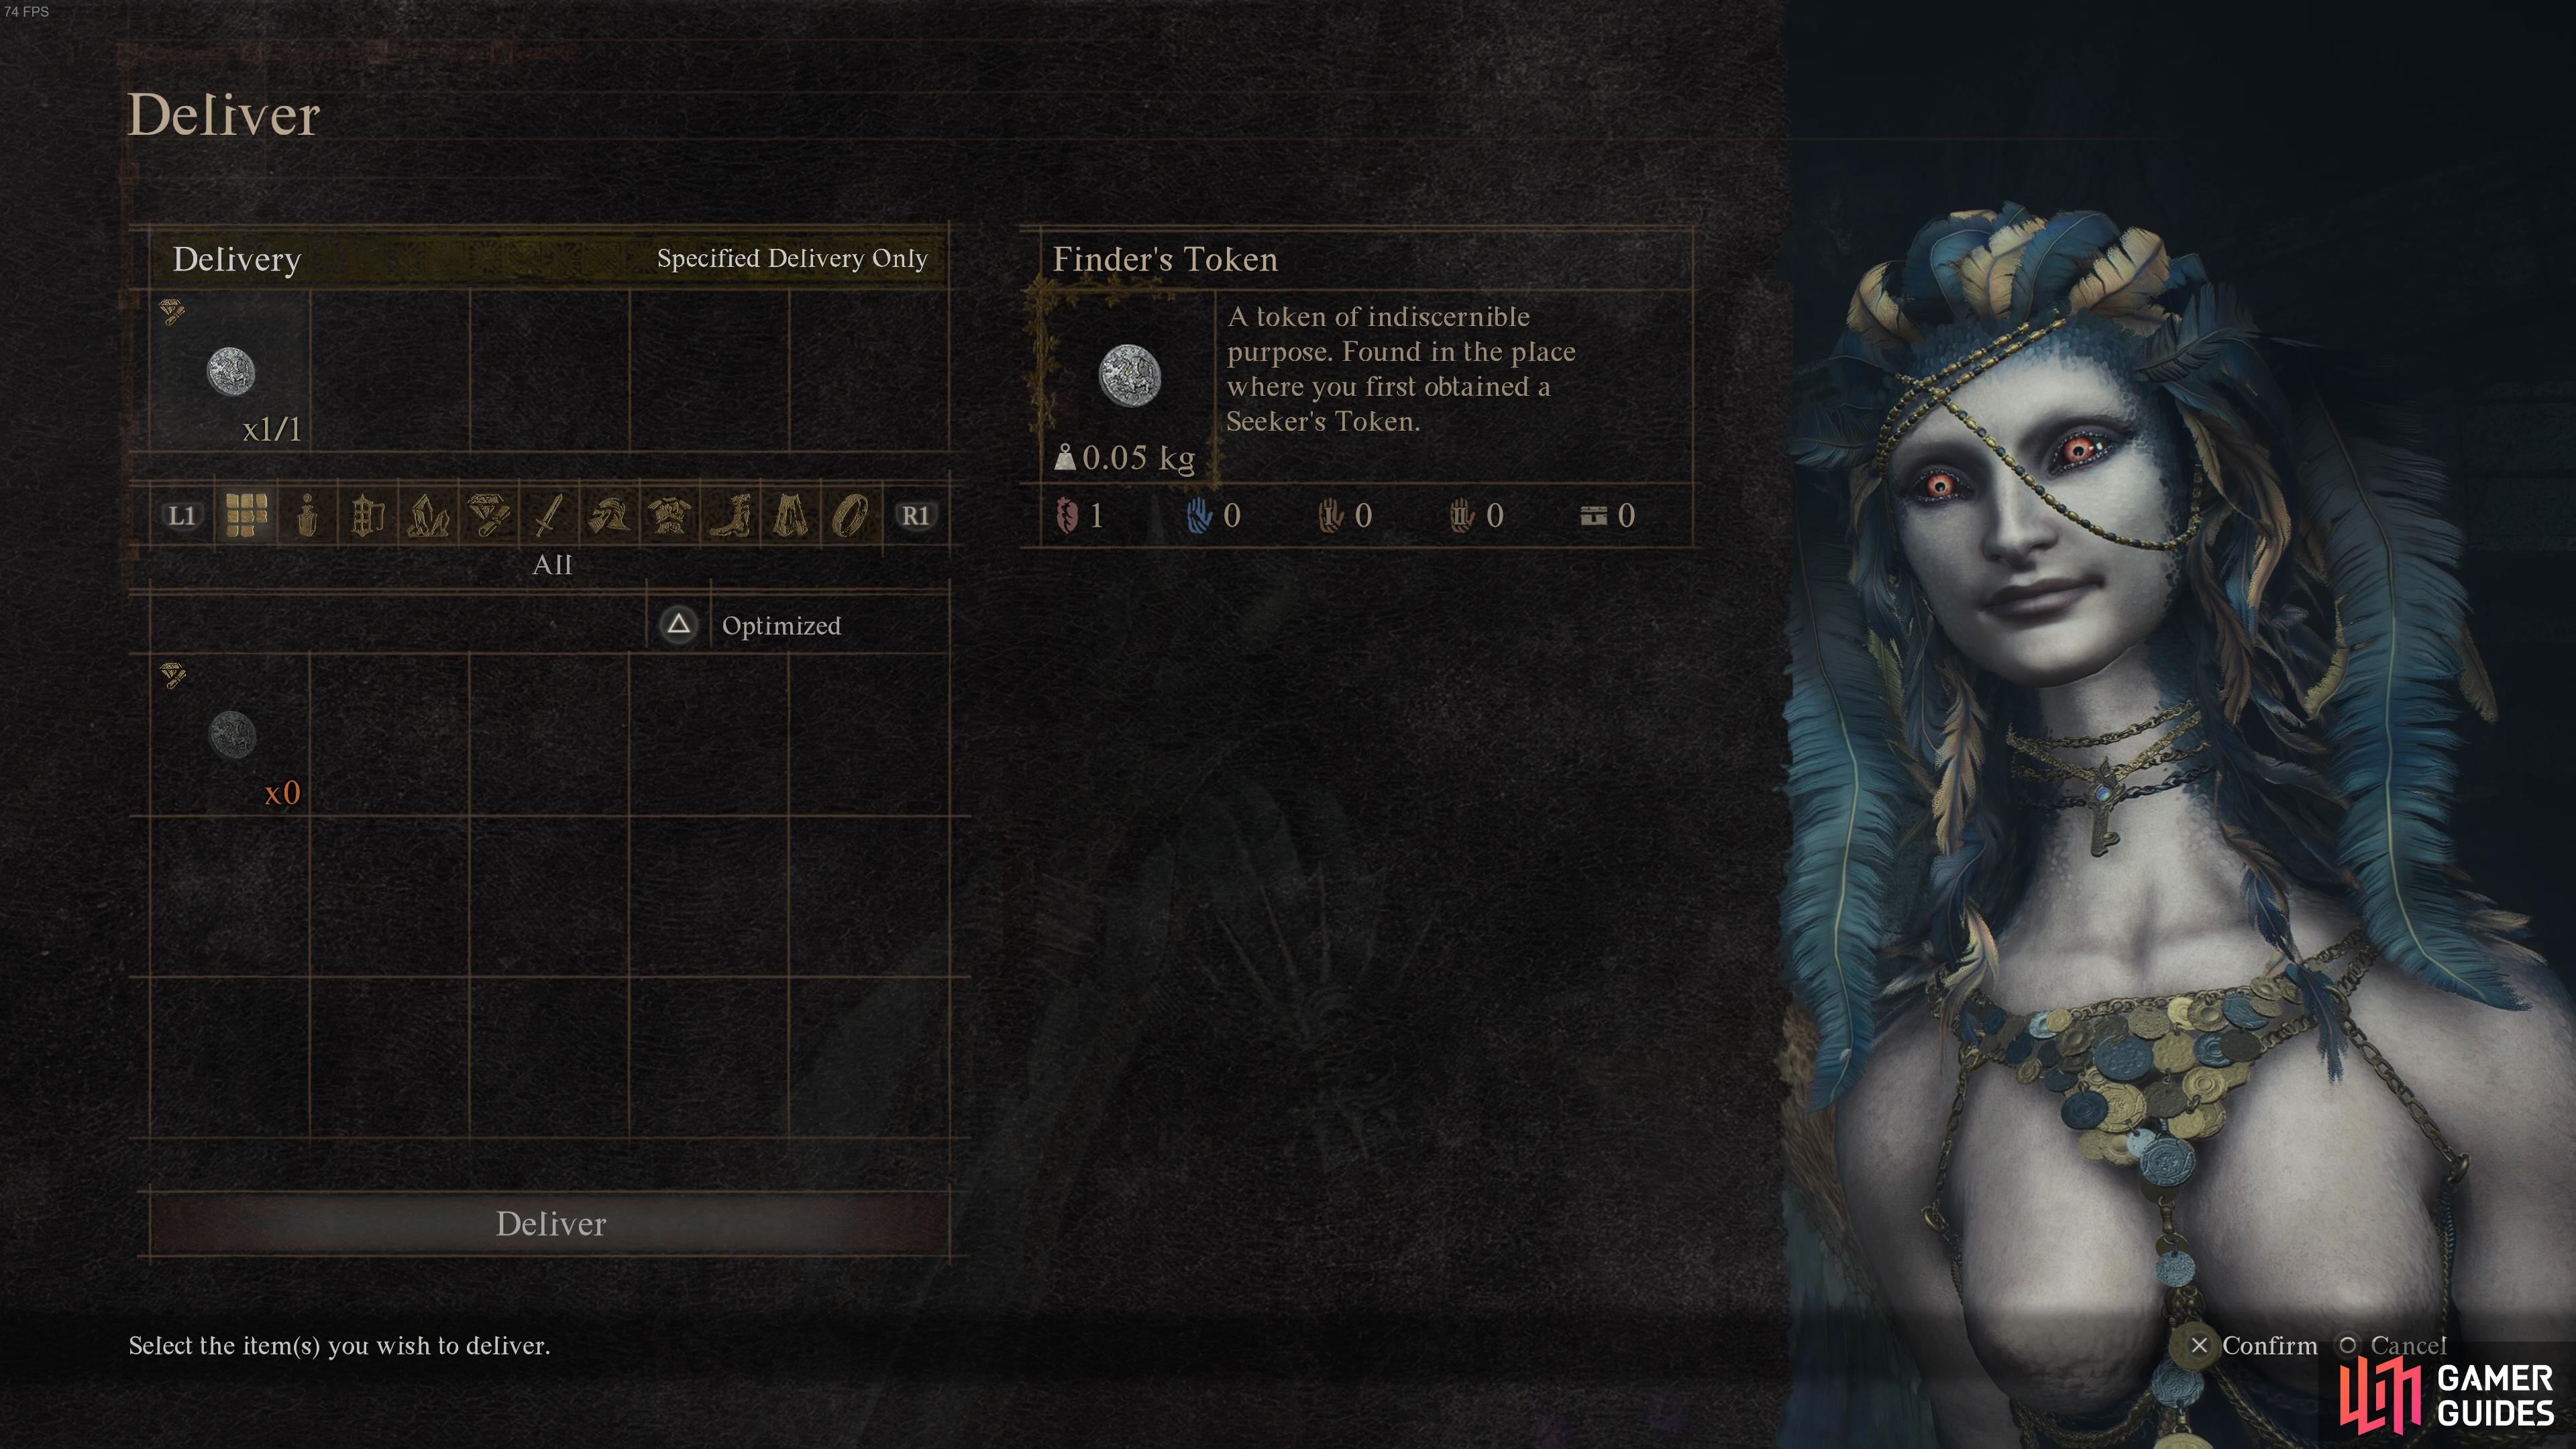
The Riddle of Rumination is arguably the most difficult, mostly because it will be different for each player. If you’re completing these riddles late in the story, it may be more difficult than it’ll be for those who find the Sphinx sooner. This is because to complete it, you need to find the place where you looted your first Seeker’s Token. Once there, you’ll now discover a ![]() Finder’s Token, which you need to present to the Sphinx as proof that you visited the location of your first Seeker’s Token.
Finder’s Token, which you need to present to the Sphinx as proof that you visited the location of your first Seeker’s Token.
You have seven in-game days to complete this task, which should be plenty of time so long as you don’t rest needlessly. If you can remember the first place that you found a Seeker’s Token, you’ll be fine. Otherwise, you’ll need to think carefully. The most likely area that you first encountered one, so long as you explored enough of the land, is around ![]() Melve, if not within Melve itself, so it’s worth looking around there first. I found my first Seeker’s Token on top of the tower to the left of
Melve, if not within Melve itself, so it’s worth looking around there first. I found my first Seeker’s Token on top of the tower to the left of ![]() Ulrika’s House in Melve, as shown in the screenshot below, so you may want to check there if you think you might have done the same.
Ulrika’s House in Melve, as shown in the screenshot below, so you may want to check there if you think you might have done the same.
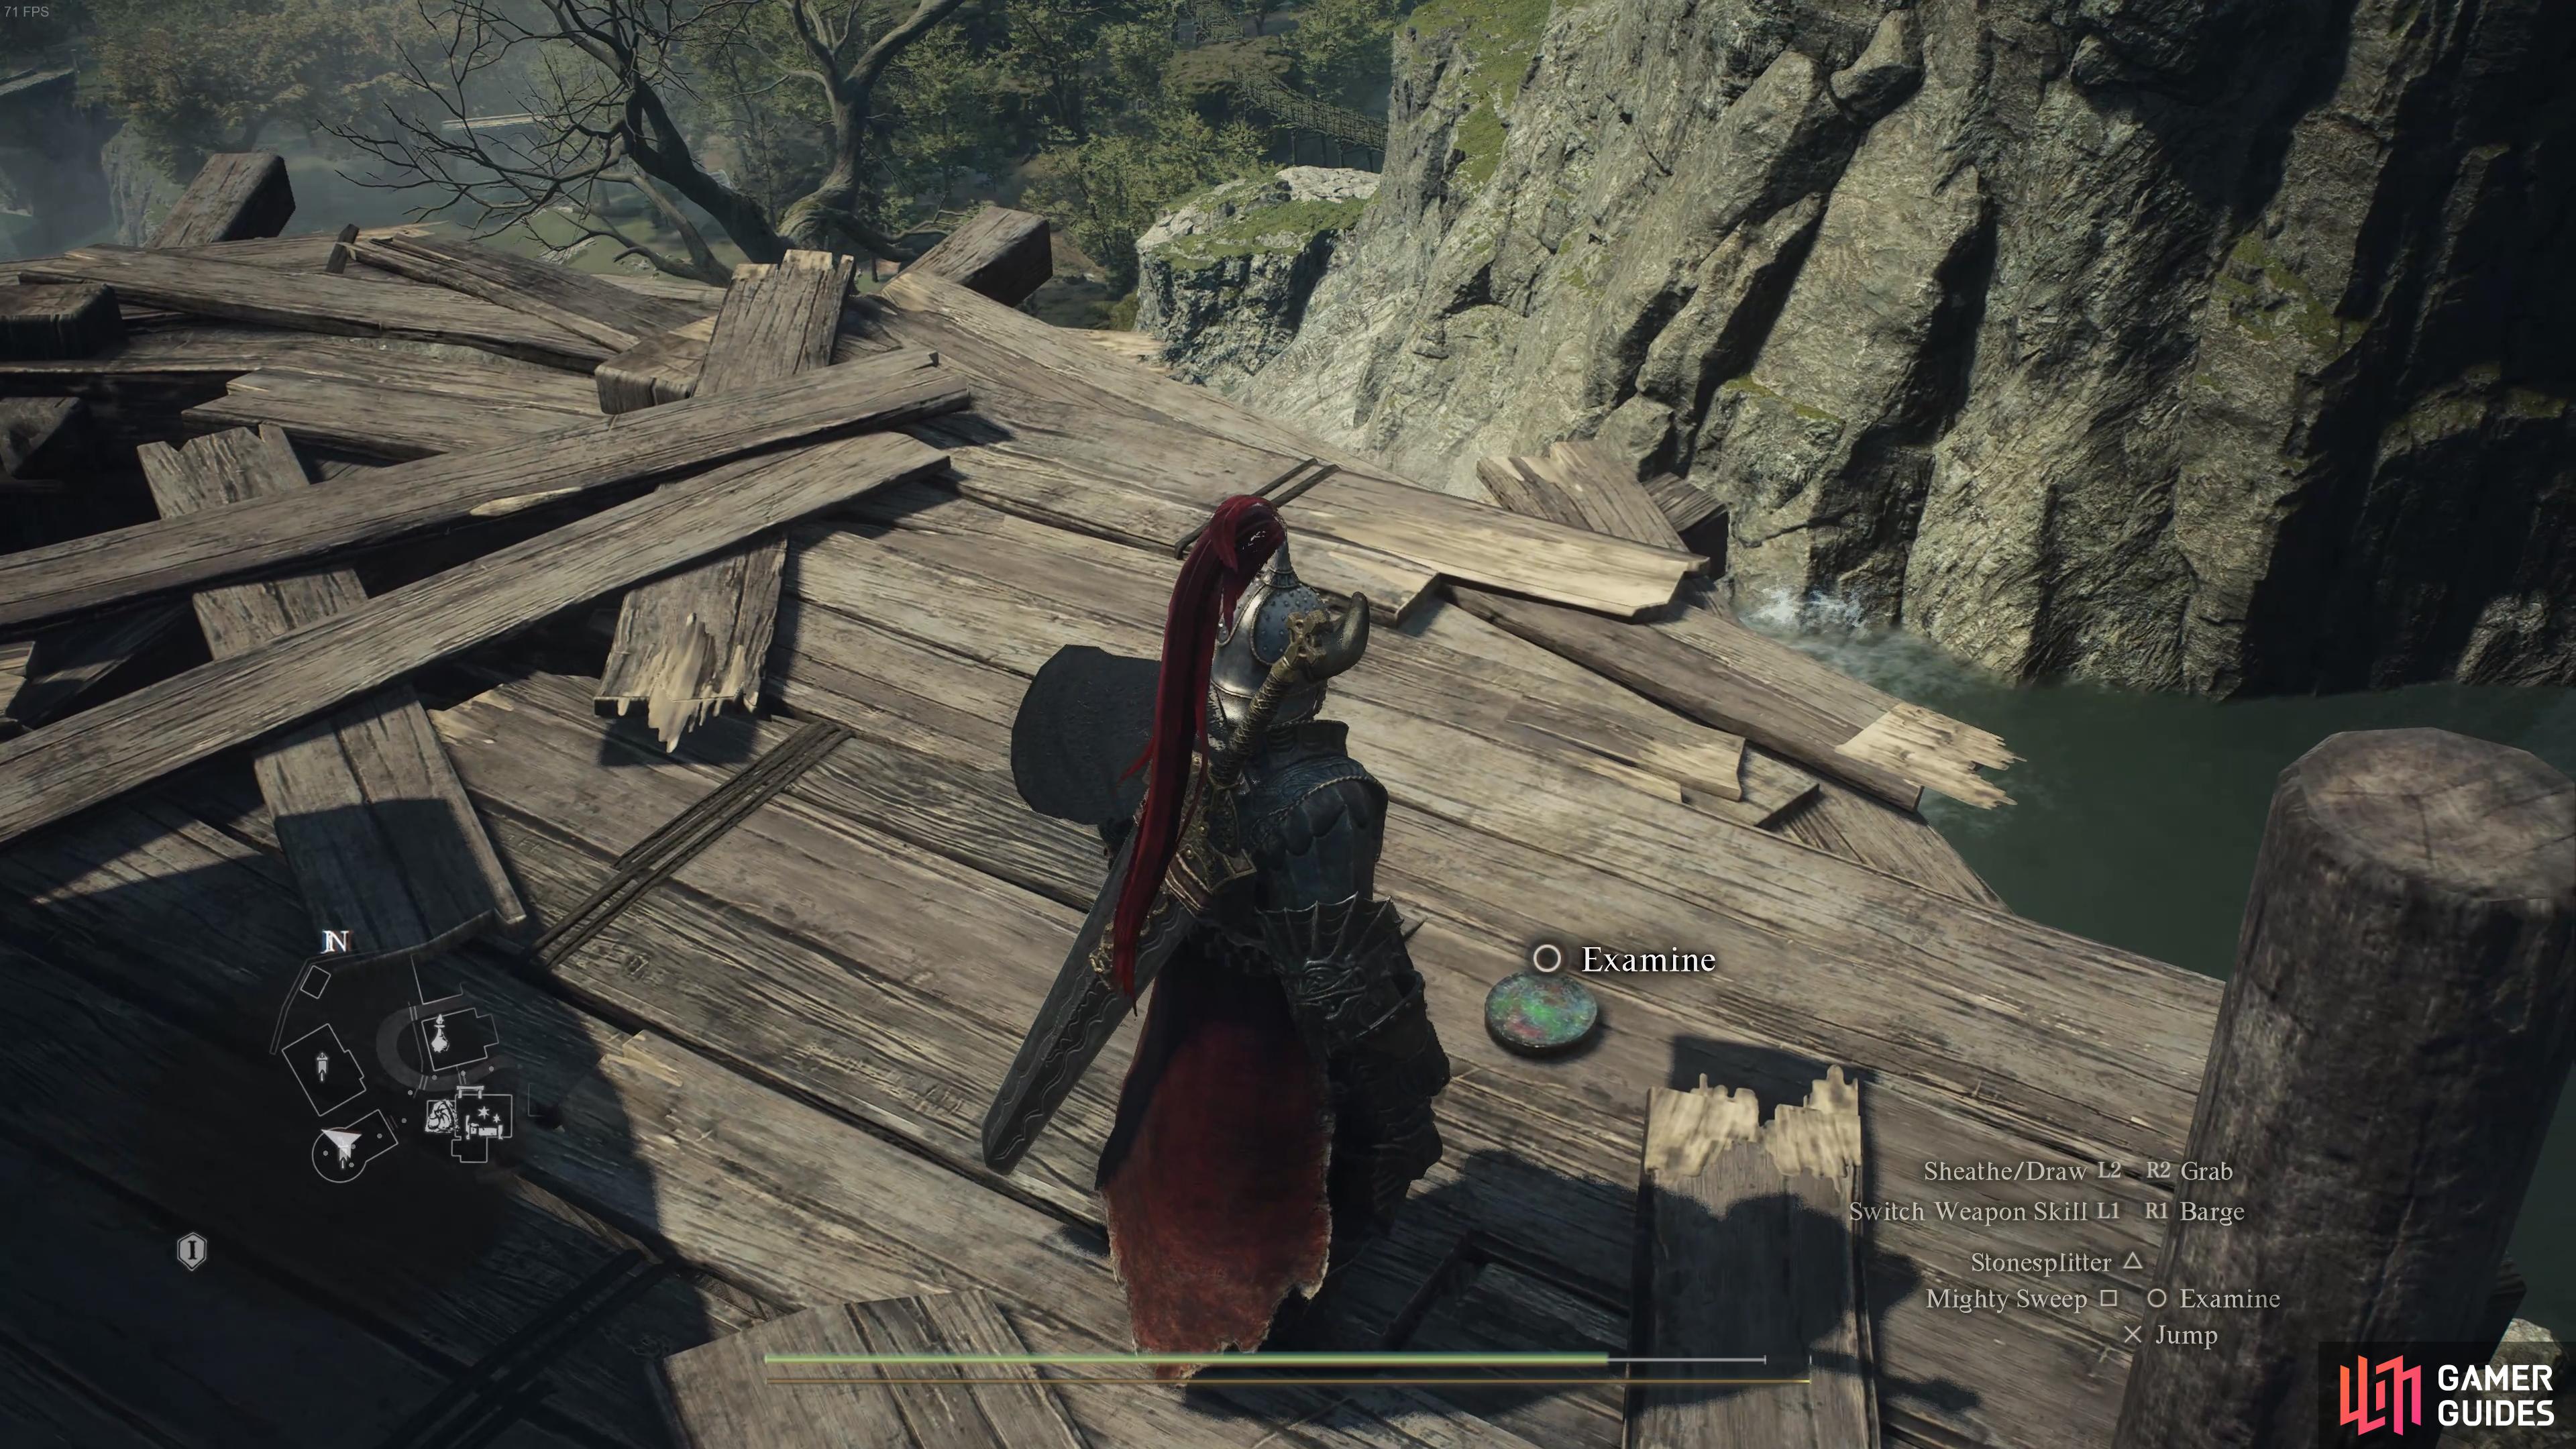
(1 of 2) The location of the first Seeker’s Token (where you’ll now find a Finder’s Token) will be different for each player.
The location of the first Seeker’s Token (where you’ll now find a Finder’s Token) will be different for each player. (left), You need to hand the Finder’s Token to the Sphinx to complete the riddle within seven days. (right)
The easiest way to get to Melve is by using a Ferrystone to reach Vernworth, then take the oxcart to Melve on the eastern side of town. If you think you found your first Seeker’s Token around Vernworth instead, you’ll need to trace your steps and think carefully about where it might have been. You’re likely to use at least two Ferrystones to get to and from the Mountain Shrine for this riddle, but you’ll receive x3 Ferrystones as a reward for completing it, so don’t be shy about using them.
If you’re unable to find the location where you first found a Seeker’s Token, you needn’t worry too much. You can still complete the second set of riddles when you find the Sphinx, but you’ll fail the Riddle of Rumination after seven days have passed, so you’ll miss out on x3 Ferrystones. You still need to visit the Sphinx to trigger her next location, though.
Second Sphinx Location - Frontier Shrine
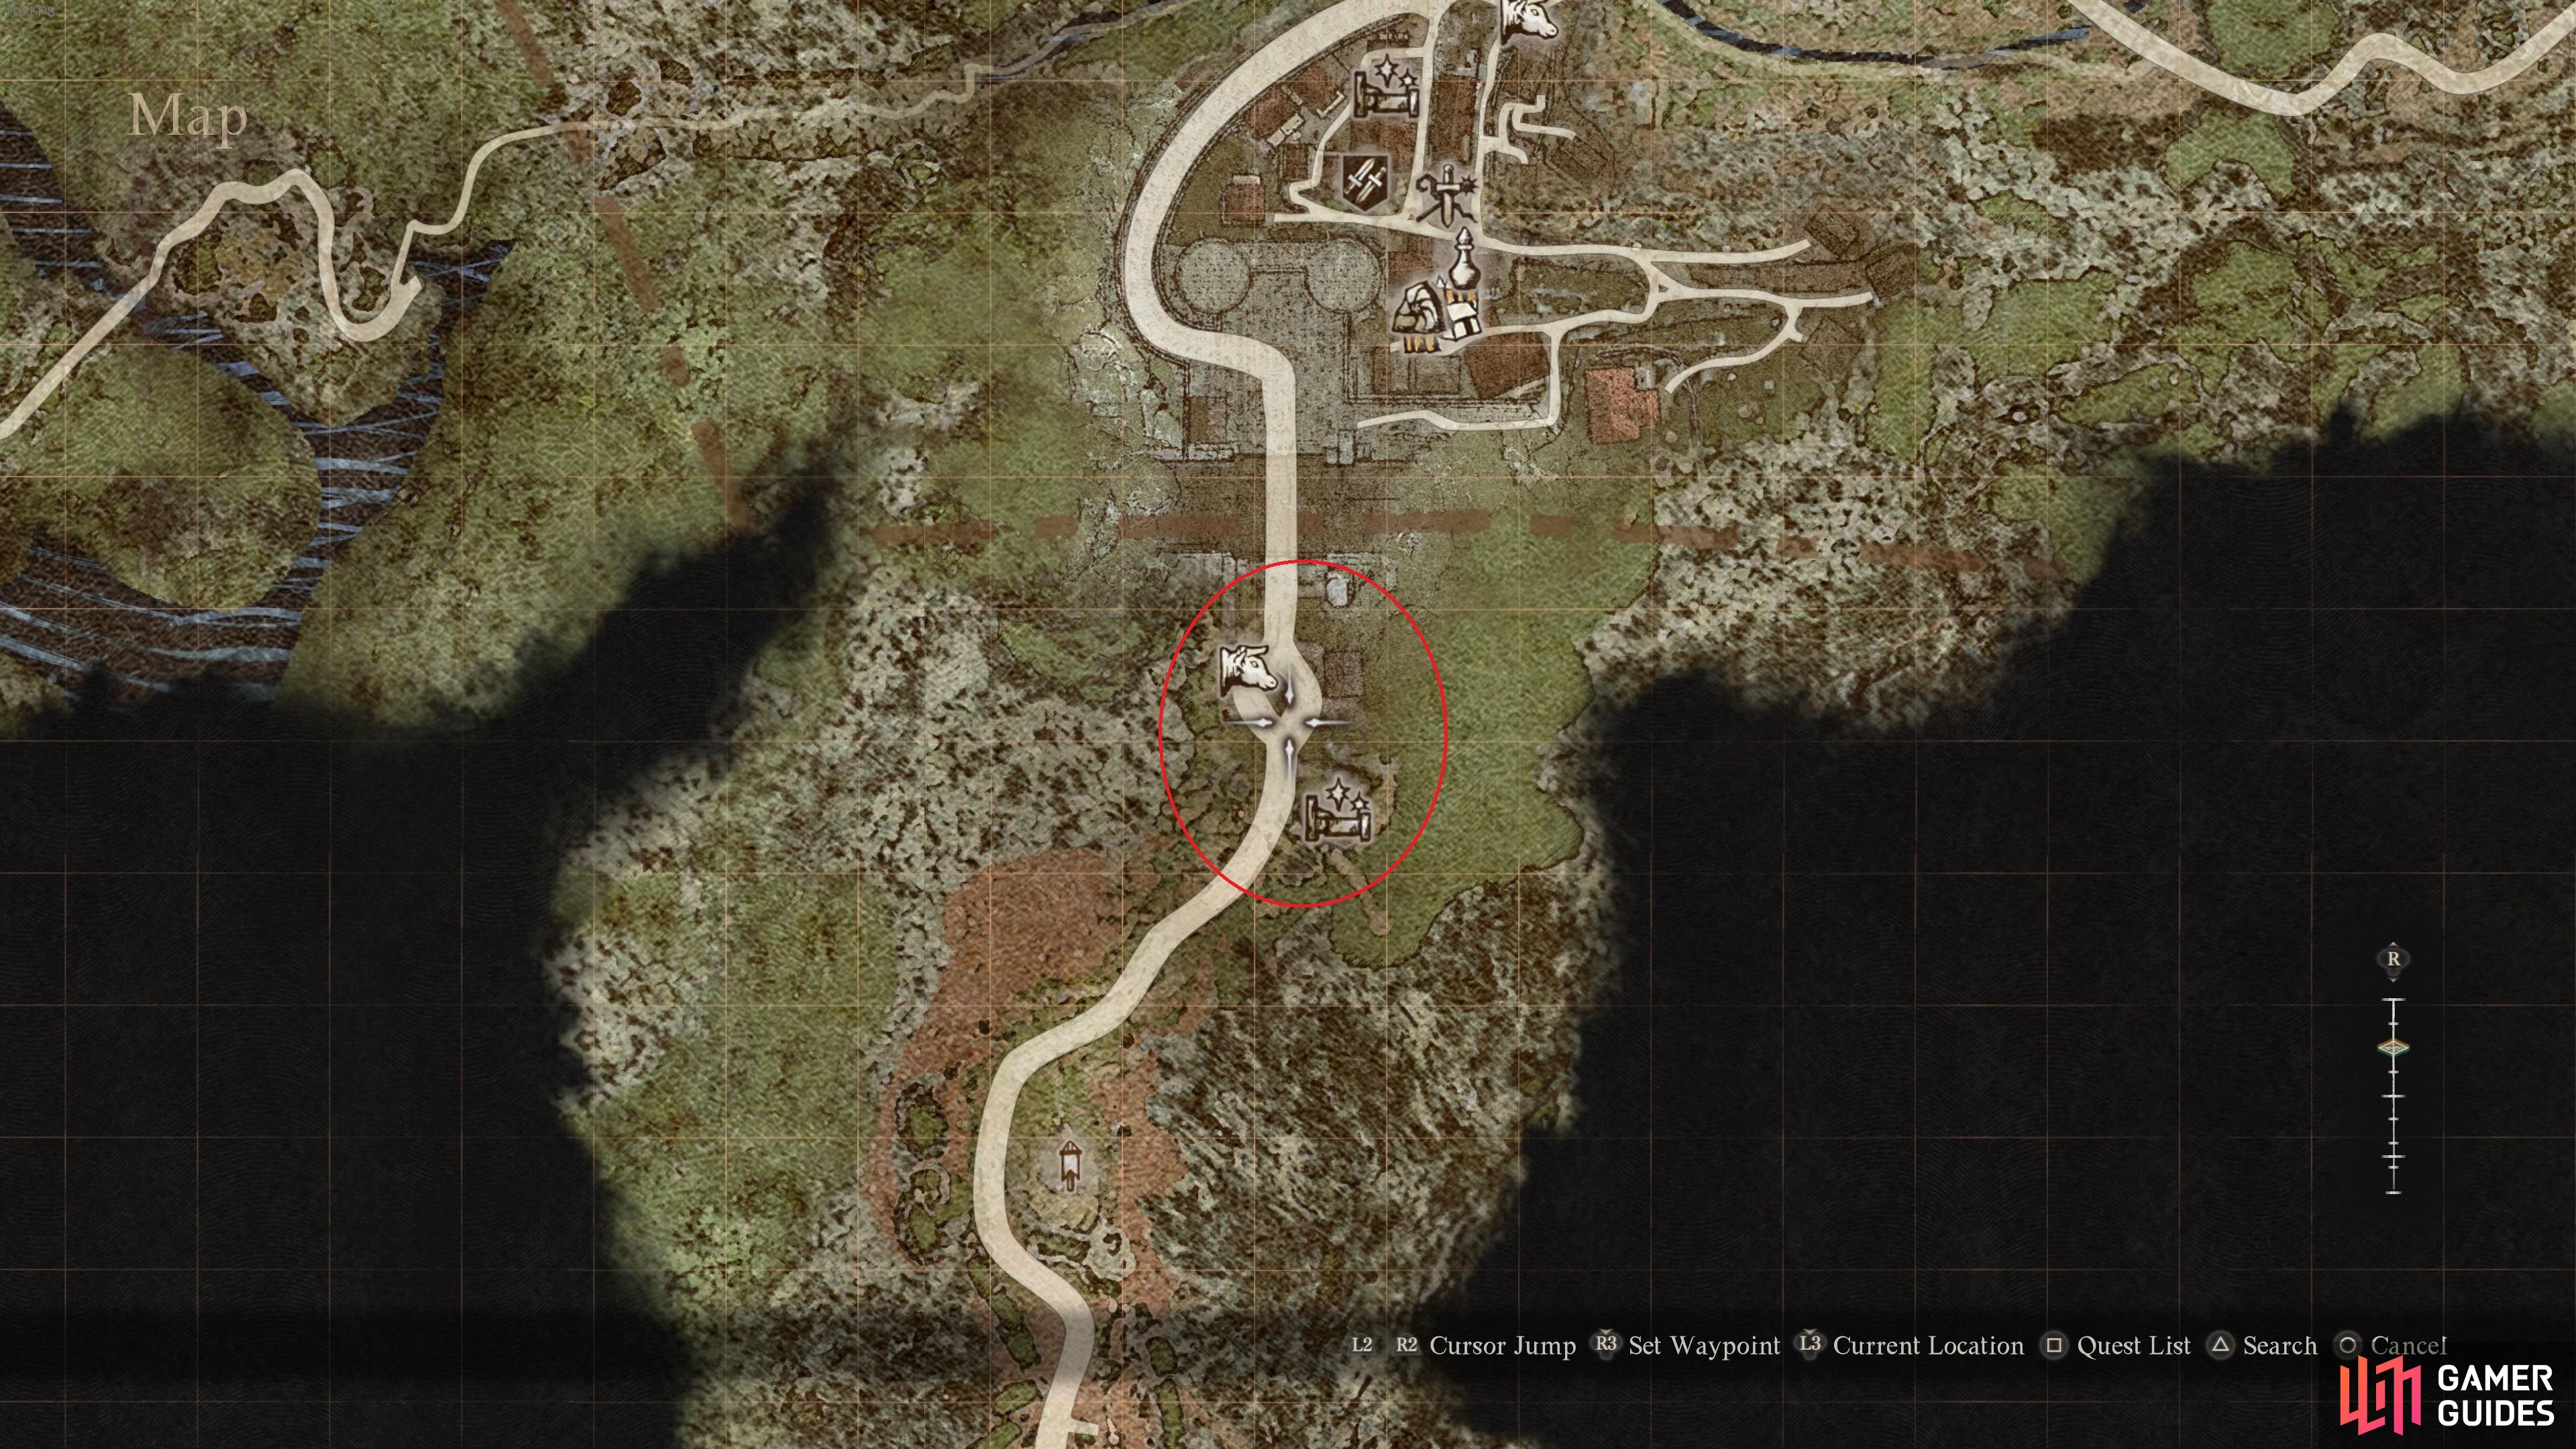
So, you’ve completed the first five riddles posed by the Sphinx, and she’s flown off elsewhere, without giving any clue as to where she can be found next. If you’re tired of searching and you just want to continue her quest, you need to travel to the ![]() Frontier Shrine, located southwest of the Checkpoint Rest Town. The Frontier Shrine is still technically in Vermund, but it’s not too far from the region of Battahl. You can see the exact location on our map here. The easiest way to get there is to head directly west along the road from the Checkpoint Rest Town and look for the point at which you see a path heading south. This path will meander through a mountain pass, but it’ll soon bring you to the Frontier Shrine, where the Sphinx can be found to complete her second set of riddles.
Frontier Shrine, located southwest of the Checkpoint Rest Town. The Frontier Shrine is still technically in Vermund, but it’s not too far from the region of Battahl. You can see the exact location on our map here. The easiest way to get there is to head directly west along the road from the Checkpoint Rest Town and look for the point at which you see a path heading south. This path will meander through a mountain pass, but it’ll soon bring you to the Frontier Shrine, where the Sphinx can be found to complete her second set of riddles.
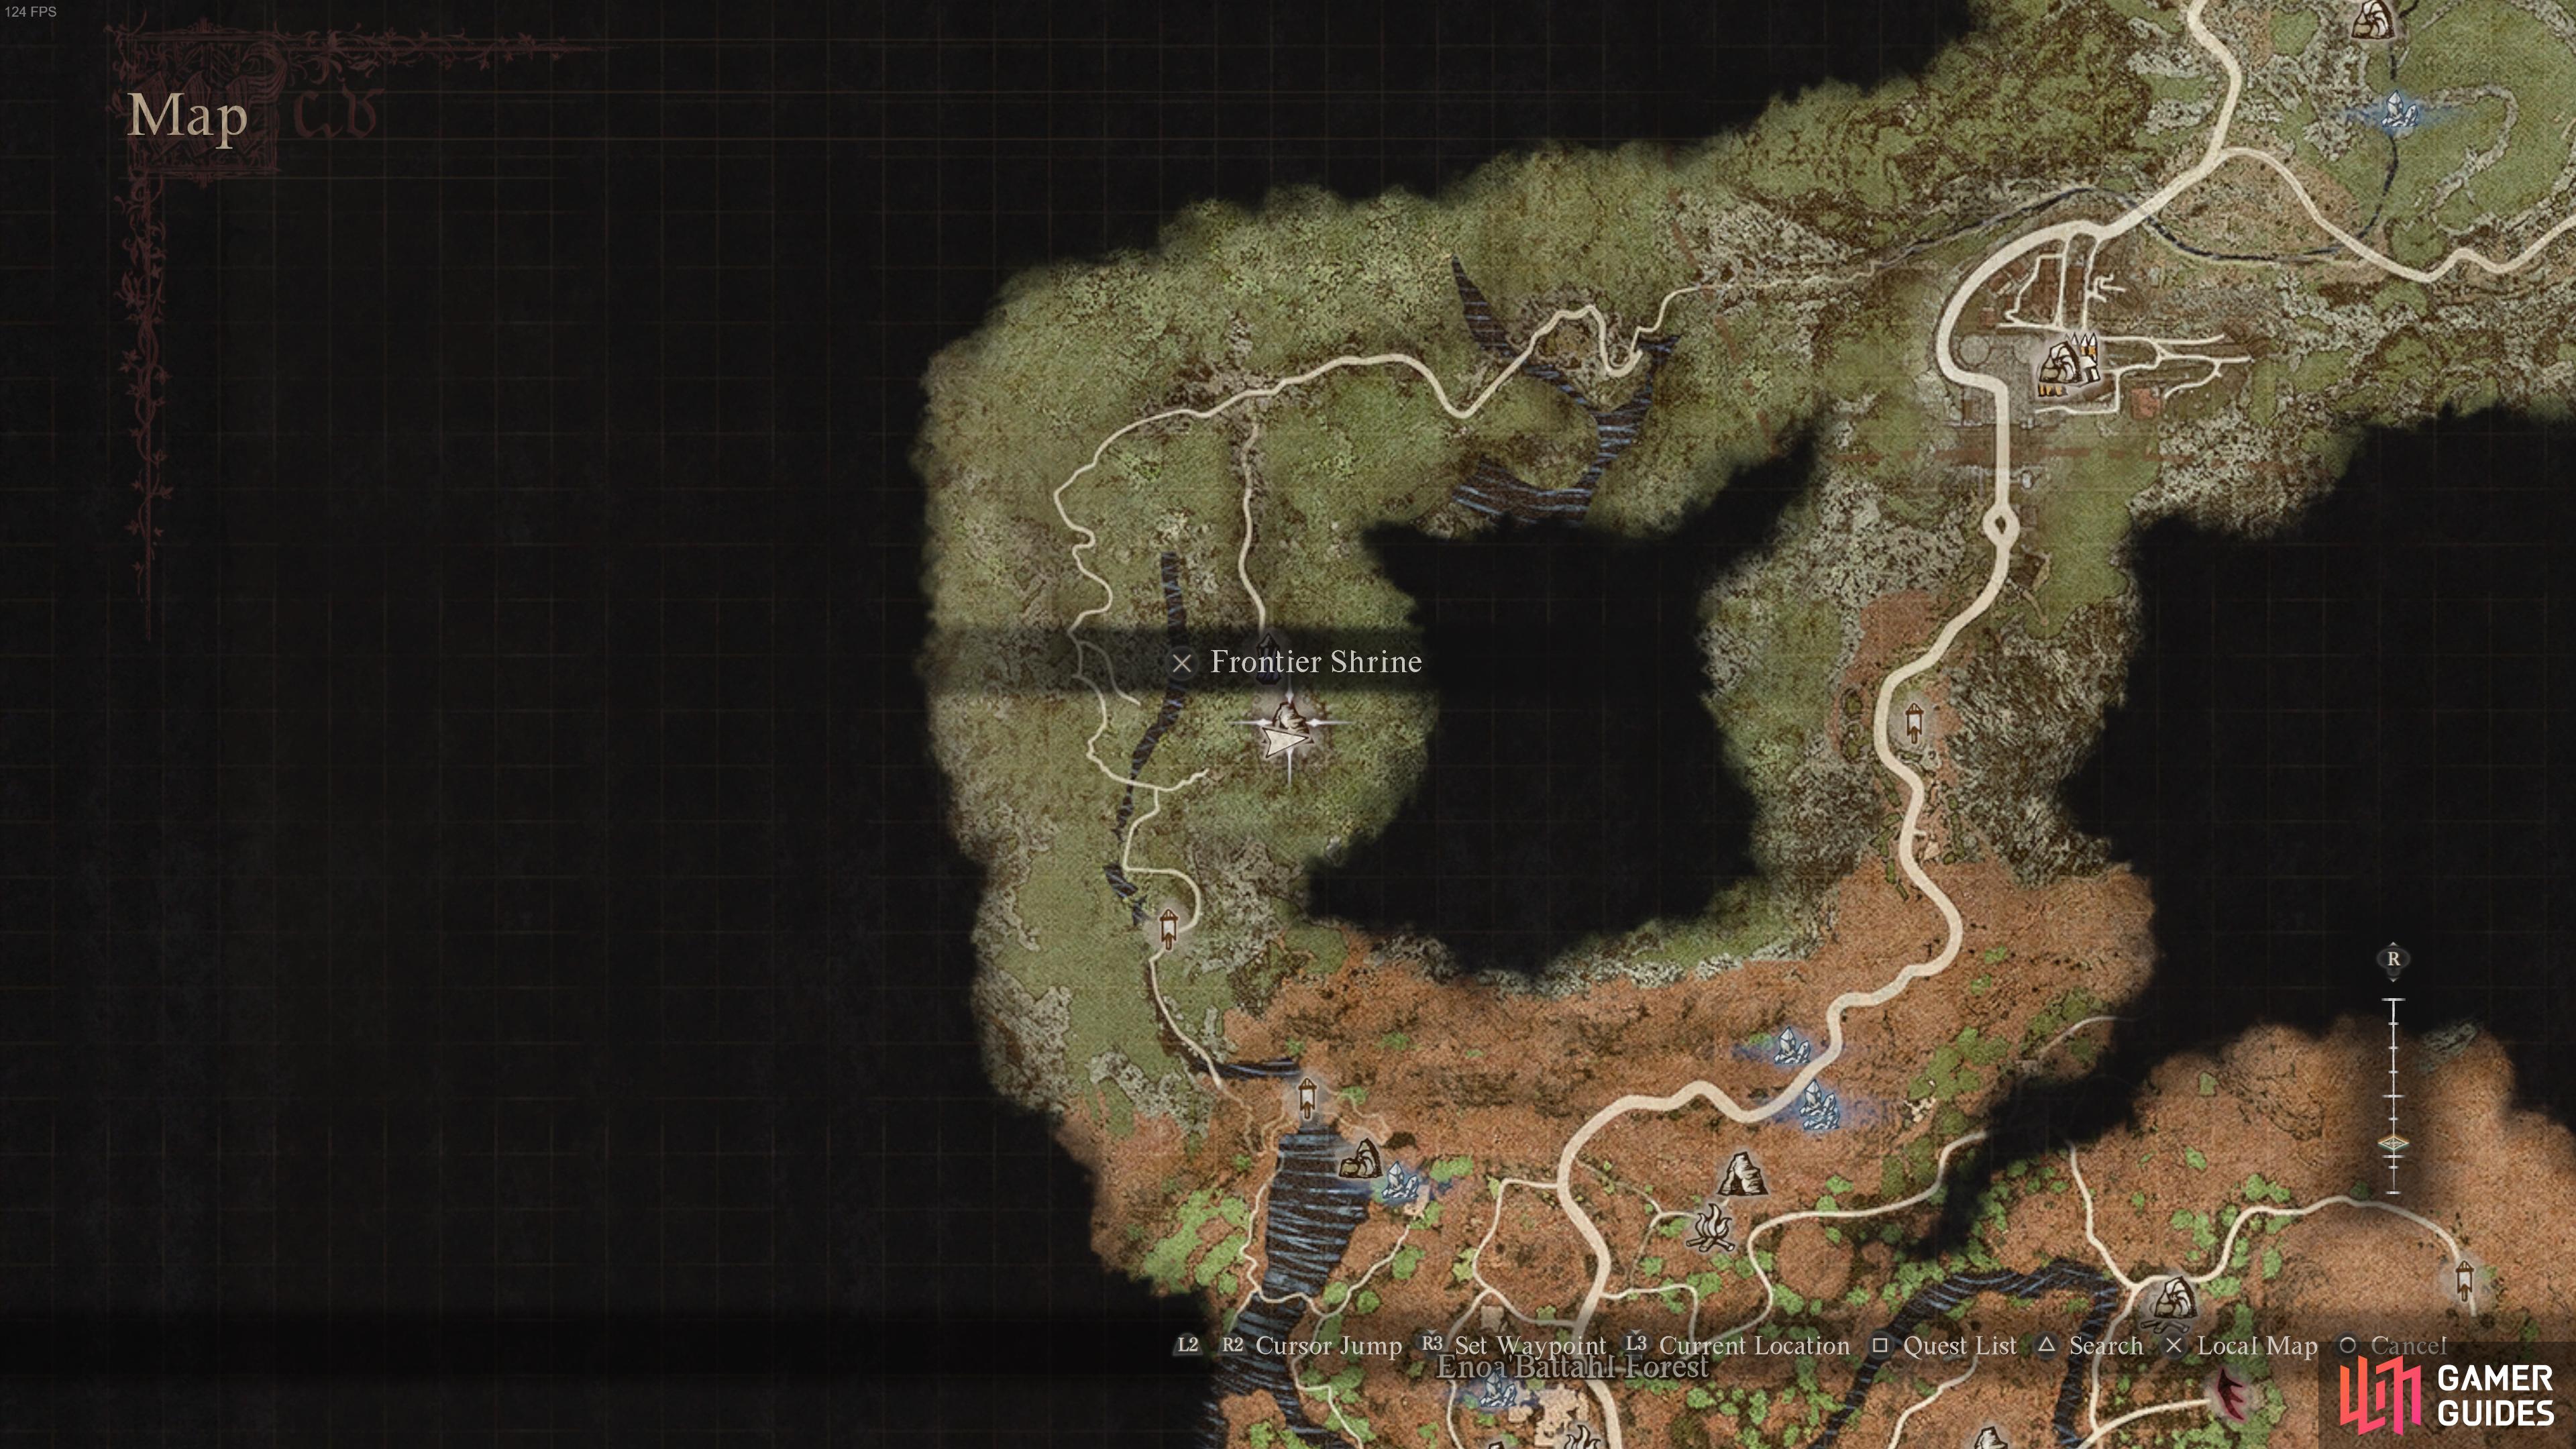
The Frontier Shrine can be found southwest of the Checkpoint Rest Town in Vermund.
Second Set of Sphinx Riddle Answers & Preparation
The second set of Sphinx riddles is also comprised of five, but they’re not listed in the same way as the first set was when you interacted with the Sphinx, which allowed you to pick which you wanted to complete first. Instead, you’ll be given each riddle in a specific order, which may differ for each player. They’re also posed more as direct questions rather than poetic riddles at this location.
The two exceptions to this are the Riddle of Reunion, which completes automatically when you find her, and the Riddle of Recollection, which you should get as soon as you speak with the Sphinx after finding her again. However, if you’re given the Riddle of Recollection and then speak with the Sphinx again before completing it, the statues required to complete it will disappear. If this happens, you’ll need to complete the next riddle posed, which can occur in any order after the first two, before you can attempt the Riddle of Recollection again.
Make a Hard Save Before the Sphinx Boss Fight!
We’ve listed the second set of riddles in the order that we experienced them, but this may be different for you. In any case, the solutions will always be the same, regardless of the order of riddles for you. We strongly recommend making a hard save by resting either at one of your houses or an inn before going to complete the final riddle. You can then return to this save if anything goes wrong during the boss fight with the Sphinx.
If you fail to complete the Riddle of Recollection, you can still obtain an Unmaking Arrow by purchasing it for x8 ![]() Wyrmslife Crystals from
Wyrmslife Crystals from ![]() The Dragonforged NPC, which can be found on our interactive map here.
The Dragonforged NPC, which can be found on our interactive map here.
Riddle of Reunion Solution
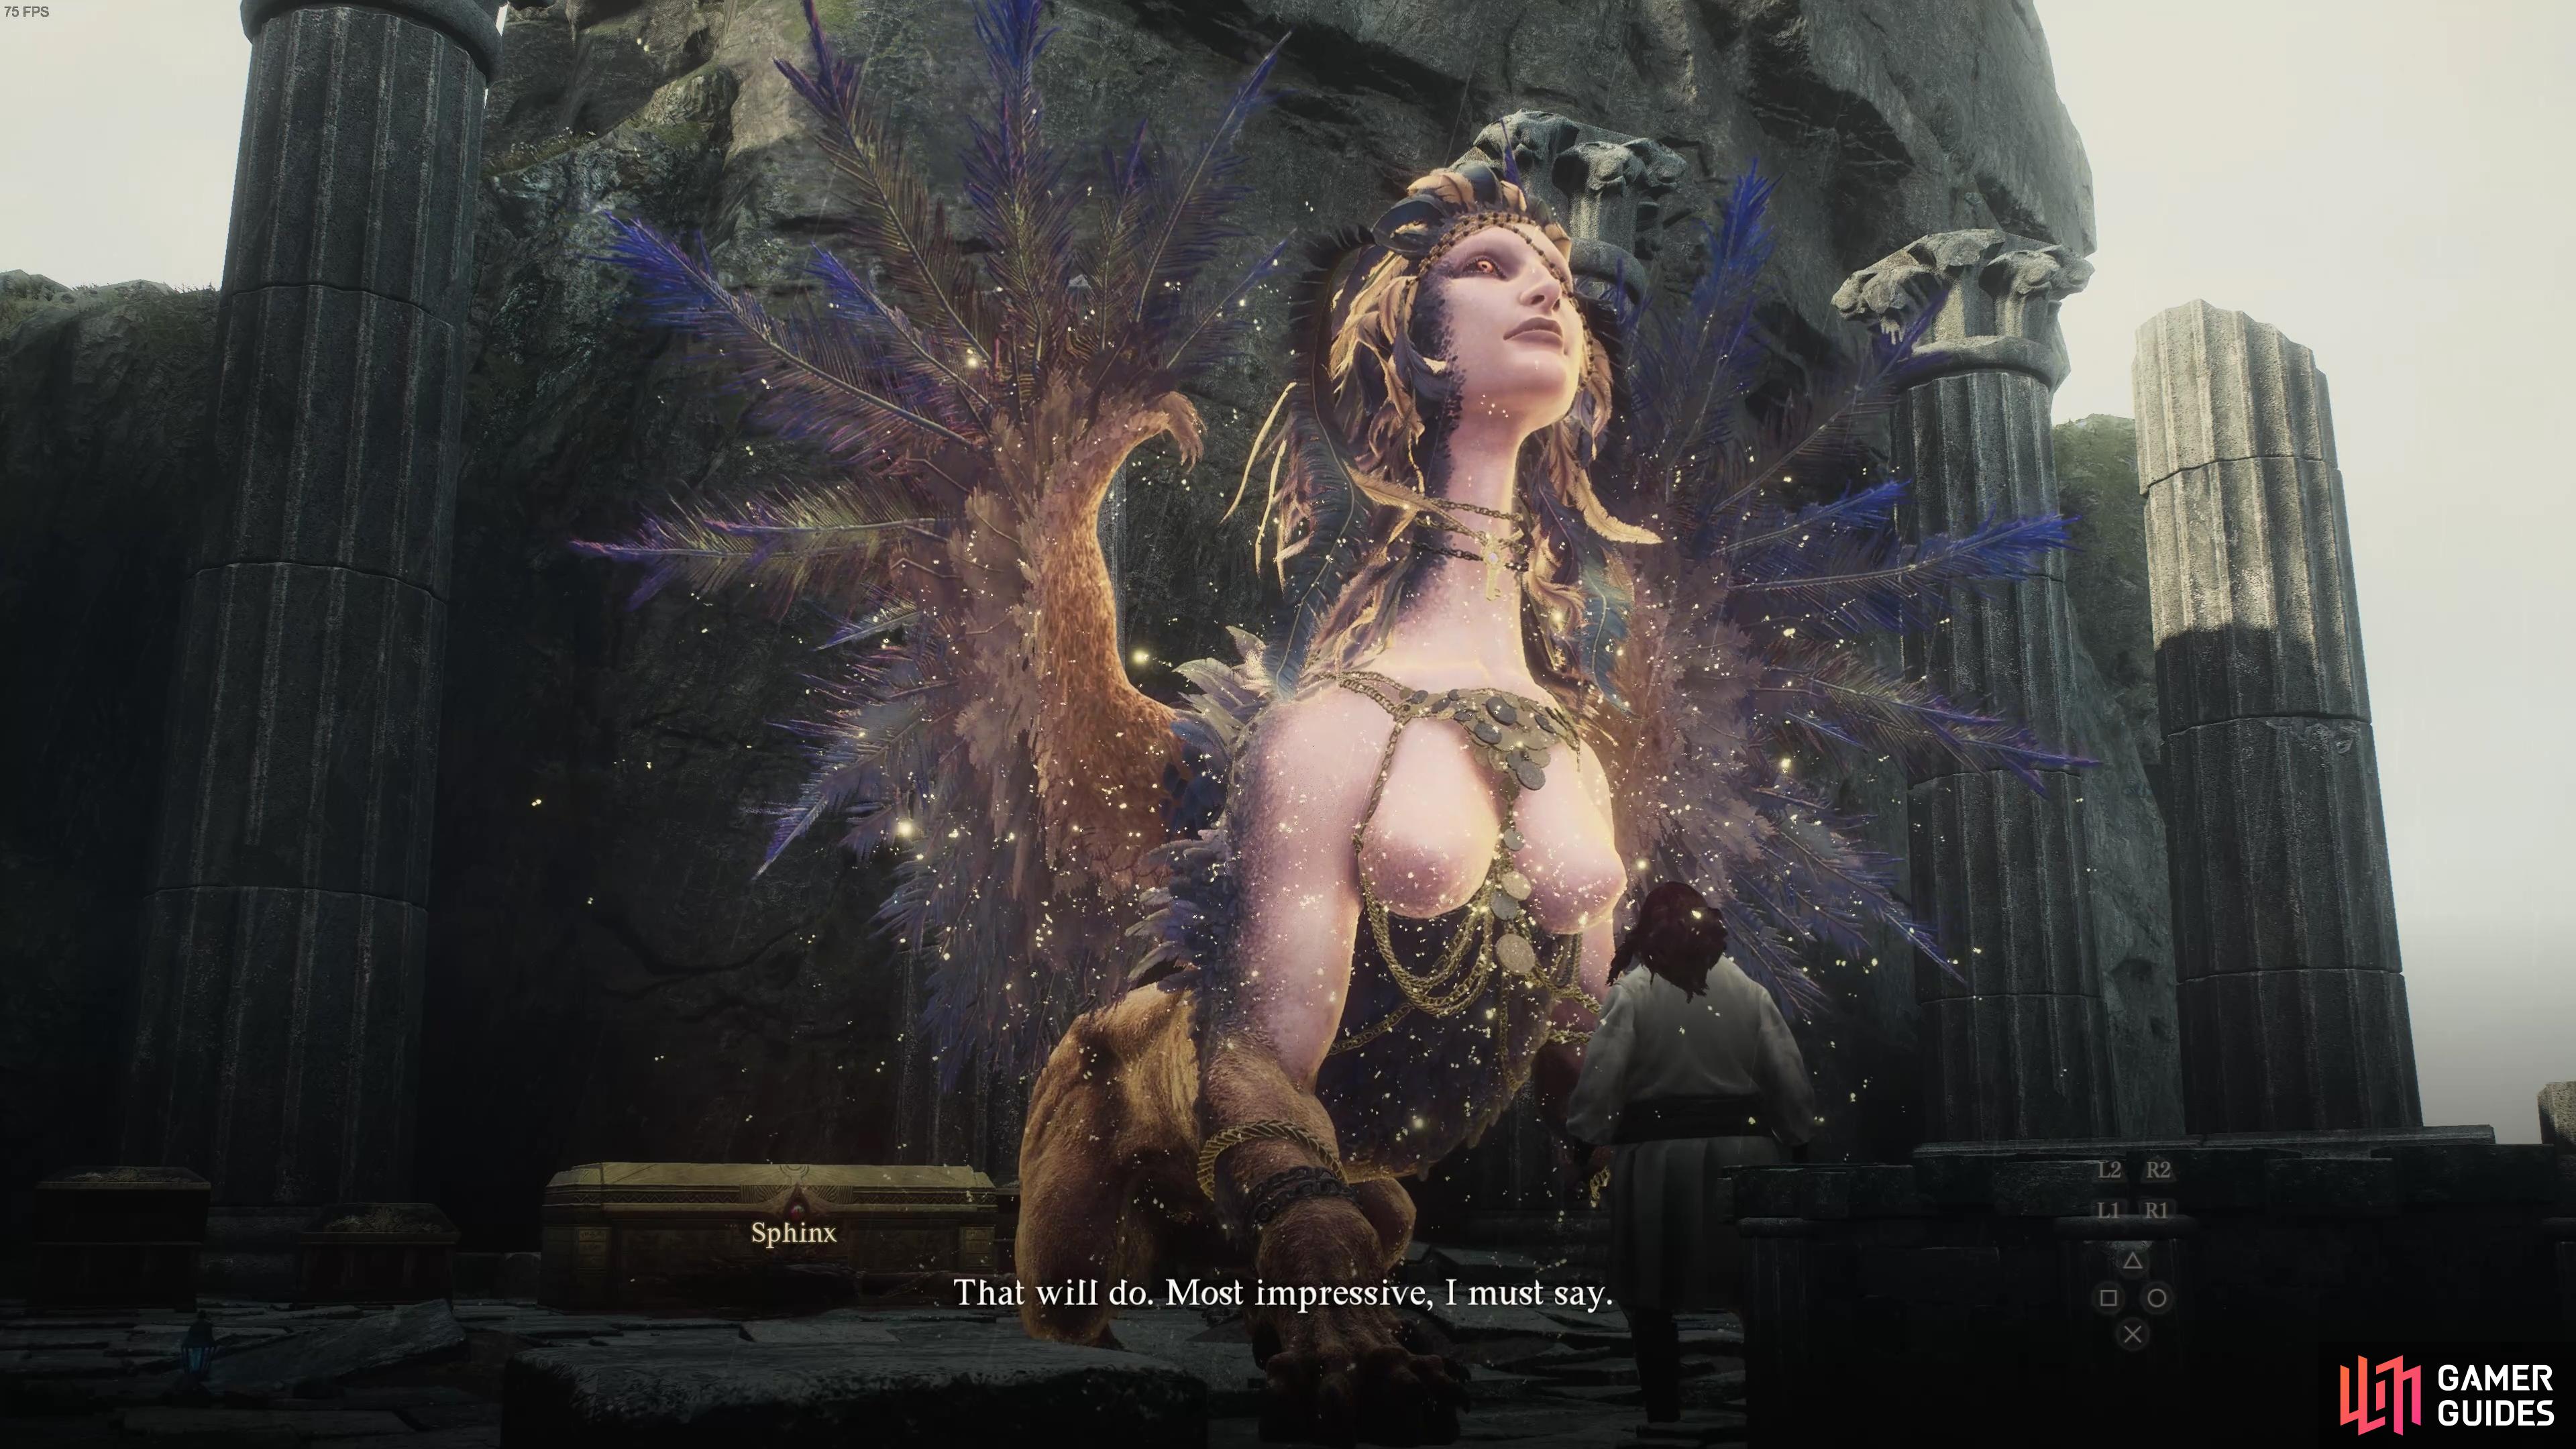
As you first approach the Sphinx at her new location of the Frontier Shrine, a brief dialogue scene will begin, at the end of which you’ll be notified that you completed the Riddle of Reunion. This one is as simple as that; all you had to do was find the Sphinx at her second location. You can loot a chest behind her to find 100,000 Gold as your reward.
Riddle of Recollection Solution
The Riddle of Recollection is essentially a direct question: how many riddles have you solved thus far? The answer may be different for each player, but if you successfully answered all of the riddles at the Mountain Shrine, you’ve answered five riddles so far. However, given that you solved the Riddle of Reunion when you first arrived at the Frontier Shrine, the answer at this stage would actually be six. In addition, if you completed any of the other riddles below before attempting the Riddle of Recollection, the answer will change accordingly.
The easiest way to tell how many riddles you’ve answered at any given time is to consider how many you successfully answered at the Mountain Shrine (five if you completed them all), then add one more for each open chest at the Frontier Shrine. As already mentioned, if you haven’t yet completed the Riddles of Futility, Contest, and Differentiation, you will have answered six riddles so far.
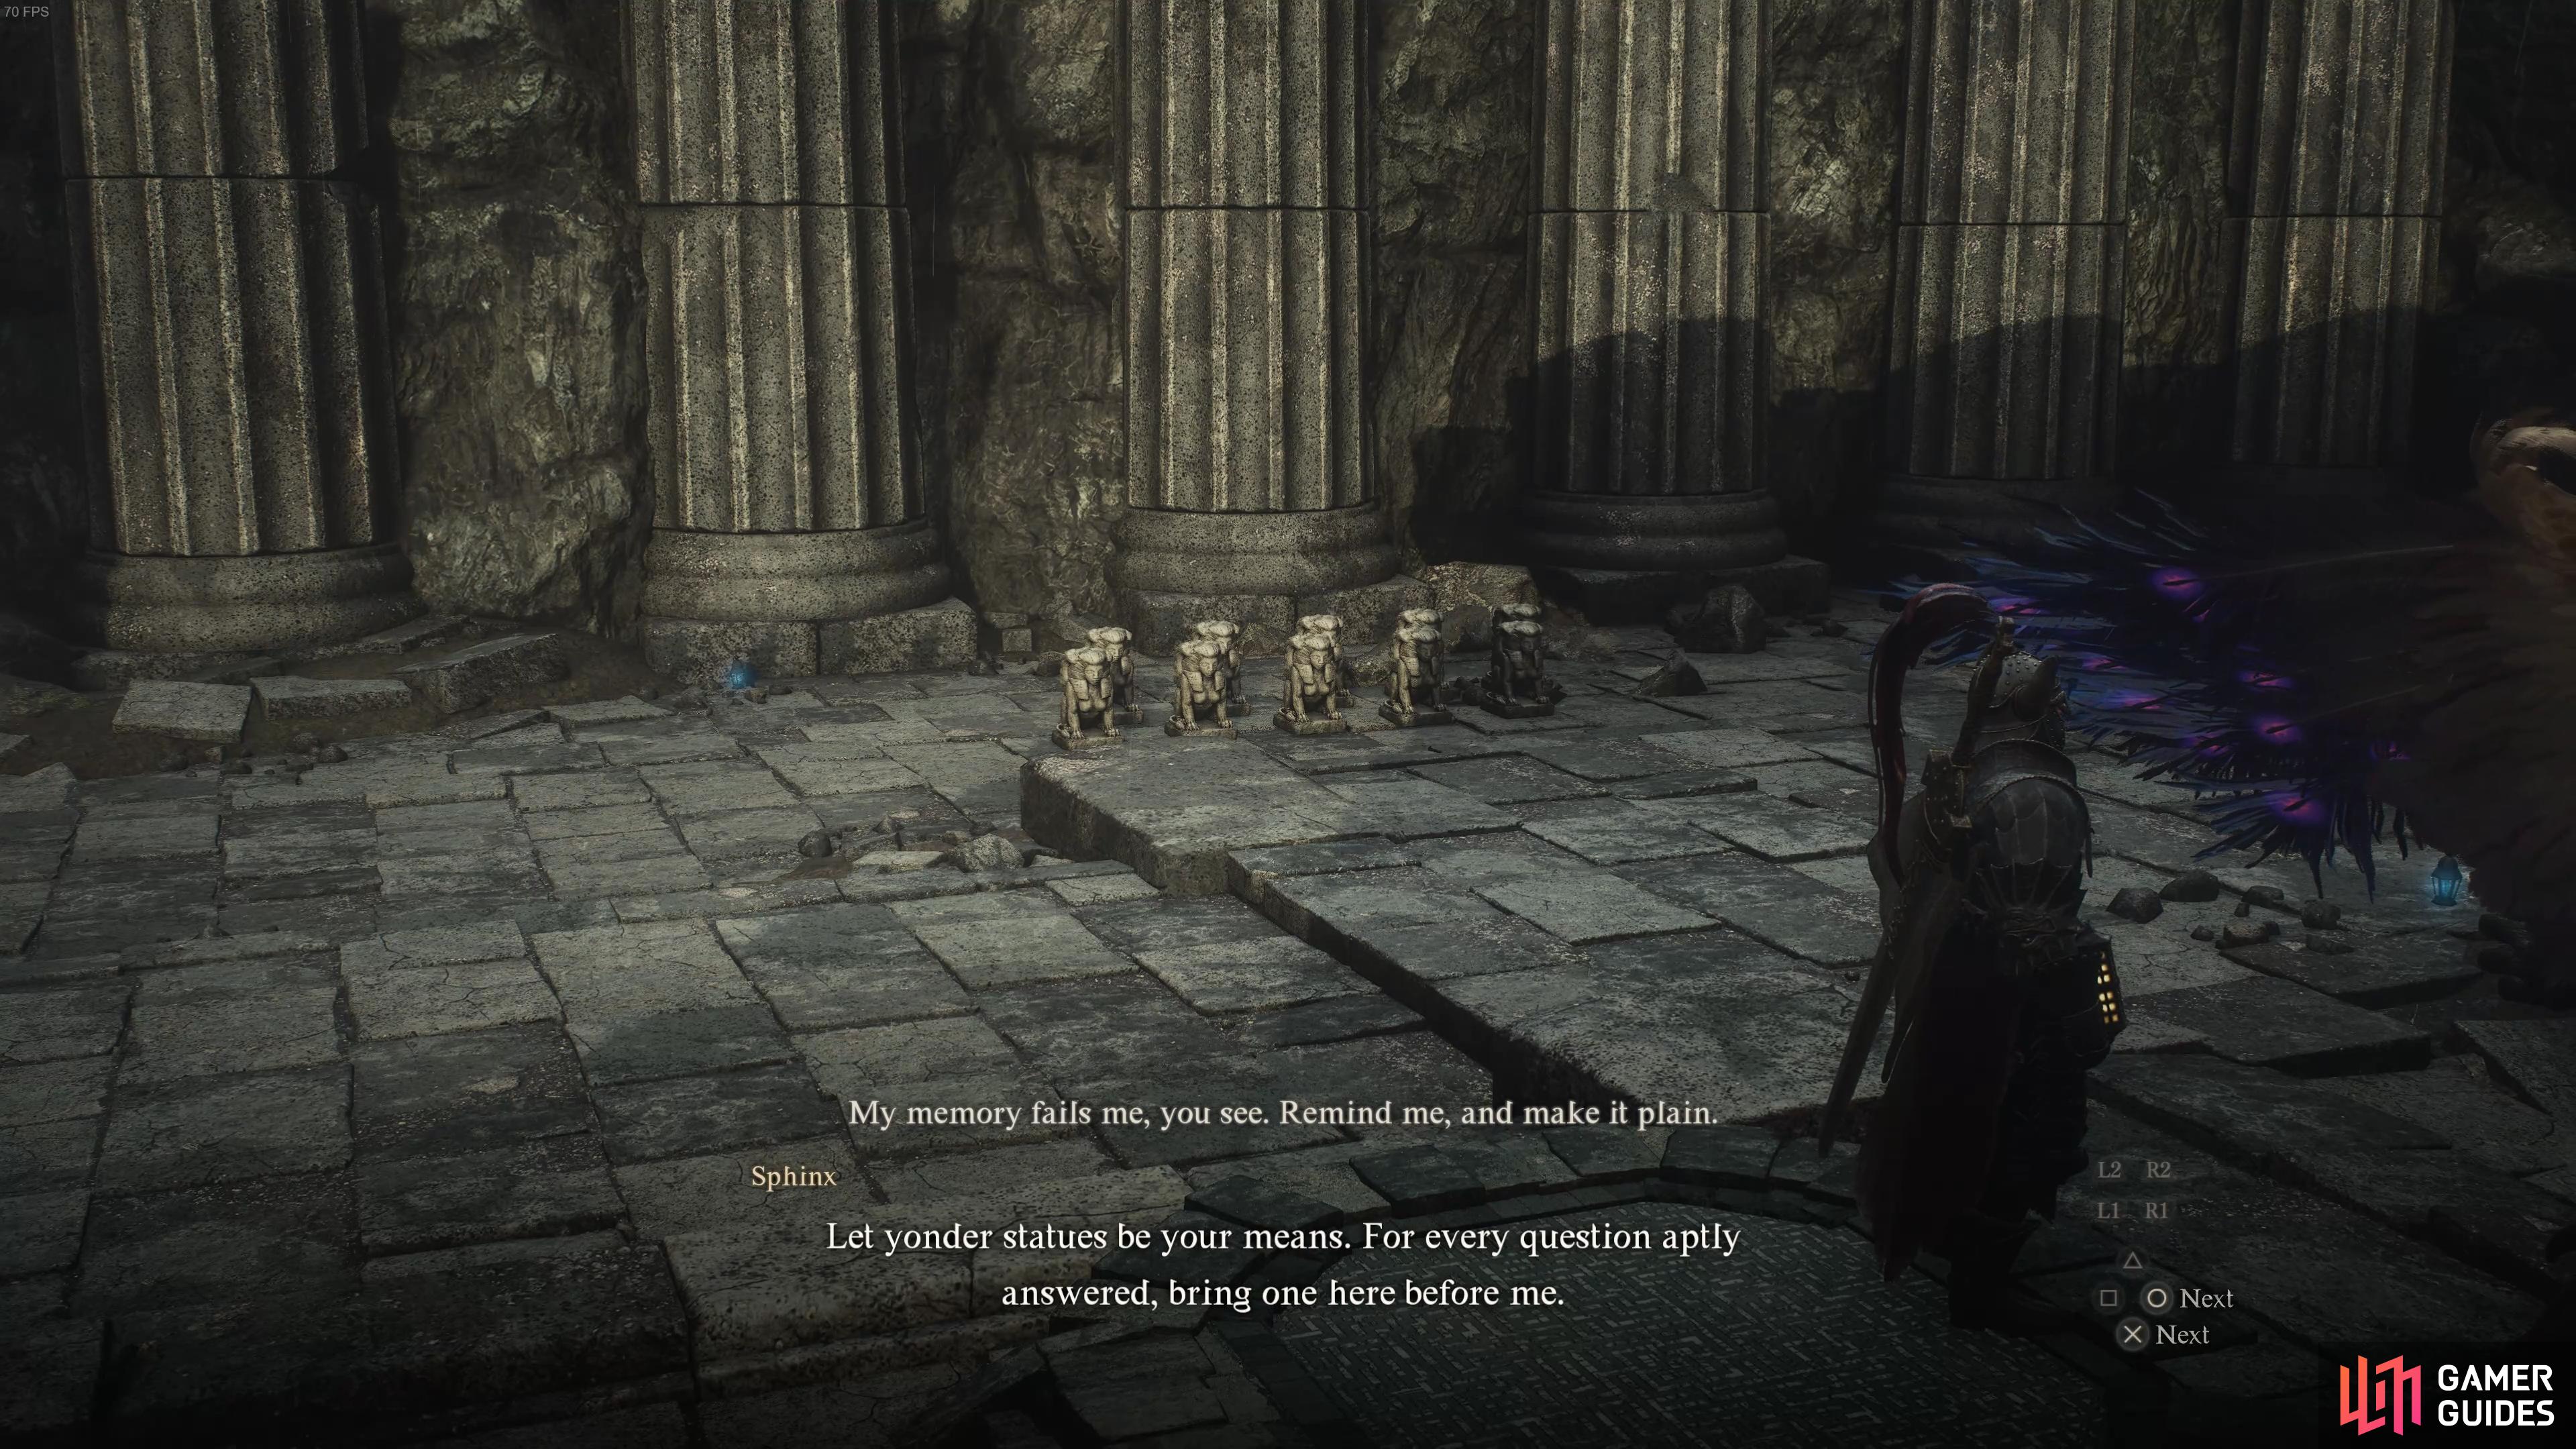
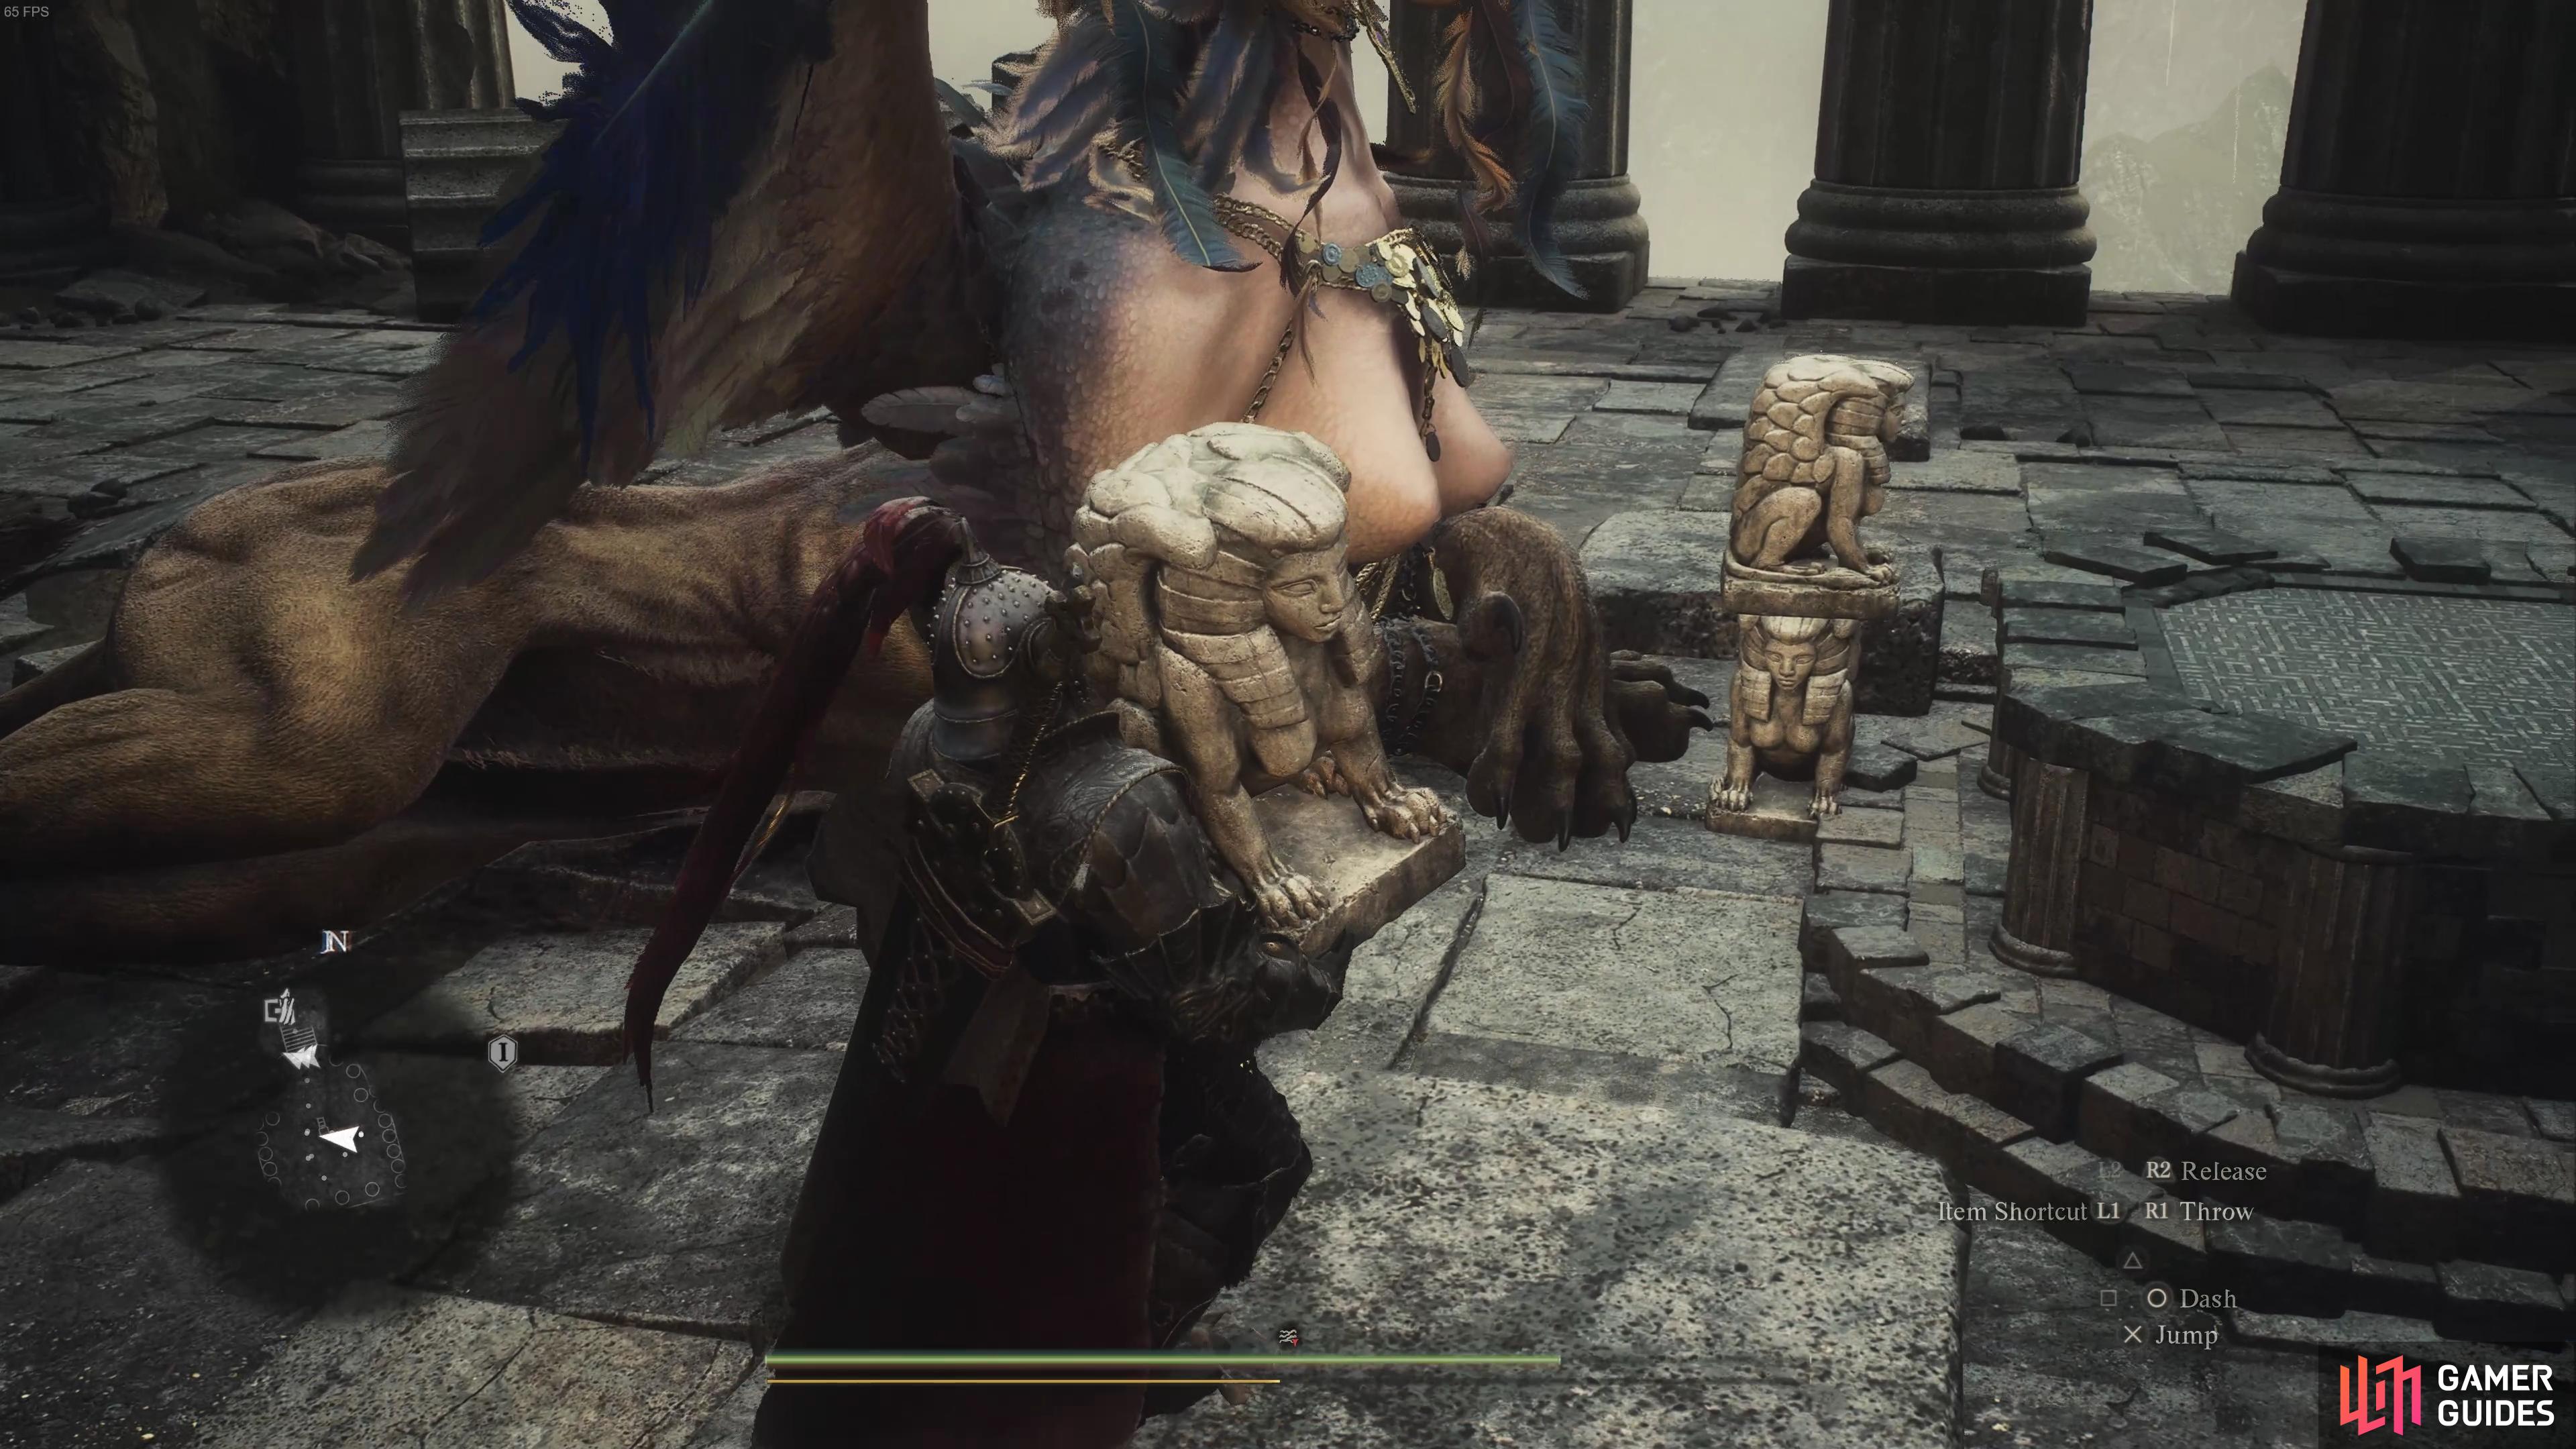
(1 of 3) You need to carry one statue for each answered riddle thus far.
Once you’ve determined how many riddles you’ve successfully answered so far, you need to take a statue from the left side of the Sphinx for each riddle completed and place it in front of the Sphinx. She’ll recognize each statue as a riddle answered, so once you’ve placed as many statues as you have answered riddles, you can speak with her and tell her that you’re ready to answer. With the correct amount placed, you can loot the chest behind her to find an Unmaking Arrow, which is an important item that you need to defeat the Sphinx later.
Riddle of Futility Solution
The Riddle of Futility is more of a direct request, whereby the Sphinx asks you to take an amphora to Ser Maurits in Battahl. The location of Ser Maurits should be marked on your map within ![]() Bakbattahl, but we’ll show you in the screenshot below just in case. The most important thing to note about this riddle is that it’s far easier if you leave the amphora where it is, beside the Sphinx, while you bring Ser Maurits to the Frontier Shrine instead. If you attempt to take the amphora to Bakbattahl by carrying it, there’s a high chance that it’ll be destroyed as you’re beset by all kinds of monsters. If you want that challenge, go for it, if not, we recommend doing one of the following instead:
Bakbattahl, but we’ll show you in the screenshot below just in case. The most important thing to note about this riddle is that it’s far easier if you leave the amphora where it is, beside the Sphinx, while you bring Ser Maurits to the Frontier Shrine instead. If you attempt to take the amphora to Bakbattahl by carrying it, there’s a high chance that it’ll be destroyed as you’re beset by all kinds of monsters. If you want that challenge, go for it, if not, we recommend doing one of the following instead:
- Go to Bakbattahl, find Ser Maurits, and absorb him into the Sealing Phial that you earned as a reward from the Riddle of Eyes
- Pick up Bakbattahl on your shoulder, then use a Ferrystone to instantly travel to the Frontier Shrine
The main aim here is to bring Ser Maurits to the Frontier Shrine, rather than the amphora to him at Bakbattahl, so you can do it in whatever other creative way that you might dream up. However, the easiest way is arguably by picking him up and using the Ferrystone, especially since these are more common than Sealing Phials. You’ll need to carry Ser Maurits and place him next to the amphora for the appropriate dialogue to trigger, and once it’s done there will be a brief cutscene before the riddle is completed. As a reward, you can loot the ![]() Eternal Bond ring from the chest, a ring that can be gifted to others to greatly increases your affinity with them.
Eternal Bond ring from the chest, a ring that can be gifted to others to greatly increases your affinity with them.
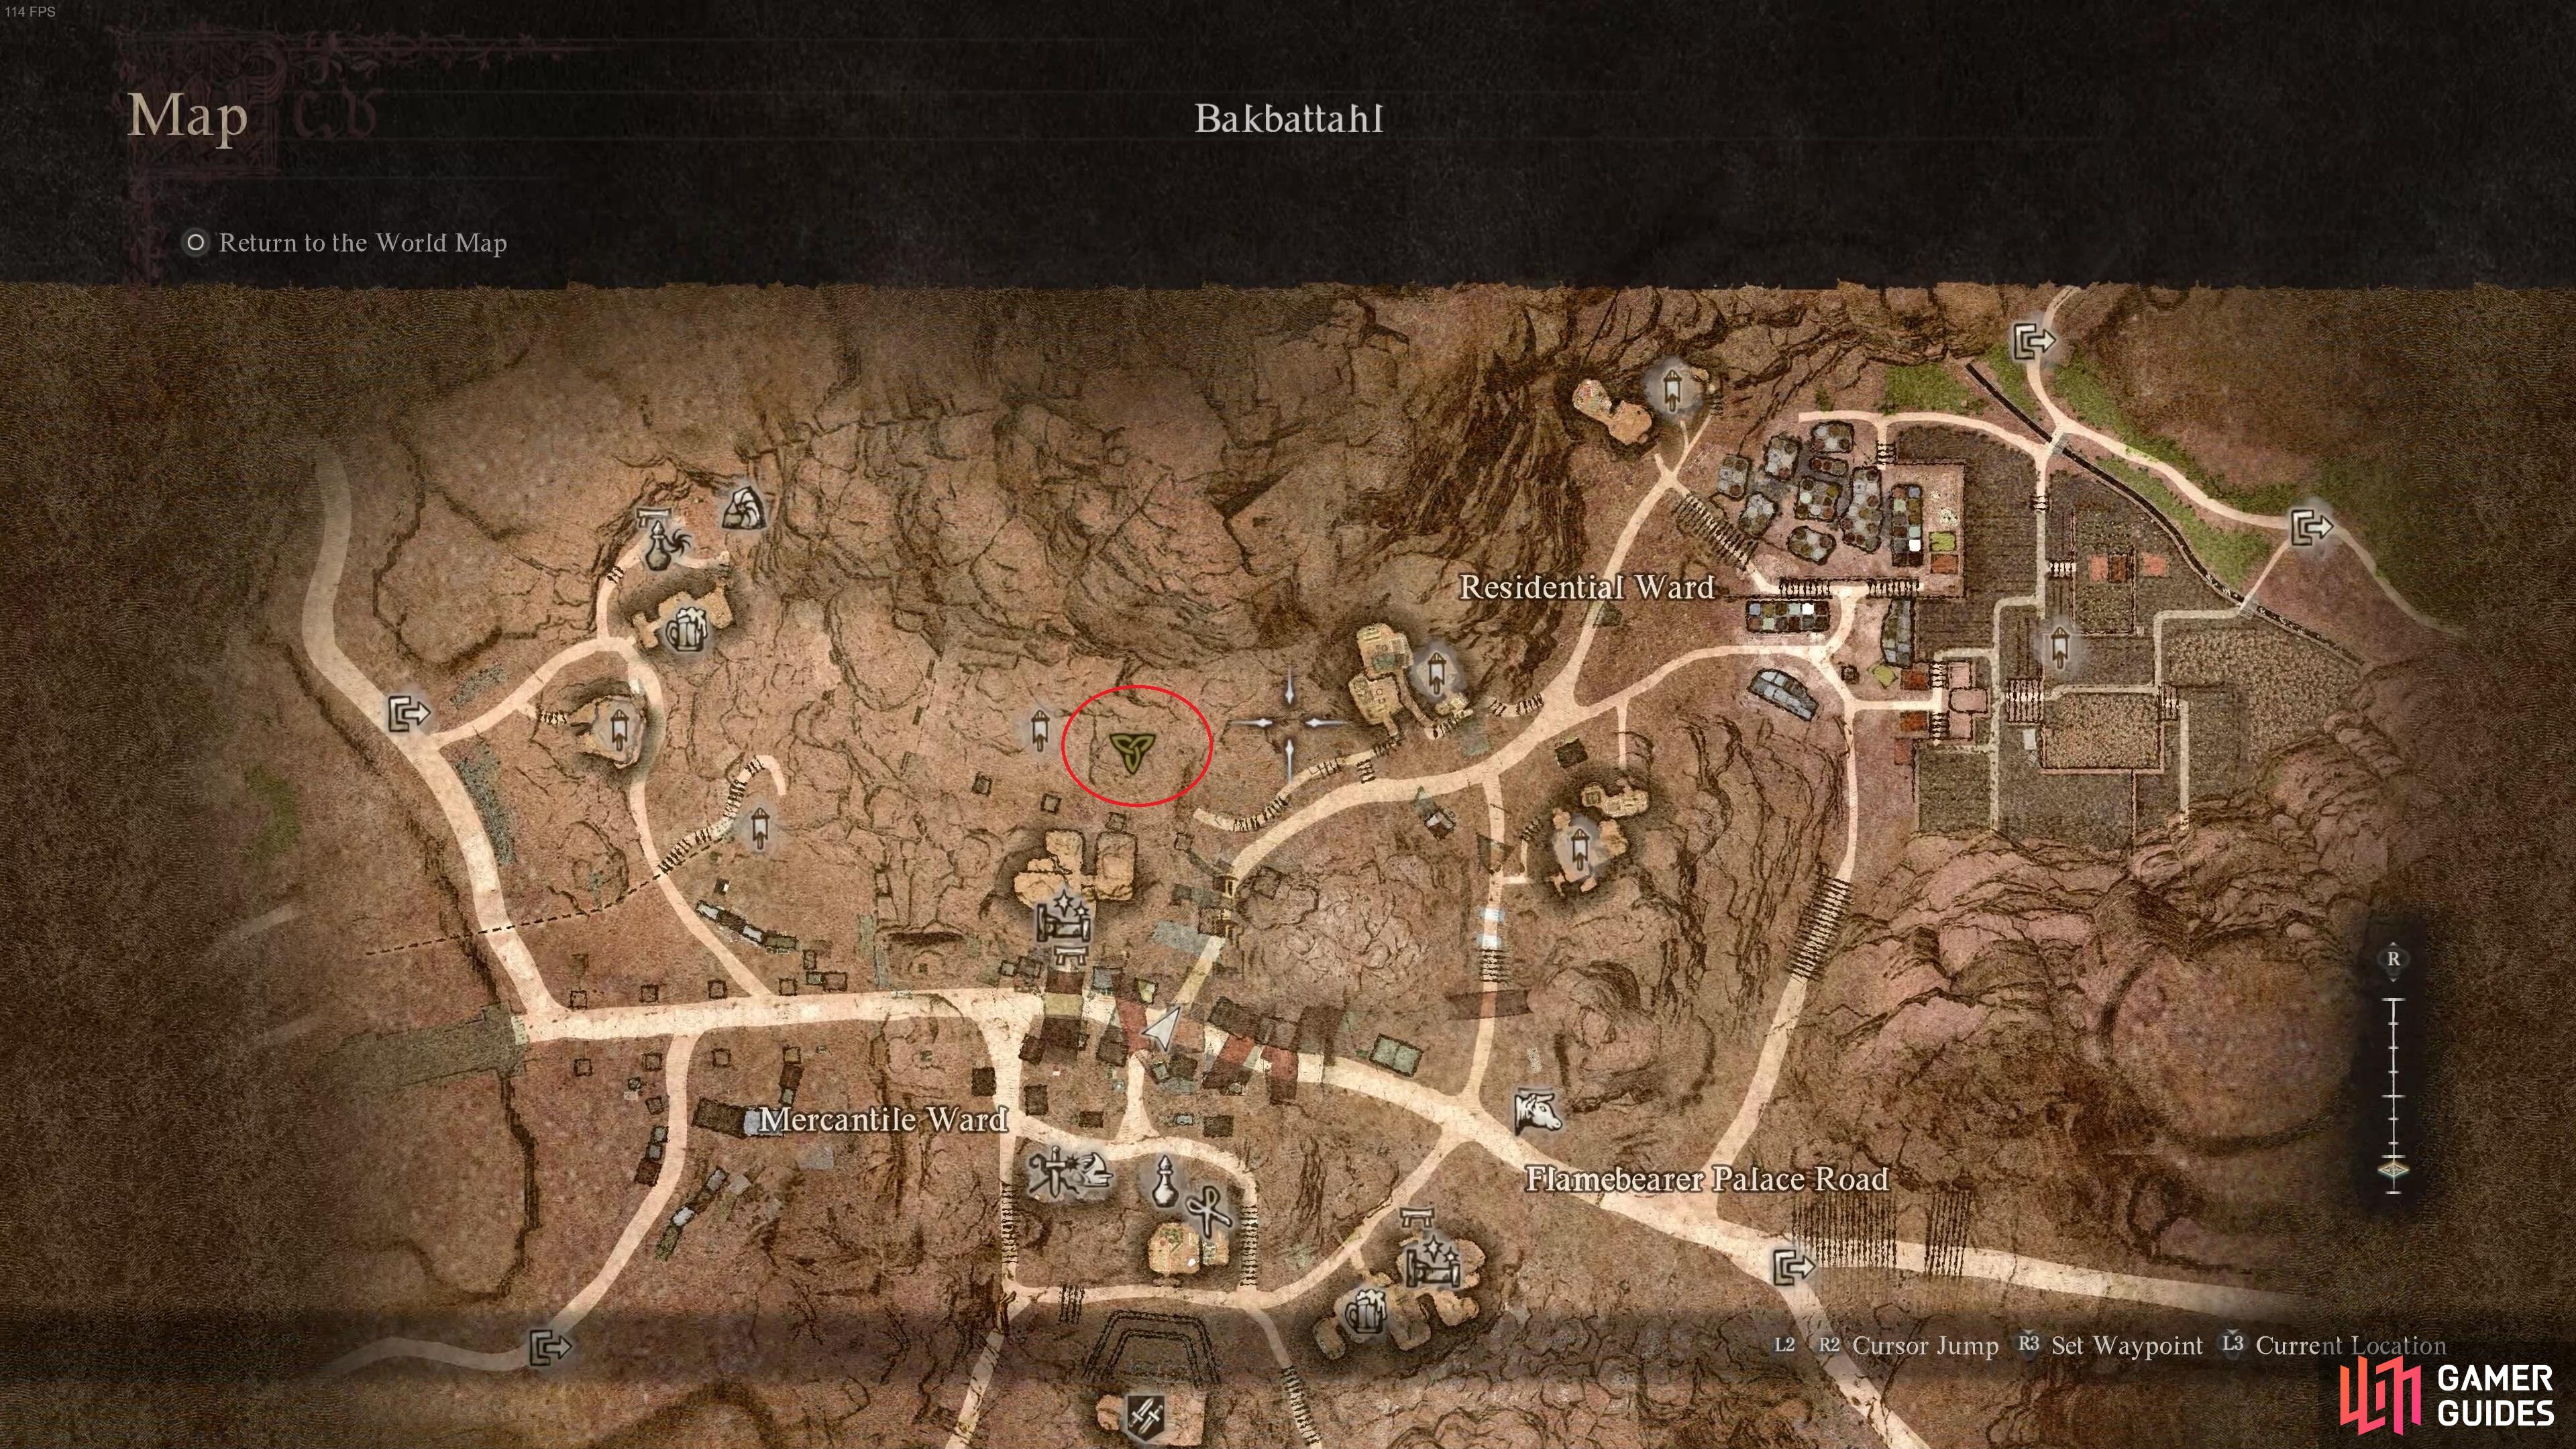
(1 of 3) The location of Ser Maurits in Bakbattahl.
If you find that you’re unable to port using a Ferrystone while carrying Ser Maurits, you may need to take him away from the place you found him, to a place under an open sky, since this is a requirement before you can use Ferrystones. Just down the steps from the area where you found him should suffice.
Riddle of Contest Solution
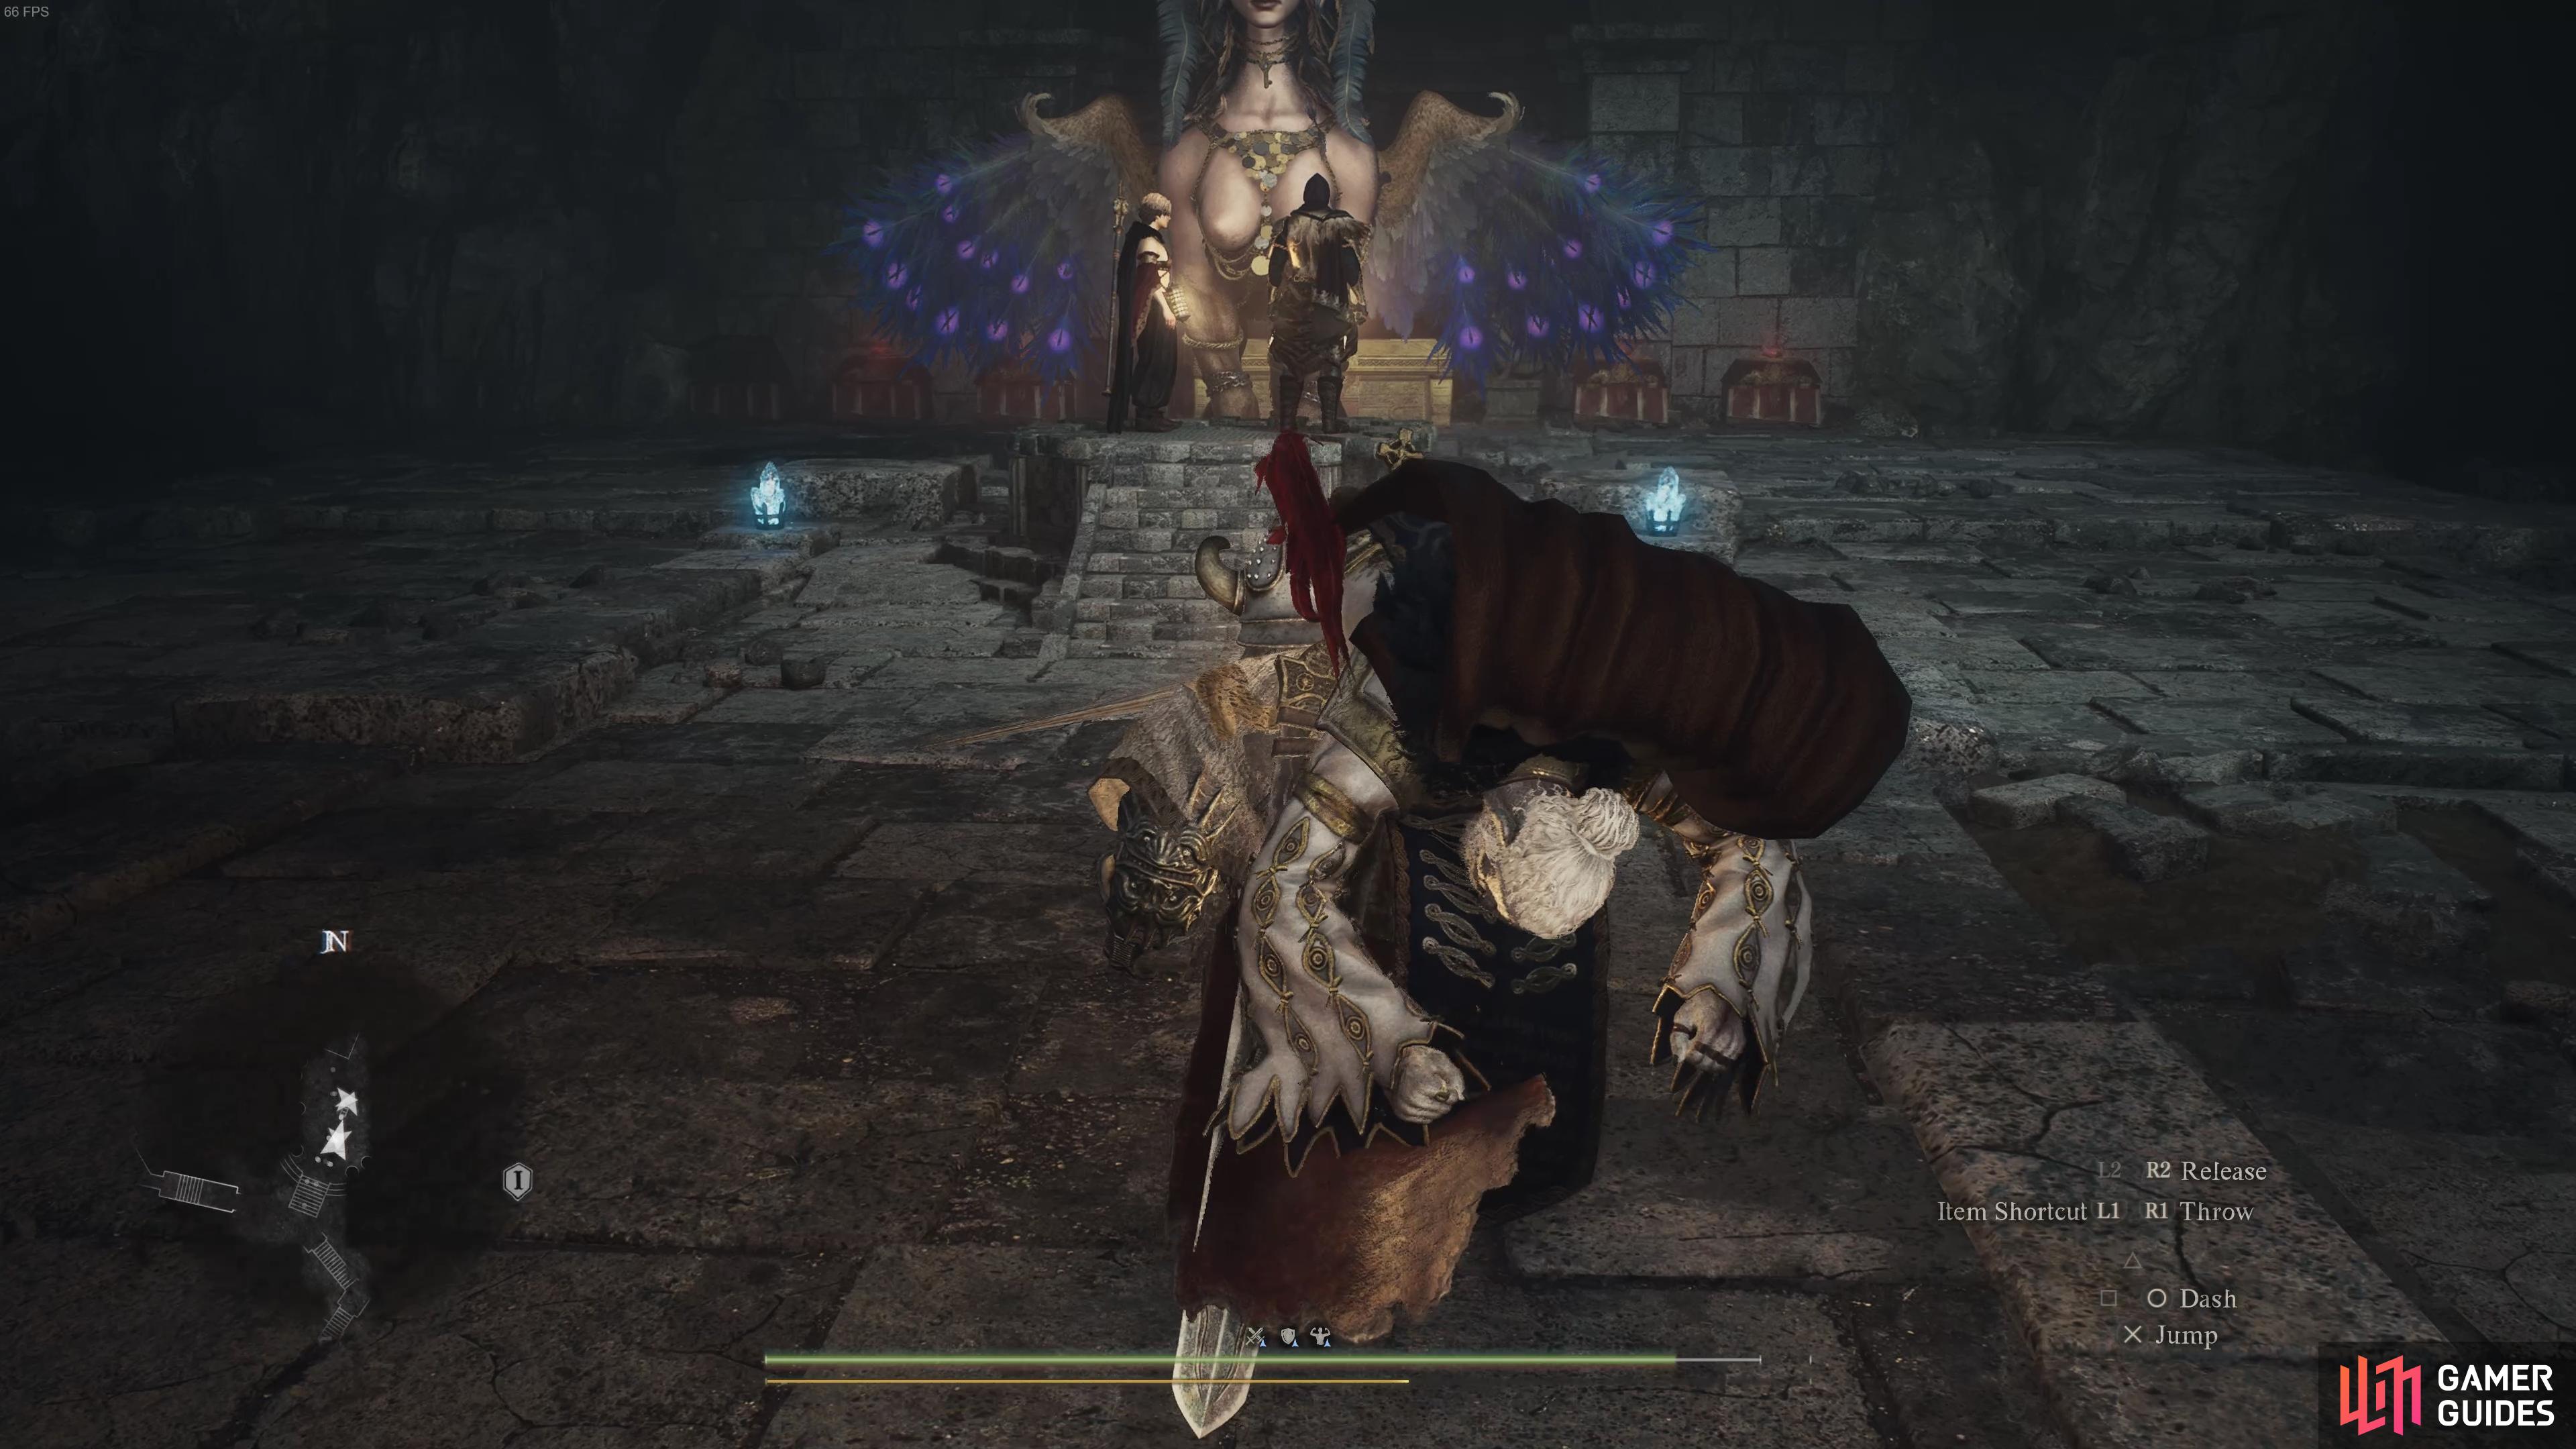
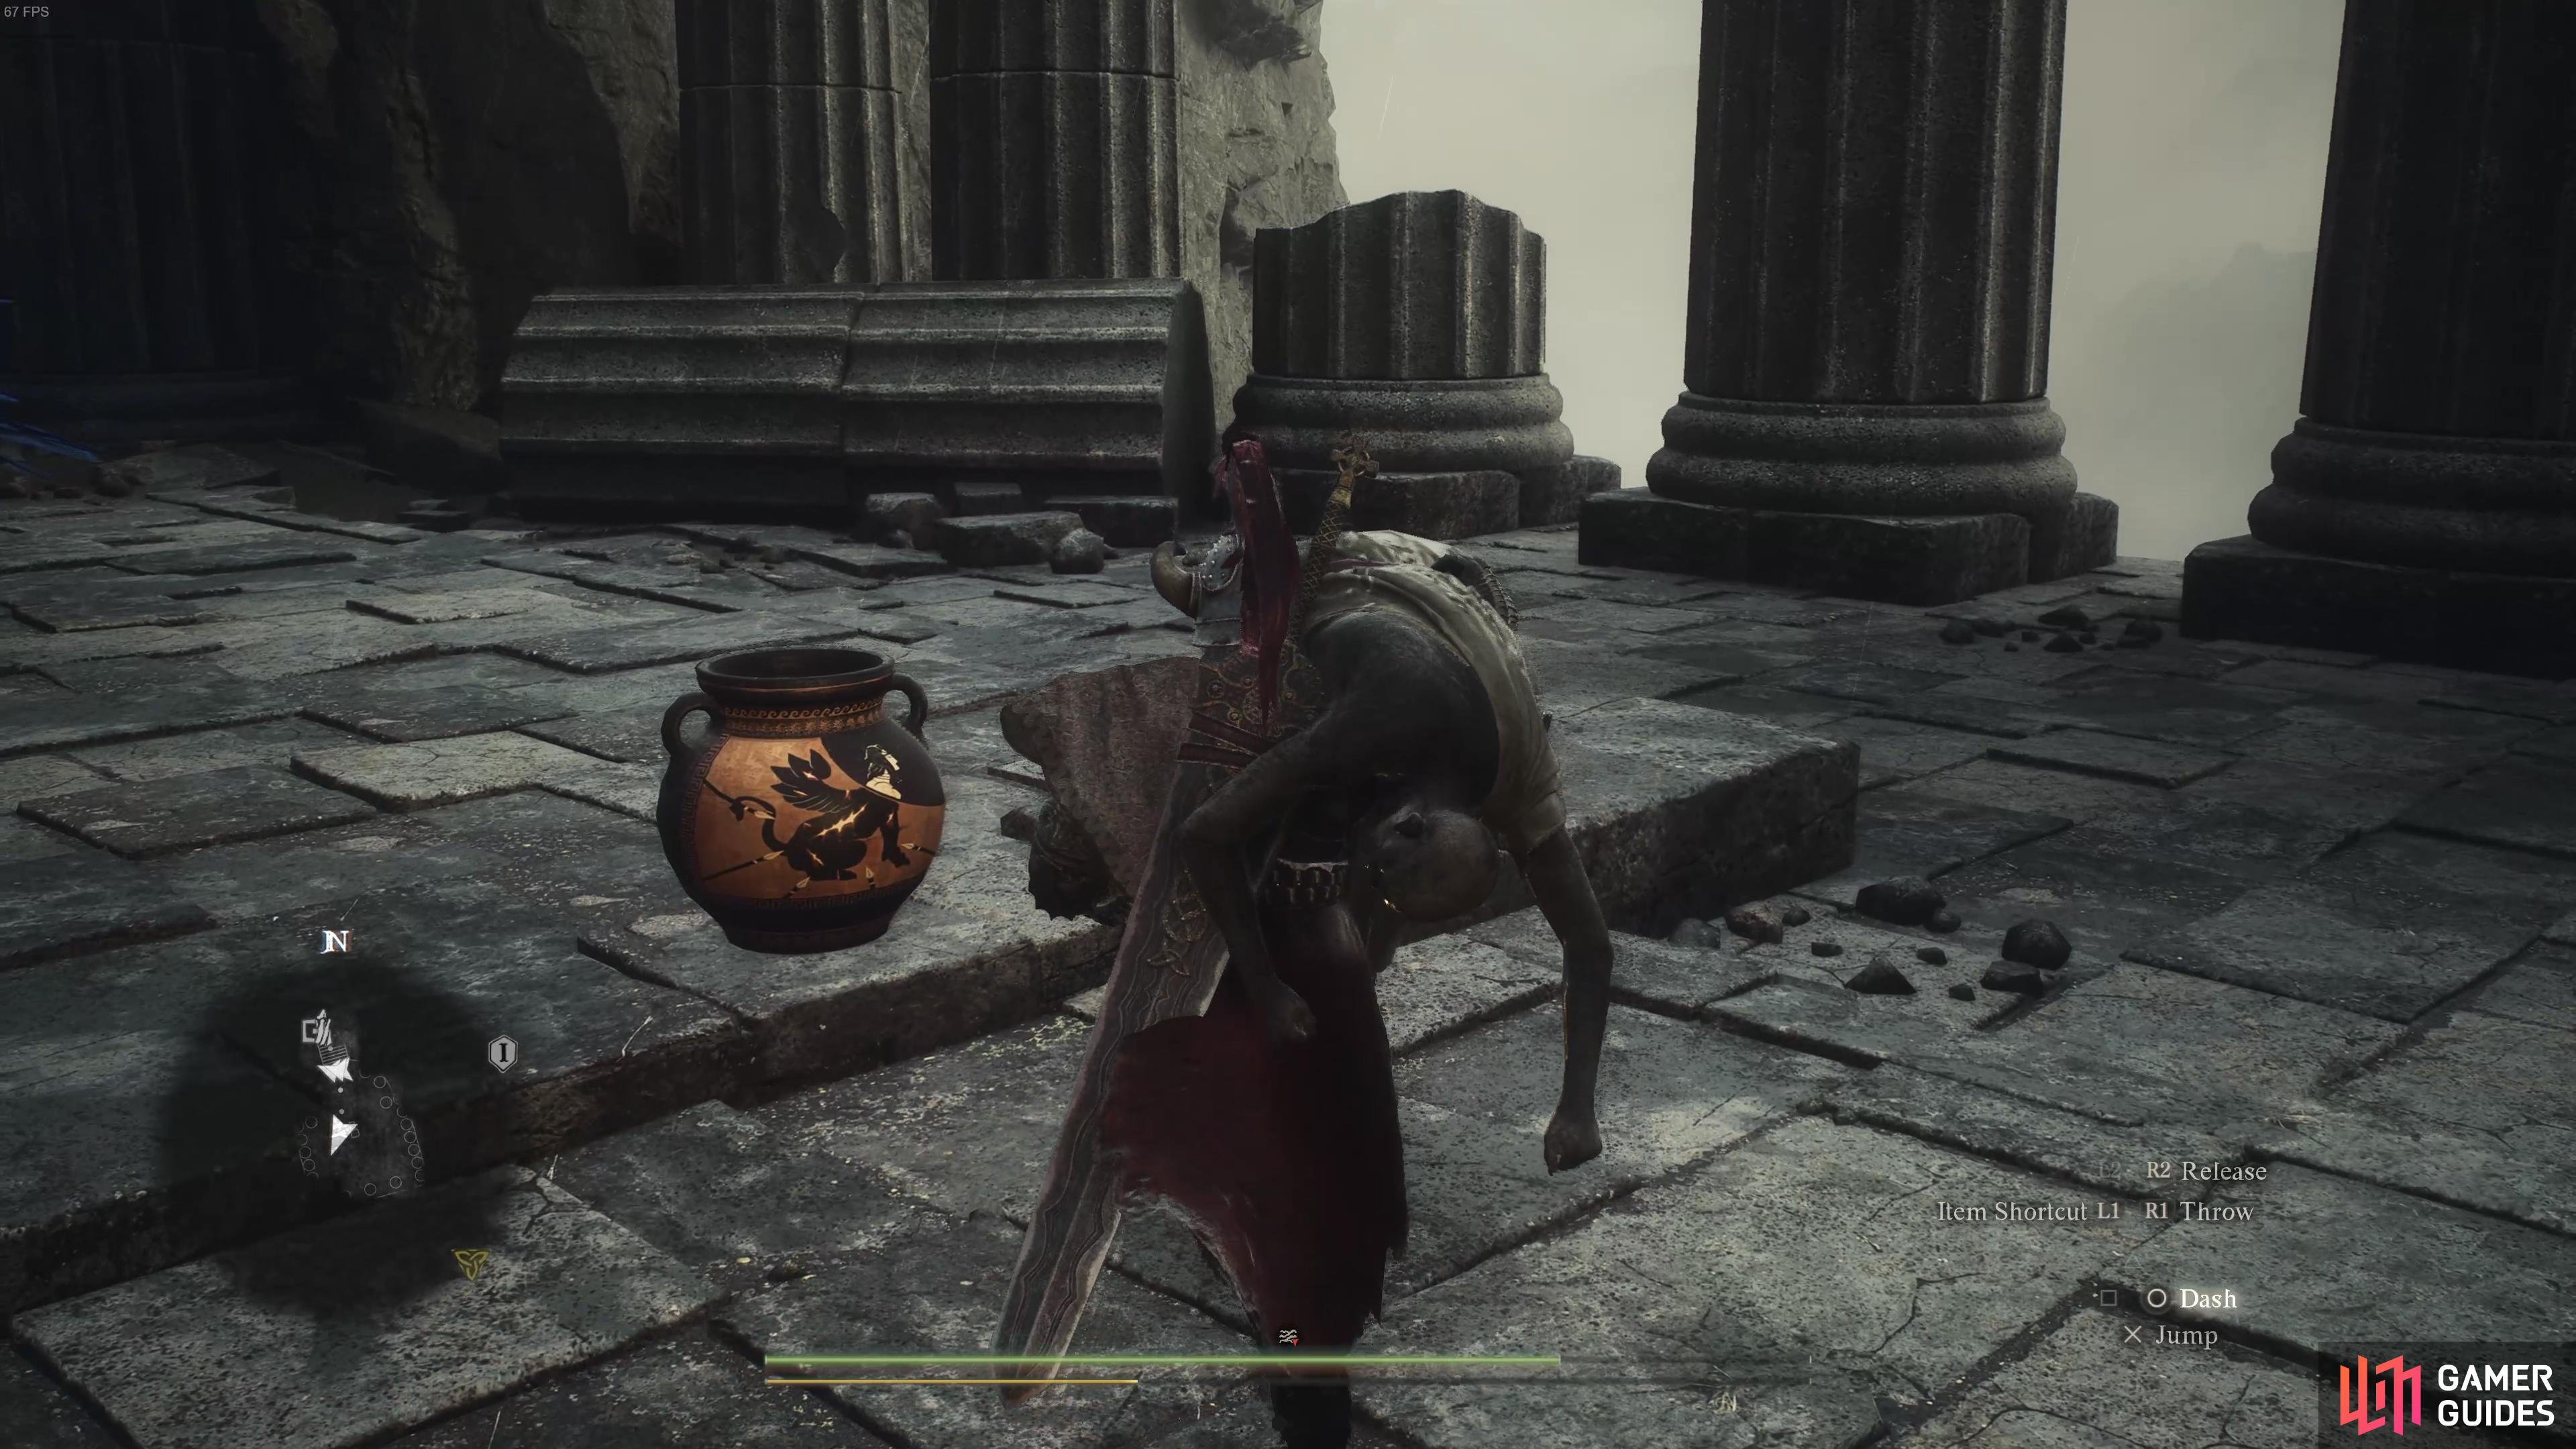
The Riddle of Contest doesn’t require you to travel far, but you need to do something rather specific to complete it successfully. You’ll be given a ![]() Ring of Derision which weakens all of your attacks so that you inflict minimal damage and asked to fight an NPC that spawns nearby. Even if you can fight and kill the NPC, you shouldn’t do this if you want to succeed. Instead, the way to satisfy the Sphinx here is to stagger the opponent so that you can pick them up and carry them, then throw them off the cliff to the north. Take care not to fall down yourself in the process!
Ring of Derision which weakens all of your attacks so that you inflict minimal damage and asked to fight an NPC that spawns nearby. Even if you can fight and kill the NPC, you shouldn’t do this if you want to succeed. Instead, the way to satisfy the Sphinx here is to stagger the opponent so that you can pick them up and carry them, then throw them off the cliff to the north. Take care not to fall down yourself in the process!
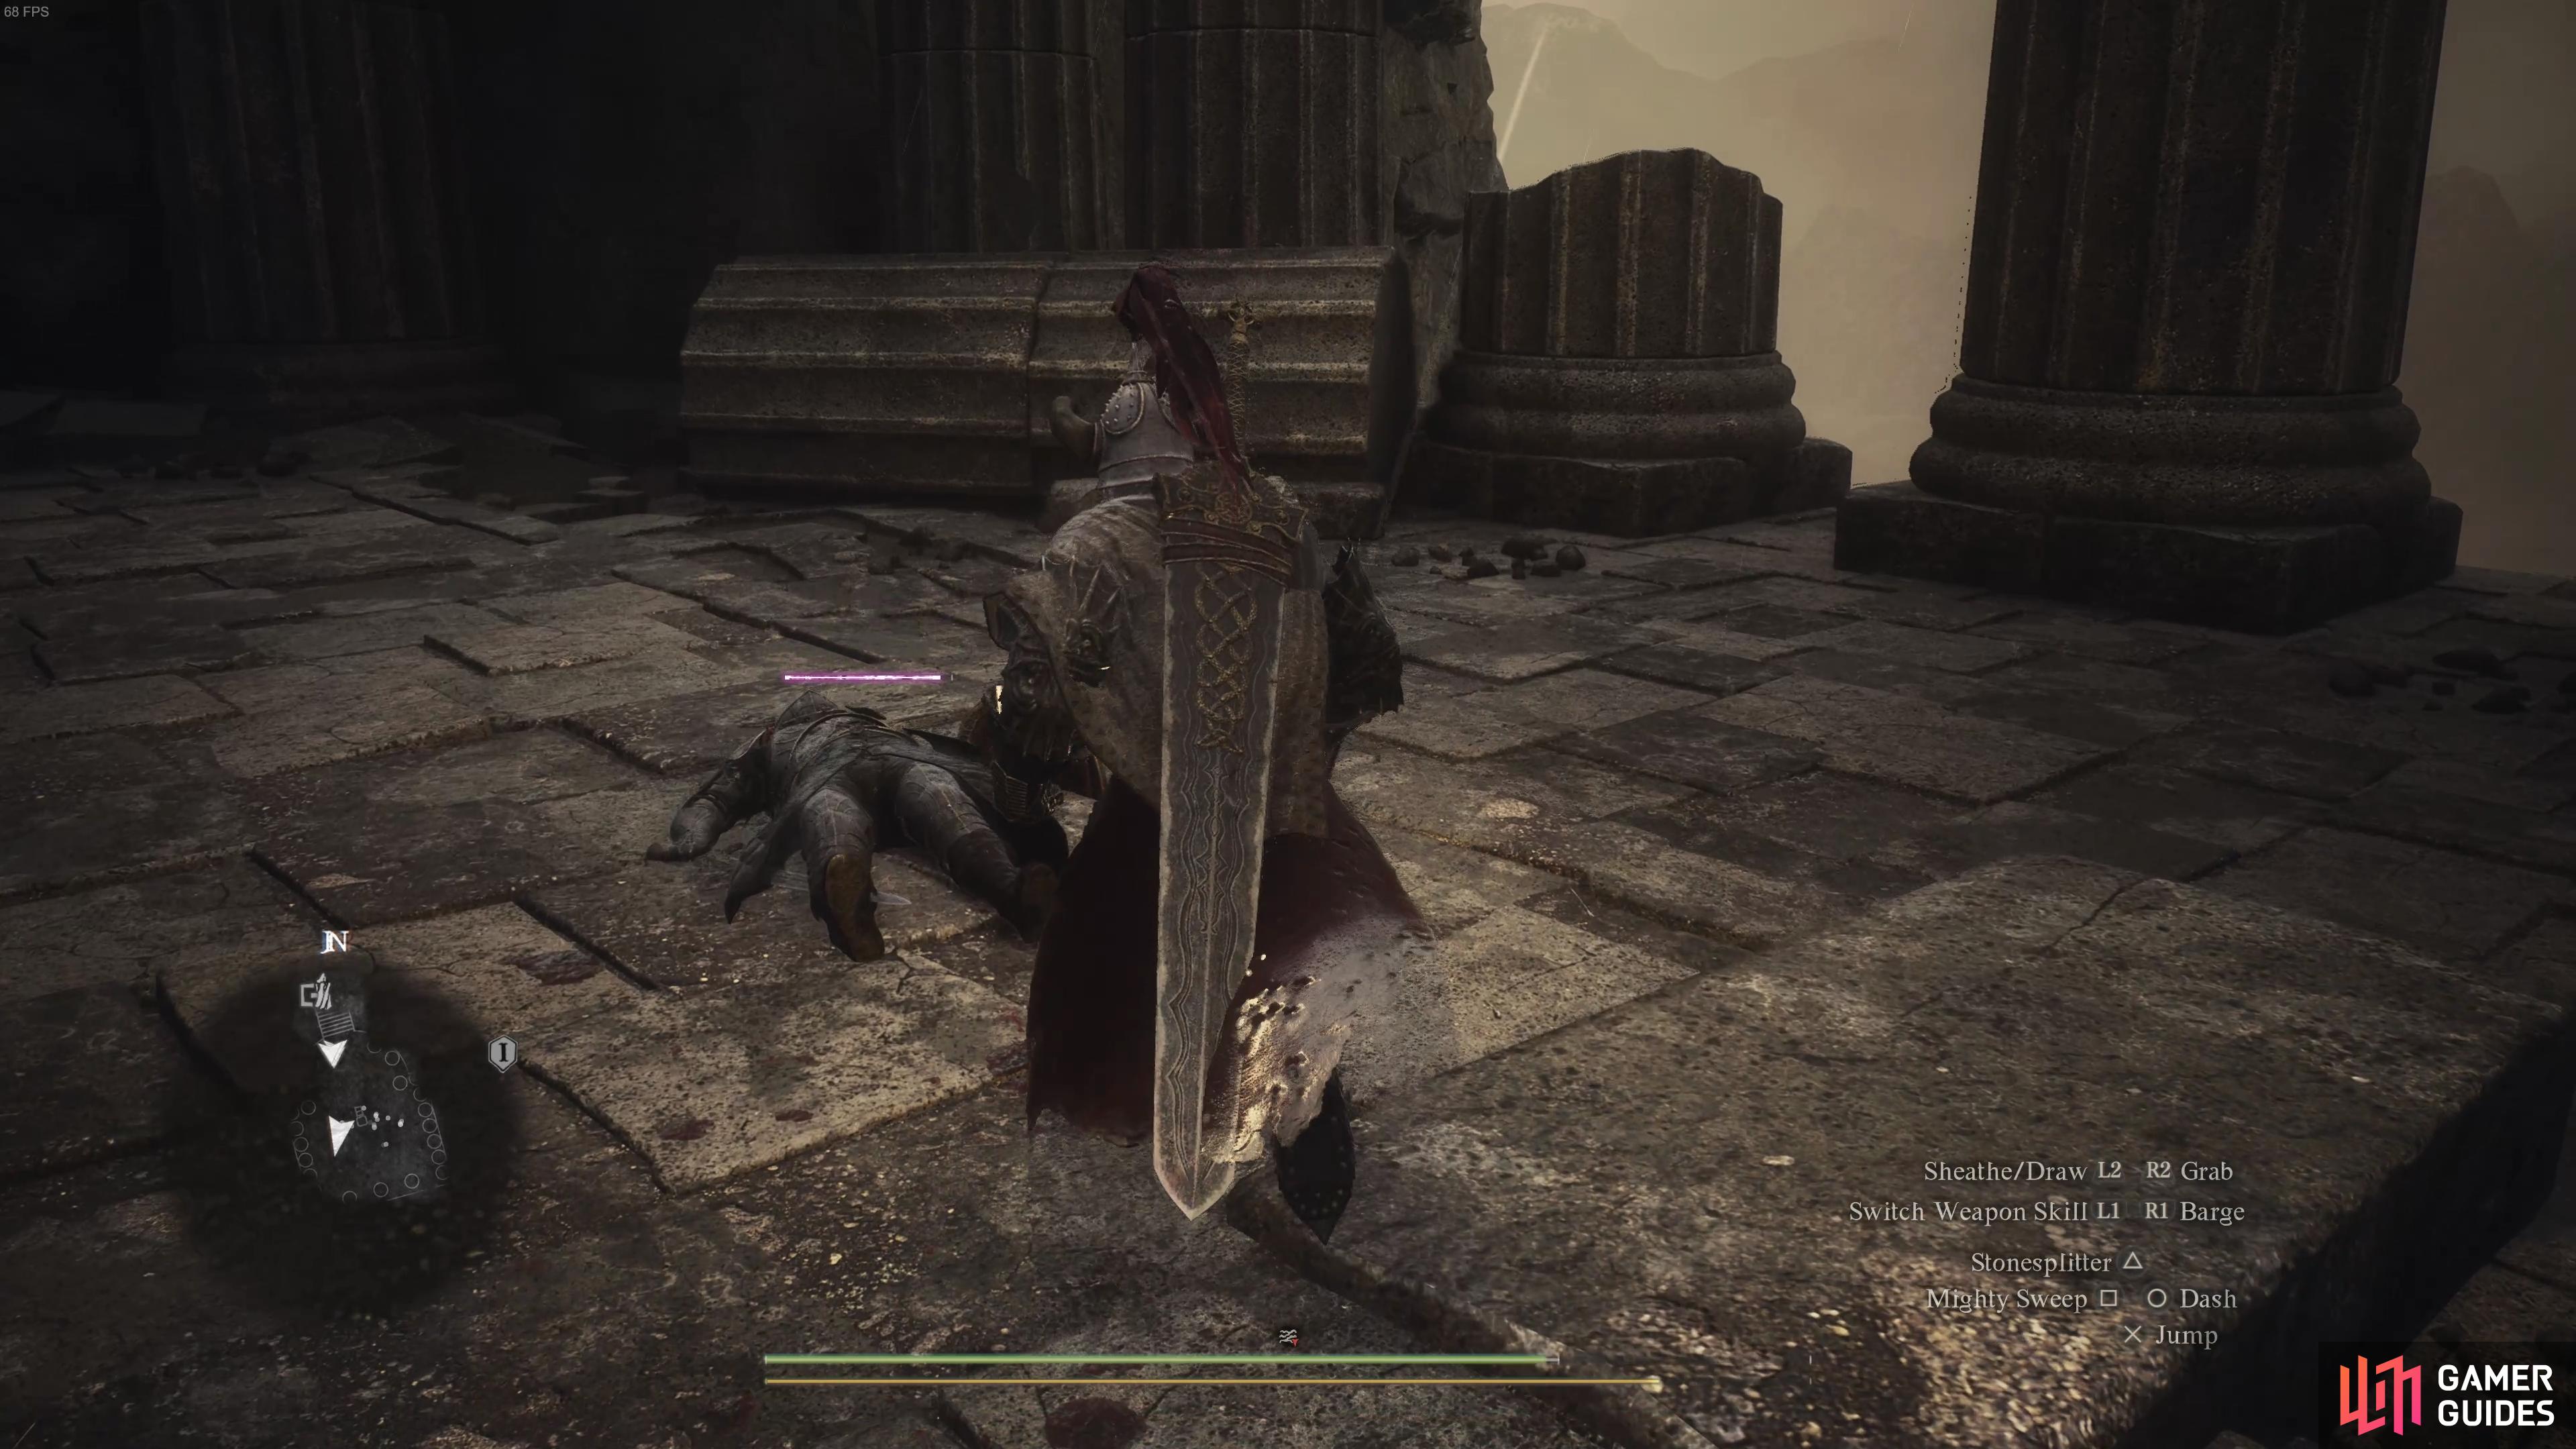
(1 of 2) You need to stagger the NPC so that you can pick them up and carry them.
You need to stagger the NPC so that you can pick them up and carry them. (left), Throw the NPC opponent off the cliff to the north to satisfy the Sphinx. (right)
As a reward, you’ll be able to loot a ![]() Ring of Ambition from the chest, which slightly increases the amount of XP earned when defeating an enemy.
Ring of Ambition from the chest, which slightly increases the amount of XP earned when defeating an enemy.
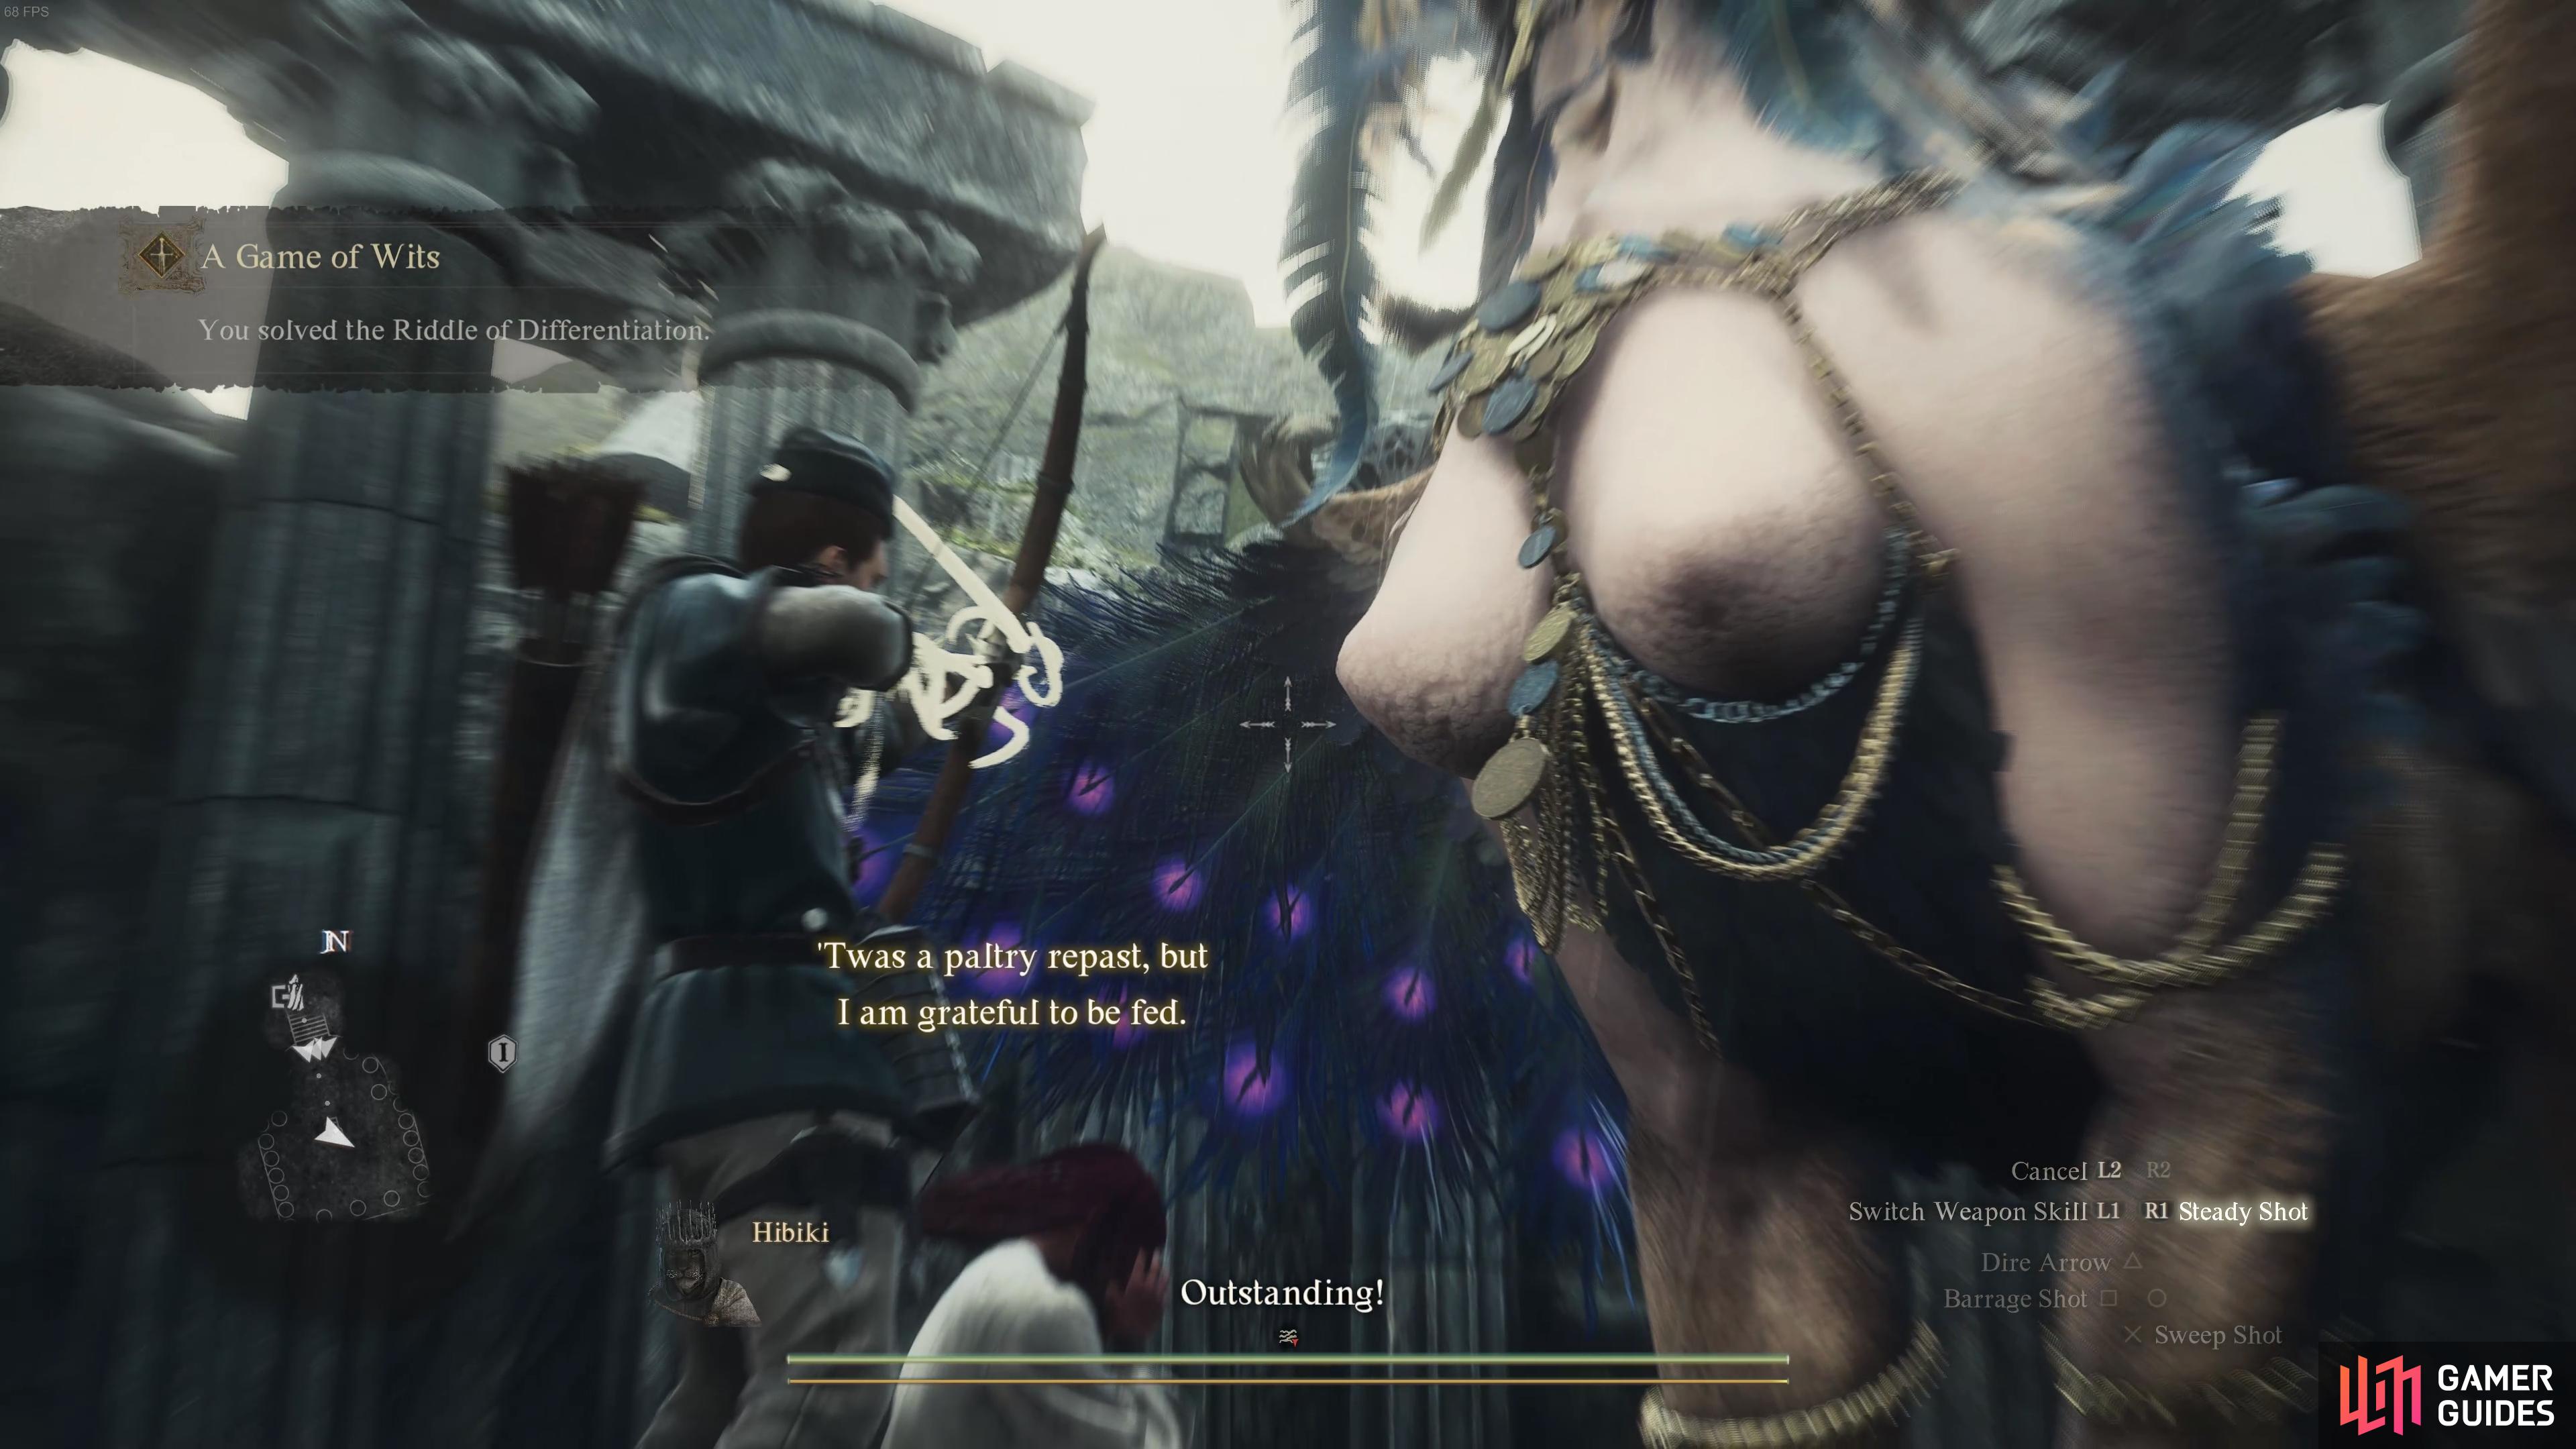
Riddle of Differentiation Solution
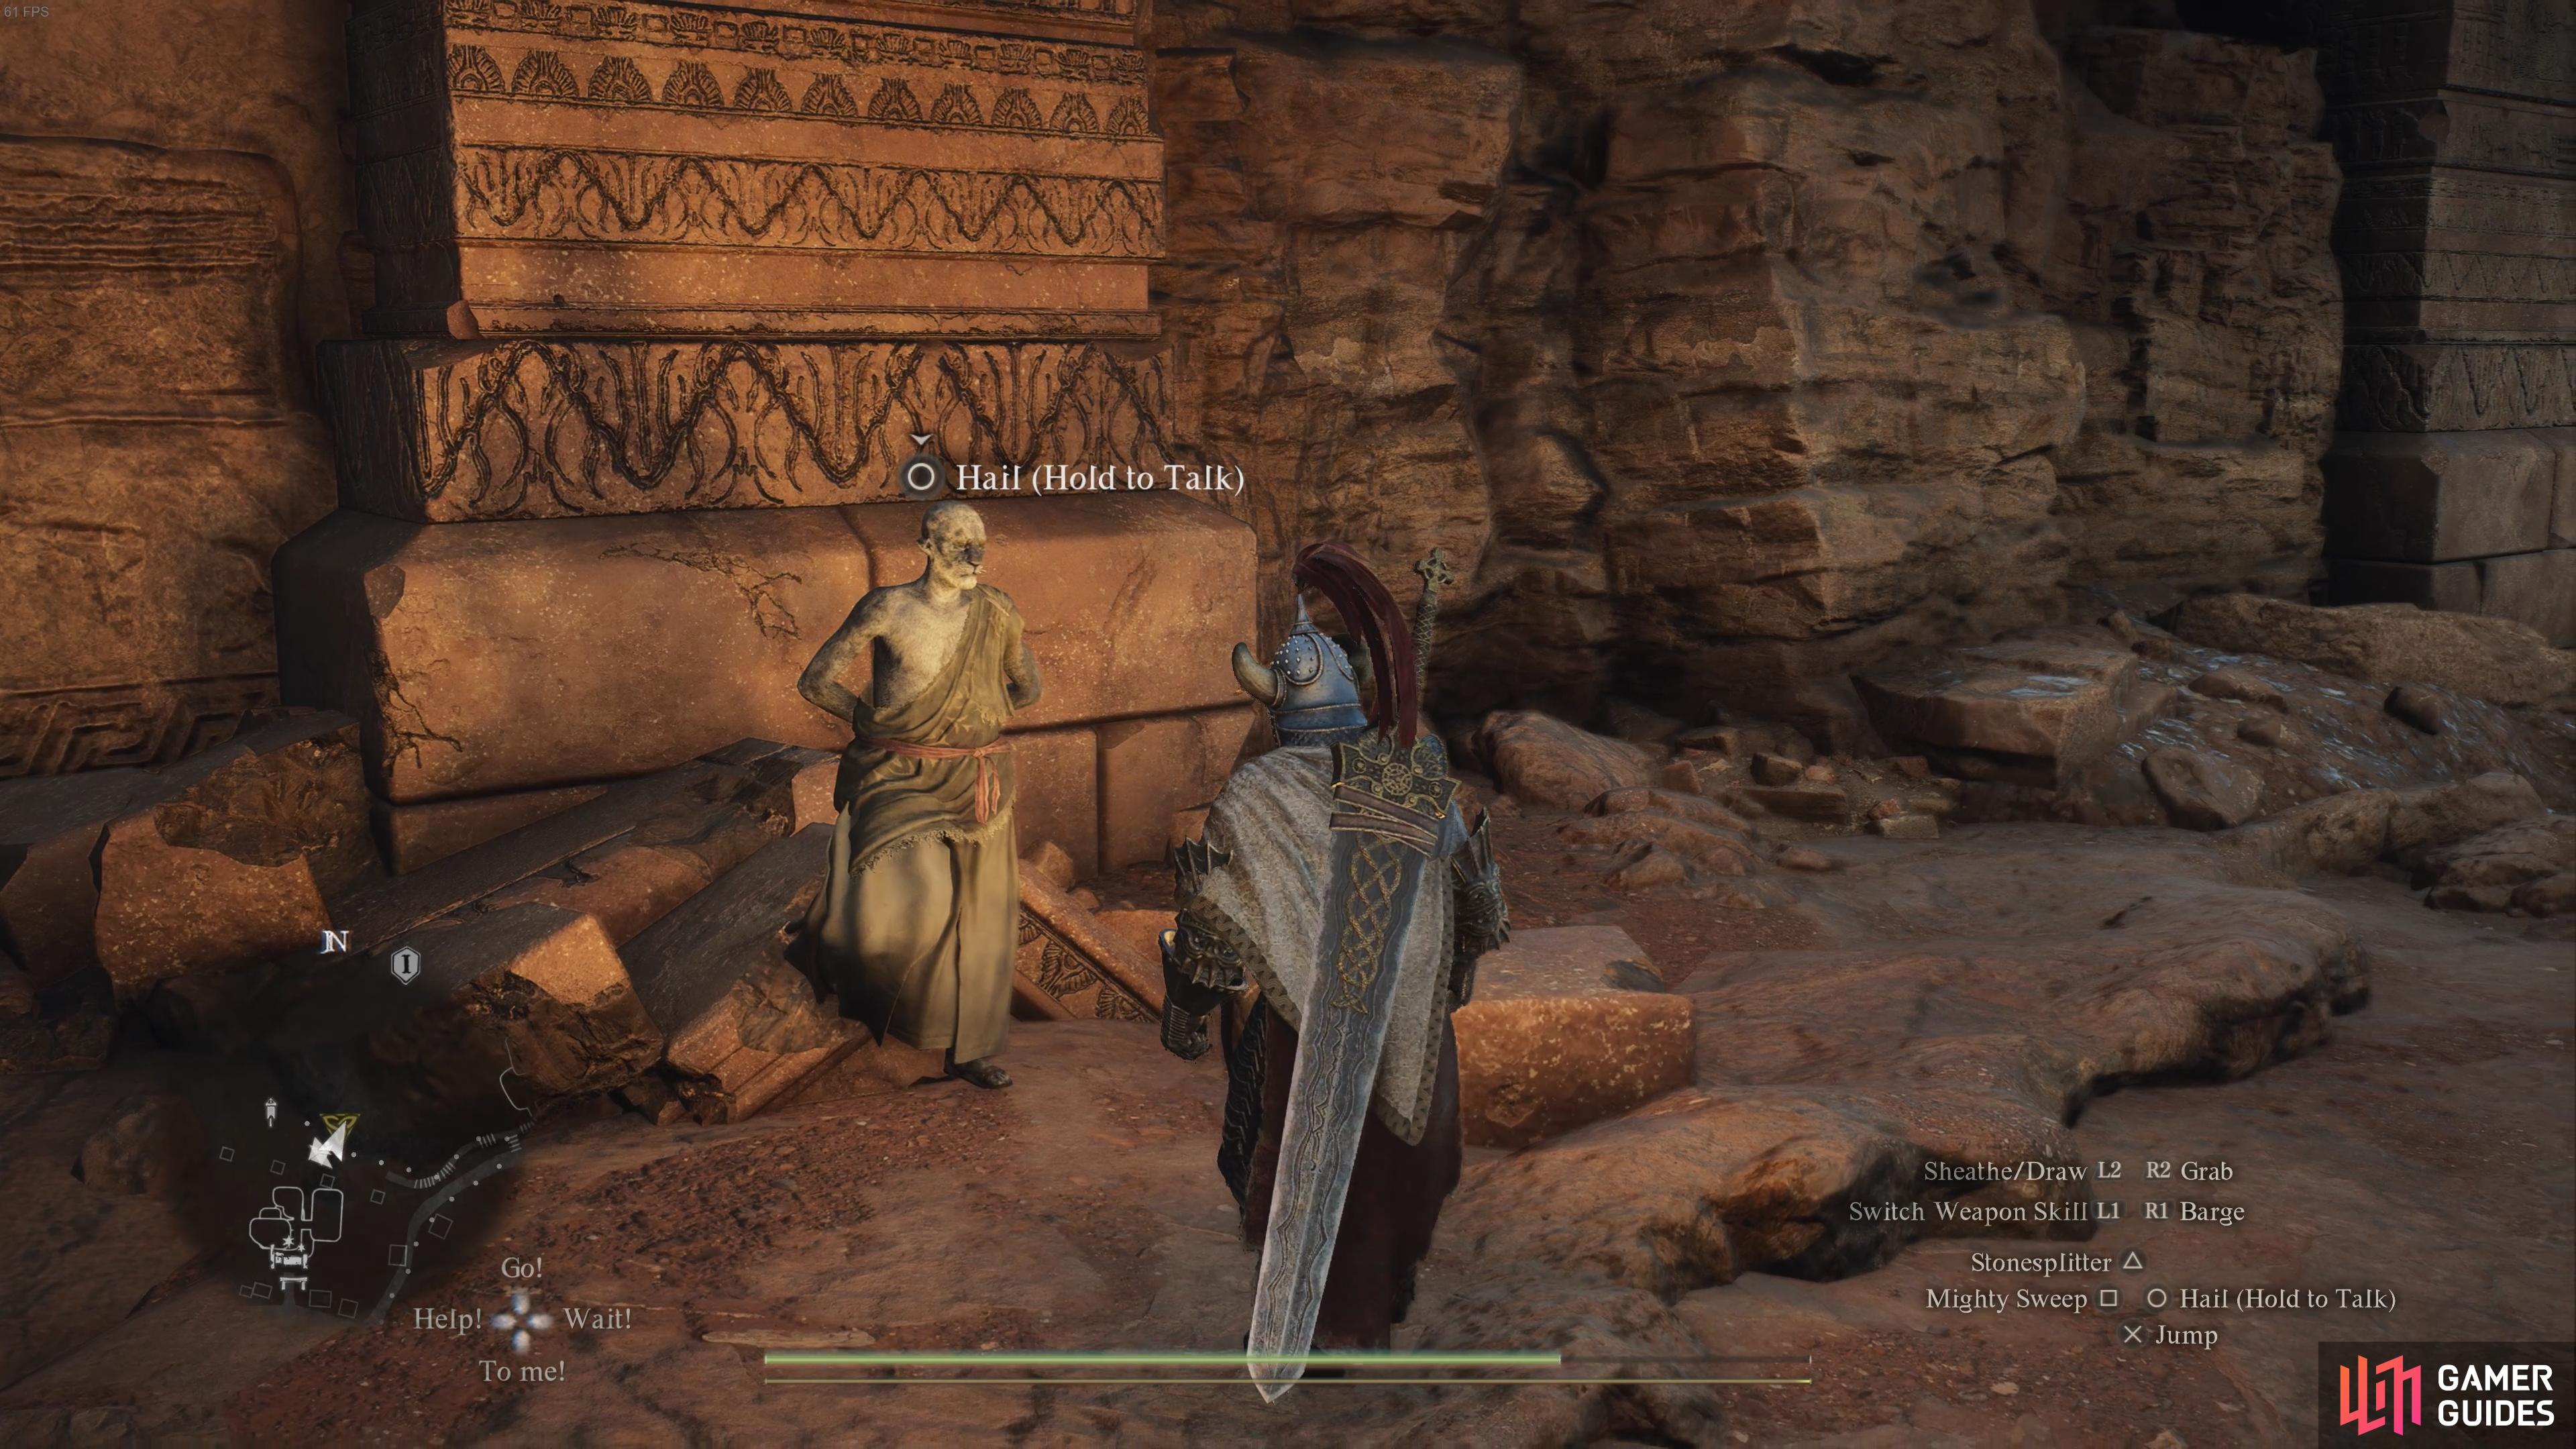
The Riddle of Differentiation was the final riddle for us. This one requires you to find and bring a specific NPC before the Sphinx, but the catch is that this NPC looks almost identical to another. Both of these can be found near the Checkpoint Rest Town, and they’re named Dante and Virgil. Both of these characters are a reference to Capcom’s Devil May Cry series, but can otherwise be ignored, while the latter is the NPC that you need to bring to the Sphinx. You’ll find Dante on the Vermund side of the Checkpoint Rest Town gate, while Virgil is on the Battahl side.
Virgil is certainly quite distinctive, so you may recognize him from the screenshot below. You can also see the area where you’ll find him roaming in the image below. As you did with Ser Maurits for the Riddle of Futility, the easiest way to bring Virgil to the Sphinx is by picking him up so that you’re carrying him on your shoulder, then using a Ferrystone to port to the Frontier Shrine. You can then place him on the pedestal in front of the Sphinx and provide your answer.


(1 of 3) Virgil likes to roam between the Zeplin’s Inn and the South Border Checkpoint Oxcart Station.
You’ll get the ![]() Whimsical Daydream, an item for the
Whimsical Daydream, an item for the ![]() Trickster class, for completing this riddle. However, if this is the last riddle that you need to answer for the Sphinx, as it was for us, you’ll need to be ready to fight her immediately after completing it before you can loot the chest.
Trickster class, for completing this riddle. However, if this is the last riddle that you need to answer for the Sphinx, as it was for us, you’ll need to be ready to fight her immediately after completing it before you can loot the chest.
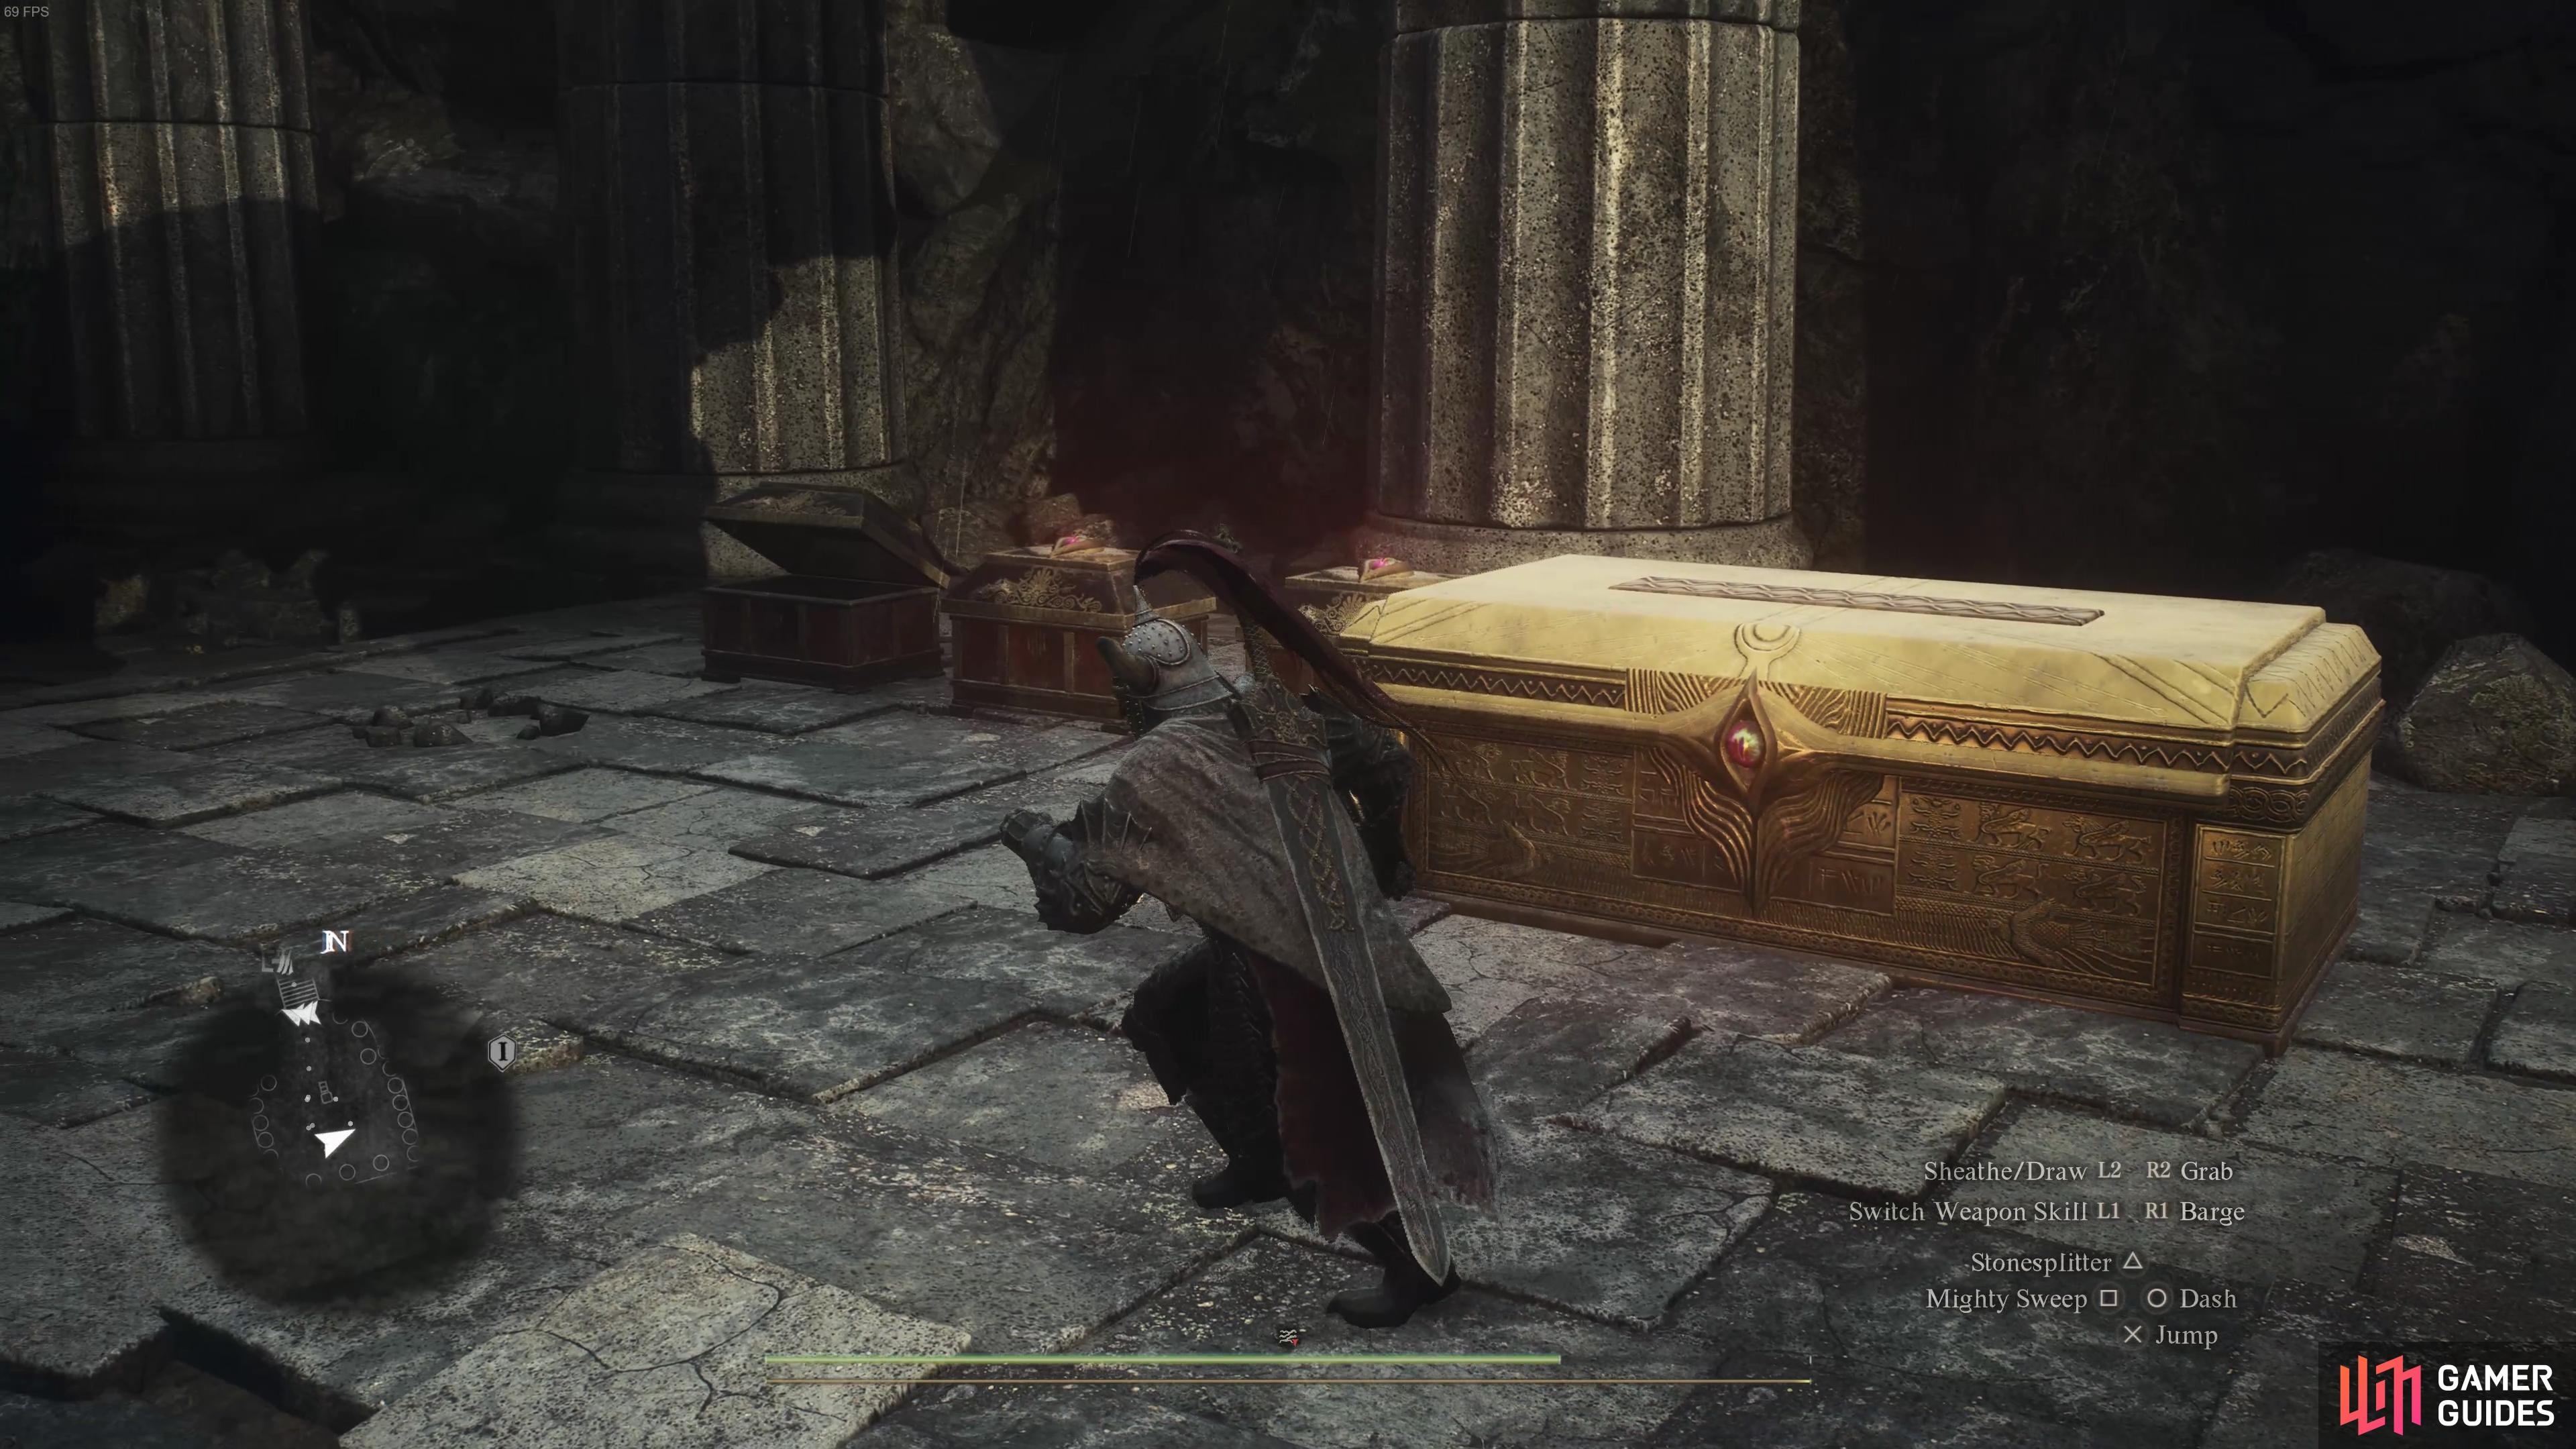
Sphinx Boss Fight - How to Use the Unmaking Arrow
So, you’ve answered all the riddles and you’ve come to the point where you need to defeat the Sphinx. There are two ways to do this, but only one results in you being able to open the final chest (a large golden one) to loot the Eternal Wakestone, and that requires you to be an Archer. If you failed to heed the warnings above about coming prepared with a hard save and changing your vocation to Archer before the last riddle, you’ll need to reload to the last save before you start the fight with her if you want the Eternal Wakestone and the extra gold.
How to Defeat the Sphinx for the Eternal Wakestone
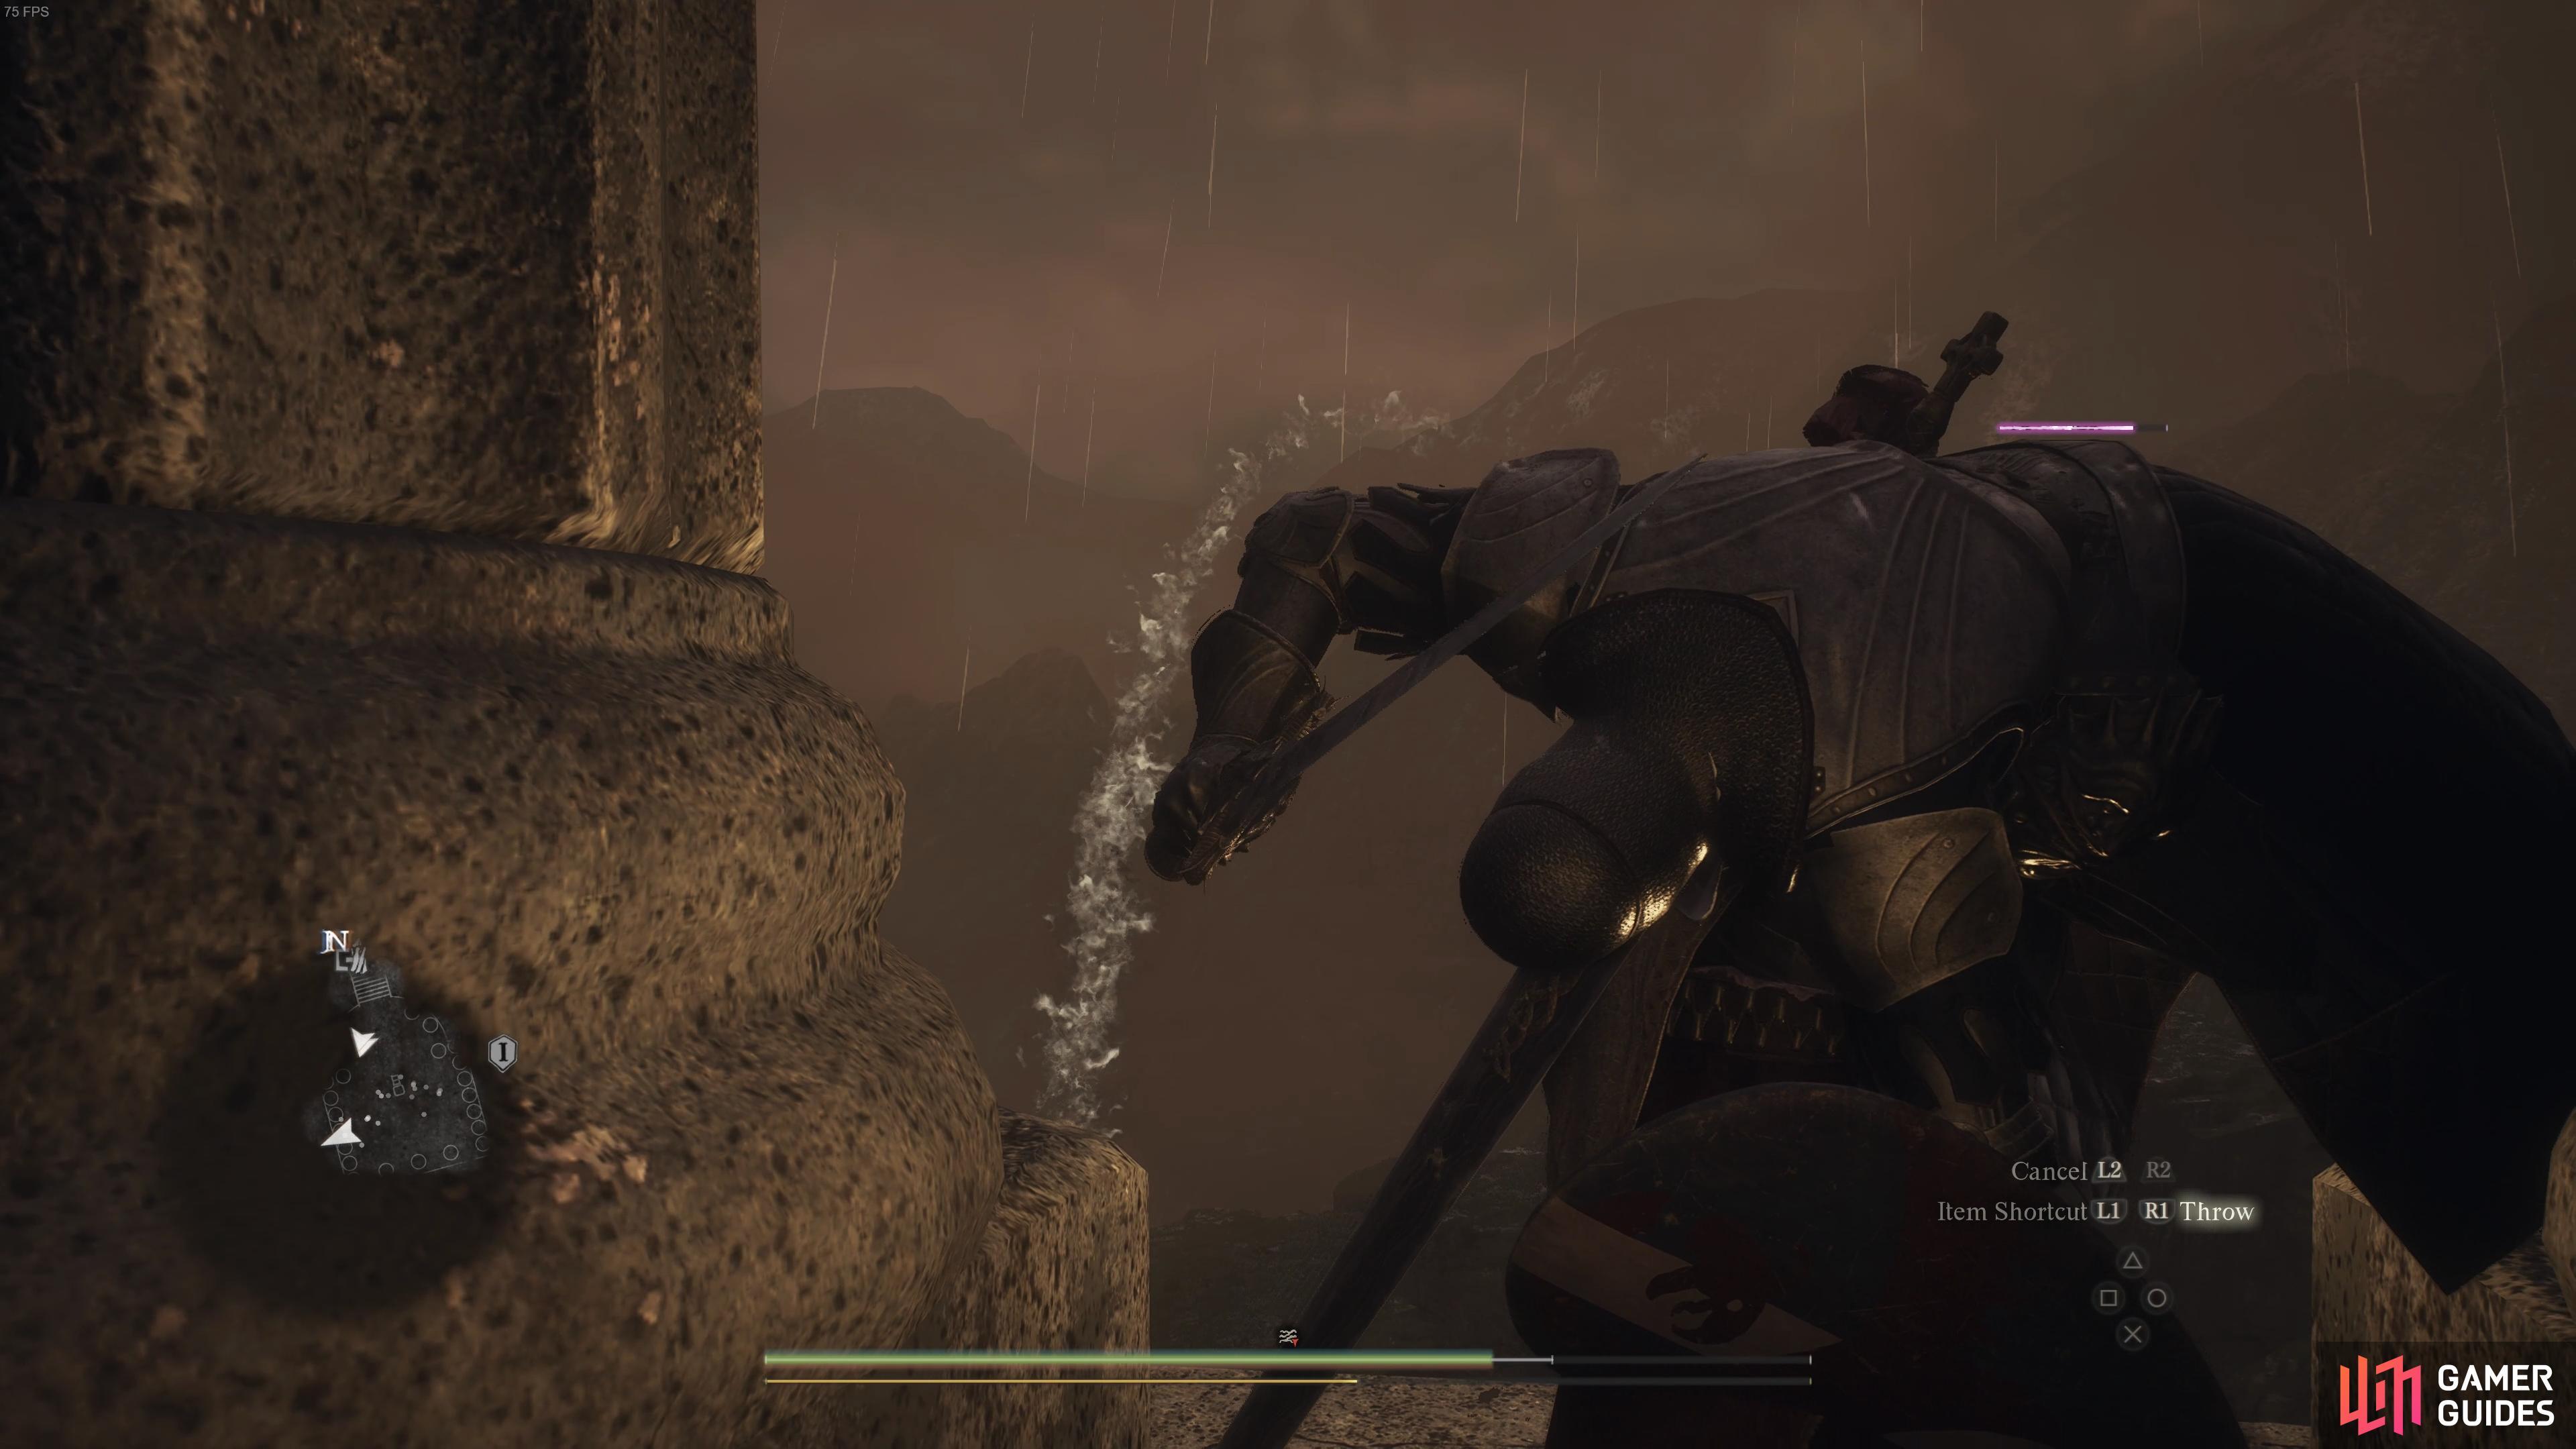
Assuming you changed your vocation to Archer, you’ll be able to use the Unmaking Arrow as soon as the fight begins. This should defeat the Sphinx in one shot, but you may need to aim at one of her wings to ensure that it works properly. It is actually possible to fight the Sphinx as normal for a while, but eventually, she’ll attempt to fly off and you need to be ready to hit her with the Unmaking Arrow as soon as she does. It’s far easier to do this as soon as you’re able to before the fight starts, but you need to make sure that you’ve completed all the other riddles first, and that she’s stated that she’s about to fly off.
If you haven’t played the Archer vocation before, all you need to do to successfully use the Unmaking Arrow is look for it in your inventory, right click it and equip it, then you’ll automatically have it strung with the bow when you return to the game, ready to fire. All you need to do is aim for the wing and shoot.
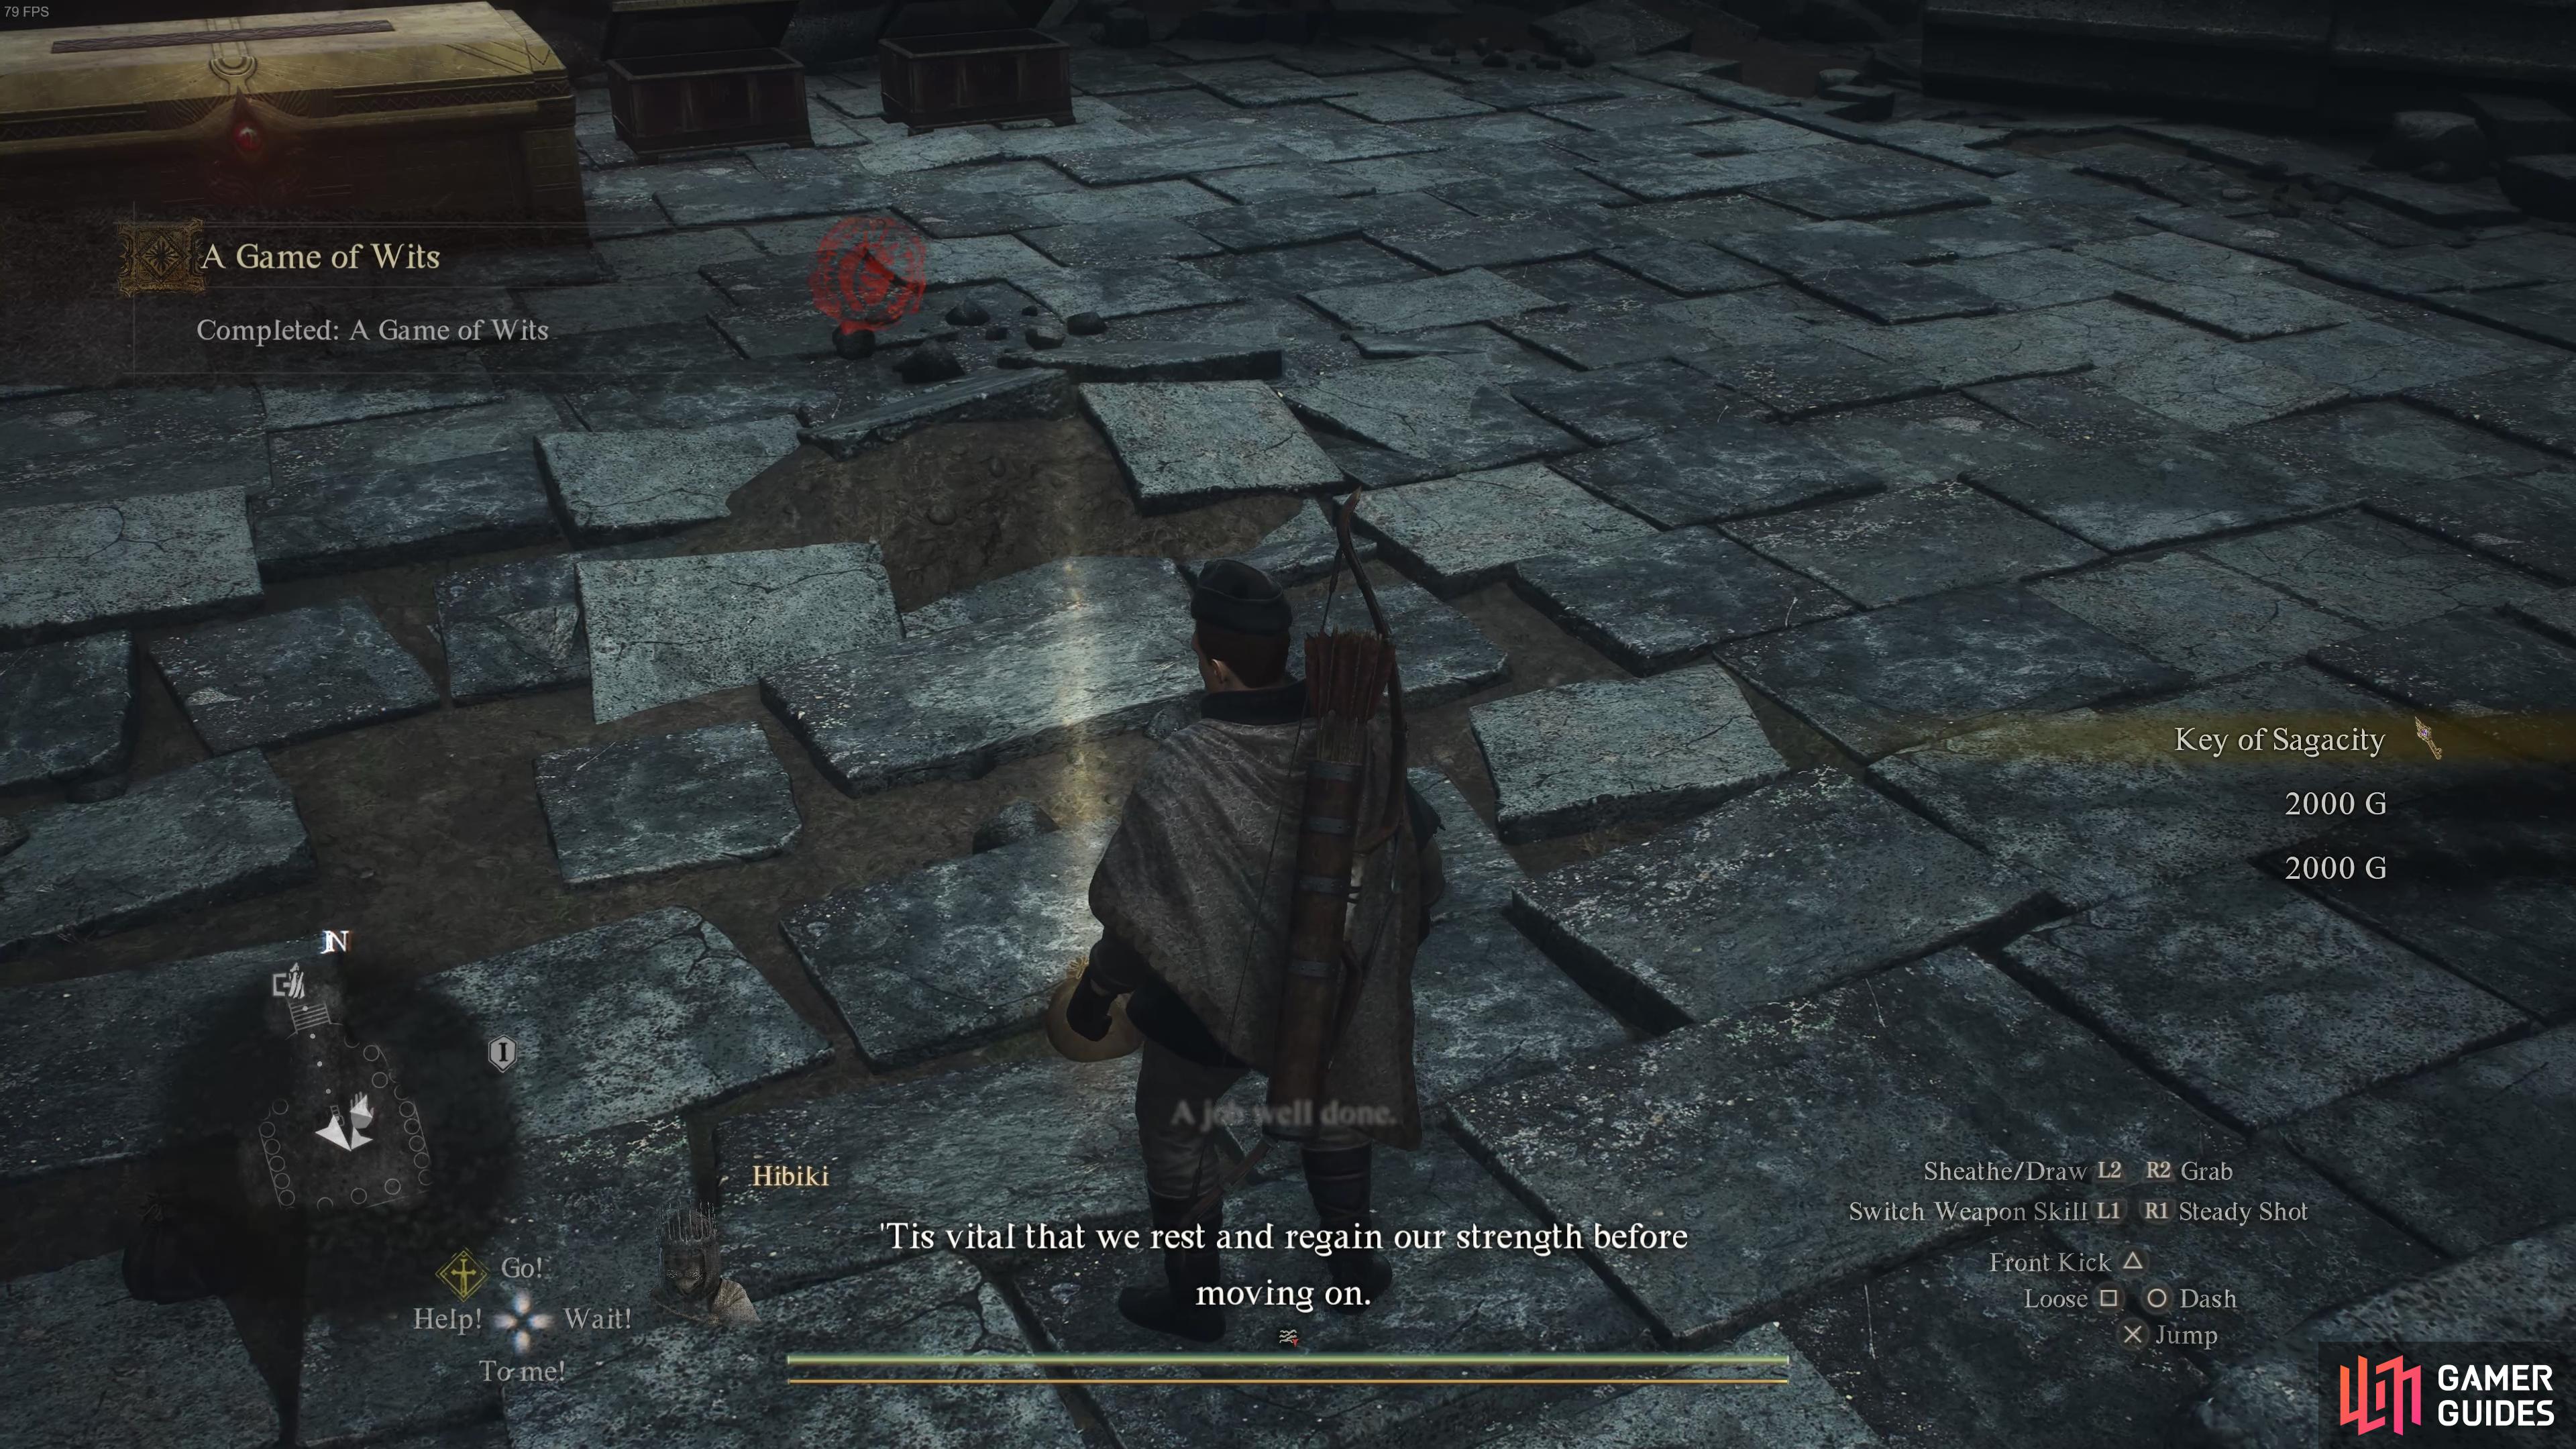
How to Complete A Game of Wits for the Key of Sagacity
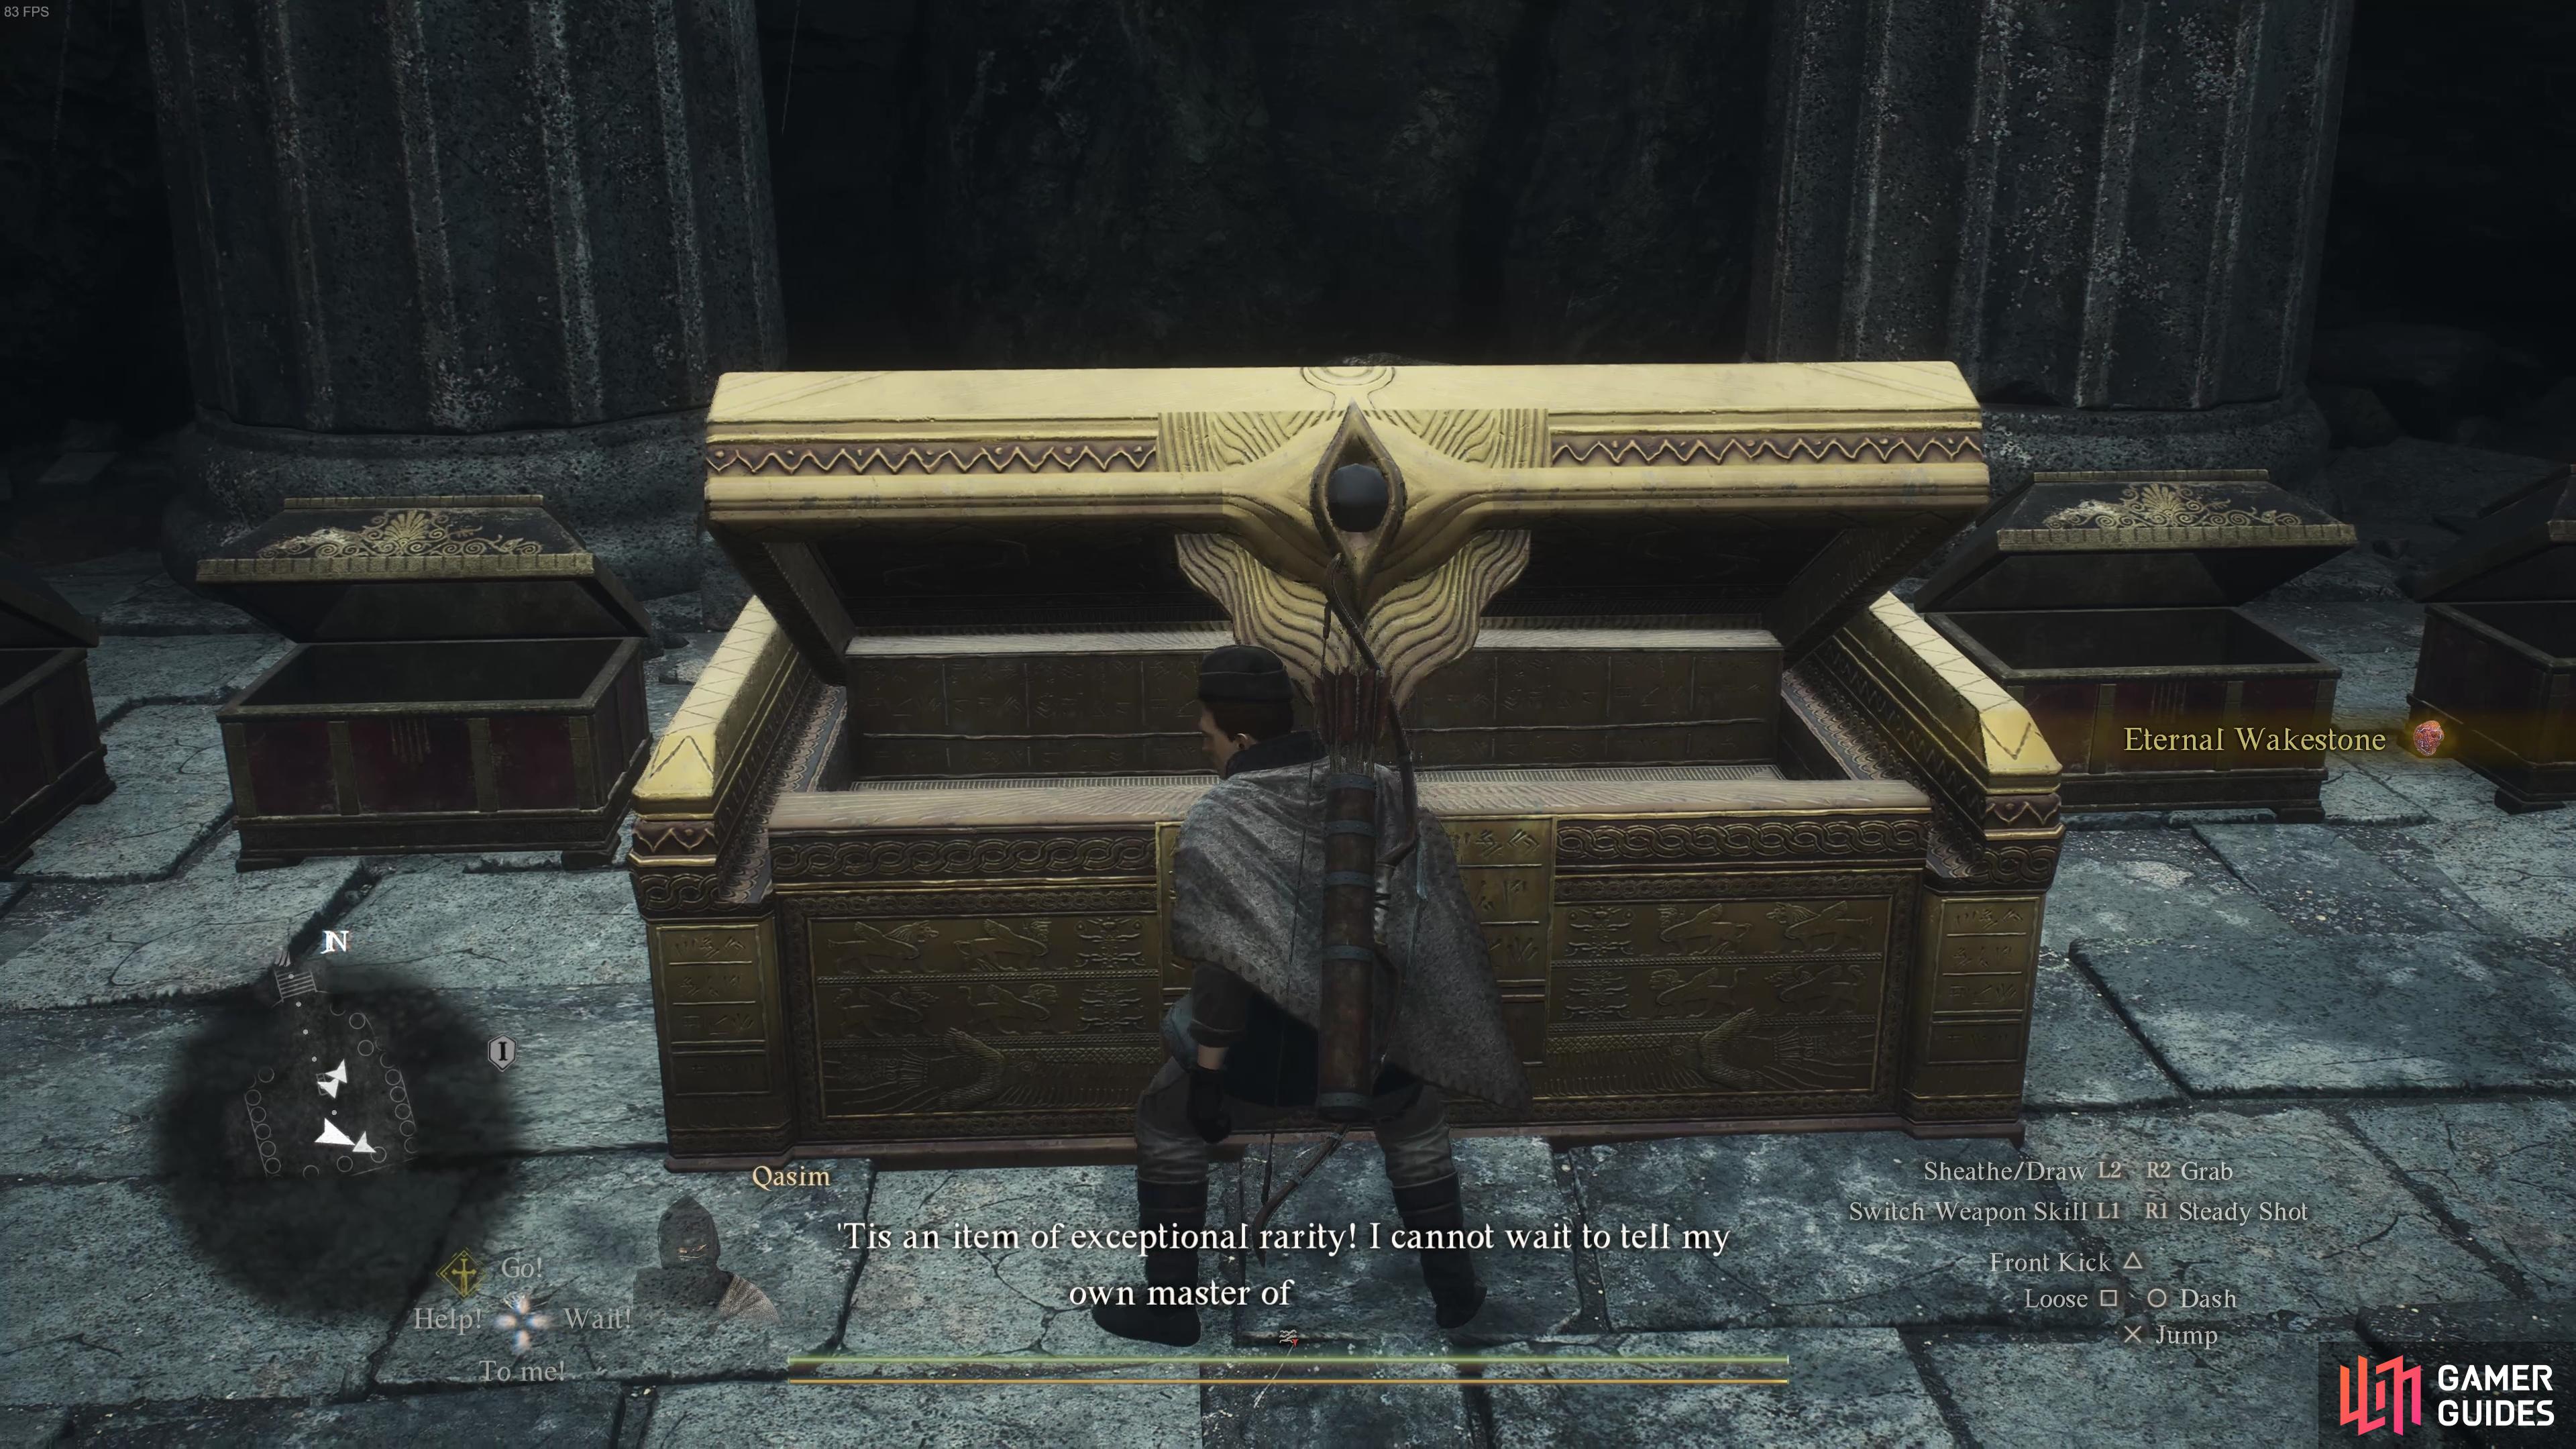
If you hit the Sphinx with the Unmaking Arrow immediately, before attacking her in any other way, you’ll get some extra dialogue as she thanks you for the entertaining performance. Still, regardless of the method, the Sphinx will slowly fade away if you hit her correctly, and you’ll get the message that you defeated her before the “A Game of Wits” quest completes. If you fail to hit her with the Unmaking Arrow, the quest will update stating that “The Sphinx took its leave of you.” instead. If this happens, you won’t be able to loot the extra 8000 Gold from her body, and more importantly, you won’t get the ![]() Key of Sagacity that drops from her, which you can use to unlock the large golden chest for the Eternal Wakestone. This item will allow you to revive any number of NPCs indefinitely, without having to use other Wakestones which are single-use only.
Key of Sagacity that drops from her, which you can use to unlock the large golden chest for the Eternal Wakestone. This item will allow you to revive any number of NPCs indefinitely, without having to use other Wakestones which are single-use only.
And with that, we’ve covered all the locations and riddles for the Sphinx in Dragon’s Dogma 2. We hope our detailed guide was useful to those needing a helping hand with the solutions!

 Sign up
No Comments